Easy Snowman Craft
This Snowman Craft is so easy to make and cute! It’s a great winter activity for at home or in the classroom. Make a snowman using white cupcake liners, paint and q-tips!

Some wintery days turn out to be the most perfect day for a craft! As it snows outside or rains in the cold, you can stay warm indoors and still have a blast. This easy snowman craft is so simple to make and great for all ages. Whether you need a last minute time-filler craft or want to plan out a fun and engaging arts and crafts time, you’ll love this craft.
Everything snowman is just so much fun! My crafts like ripped paper snowman and snowman clothespins are so easy and always turn out adorable. And you can’t have too many snowman crafts! Any type of snowman is always just so cute, so that makes them the perfect character for crafts. This easy paper snowman craft is no exception and he’s just so much fun!
Why You’ll Love this Easy Snowman Craft
- You can make this craft with materials that you likely already have around the house. There’s no special art supplies that you really need to make a coffee filter snowman.
- Glueing and painting are both great activities to help refine fine motor skills. So this is a wonderful craft for littles to do!
- This is a very affordable craft! All of the supplies can be bought in bulk and used for a large group of children, or saved for many many other crafts down the line. And you may not even need to buy anything. The supplies are so simple, you may already have them.

Supplies Needed
- White cupcake liners – Use white cupcake liners as the base for your easy snowman craft.
- Paint – You will need both black, white, and yellow craft paint to decorate this snowman and make him the perfect little friend.
- Q-tips – This is such a fun little “hack” to painting a craft. Use q-tips as the paint “brush” instead of an actual paint brush!
- Cardstock – You will need black, orange, and brown cardstock plus and additional background color of choice.
- Scissors – If you are making this craft with young children, consider using safety scissors.
- Glue stick – A simple school glue stick is all you need to build and decorate the most perfect snowman.
How to Make this Easy Snowman Craft
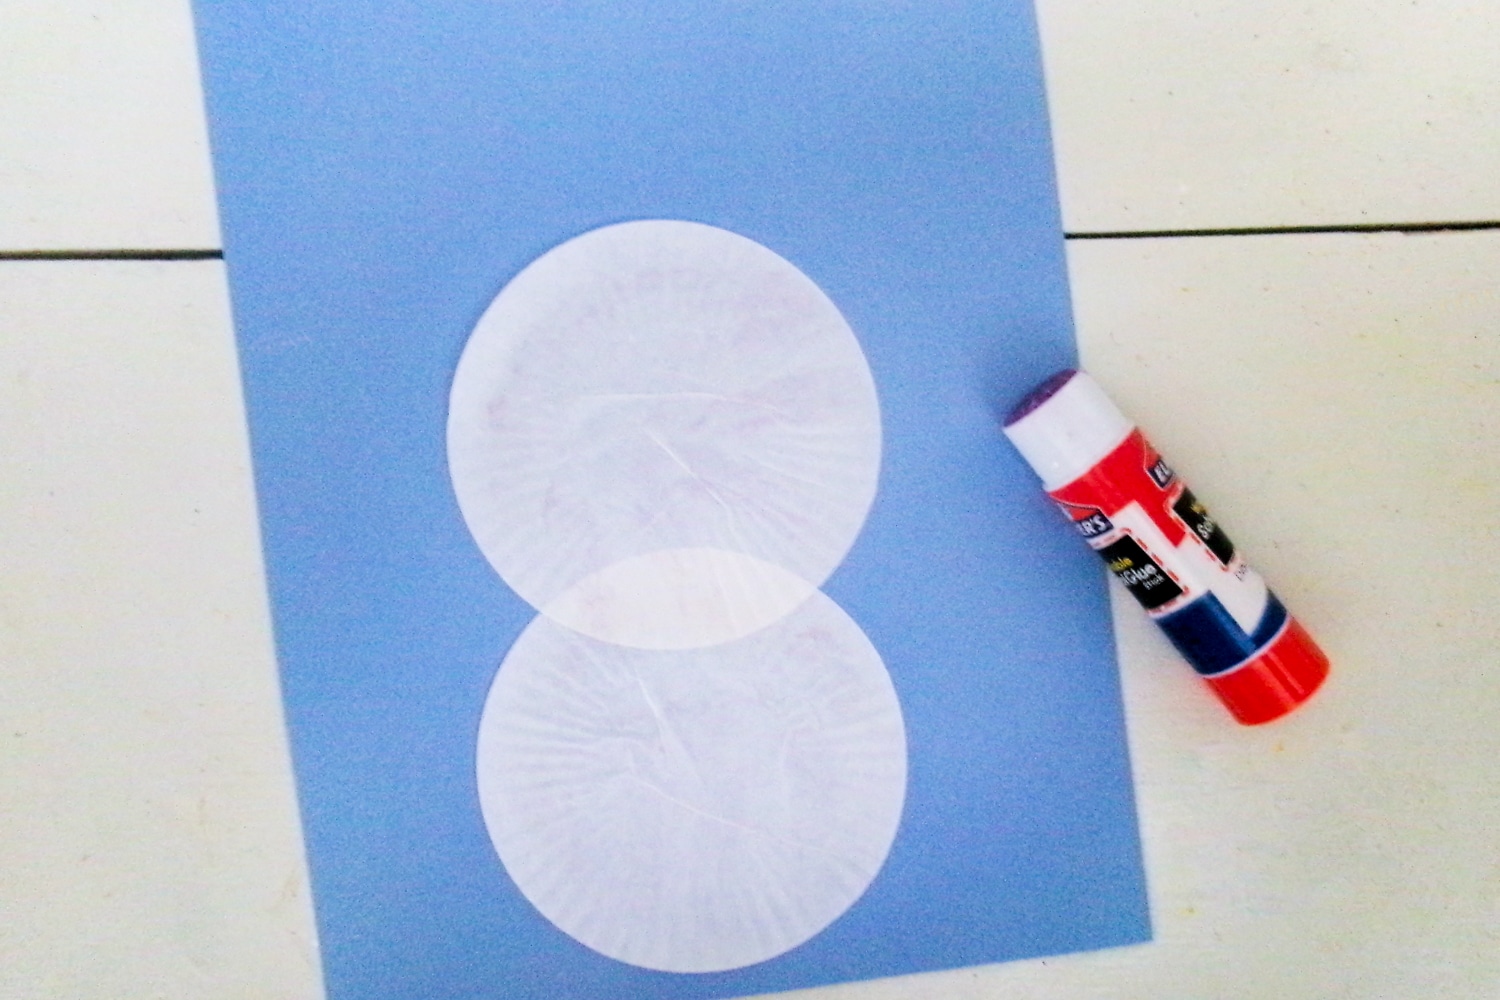
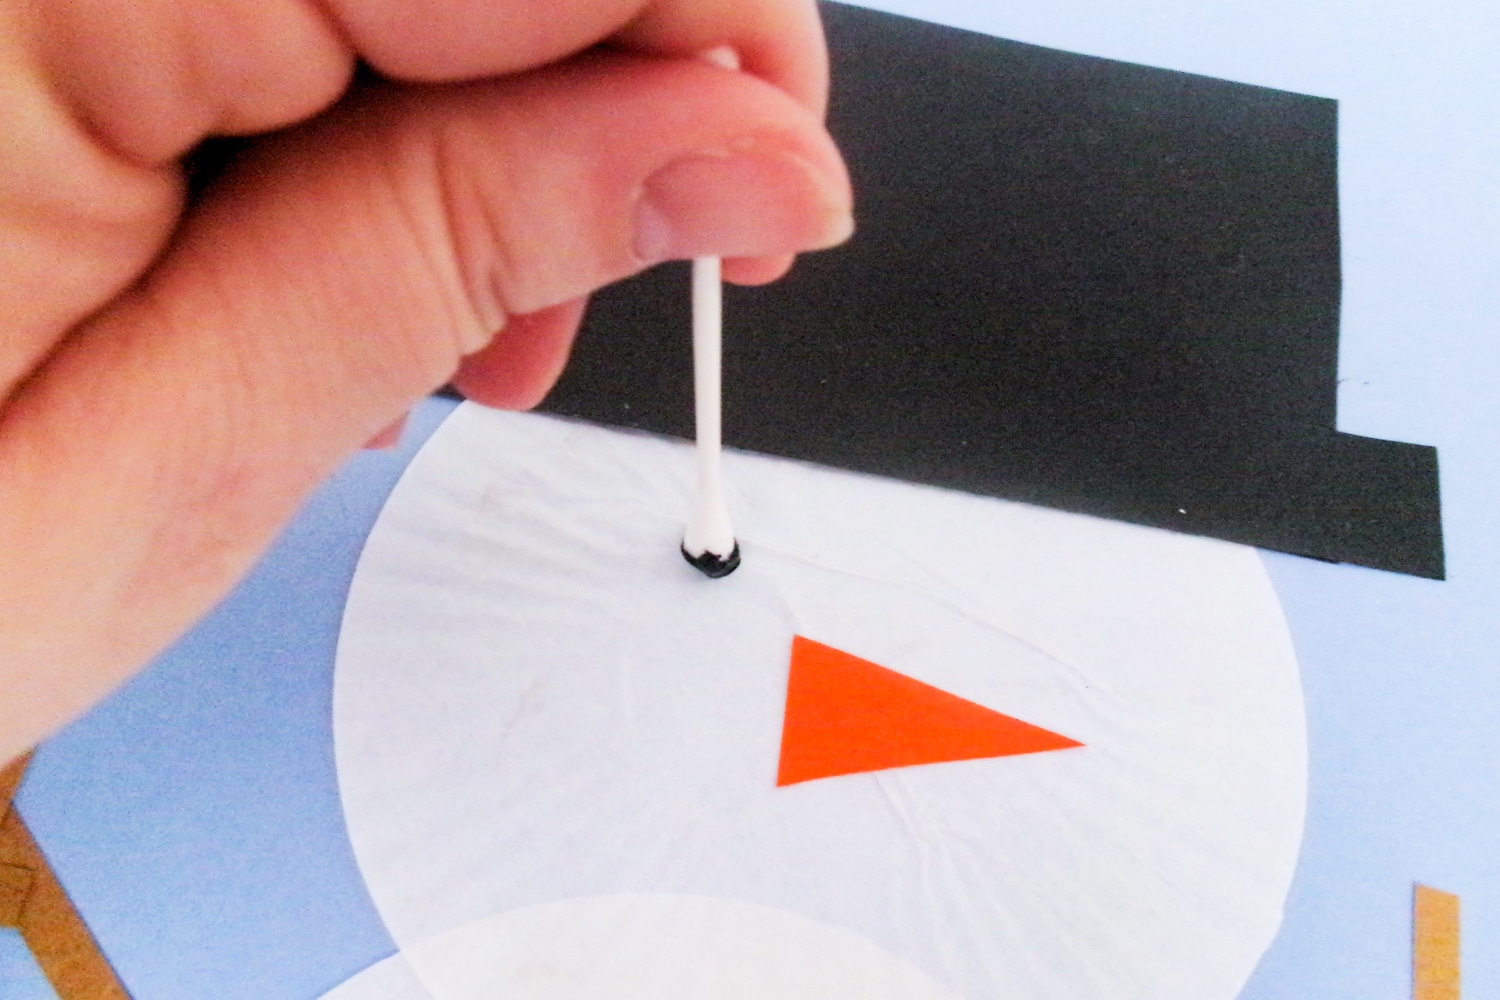
- To start making your snowman, flatten out two white cupcake liners. Then glue them onto the sheet of cardstock you’ve chosen for your background. Make sure that the cupcake liner overlap in the center to form a snowman shape.
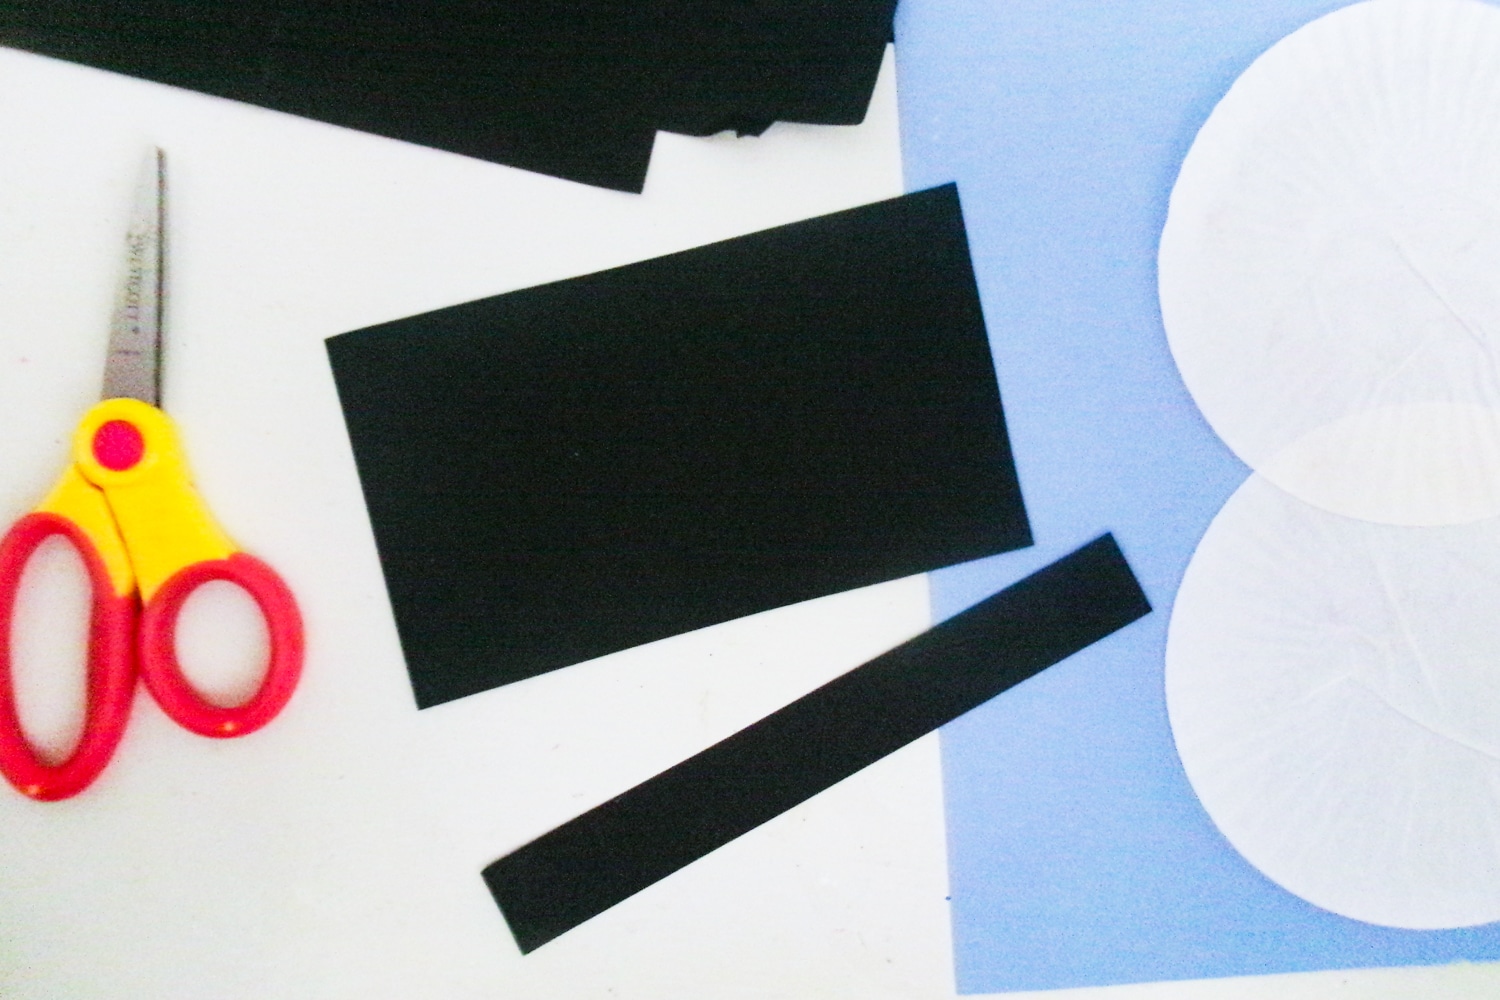
- Then, cut a strip of black cardstock and a rectangle of black to make the top hat. Glue those two pieces into place at the top of the top cupcake liner.
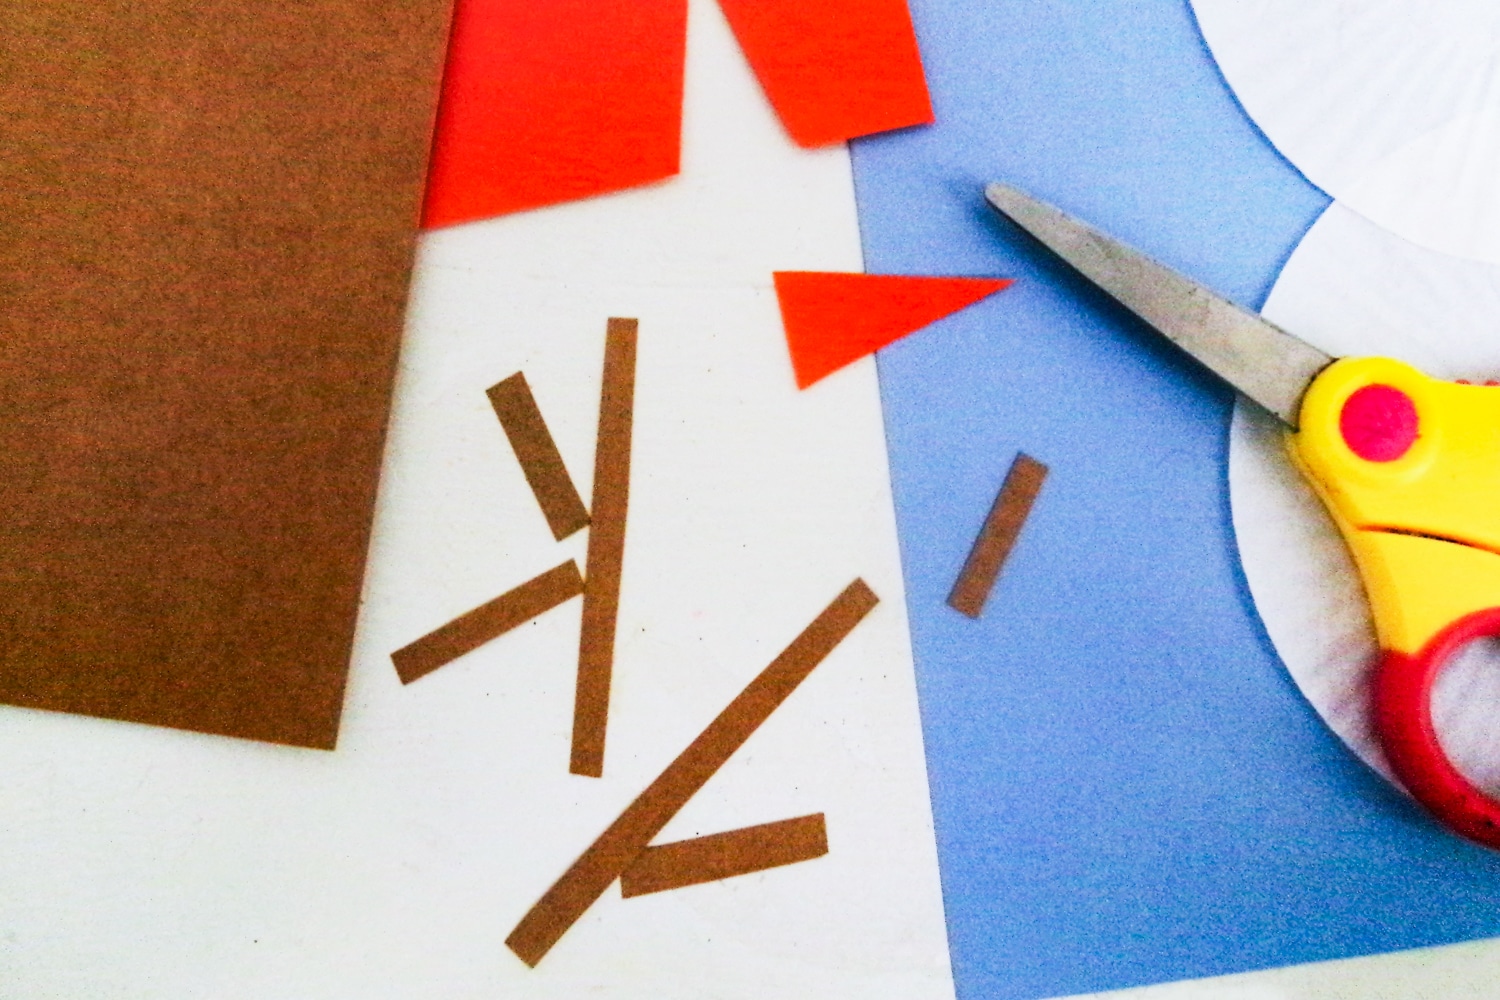
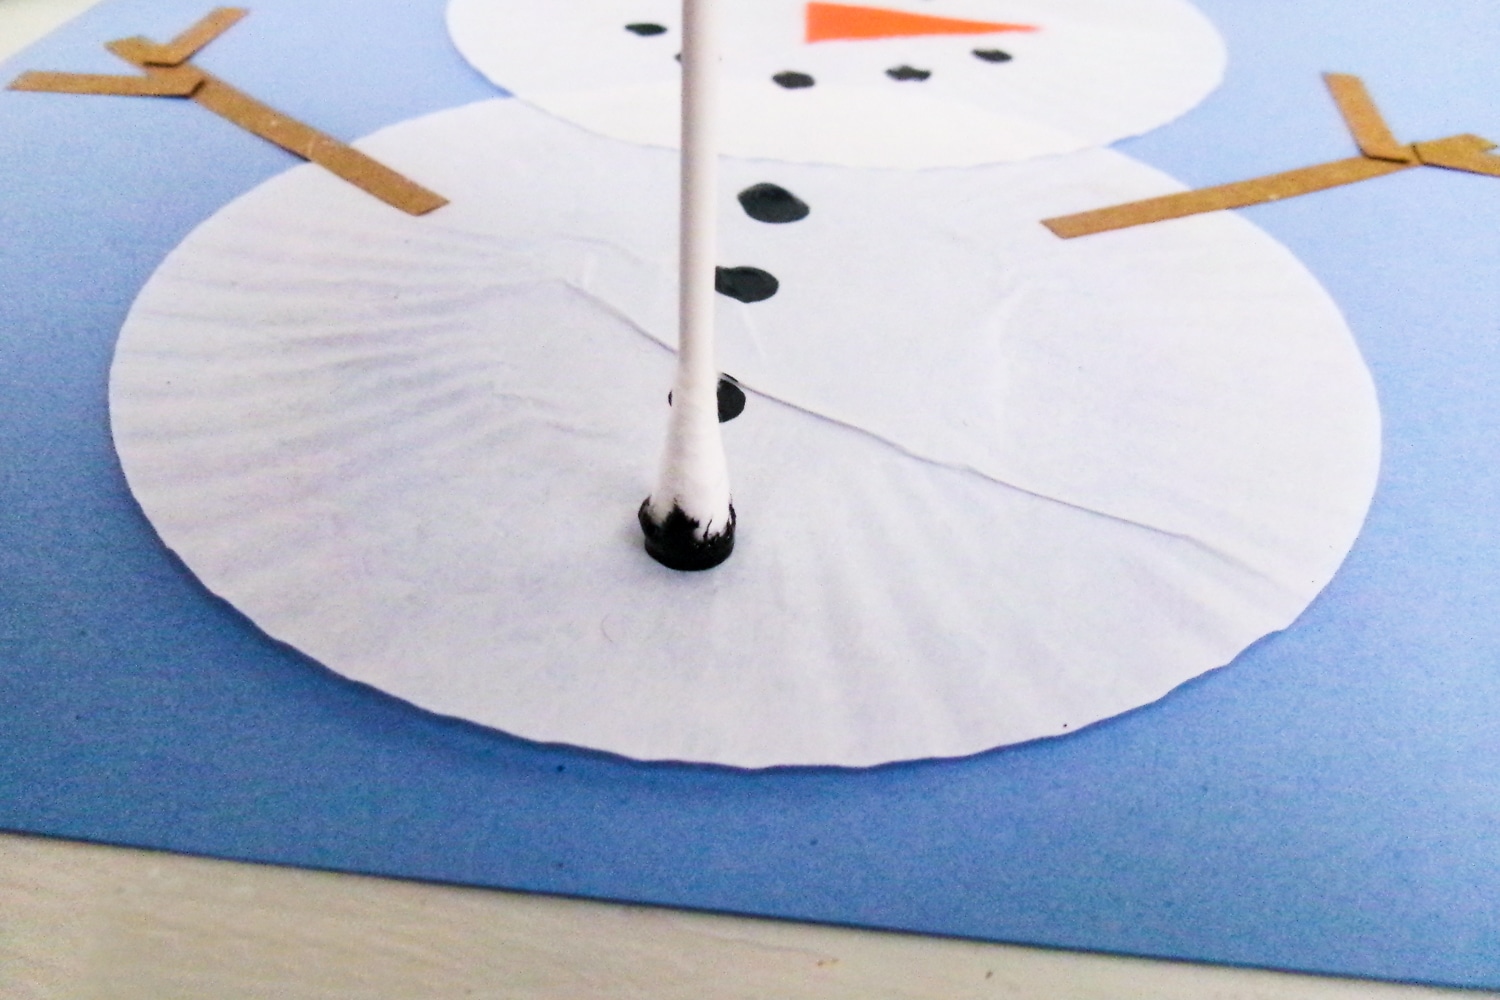
- Cut a triangle shape out of the orange cardstock to make a nose and cut thin strips of brown cardstock for arms.
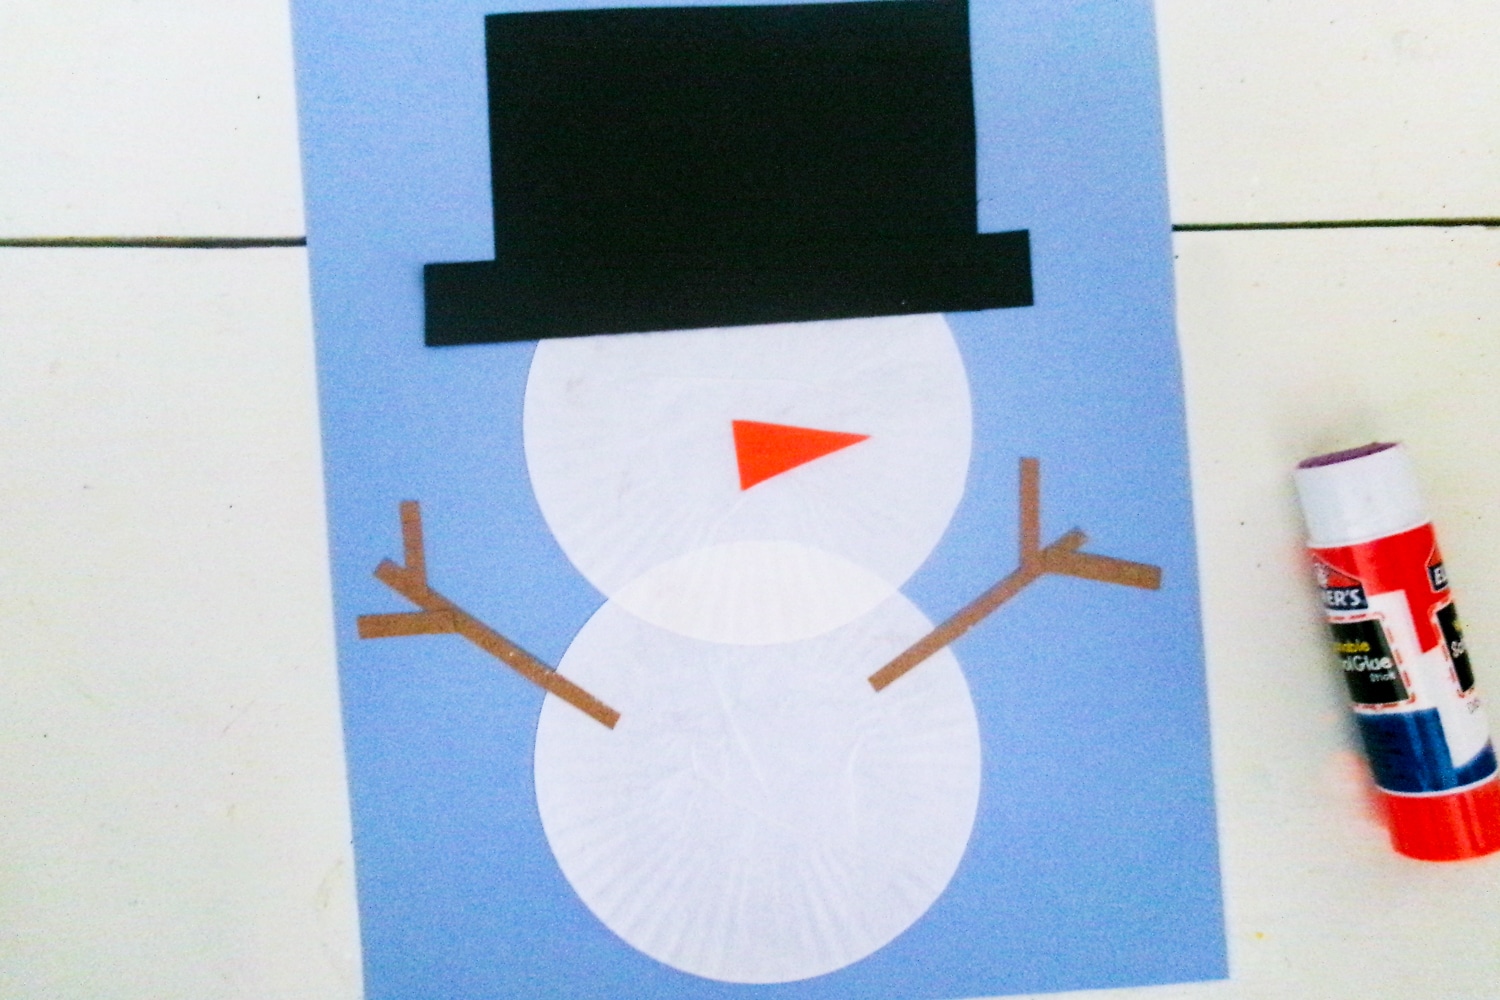
- Glue all of those pieces into place, the nose on the face and arms on the sides with the little pieces coming off the large as smaller sticks.
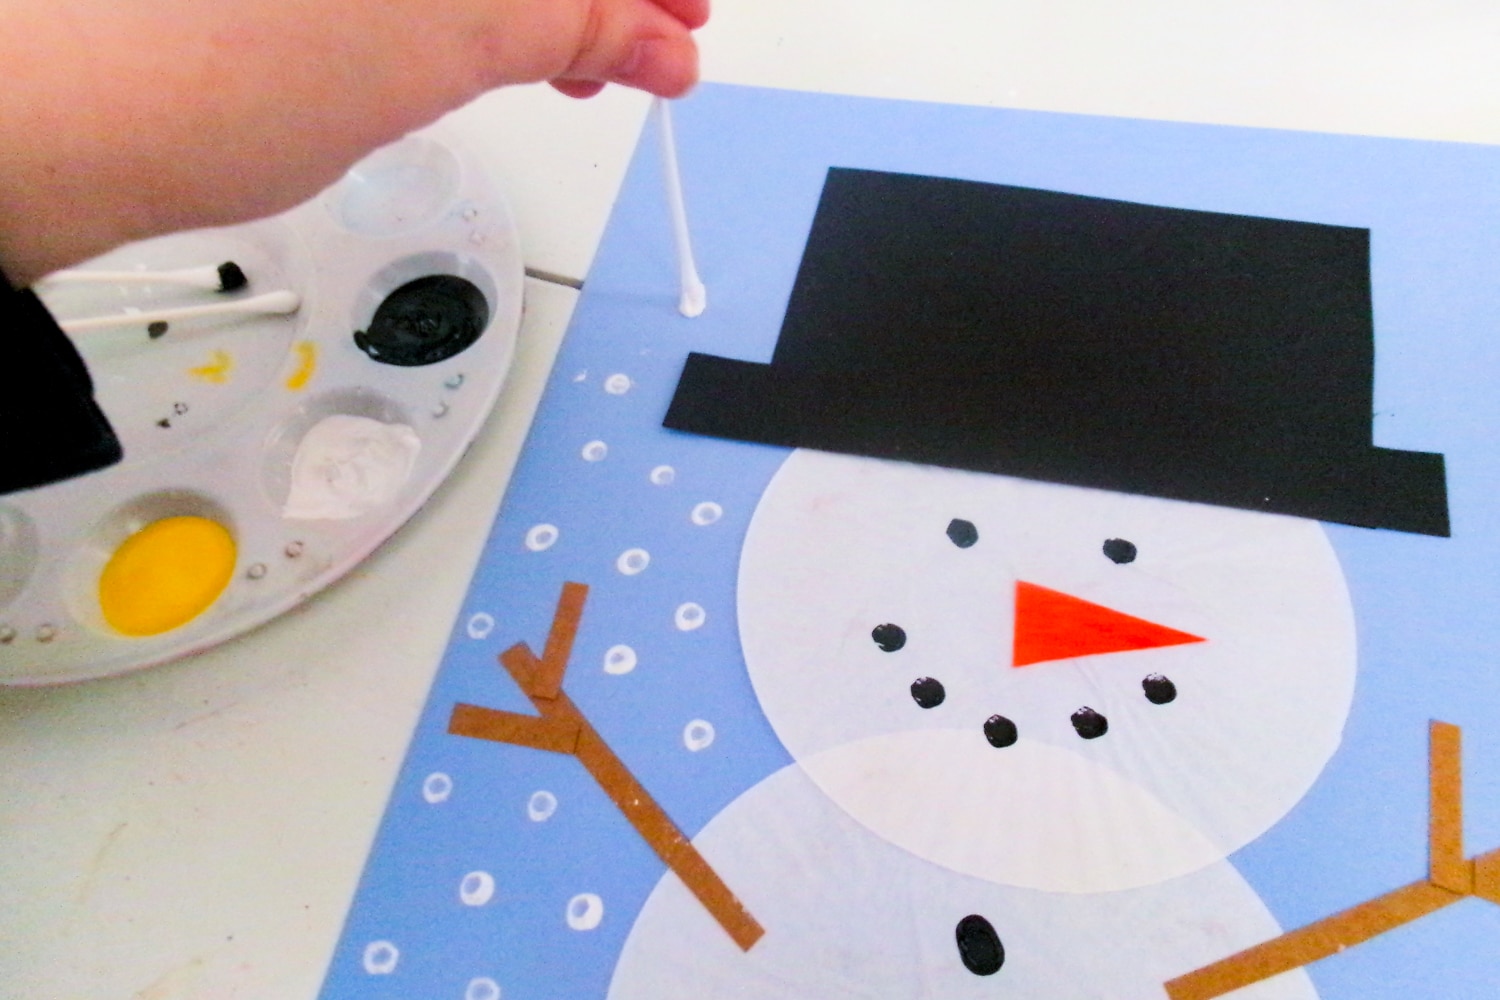
- Grab some q-tips and squeeze out each color of paint onto a paper plate or another surface.
- Dip a q-tip into black paint and then stamp it onto the face for eyes and a mouth. Use it to stamp buttons down the front of the snowman too. Then get a new q-tip, dip it in white paint and stamp snowflakes around the snowman.
- Lastly, dip a q-tip into yellow paint and stamp a flower onto the hat to complete the easy paper snowman craft. Allow all paint to dry, then it’s good to go!
What can I use in place of a cupcake liner?
If you do not have any white cupcake liners, there are a few different backup options. You can cut out two white circles from white cardstock or paper, just be sure that you trace them first so that they’re even.
You can also use a coffee filter and trim it down to make a smaller circle. Alternatively, you can use a paint brush to simply paint two white circles onto the cardstock you’ve chosen as your backdrop.
What other supplies can I use to decorate my easy snowman craft?
Want to add a little something extra to your snowman? There’s tons of cool things to use! Add stickers to the background or onto the snowman himself to make things extra exciting. You can also use things like glitter, rhinestones, pom poms and pipe cleaners to give your easy paper snowman craft extra personality.
Pro Tips for the Best Easy Snowman Craft for Kids
- If you are making this in a large group, then make sure to label each snowman so they don’t get mixed up. You can write the child’s name on the front or back of each paper!
- Wanna save a bit of time? Go ahead and glue down the cupcake liners and cut out the decoration pieces. Then, kids will only need to glue down decorations and paint their cupcake liner snowman.
- Don’t let too much paint glob up for each dot you do. Just dip a q-tip in the paint and allow the excess to drip off before using it to decorate the craft.

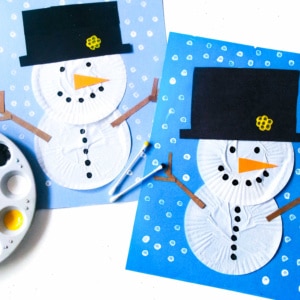
This cute little snowman friend is a favorite craft of ours now! I just love that it’s simple and uses materials that we already have. I hope you enjoy it too!
More Winter Crafts You’ll Love!
- These Winter Scripture Coloring Pages are so pretty and a great way to keep littles busy when needed!
- Make this Snowglobe Craft as a fun and engaging arts and craft time.
- My Paper Loop Snowman Craft is super easy to make and uses very simple and basic materials.
- This Beaded Snowflake Craft can be used to make Christmas ornaments or simply to make a fun winter craft.
- Tape Resist Snowflakes Craft will help kids create beautiful snowflakes with blue paint and painter’s tape.
Snowman Craft
Ingredients
- White cupcake liners
- Paint black, yellow
- Q-tips
- Cardstock – black orange, brown, background color of choice
- Scissors
- Glue stick
Instructions
- Begin by flattening two white cupcake liners.
- Glue the cupcake liners to a sheet of cardstock. We chose blue for an obvious choice. Make sure the cupcake liners are overlapping in the center to form a snowman.
- Now, cut a strip of black cardstock and simple rectangle for the hat.
- Glue the hat in place.
- Cut a simple triangle from orange cardstock for the nose. Also, cut some thin strips out of brown cardstock to make stick arms.
- Glue the nose in place. Glue the stick arms in place, too, by gluing a longer strip and then two smaller branches coming off the longer strip.
- Then, gather your paints and qtips. You will need a qtip for every color used.
- Start with the black paint. Dip a qtip in the paint then use it to stamp eyes.
- Continue by stamping a mouth and buttons, too.
- Next, use white paint and a qtip to stamp snowflakes falling around the snowman.
- Finally, we used another qtip and yellow paint to finish off our snowman with a qtip stamped flower. Make one stamp in the center, then stamp 6 circles around it to form the flower and complete this fun winter art project.