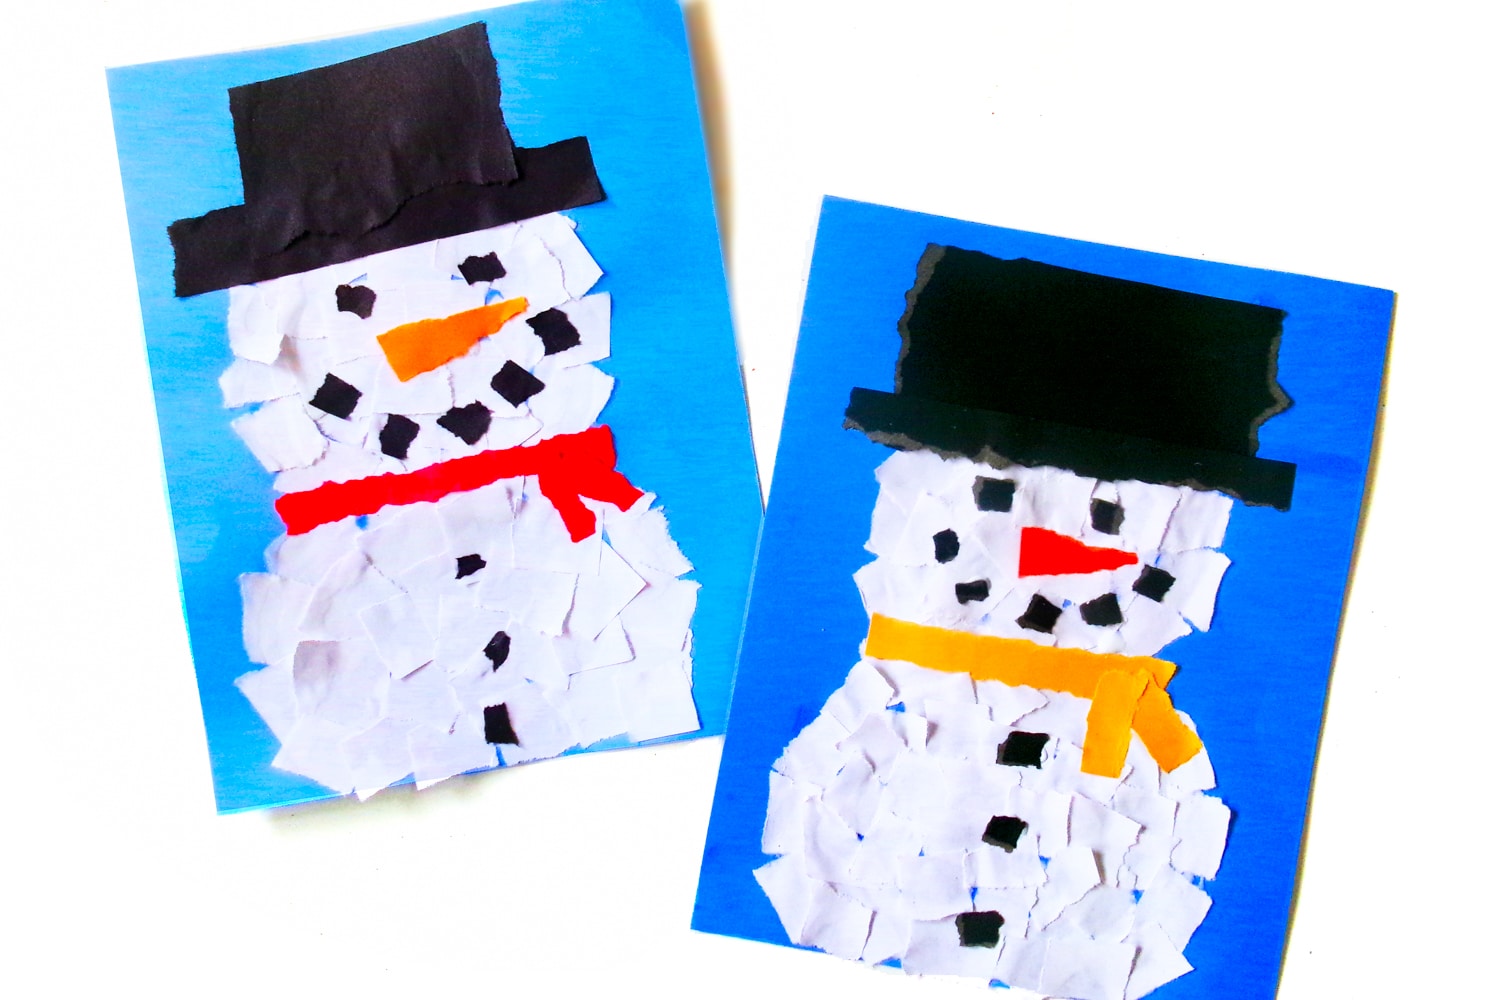
Torn Paper Snowman Craft
Cute, easy Torn Paper Snowman Craft is the perfect winter craft for kids! It’s so easy to make with minimal supplies and prep time. Keep your kids busy on those cold winter days with this easy snowman paper craft.

Looking for stress free winter crafts on a budget? Then check out this super fun torn paper snowman. This super simple winter craft is incredibly affordable and really easy to make. Plus, it’s easy to customize and change so kids can use their imagination and creativity and add their own personality to their snowman! What other fun Christmas shapes can you think of to make?
Winter paper crafts like this snowman and snowflake suncatchers are always a hit in our house. Let’s face it, there are some days when it’s just too cold to play outside. Then I’m hit with the realization that the kids will need to be entertained indoors and I don’t want them to just watch movies all day. So instead, I pull out the craft supplies and we make memories and fun creations together, like a shredded paper snowman. Those impromptu craft days are some of the best times! This is a great craft for the classroom, too.
Why You’ll Love This Craft
- Tearing paper and gluing are both fabulous fine motor skills practice. You can work on those essential skills while making the cutest little snowman craft. Plus no scissors required!
- This easy paper snowman is super affordable. Since all you need is some glue and a couple different types of paper, you can keep these supplies on hand and make this a group craft on a budget.
- You can complete this super easy craft in less than half an hour. It won’t take long, which can be beneficial for littles who may not have the longest attention span.
Supplies Needed
- Cardstock – Choose your favorite color for the background of your snowman craft, or simply go with blue! Any color will do, just make sure that it is cardstock so that it holds up to all of the glued paper pieces.
- Paper – You will need various different colors of paper for this craft. Of course, you need white for the snowman. But then you will also need black for the hat, mouth, eyes, and buttons. Grab any color to create a scarf and an orange piece of paper to make the carrot nose.
- Glue – I used liquid school glue for this craft, but a glue stick will also work.
How To Make A Torn Paper Snowman
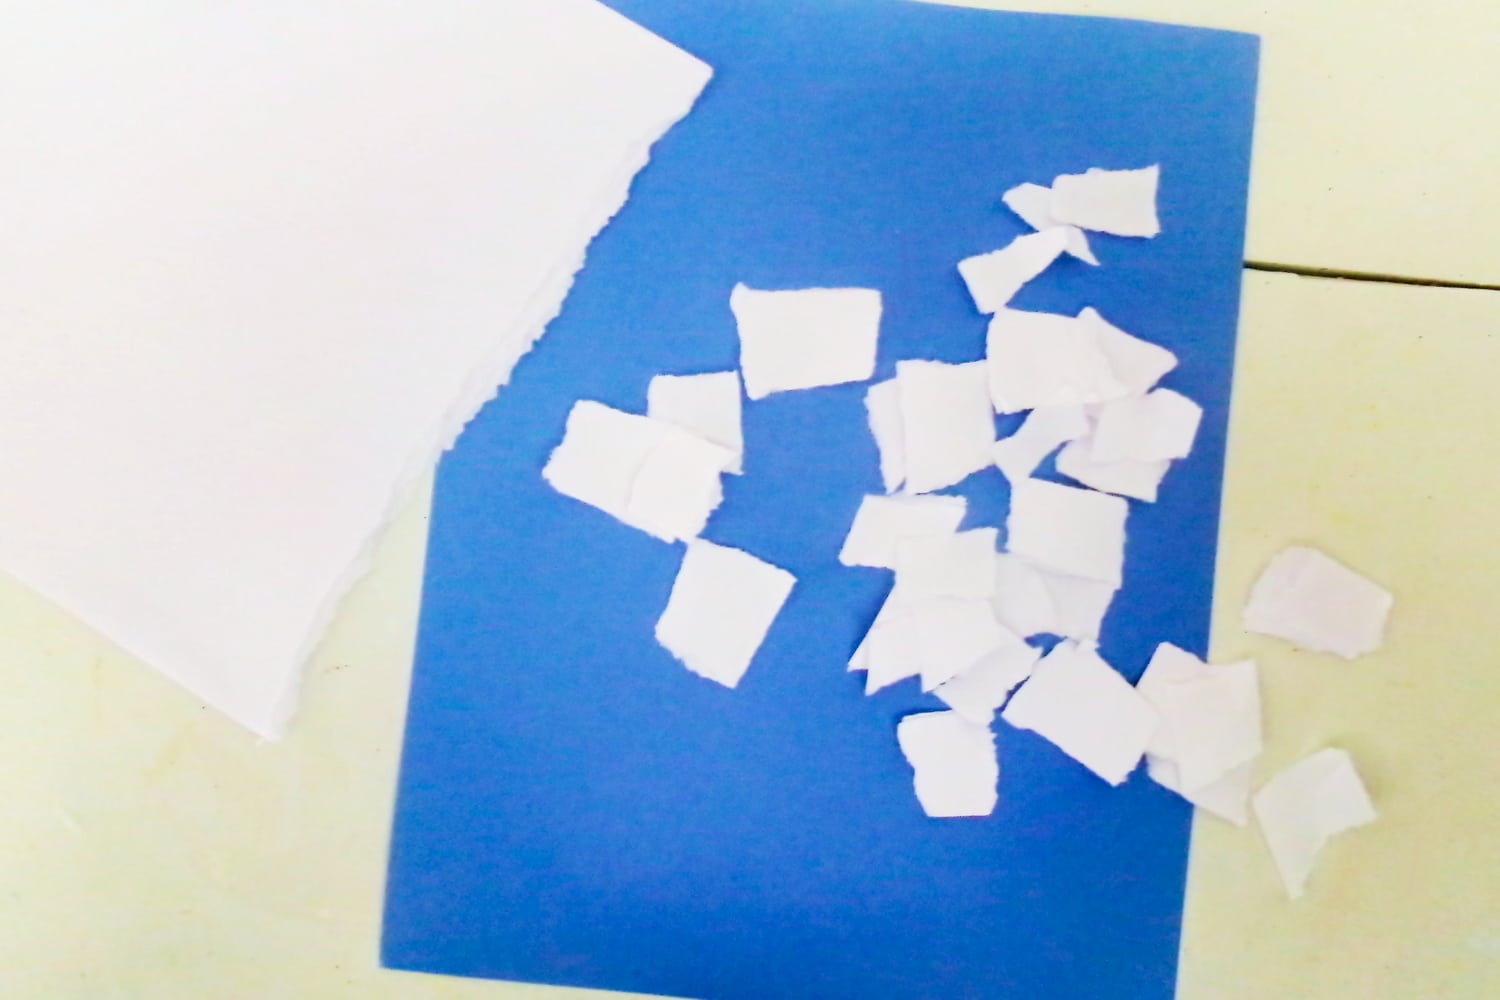
Choose a piece of cardstock in the color that you want for the background. It is important that this paper be thick so that it can hold up to the glue.
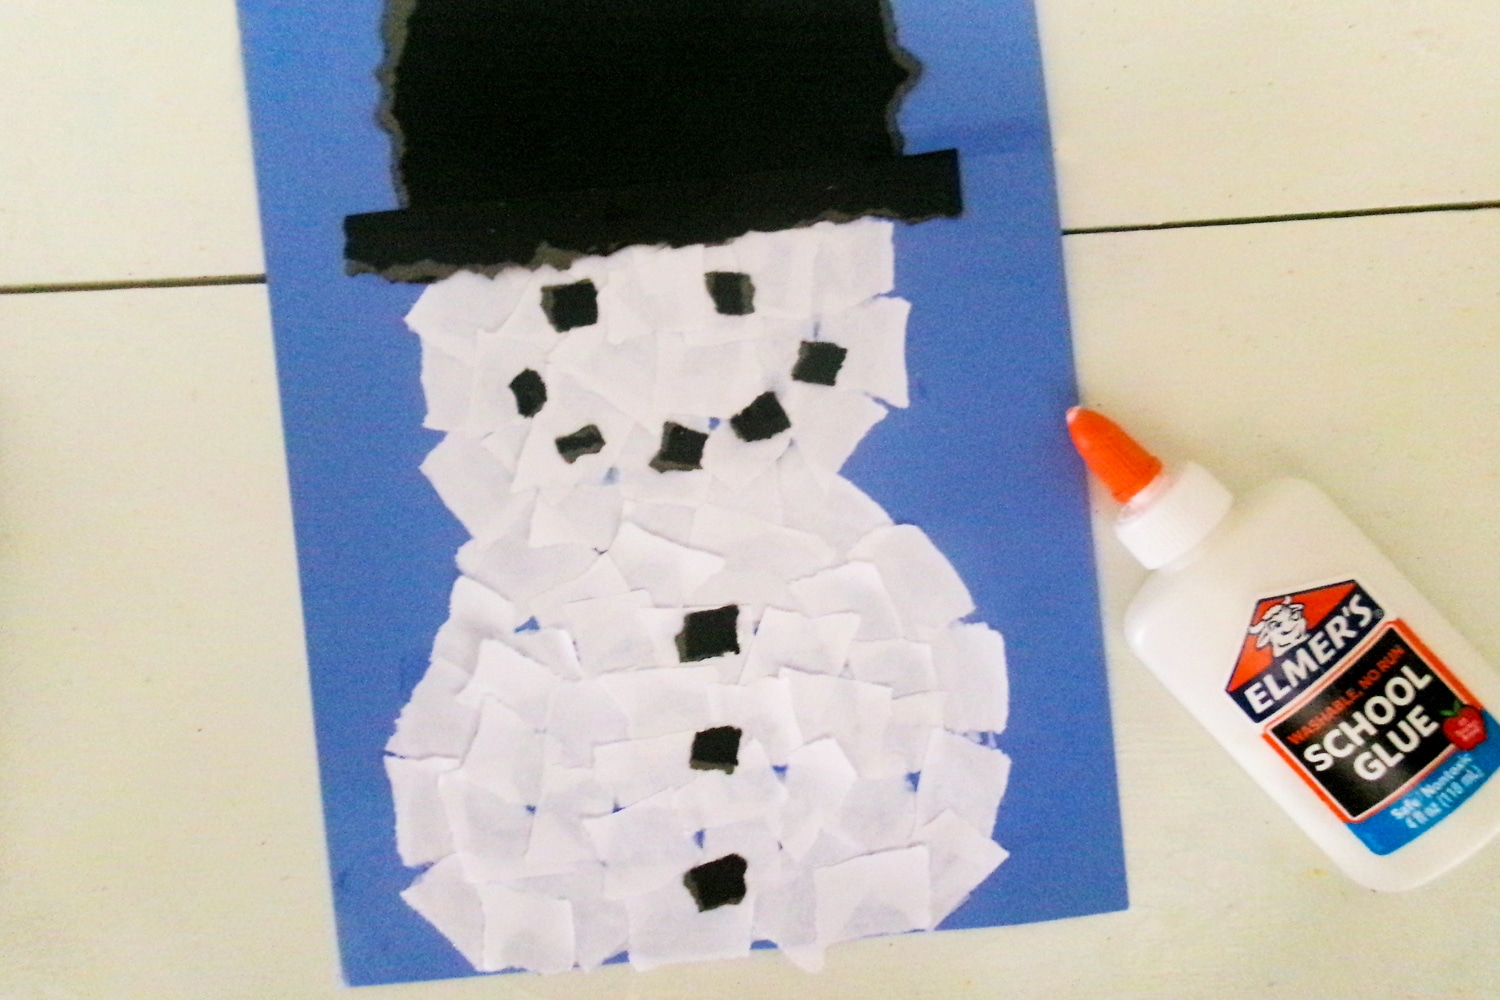
Start ripping white paper into a bunch of pieces in a rough square shape. Then spread glue onto the card stock in a snowman shape.
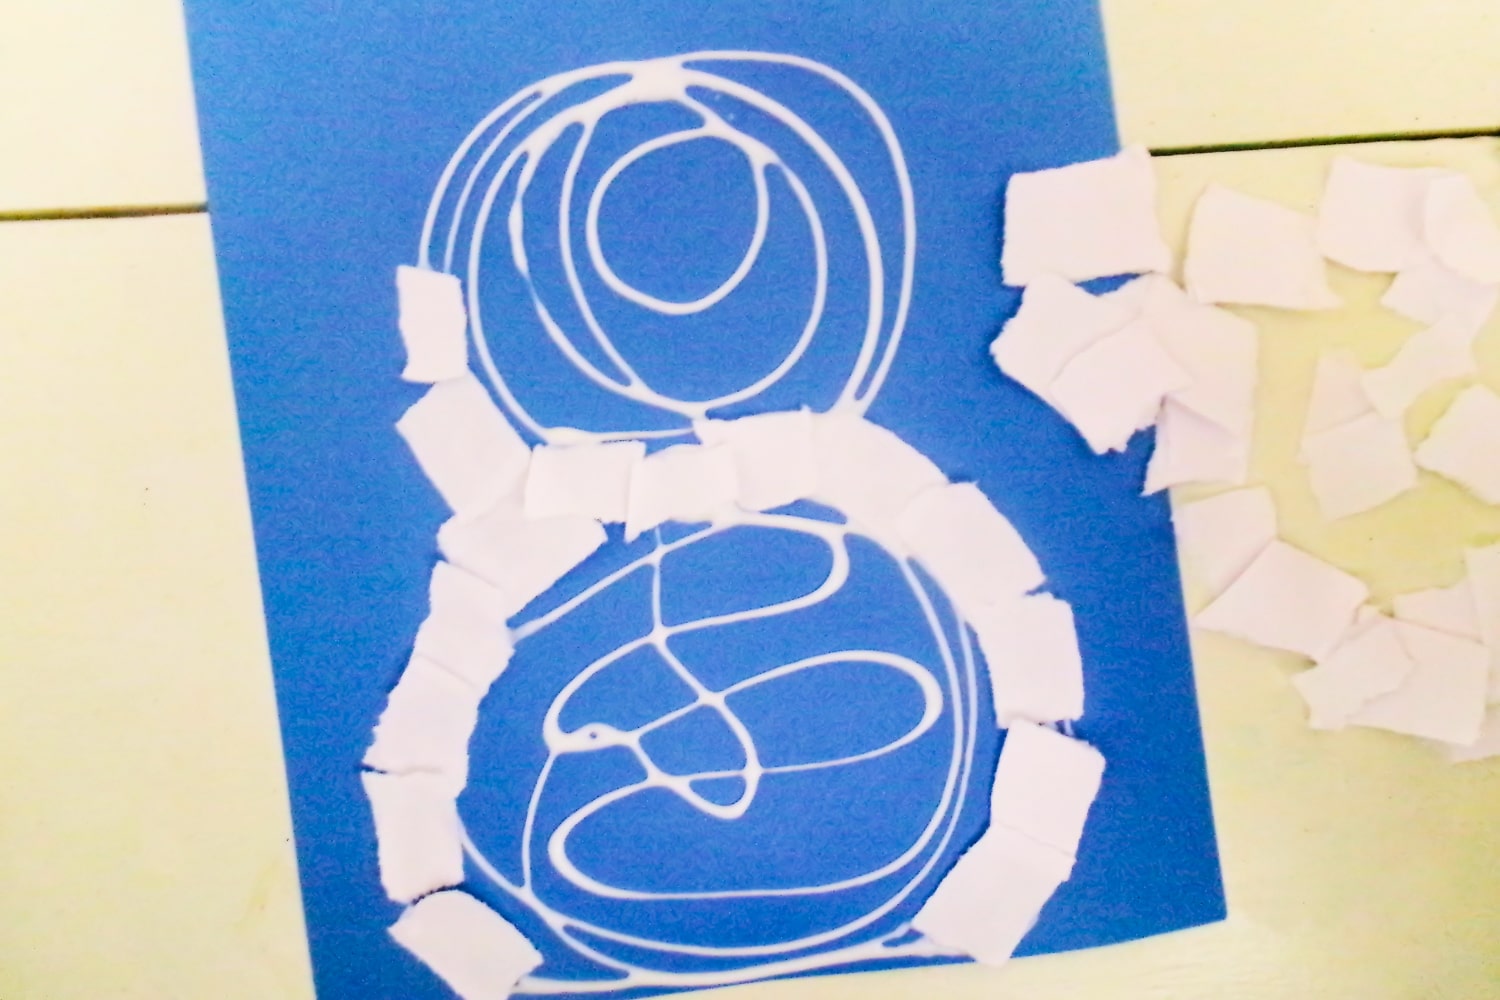
Begin sticking the pieces of ripped paper onto the glue to create a snowman. It may be easier to start with the edges as an “outline” and then fill in as you go.
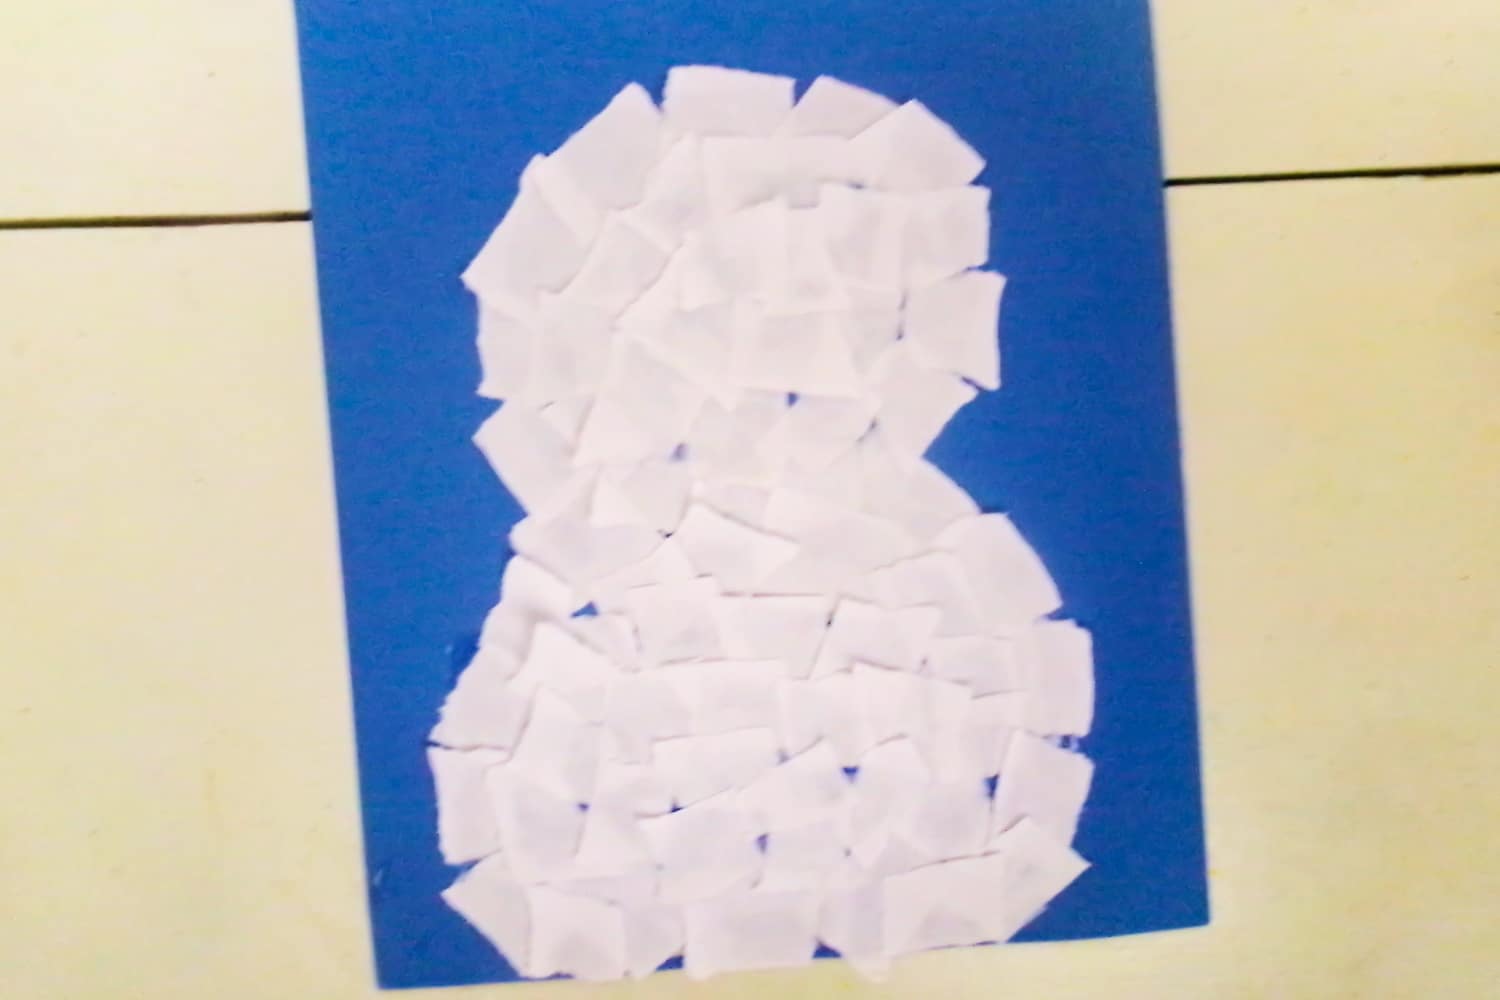
Fill in the whole snowman with white paper and then begin making the decorations.
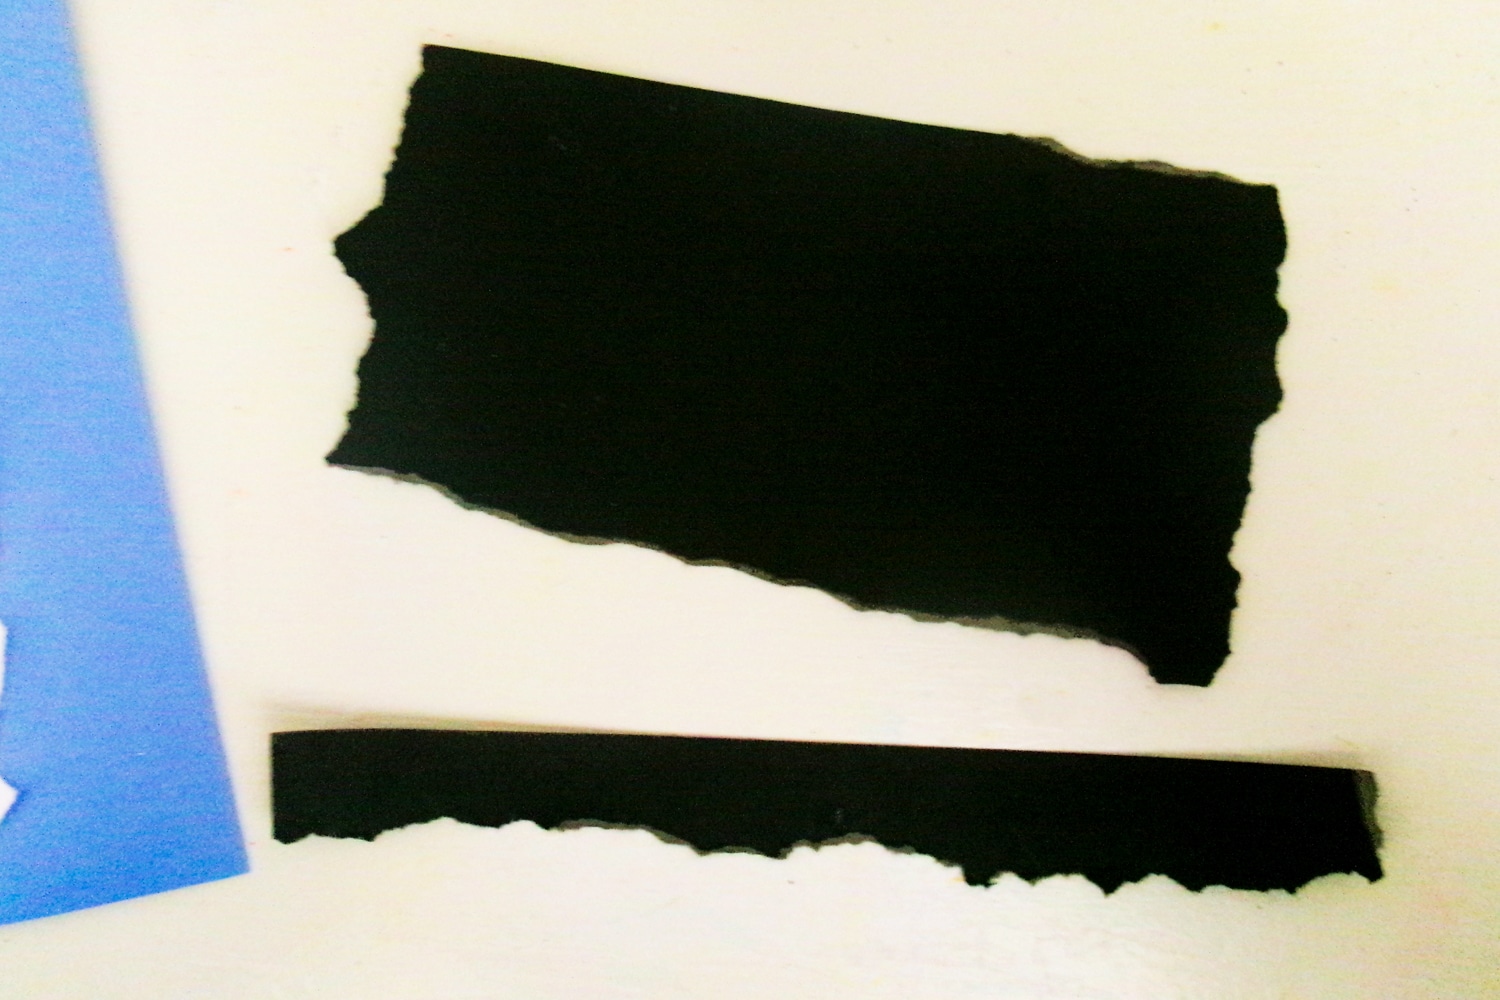
Rip a strip and a rectangle out of black paper. Glue both of those pieces in place as the snowman’s hat.
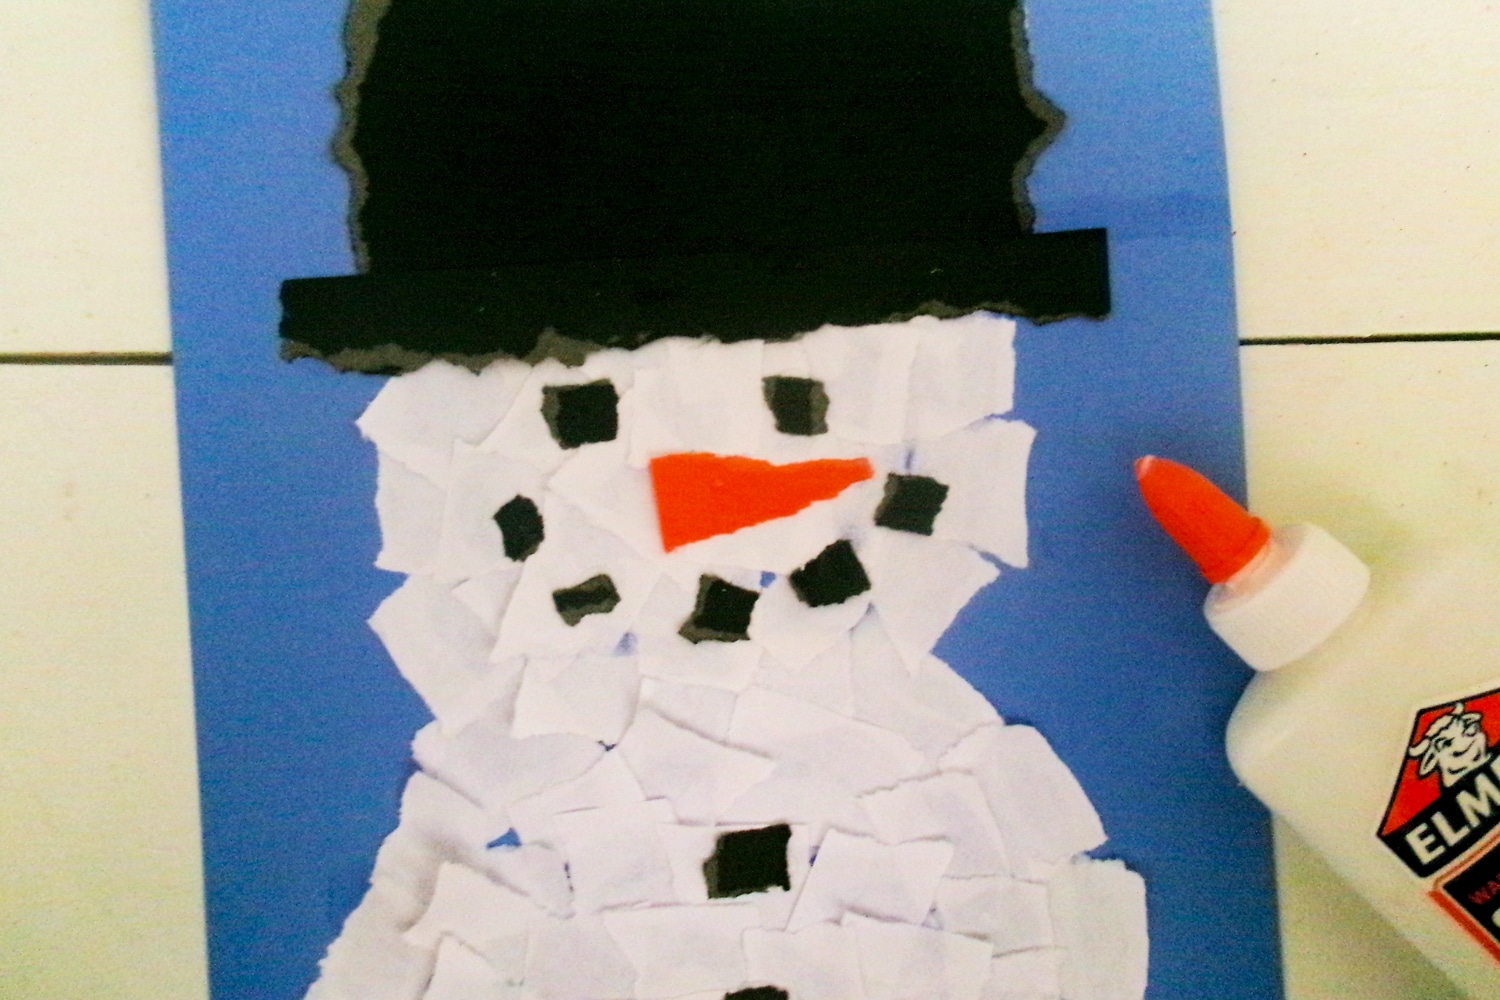
Rip about 8 pieces of black paper and glue them down as a dotted mouth, eyes, and buttons.
Rip out an orange triangle and glue it on the face of the snowman as a carrot nose.
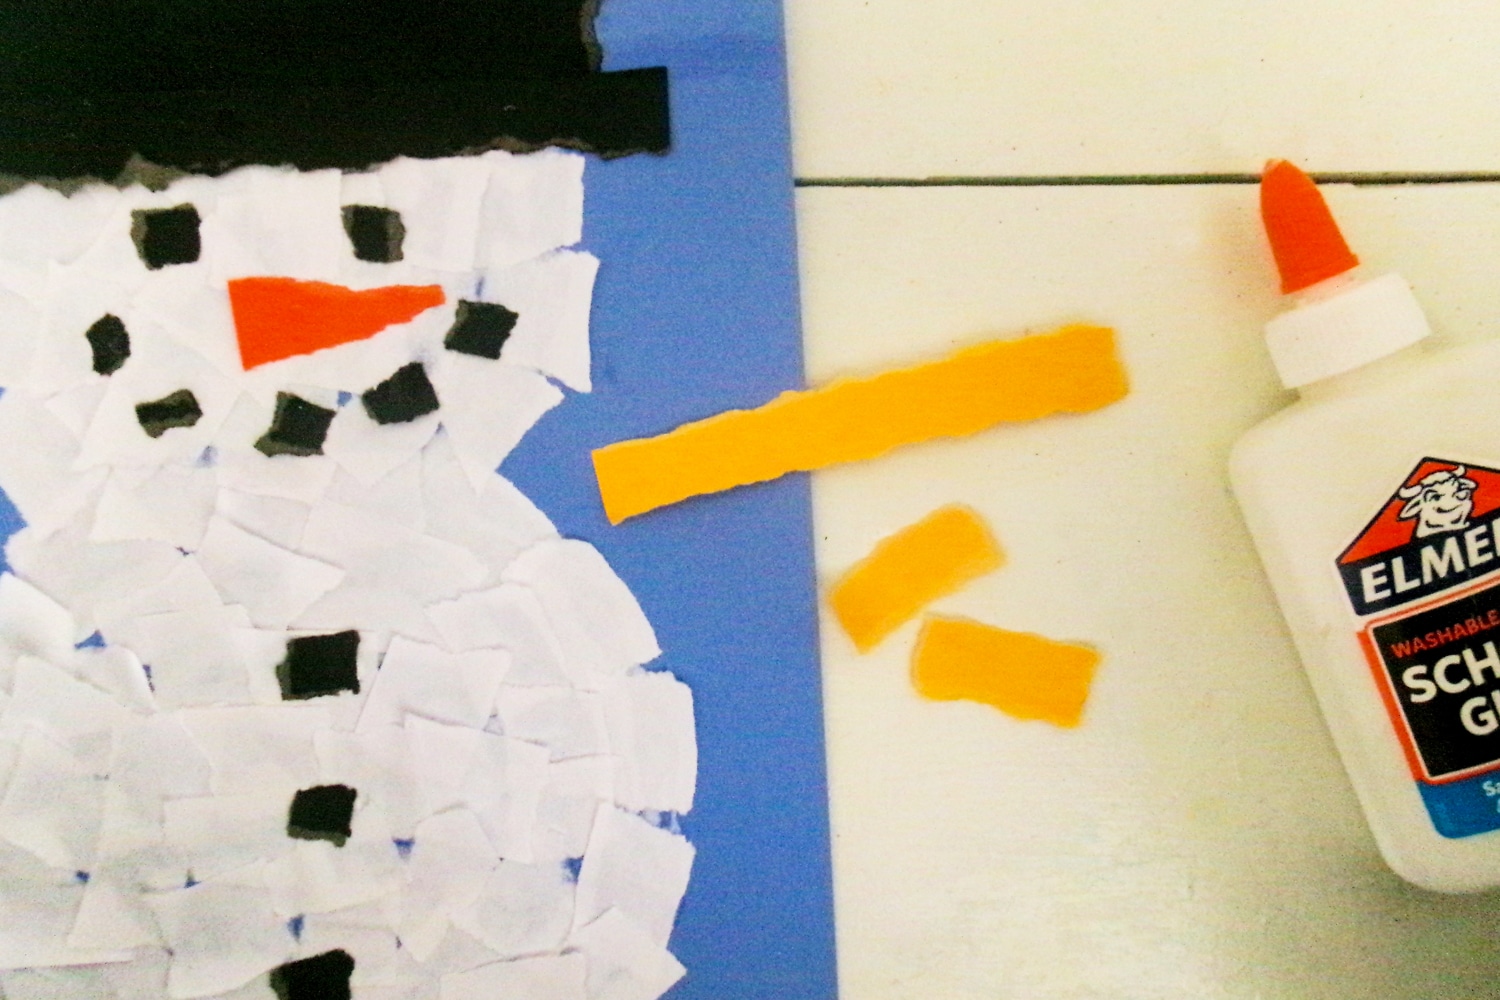
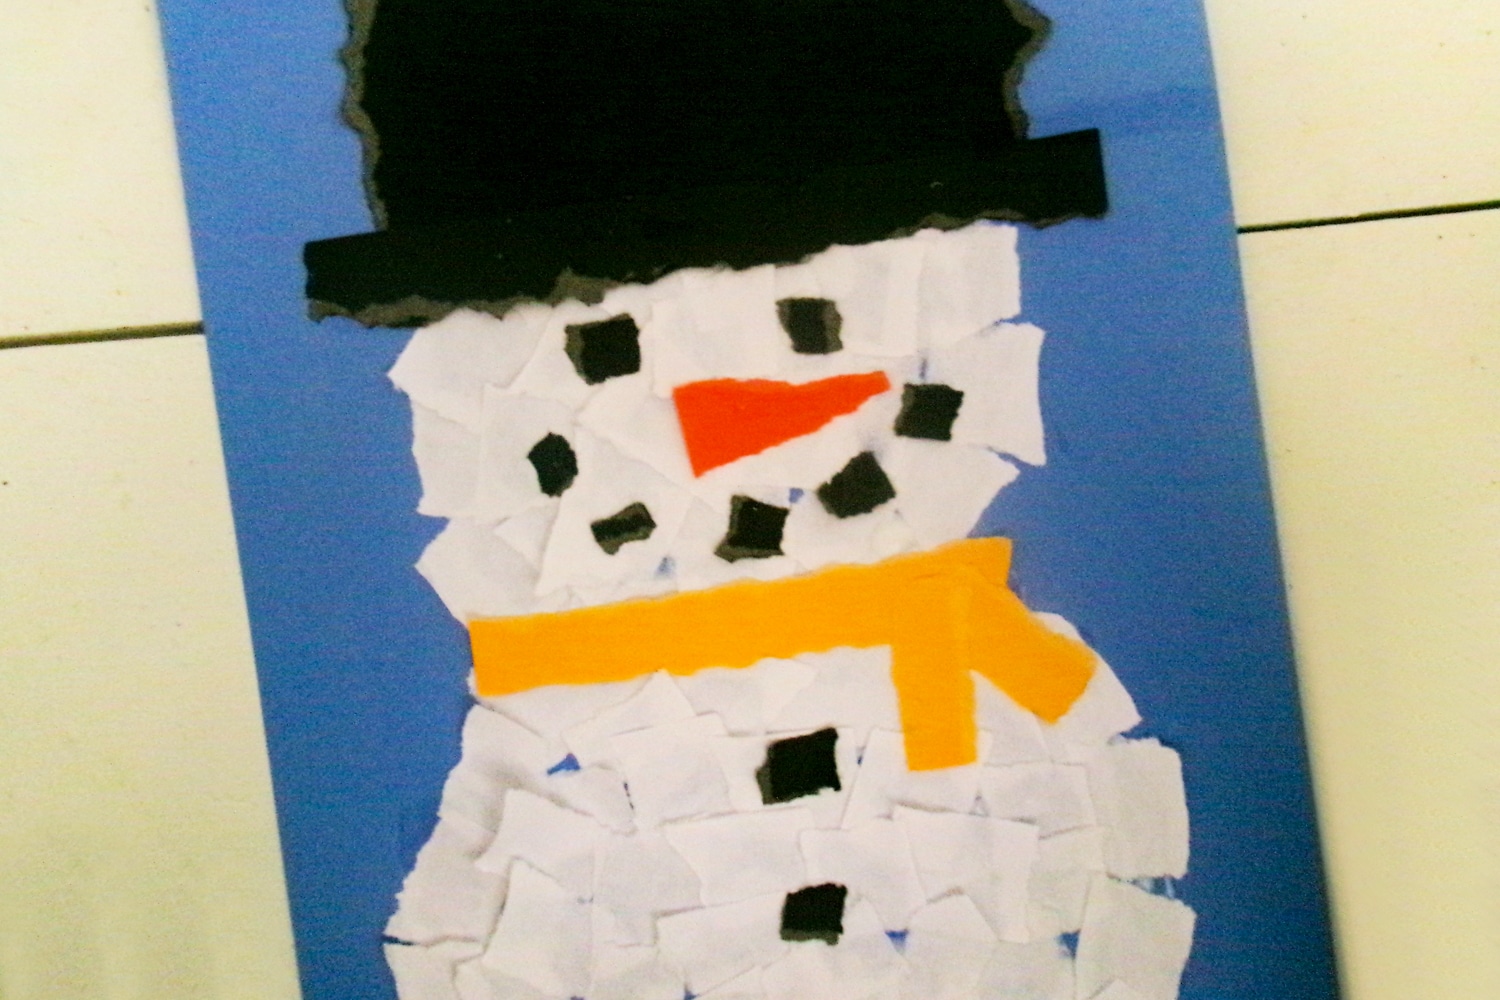
Rip two strips of any other color of paper and glue them in place as a scarf.
Allow time for all of the glue to dry, and your ripped paper snowman is good to go.
Pro Tips
- Make sure you use enough glue to really secure the paper onto the cardstock. It is also important to pay attention that you are placing the paper onto glue, and not onto another piece of paper because the torn paper will just fall off.
- For kids who need a more defined shape to follow, use a pencil or a pen to create an outline of the snowman circles. Then they can just fill in the circles with paper and easily cover up the drawn lines.
- You can decorate the background paper with snowflake stickers, cotton balls that look like snow, or even draw snowflakes. Feel free to add some fun to the background!
- Take a look in your craft cupboard for anything else you might be able to stick onto the snowman like googly eyes, pompoms or buttons.
- A great way to display your masterpiece, is by sticking a magnet to the back of the finished product. Then it can easily go right on the fridge!
This easy snowman craft is so much fun for all ages. I know your family is going to love putting these adorable snowmen together.
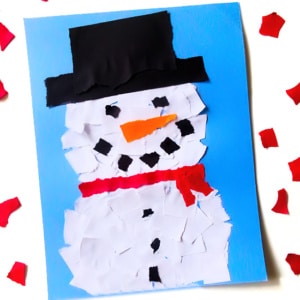
Ripped Paper Snowman Craft
Instructions
- Choose your background color of cardstock. You want this paper to be thicker, so that it holds up to the glue better.
- Rip white paper into a bunch of pieces of different shapes and sizes.
- Spread glue in a snowman shape on cardstock.
- Begin placing the ripped pieces of white paper onto the glue to make a snowman. We like to start with the edges first and fill them in.
- Tear a strip of black paper and a rectangle of black paper.
- Glue both pieces of ripped black paper in place for the snowman's hat.
- Rip about small pieces of black paper. Glue 5 of these in place for the mouth. The rest are buttons going down the front of the snowman.
- Rip a triangle from orange paper and glue in place for the carrot nose.
- Rip a strip from the paper of your choice and two smaller strips.
- Glue these in place for the snowman’s scarf and that completes this super cute, easy, and fun winter toddler craft.
More Great Winter Crafts
- Make this Snowglobe Craft as a fun indoor winter activity. It turns out so cute to hang on your fridge, or maybe even make them as place cards for your big holiday meal so everyone can take one home.
- If your kiddos love polar bears, they’ll have a blast creating this adorable Paper Polar Bear Craft. You probably have everything you need to get started, so what are you waiting for?
- One can never have too many snowman crafts, and this Paper Loop Snowman Craft is just perfect. It is so quick and easy, perfect to fill time before a meal.
- This Beaded Snowflake Craft is another super activity for practicing fine motor skills. They look amazing in a window with the sun shining on them, too!