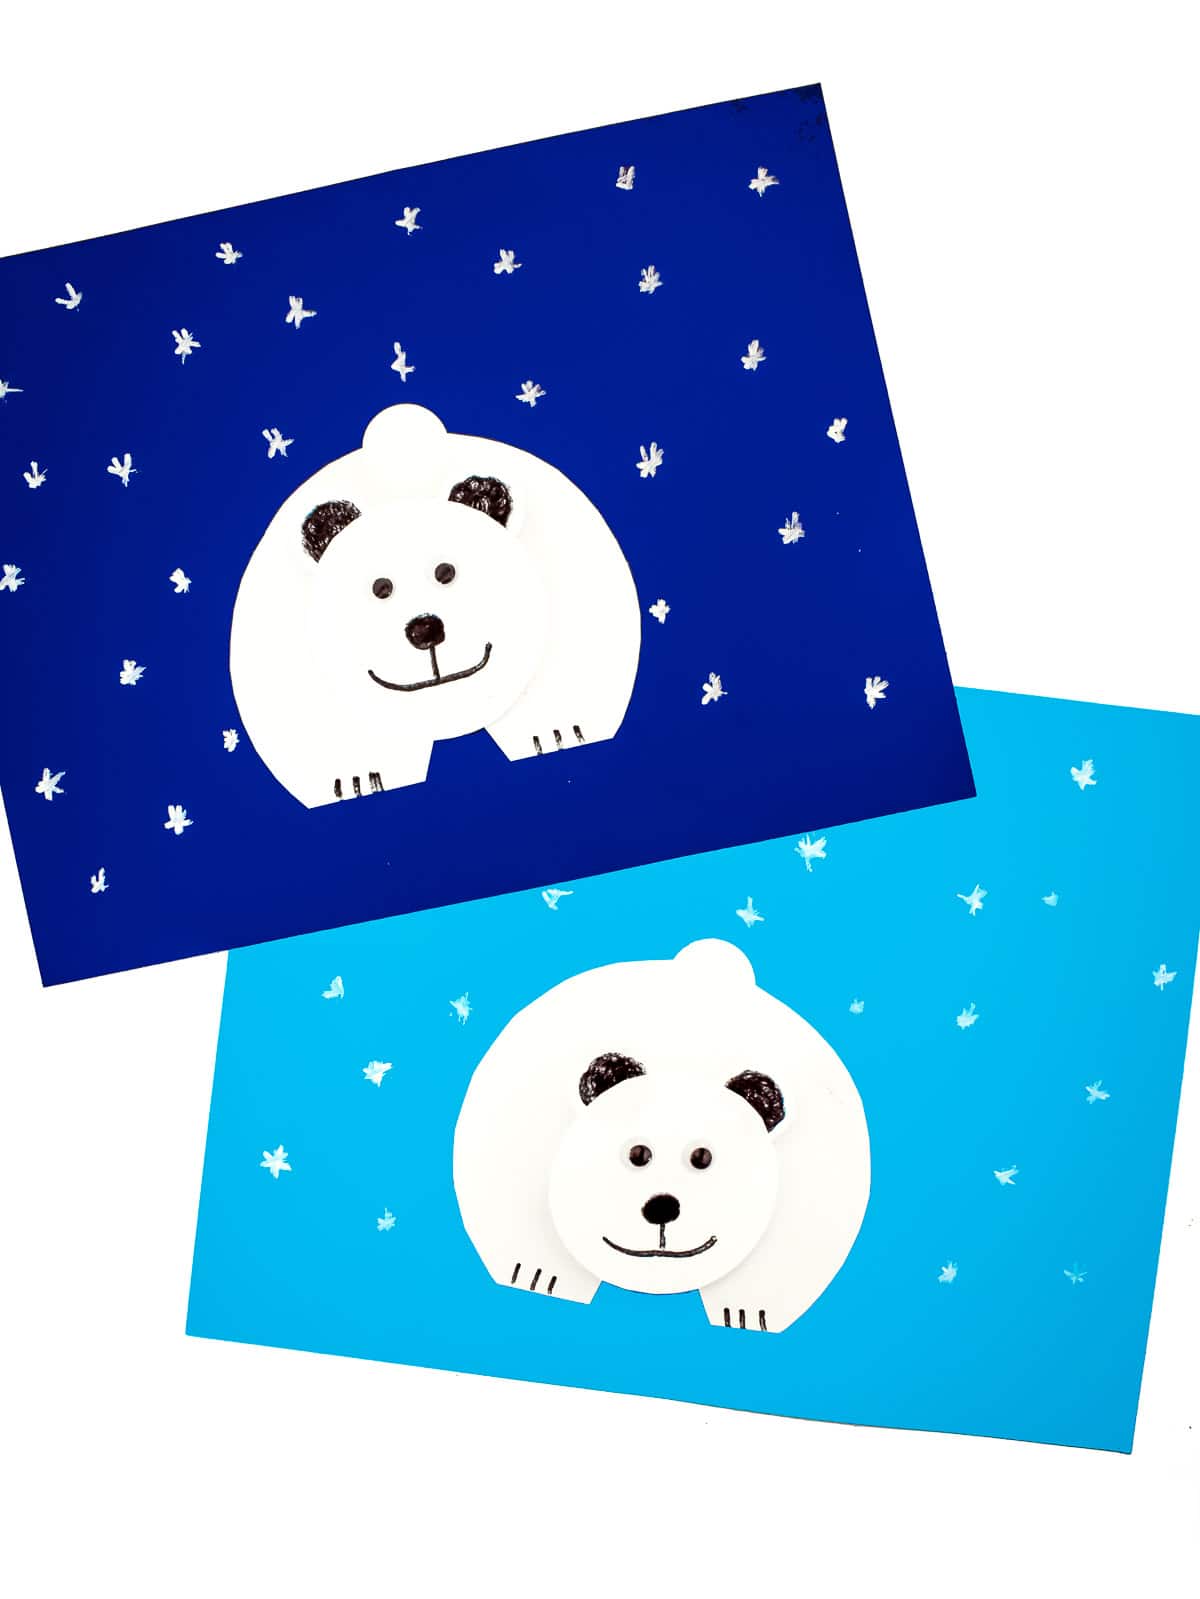
Paper Polar Bear Craft
Make an adorable Paper Polar Bear Craft with simple supplies—print the template, cut the shapes, and glue them to create a cute winter bear with ears, paws, and a button nose. Kid-friendly, low-prep, and perfect for preschool winter units, classroom centers, or snowy day crafts at home.
Cooped up inside? Kids going a little bit crazy? Or maybe you just need to pass a little bit of time before your family heads out for the day. No matter what, you will love this quick and easy Paper Polar Bear Craft to keep them busy through the winter months. It’s the perfect craft for kids preschool through elementary. There is lots of room for creativity with cutting and glueing so the kids can practice their fine motor skills.
Grab your supplies and get to work making this adorable Paper Polar Bear Craft with my free polar bear printable.
Why You’ll Love This Craft
- To make this adorable paper polar bear, you only need a few supplies and I’m sure you already have them all in your craft cupboard.
- This cute craft takes less than 30 minutes, so it’s great if you just need to pass a little bit of time and don’t want a big mess to clean up.
- We even made a free printable bear template making it super easy to create the shapes of the polar bear’s body.
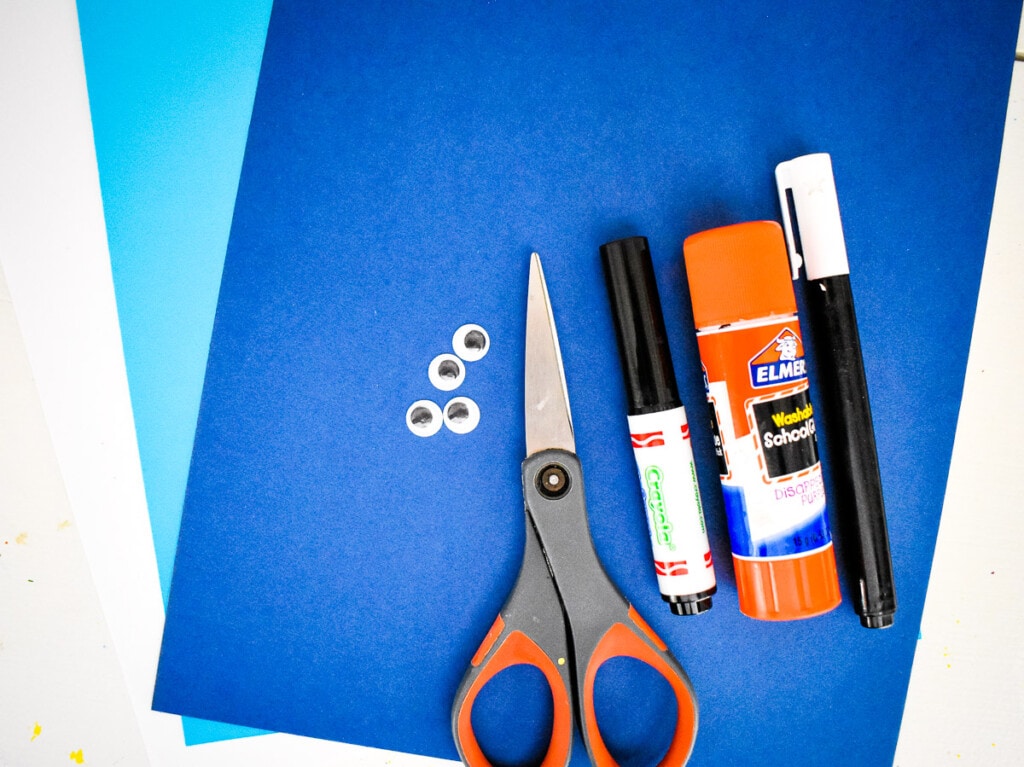
Supplies Needed For Paper Polar Bear Craft
- Polar Bear Template – This template covers all of the body parts you need to put together this adorable polar bear. You can totally free hand it if you want, too.
- Blue cardstock – Blue will make the white polar bear really stand out. Cardstock is best because it is nice and sturdy.
- White paper – Print the template out on white paper to make your polar bear.
- Black marker – Use a black marker or even crayon to draw on the ears, mouth and paws.
- White marker – Use a white marker or pencil crayon, or a Q-tip dipped in paint, whatever you have on hand, to draw little snowflakes.
- Googly eyes, small – These are the most fun to glue on so your polar bears eyes can move.
- Glue stick – A glue stick will give you the most mess-free experience doing this craft.
- Scissors – Make sure to supervise young children, or cut out the pieces for them ahead of time.
Print Polar Bear Template
The first step to making this easy Polar Bear craft is to print the template on white paper.

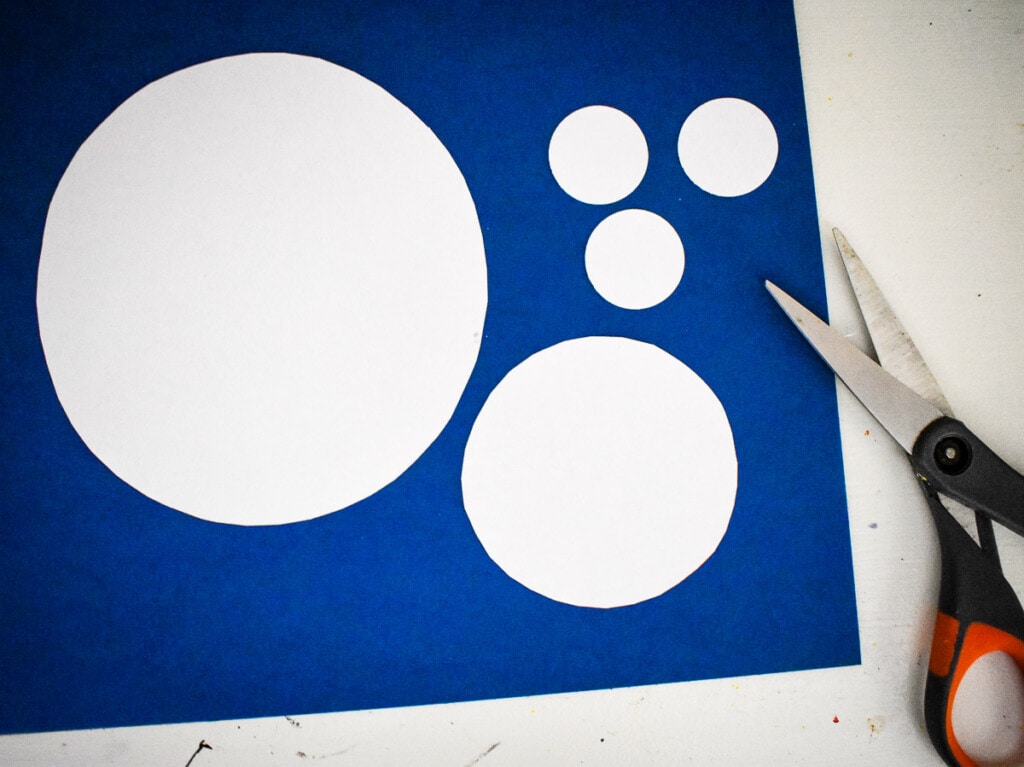
Cut Out Polar Bear
Cut out all the pieces.
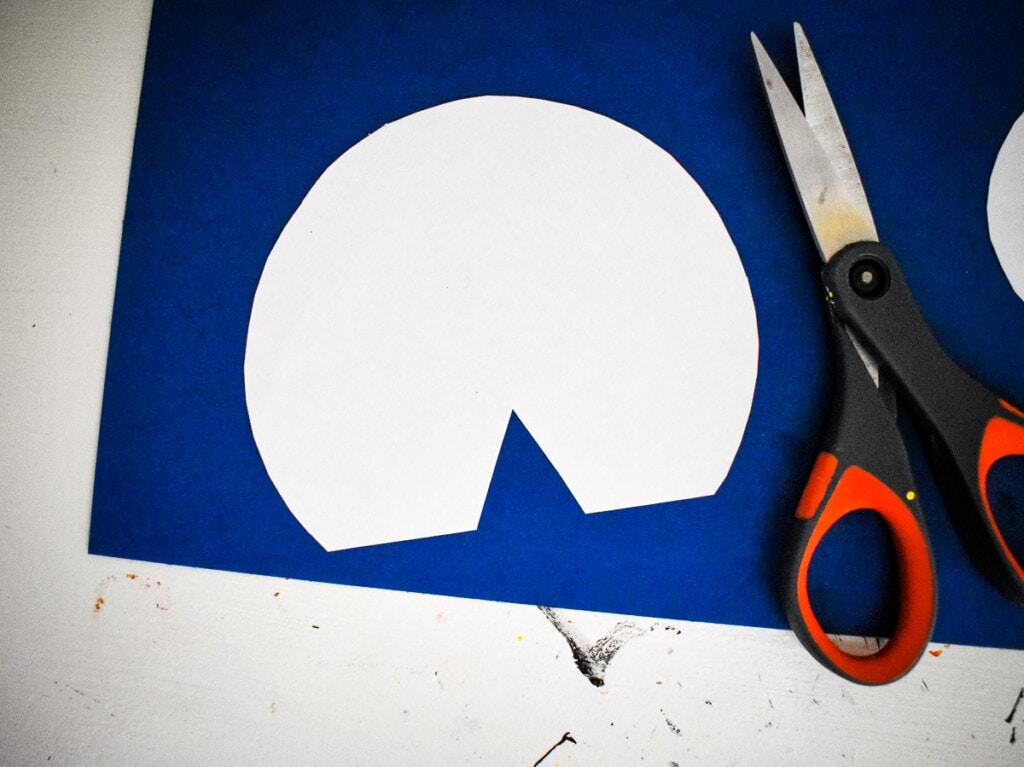
Cut the lines on the large circle to make the polar bear body.
Glue one of the small circles at the top of and behind the body piece.
Glue the body piece in the middle of a sheet of blue cardstock.
Draw two lines on the paws with a black marker.
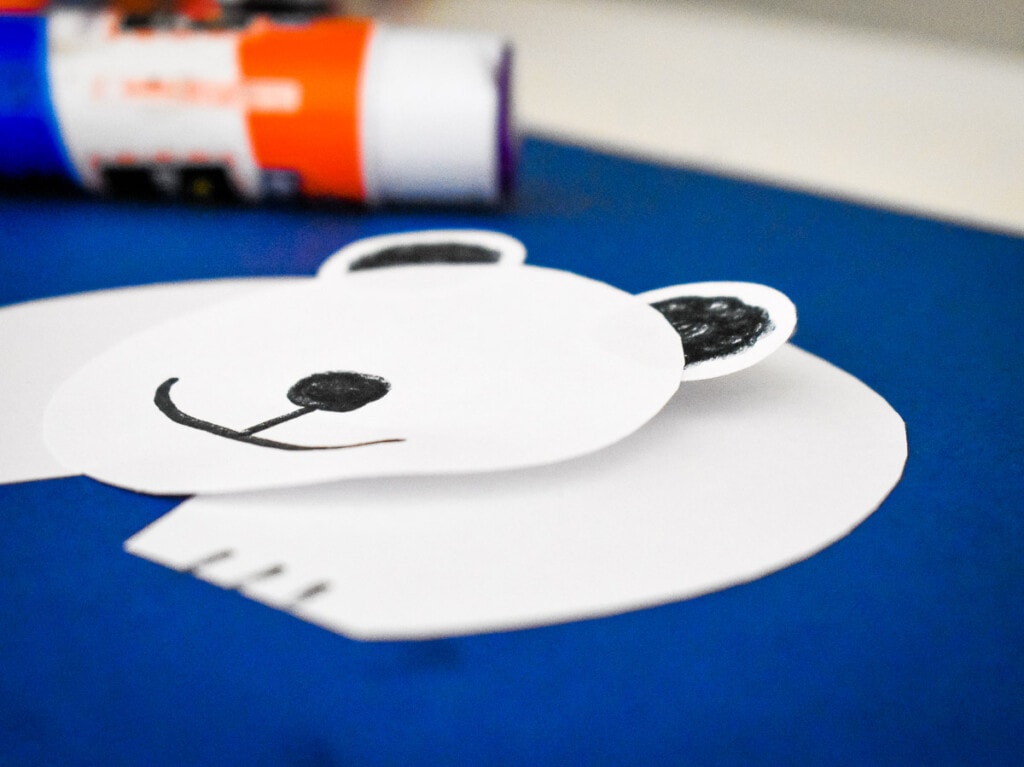
Use the black marker to color a circle inside two of the small circles for ears.
Glue the ears in place on the medium size circle.
Draw a simple mouth and nose with the black marker, as well.


Assemble Polar Bear
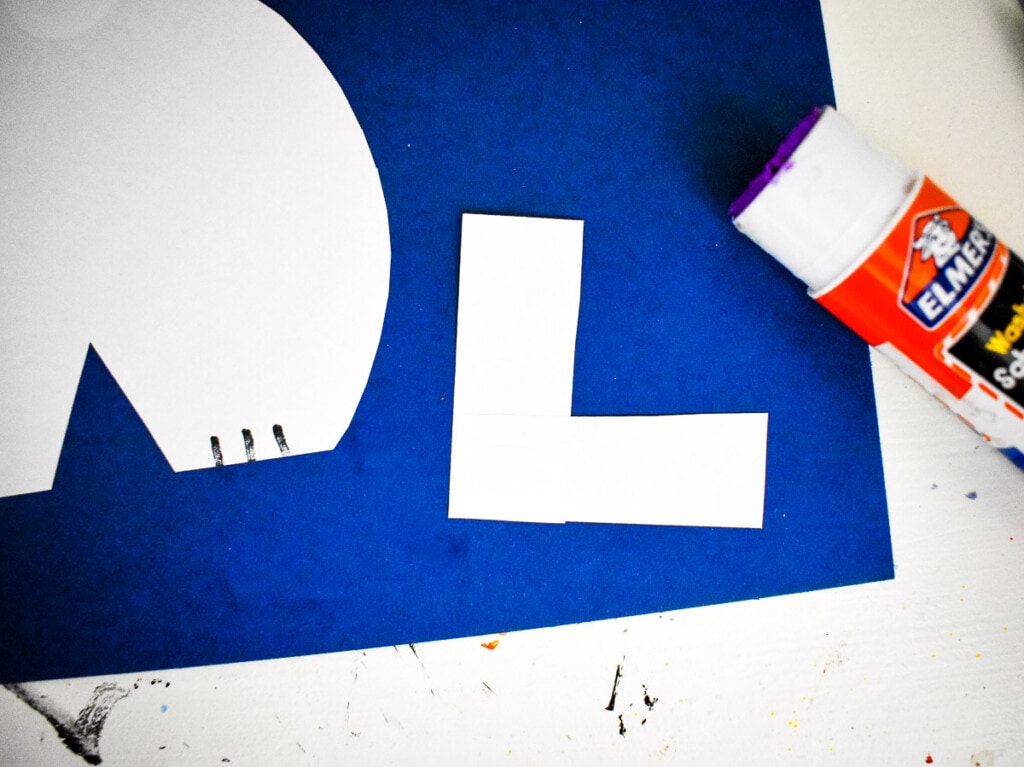
Cut the paper strip in half.
Glue the pieces of the paper strip together in an L shape.
Now, fold one side over the other. Glue the ends to secure.
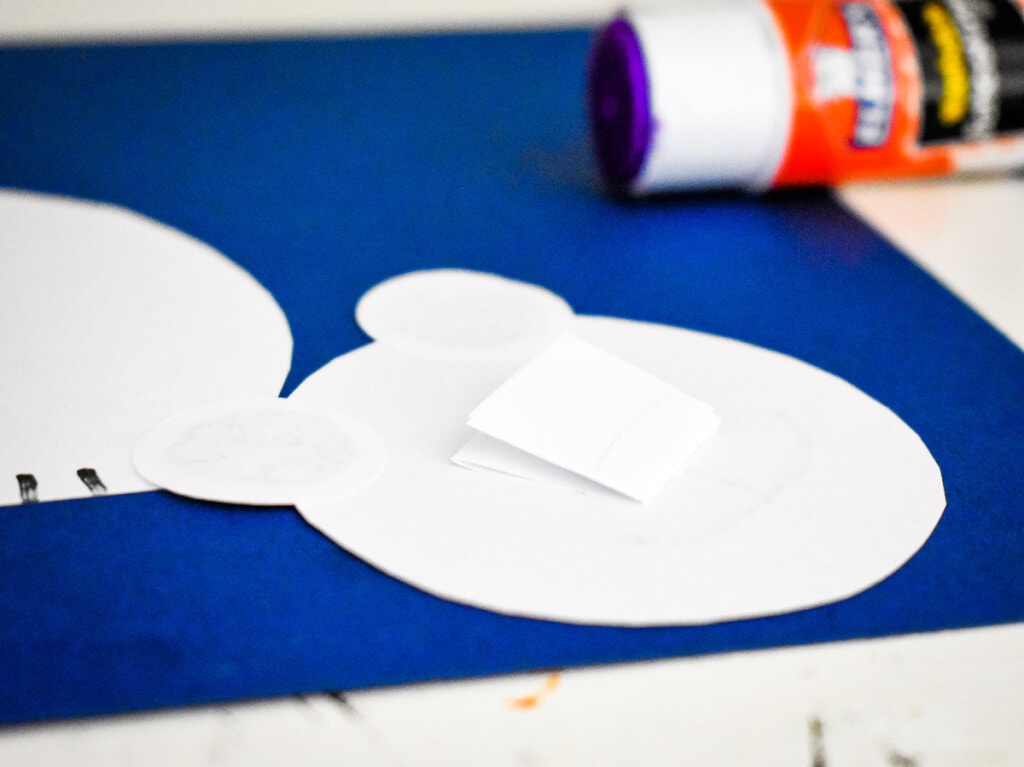
Glue this piece to the back center of the head circle.
And glue over the body to elevate the head just slightly. To elevate even more, use a longer strip.
Finally, use a white marker to draw simple dots or asterisks for snowflakes around the polar bear.


Pro Tips
- If you have felt snowflakes or snowflake stickers, feel free to use those instead of drawing them onto the blue cardstock.

That’s it! Now you have an adorable Polar Bear that you’ve made to display. It’s so fun with the pop out head. Plus, it’s easy to make with the template.
If you take a picture and share them on Instagram make sure to #kidsactivityzone or tag us @kidsactivityzoneblog so we can see them!

Paper Polar Bear Craft
Ingredients
Instructions
- Print the bear template on white paper and cut out all pieces.
- Cut the lines on the large circle to make the polar bear body.
- Glue one of the small circles at the top of and behind the body piece.
- Glue the body piece in the middle of a sheet of blue cardstock.
- Draw two lines on the paws with a black marker.
- Use the black marker to color a circle inside two of the small circles for ears.
- Glue the ears in place onto the medium size circle.
- Draw a simple mouth and nose with the black marker.
- Cut the paper strip in half.
- Glue the pieces of the paper strip together in an L shape.
- Now, fold one side over the other. Glue the ends to secure.
- Glue this piece to the back center of the head circle.
- Glue over the body to elevate the head just slightly. To elevate even more, use a longer strip.
- Use a white marker to draw simple dots or asterisks for snowflakes around the polar bear.
More Winter Craft Ideas
- Quick and easy Paper Loop Snowmen are a fun activity to do on a cold winter day. Rolling the strips of paper is great for your kids to practice their fine motor skills.
- Brighten up your windows with these easy Snowflake Suncatchers. This is a terrific, colorful craft for all ages.
- If you need a printable activity, these Winter Drawing Ideas are so much fun for the whole family or class. There are 6 blank prompts to choose from, print a bunch to keep on hand.
- If you love a keepsake craft that shows how your children have grown year after year, the Snowman Handprint Craft is perfect. Kids will decorate their 10 fingers as adorable snowmen!