Ice Cream Cone Craft
Looking for a fun and creative activity for your kids? This easy ice cream craft is perfect for kids of all ages. Made with a paper plate for the ice cream and includes a ice cream cone template to make the cone, it couldn’t be easier than this. Grab your supplies and make this summer craft today.
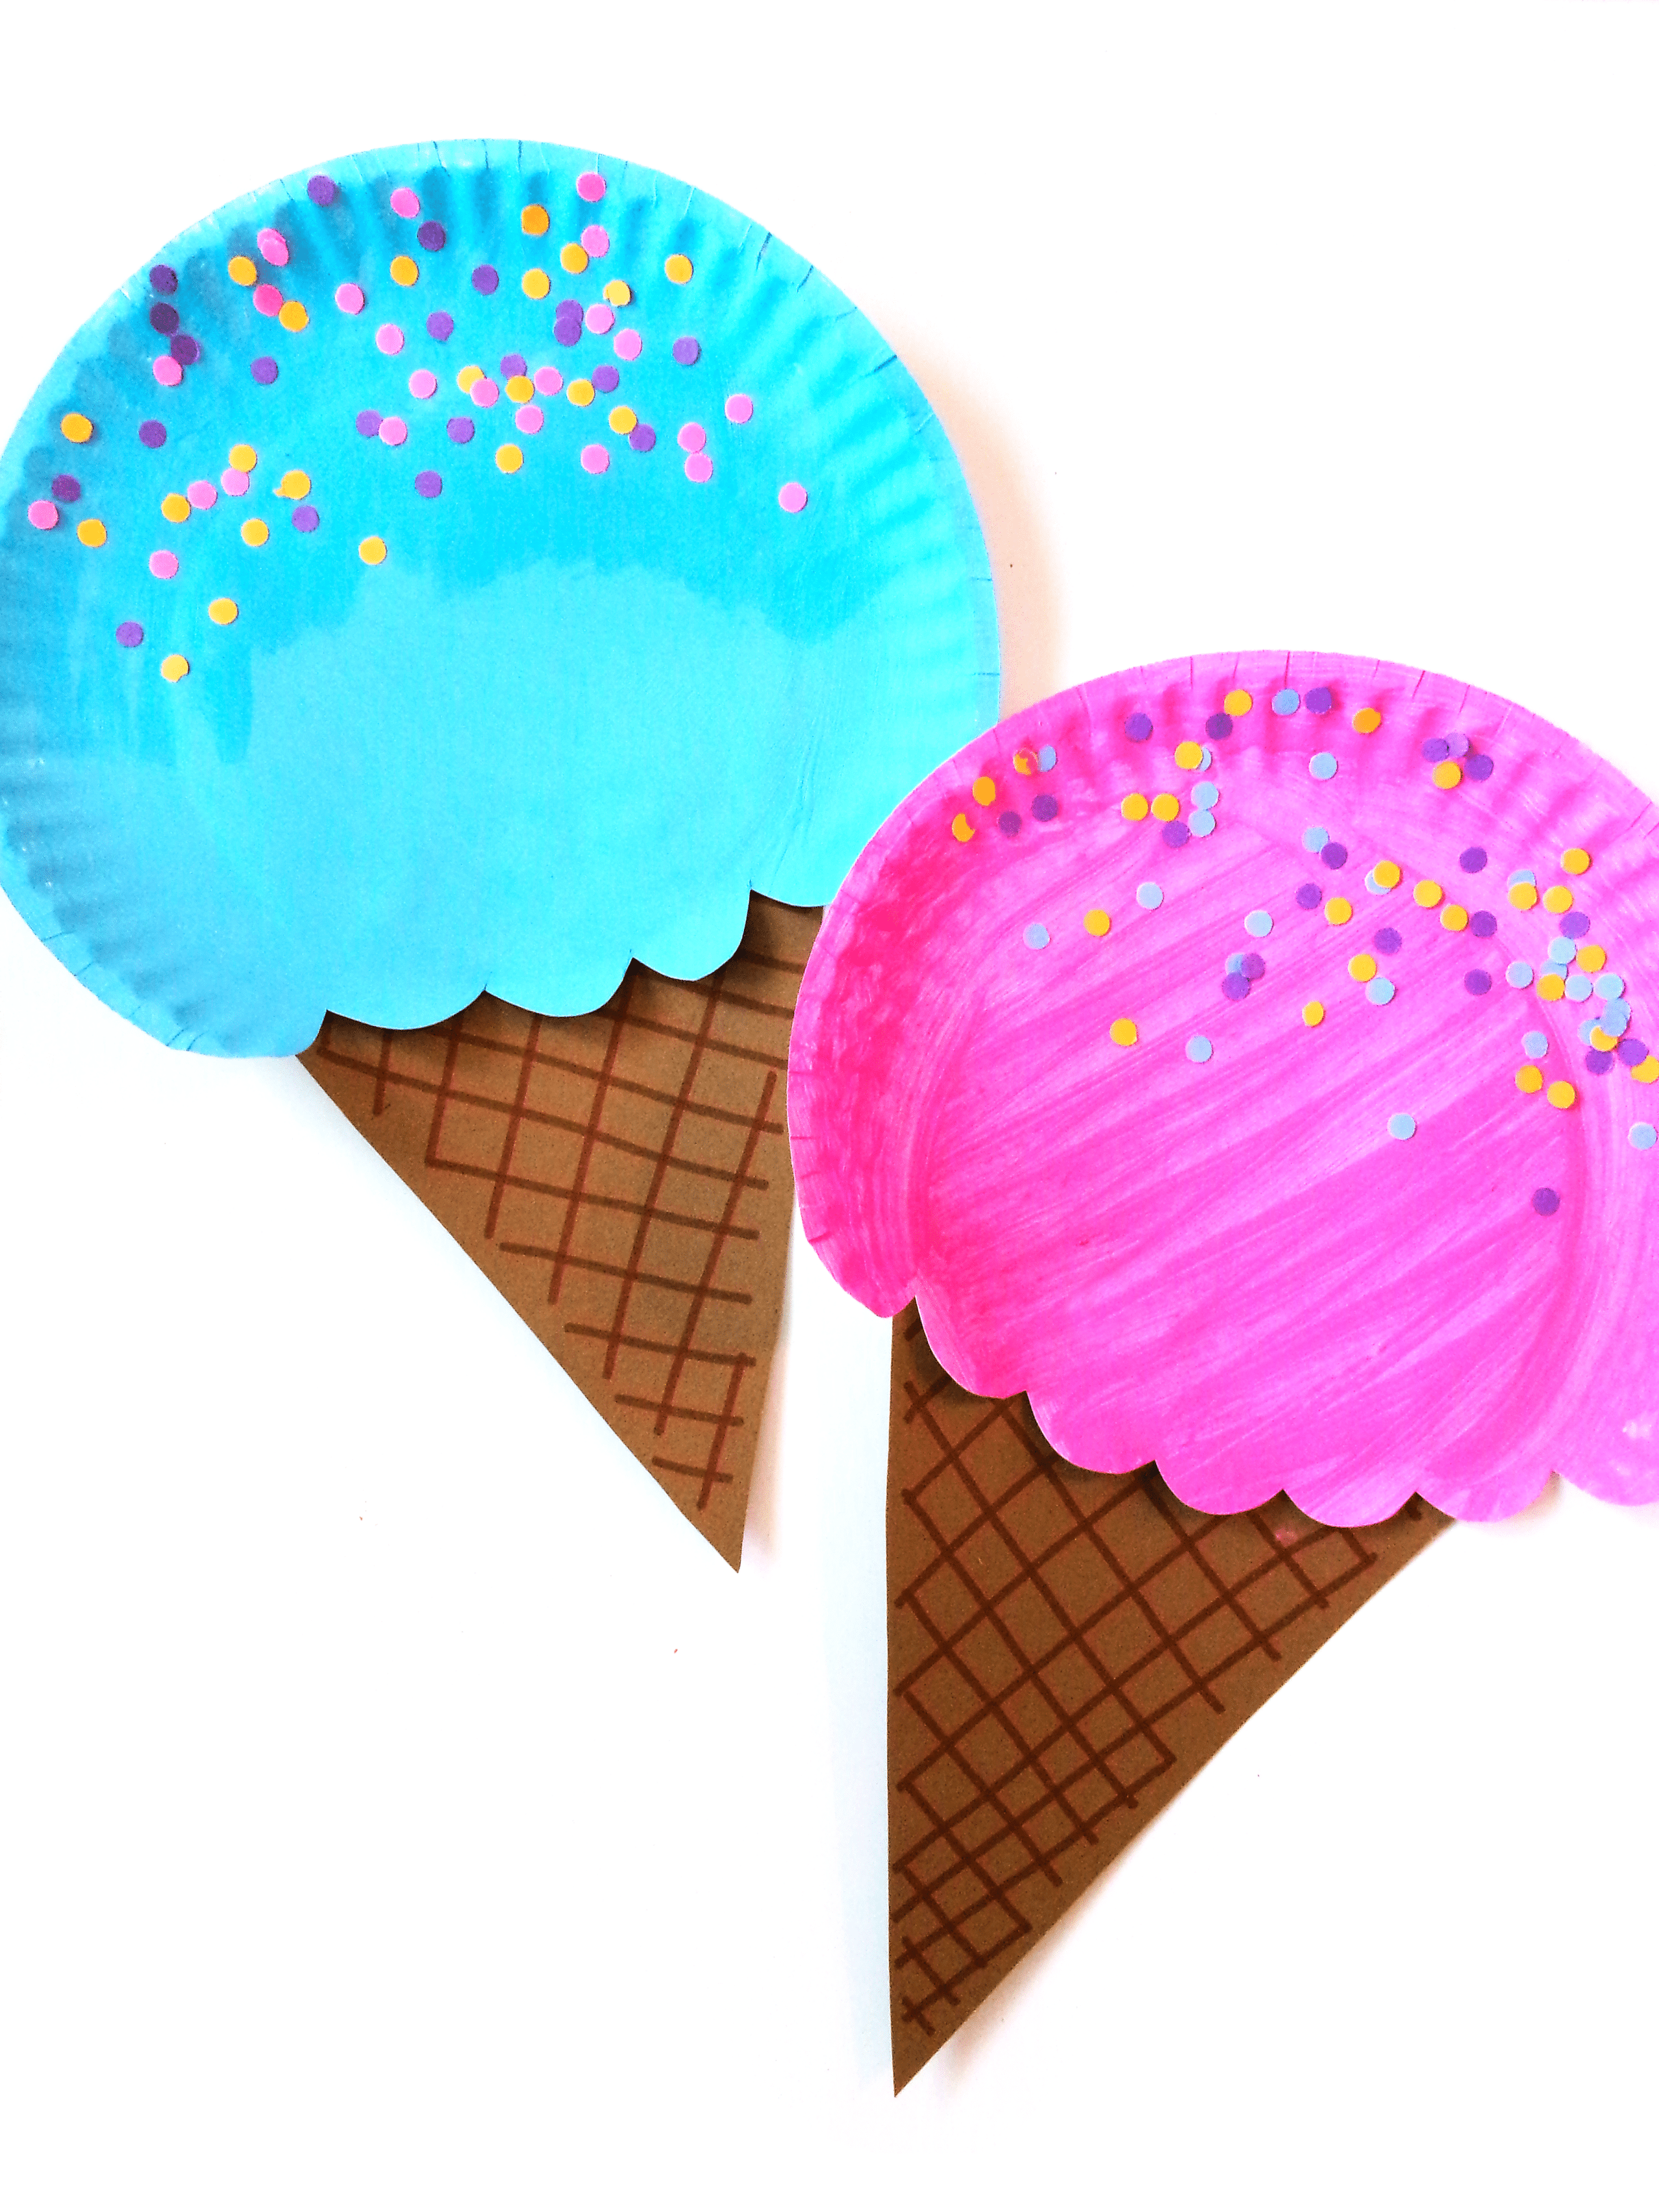
You scream, I scream, we all scream for ice cream!! This cute little ice cream cone craft is one of the best easy crafts! It’s a fun project for craft time and is great for kids of all ages. They can choose their “flavor” of ice cream and decorate it however they want. If you’re looking for easy summer crafts to add to your kiddos day, this is just the thing. And don’t forget to make some real ice cream while you’re at it!
In fact, you could even have entire ice cream party theme. Make some ice cream cone cupcakes and some tasty golden oreo ice cream, then make this cute paper plate ice cream cone as the cherry on top. So just follow the step-by-step instructions and check out the list of supplies to grab what you need. So much fun!
Why You’ll Love this Ice Cream Cone Craft
- Refine fine motor skills with cutting, painting, and glueing. Craft time can be educational and developmentally helpful, as well as super fun!
- This is a wonderful screen-free activity to keep kids busy. They can make a cute ice cream cone craft, eat some yummy ice cream, and you’ll see nothing but smiles on their face!
- You can easily adapt this craft for different ages and experience levels. Prep some of the pieces ahead of time, or let the kids do everything all their own. Whatever works best for you!
Supplies Needed
- Cone template – Print out the template for an ice cream cone on brown cardstock or construction paper. Then you can make the perfect paper plate ice cream craft.
- Paper plates – Grab some cheap white paper plates and paint them to look like a giant scoop of ice cream.
- Paint – Choose whichever color you want to paint the paper plate! The more fun the color, the better.
- Cardstock – I personally use brown cardstock for the waffle cone. But then you can use colors of your choice to make sprinkles for the paper plate scoop of ice cream.
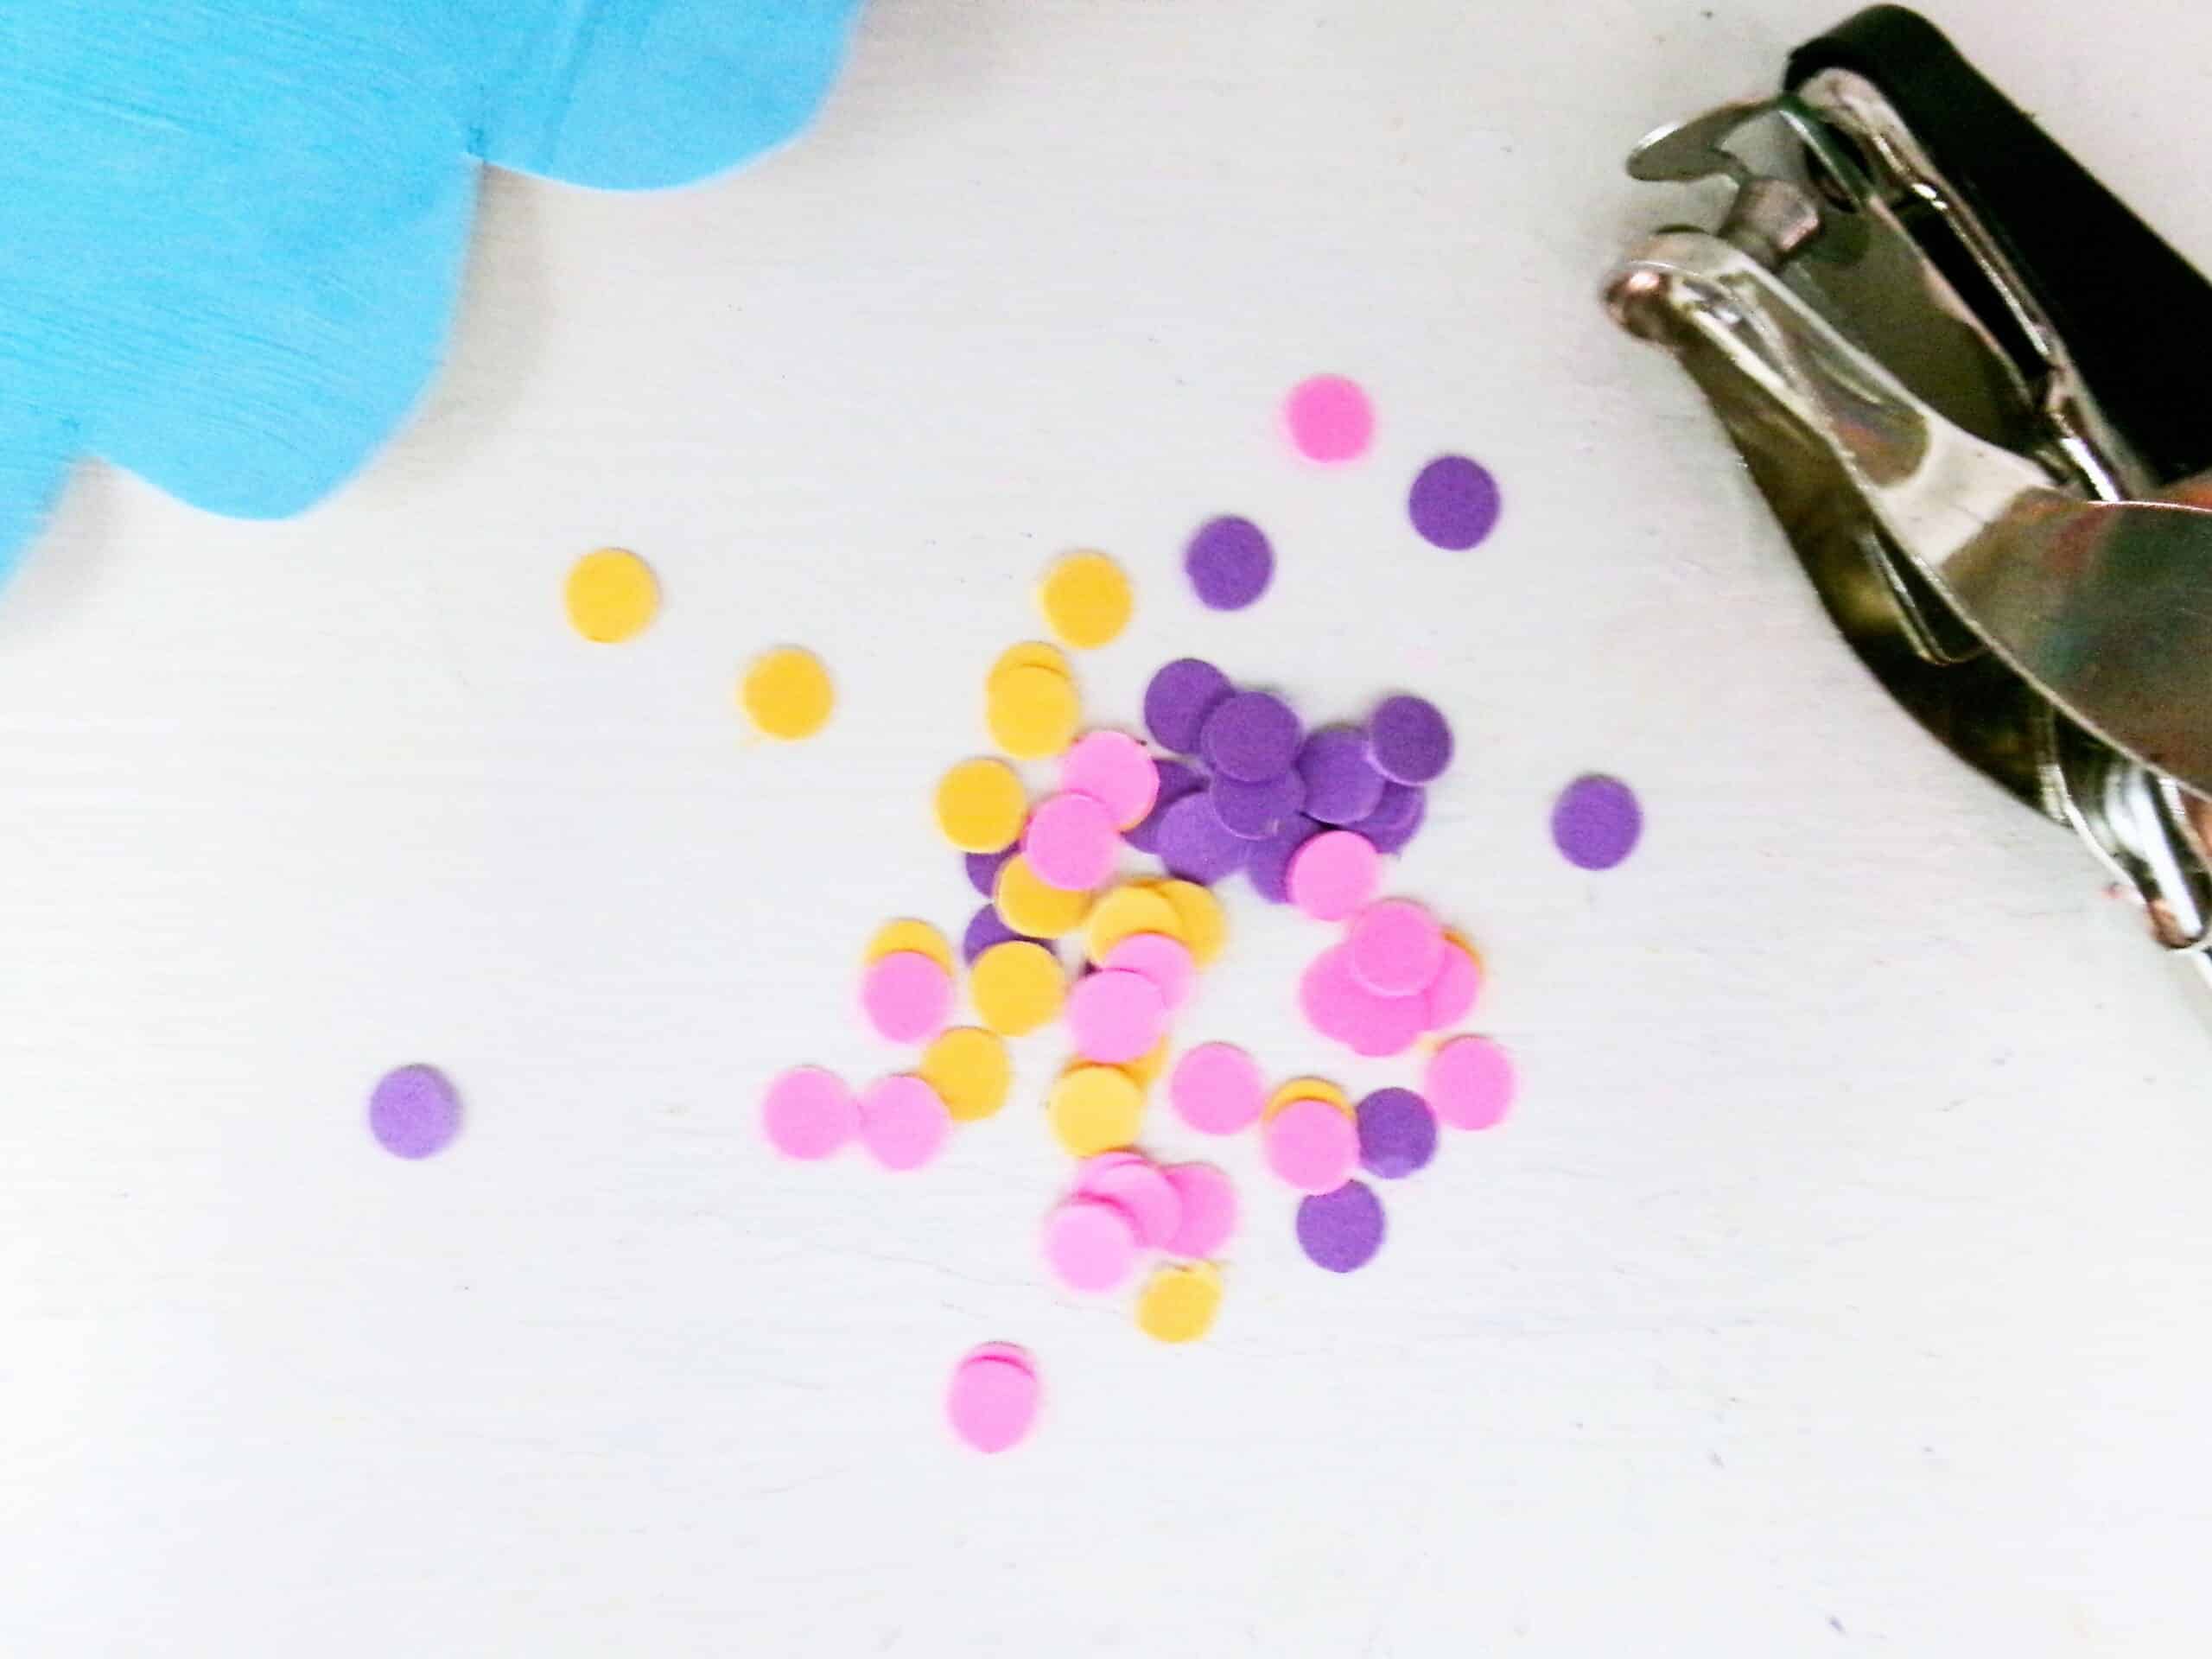
- Single hole punch – Don’t have a hole punch? Then use scissors to cut thin strips and the cut up the strips. You can make long sprinkles instead of circular ones.
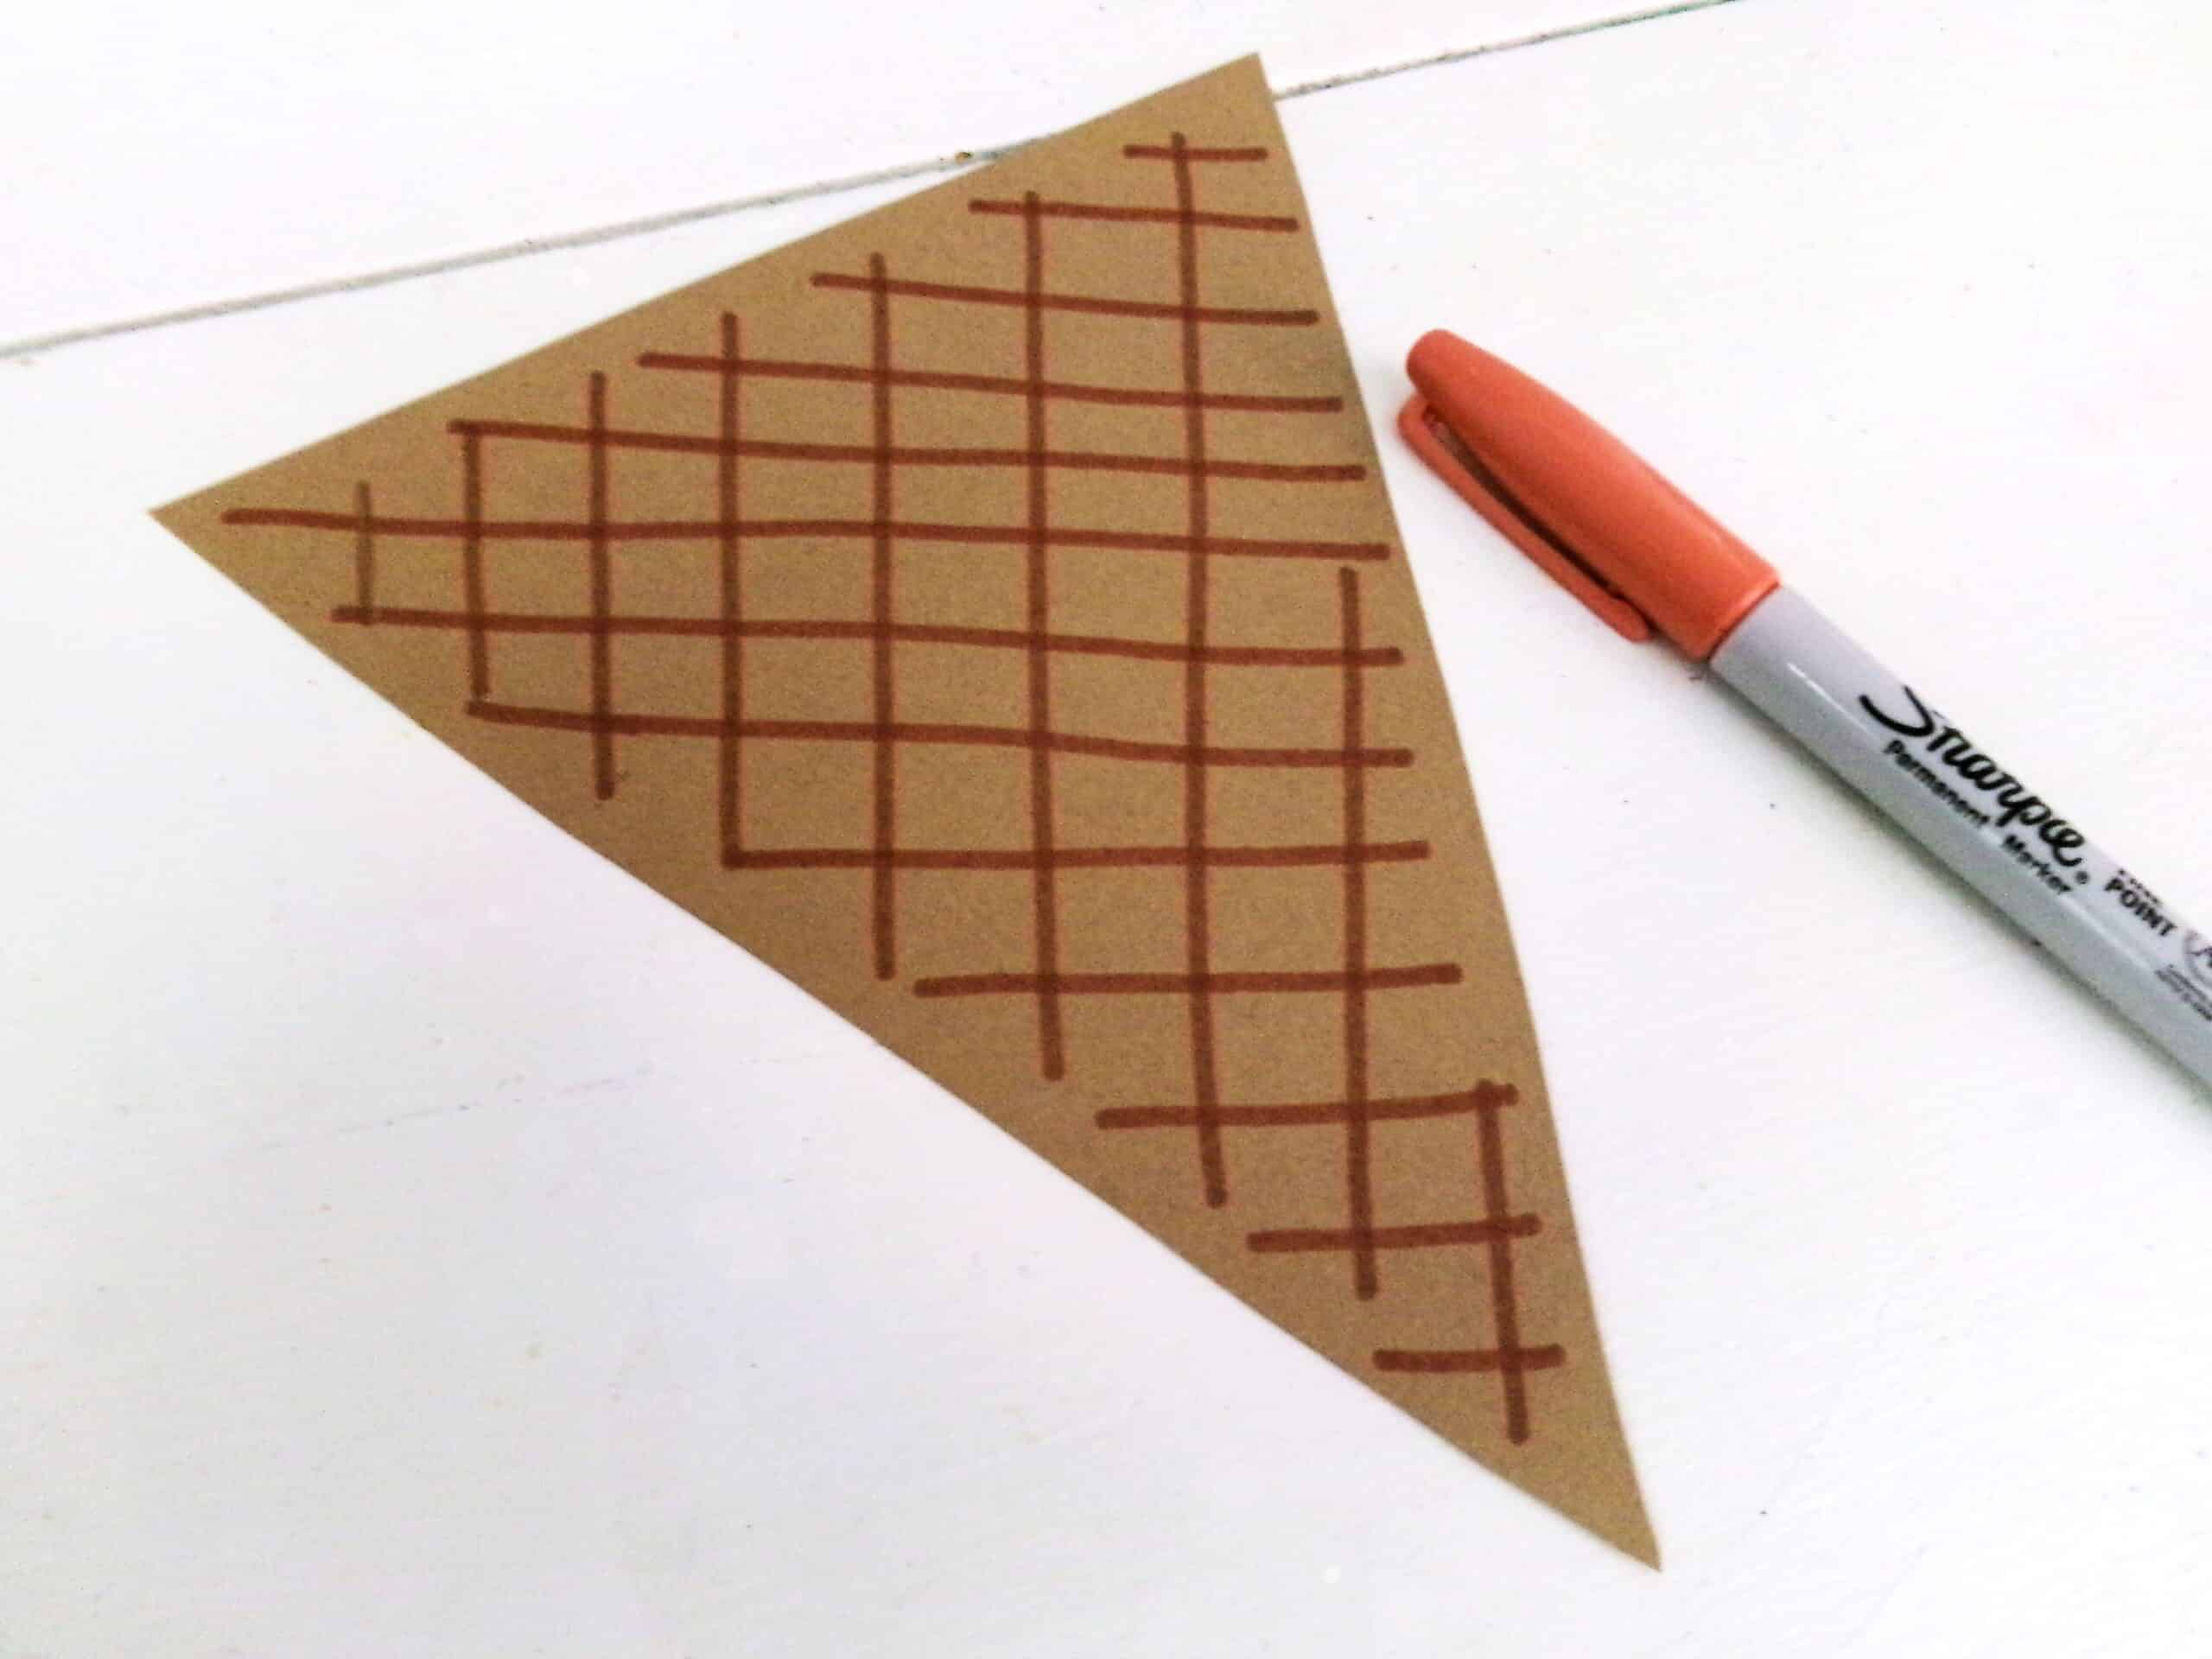
- Orange marker – Use an orange marker or brown markers to create a grid like pattern on the paper cone template to make it resemble a waffle cone.
- Scissors – If your littles want to cut their own things, consider using safety scissors!
- Glue – Some regular craft glue or school glue is all you need to attach the scoop of ice cream to the paper cone.
How to Make this Ice Cream Cone Craft
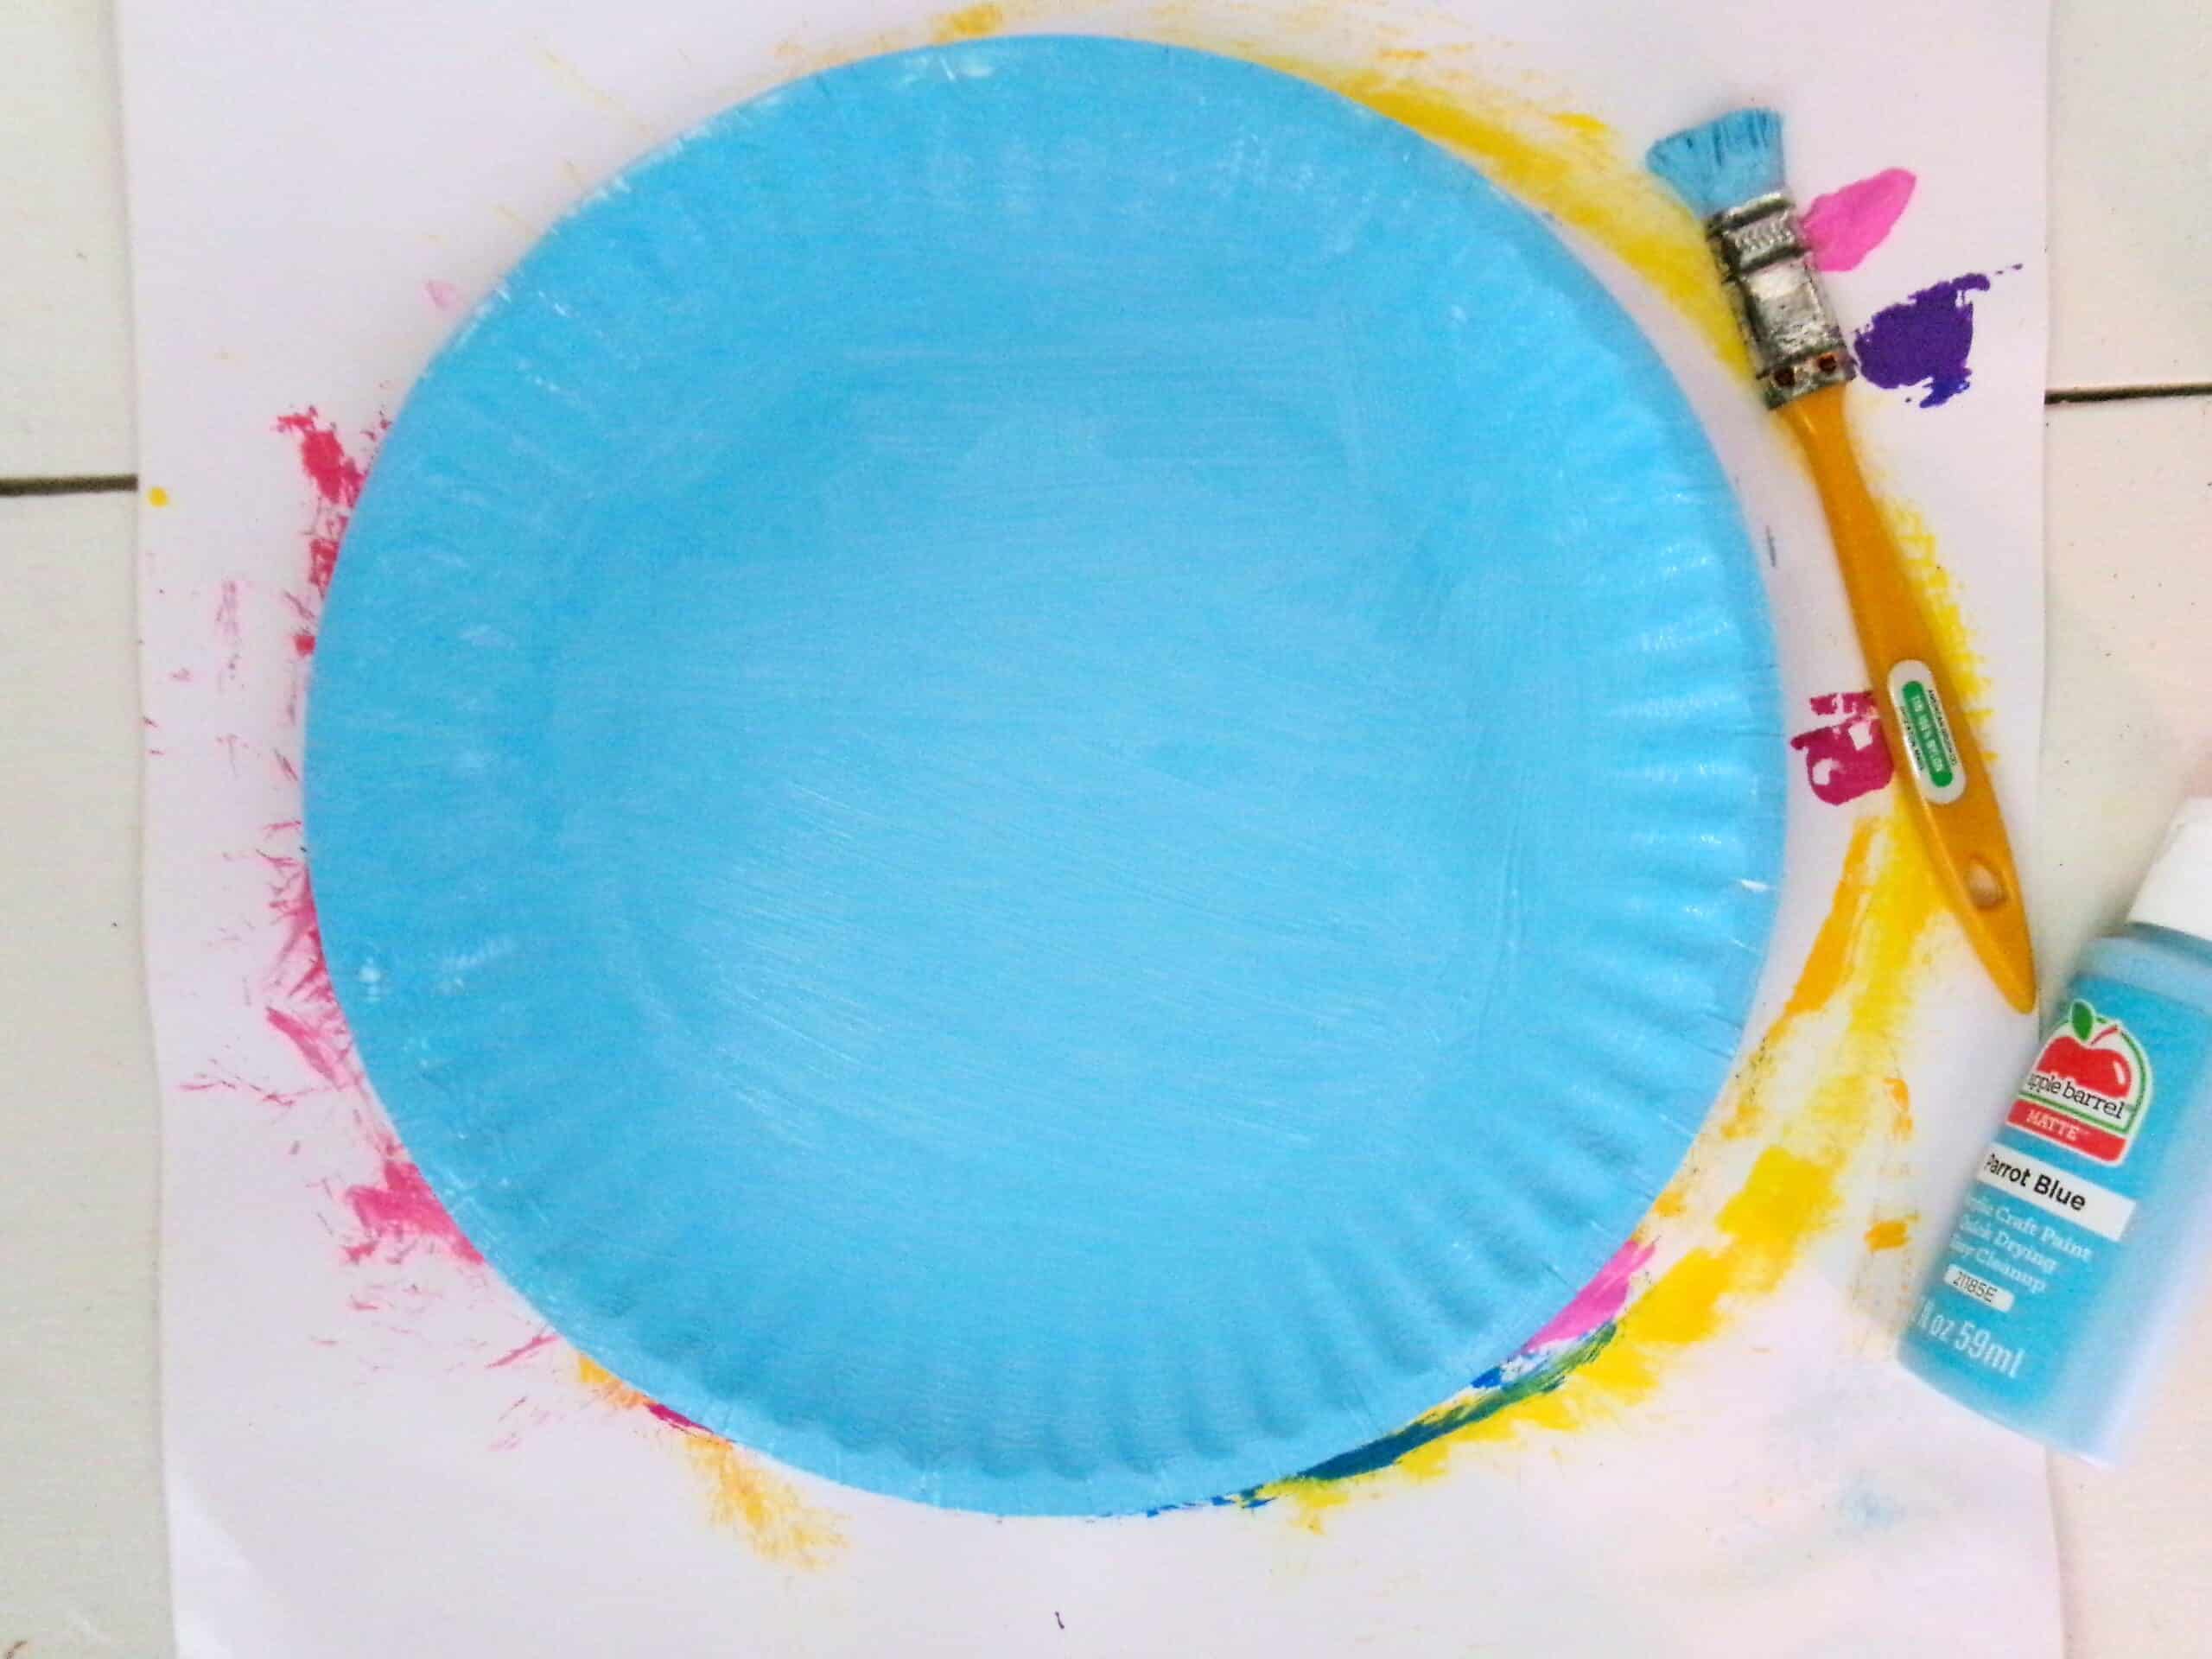
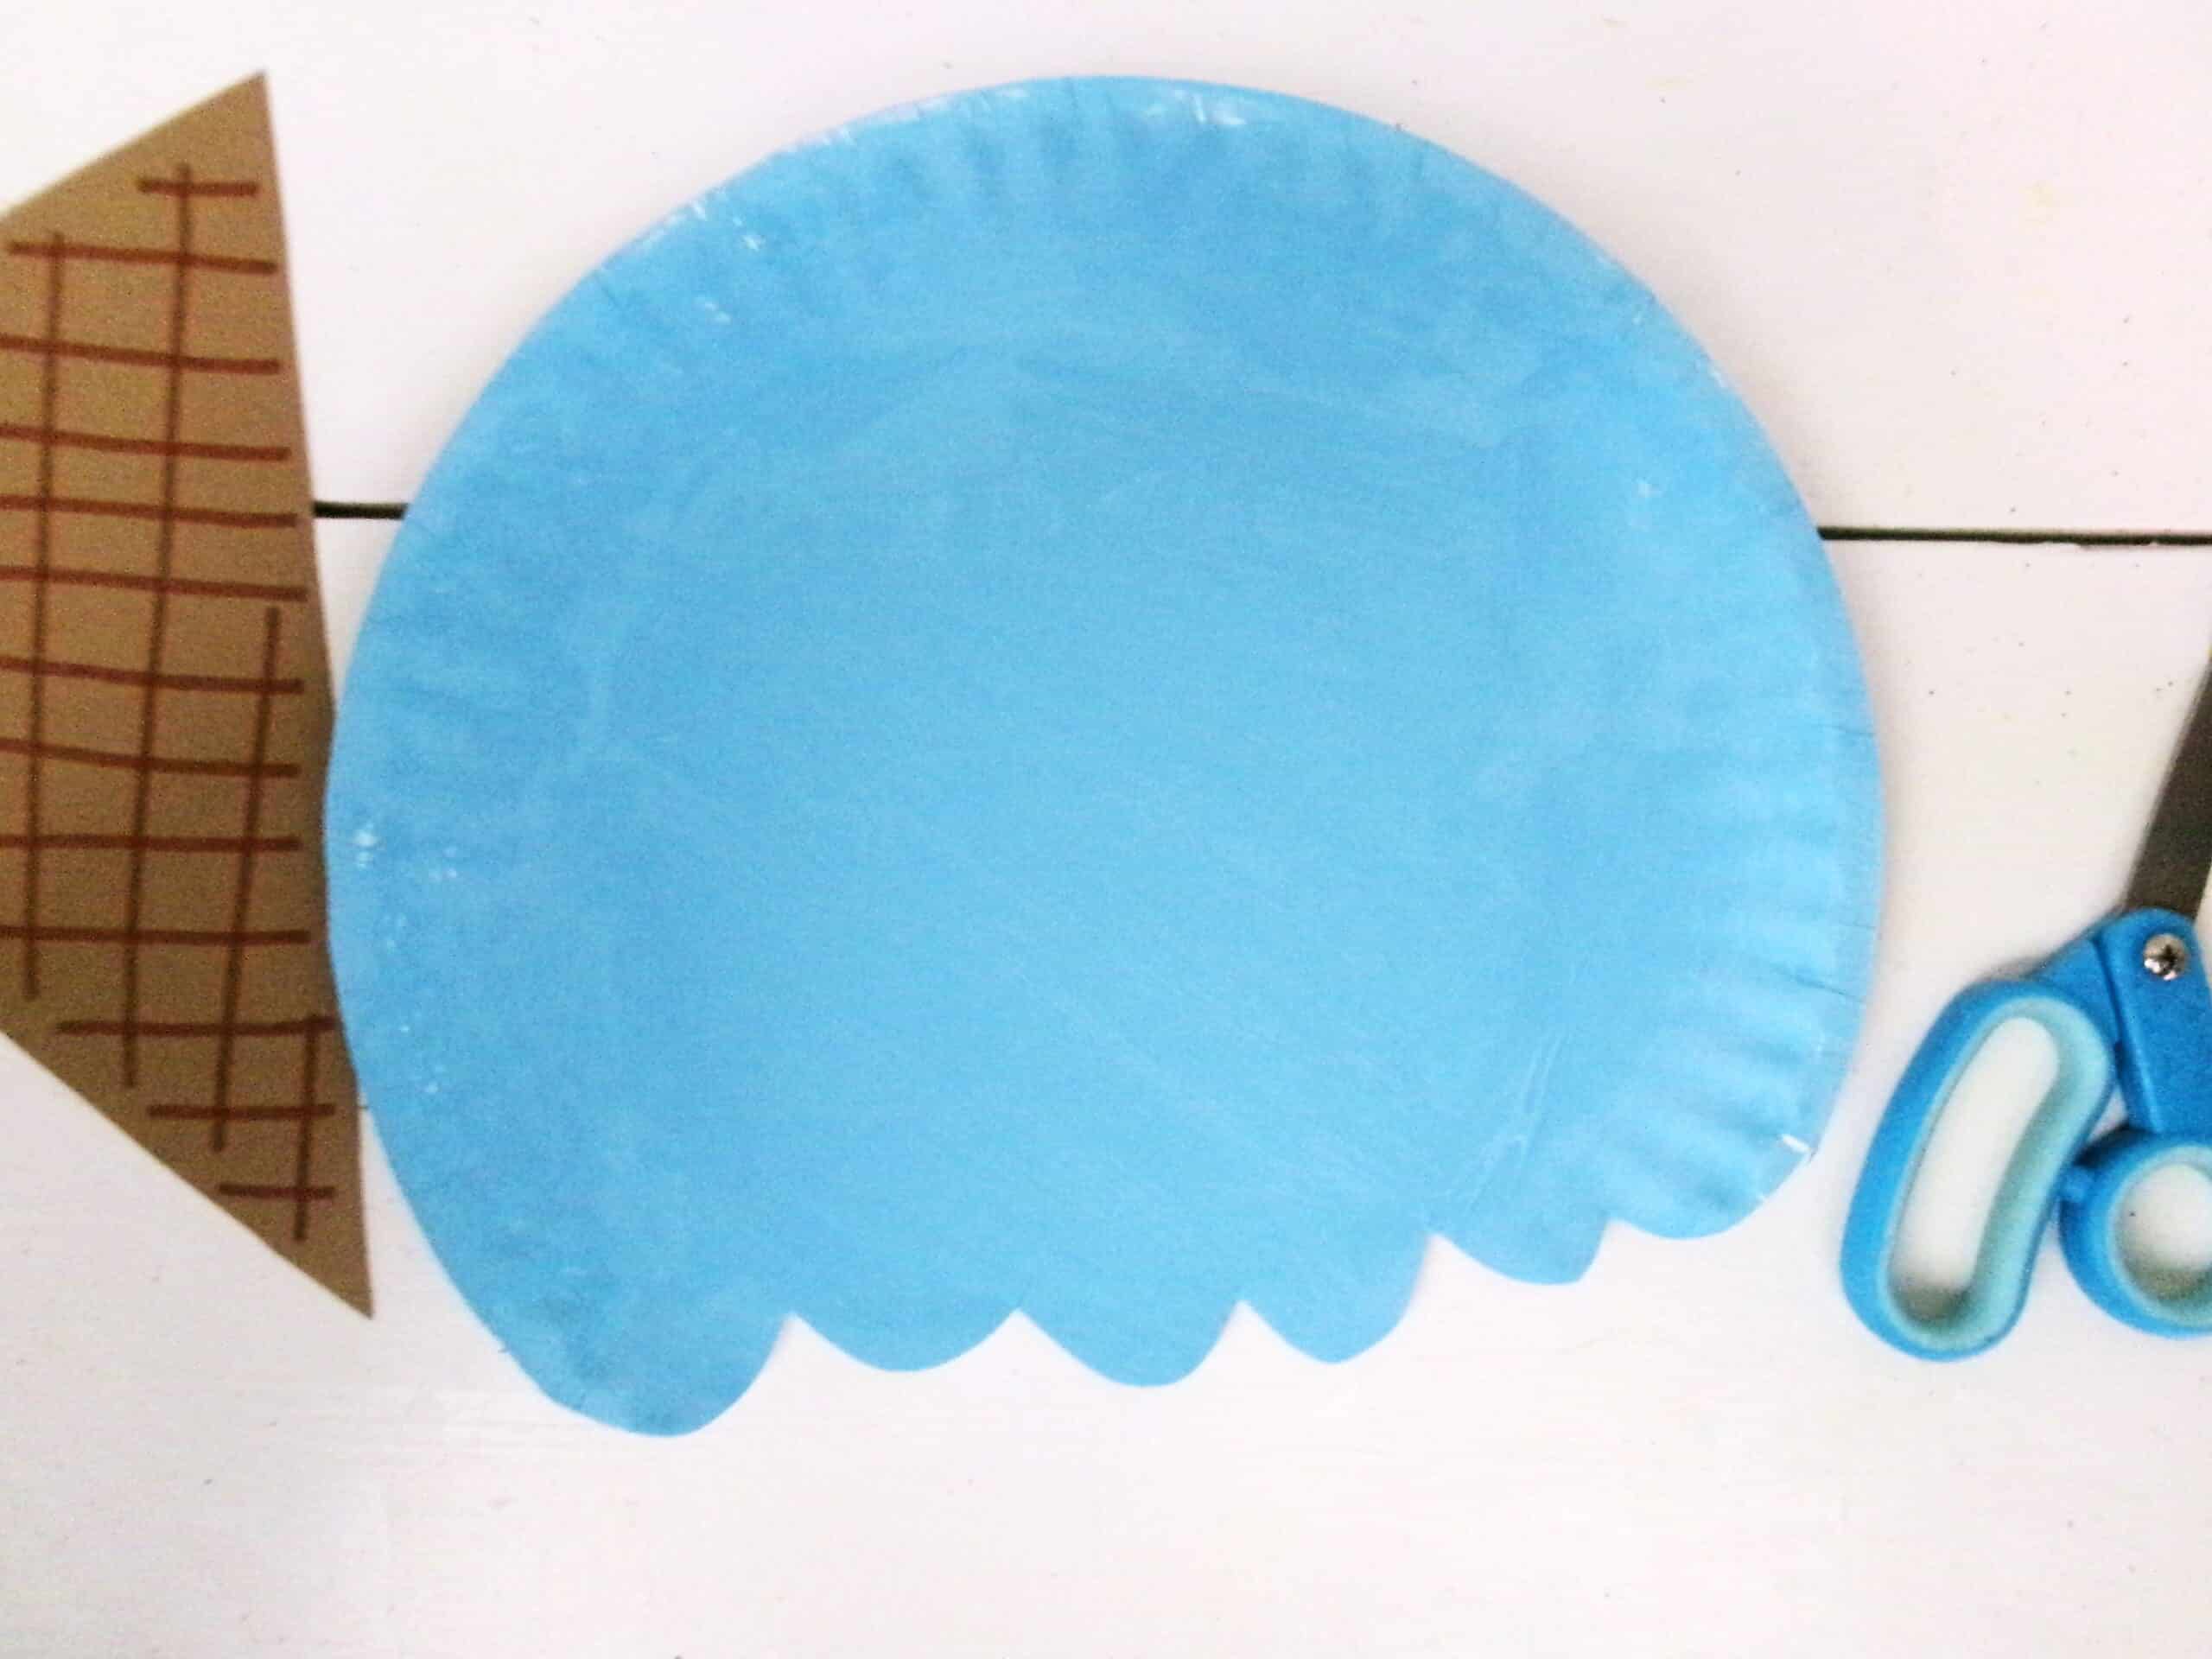
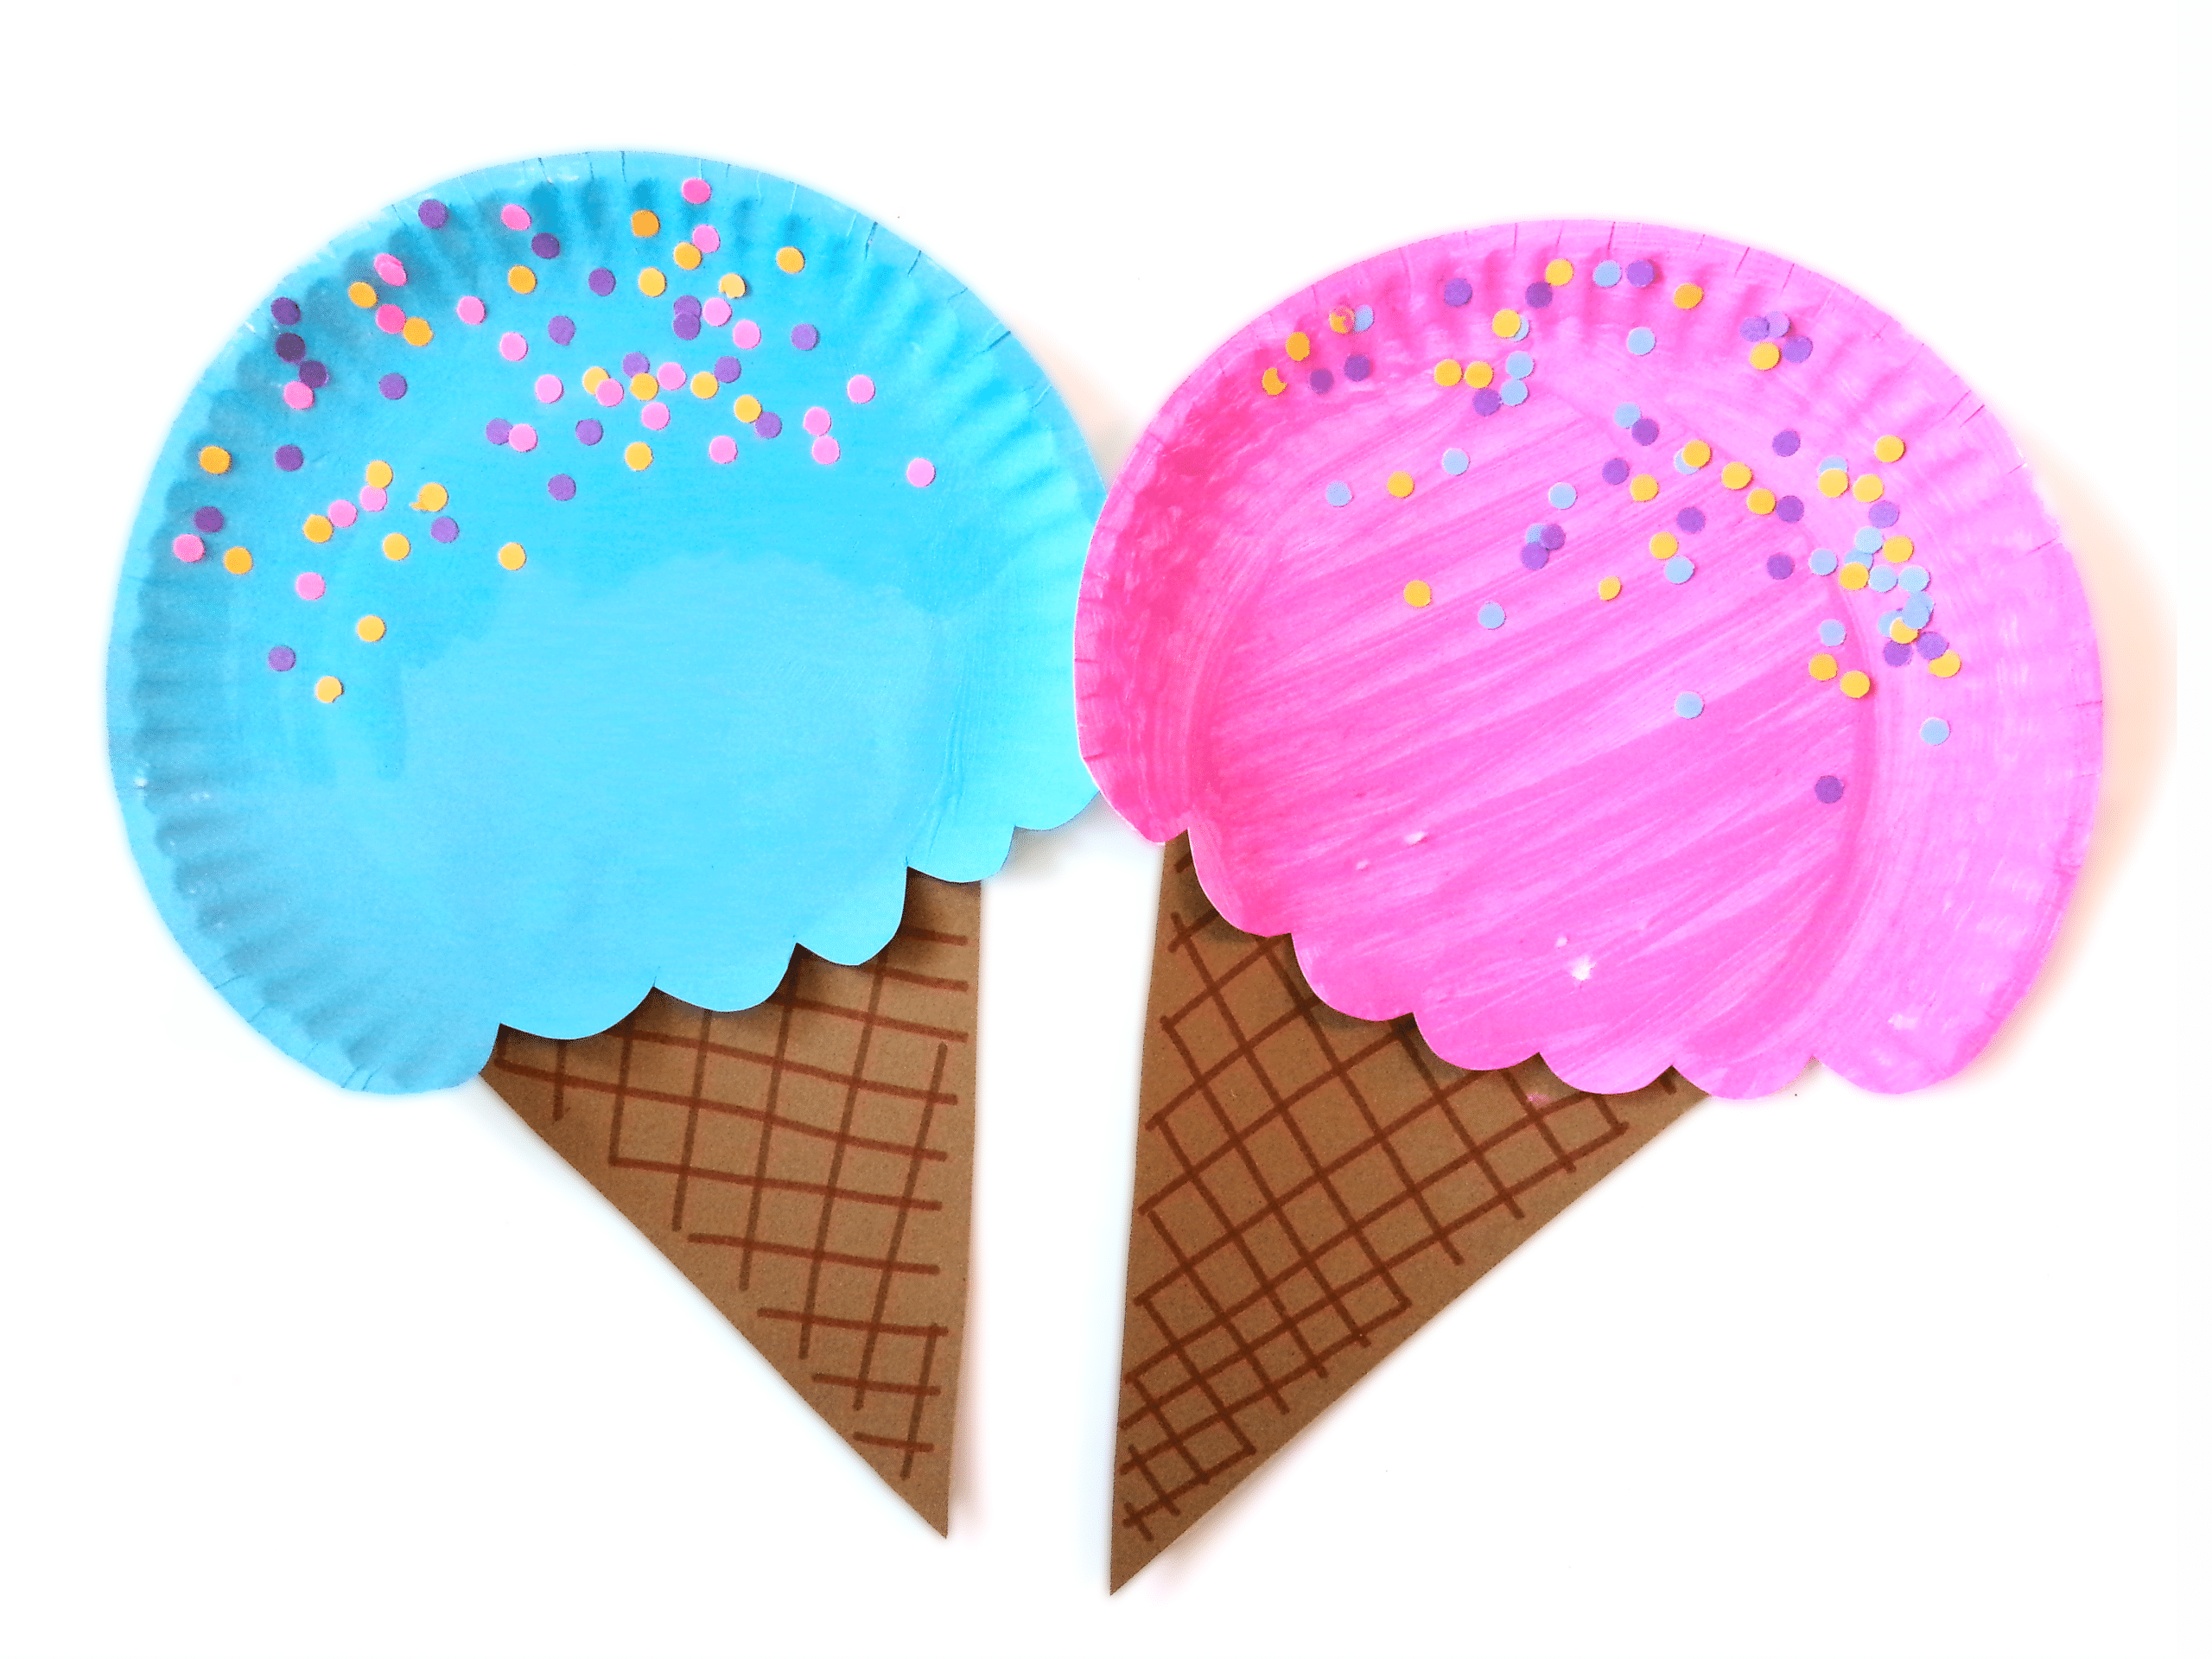
- Paint a paper plate with a color of your choosing, you have it mimic your favorite ice cream flavor! Allow the paint to dry completely.
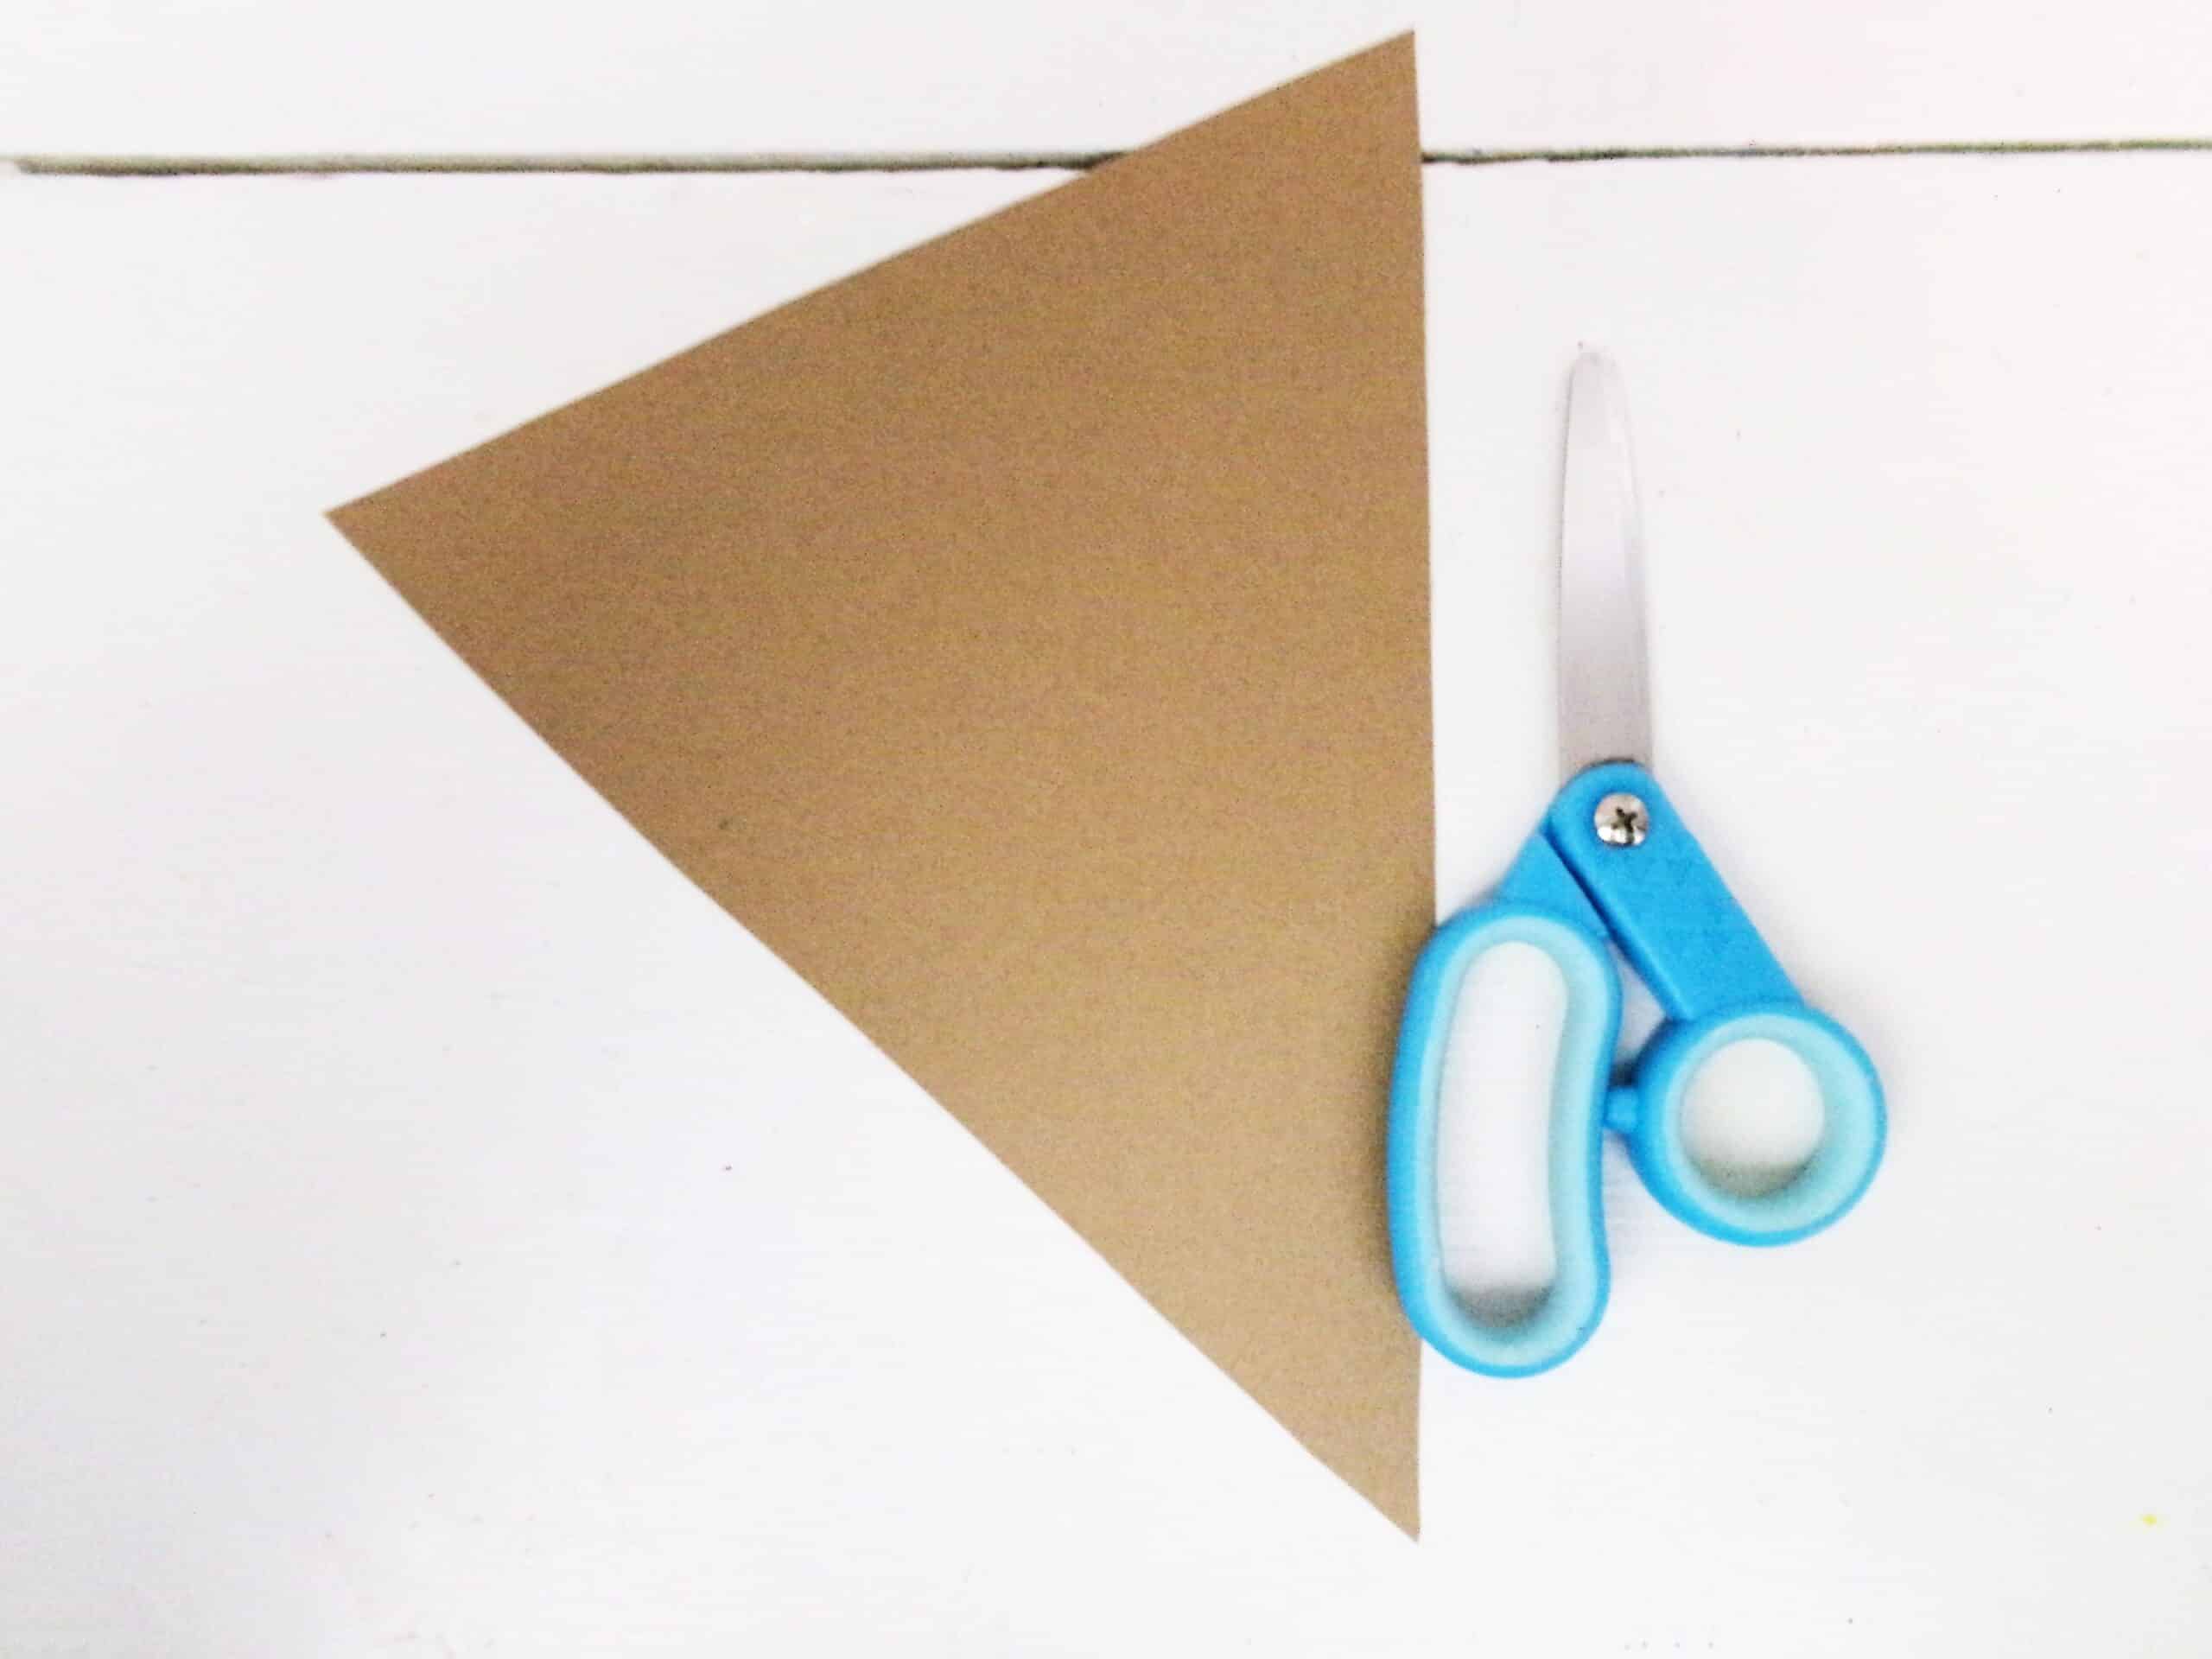
- While the paint dries, print the ice cream cone template on brown card stock and cut it out. Then use an orange or brown marker to draw the waffle details on the cone.
- Once the paint is completely dry, cut the bottom from the paper plate to make a wavy pattern. Then make some paper sprinkles with a single hole punch.
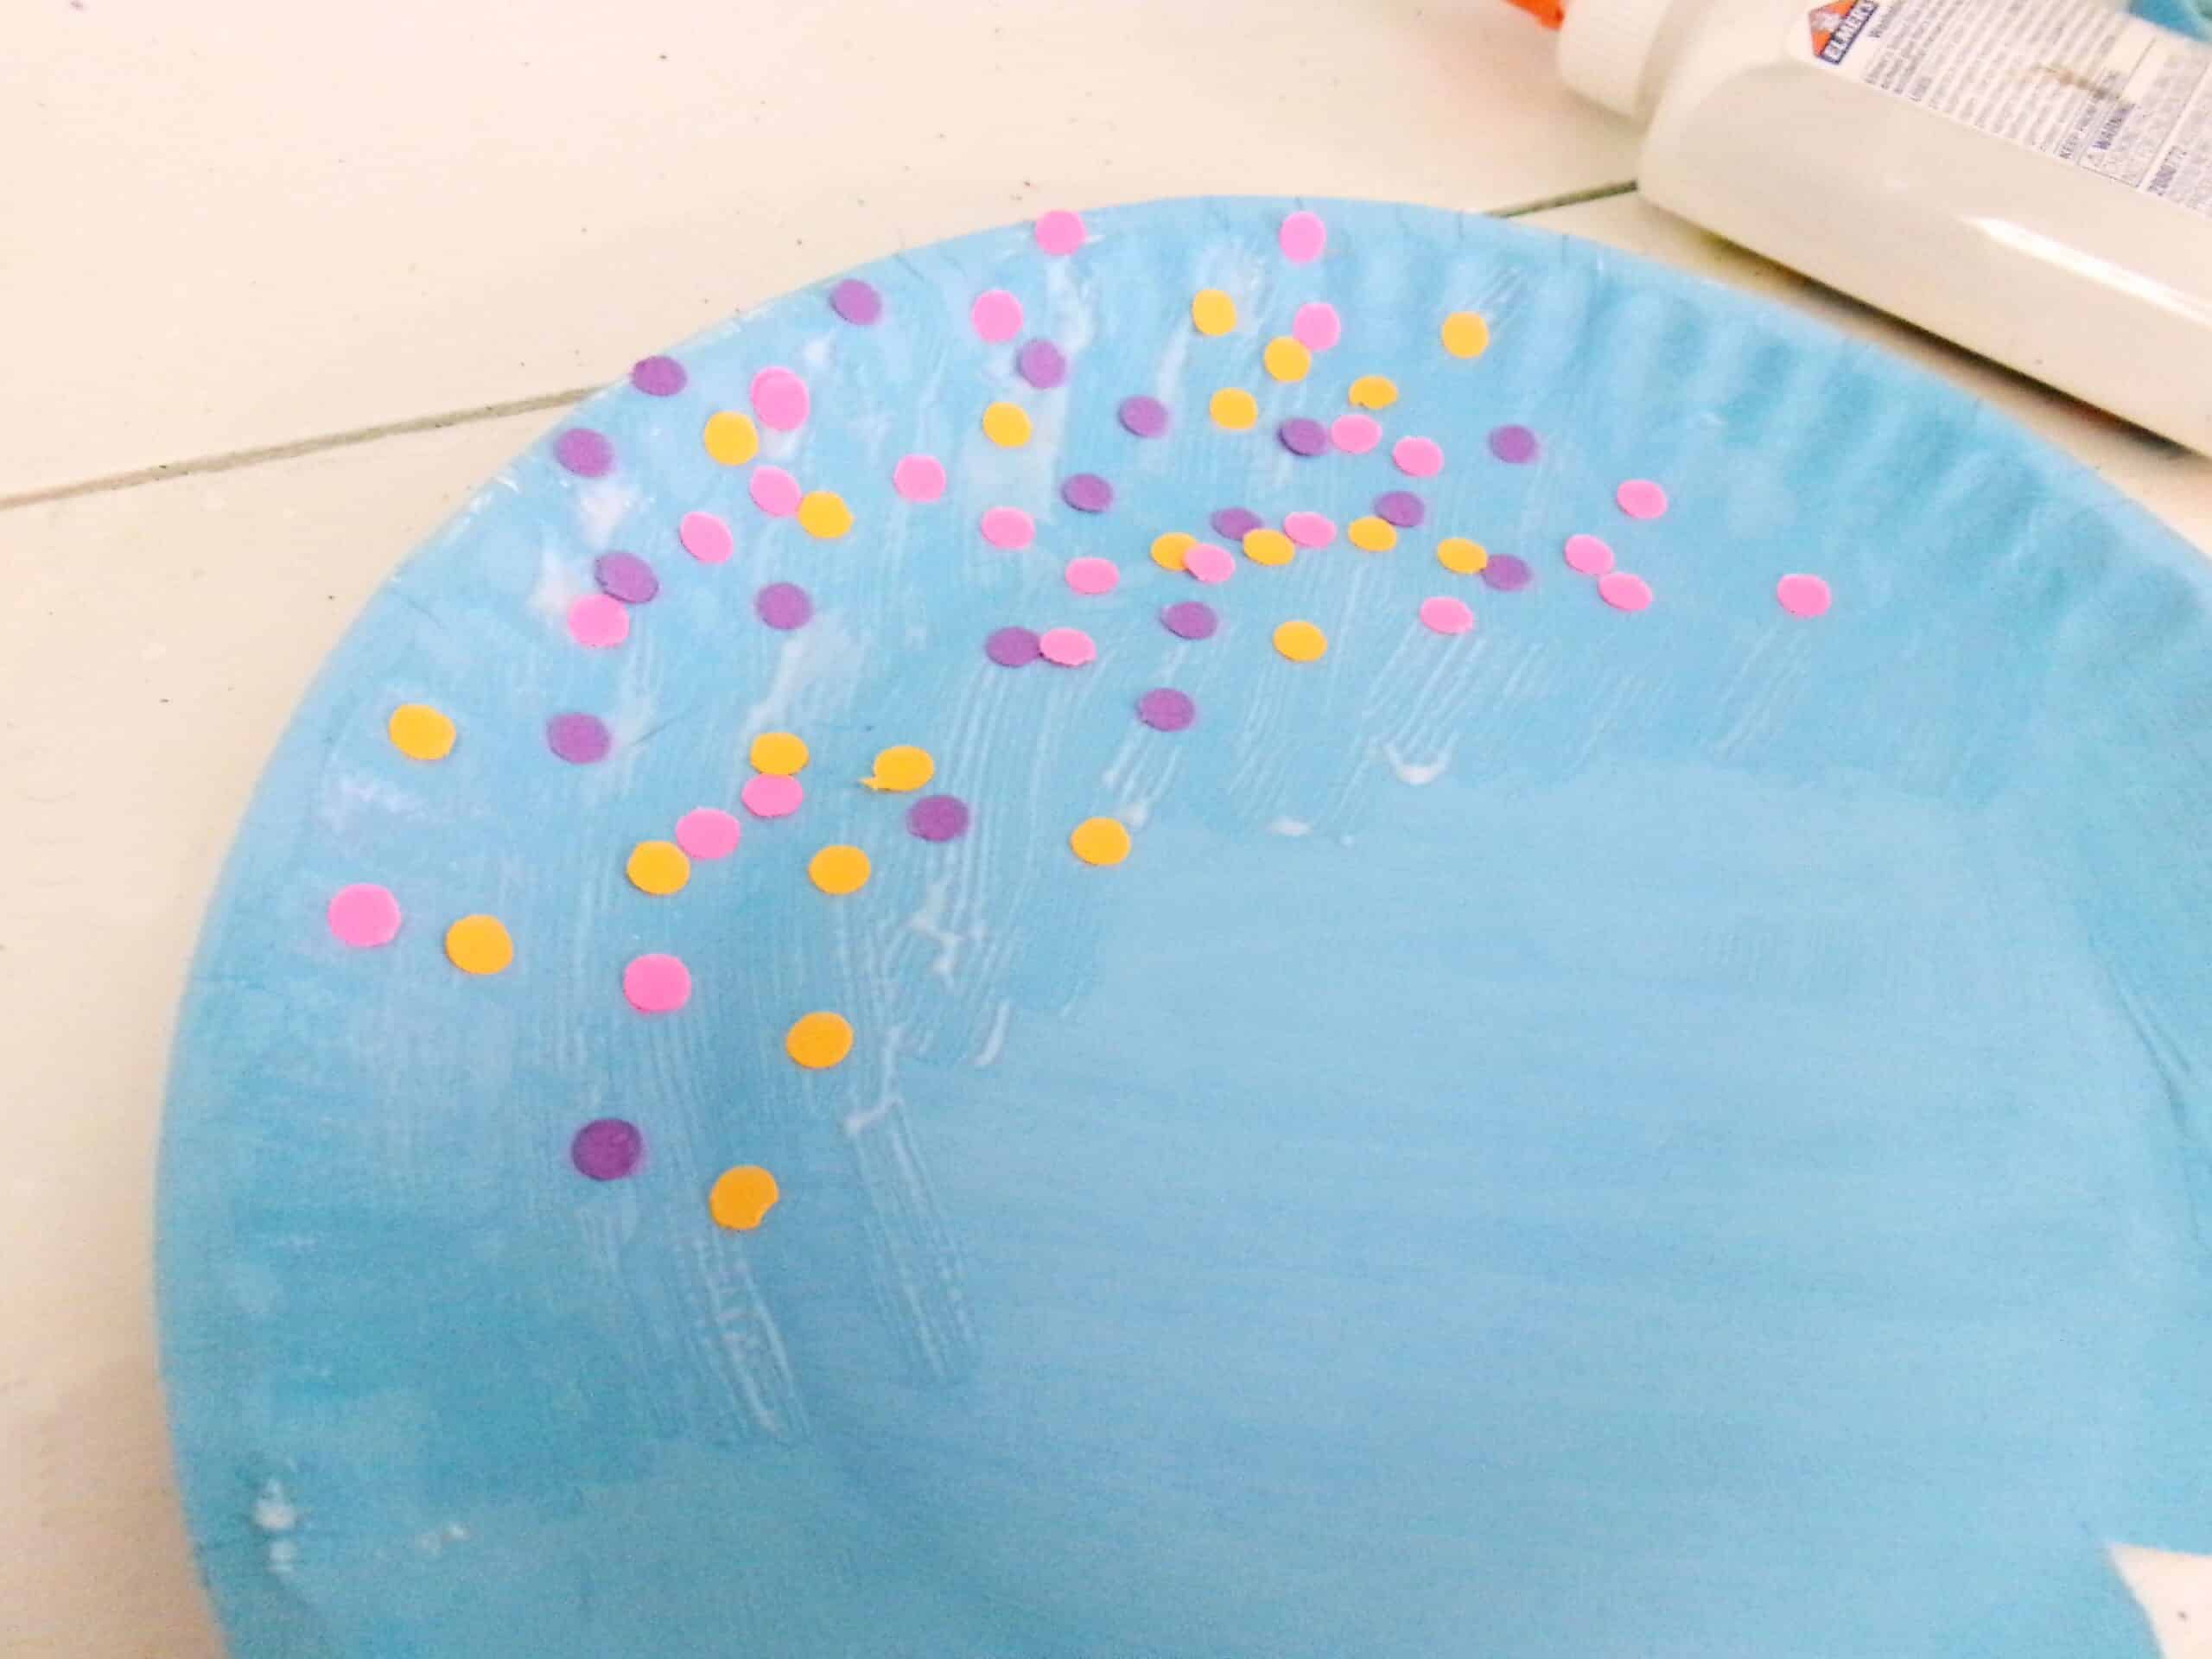
- Spread glue across the top of the paper plate and place the sprinkles in a random pattern. Allow the glue to dry.
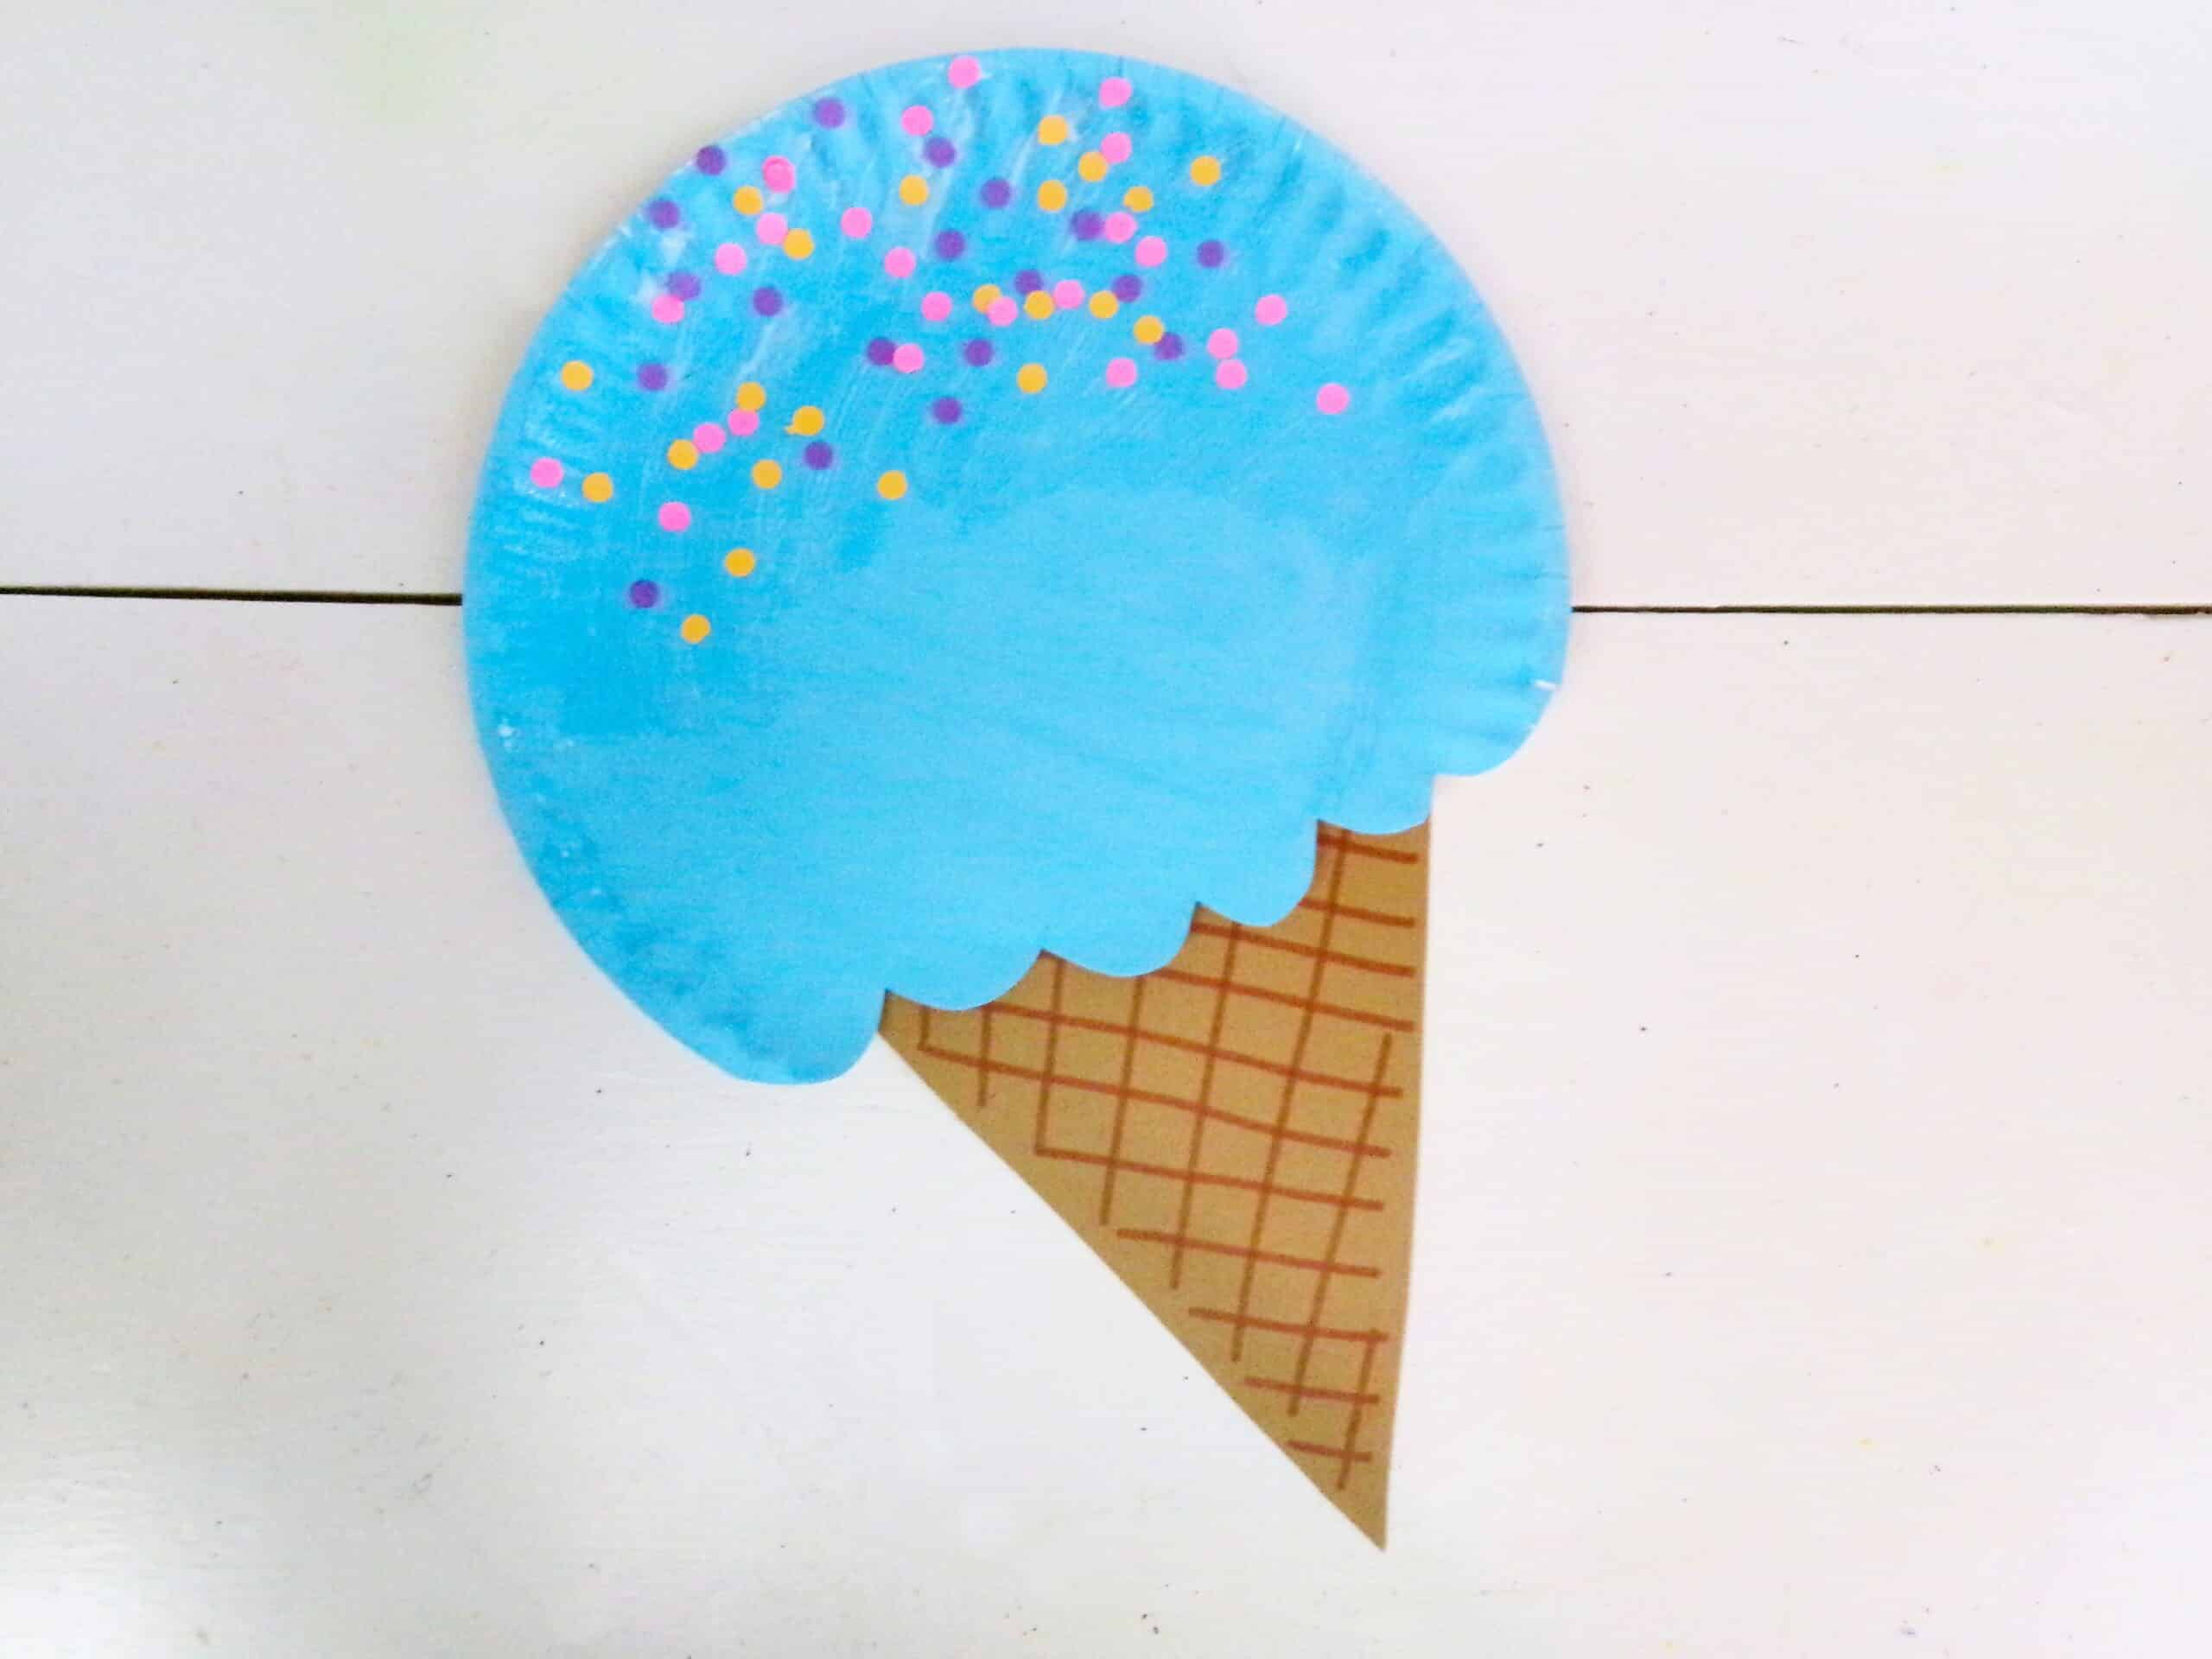
- Glue the cone to the back of the paper plate, at the bottom, and allow the glue to dry. That’s it! Your ice cream cone craft is complete.
What do I do if I can’t print the ice cream cone template?
If you do not have a way to print the template, you can free hand it! To get a good idea of the size you need, place your paper plate on top of a piece of cardstock and make a few marks on the paper so you’ll know how wide the base of the triangle needs to be.
Pro Tips for the Most Fun!
- Use any craft supplies you want to make this hands-on activity extra fun. Crayons, glitter, stickers, rhinestones, pom poms and so much more can be creative additions to your paper plate ice cream craft. Decorate the ice cream scoop or the the cone in a fun way!
- To save some time, buy pre-colored paper plates. You can find plates of different colors in the party section of your local Walmart. Then the only mess you’ll have to worry about is gluing all of the sprinkles and pieces together.
- Place kraft paper or a disposable plastic table cloth over your workspace to protect it from paint spills and glue splatters. It makes clean-up a breeze!
This easy ice cream cone craft is so much fun! Get creative and create the cutest little paper plate craft ever.
More Paper Plate Crafts You’ll Love!
- This Paper Plate Penguin is quite possibly the cutest little winter crafts ever! So much fun to make too.
- Does you kiddo love the sea? Make this silly little Paper Plate Octopus Craft.
- A Paper Plate Dinosaur Craft is a wonderful craft for your kids who love dinos!
- This Paper Plate Scarecrow should definitely be added into your list of activities this fall.

Ice Cream Cone Craft
Ingredients
- Cone template
- Paper plates
- Paint your choice of colors
- Cardstock colors of choice
- Single hole punch
- Orange marker
- Scissors
- Glue
Instructions
- Begin by painting a paper plate in your choice of ice cream colors. Let the paint dry completely.
- While the paint is drying, print the cone template on brown cardstock and cut out.
- Use an orange marker, or brown, to draw waffle details along the cone.
- Now, when the paint is completely dry, cut the bottom from the paper plate in a wavy pattern.
- Next, use the single hole punch to make a bunch of small, colorful circles out of your cardstock colors of choice.
- Spread glue along the top of the paper plate and sprinkle the circles like candy sprinkles on the ice cream.
- Finally, glue the cone to the bottom of the paper plate to complete this sweet and colorful summer craft!