Turkey Headband Craft
Get crafty this Thanksgiving with a turkey headband that kids can make themselves! Follow these simple steps for a fun and festive activity for the whole family. Cute, easy and fun!
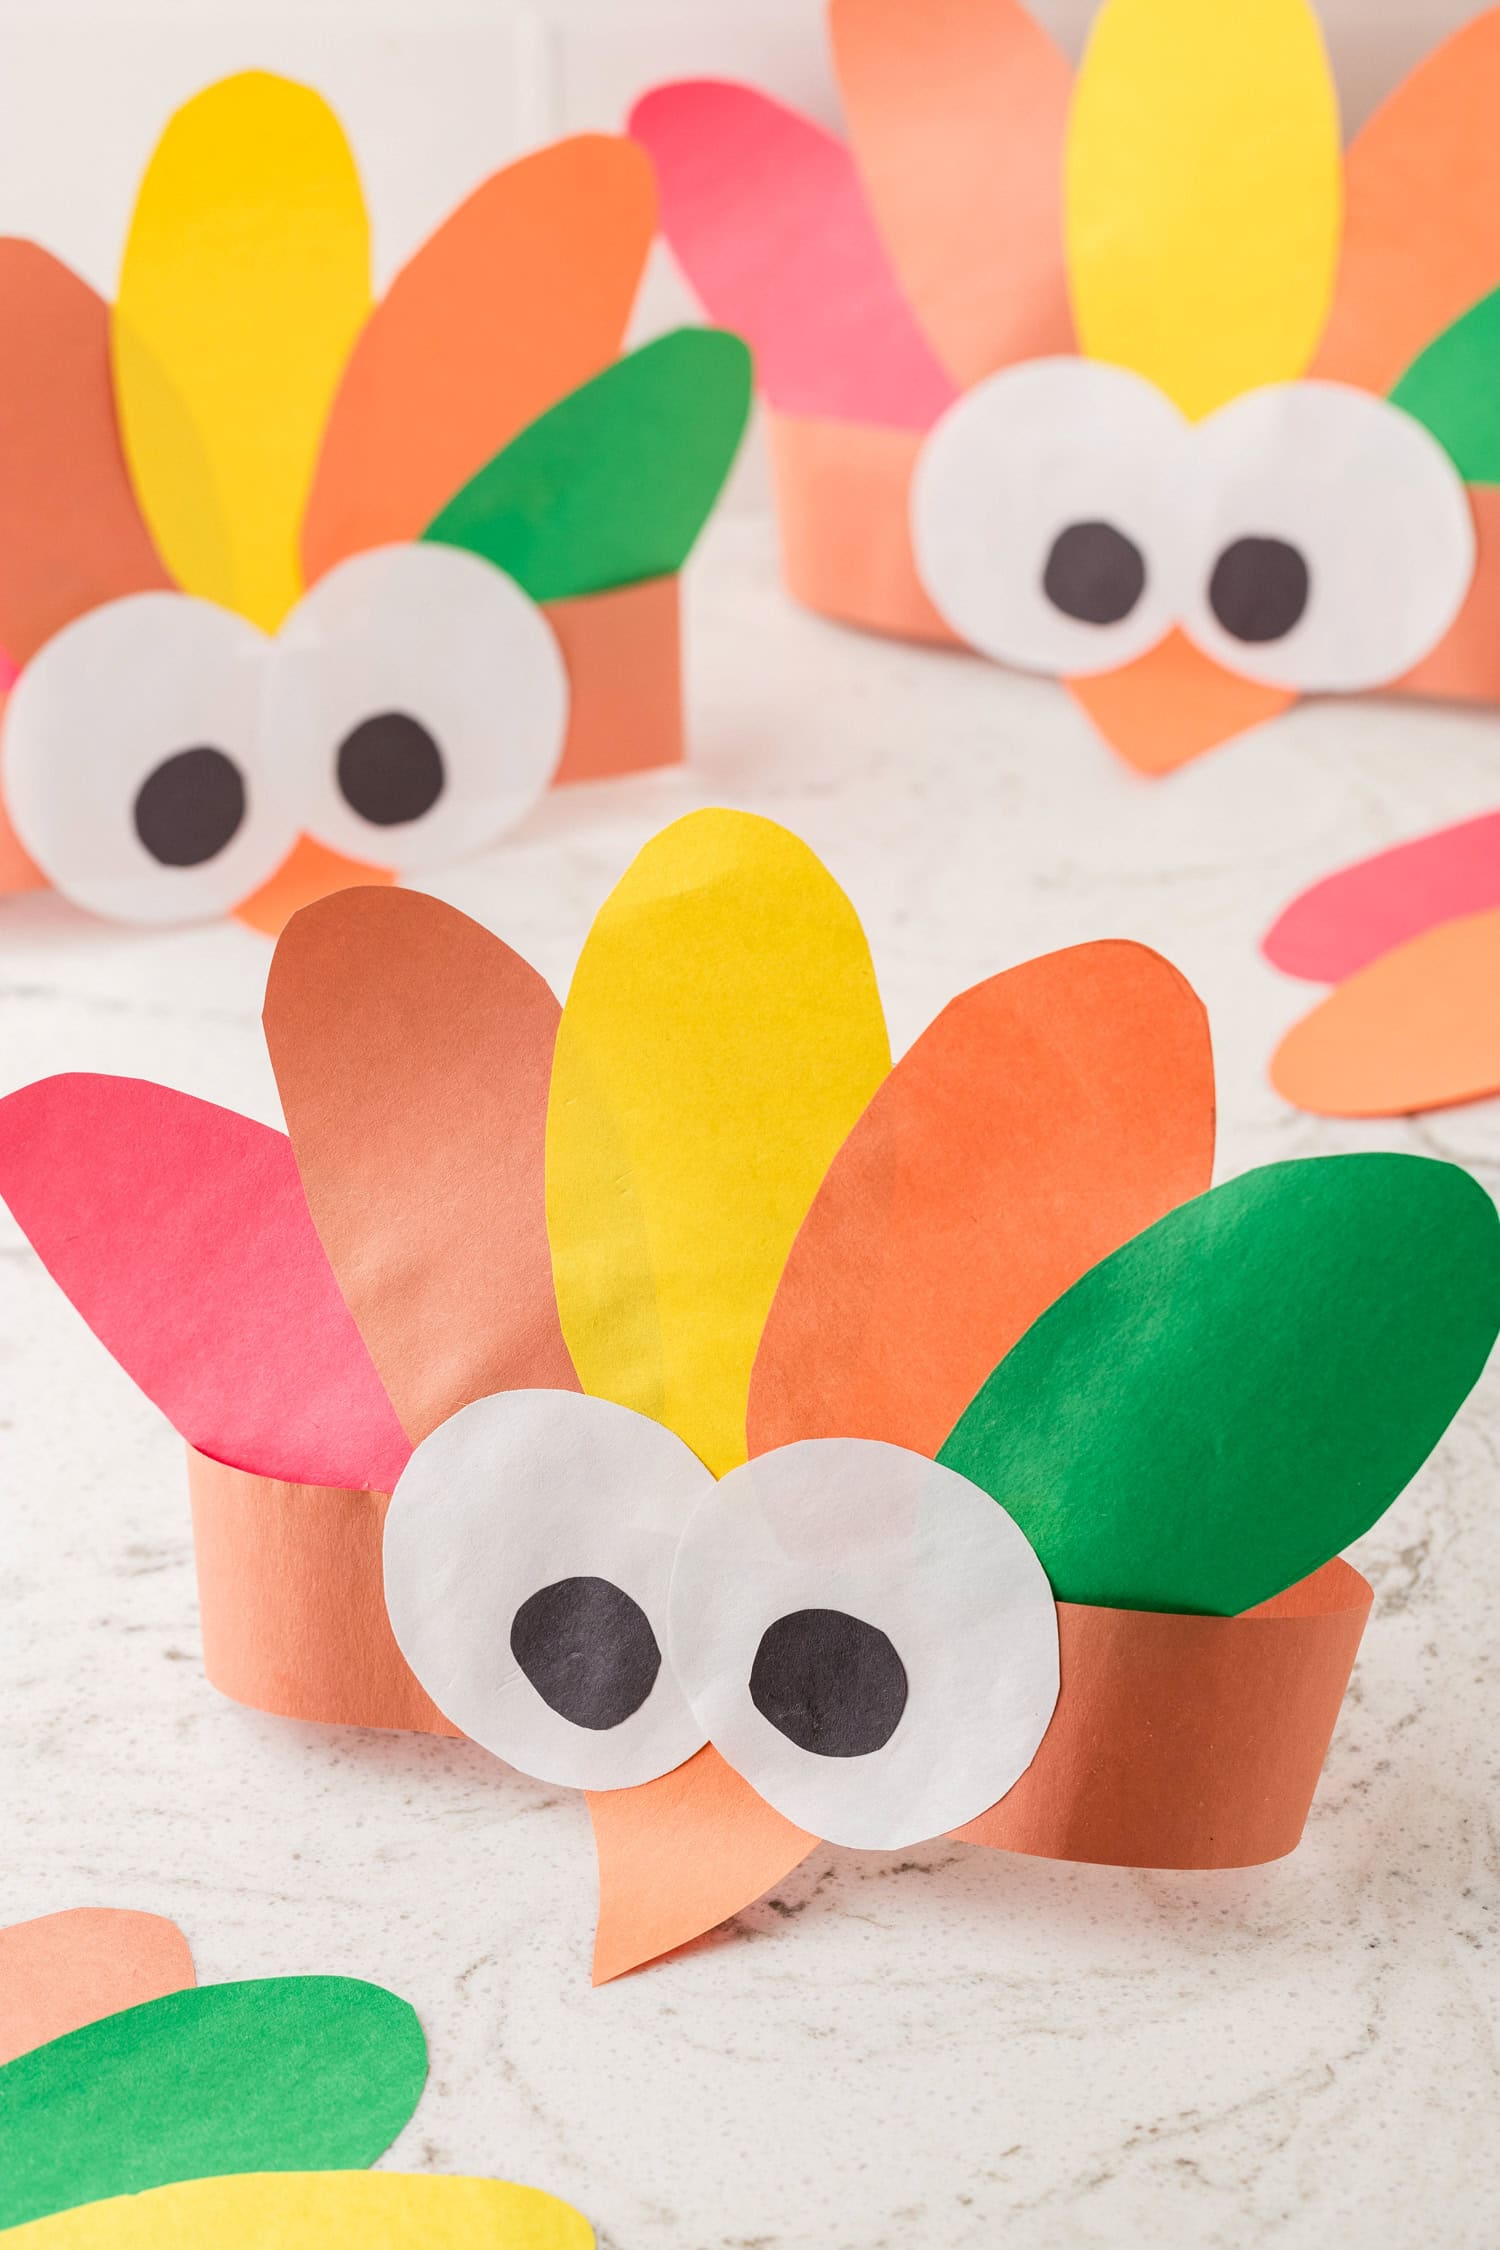
Fall has finally arrived and now it’s time to dive into all the fun fall crafts that we love to make! This turkey headband craft is a perfect activity for families and even the classroom setting. You can make them to wear at your Thanksgiving feast, or simply make new family memories by wearing silly headbands around your heads after a fun craft time. It seriously is one of the cutest crafts!
This paper bag puppet owl is another favorite that we like to make when that weather start getting crisp and cool. Whatever fun activity you choose, or other family traditions you already have in place, this turkey headband craft has to get into the docket this year! Kids of all ages are going to have a blast creating this fun little Thanksgiving headband!
Why You’ll Love this Turkey Headband Craft
- This easy turkey headband craft only takes 30 minutes to make. Fill up your craft time with exciting activities, like this one, to celebrate the fall season.
- Cutting and gluing are all both activities to help refine fine motor skills. Have a fun craft time and get those littler hands moving at the same time!
- Simple activities are the perfect way to encourage creativity. You give them this as a base craft, and then let those kiddos use their creativity to make it all their own!
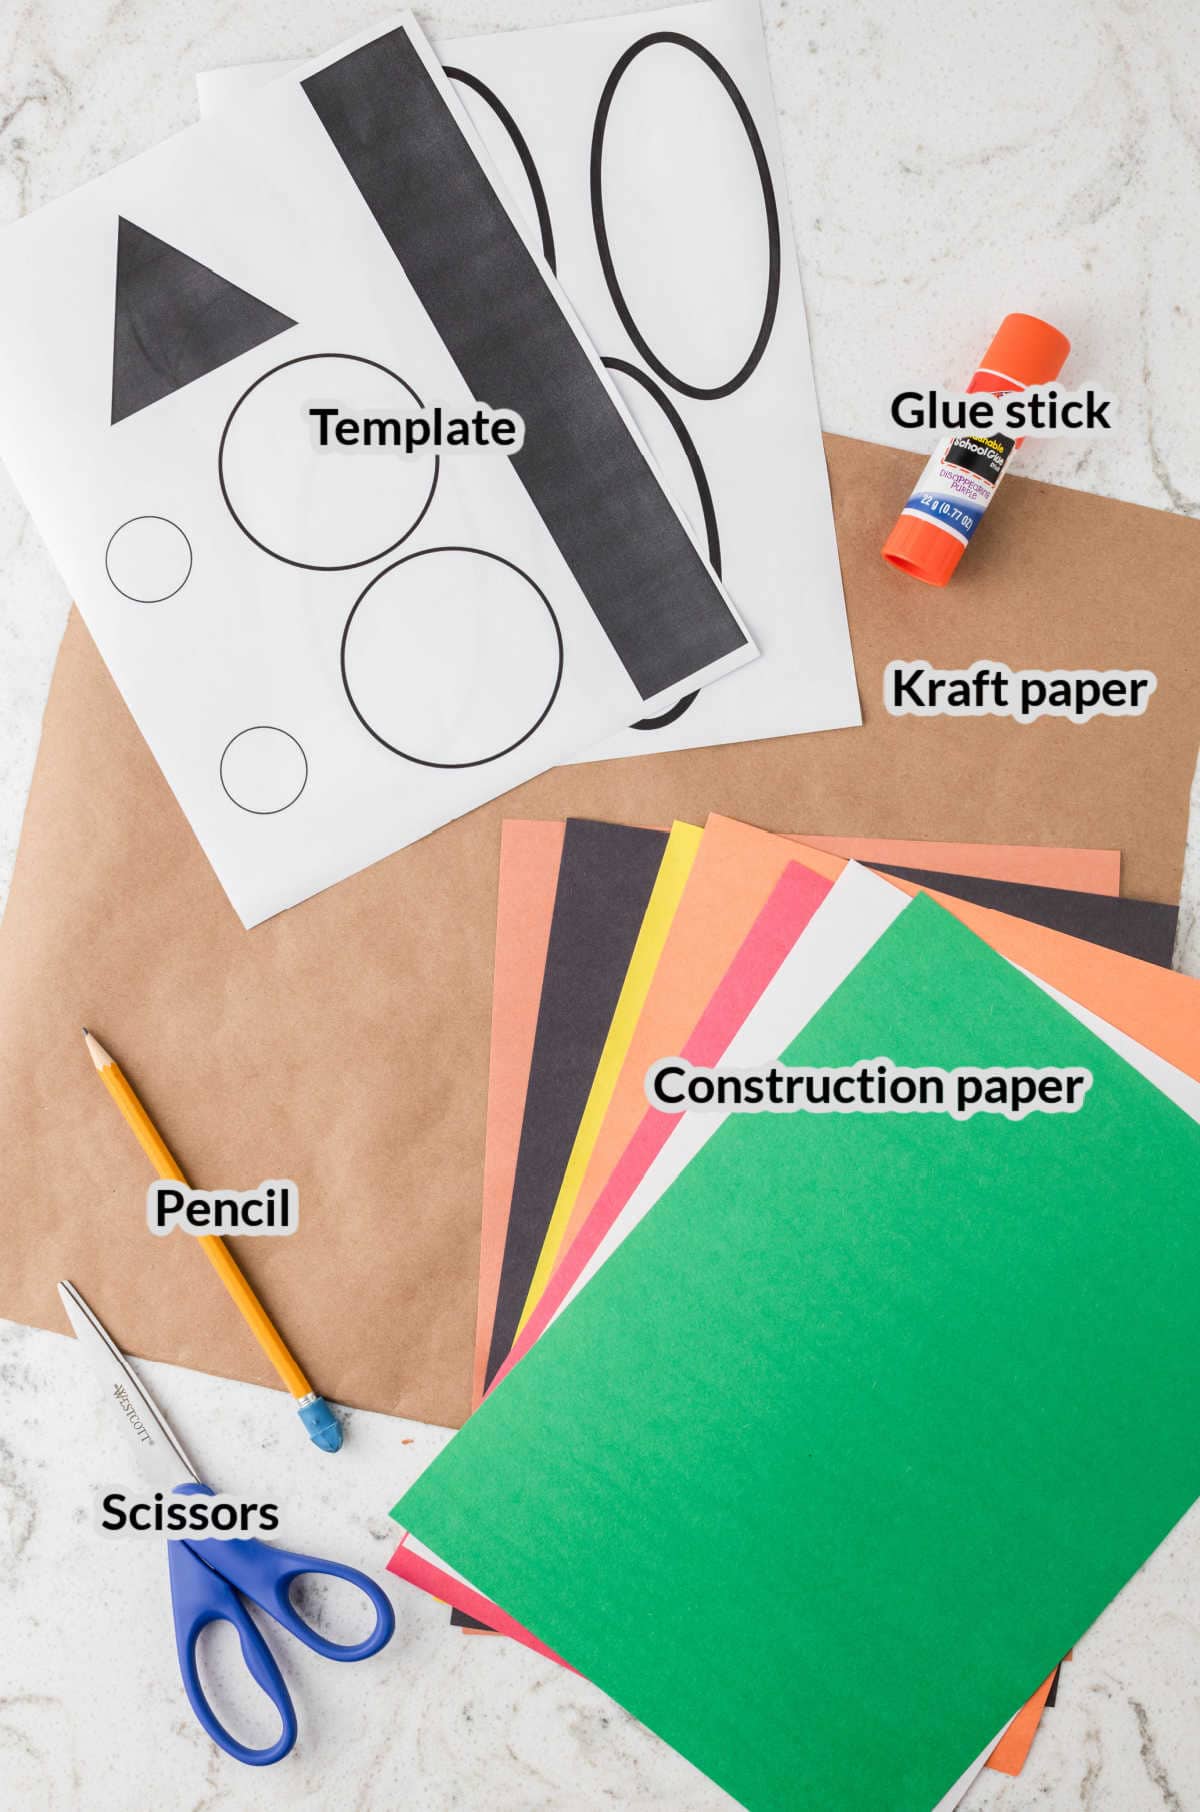
Supplies Needed
- Kraft paper – Use brown craft paper or a disposable tablecloth to cover you work area. This will make for much easier cleanup!
- Construction paper – You’ll need brown, red, white, black, orange, green, and yellow construction paper for this easy Thanksgiving craft.
- Template – It wouldn’t be a simple craft without a template, am I right?! Print this turkey headband craft template to make the shapes for the headband, feathers, eyes, and nose.
- Pencil – You will need a pencil or a pen to trace each of the template print outs.
- Scissors – Working with littles? Be sure to grab some safety scissors in order to protect their little fingers.
- Glue stick – Use a simple school glue stick to attach all of the turkey decorations onto the strip of paper that makes the headband.
How to Make this Turkey Headband Craft
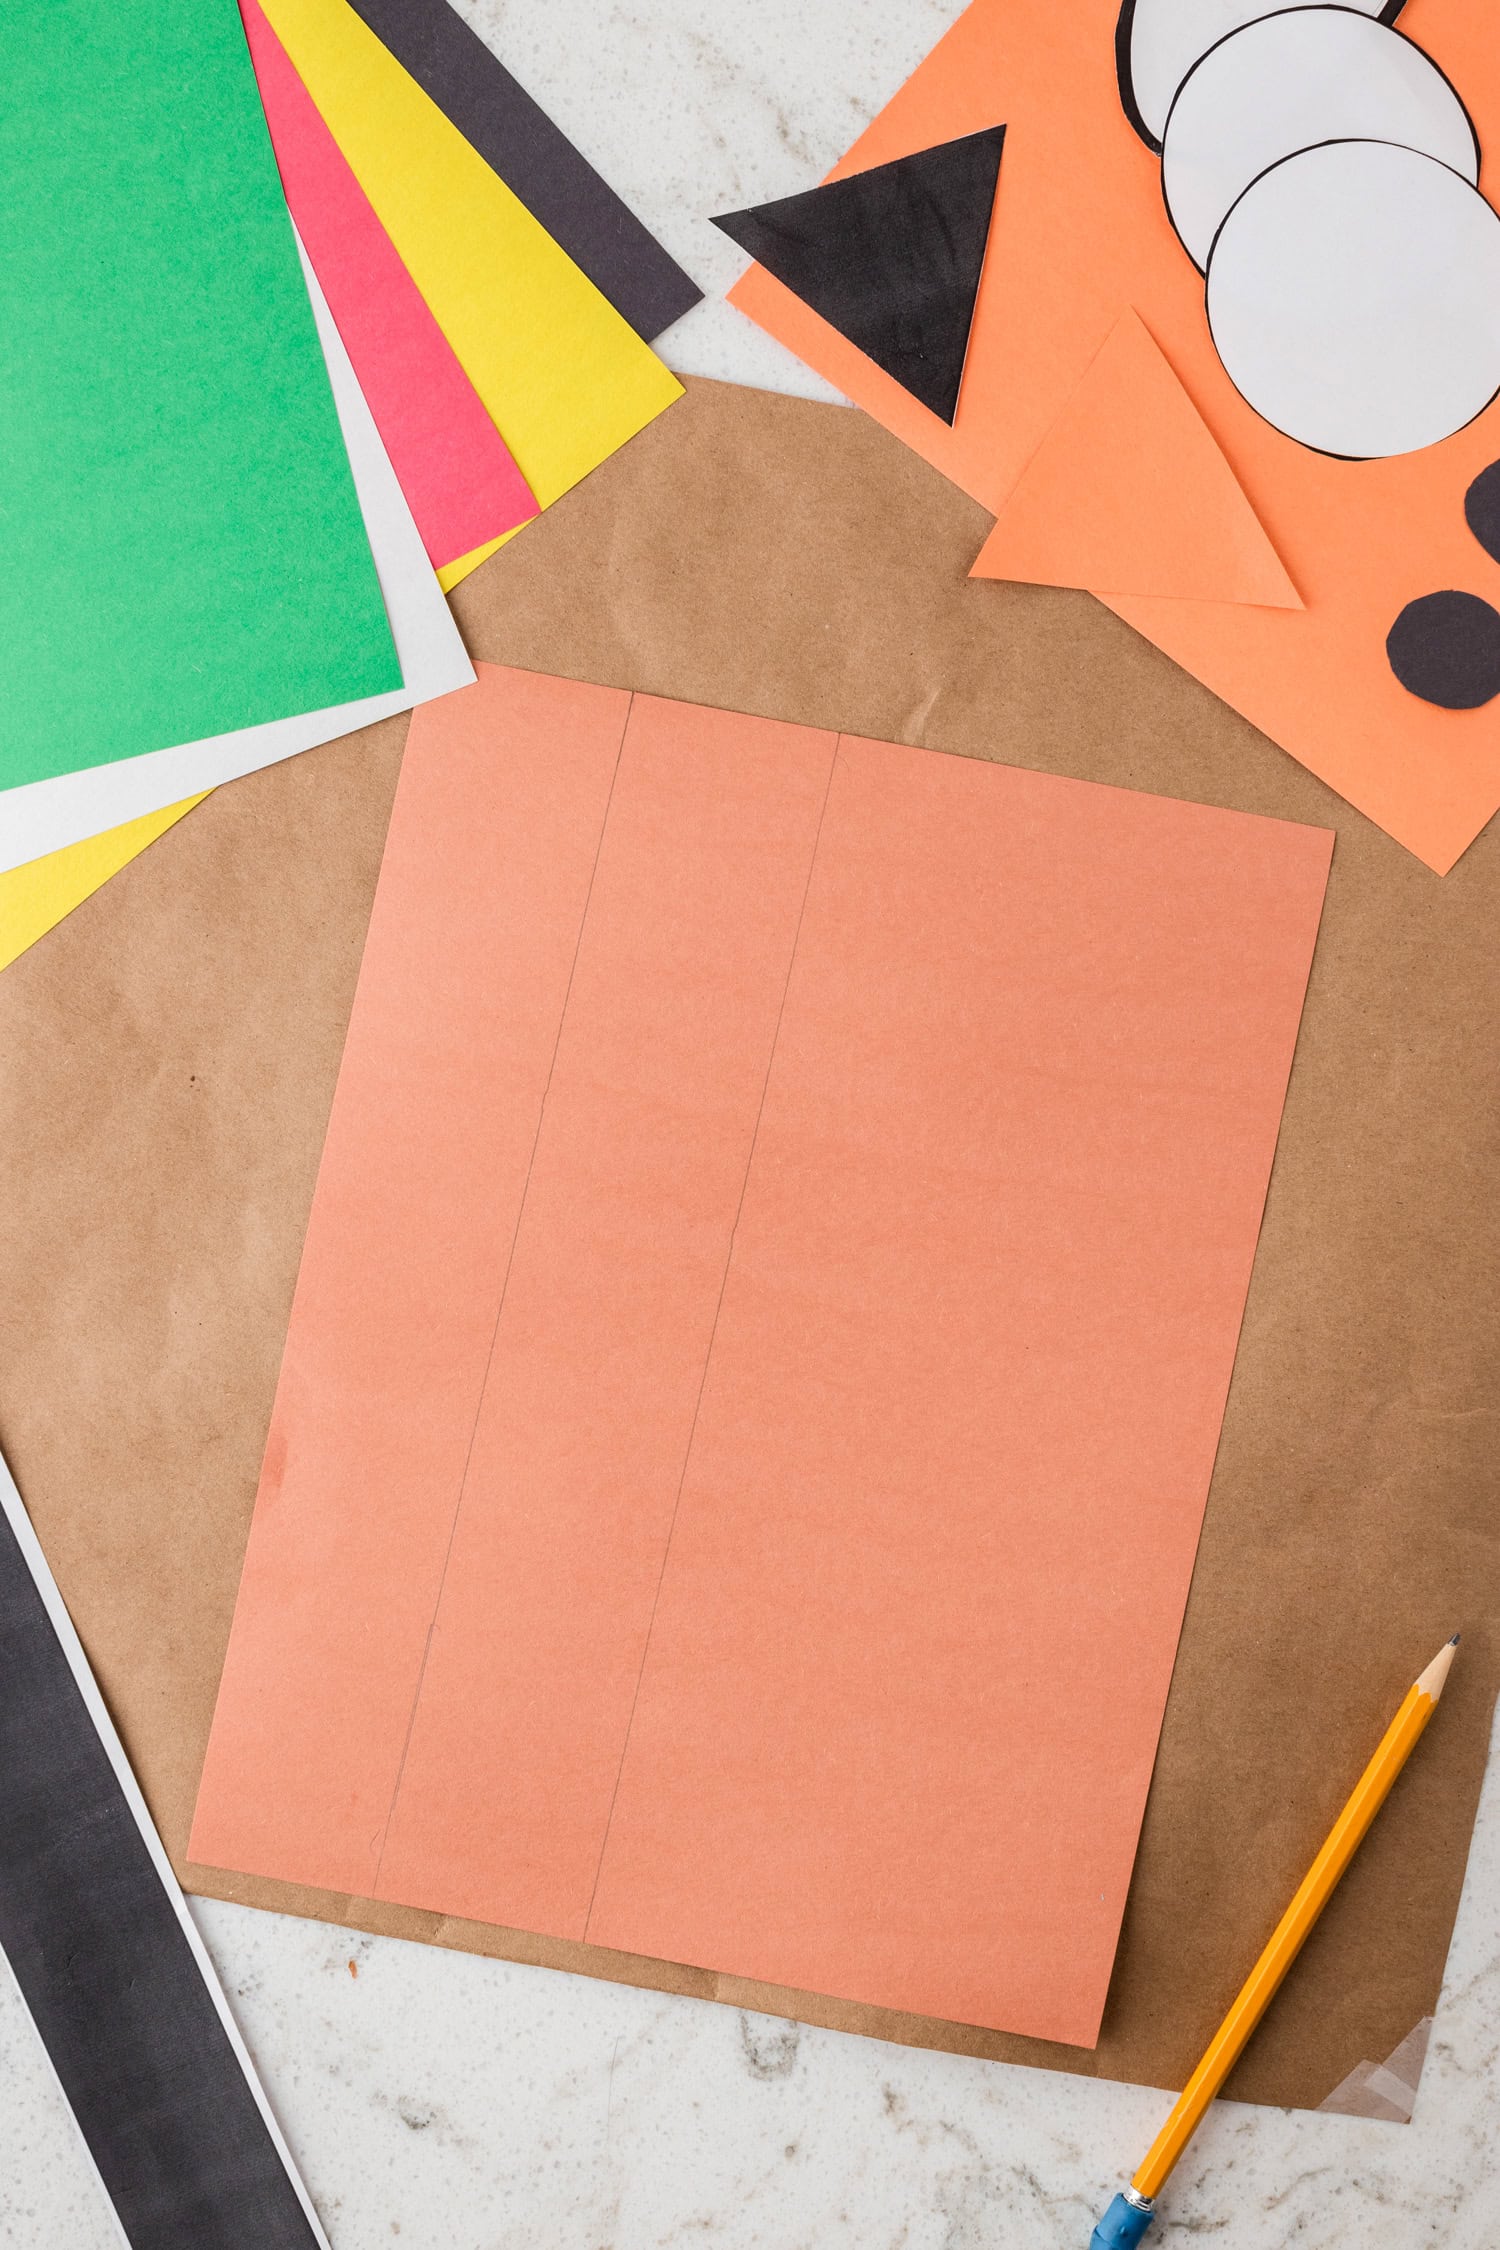
Start by covering your work surface with craft paper or a plastic tablecloth to protect it from glue and scissors. Then print the template shapes for the turkey headband. If you don’t have a printer available, then you can draw the shapes freehand!
It’s time to prepare all the turkey “parts”! Begin by tracing the long rectangle onto a sheet of brown construction paper — this will act as the headband. Repeat this step to make two strips and set aside.
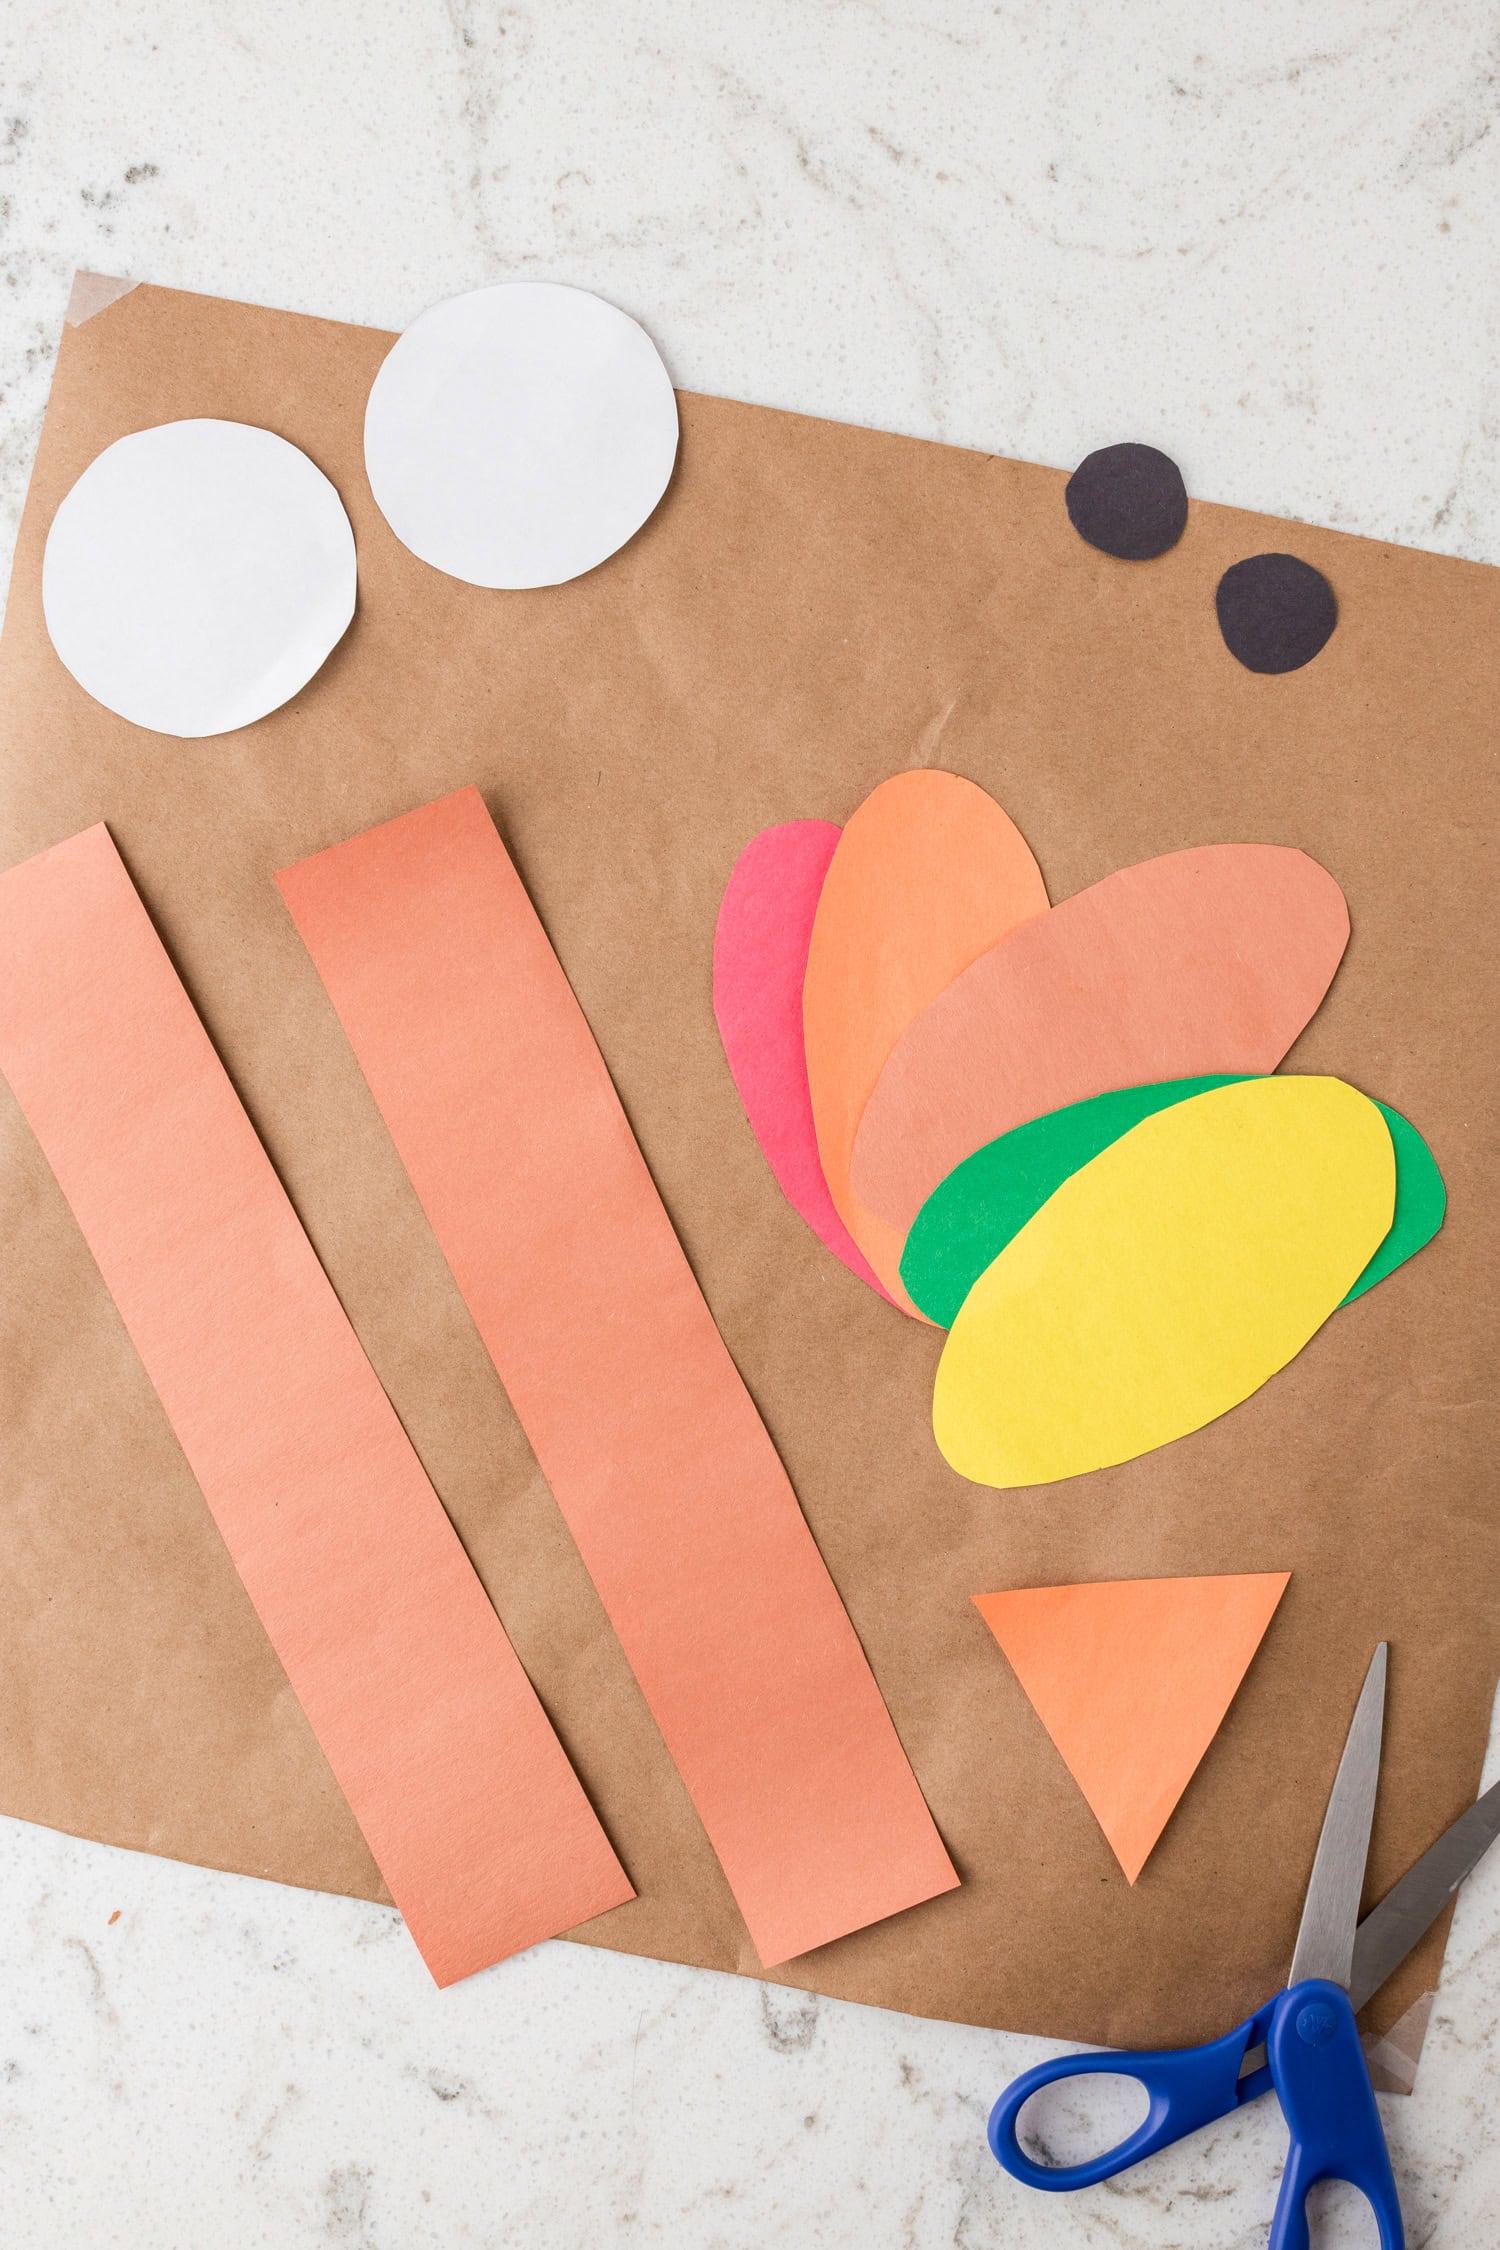
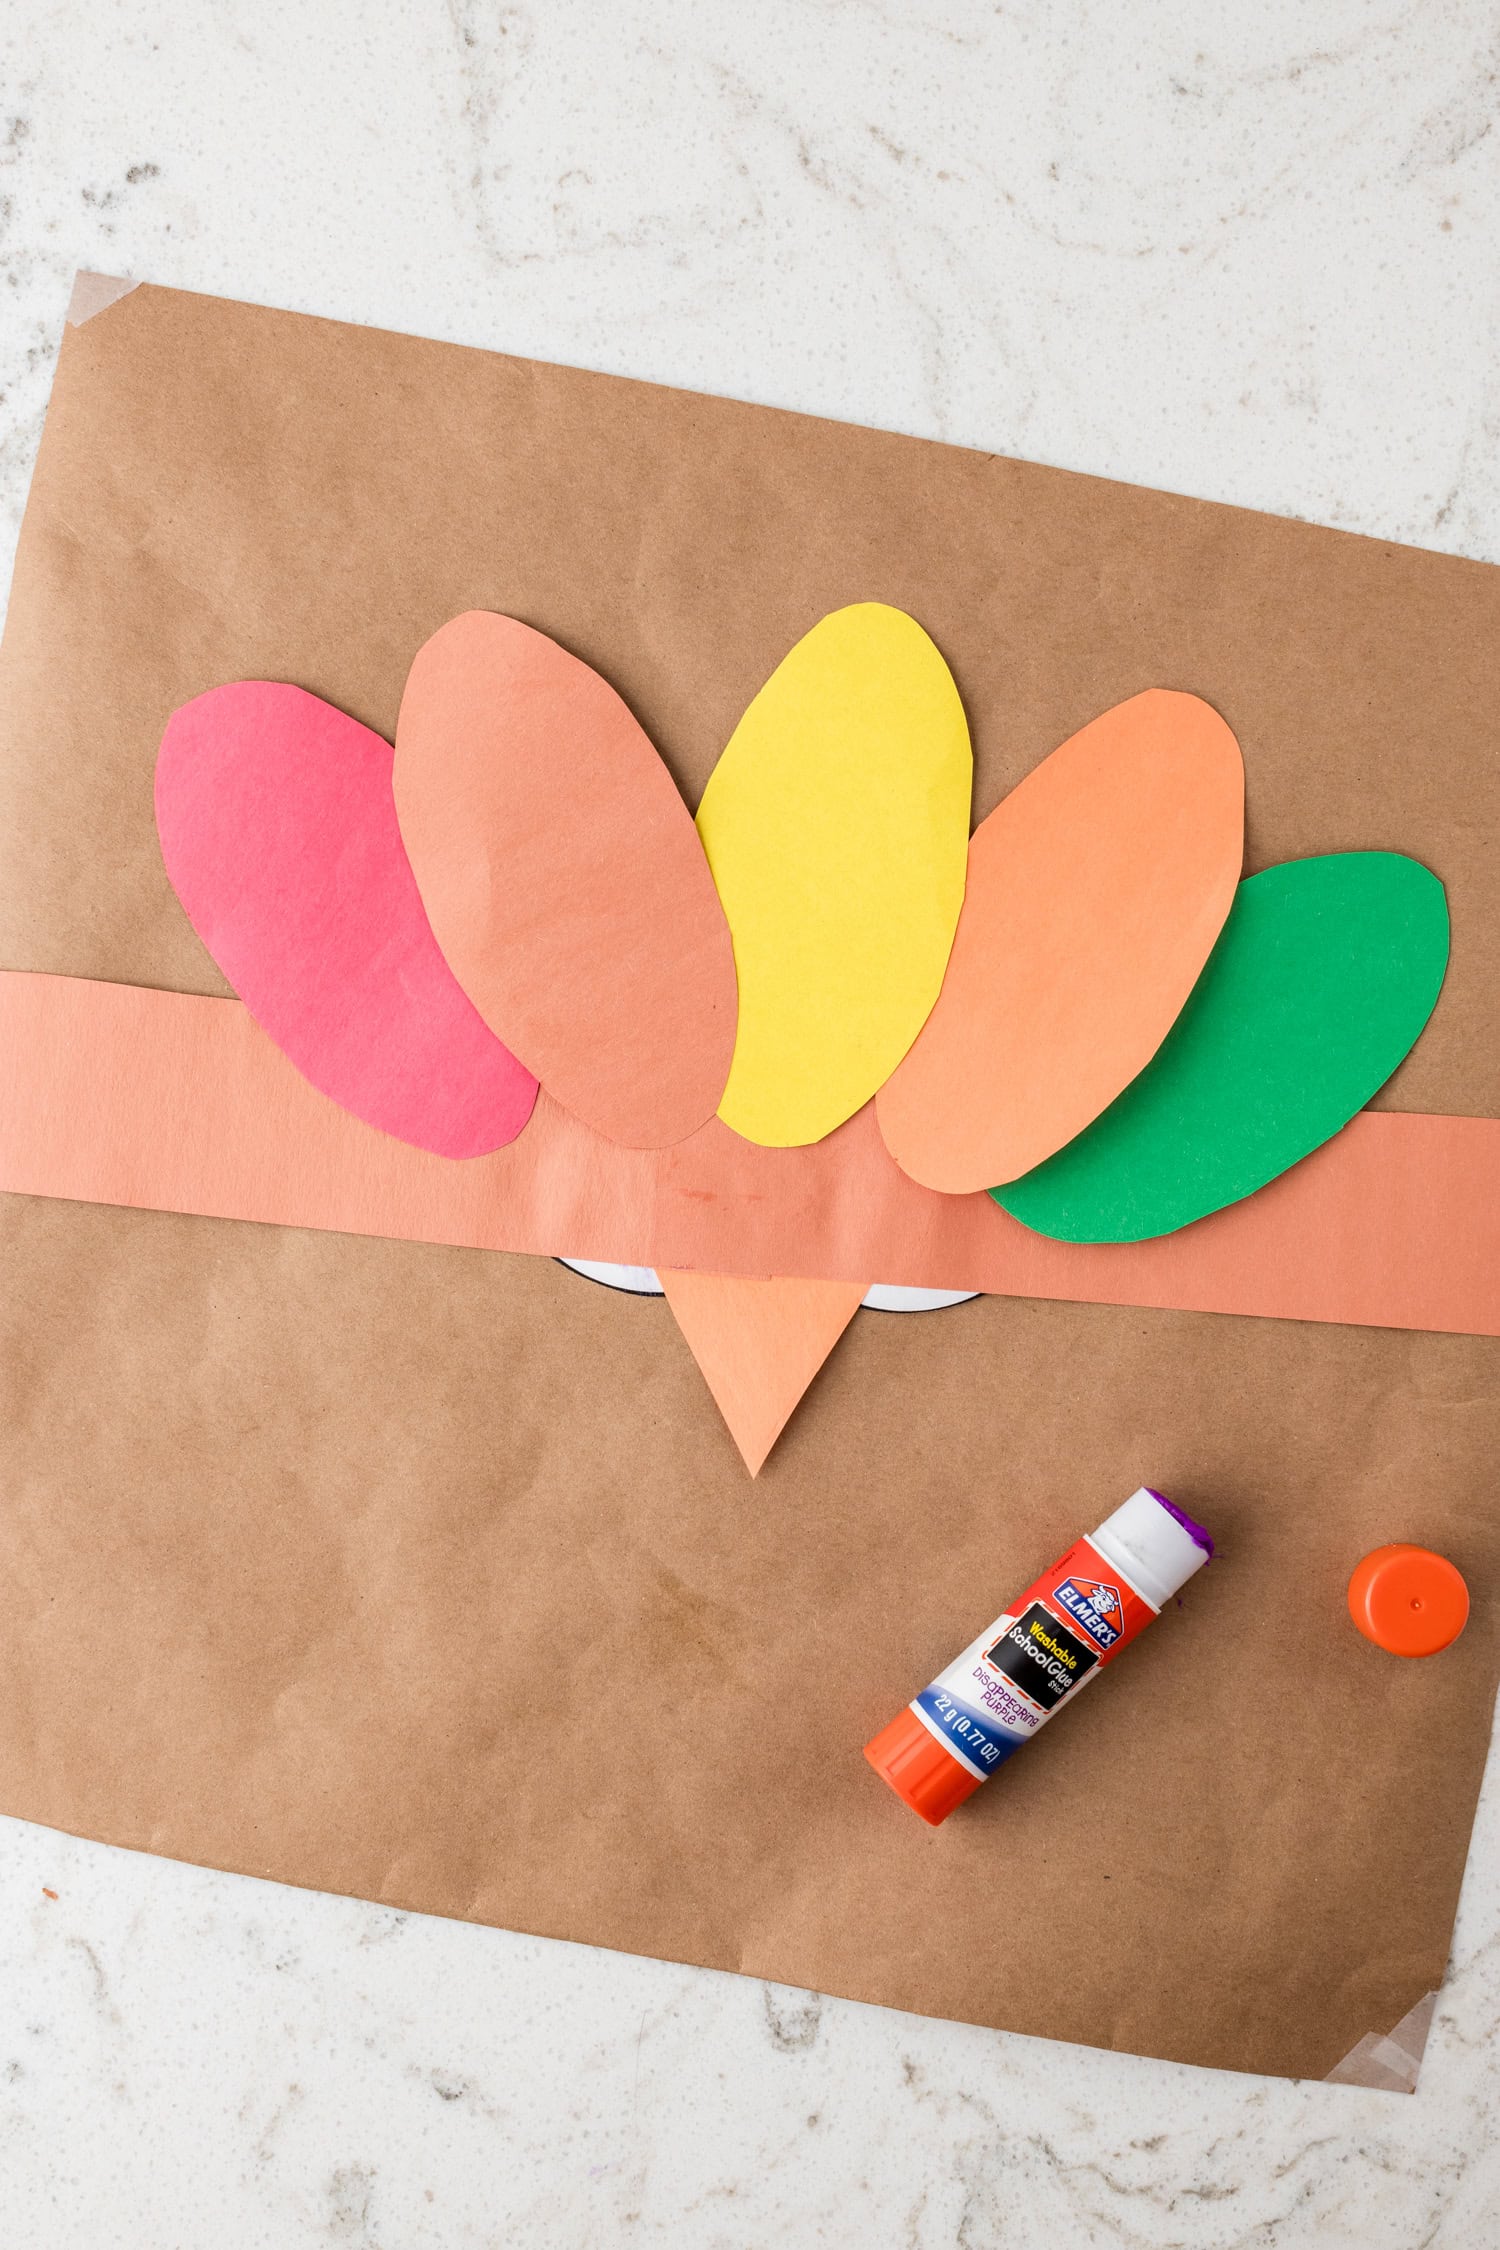
Trace 2 large circles onto the white construction paper and 2 small circles onto the black construction paper to make the eyes and pupils. Then trace the triangle onto the orange construction paper to make the turkey’s beak. Finally, trace the feather shape onto a red, orange, yellow, brown, and green piece of construction paper.
Now, let’s carefully cut out all the traced shapes — headband strips, feathers, eyes, pupils, and beak.
Take the two brown rectangle strips for the headband and slightly overlap the ends. Glue the 2 strips together to form one long strip that will fit around the child’s head.
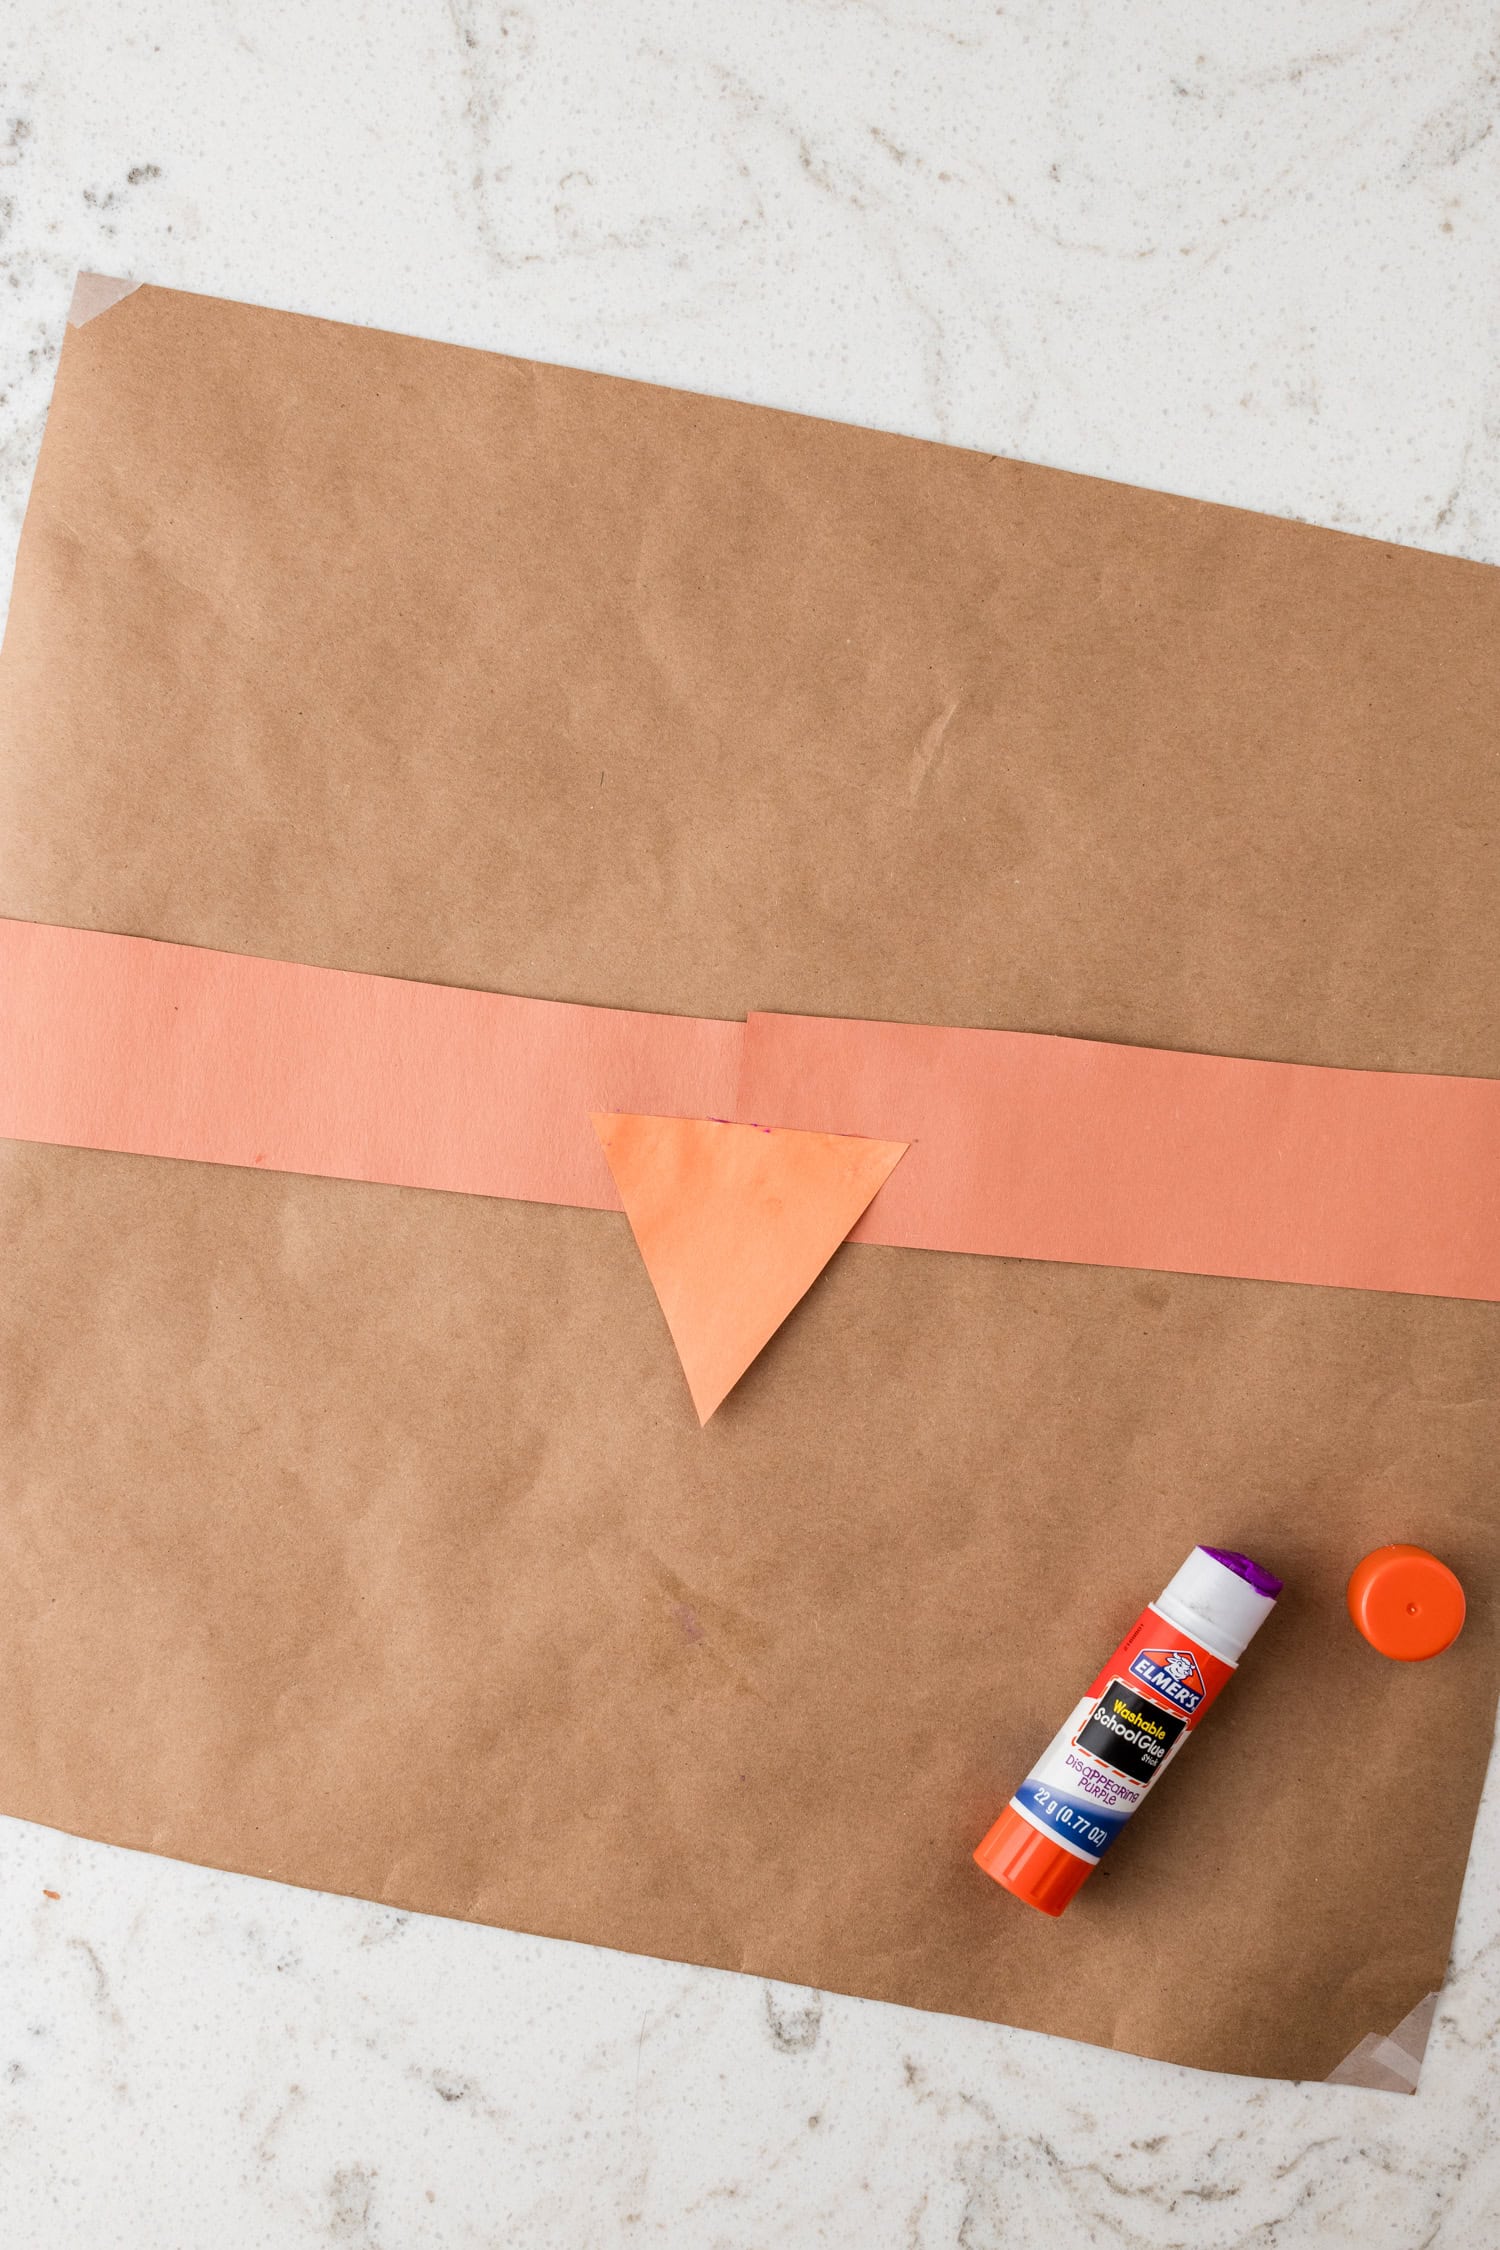
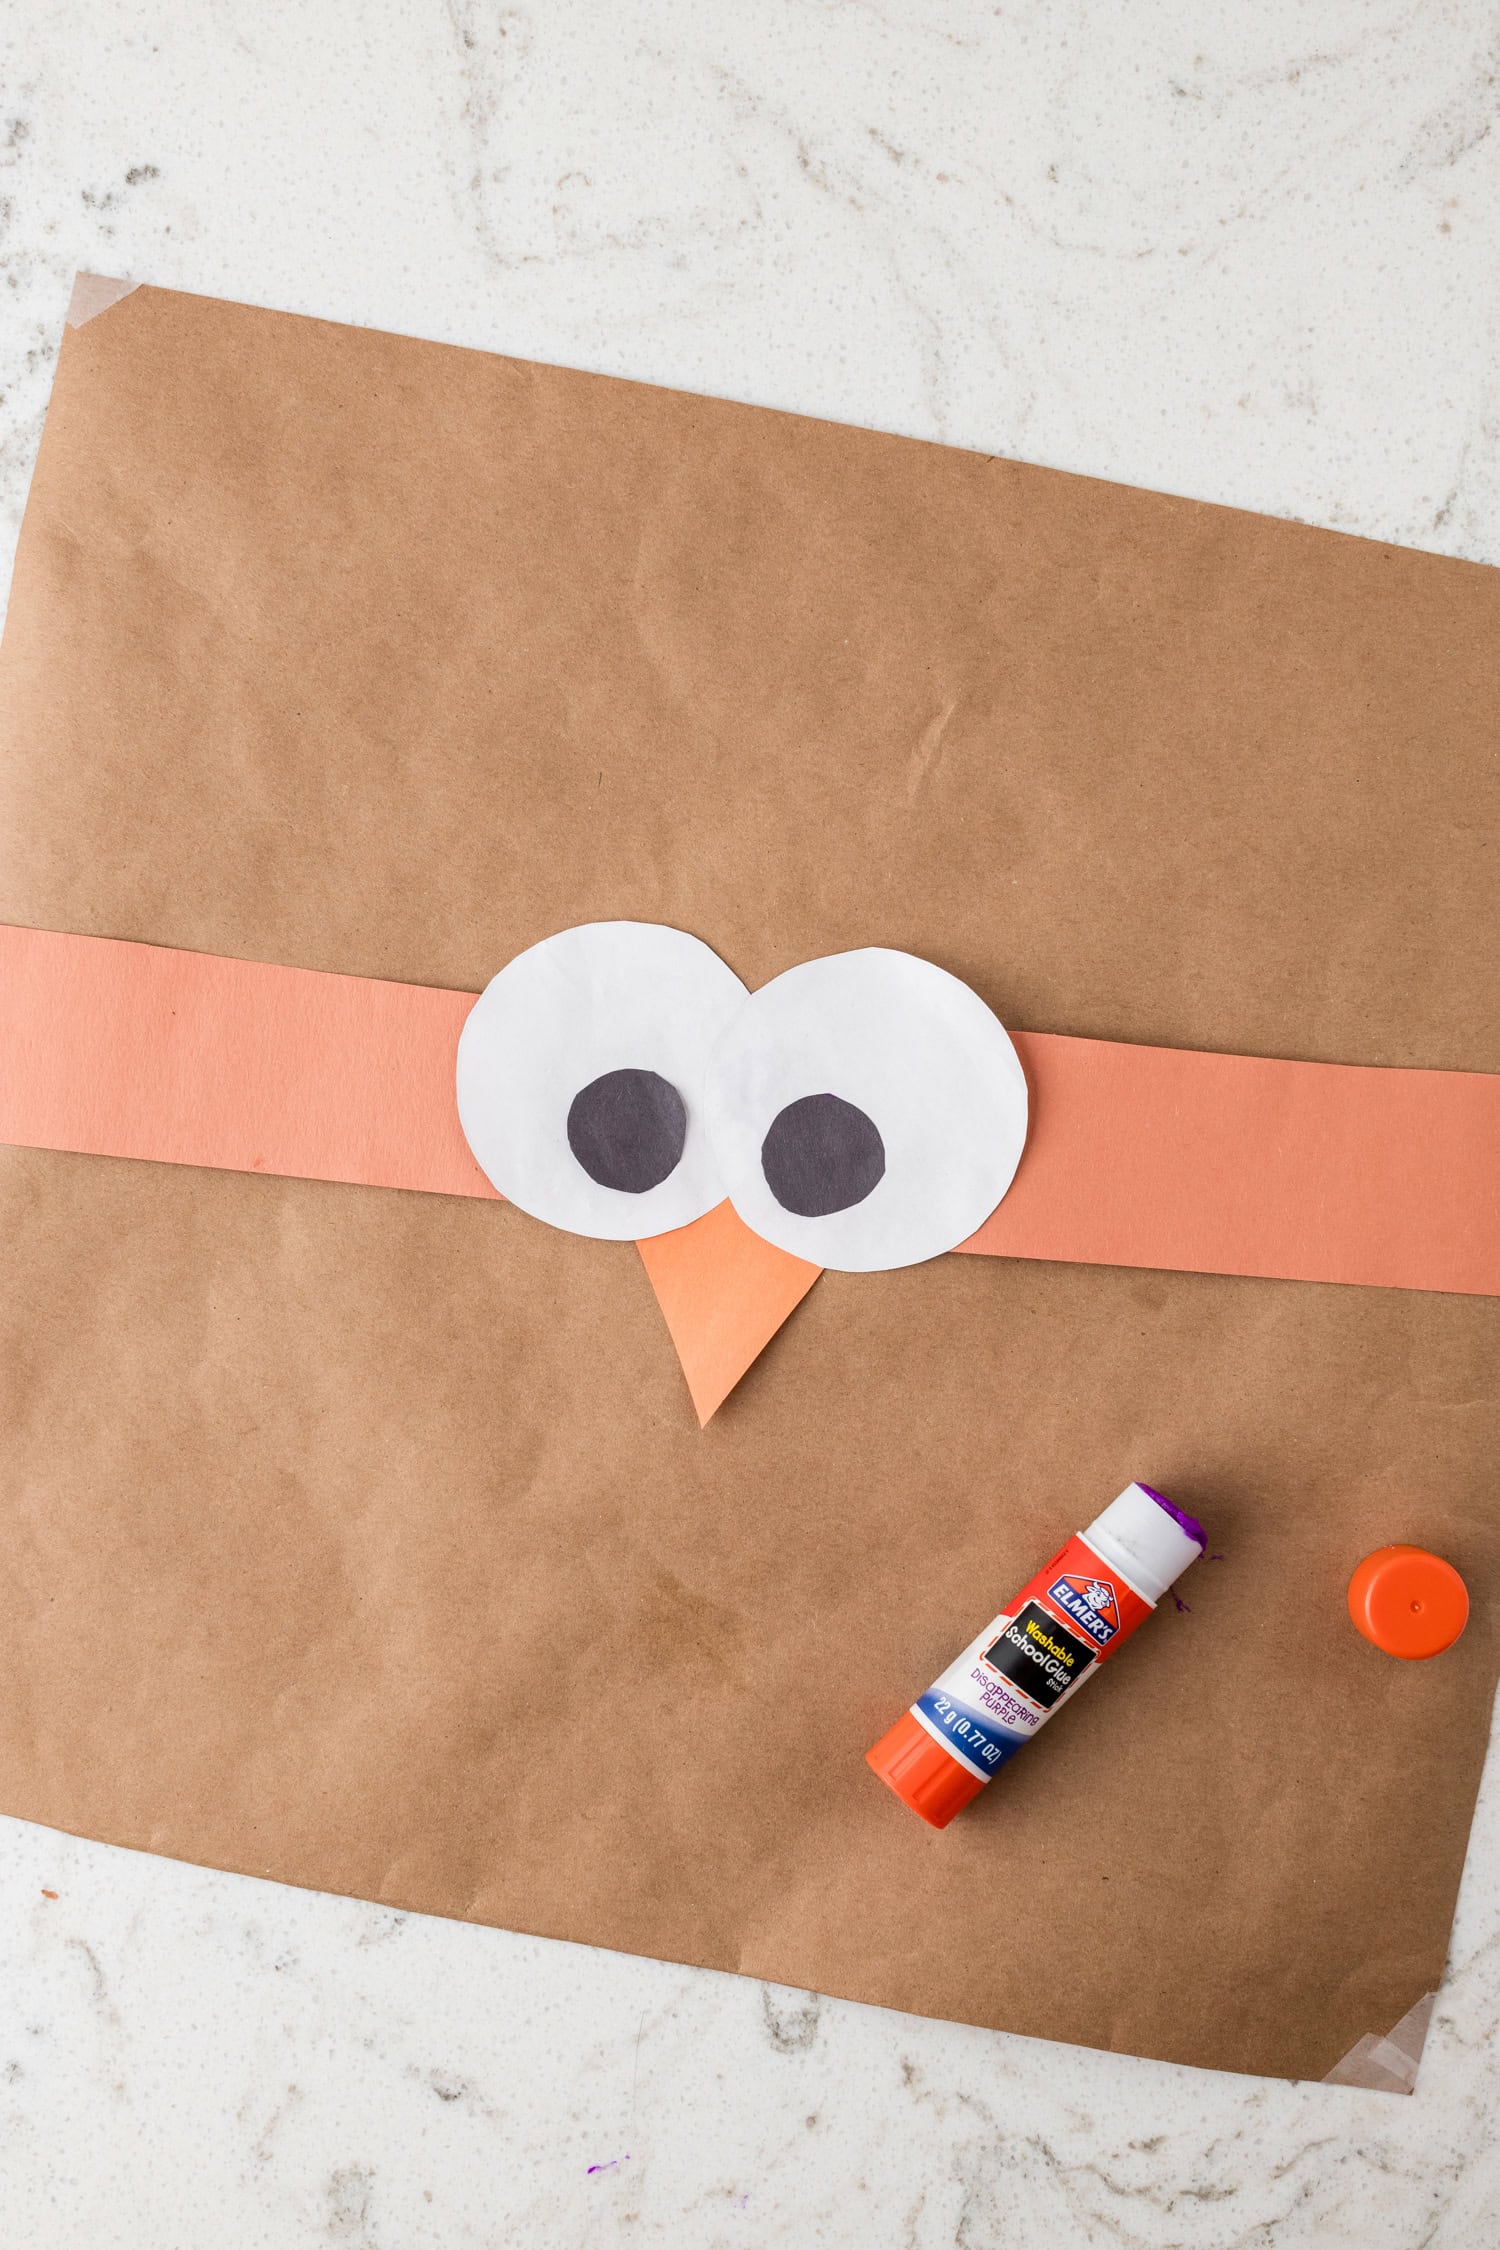
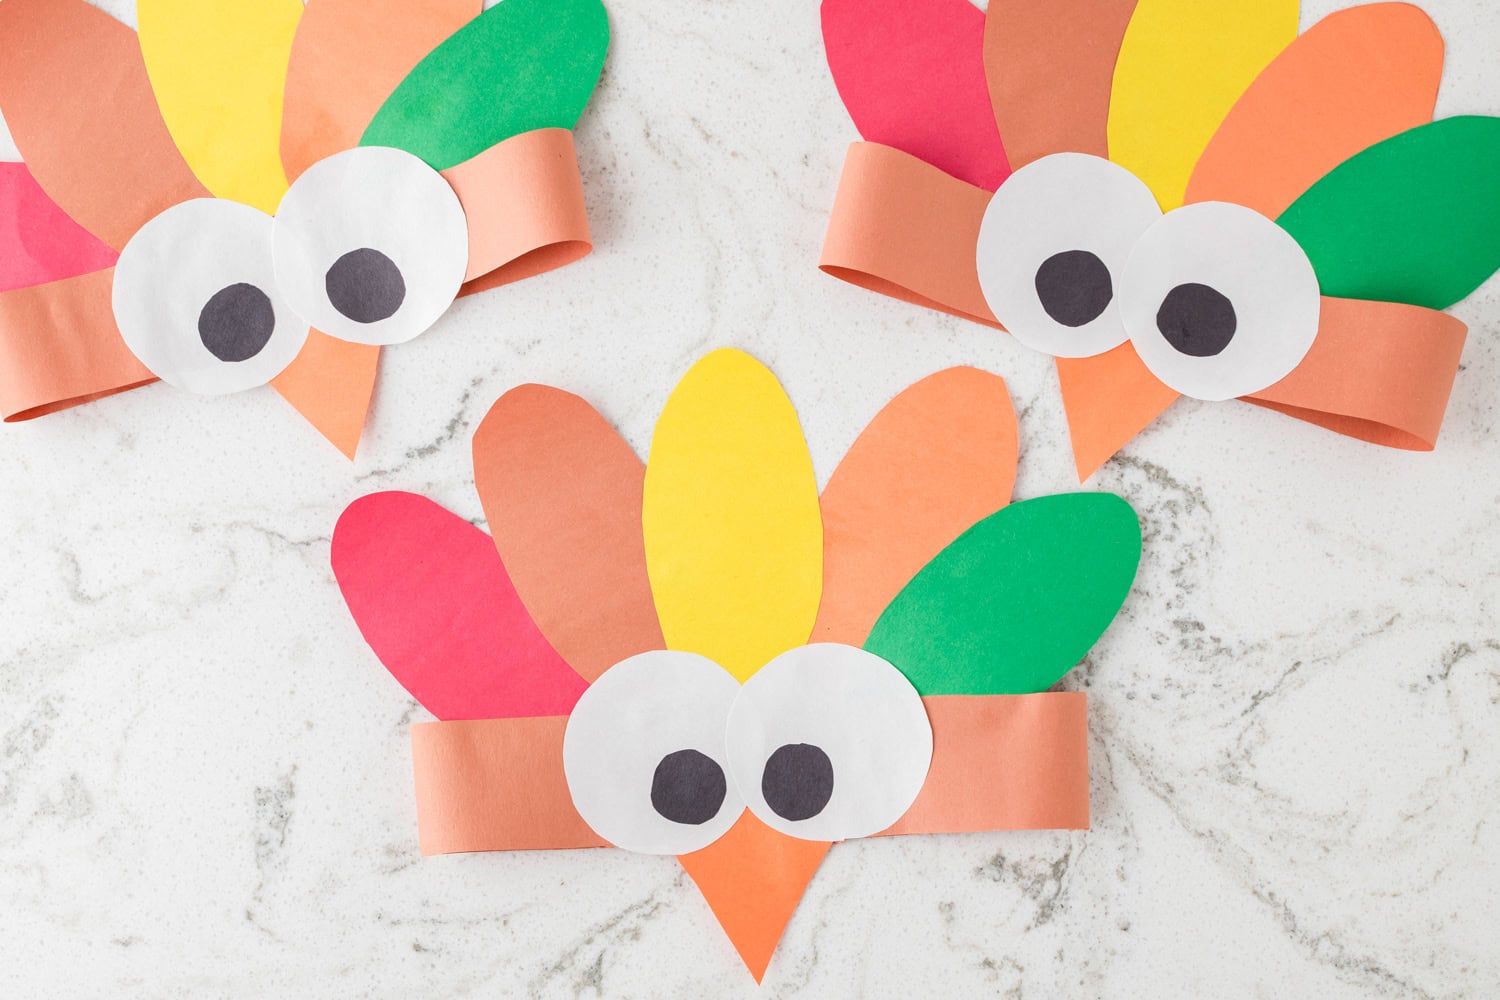
Now it’s time to create the turkey’s face! Glue the orange triangle in the center of the headband to make the turkey’s beak. Then glue the two large white circles on the front of the headband to form the turkey’s eyes and the two small black circles onto the white circles to add pupils. Allow the turkey’s face to dry for just a few minutes.
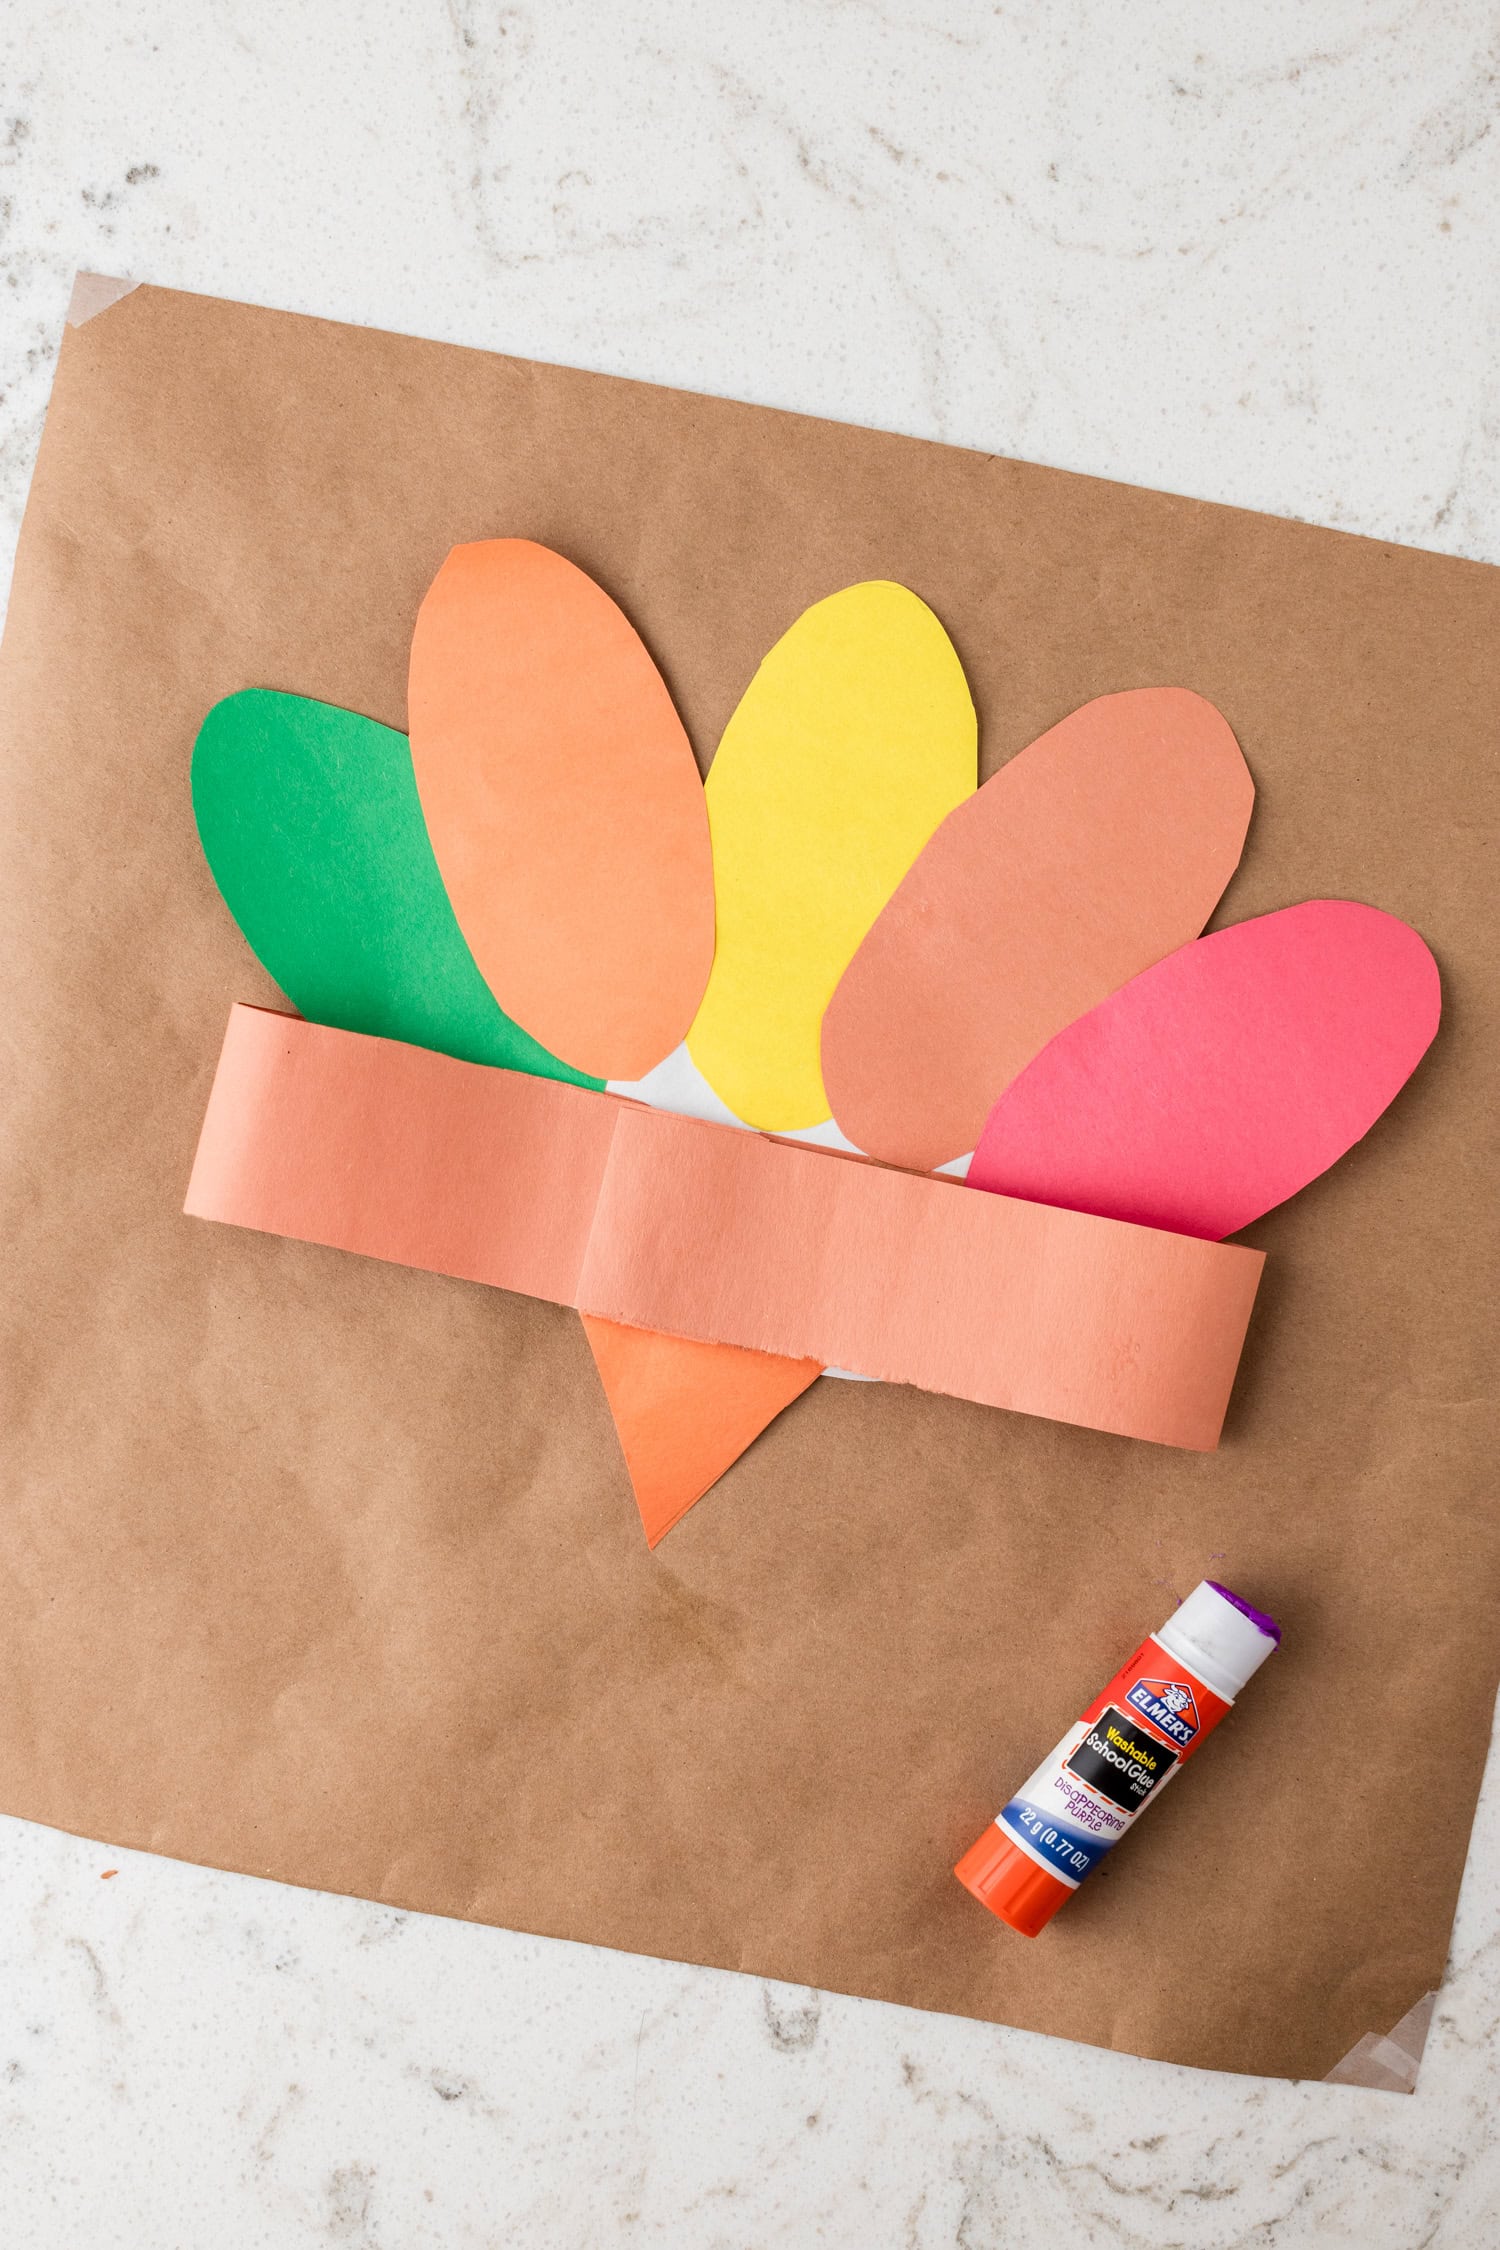
Next, grab the cut-out feather shapes and glue them in a fan pattern on the back of the headband behind the turkey face. Allow everything to dry completely.
Once dry, place the headband on the child’s head and adjust to fit. Measure the strip around the child’s head for size, trimming if necessary, and glue the ends together to create the headband base. Set aside to dry completely.
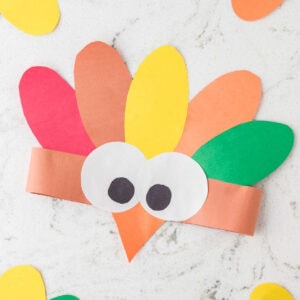
When everything is dry and set, you can proudly wear your adorable turkey headband!

How can I make the headband more sturdy?
Use brown card stock to make the headband strap a bit more sturdy! You can also double over the construction paper to make it double layered. If you don’t have construction paper or card stock, you can use brown paper bags to cut strips out of!
Pro Tips for the Best Thanksgiving Turkey Headband!
- Add some personal style to this turkey headband if you want! You can add glitter (though, beware that it will be left behind in your hair), some stickers, craft feathers, rhinestones and so much more.
- Don’t want to wait for glue to dry? Grab some glue dots and use those instead. They’d be a really easy option for littles!
- If you’re making this craft in a large group setting, then go ahead and either pre-trace or pre-cut all of the pieces so you can cut down on the amount of time you have to help each individual kid.
Isn’t this turkey headband craft just the cutest thing ever! I hope you have a blast making it and Happy Thanksgiving!
More Thanksgiving Crafts and Activities You’ll Love!
- Homemade Pumpkin Playdough is way better than the store-bought stuff and it smells so good!
- This Paper Plate Scarecrow Craft is really fun to make and always turns out so cute.
- If you love this turkey headband, then check out this Turkey Suncatcher Craft too.
- Make new memories each year with this adorable Thankful Tree Craft.
Turkey Headband Craft
Ingredients
- Kraft paper or tablecloth
- Construction paper brown, red, white, black, orange, green, and yellow
- Template for headband, feathers, eyes, and nose
- Pencil
- Scissors
- Glue stick
Instructions
- Let’s start by covering your work surface with craft paper or a tablecloth to protect it from glue and scissors. Print the template shapes for the turkey headband (if no printer is available, you can draw the shapes freehand).
- It’s time to prepare all the turkey “parts”! Begin by tracing the long rectangle onto a sheet of brown construction paper (this will act as the headband). Repeat this to make two strips and set aside. Trace 2 large circles onto the white construction paper and 2 small circles onto the black construction paper to make the eyes and pupils. Trace the triangle onto the orange construction paper to make the turkey’s beak. Finally, trace the feather shape onto a red, orange, yellow, brown, and green piece of construction paper.
- Now, let’s carefully cut out all the traced shapes (headband strips, feathers, eyes, pupils, and beak).
- Take the two brown rectangle strips for the headband. Slightly overlap the ends. Glue the 2 strips together to form one long strip that will fit around the child’s head.
- It’s time to create the turkey’s face! Glue the orange triangle in the center of the headband to make the turkey’s beak. Glue the two large white circles on the front of the headband to form the turkey’s eyes and the two small black circles onto the white circles to add pupils. Allow the turkey’s face to dry for just a few minutes.
- Next, grab the cut-out feather shapes and glue them in a fan pattern on the back of the headband behind the turkey face. Allow everything to dry completely.
- Once dry, place the headband on the child’s head and adjust for fit. Measure the strip around the child’s head for size, trimming if necessary, and glue the ends together to create the headband base. Set aside to dry completely.
All I get when I download is the instructions, not the actual template for the feathers, etc. How do I download the pieces to make the headband..
Hello! All of the template pieces should be here, including the long headband part, which should just be a long strip – all of these pieces should be outlines for the construction paper!
There’s no template to download, only instructions
I’ve updated the link!
Where is the download button!?!?!
In the supplies list, you can click on “template.” This will open the page to the templates for the craft where you can download them!