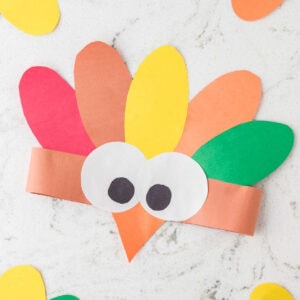
Turkey Headband Craft
Cute, fun and easy Turkey Headband craft is the perfect kids Thanksgiving craft to make.
Print
Pin
Servings: 1
Ingredients
- Kraft paper or tablecloth
- Construction paper brown, red, white, black, orange, green, and yellow
- Template for headband, feathers, eyes, and nose
- Pencil
- Scissors
- Glue stick
Instructions
- Let’s start by covering your work surface with craft paper or a tablecloth to protect it from glue and scissors. Print the template shapes for the turkey headband (if no printer is available, you can draw the shapes freehand).
- It’s time to prepare all the turkey “parts”! Begin by tracing the long rectangle onto a sheet of brown construction paper (this will act as the headband). Repeat this to make two strips and set aside. Trace 2 large circles onto the white construction paper and 2 small circles onto the black construction paper to make the eyes and pupils. Trace the triangle onto the orange construction paper to make the turkey’s beak. Finally, trace the feather shape onto a red, orange, yellow, brown, and green piece of construction paper.
- Now, let’s carefully cut out all the traced shapes (headband strips, feathers, eyes, pupils, and beak).
- Take the two brown rectangle strips for the headband. Slightly overlap the ends. Glue the 2 strips together to form one long strip that will fit around the child's head.
- It’s time to create the turkey’s face! Glue the orange triangle in the center of the headband to make the turkey’s beak. Glue the two large white circles on the front of the headband to form the turkey’s eyes and the two small black circles onto the white circles to add pupils. Allow the turkey’s face to dry for just a few minutes.
- Next, grab the cut-out feather shapes and glue them in a fan pattern on the back of the headband behind the turkey face. Allow everything to dry completely.
- Once dry, place the headband on the child’s head and adjust for fit. Measure the strip around the child's head for size, trimming if necessary, and glue the ends together to create the headband base. Set aside to dry completely.
Tried this recipe?Please leave a comment below or pin it to your Pinterest account!