Paper Plate Scarecrow Craft
Get into the fall spirit with this fun and easy paper plate scarecrow craft for kids! Paint, lace and craft a cute scarecrow. Perfect for a rainy day activity or to decorate for the season.
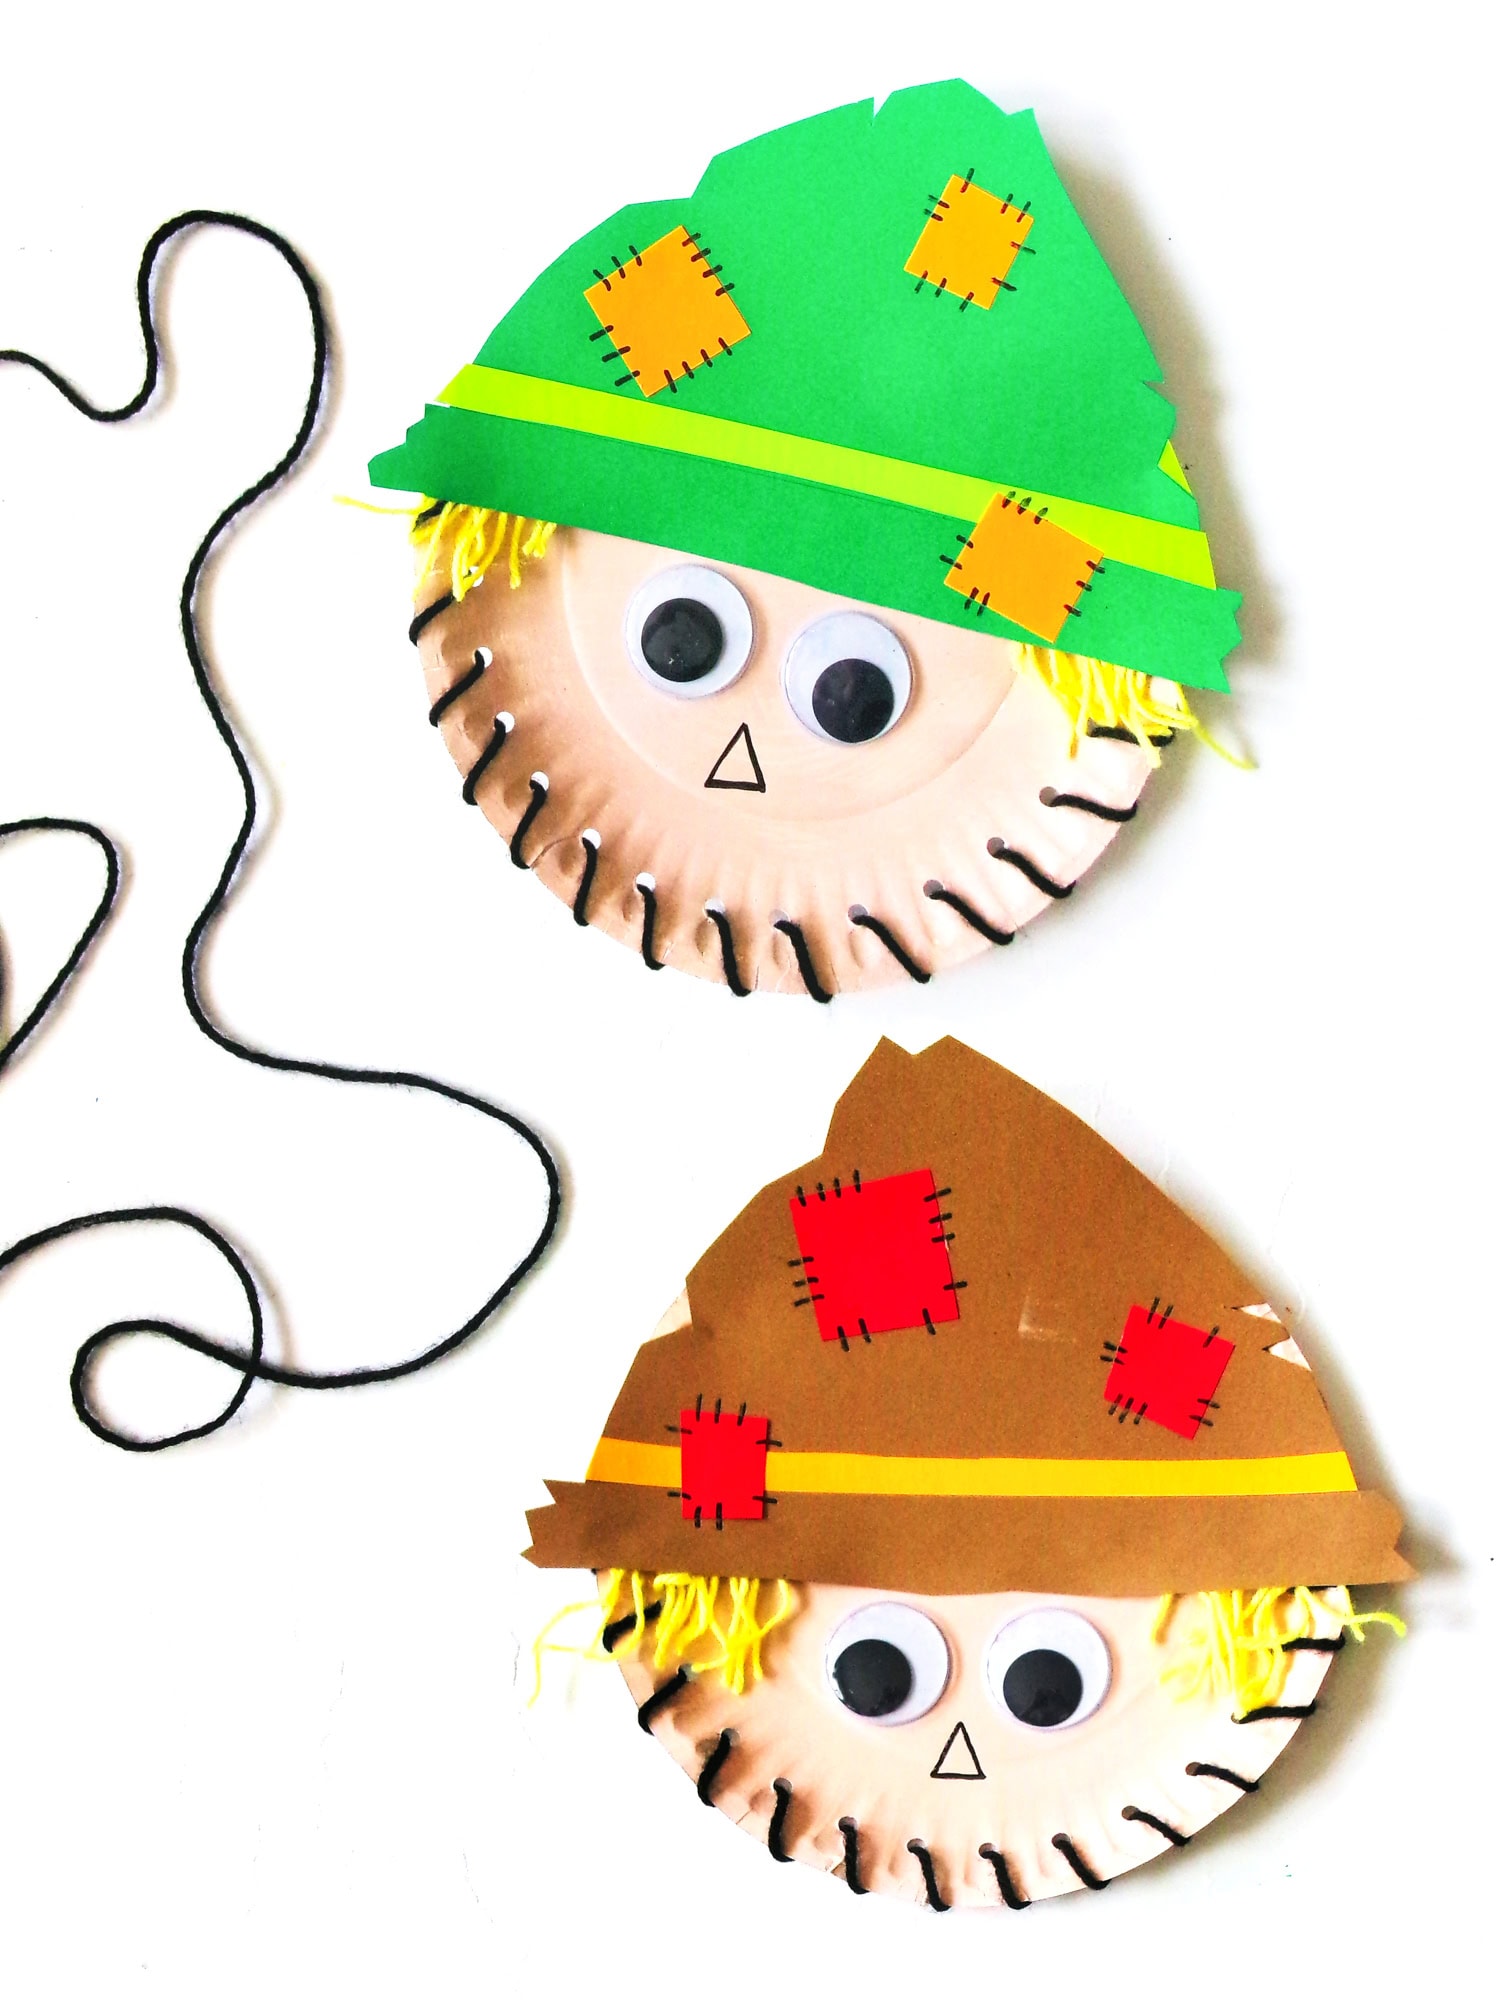
Isn’t this paper plate scarecrow craft just adorable? It’s the perfect project for fall and always turns out so fun. I love to make 3-dimensional project because it makes these fun ideas just come to life! With the yarn wrap and yarn hair on this paper plate scarecrow, it seriously turns out so cute. You can have all sorts of fall fun making your own scarecrow craft!
We seriously love fall crafts around here. This turkey suncatcher and our Indian corn craft are so adorable! But now enters the cutest and most simple to make paper plate scarecrow — and wow is he cute. You can make this festive little craft with a bunch of basic craft materials that I bet you already have on hand. It’s the perfect way to occupy little imaginations and hands during fall break or Thanksgiving break. I hope you love this sweet craft as much as we do!
Why You’ll Love this Paper Plate Scarecrow Craft
- You can complete this scarecrow paper plate craft in just about 40 minutes. It’s the perfect amount of time for a school art class, craft time, or any other block of time at school or day care that you need to fill!
- This fun craft involves cutting and glueing which are great fine motor skills practice. If your littles need to work on those developmental skills, this is a great way to do so.
- Make this paper plate scarecrow craft with simple supplies. It’s actually a very affordable craft since many of the craft supplies come in bulk and can be used for tons of other fun creations!

Supplies Needed
- Googly eyes – Grab the large size of googly eyes so that they are the right size ratio to a paper plate. Small googly eyes would be too tiny and would look a little funny on the scarecrow.
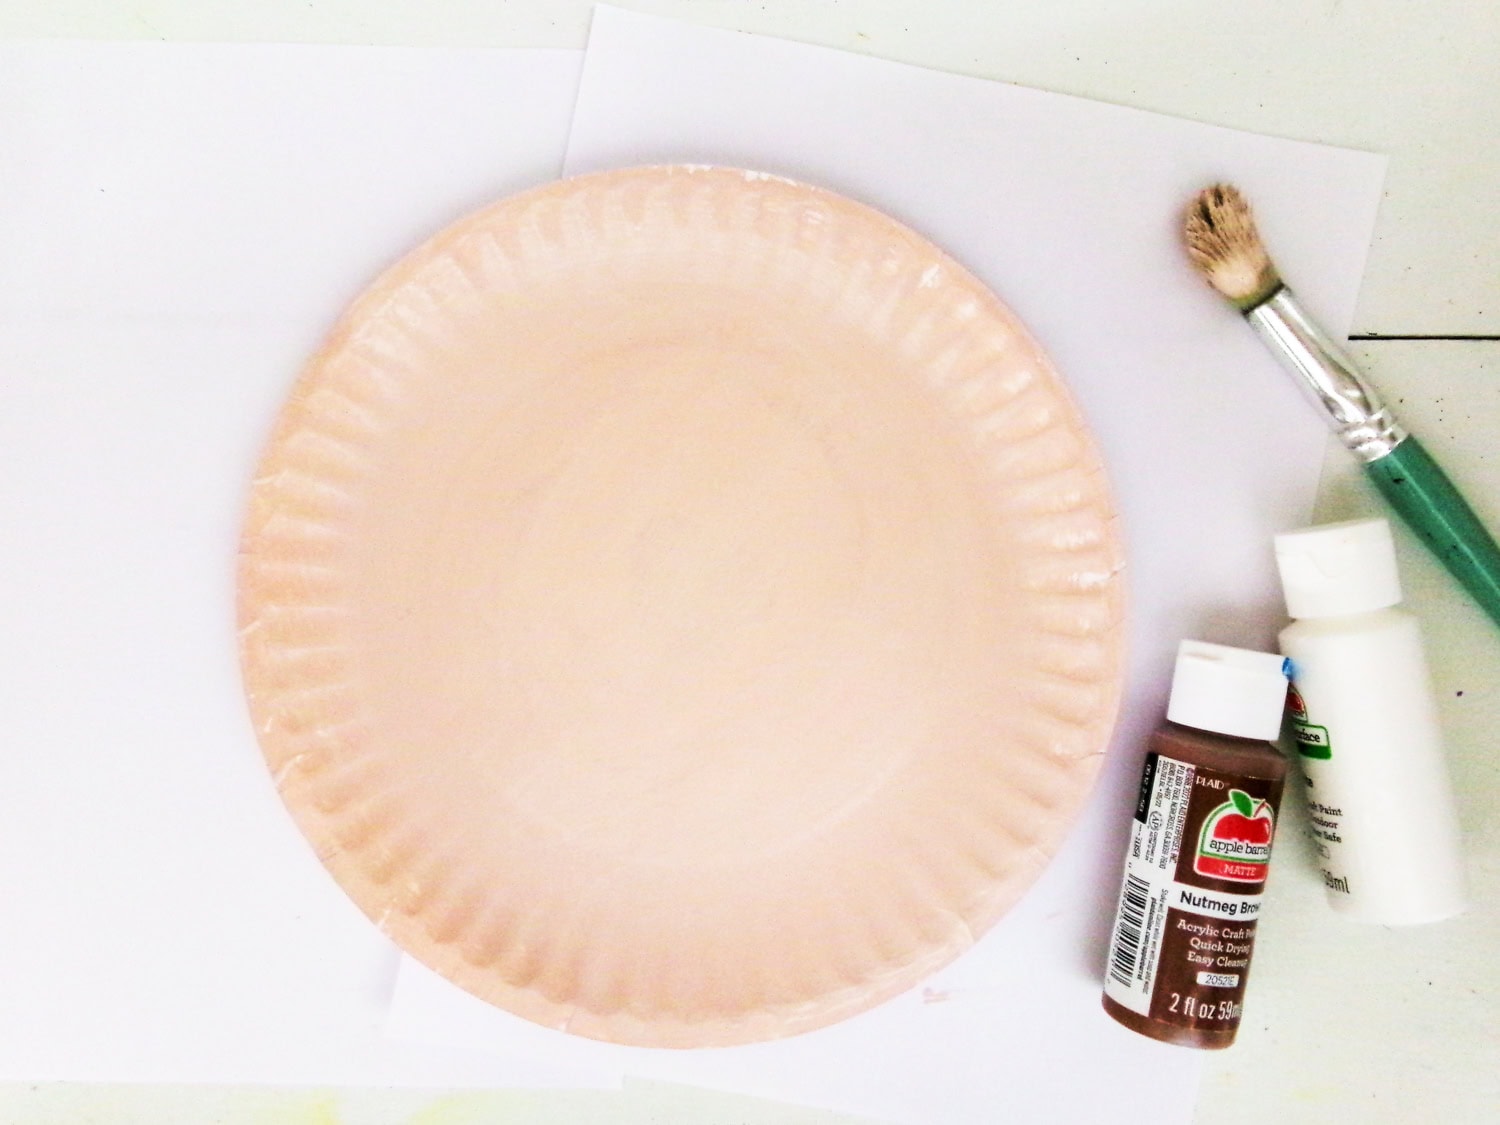
- Paper plates– The cheapo paper plates are all that you need to make this whimsical scarecrow! Just paint them tan to make the face of each scarecrow.
- Glue – Regular school glue to attach all of the little elements that makes this really cute scarecrow paper plate craft a success.
- Scissors – If you’re making this fun activity with littles, then consider using safety scissors in order to protect their little fingers.
- Yarn – You will need both black yarn and yellow yarn for this paper plate scarecrow idea!
- Cardstock – Grab some brown cardstock and then choose a few other fall colors. I used yellow and red, but orange would be pretty too!
- Scarecrow hat template – Print the scarecrow template to create the cutest little hat. If you don’t have a printer then you can freehand the hat and cut it out!
- Tan acrylic paint – Regular craft paint and a a simple paint brush are all that you need to coat the paper plates.
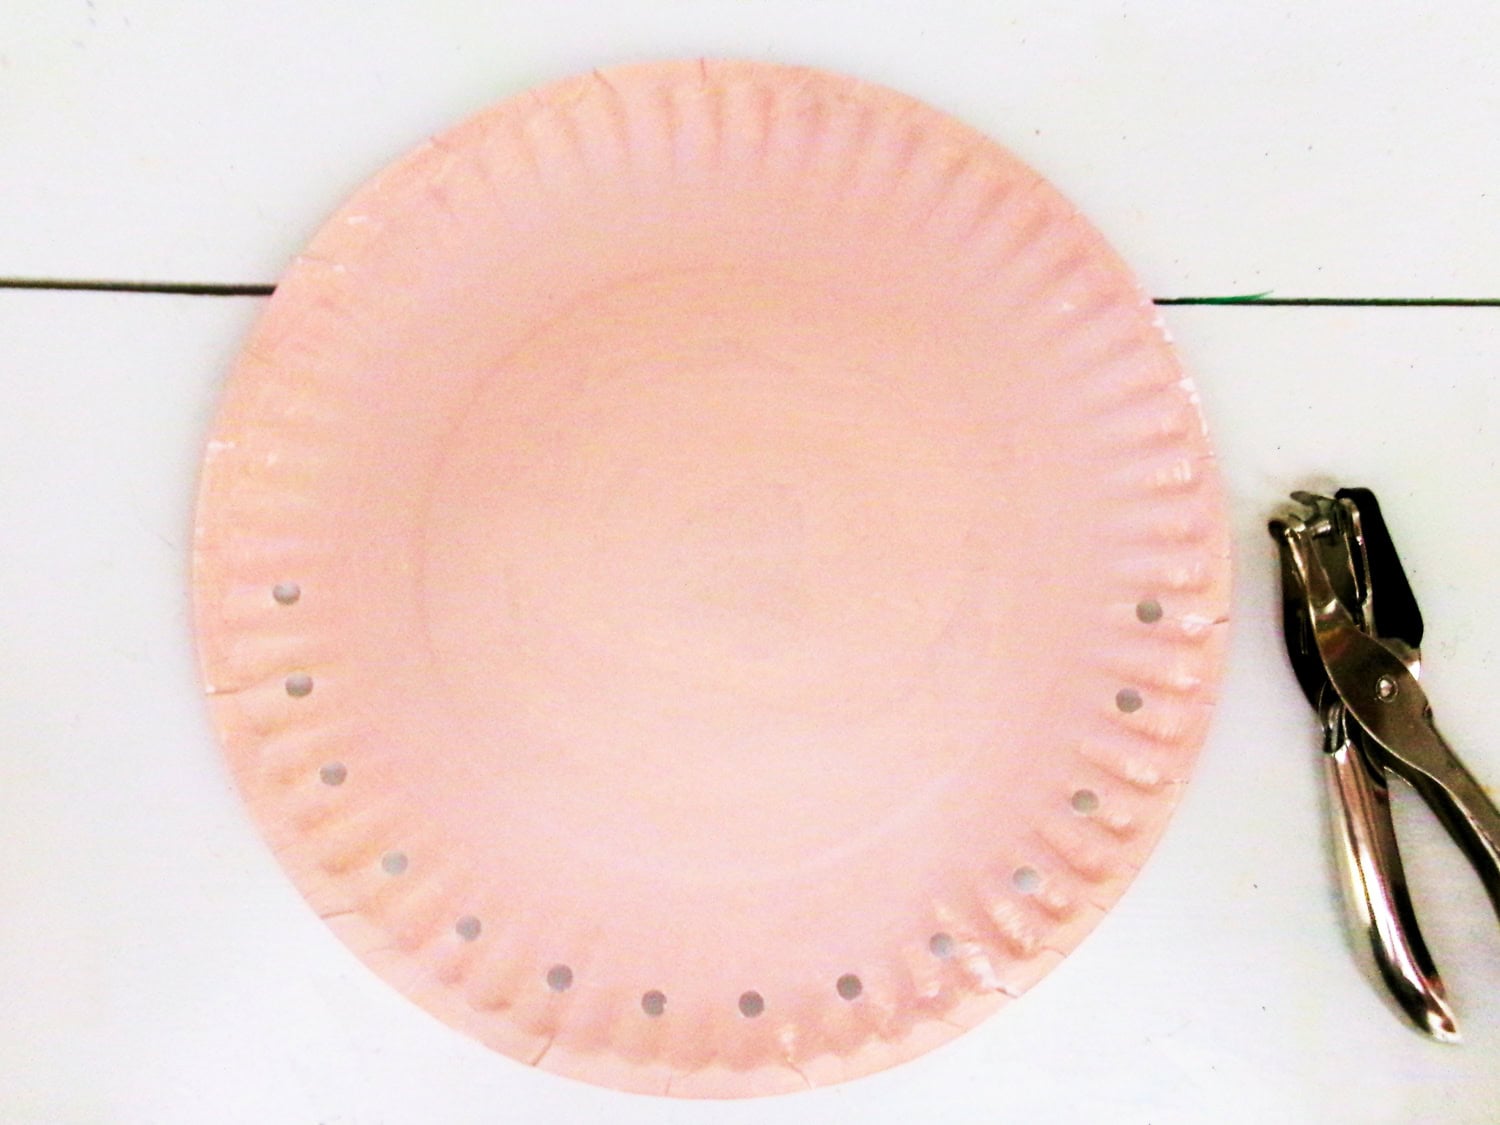
- Single hole punch – Use a single hole punch to create holes on the bottom half of the paper plate that you will then string yarn through!
- Black marker – You’ll need a marker to draw the nose and add some details to the scarecrow hat. You can use a permanent marker or a washable marker, both work great!
- Tape – Along with the glue, you need some tape to help attach things to this scarecrow.
How to Make a Paper Plate Scarecrow
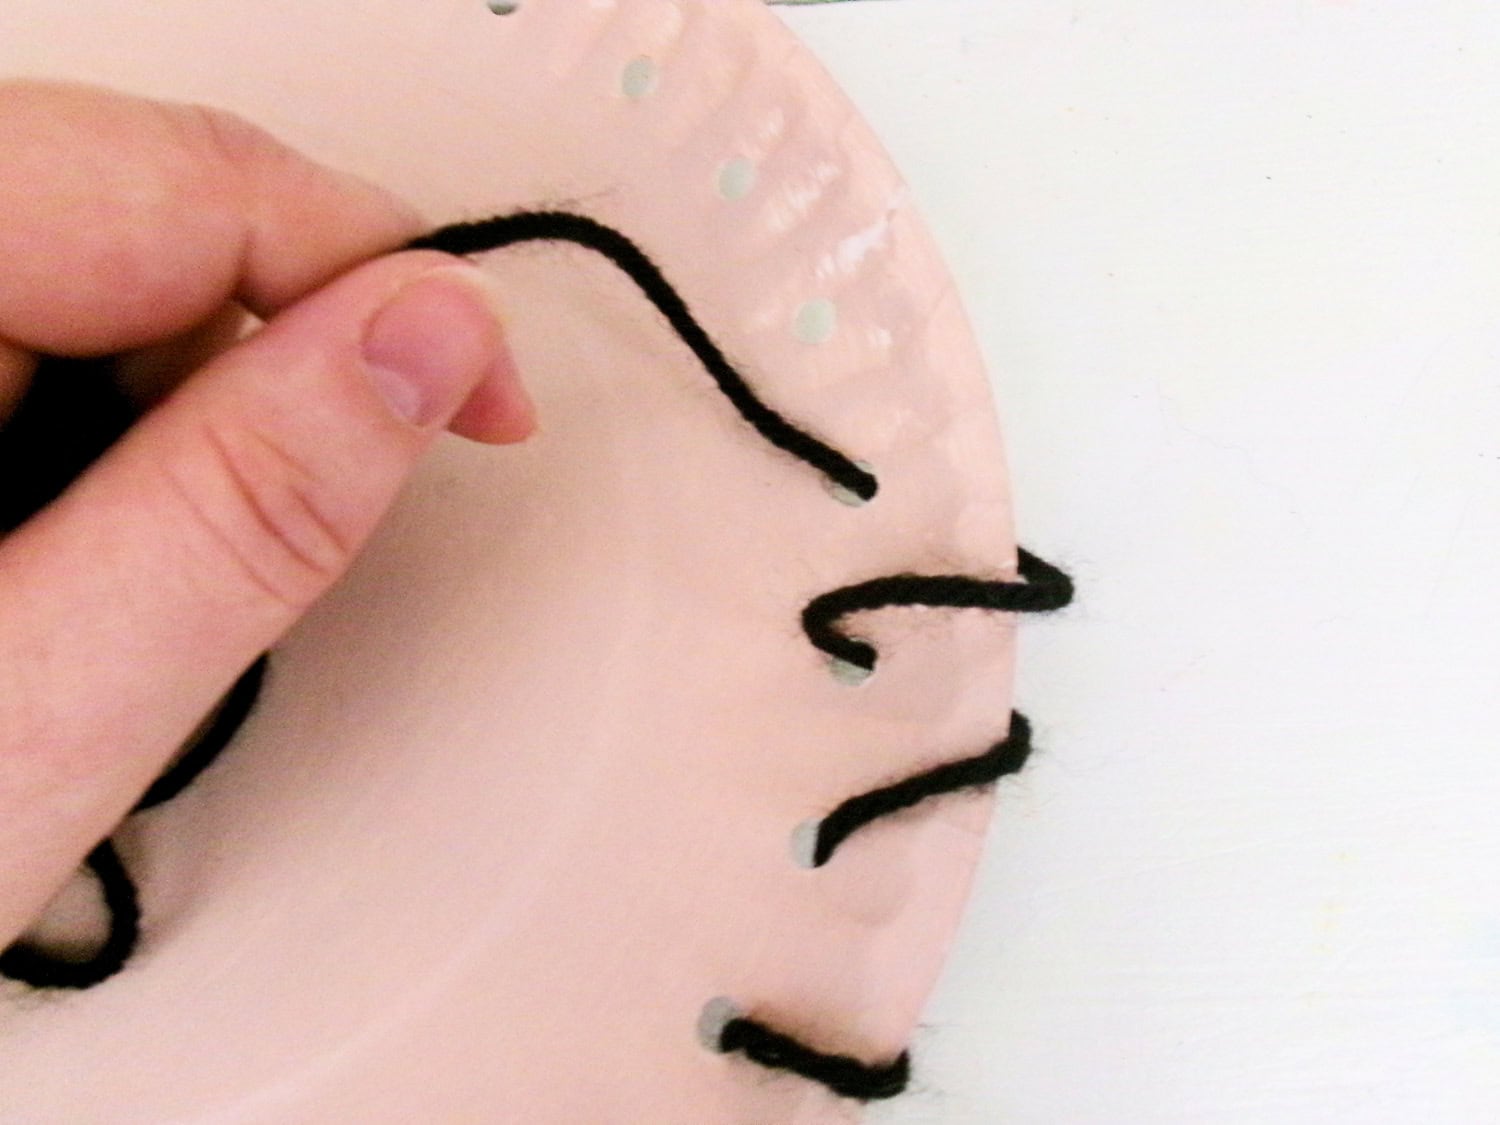
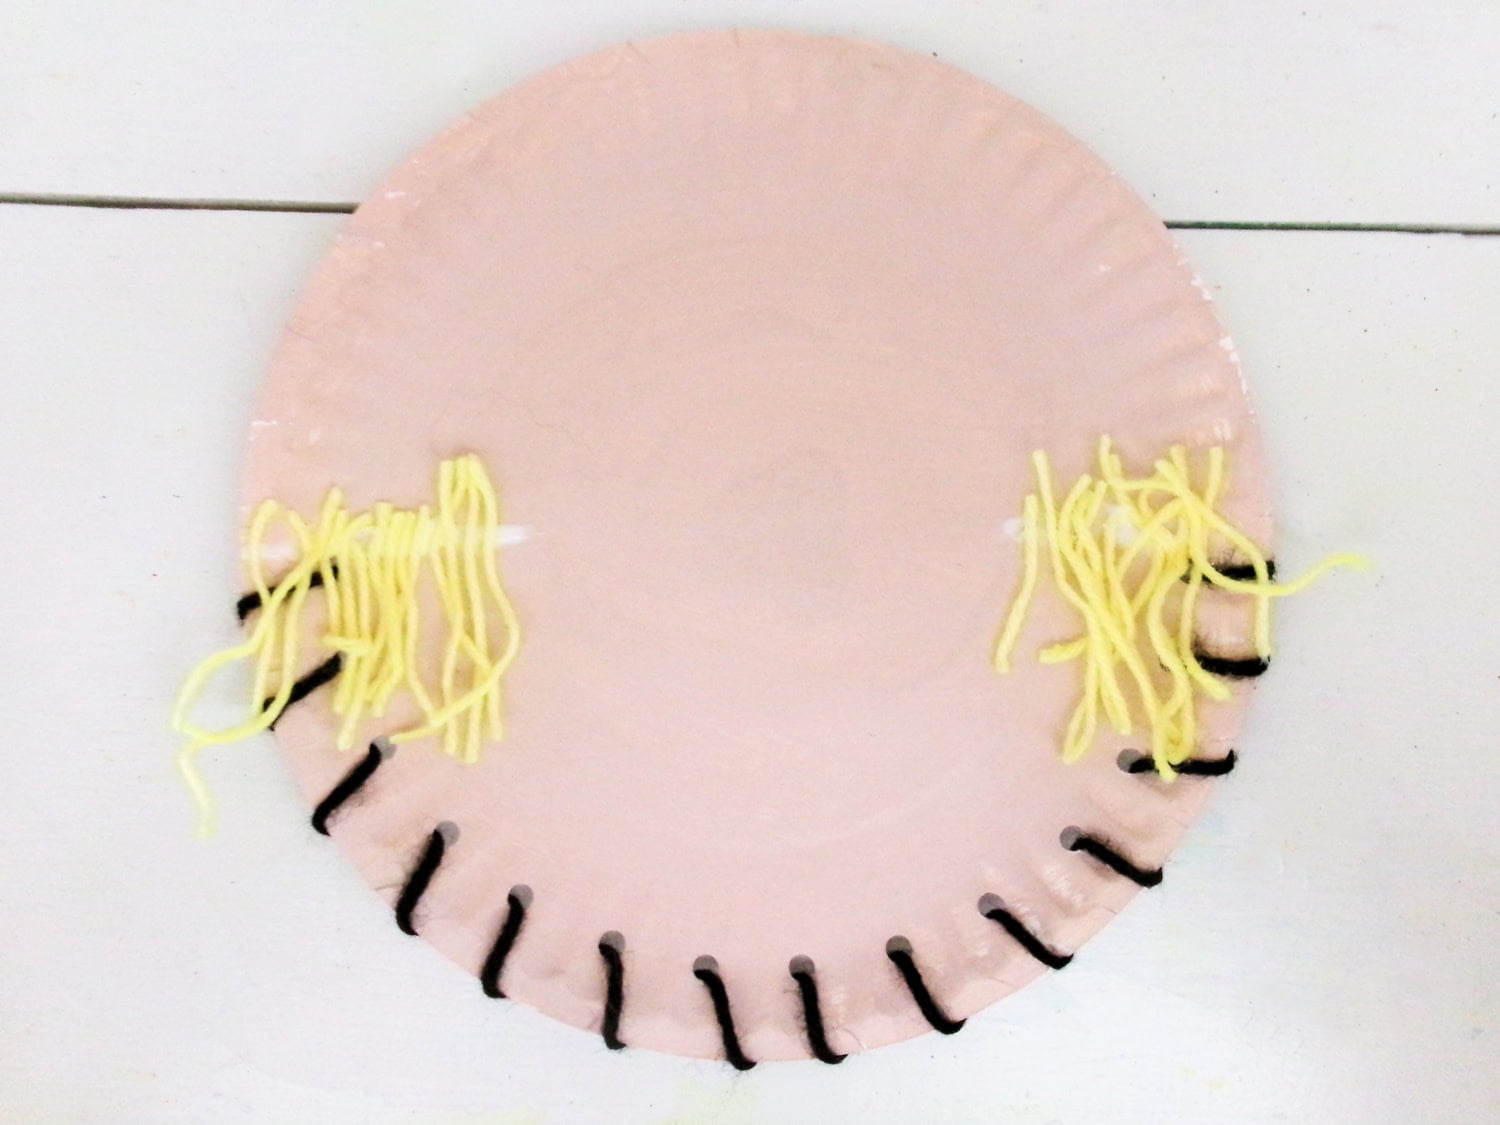
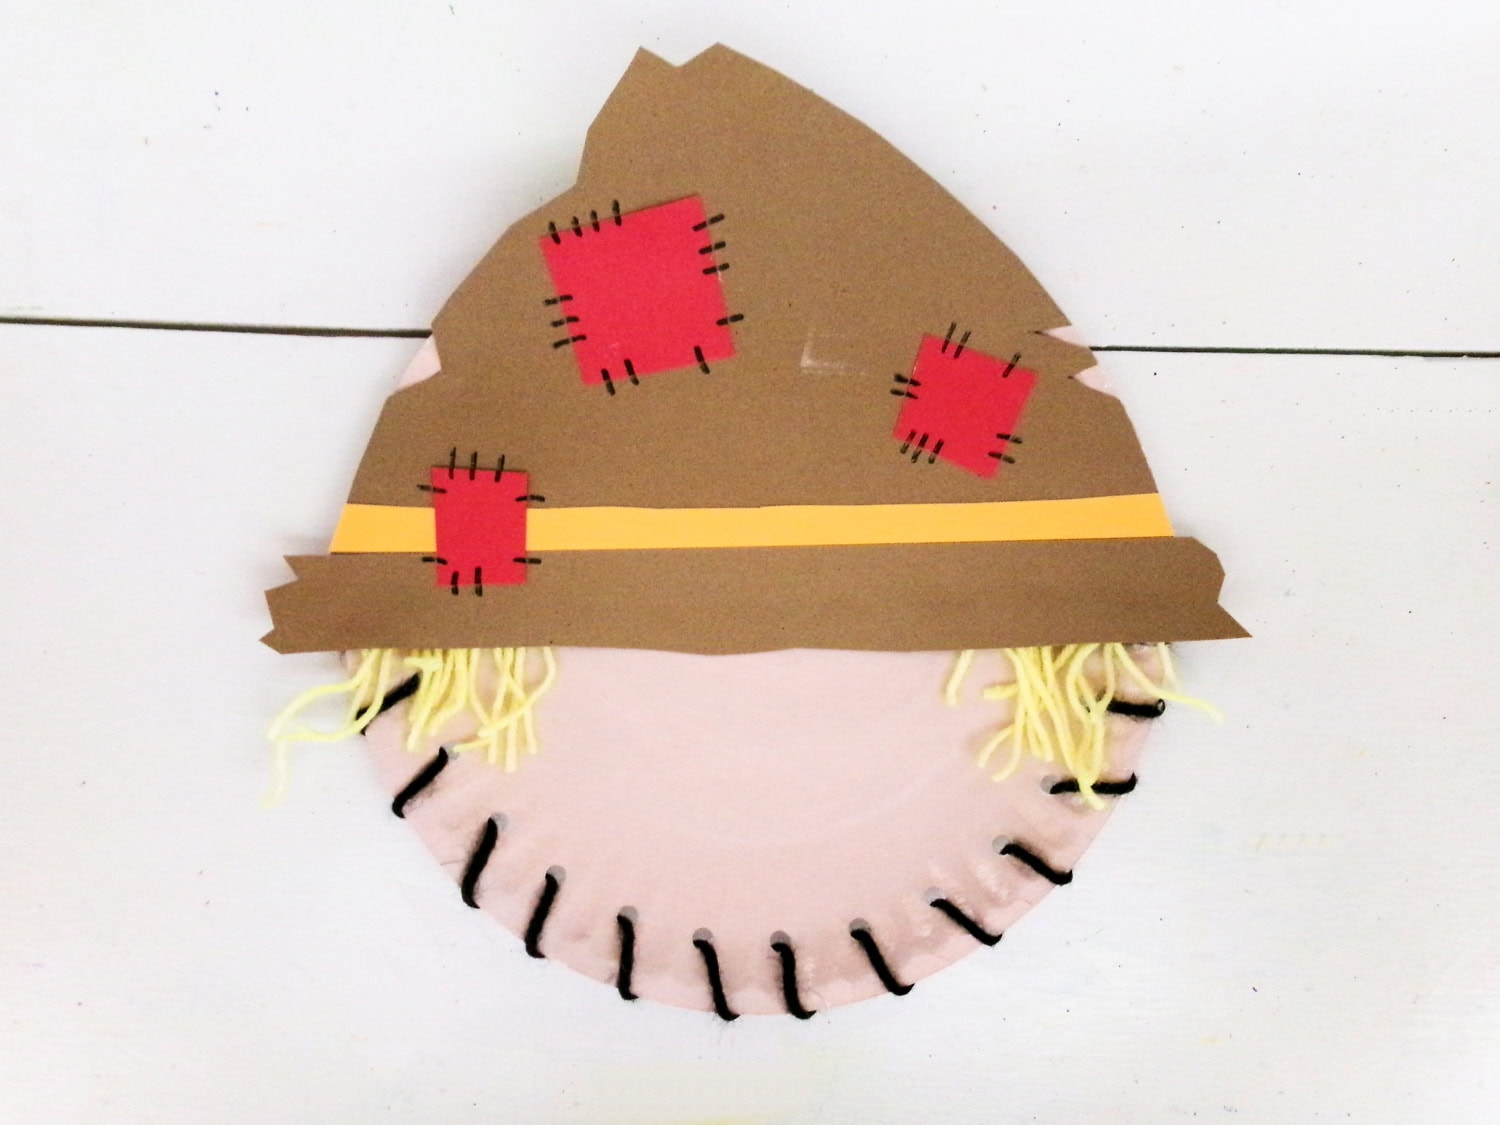
Begin by painting a paper plate tan and then let the paint dry completely. When the paint is dry, punch holes around the edge of half of the plate.
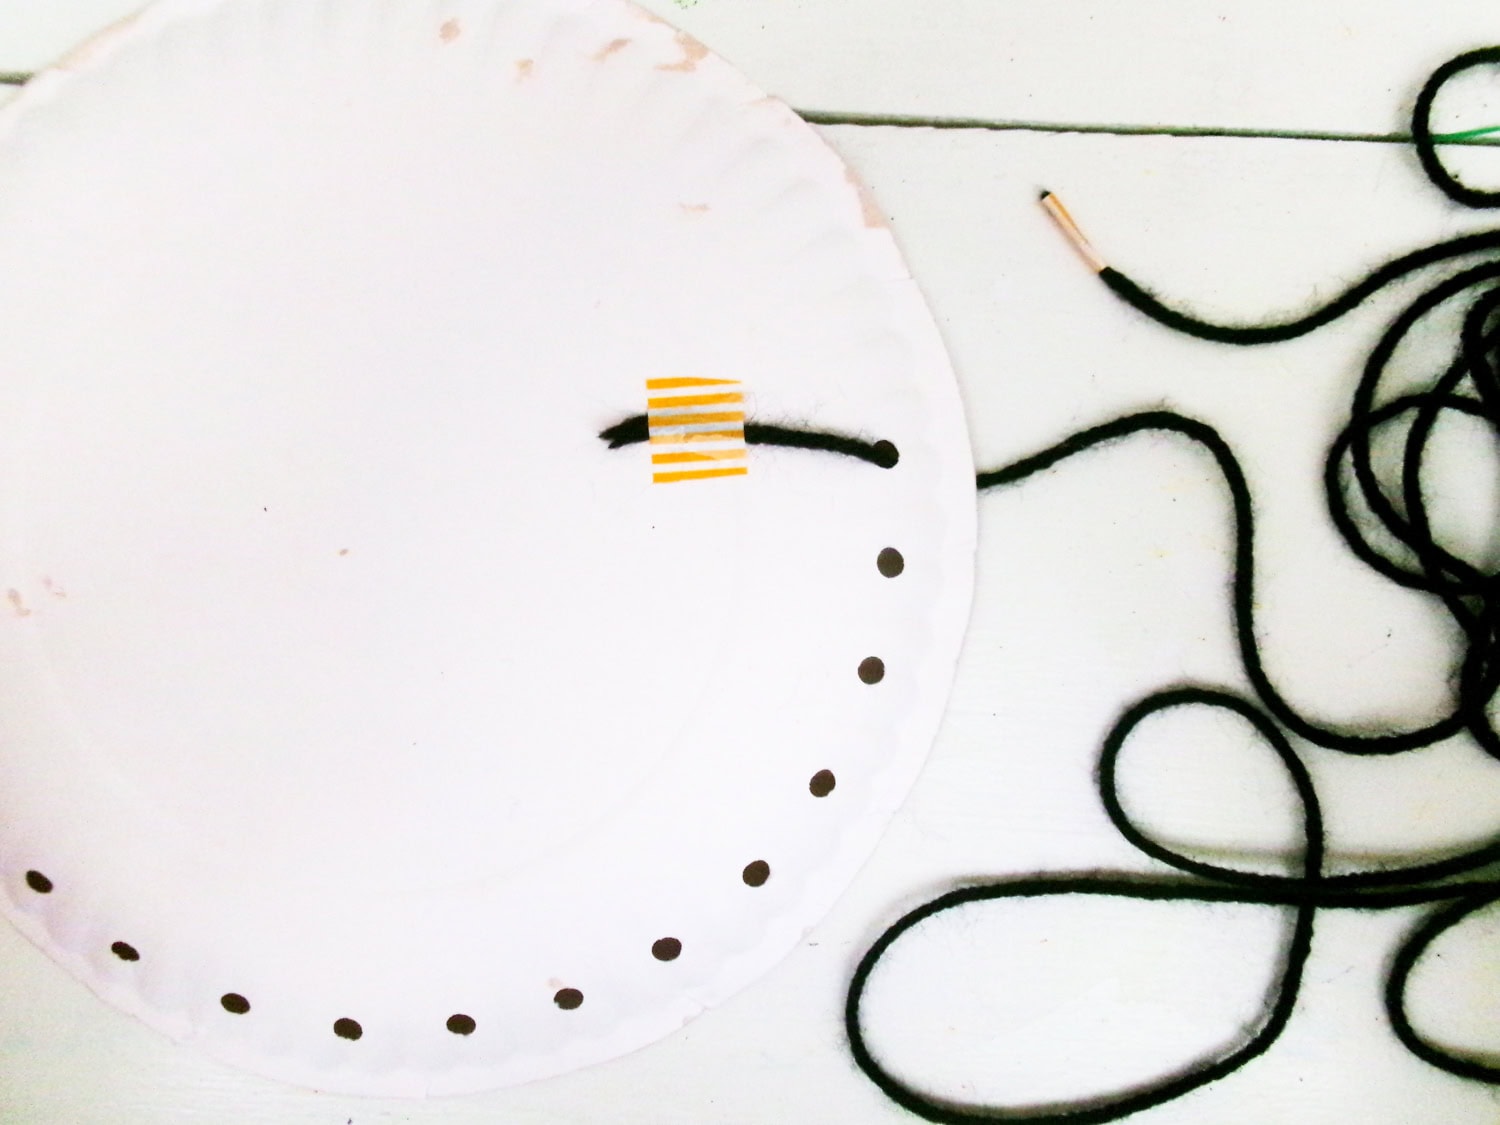
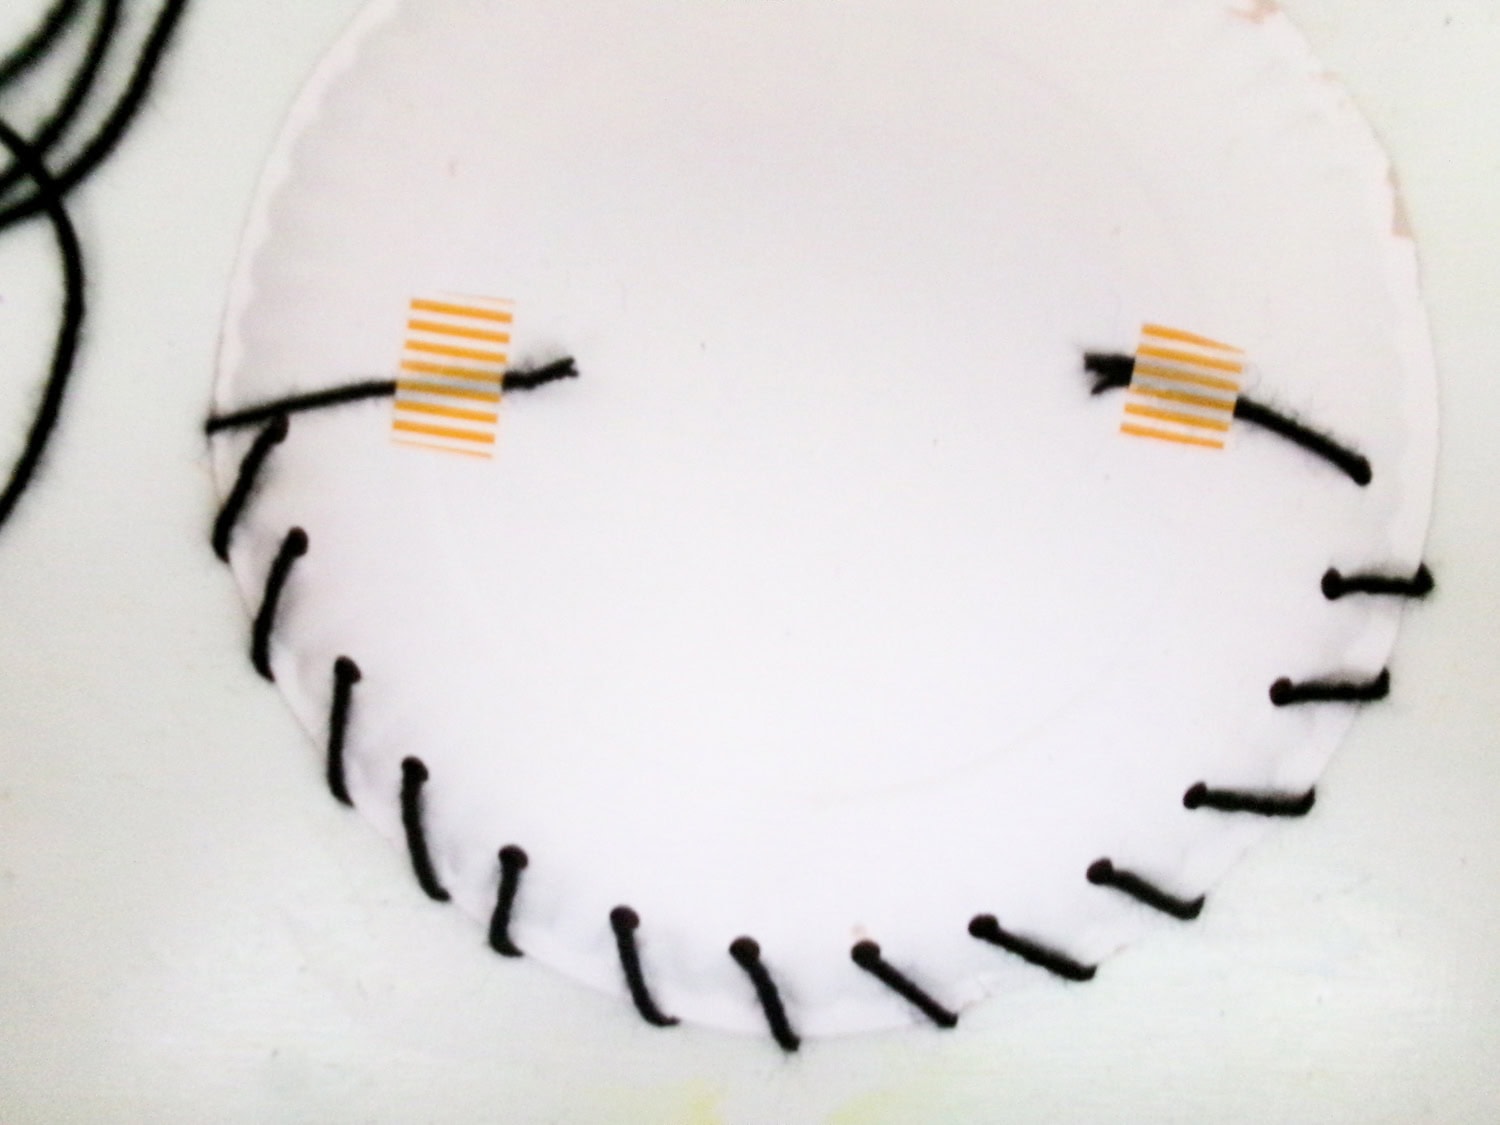
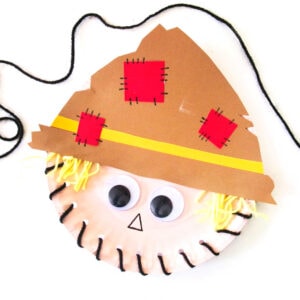
Gather a long strand of black yarn and use tape to secure the end to the back of the paper plate. Lace the black yarn around and through each hole until you run out of the holes punches. Tape the final end to the back of the paper plate.

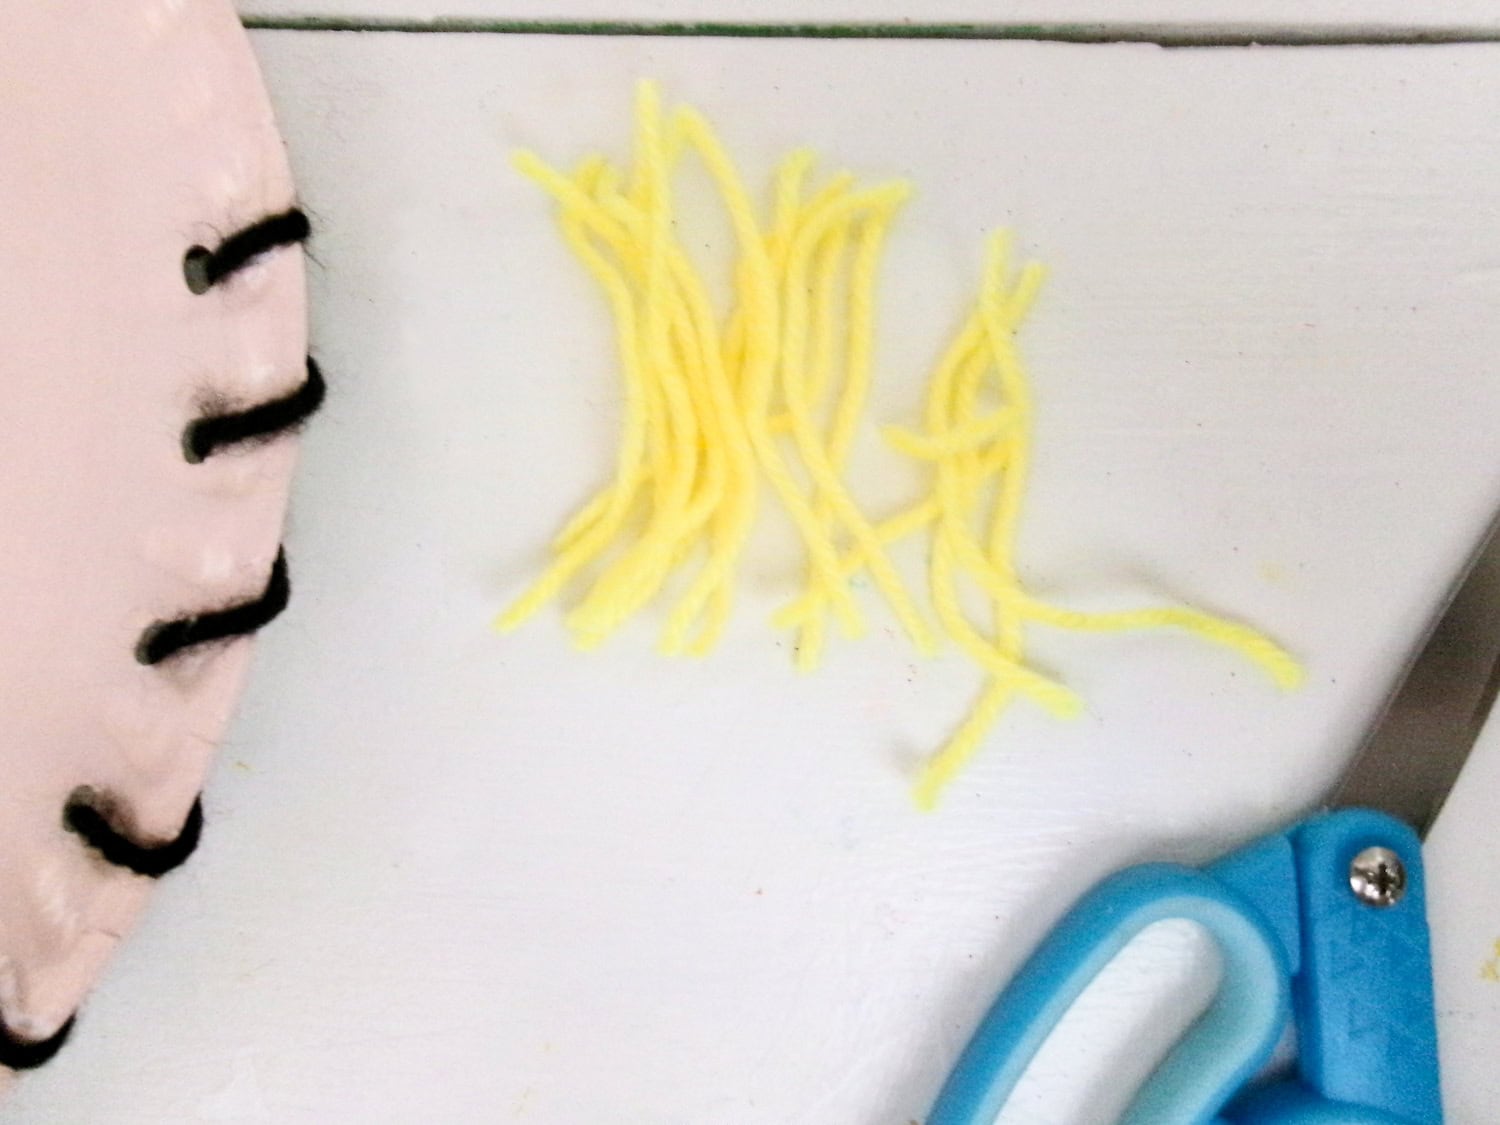
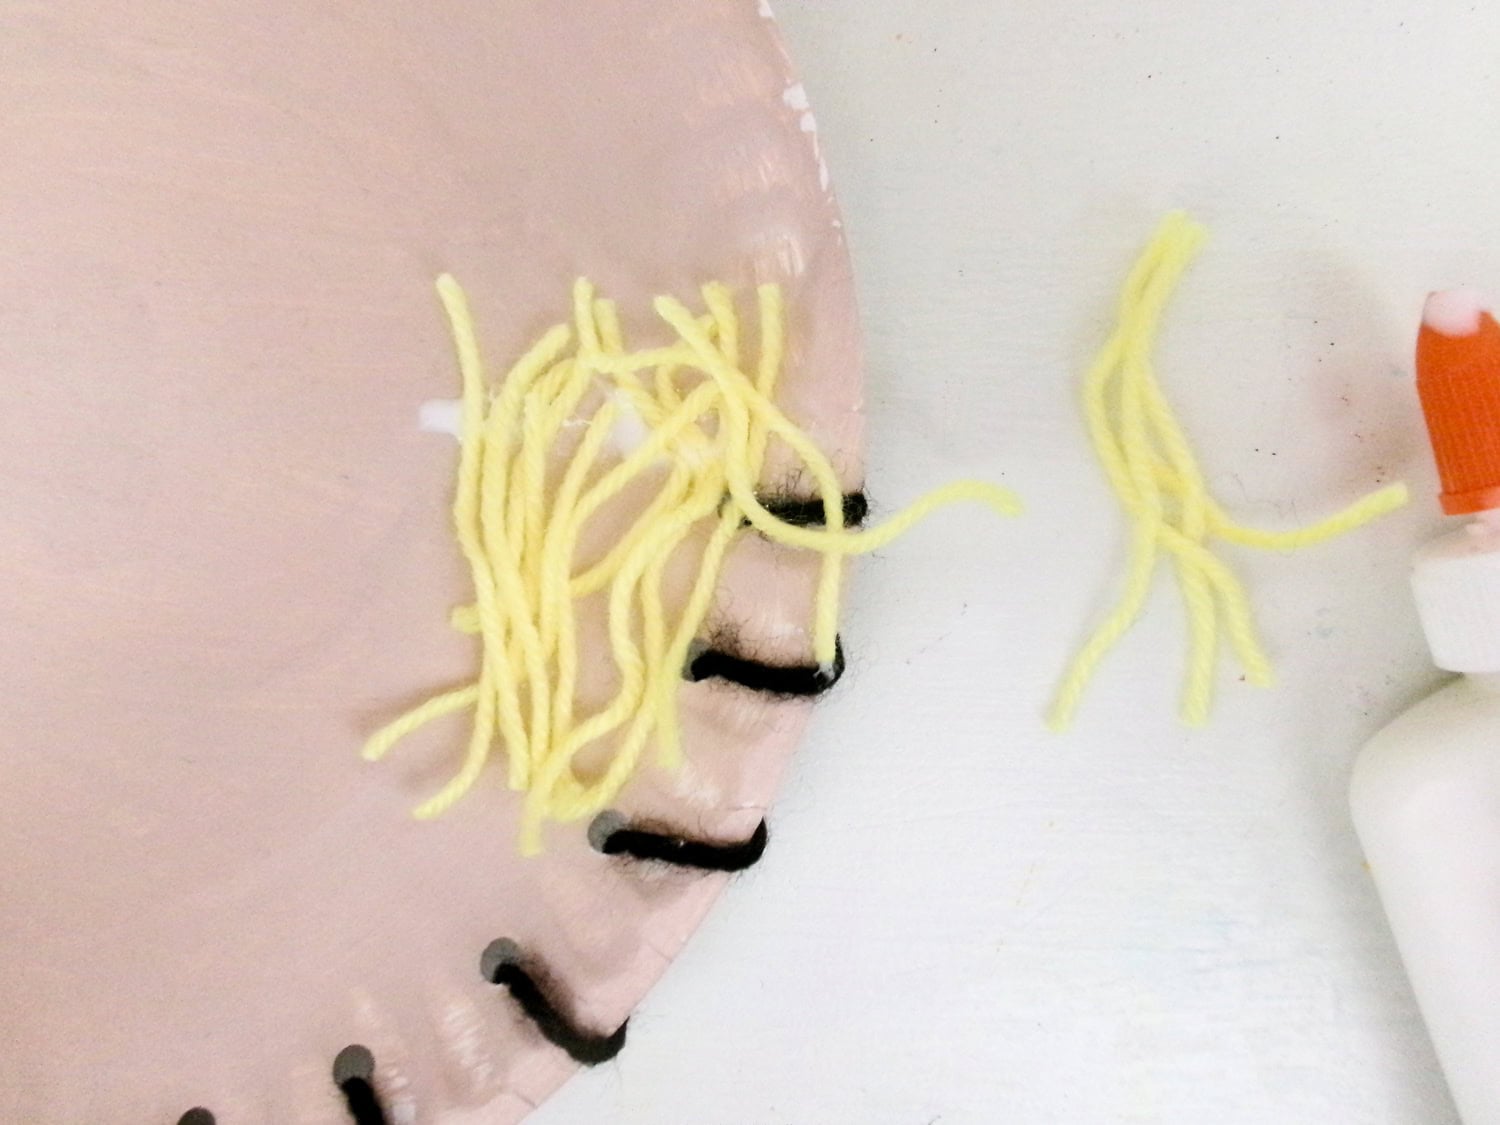
Next, cut some small strands of yellow yarn for the straw hair. Glue the hair to the sides of the paper plate, right where the black lacing ends.
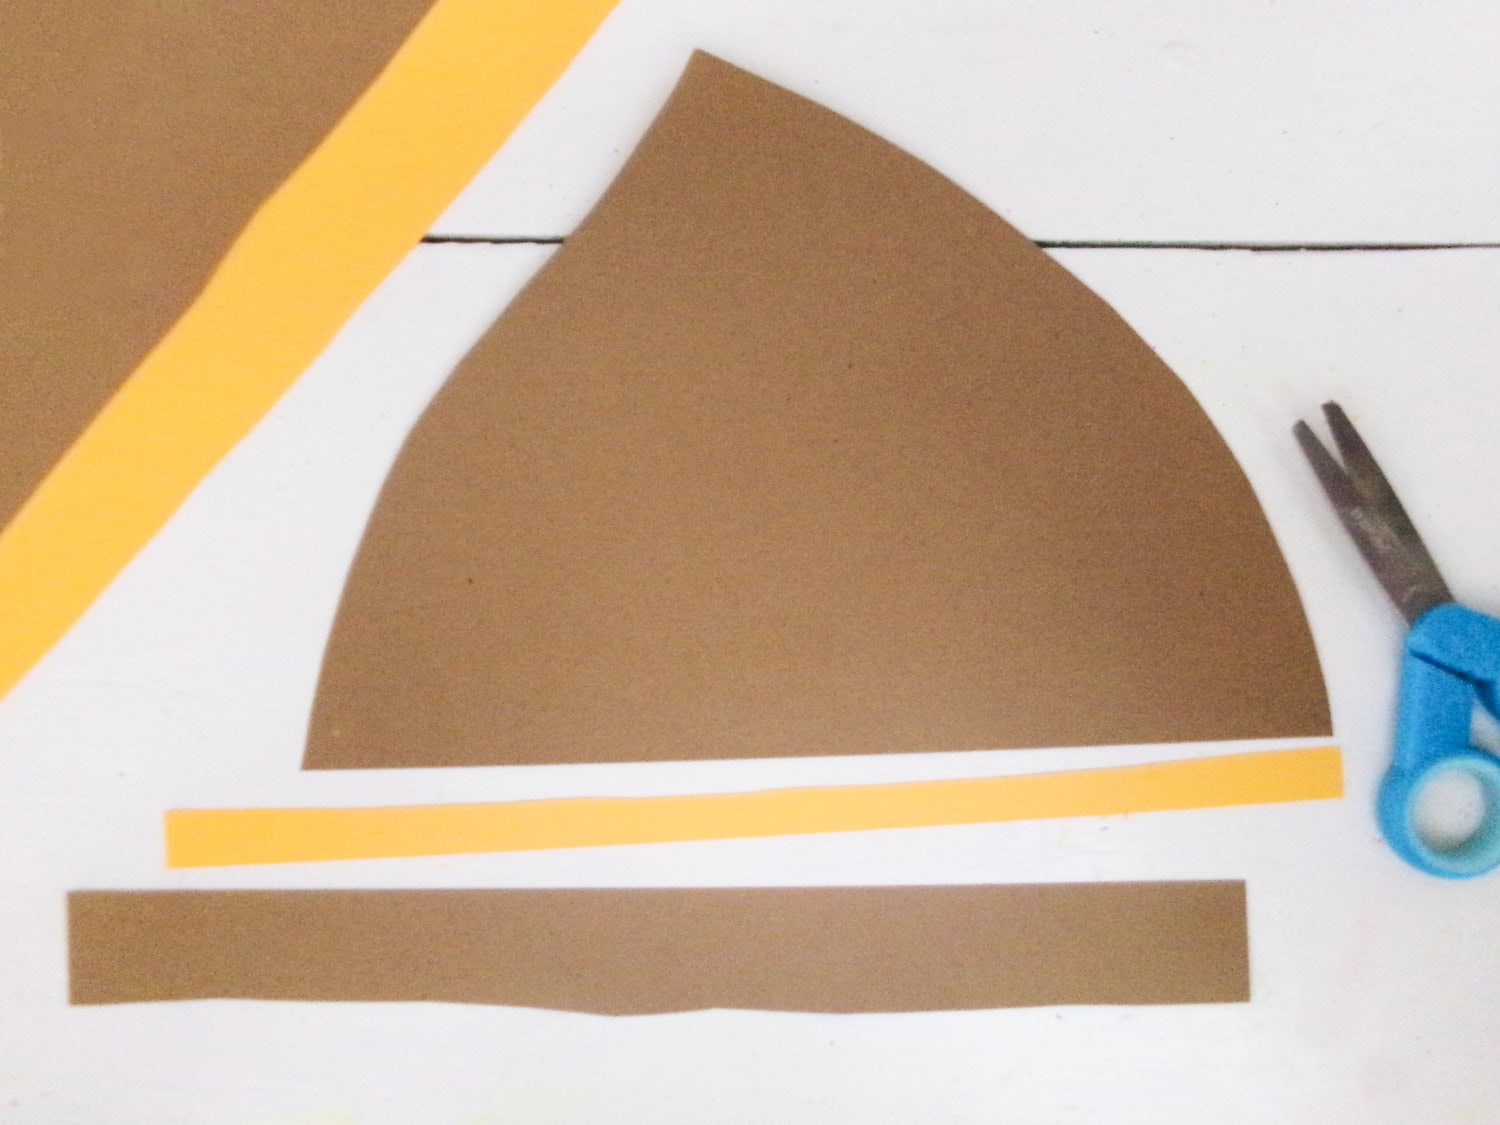
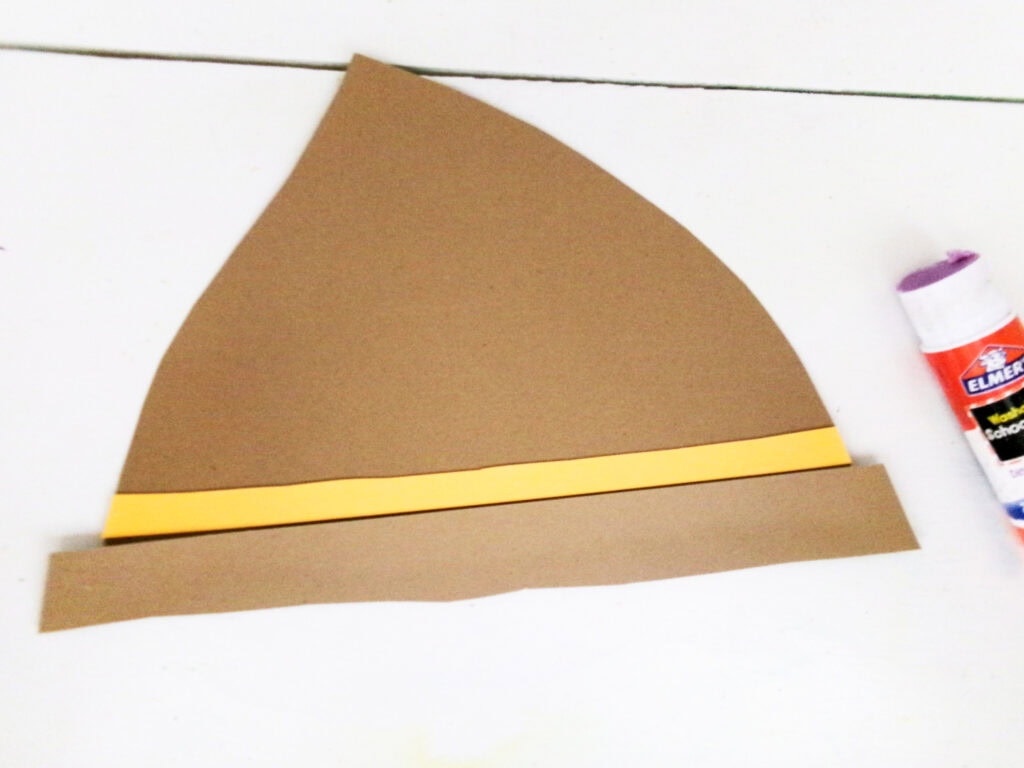
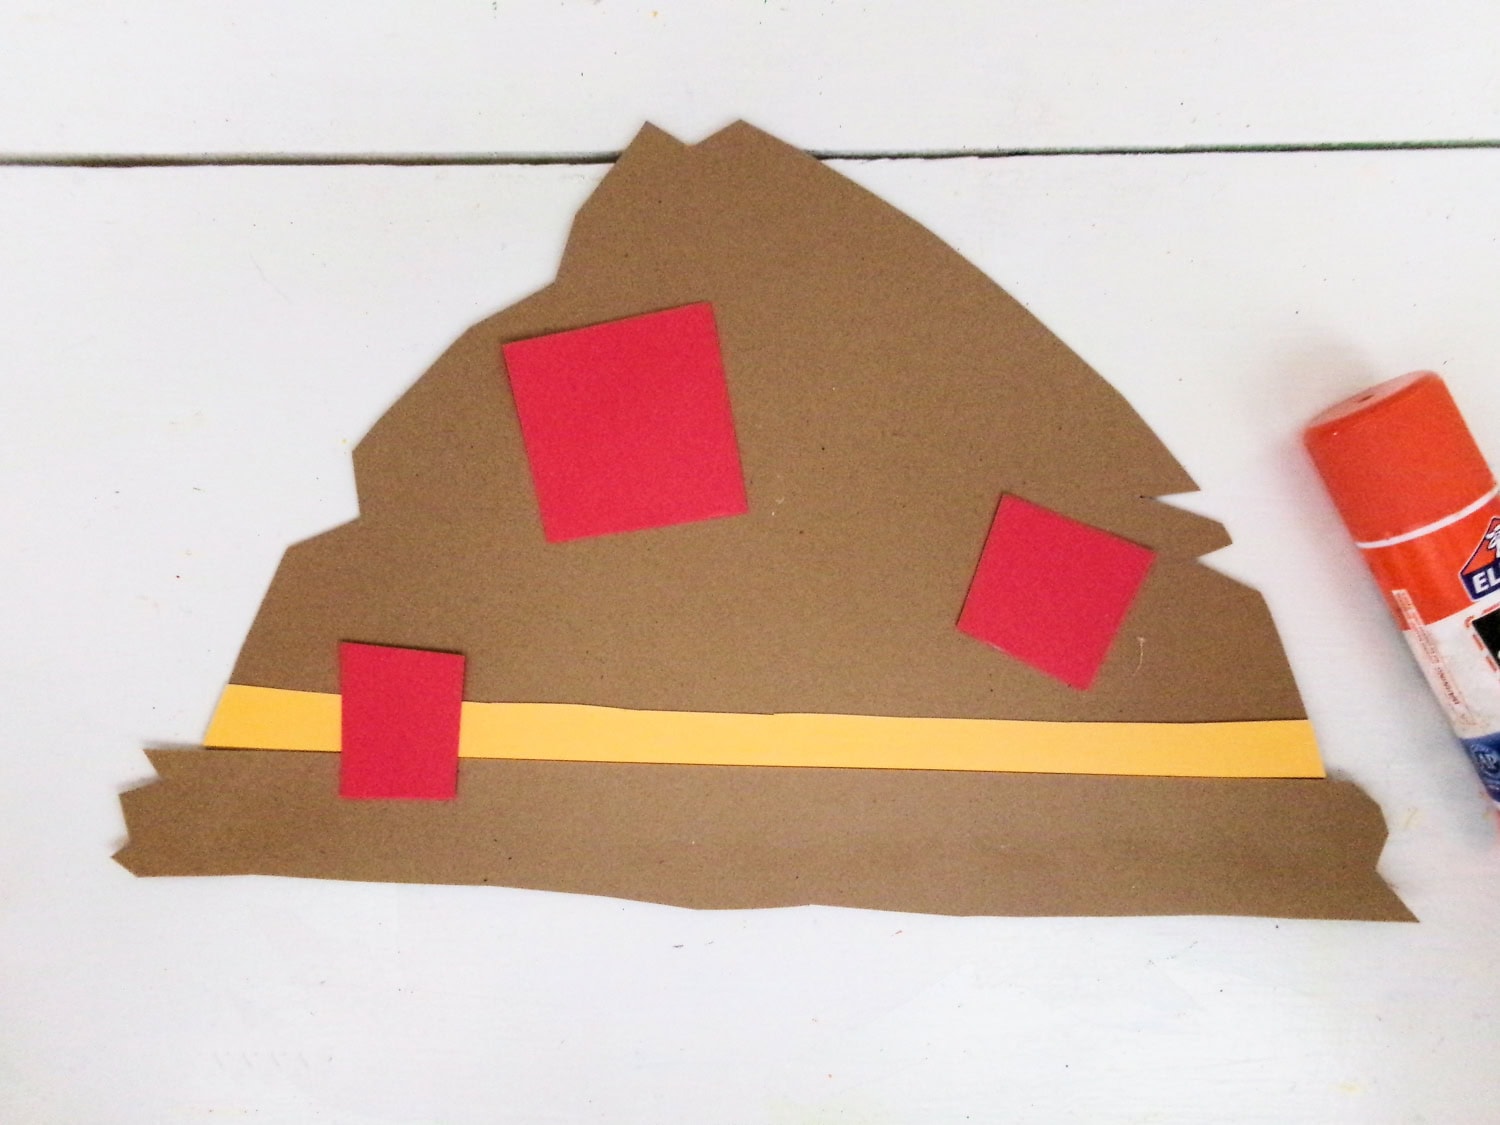
Then, while the glue is drying, print the hat template and cut out the pieces. Trace the pieces on whatever color cardstock you would like and cut it out. You will also need a thin strip from a different color cardstock for the belt of the hat.
Glue all the pieces in place and then trim the excess from the sides of the belt.
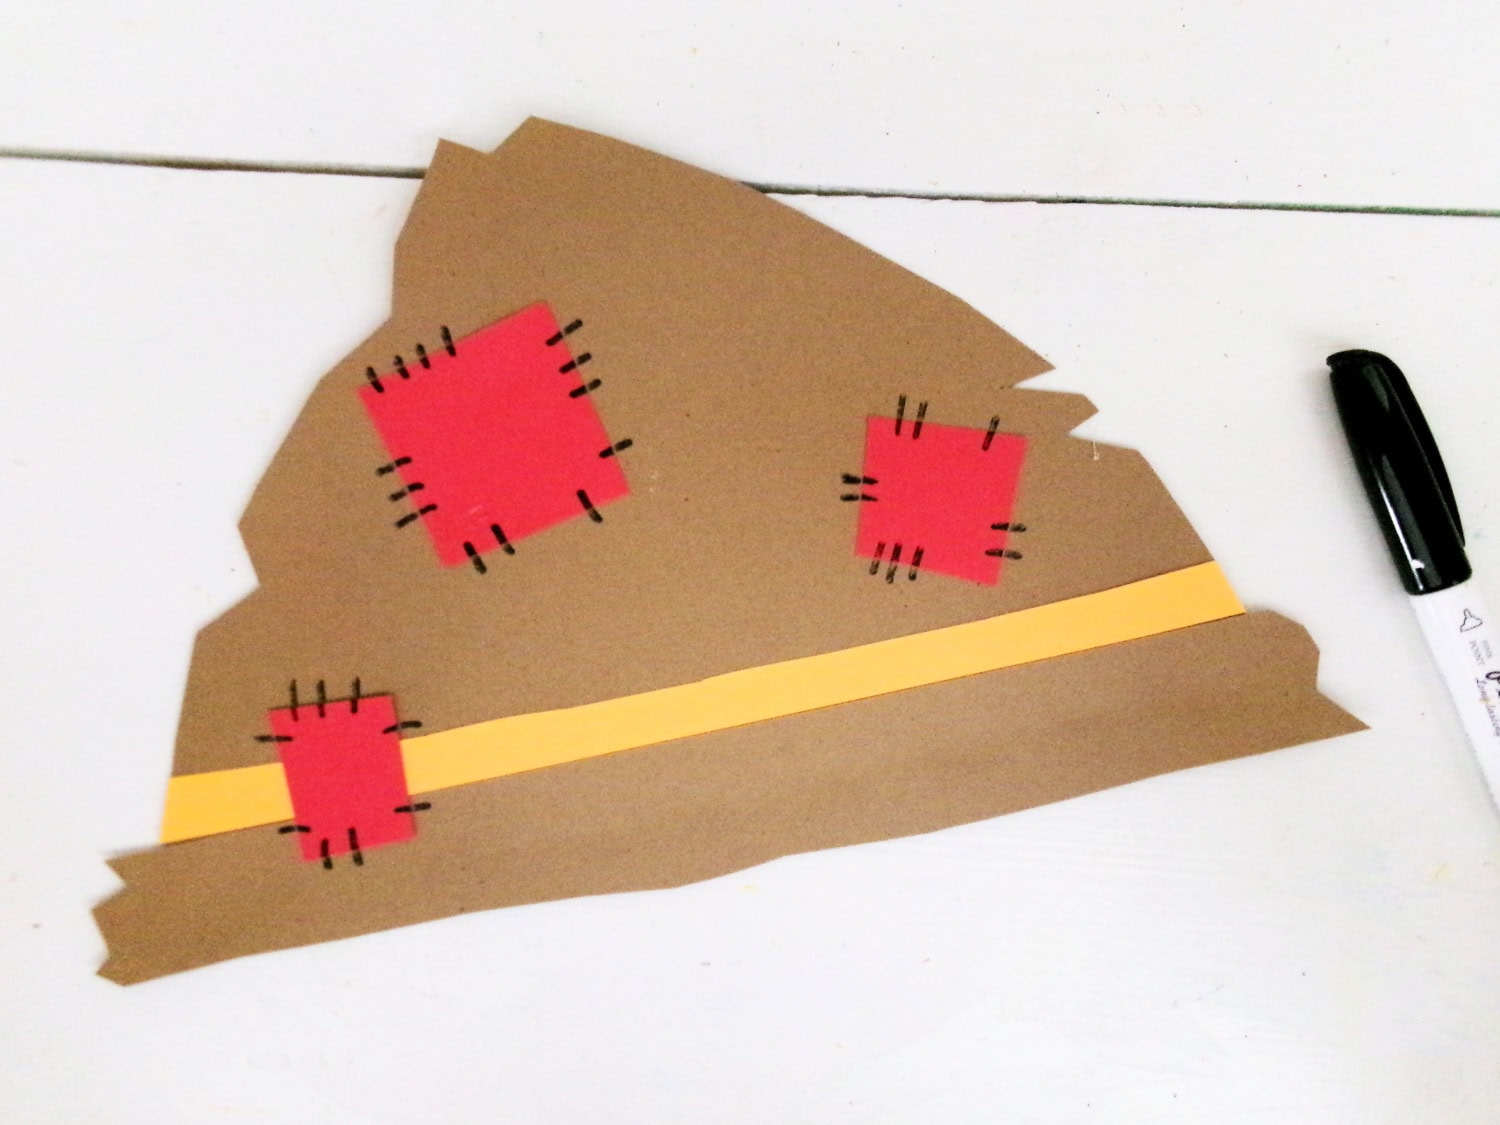
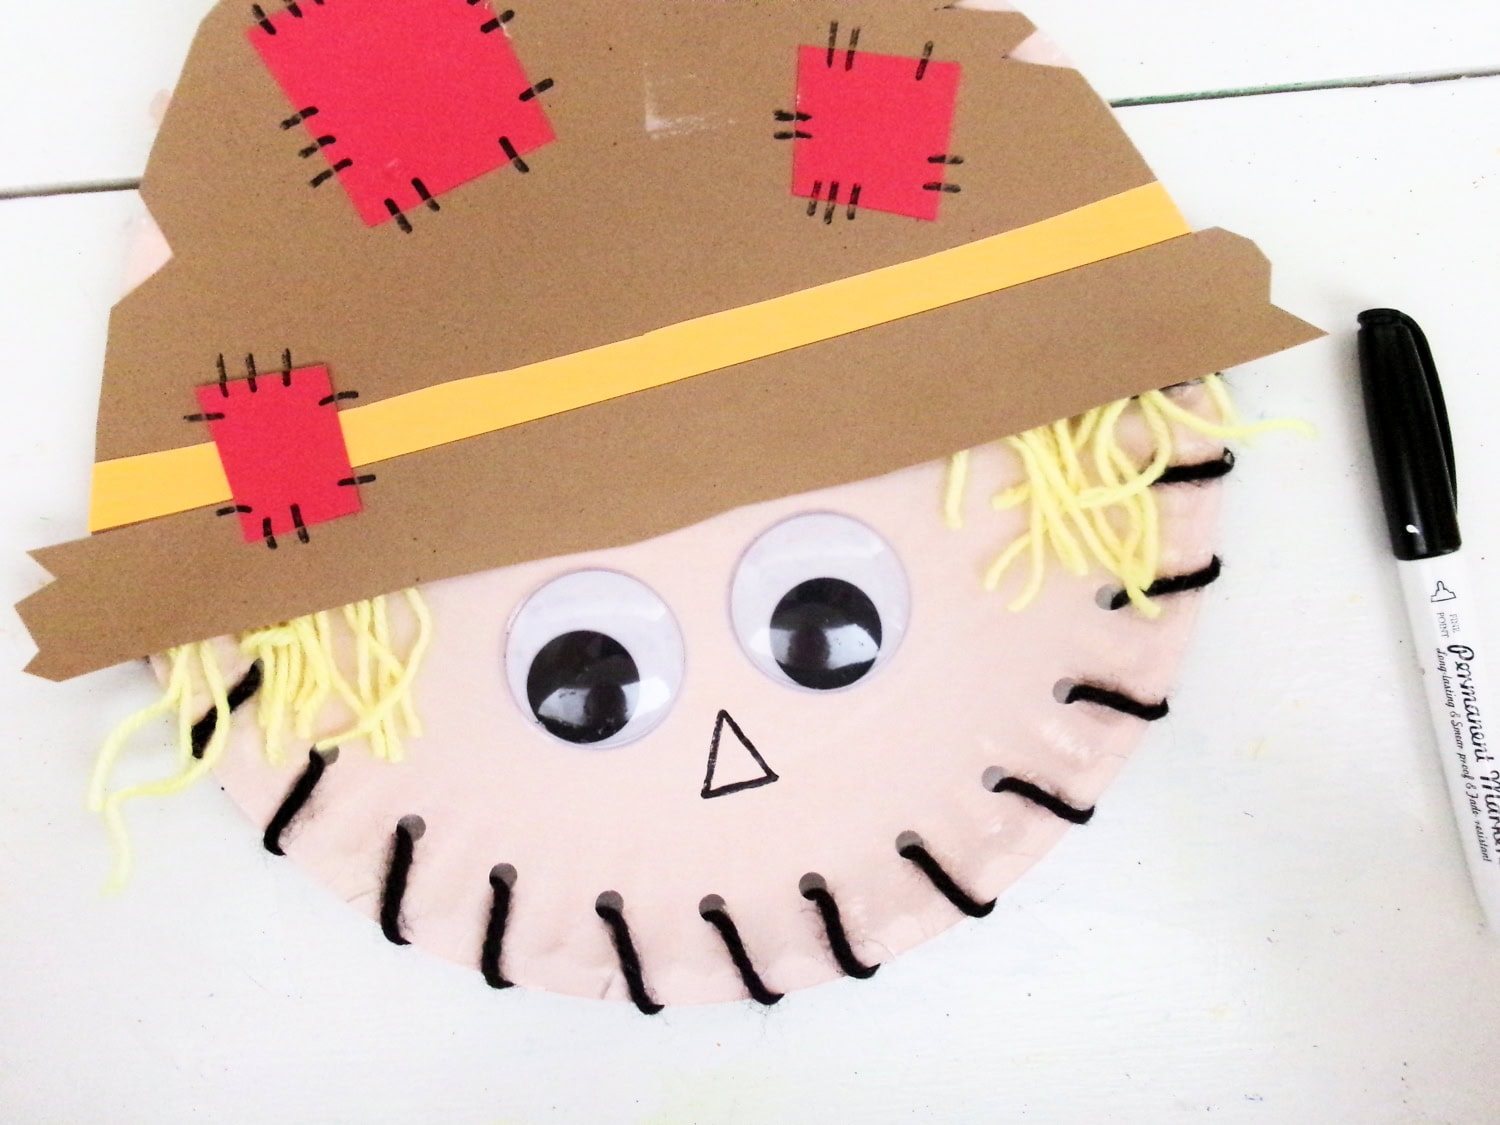
Cut some raggedy notches randomly around the edges of the hat to give it a “weathered” look. Cut squares from a different color of cardstock and glue those onto the hat like patches.
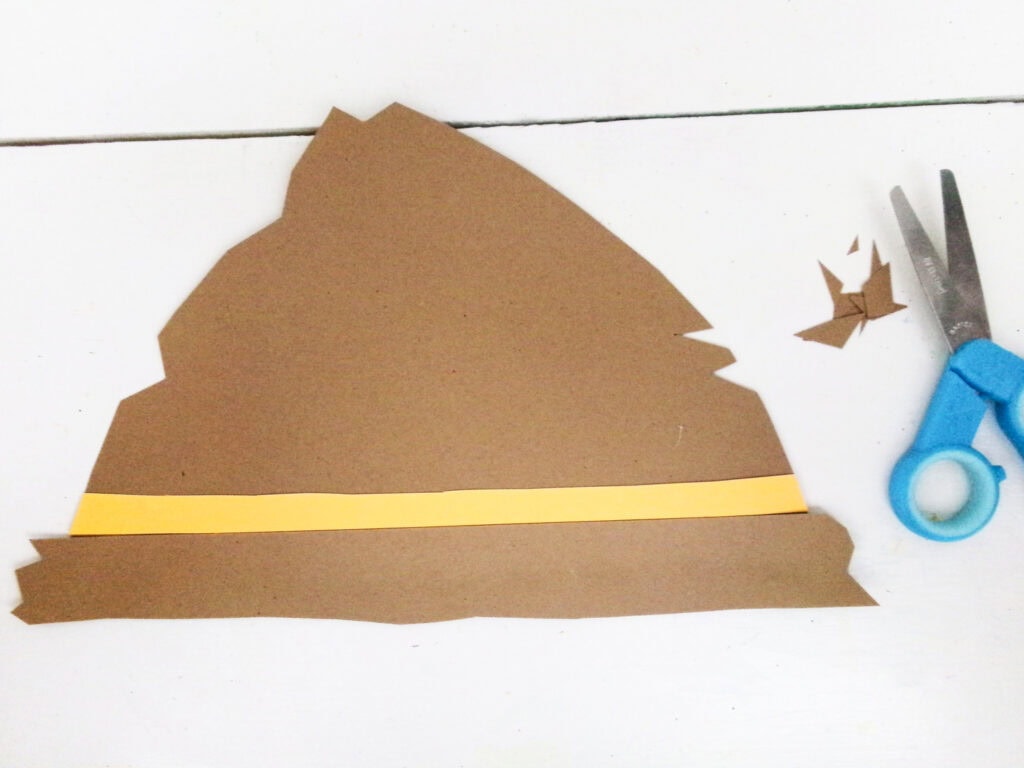
Use a black marker to draw some “sew lines” keeping the patches in place and then glue the hat to the top of the paper plate.
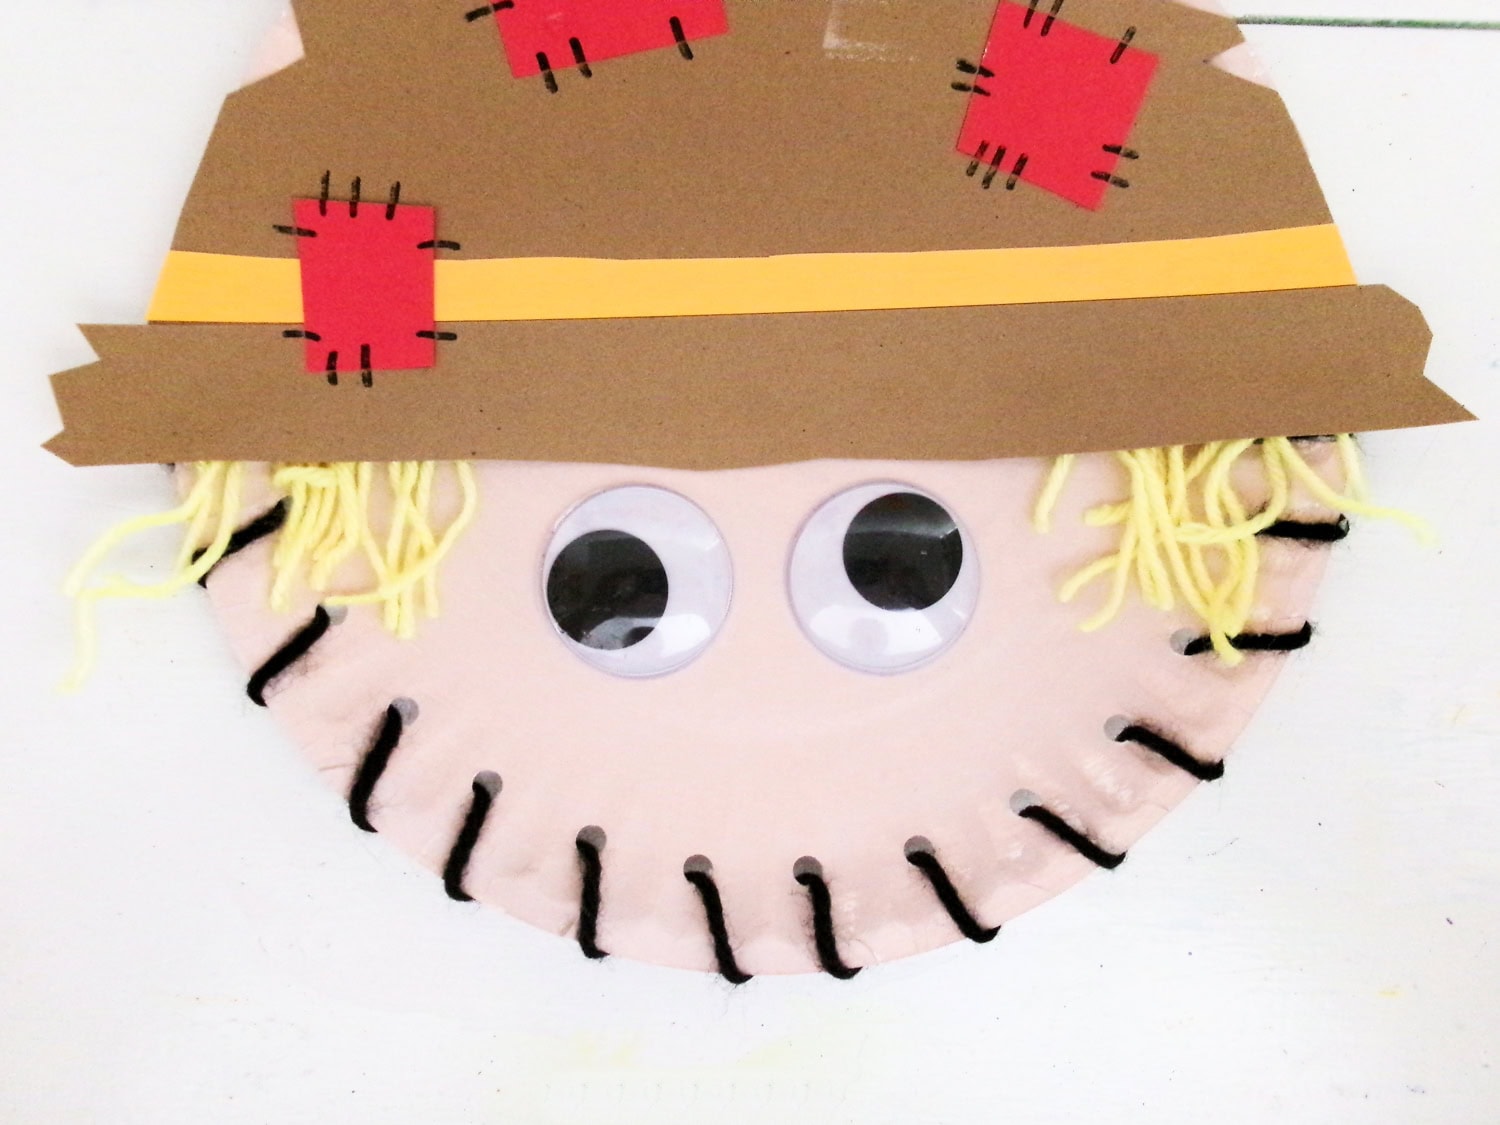
Finally, finish the scarecrow face by adding googly eyes. The very last step is to use the black marker to draw a simple triangle nose.
And that’s it, your scarecrow friend is ready to go!
What do I do if I can’t print the scarecrow hat template?
Don’t have a printer? Not to worry! You can freehand the silly hat shape for your little scarecrow. It’s essentially just a triangle that is a bit more curved. Just use a pencil to trace it out on the cardstock and then carefully cut with scissors. You can always trim it up a bit if needed, or even restart and make a new hat if the first one doesn’t work out!
Pro Tips for the MOST Fun!!
- Feel free to add any extra fun additions to this fun fall craft idea! Glitter, buttons, beads, and other crafting materials are always welcome during craft time. Use that imagination and make this scarecrow unique in your own way!
- You can grab paper plates that are already colored tan if you want to save some time. Then you won’t have to wait for the paint to dry!
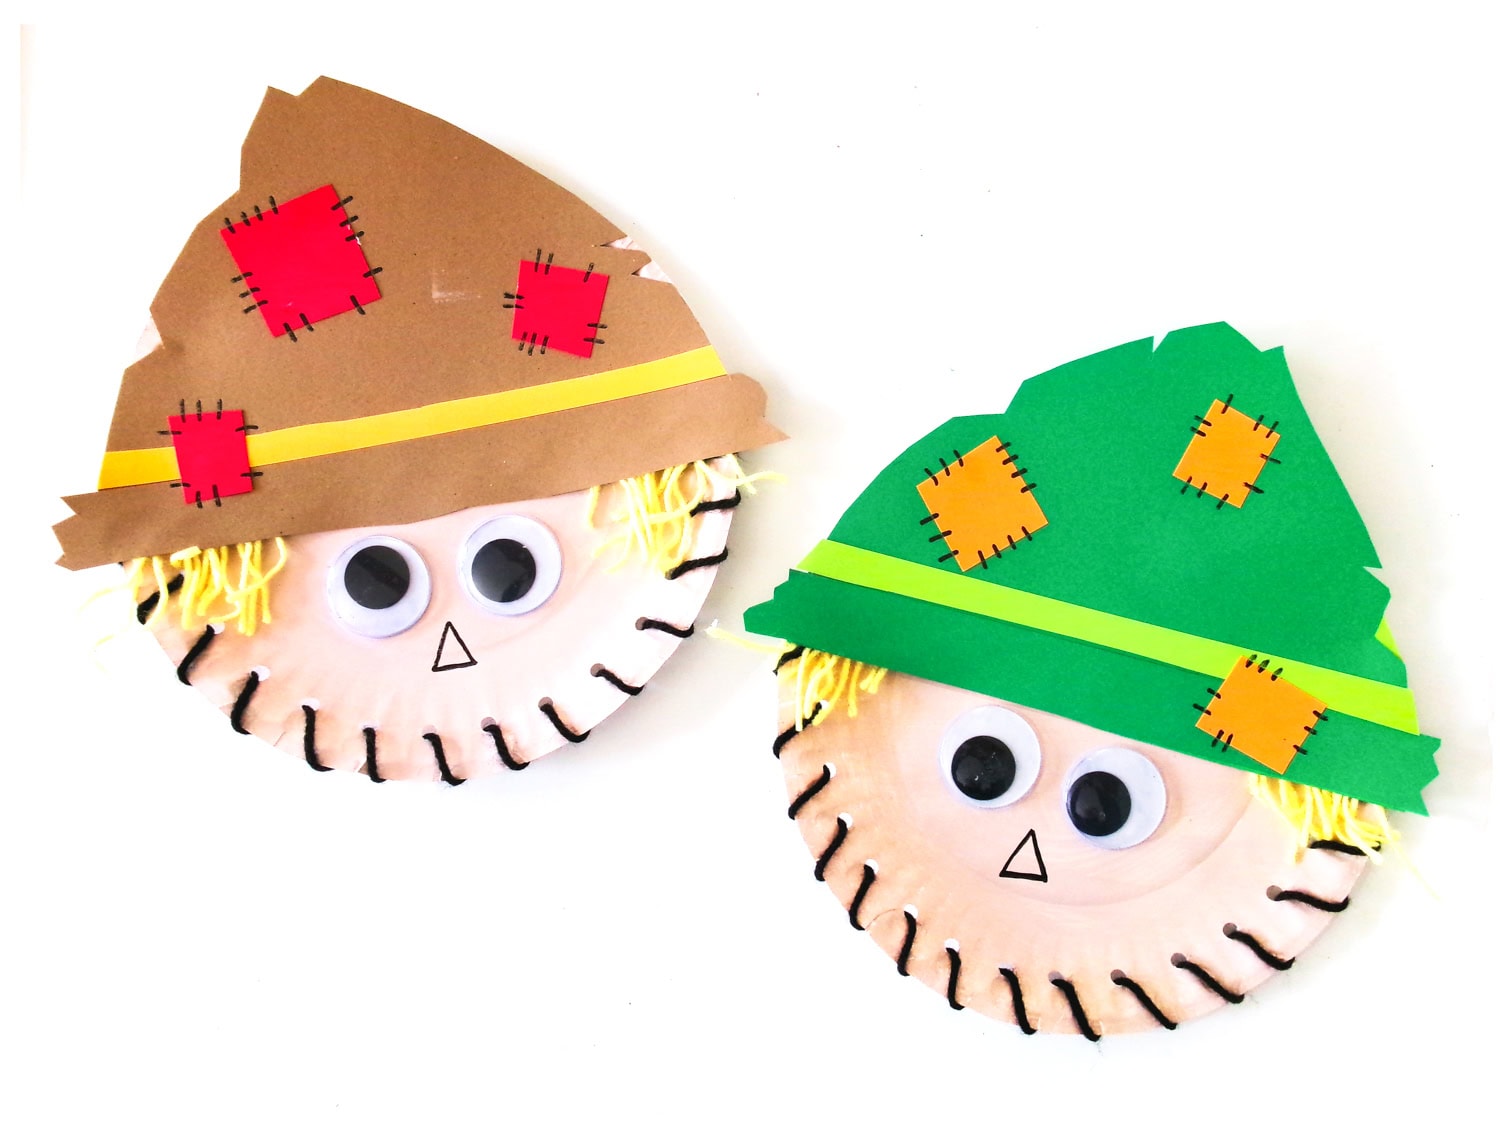
- Mix and match colors to make your scarecrow extra unique. You can paint his face different colors, make different hats, add patches, etc. It’s all up to you!
This scarecrow paper plate craft is the cutest way to ring in the fall season! Have a blast as your learn and play together.
More Fall Craft Ideas!
- Make a Pumpkin Pie Craft that is just perfect for imaginative play! Kids who like to play kitchen will love this craft!
- This Turkey Paper Bag Craft is super easy and great for your littles to make. A fantastic classroom craft!
- Skip the store-bought playdough and make this Pumpkin Playdough instead.
- Need something really easy? Then check out this printable Thanksgiving Activities packet.
Paper Plate Scarecrow
Ingredients
- Scarecrow Hat Template
- Paper plates
- Tan acrylic paint
- Black marker
- Cardstock colors of choice
- Yarn black and yellow
- Googly eyes medium-large
- Single hole punch
- Tape
- Scissors
- Glue
Instructions
- Begin by painting a paper plate tan. Let the paint dry completely.
- When the paint is dry, punch holes around half the plate.
- Gather a long strand of black yarn and use tape to secure the end to the back of the paper plate. Now, begin lacing the black yarn around and through each hole until complete. Tape the final end to the back of the paper plate.
- Next, cut some small strands of yellow yarn for the straw hair. Glue the hair to the sides of the paper plate, right where the black lacing ends.
- Then, while the glue is drying, print the hat template and cut out the pieces. Trace the pieces on whatever color cardstock you would like and cut out. You will also need a thin strip from a different color cardstock for the belt of the hat.
- Glue all the pieces in place. Trim the excess from the sides of the belt.
- Cut some raggedy notches randomly around the edges of the hat.
- Cut some squares from a different color of cardstock and glue those like patches on the hat.
- Use a black marker to draw some sew lines keeping the patches in place.
- Glue the hat to the top of the paper plate.
- Finally, finish the scarecrow face by adding googly eyes.
- The very last step is to use the black marker to draw a simple triangle nose.