Indian Corn Craft
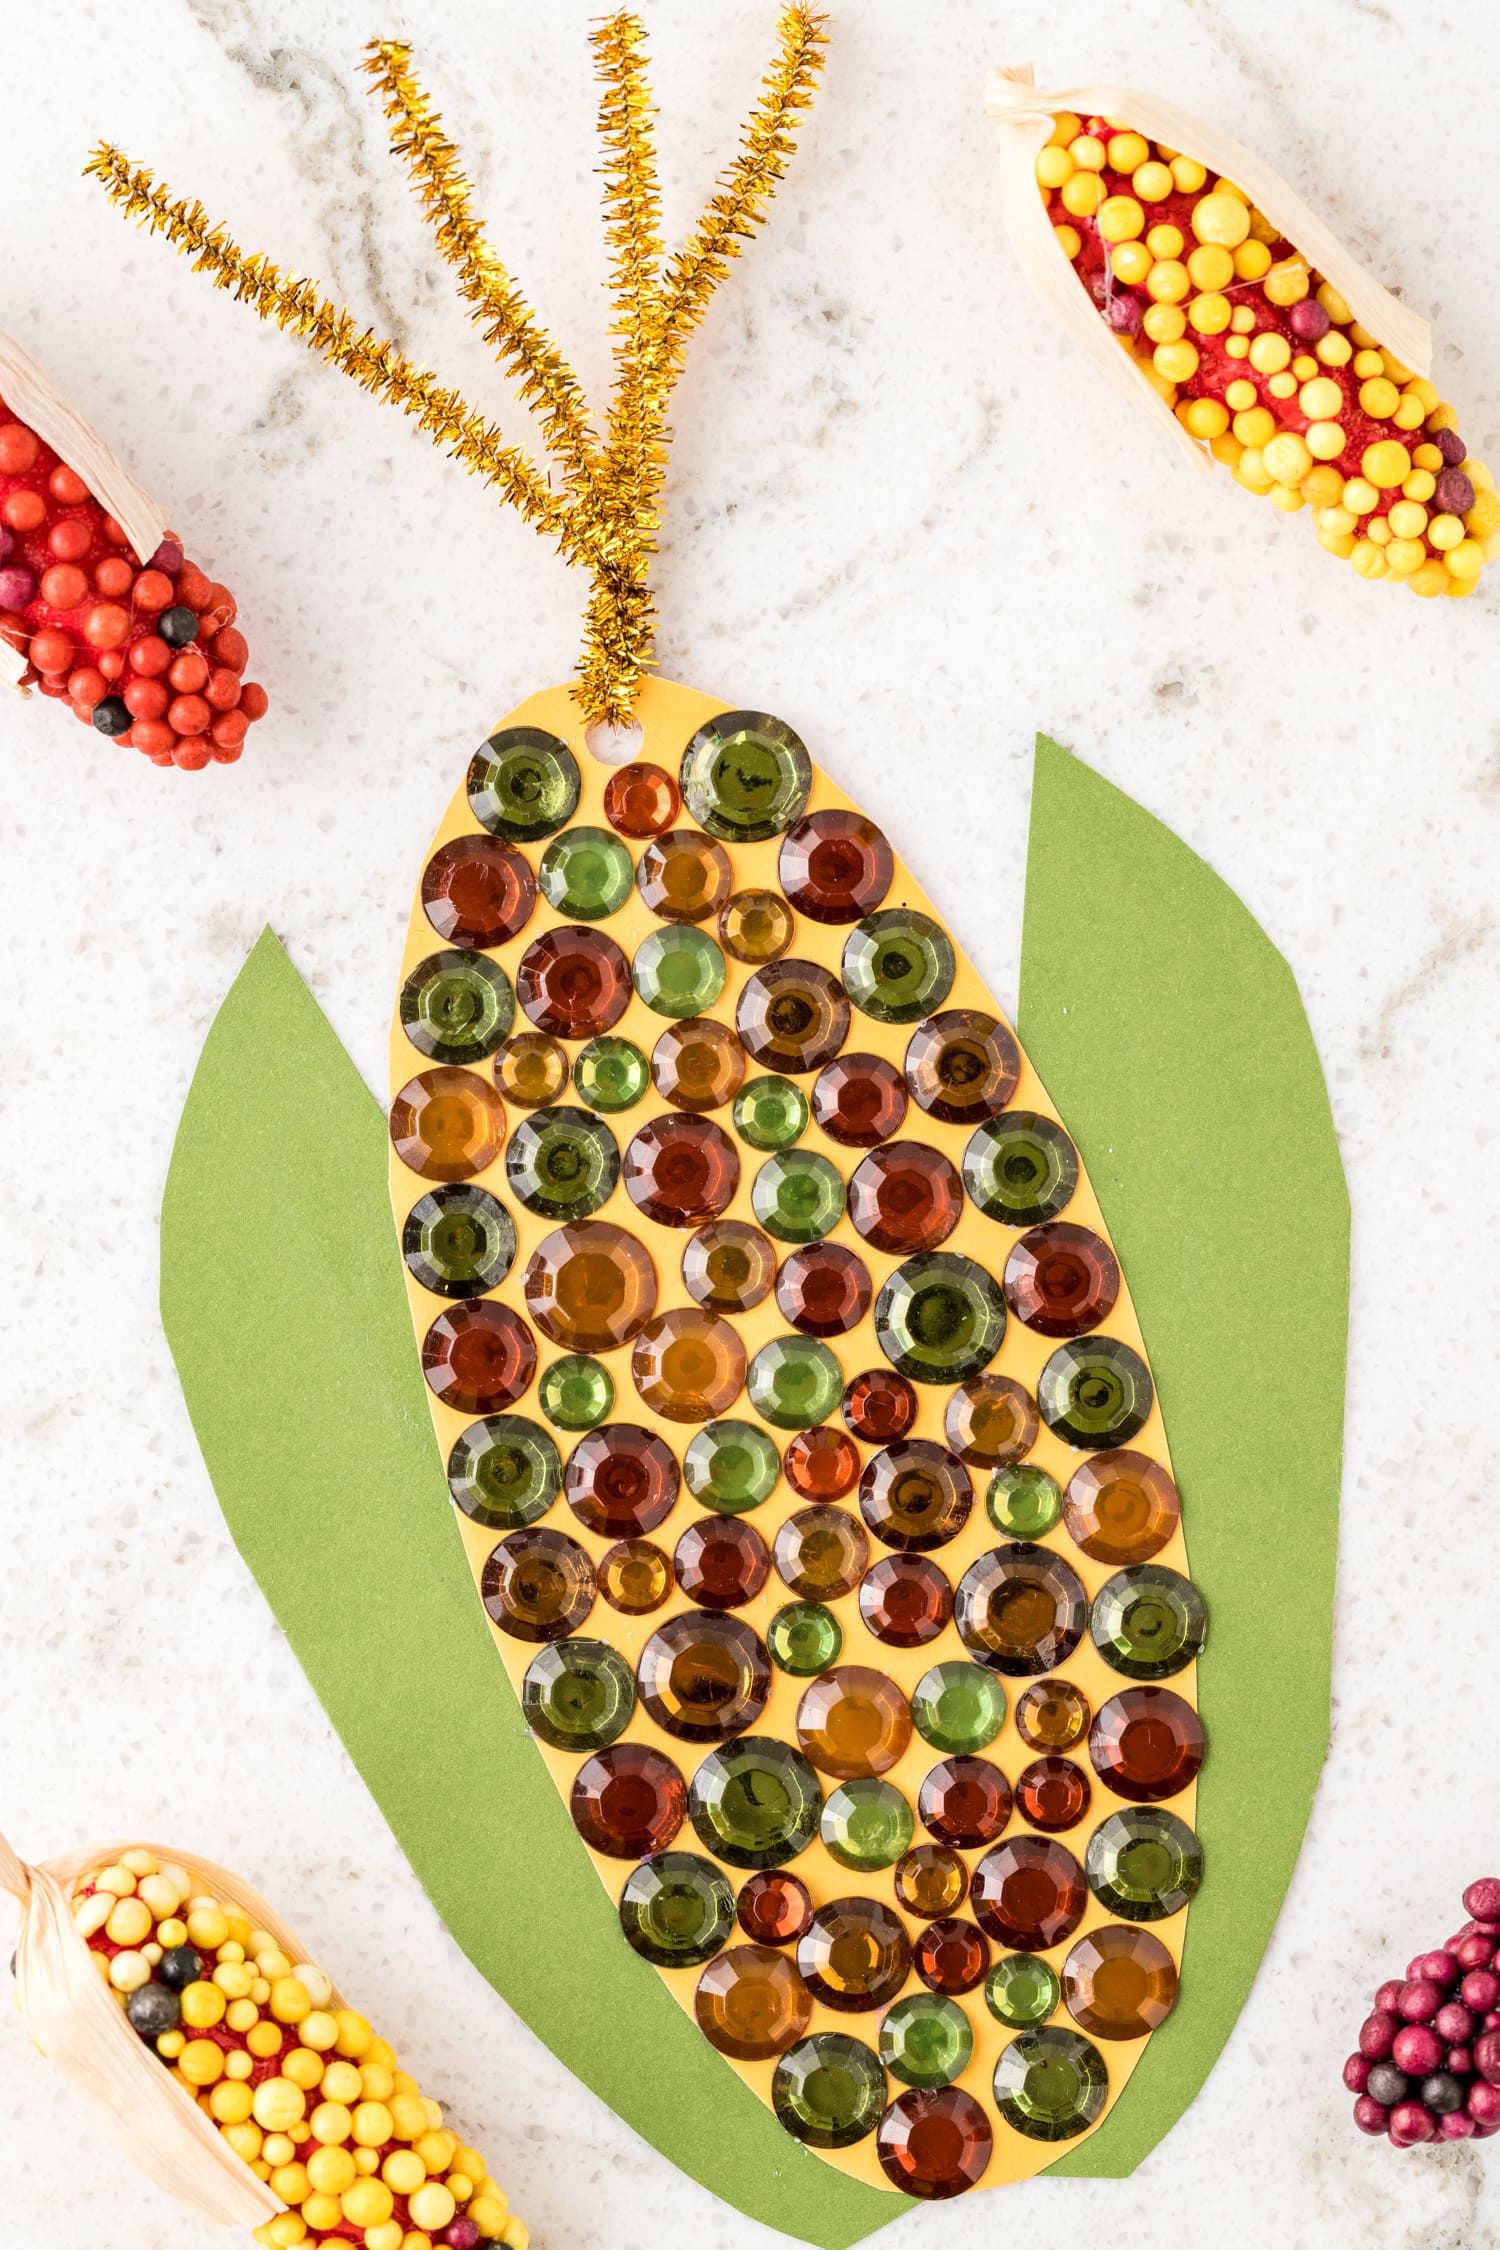
This Indian Corn Craft is a fun and easy fall activity for kids made with simple supplies, colorful gemstones, and a magnet to turn it into the perfect fridge decoration or homemade gift!
There is just something about a new season – and I love fall! Pumpkin patches, hay rides, apple cider, corn mazes, the coloful fall leaves and of course, Thanksgiving decor. Our family always so much fun during fall before it gets too cold! I’m also always on the lookout for fall craft ideas and this is definitely a super fun thanksgiving activity to try out with the kiddos this year!
This Indian corn craft fits into the fall fun perfectly! This easy kids craft makes a great fridge magnet and is a great addition to our day to keep the kids busy with Thanksgiving activities.
This craft is great for kids of all ages! It doesn’t make much of a mess so it has an easier clean up. We all love easy clean-up on Thanksgiving!
Why You’ll Love This Craft
- This craft requires gluing of very small objects, which can help to refine fine motor skills using precision while gluing.
- You can use this Indian corn craft to teach your kids about the history of Thanksgiving.
- This craft is very affordable and is a great option for large groups of children.
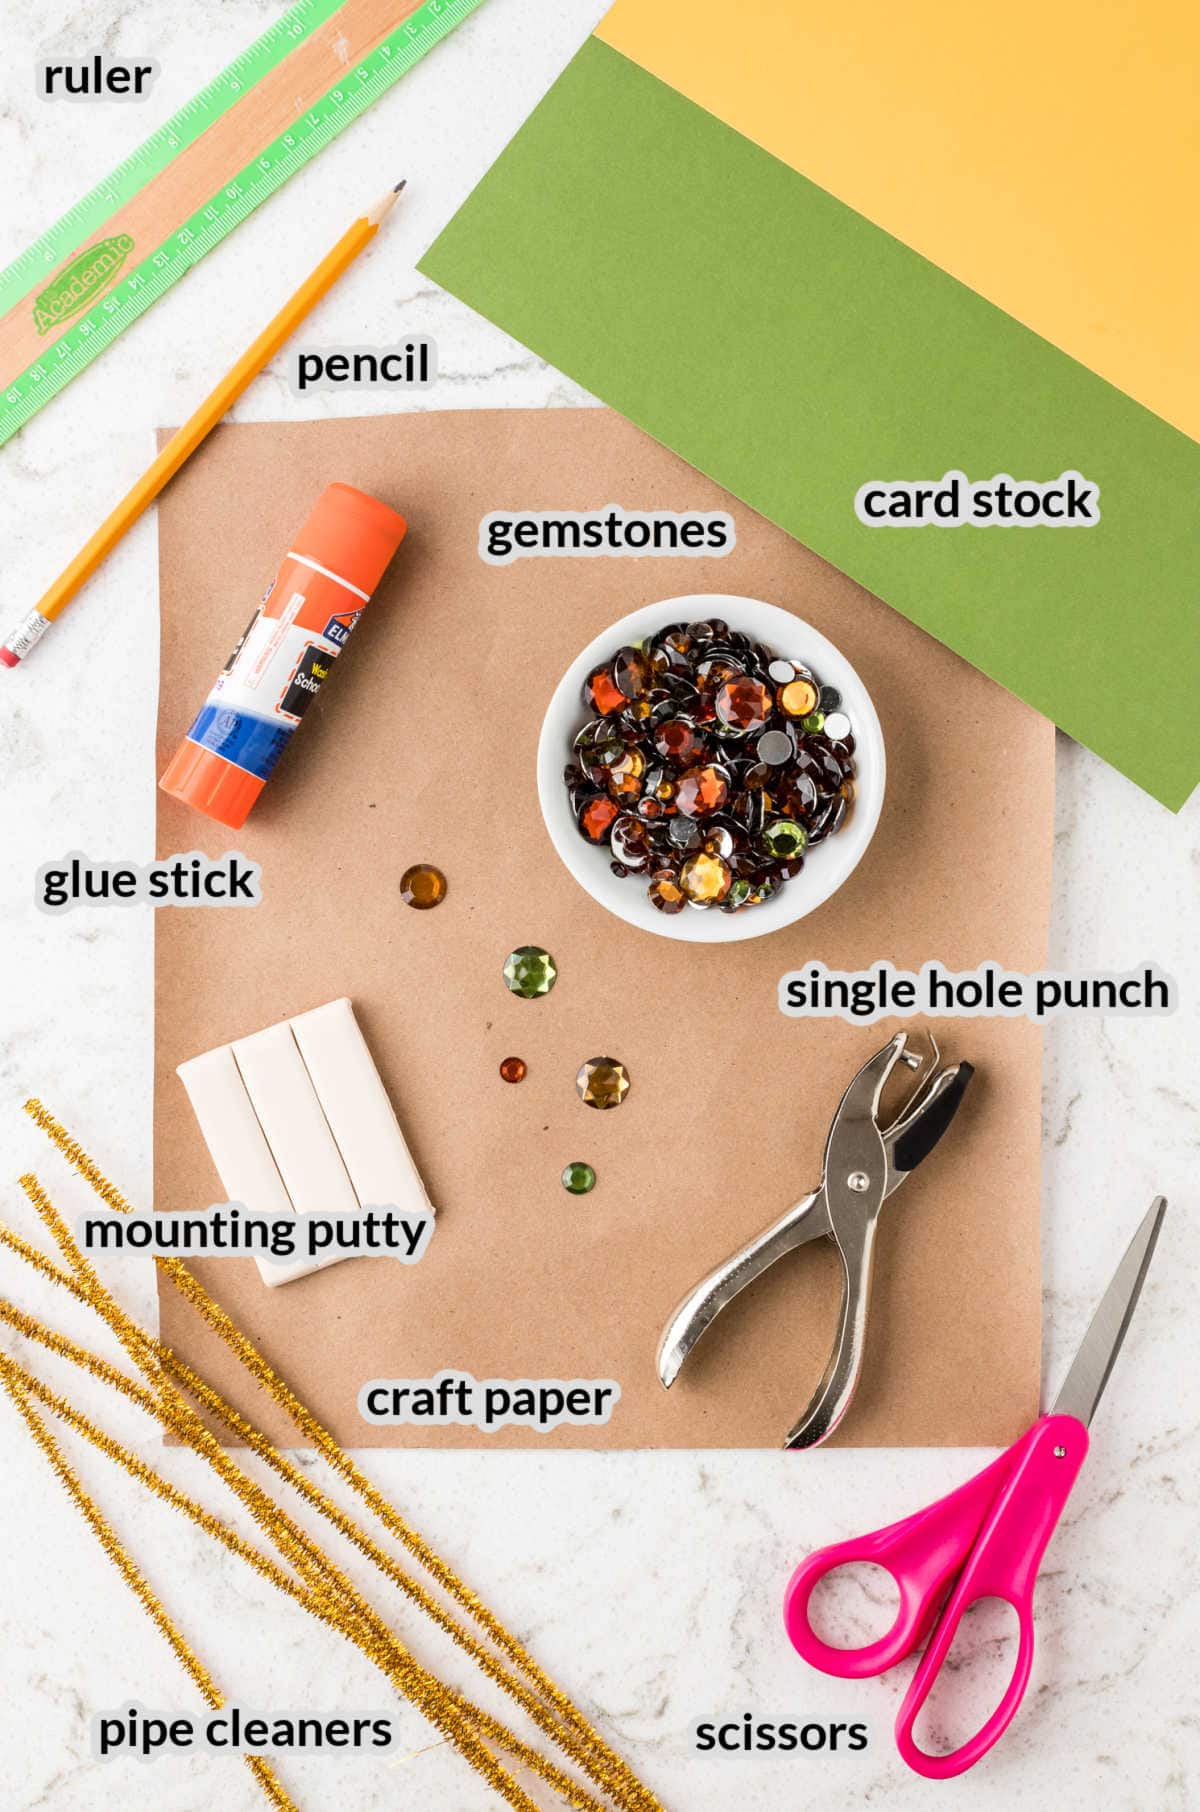
Supplies Needed For Indian Corn Craft
- Kraft paper – Kraft paper will protect your work space. If you can’t find craft paper, you can use an old table cloth or drop cloth.
- Card stock – Yellow and green, for corn! I prefer to use card stock since it’s a little more sturdy. If you choose to use construction paper, please note that this will make your corn craft more flimsy once it’s finished.
- Ruler – A simple classroom ruler will work perfectly for this craft.
- Pencil – I like to use a pencil for tracing in case I need to erase mistakes, but you can use any writing utensil.
- Scissors – Kid’s safety scissors will work great if your younger children want to cut out their own shapes.
- Single hole punch – A single punch is the easiest way to make a small hole at the top of your Indian corn craft to feed pipe cleaners through.
- Glue stick – You could use a glue stick or any type of craft glue but I find it’s less messy to use a glue stick.
- Craft gemstones – Fall-colored gems are best, but any variety of craft gemstones will work. You can also use dried beans, buttons, craft pom poms, or any other small and decorative object. Plastic pony beads are also a great option and usually easy to find at your local dollar store. An assortment of beads, gemstones and other objects will be extra fun!
- Removable mounting putty – You should be able to find this at your local craft and hobby store.
- Pipe cleaners – I personally love the sparkly gold pipe cleaners for this craft, but any fuzzy pipe cleaner will work.
How To Make Indian Corn Craft
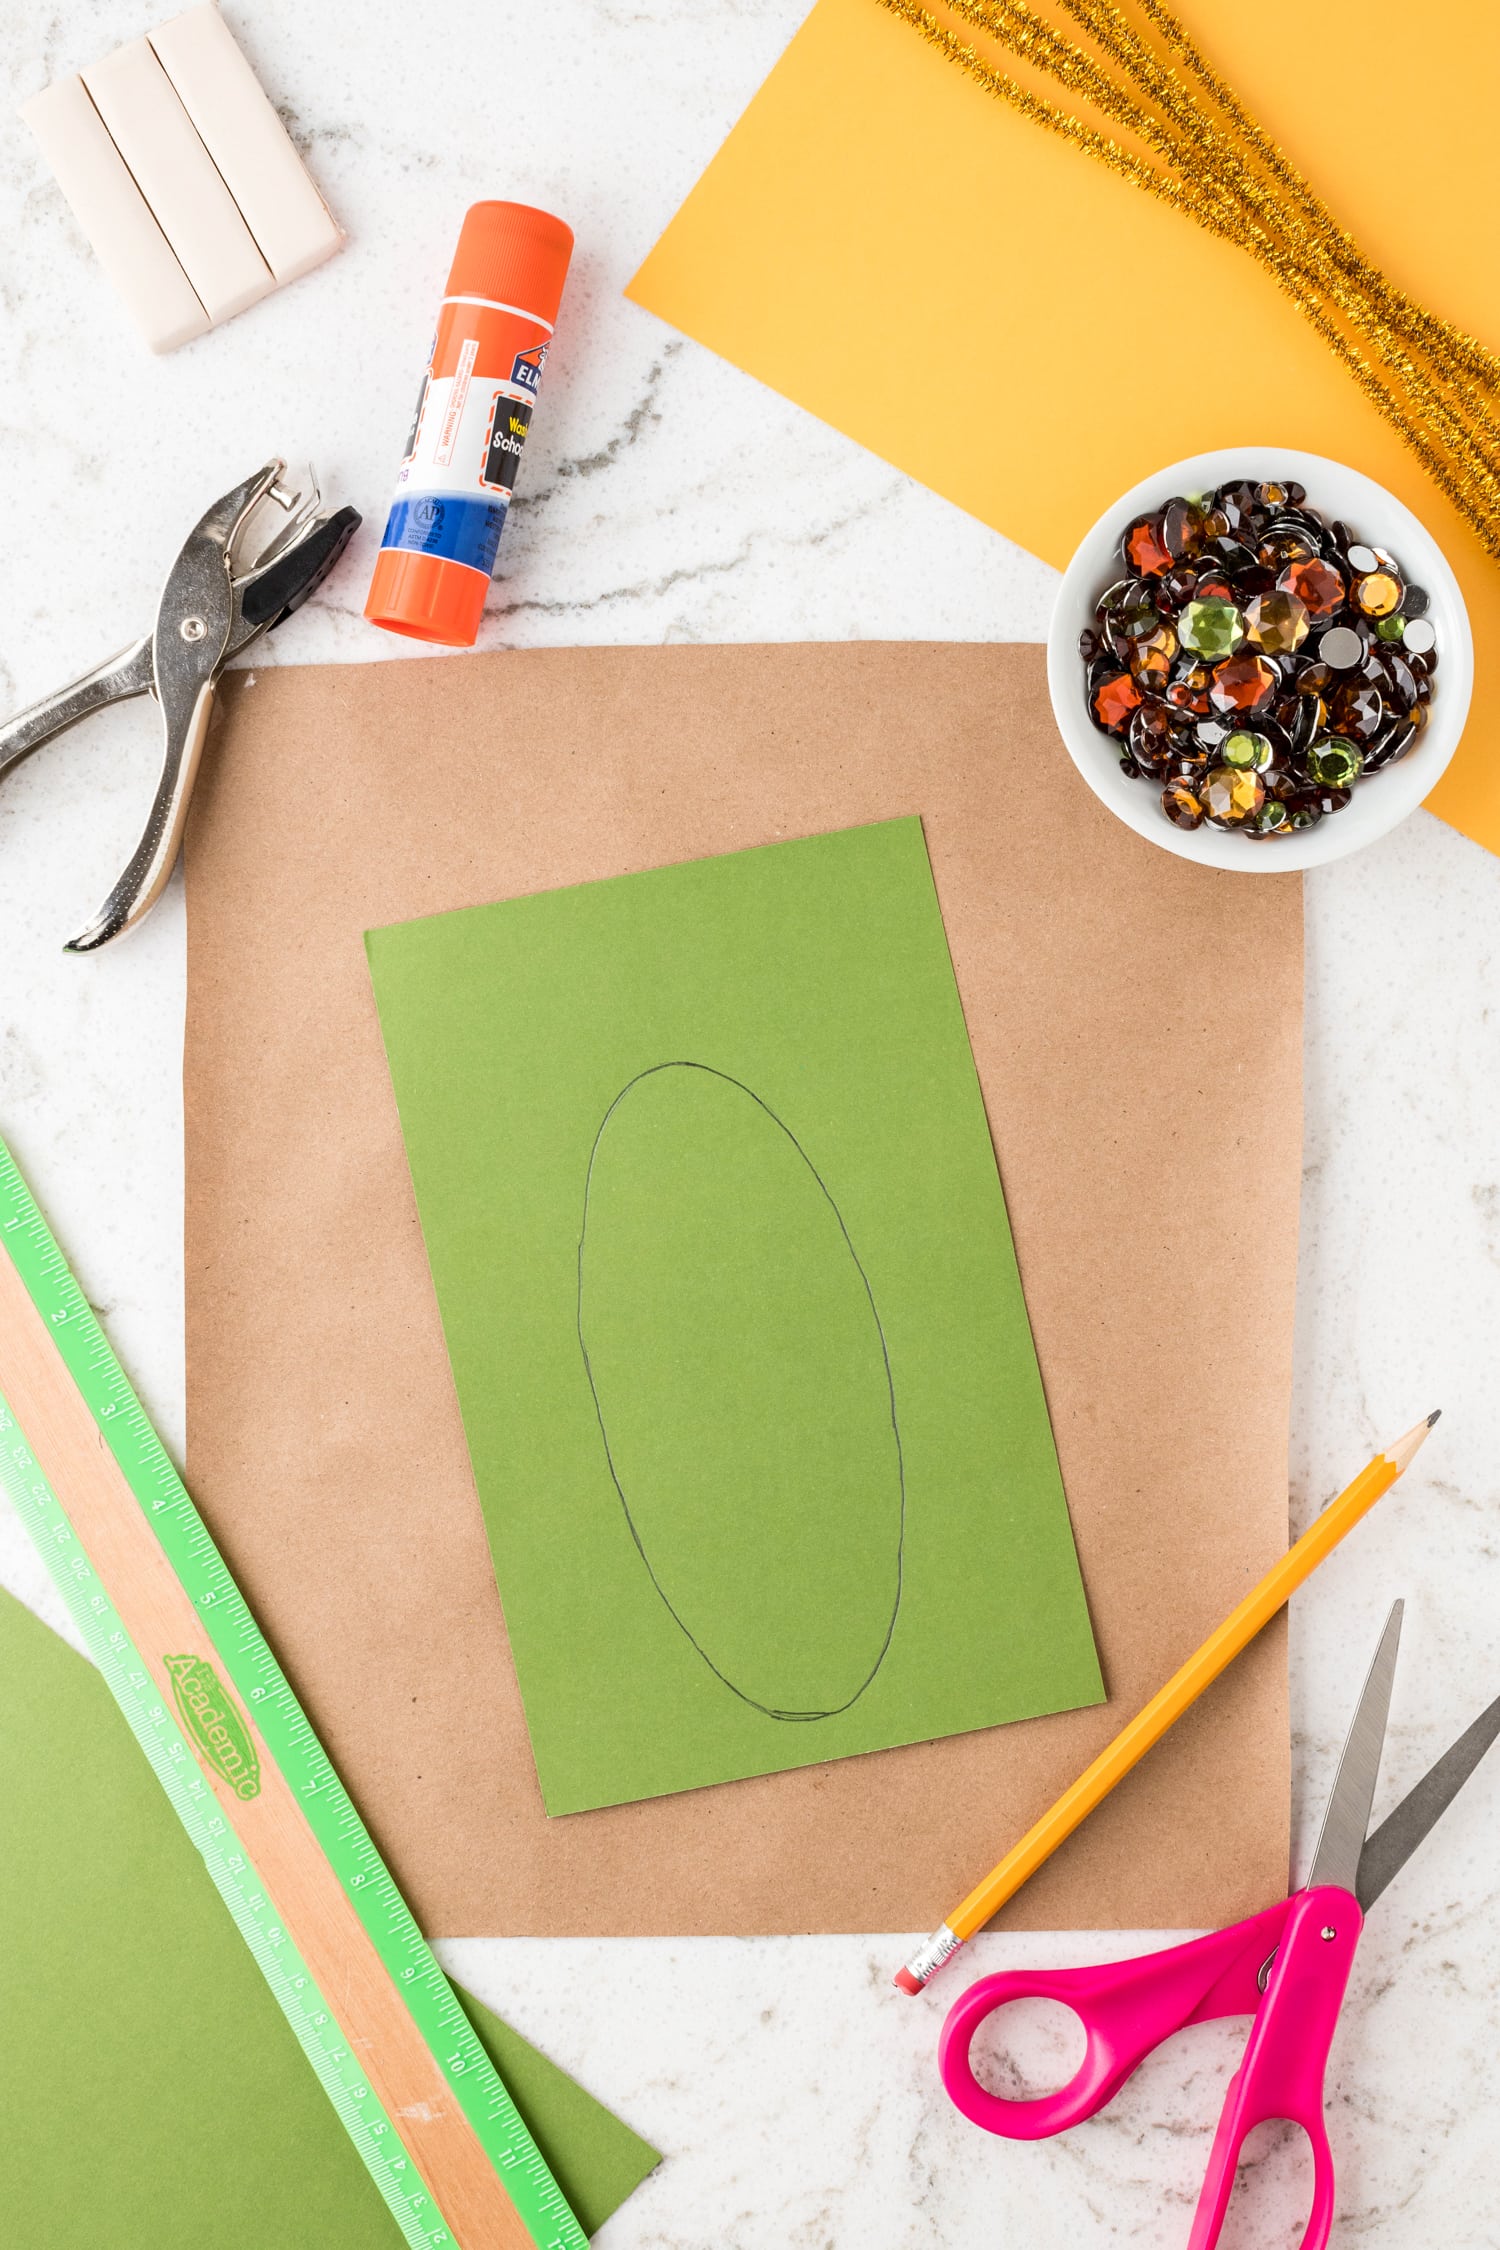
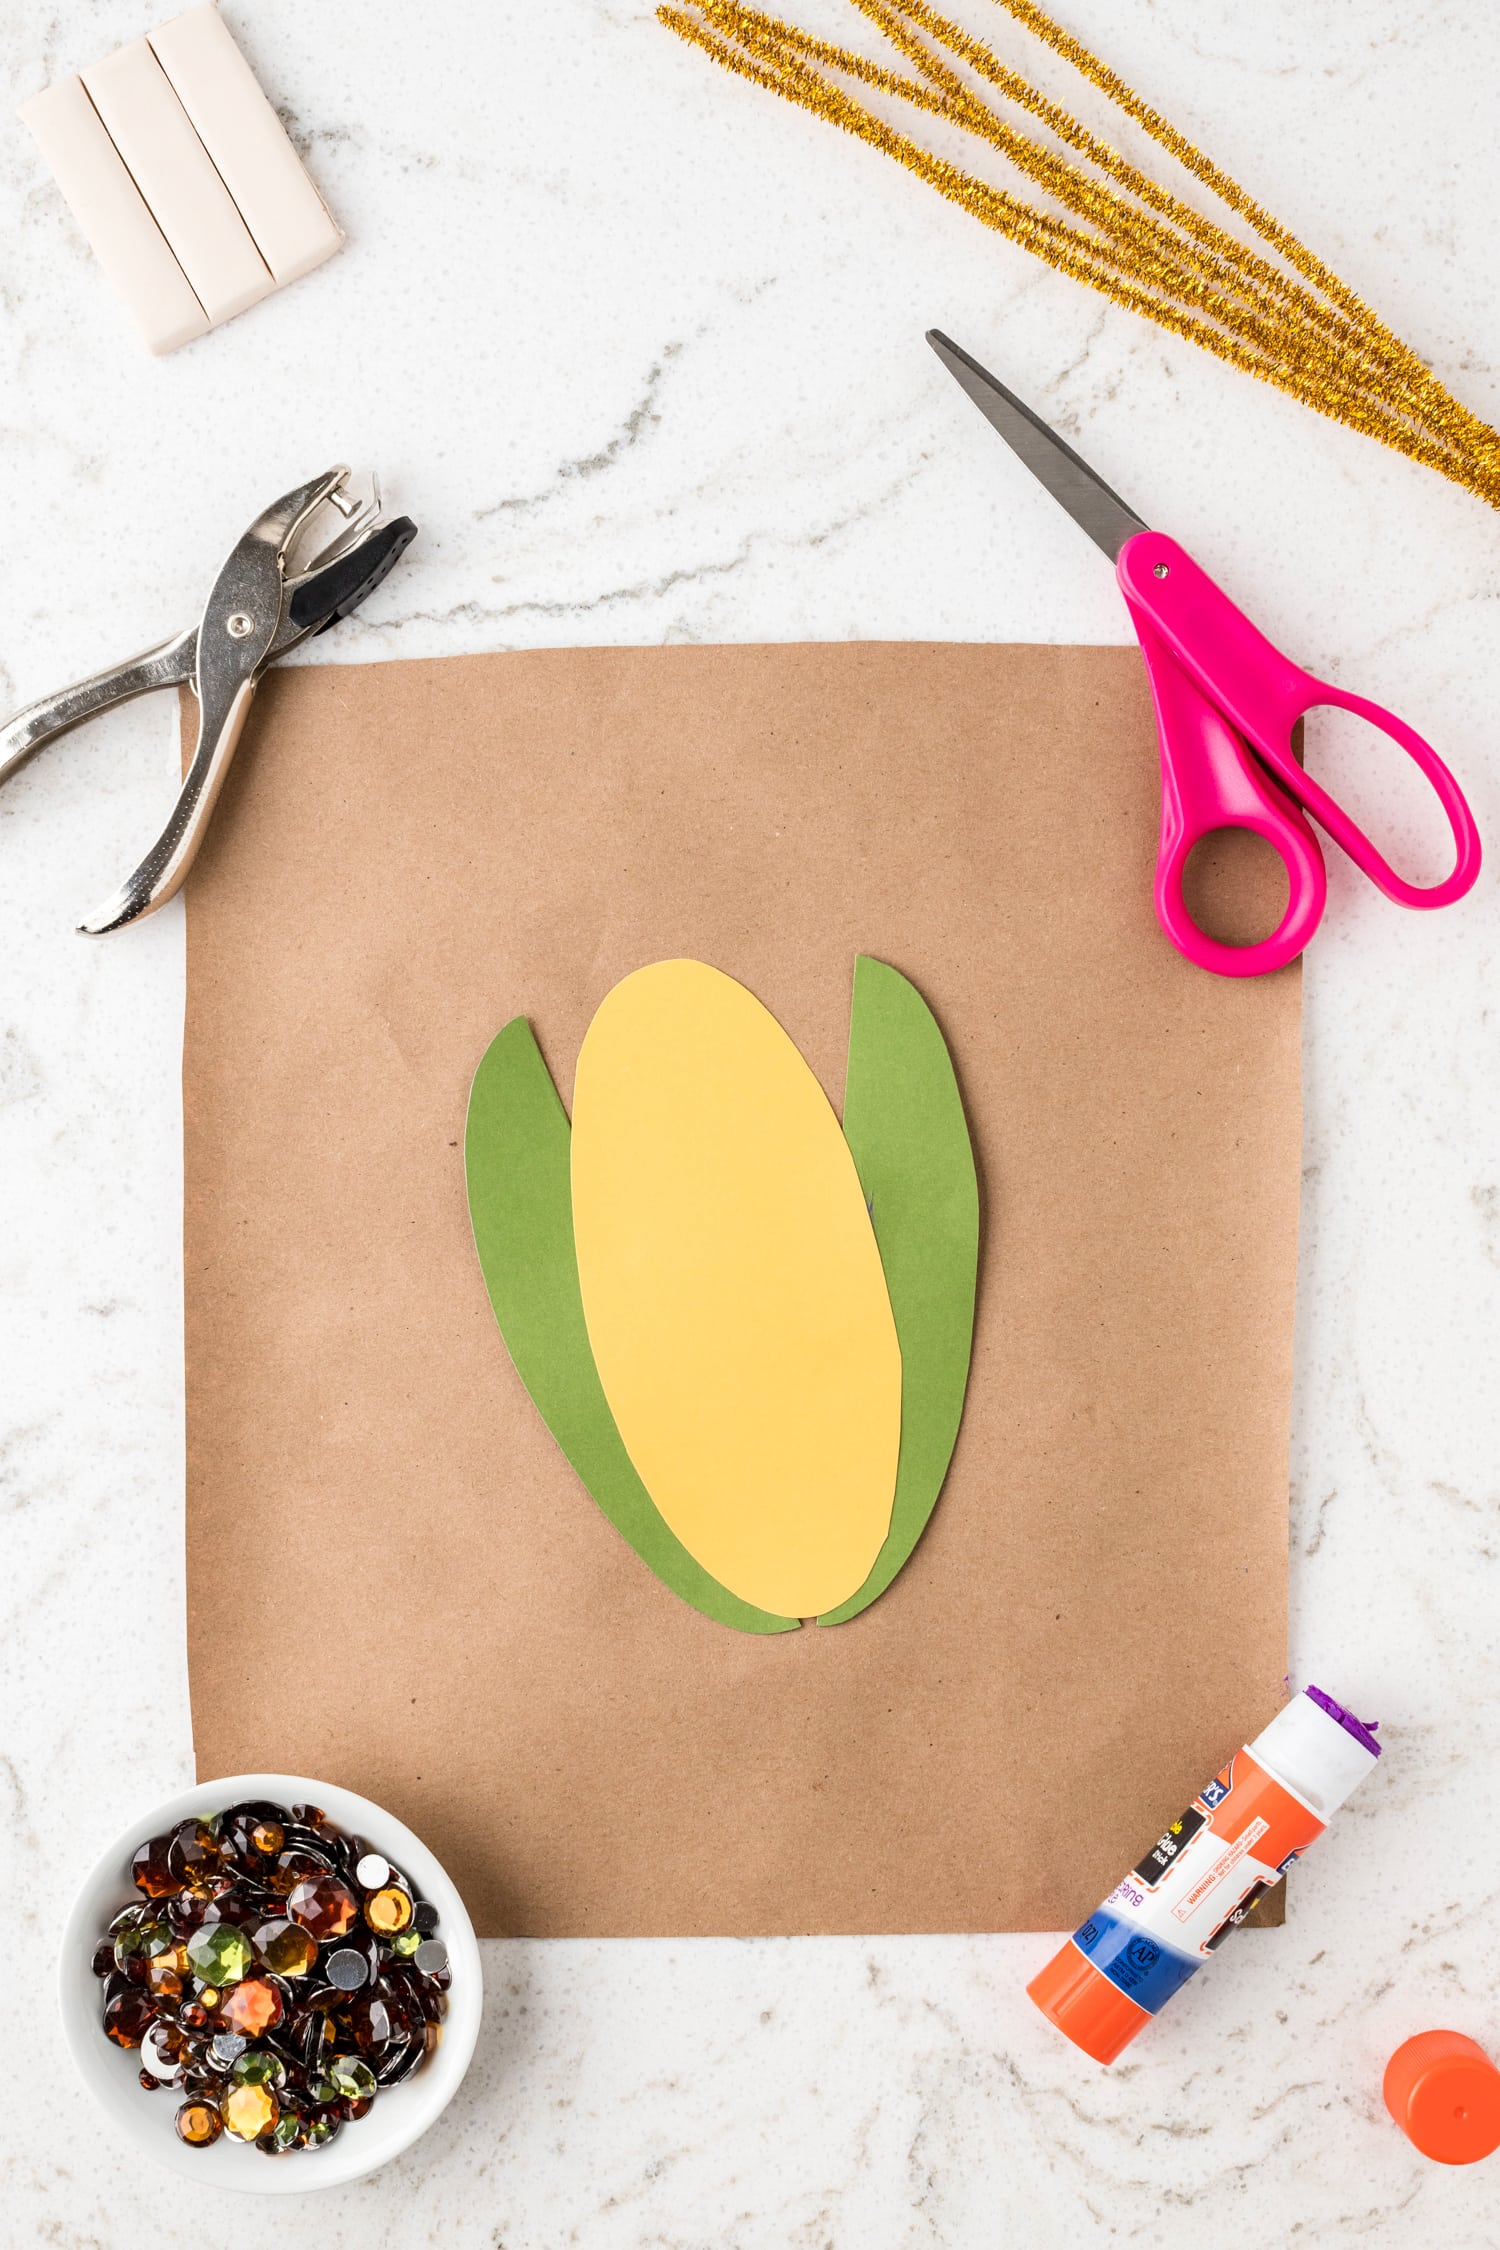
Trace oblong oval shape onto the green cardstock. Cut it out and then use it to trace the same size oval onto the yellow cardstock.
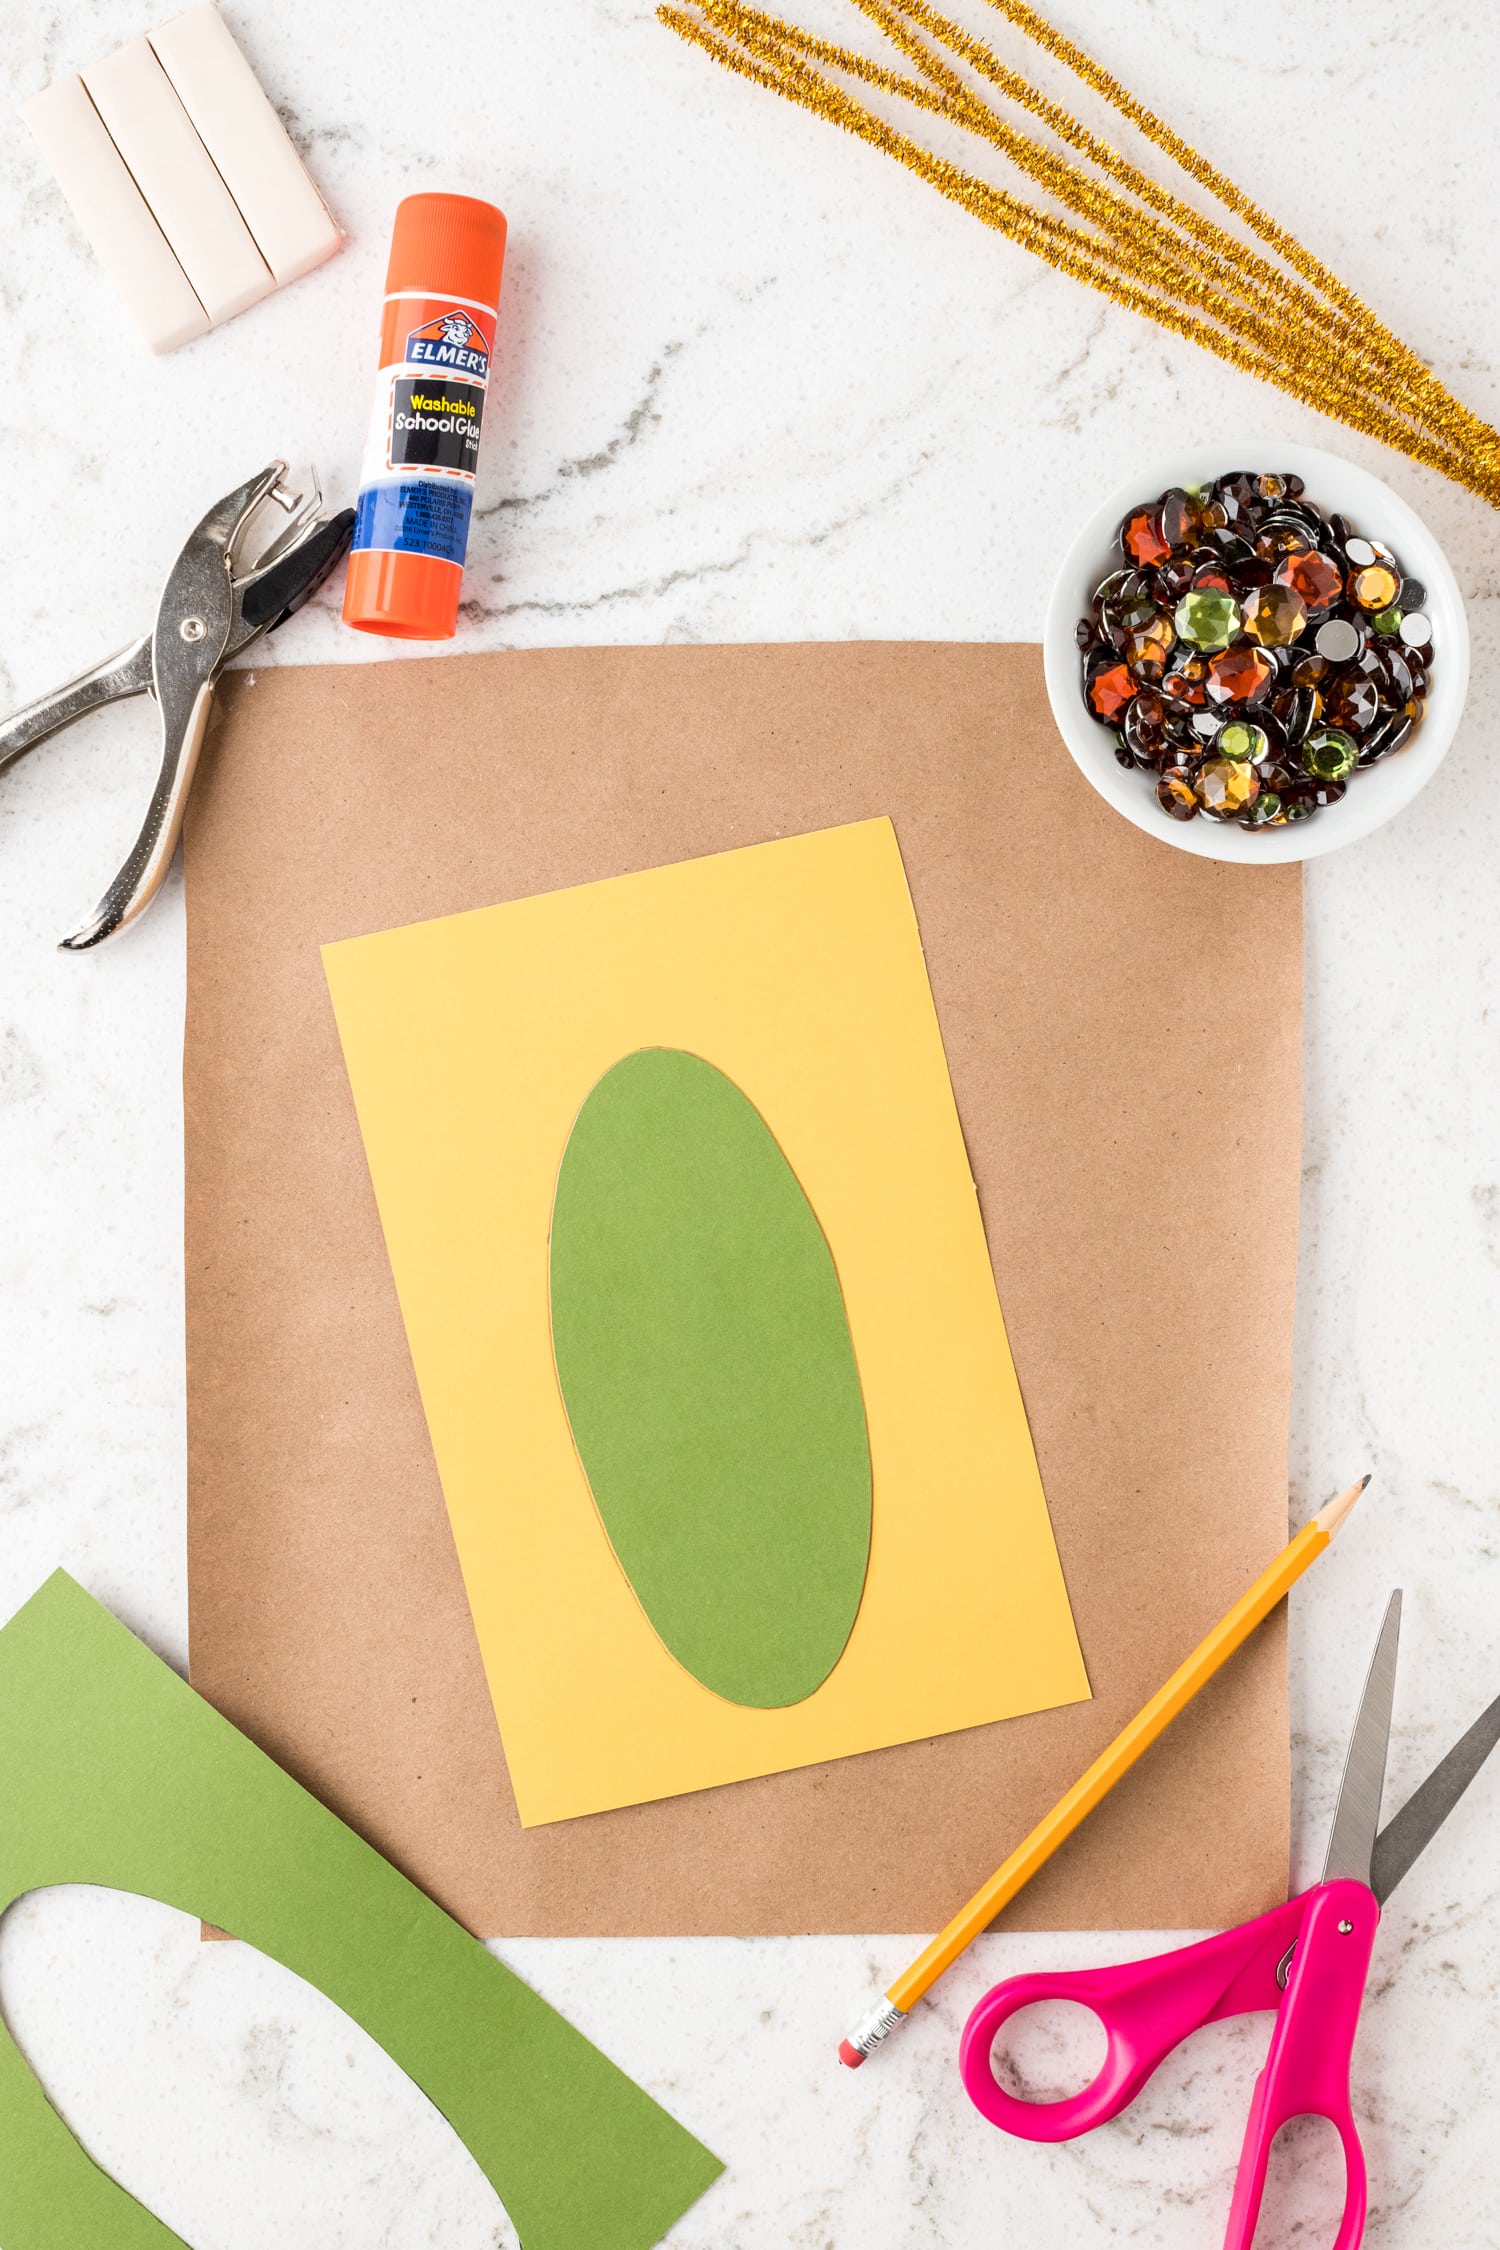
Cut out your yellow oval and set it aside. Take your previously cut green oval and fold in half lengthwise. Cut along the fold to evenly divide the oval.
Your yellow oval is going to act as your corn, and your divided green oval will act as the corn husks! Apply glue onto the back of your corn oval and glue the two sides of the husk onto the corn.

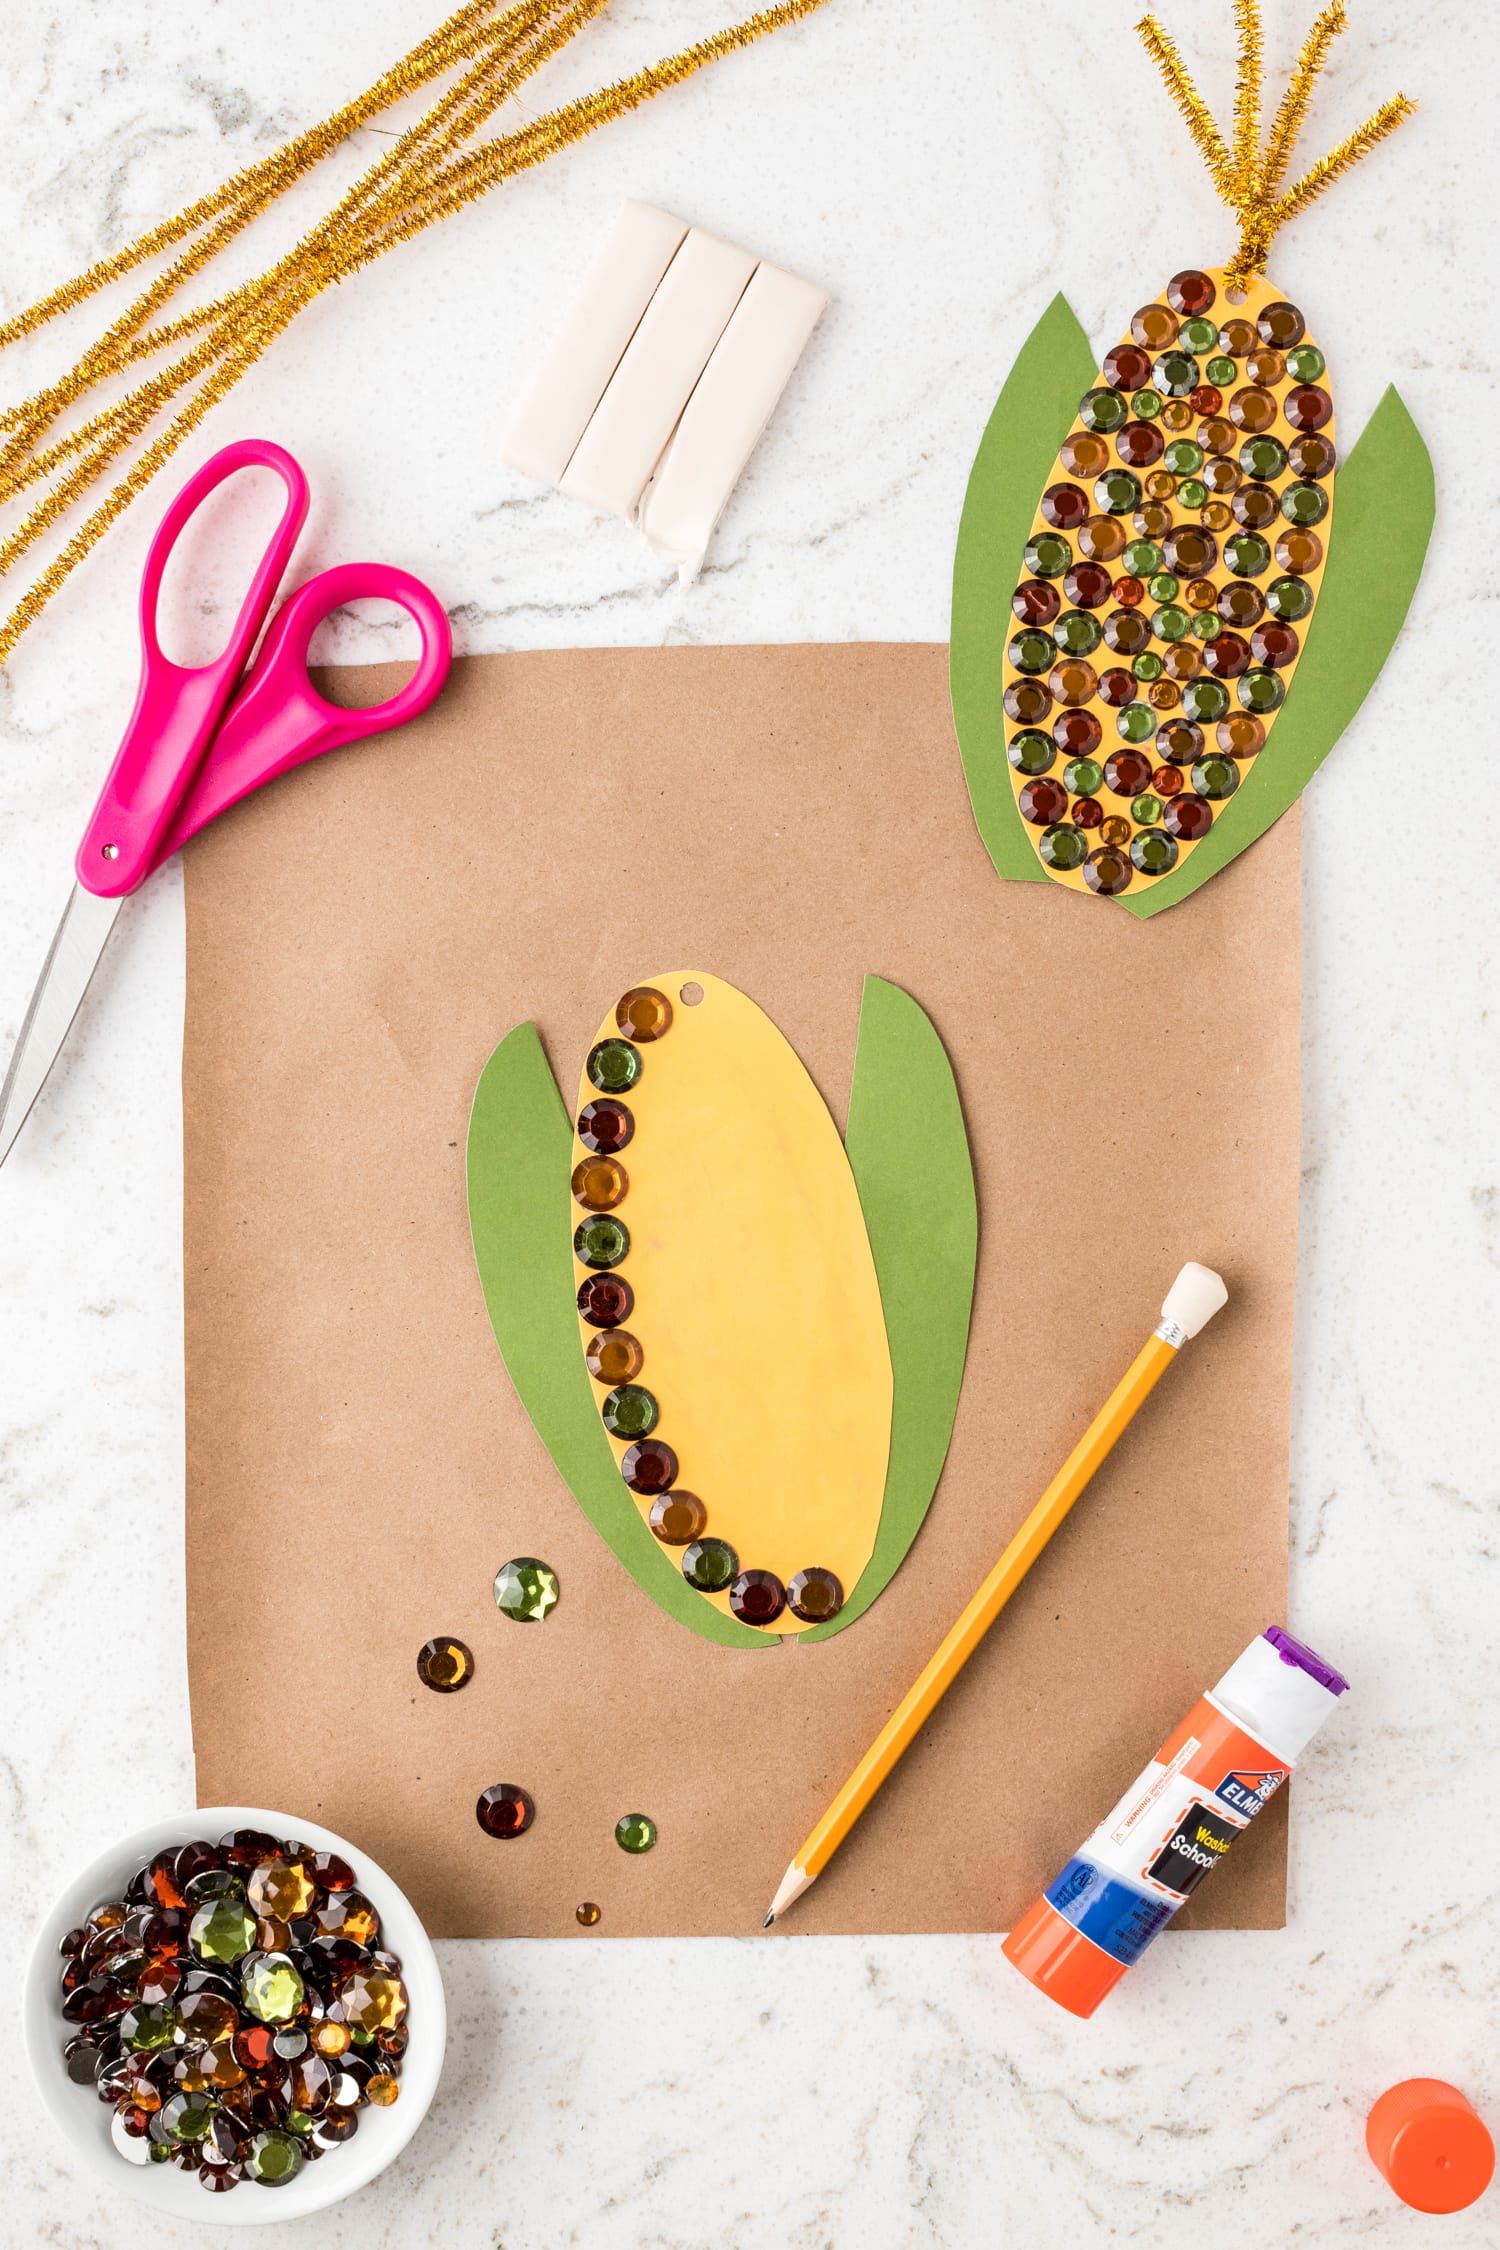
Use the hole punch to create a hole at the top of the corn to feed the pipe cleaners through later. Add some mounting putty to the eraser end of a pencil. This will help you easily pick up each gemstone as you decorate if you don’t have a set of tweezers.
Apply glue to the front of the corn and press gemstones down into the glue in a random assorted pattern. Once your Indian corn craft is covered in gemstones, feed a few pipe cleaners through the hole at the top to create a tassel.
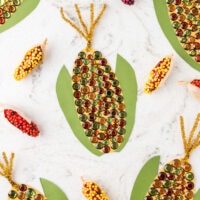
Allow to completely dry and then display your beautiful work! Another fun way to display, if you make a bunch, is to attach them to a long piece of ribbon and make a Thanksgiving garland. The possibilities with Indian Corn crafts are endless!


Pro Tips
- Add a magnet onto the back of your Indian corn decorations and display them proudly on your refrigerator.
- Place a few dots of mounting putty on the back of your cardstock and press it down onto the craft paper on your workspace. This will help keep the corn from shifting as you glue gemstones on.
- In order to save some time, pre-cut your corn and husks before starting the activity.
- If there are quite a few kids participating, give them each their own little container or bowl of gemstones to glue down.

Doing a fun fall craft for kids doesn’t have to be crazy difficult! This Indian corn craft will be so much fun and is family friendly. The cute little corns can even be used as table decoration or name tags at the Thanksgiving dinner table! What other corn crafts do you love to do in the fall?
Indian Corn Craft
Ingredients
- Kraft paper
- Card stock yellow and green
- Ruler
- Pencil
- Scissors
- Single hole punch
- Glue stick
- Craft gemstones fall colored
- Removable mounting putty
- Pipe cleaners sparkly gold
Instructions
- Start by tracing a 6-inch oval onto a piece of green card stock and cutting it out to use as a template and later for the cornhusk.
- Use the green template to trace another 6-inch oval onto the yellow card stock and cut it out.
- Fold the green template in half and cut it down the middle.
- Now it’s time to attach the cornhusk to the corn. Apply a thin layer of glue on the back, and press the 2 halves of the cornhusk to secure. Allow drying time.
- Once dry, let’s decorate the corn! First, punch a hole in the top of the corn cob. Then spread a thin layer of glue on the cob and start placing gemstones in an assorted pattern. The easiest way to pick up the stones is to take a pencil and press a ball of removable mounting putty onto the eraser. It allows you to pick up the gems and secure them onto the corn cob quickly and mess-free!
- Lastly, let’s make the tassel! Take a gold sparkly pipe cleaner and cut it in half. Insert both halves into the previously punched hole, bend them together, and twist to secure them.
Now your corn is complete and is an excellent decoration for fall!
Notes
A Few More Simple Thanksgiving Crafts
- Turkey Suncatchers will brighten up a potentially cloudy fall day. The template provided takes care of the hard part, just add color!
- It’s not Thanksgiving without a slice of pumpkin pie. This craft is so cute and would look great as place settings.
- This Turkey Paper Bag Craft is adorable and so much fun. It is also a great way to get the younger kids working on color recognition.
- Start collecting toilet paper rolls early in the season and get the kids to make place settings with this super fun Toilet Paper Roll Turkey.
More Fall Activities You’ll Love
- This printable Thanksgiving Sudoko is perfect to keep your older kids busy while Thanksgiving dinner is cooking. If you’ve got some competitive kids participating, set a timer to see who can complete the puzzle the fastest.
- Need a super quick activity? Here are some printable Thanksgiving Coloring Sheets for the kids (and adults!) to do after the Thanksgiving Day parade!
- Get out the cookie cutters and rolling pins to have a blast with homemade Pumpkin Playdough. It is super squishy and smells deliciously like pumpkin spice, everyone will love it.
- Thanksgiving I Spy is another great printable activity to pass the time while the kids are waiting to dig in to their Thanksgiving feast.
The kids loved making these for fall and sticking them to their bedroom windows! Thank you!!!