Tissue Paper Christmas Wreath
Get into the holiday spirit with this tissue paper wreath tutorial! All you need is a paper plate, tissue paper and a few more supplies to make this easy Christmas craft. It’s perfect for kids of all ages and will make a festive addition to your holiday decorations.
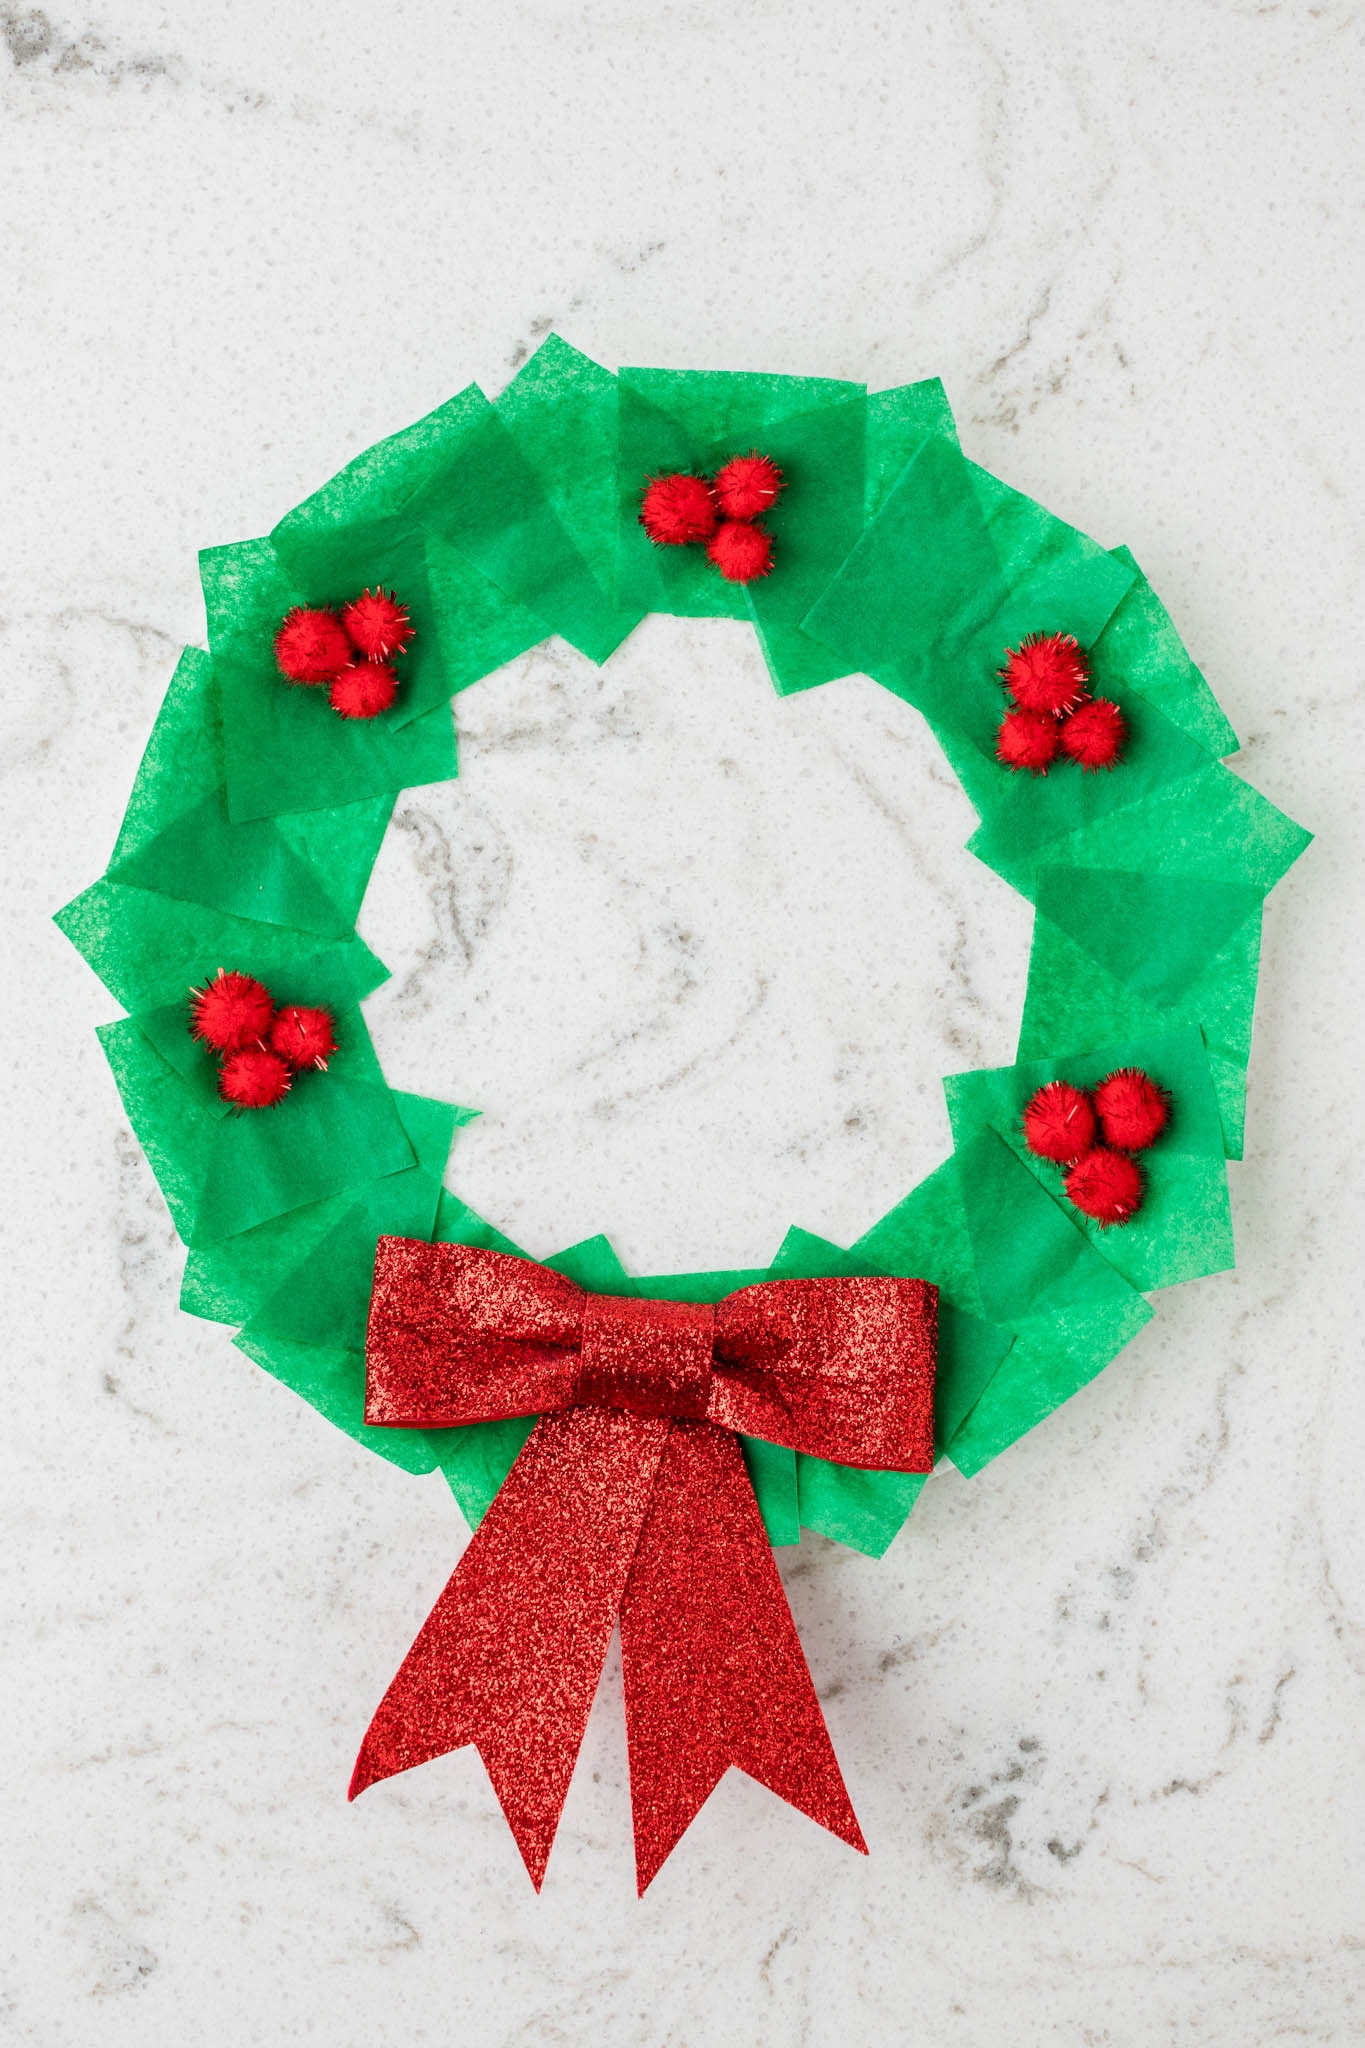
Ever heard of making a wreath out of paper plates and tissue paper? Well, now you have! This adorable tissue paper Christmas wreath is by far one of the cutest holiday crafts you’ll ever make. The end results reminds of something you’d see in Whoville!
What’s crazy is that entire wreath is formed from lots of green tissue paper squares and a few other basic craft materials. Who knew that something so simple could create the cutest little Christmas wreath craft for kids?
I’ve got loads of Christmas crafts — it’s actually one of my most favorite seasons to get creative with the kiddos. Creations like santa binoculars and a handprint Christmas tree ornament are just so festive and sweet, especially considering the creative imaginations that kids have.
Make their holidays sparkle extra bright with this adorable tissue paper wreath. Not only is it a fun craft, but you can also use it as a super cute decoration around the house too! Grab those supplies and let’s get started.
Why You’ll Love this Tissue Paper Wreath
- Cutting and glueing are both wonderful activities to refine fine motor skills. Get those little hands and fingers moving and developing crucial skills all while having a load of fun.
- If you have littles, these make great homemade holiday gifts for their grandparents, aunts, uncles and friends. Everyone will think it’s extra sweet to receive a homemade gift from a sweet little one that is special to them!
- It only takes 20 minutes to make this craft. Great for classroom craft time and perfect for kiddos who have a short attention span.
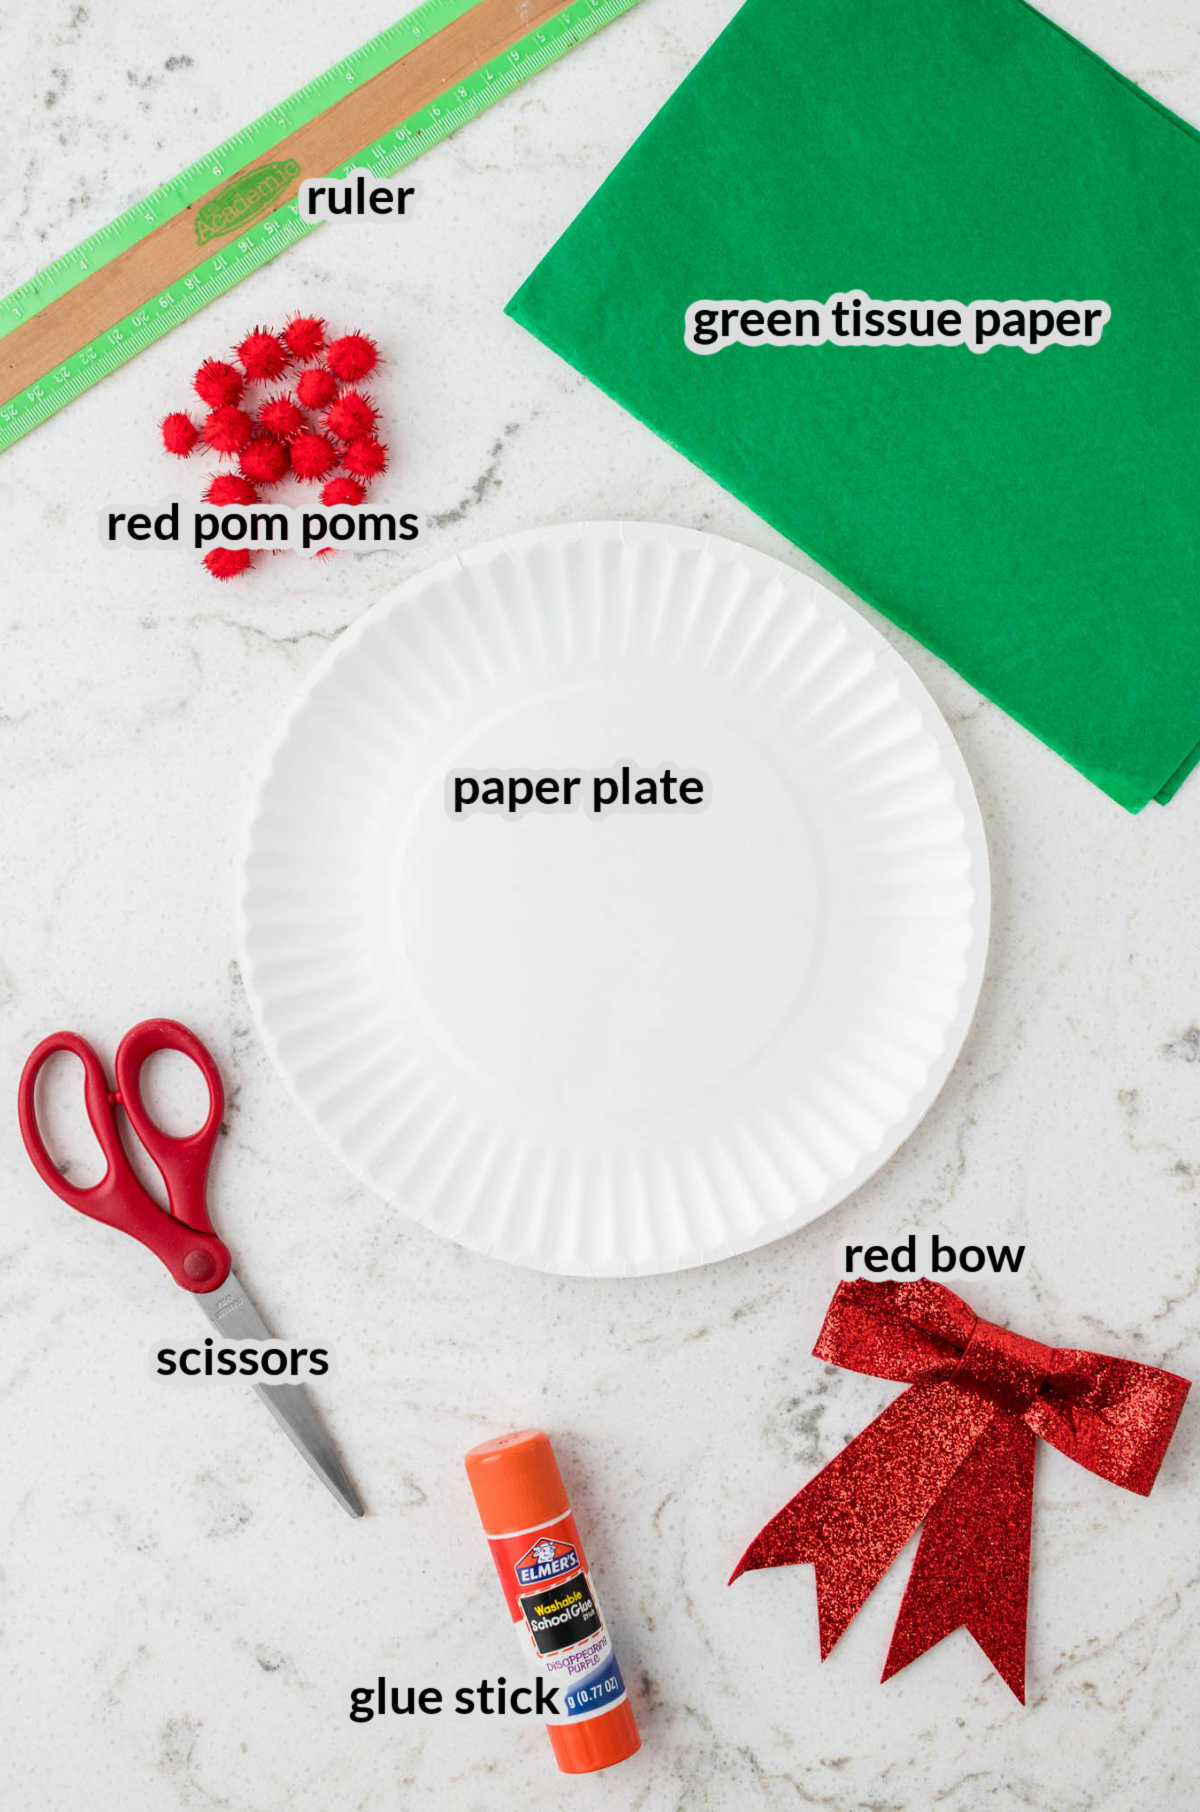
Supplies Needed
- Paper plate – The cheapo paper plates will work for this craft. If you don’t have paper plates, you can use the cardboard from a cereal box to make the circular wreath form.
- Green tissue paper – Cut up plenty of green tissue paper into small squares and use them to decorate the entire wreath form.
- Ruler – Use a ruler to evenly cut the tissue paper squares so that they are all the same size. It’ll make this tissue paper wreath craft look pretty instead of messy!
- Scissors – Working with littles on this craft? Make sure you’re using safety scissors to protect their tiny fingers.
- Glue stick – A simple school glue stick is all you need to attach each square of tissue paper to the circular wreath form.
- Small red pom poms – Use little red pom poms to make holly berries on this cutie little wreath craft.
- Red bow – Attach a glittery red bow to the front of your wreath as the best finishing touch. You can use a pre-made bow or create one yourself!

How to Make a Tissue Paper Christmas Wreath
Start by gathering your supplies and setting up your workspace. Make sure your surface is covered with craft paper or a plastic tablecloth to keep things tidy.
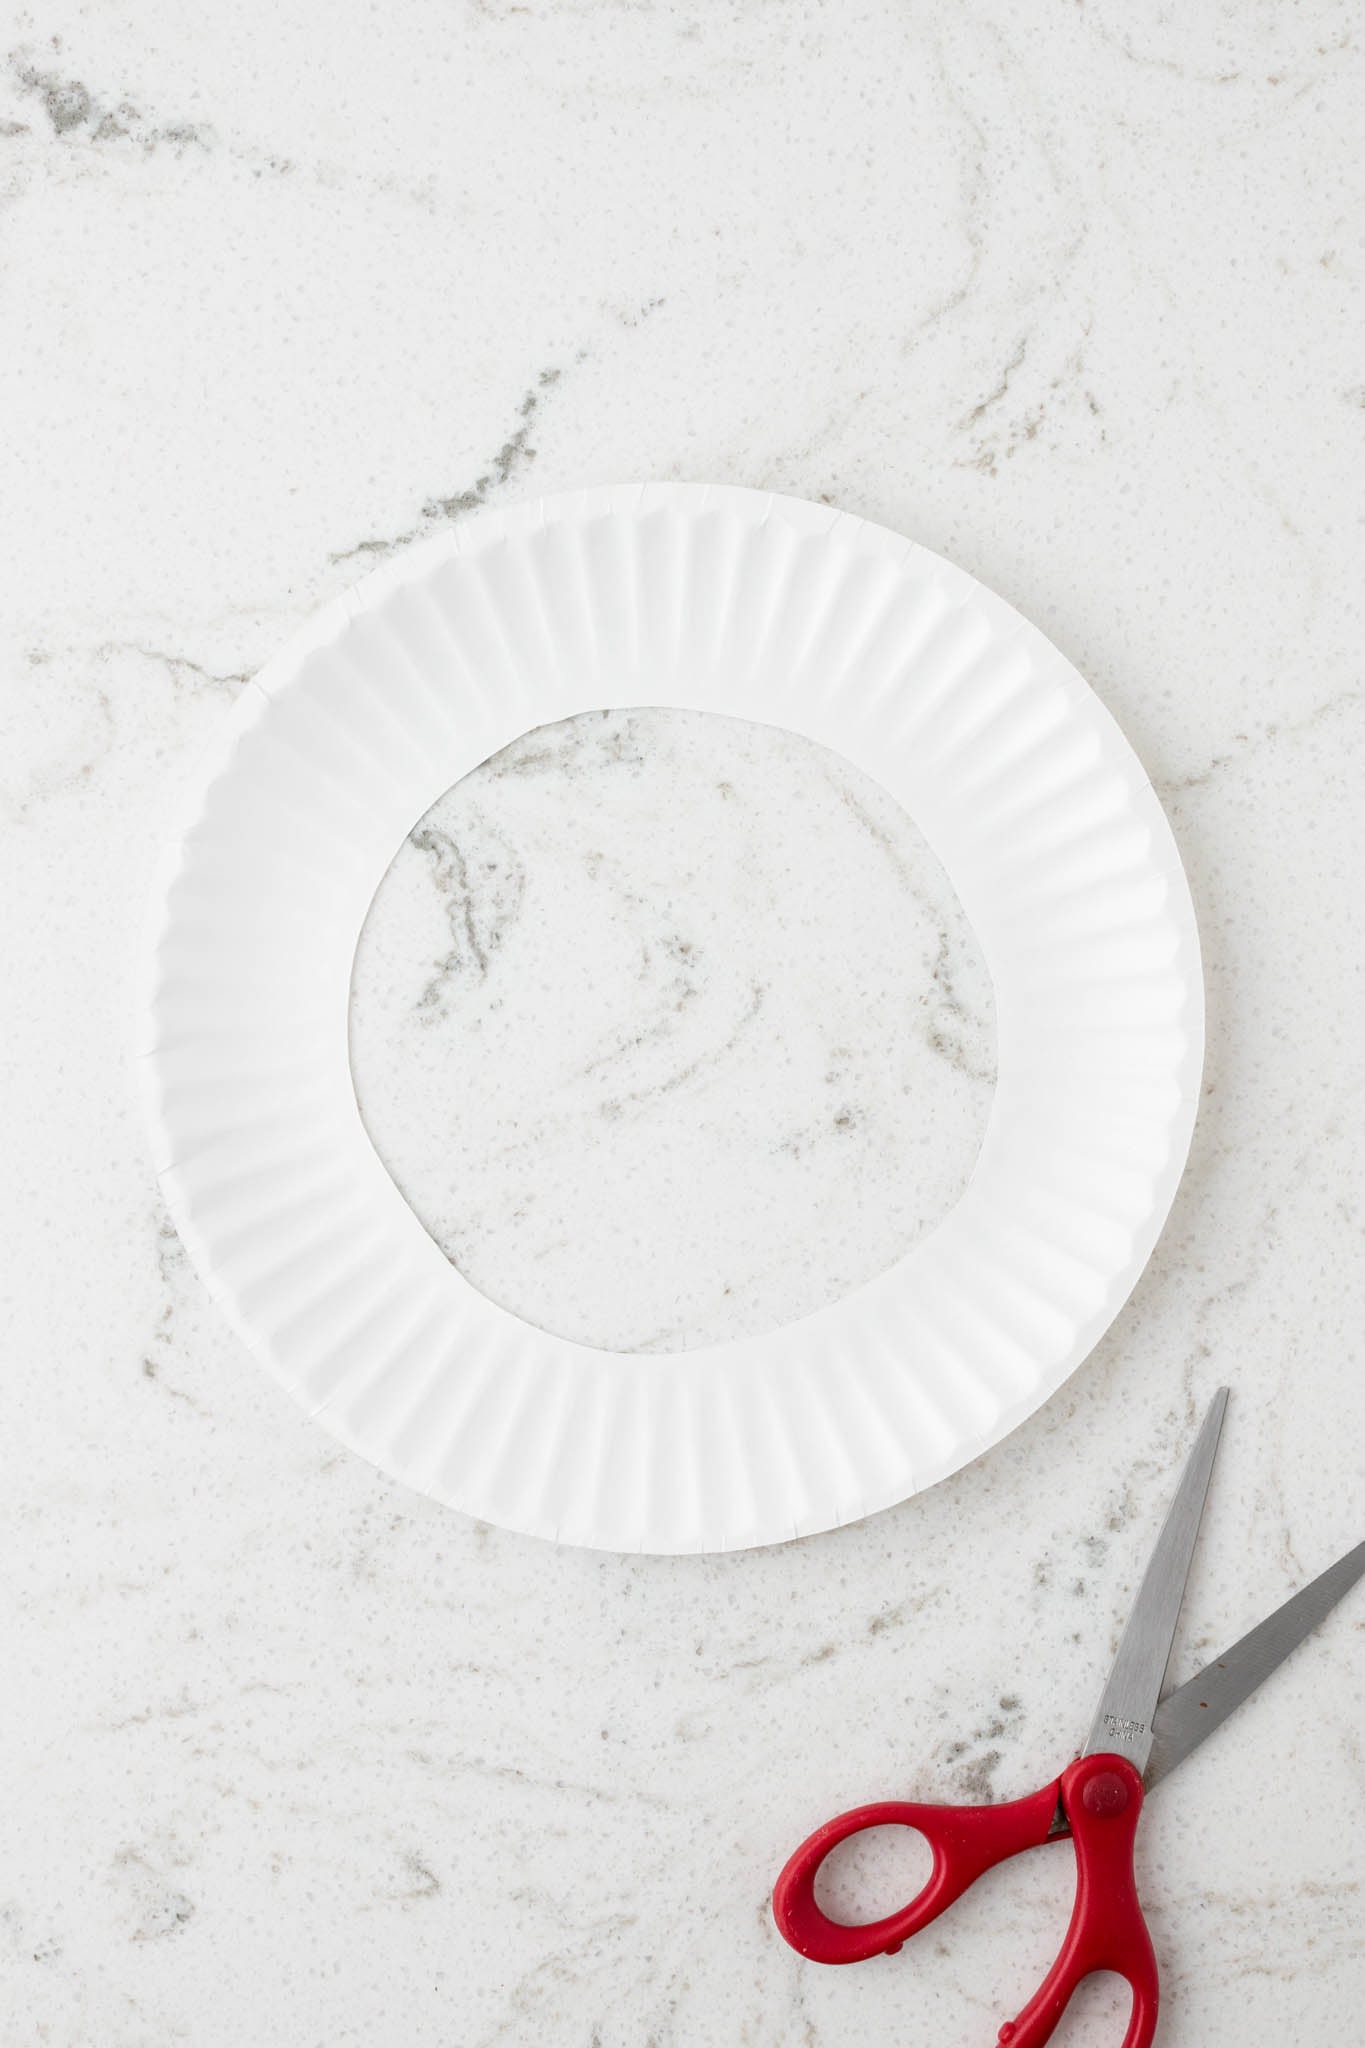
Cut out the center of the paper plate, leaving just the outer ring — this will be the base of your wreath.
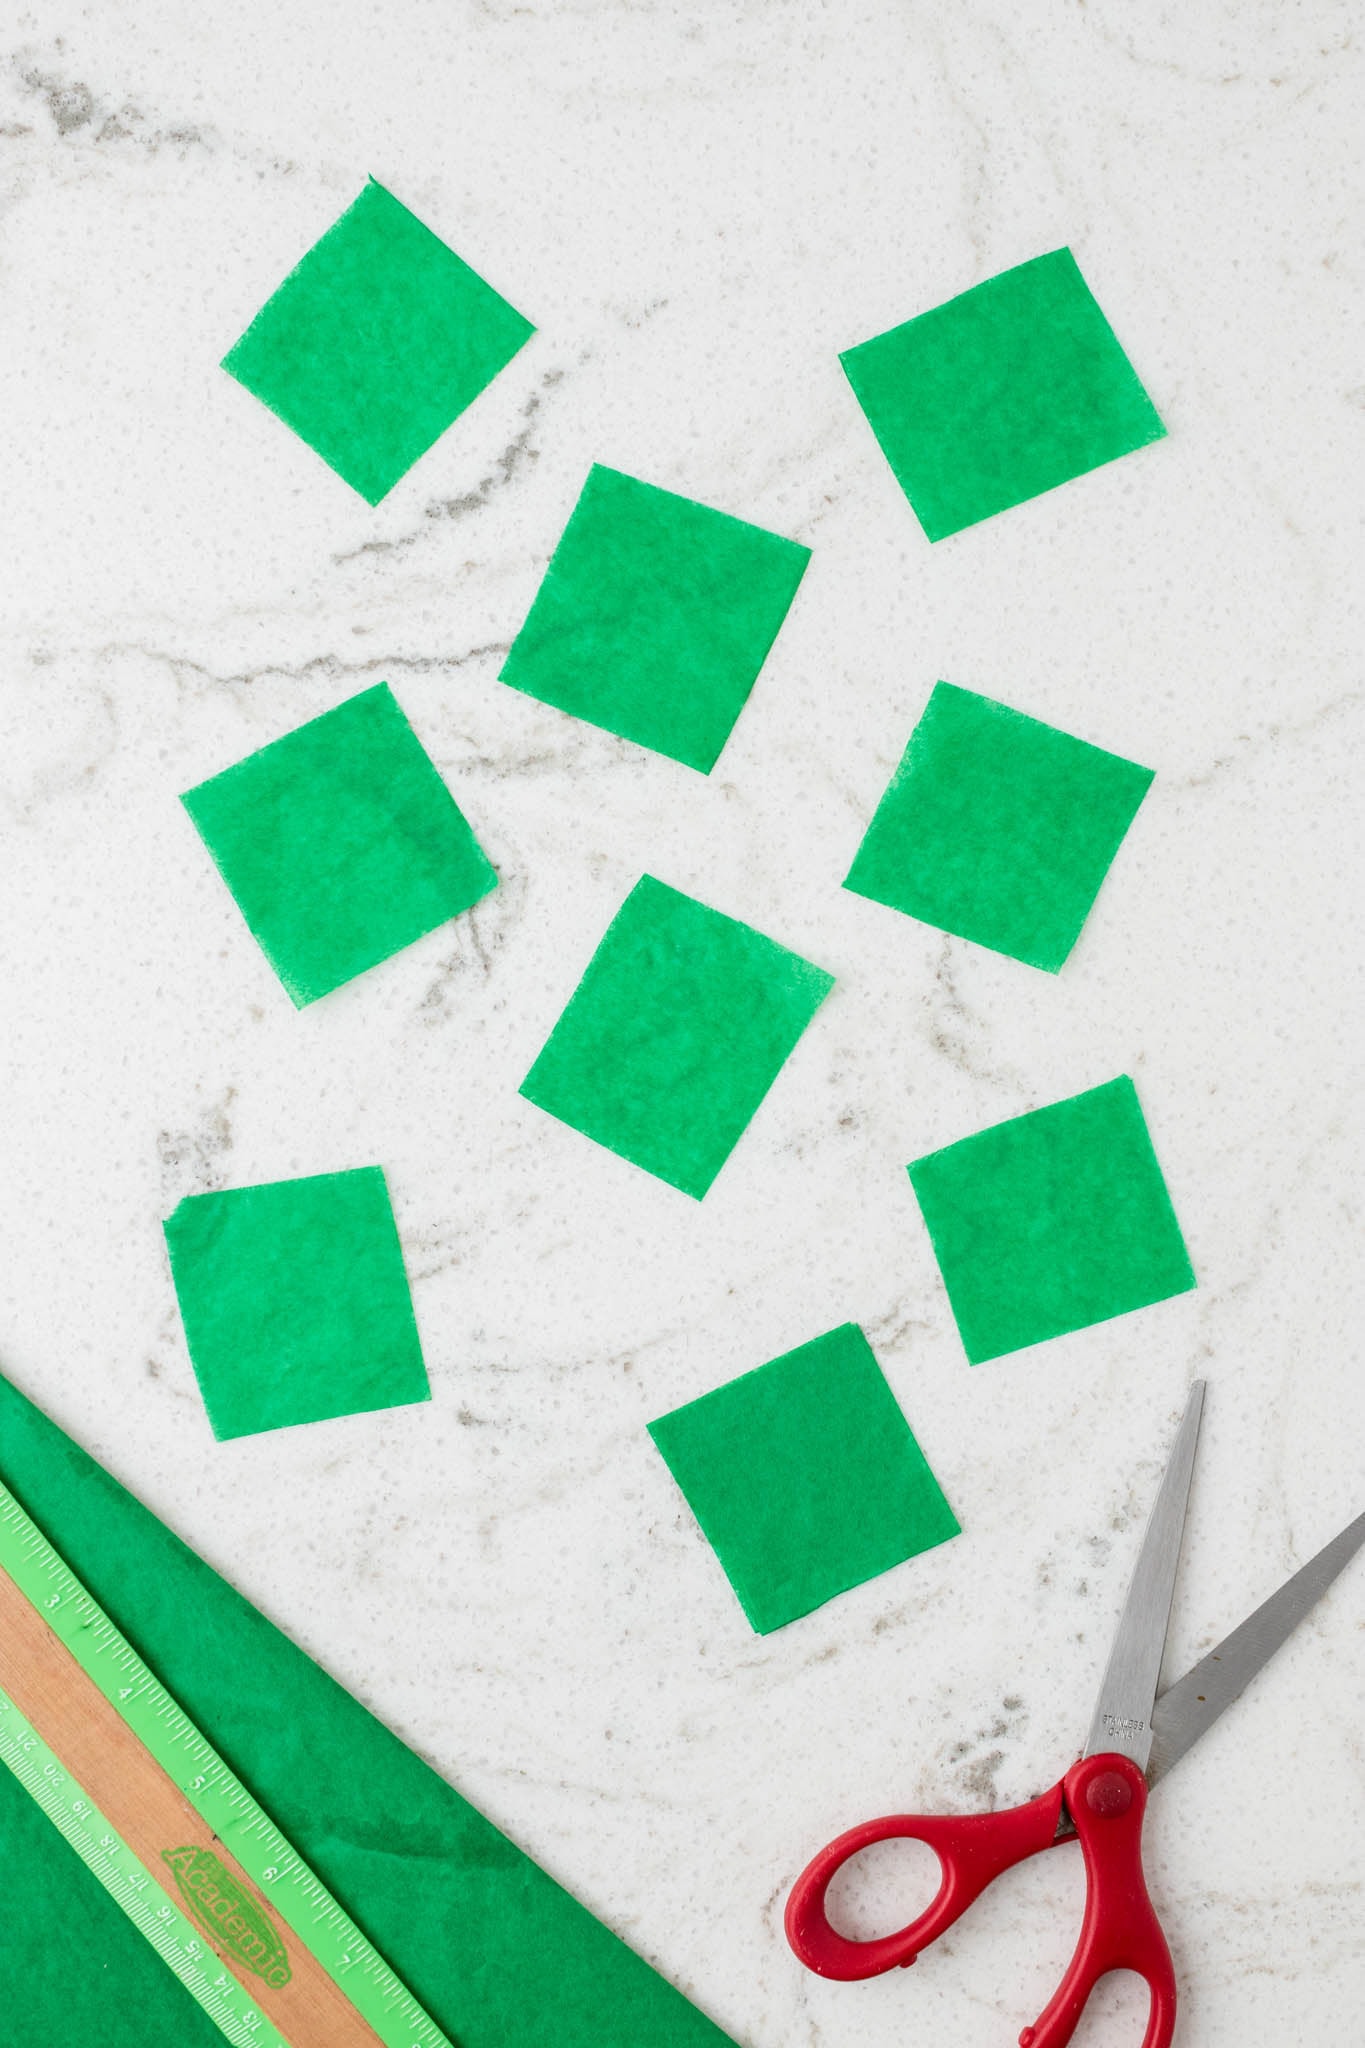
Measure and cut the tissue paper into 2-inch squares. Try to keep the squares as even as possible.
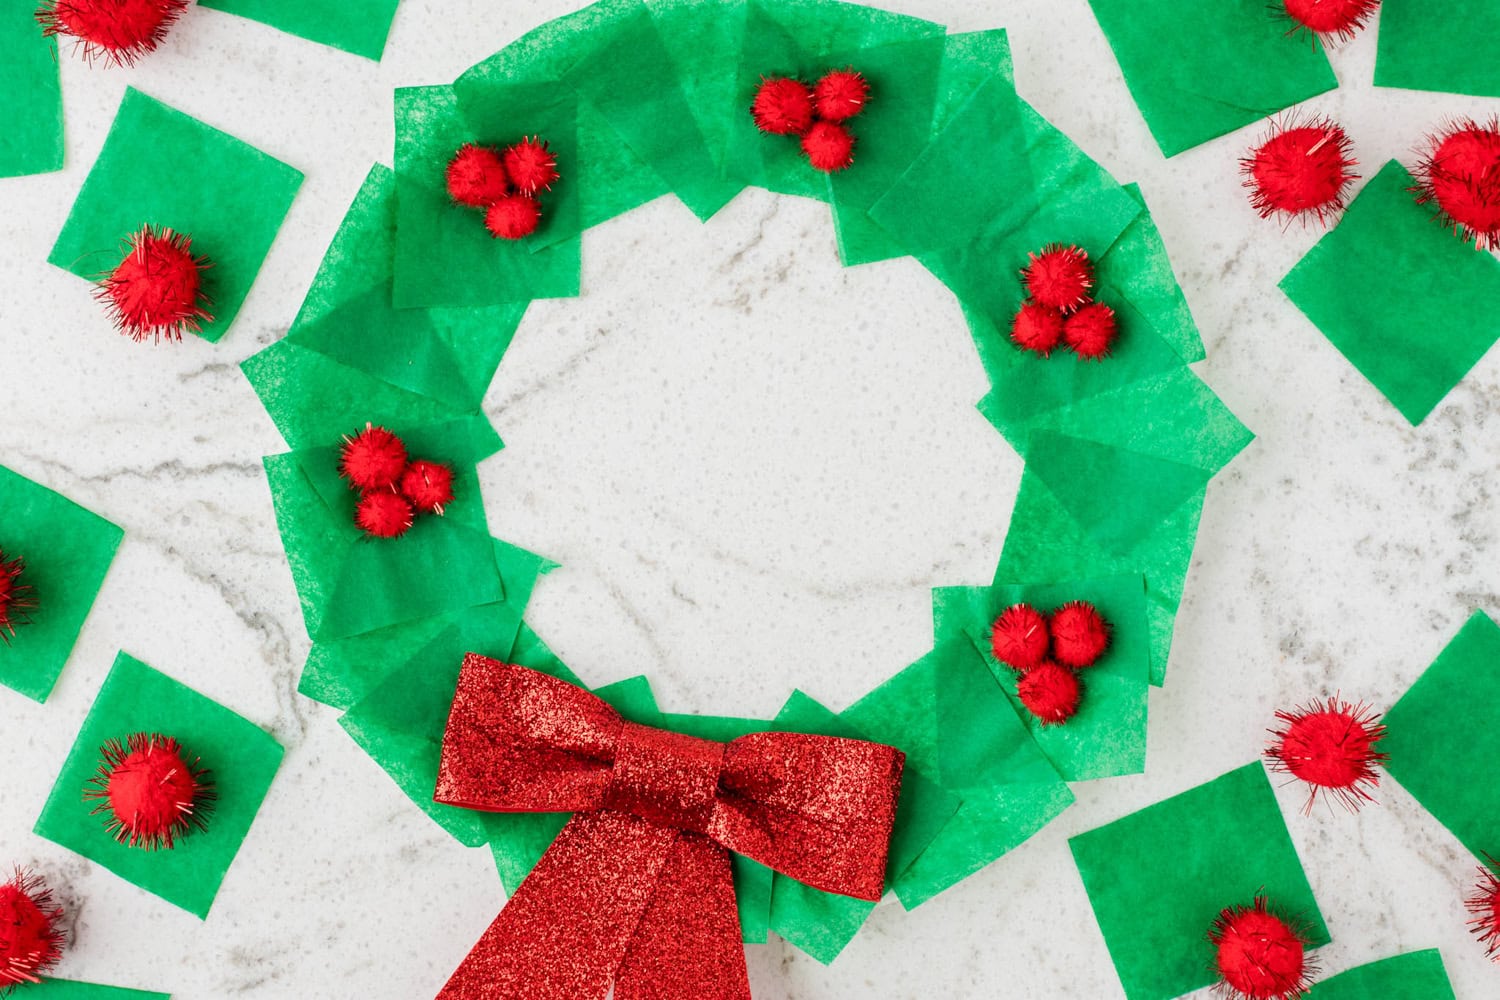
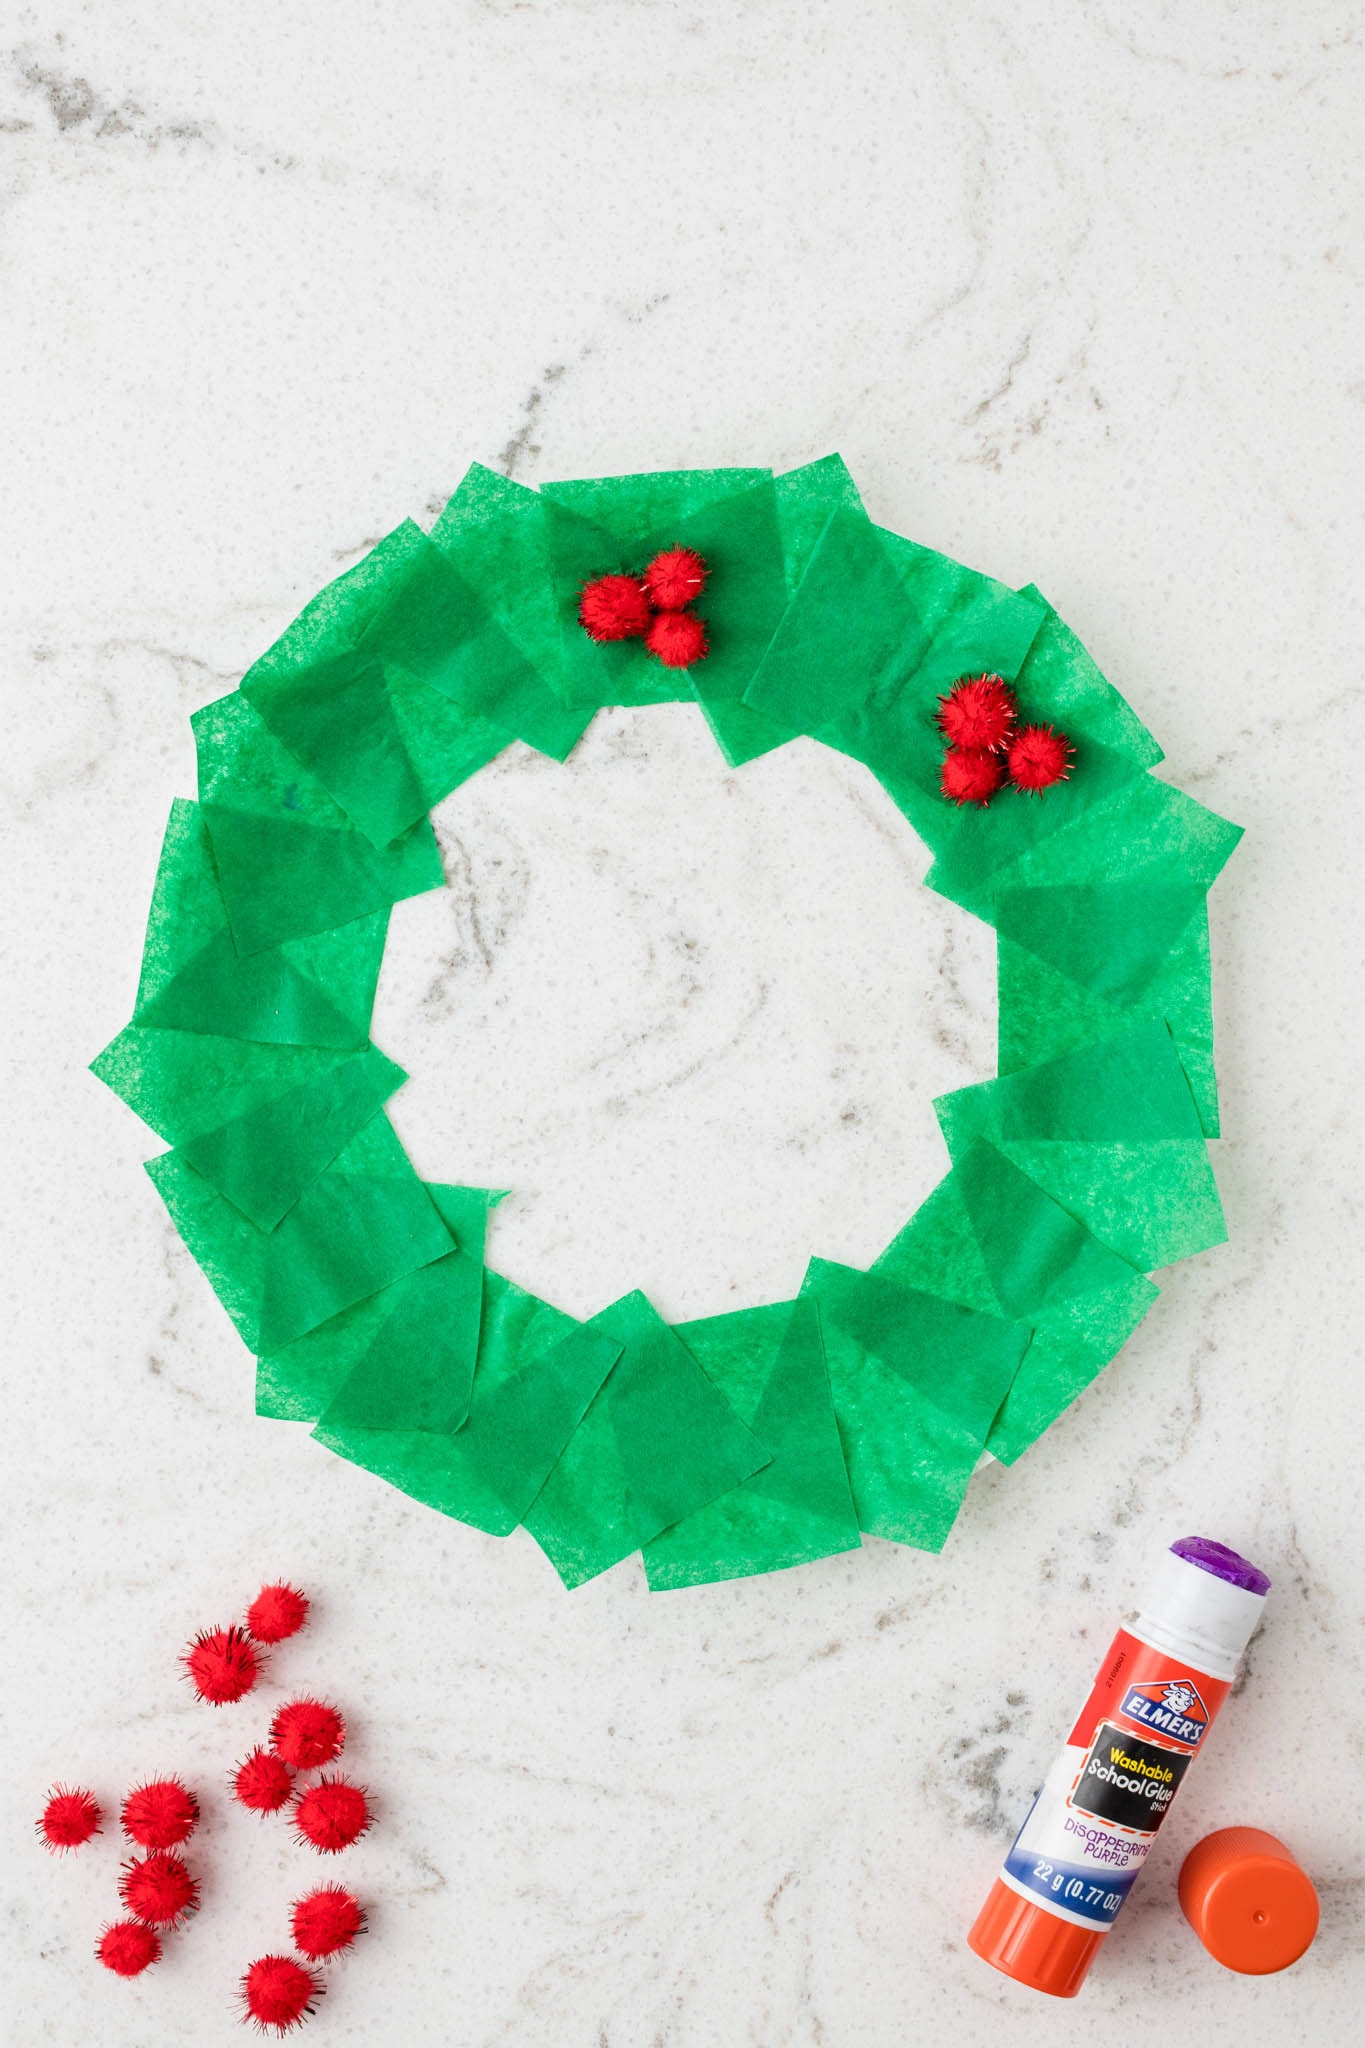
One by one, glue the green tissue paper squares around the paper plate ring until the entire surface is covered. Make sure to layer them for a fuller look.
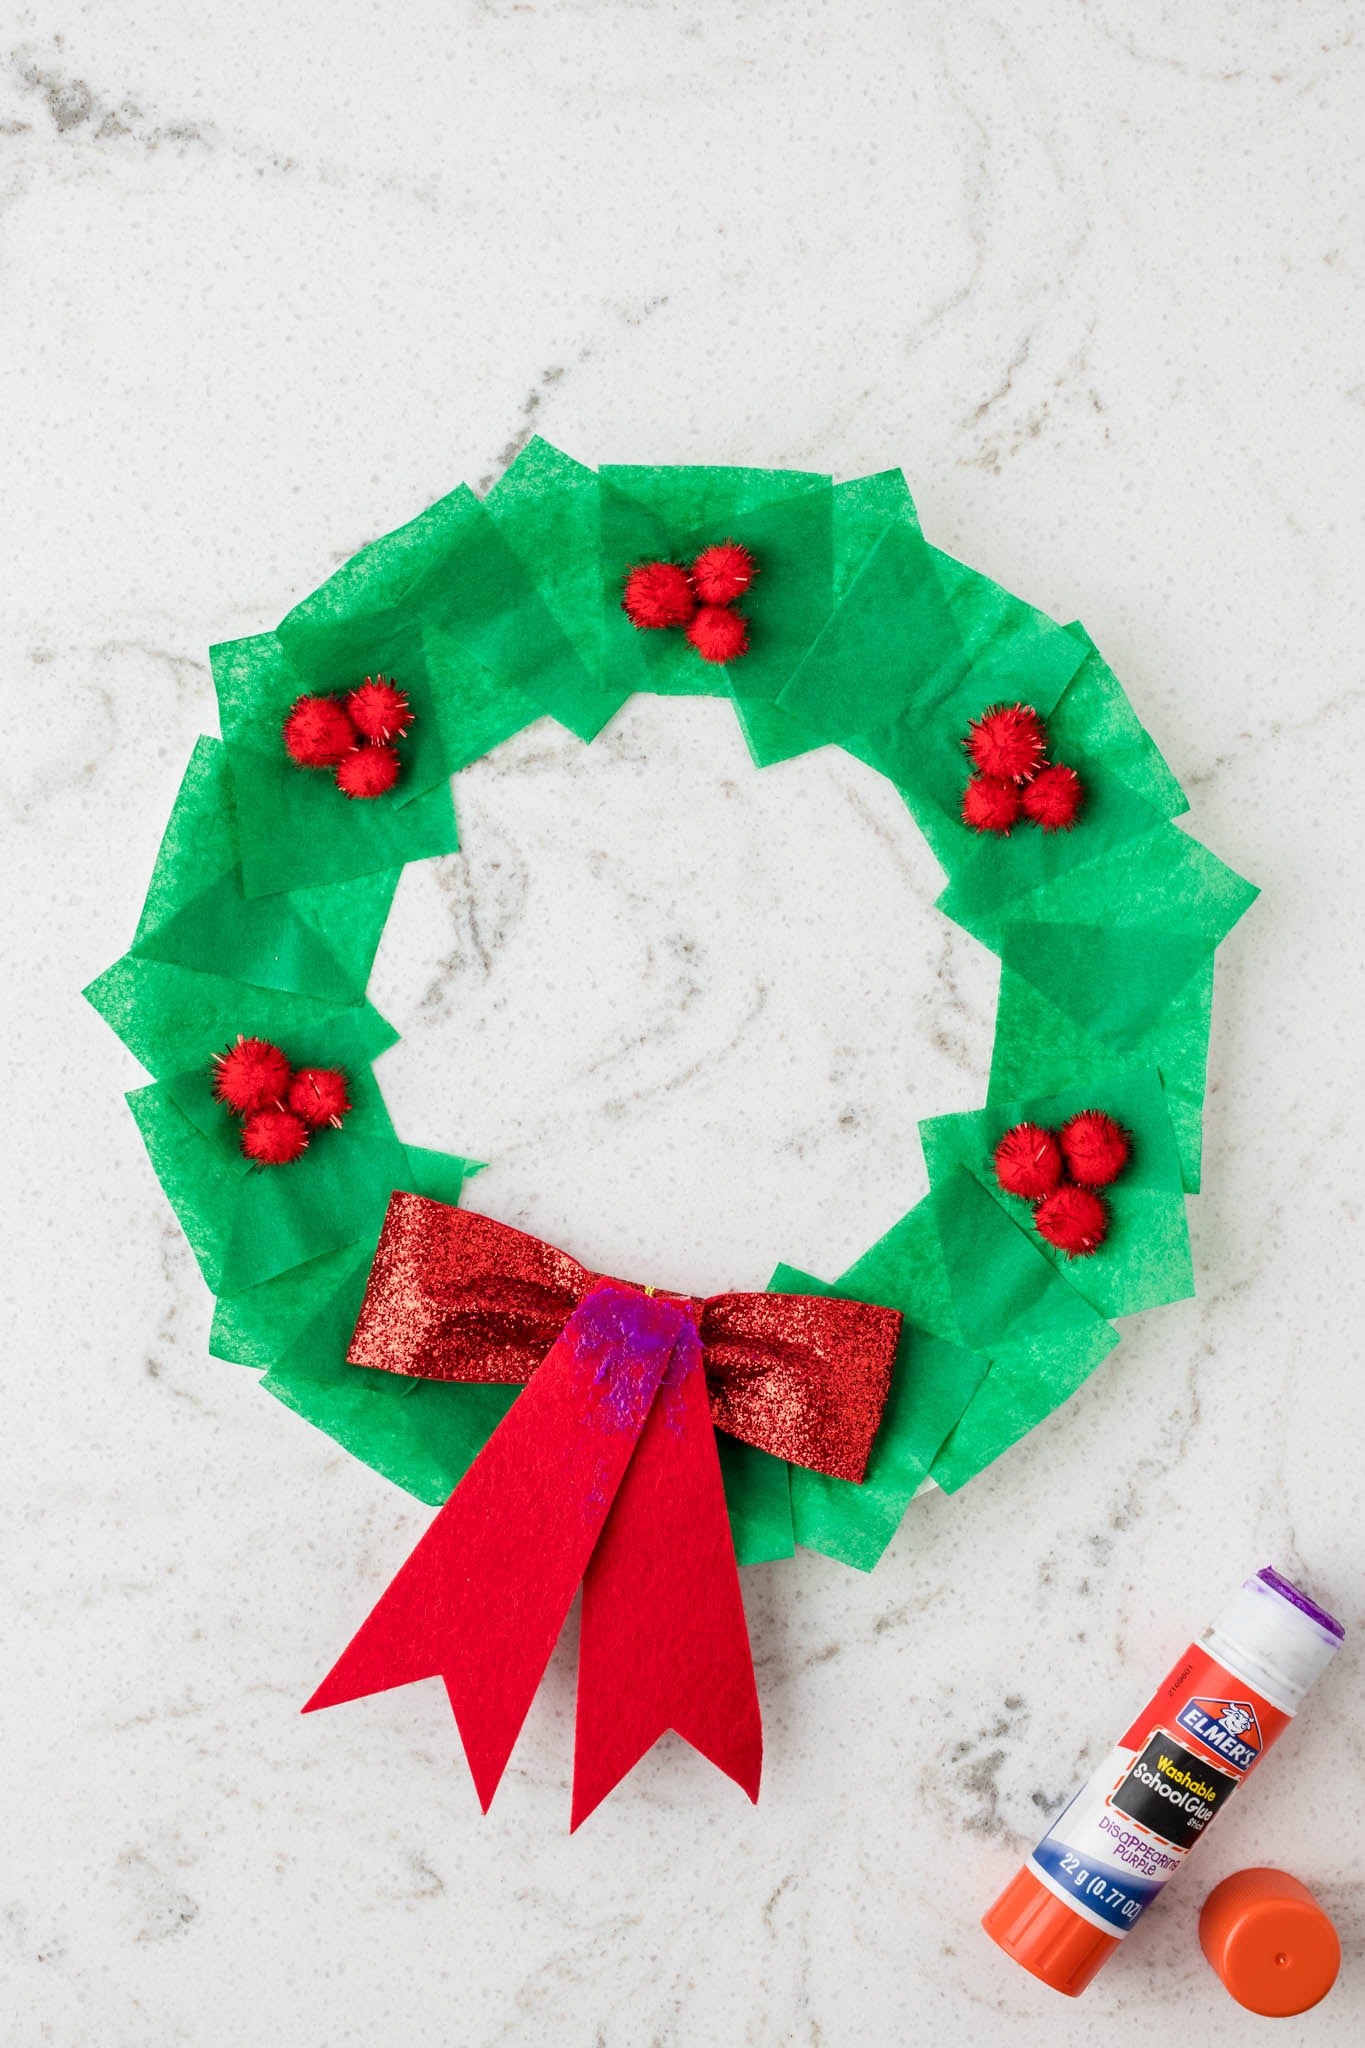
Glue small clusters of red pom poms to your wreath to create the look of holly berries. After that, attach a red bow to the bottom to give it a festive touch.
Allow the glue to fully dry before hanging up your wreath. Once dry, it’s ready to show off!
Can I make tissue paper flowers?
Absolutely! I have a blog post about tissue paper flowers. Make them without the pipe cleaner stems and you can add some to your wreath. You’ll likely need to make smaller flowers, but the process will still be the same.
Pro Tips for the Best Tissue Paper Wreath
- Grab some stickers, rhinestones, large buttons, sequins, extra pom poms, and other craft materials to create ornaments and other decorations on your tissue paper Christmas wreath!
- If you don’t have a glue stick, use a small amount of white glue and a paintbrush to spread it around. This will work better than hot glue and won’t make the tissue paper too soggy.
- Don’t forget to add a hanger to the back of the wreath so that you can display your masterpiece! Twine, string, and ribbon would all work well.
How cute is this festive craft? December just got a little more bright with this cheerful craft that will have your kiddos grinning from ear to ear!
More Christmas Crafts You’ll Love!
- Decorate your tree with homemade Christmas ornaments like this Reindeer Popsicle Stick Ornament.
- Need a no-effort activity to keep the kiddos occupied? These Christmas Story Coloring Pages would be perfect!
- A Marble Painted Christmas Tree Craft is one of the cutest crafts ever. It would be fun to turn into a Christmas card.
- Cinnamon Ornaments are a classic that never gets old. You’ve gotta make these with the kids!

Tissue Paper Christmas Wreath Craft
Instructions
- Start by gathering your supplies and setting up your workspace. Make sure your surface is covered to keep things tidy.
- Cut out the center of the paper plate, leaving just the outer ring—this will be the base of your wreath.
- Measure and cut the tissue paper into 2-inch squares. Try to keep the squares as even as possible.
- One by one, glue the green tissue paper squares around the paper plate ring until the entire surface is covered. Make sure to layer them for a fuller look.
- Glue small clusters of red pom poms to your wreath to create the look of holly berries. After that, attach a red bow to the bottom to give it a festive touch.
- Allow the glue to fully dry before hanging up your wreath. Once dry, it’s ready to show off!