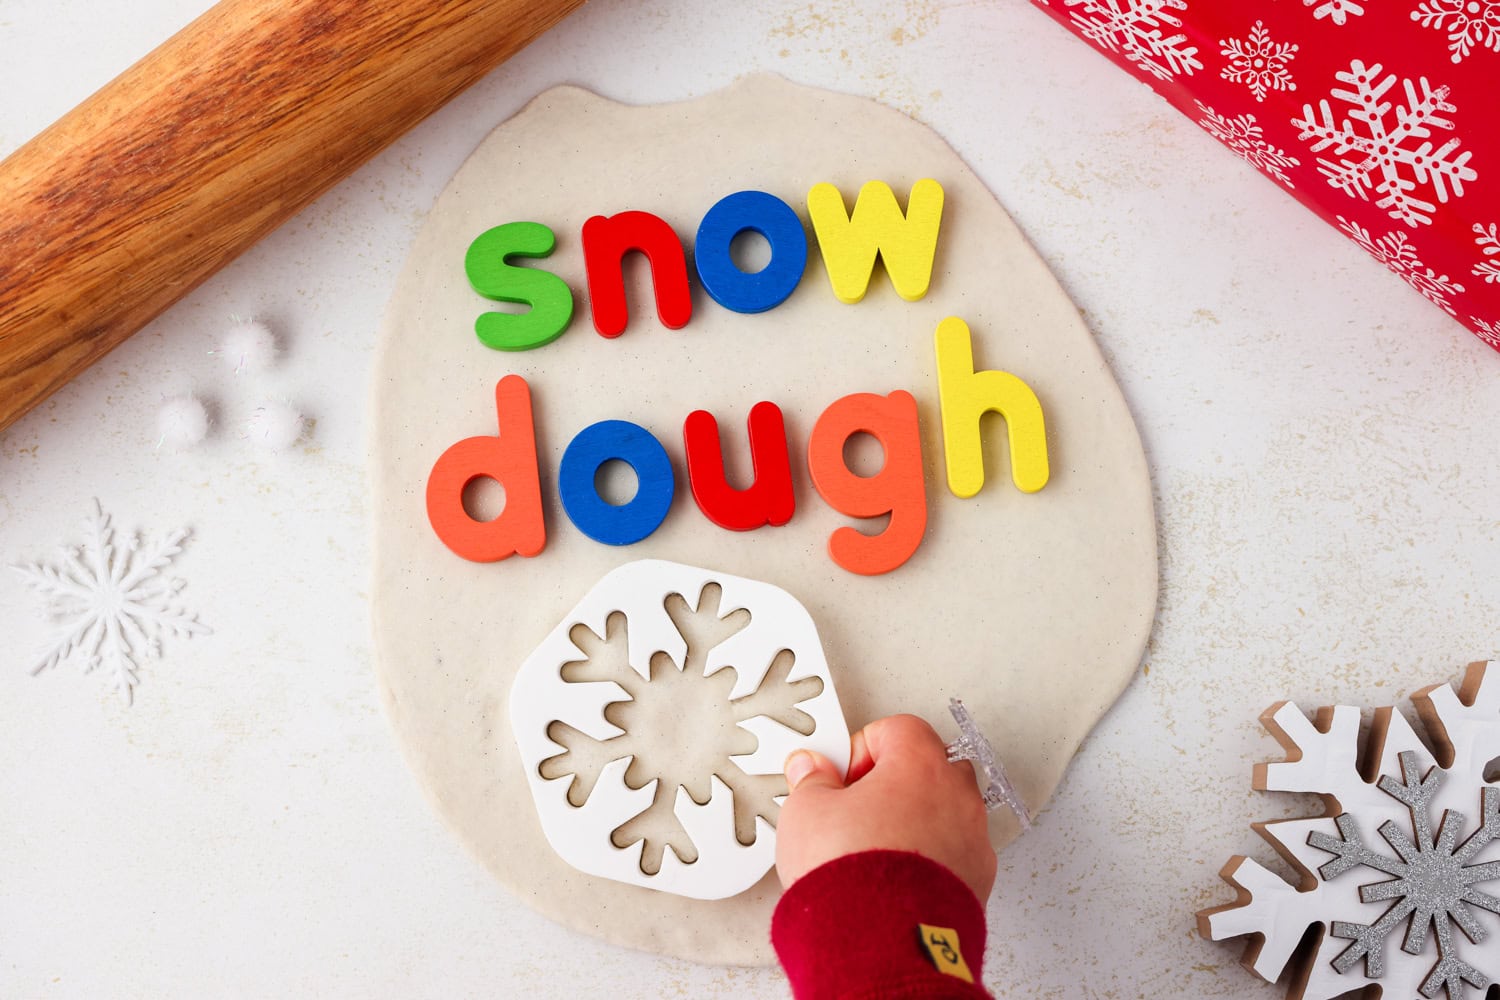
Snow Dough
Looking for a quick and easy open-ended sensory activity for your kids while cooped up inside during the winter? With only 2 ingredients this Snow Dough is so easy to make and play with! Perfect winter activity for toddlers and preschoolers.
Have the snow days got you all hunkered down inside with seemingly nothing to do? Well, those are the days when crafts and activities come in handy! This easy snow dough recipe can be made with just two basic ingredients that you likely already have on hand. That means, you won’t need to get out and go to the craft store when it’s freezing outside. Instead, just grab some all purpose flour from the pantry and hair conditioner from the bathroom!
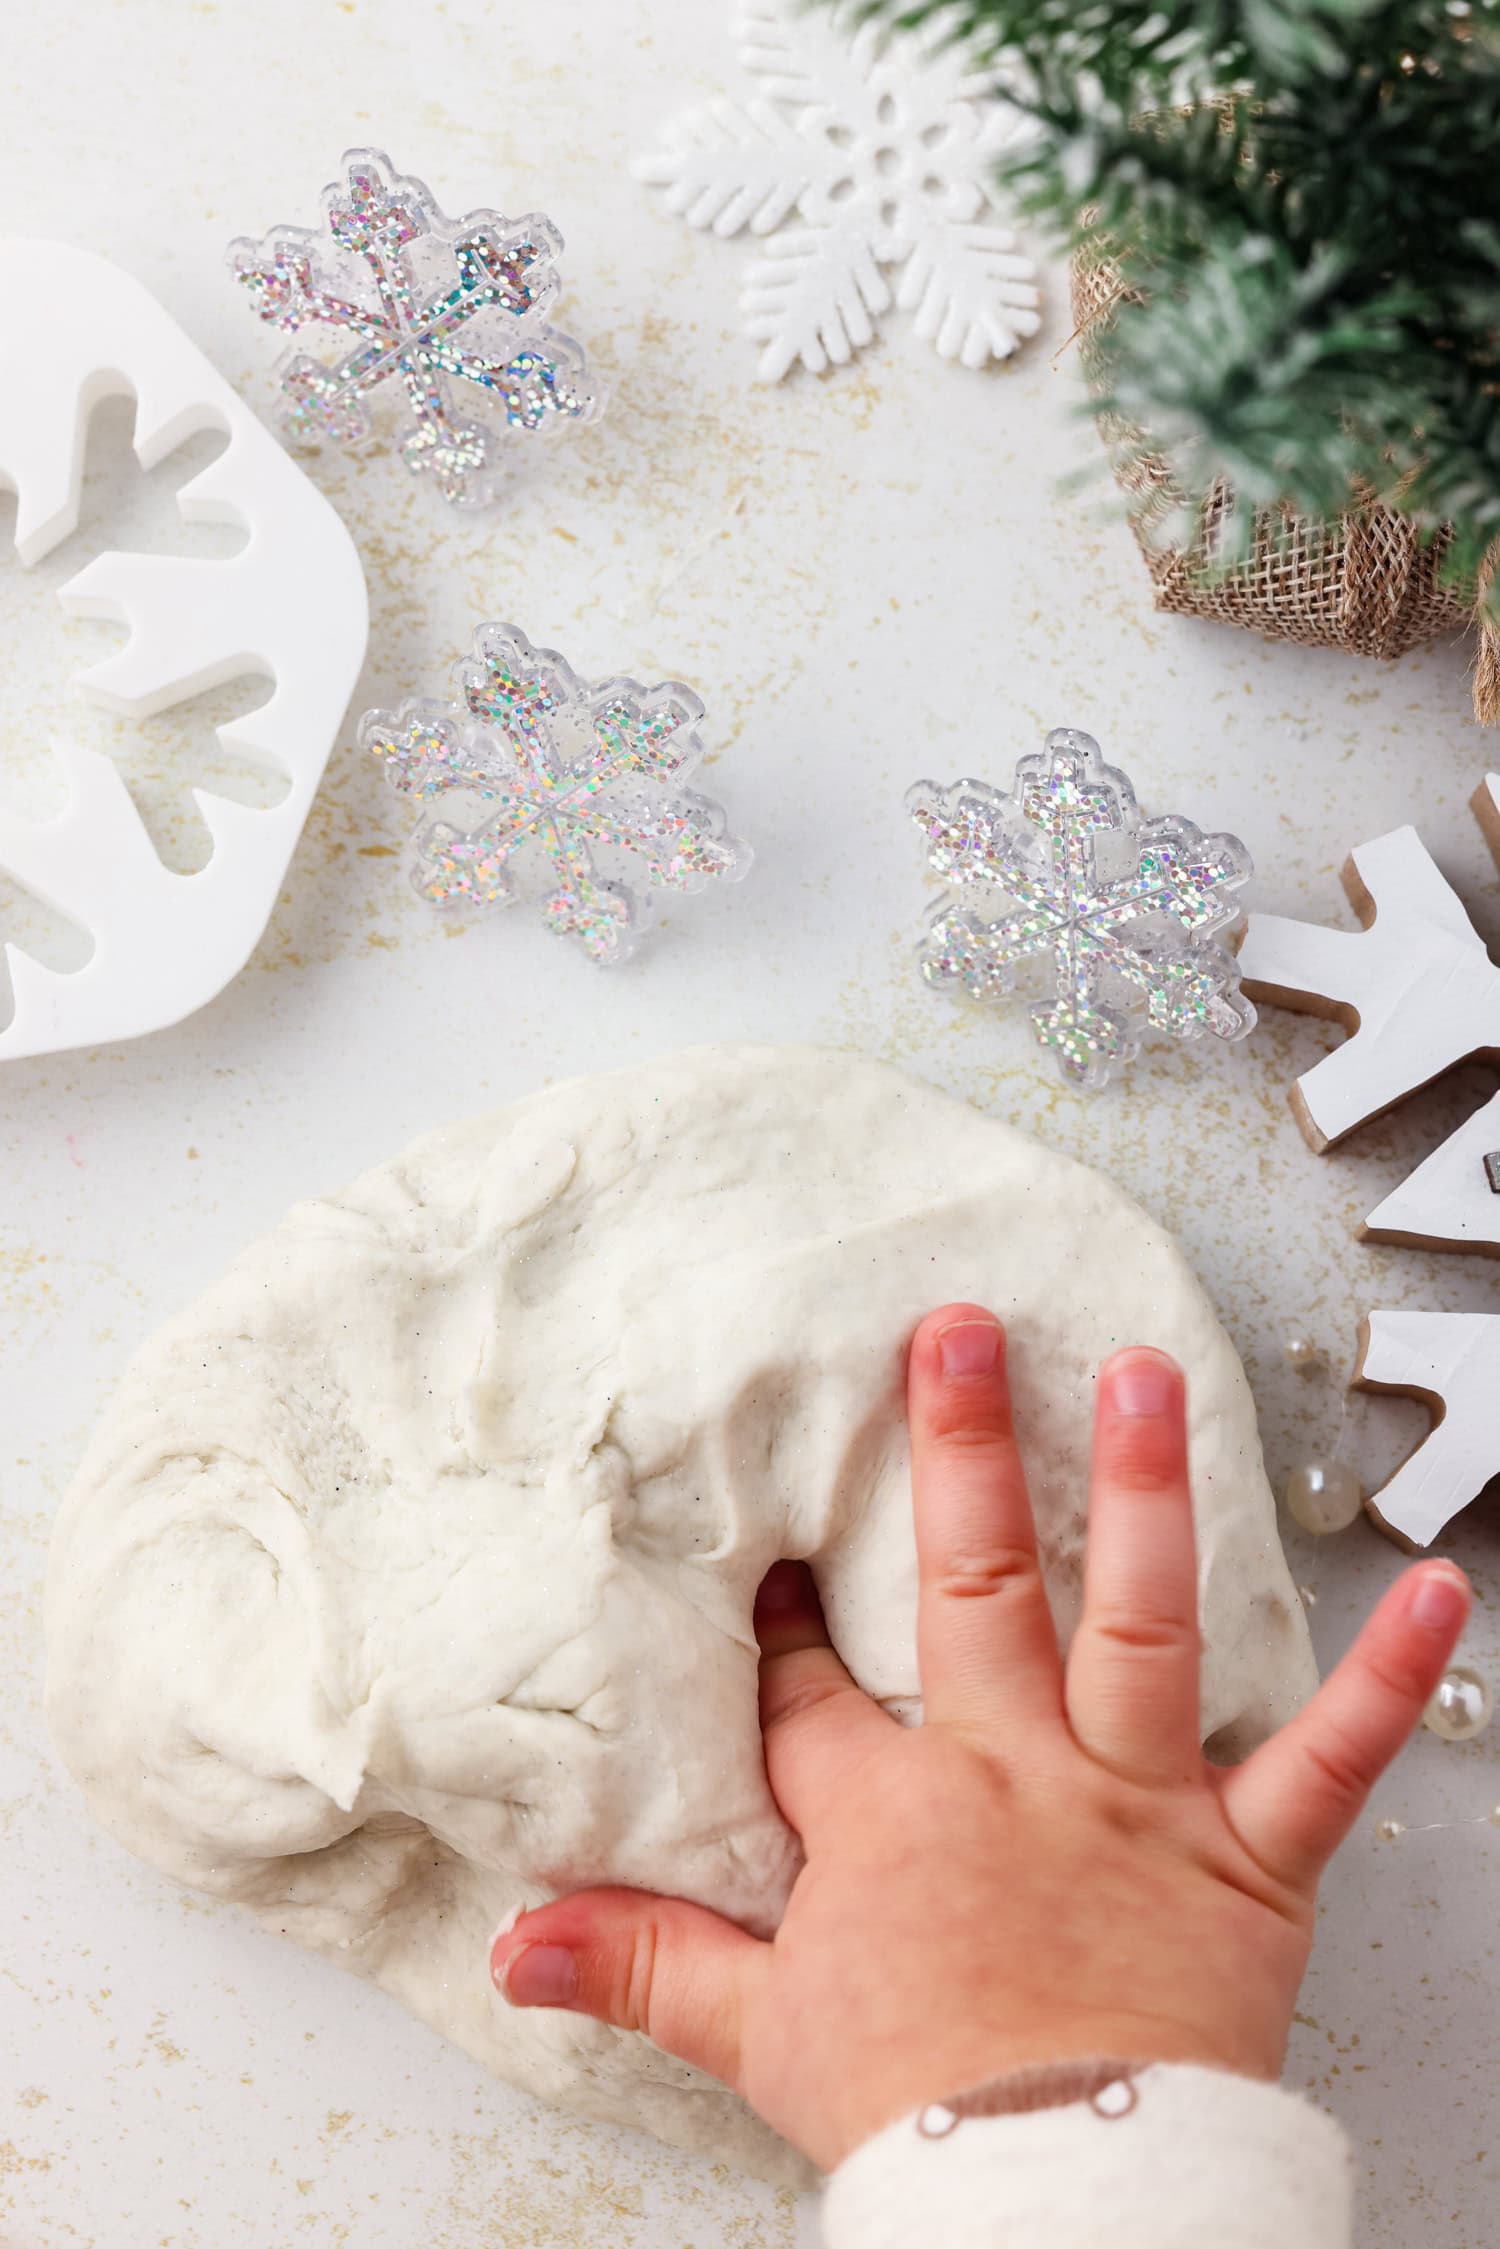
I know, it sounds like a strange combination of ingredients but it truly works. Mixing these two things together creates fun sensory material that we have named snow dough! Add in a little glitter and you’ve got the magic of instant snow play right at your fingertips. We love play dough around here. It’s by far one of the easiest kids activities and it’s essentially endless play since you can create so many different things! This snow dough is no different — except now you’ve got a snow-like play dough with a fluffy texture to create and experiment with. You’re going to love this super simple activity.
Why You’ll Love This Snow Dough
- This 2 ingredient snow dough is a fantastic sensory activity for your kiddos. Get those little hands touching different textures, like a smushy, squishy, snow dough!
- Snow dough is great play material for open-ended play! Whenever inspiration and imagination strike, your young children can create whatever their hearts desire.
- No sticky mess here! This homemade snow dough recipe mixes together very easily and clean-up is super simple too.
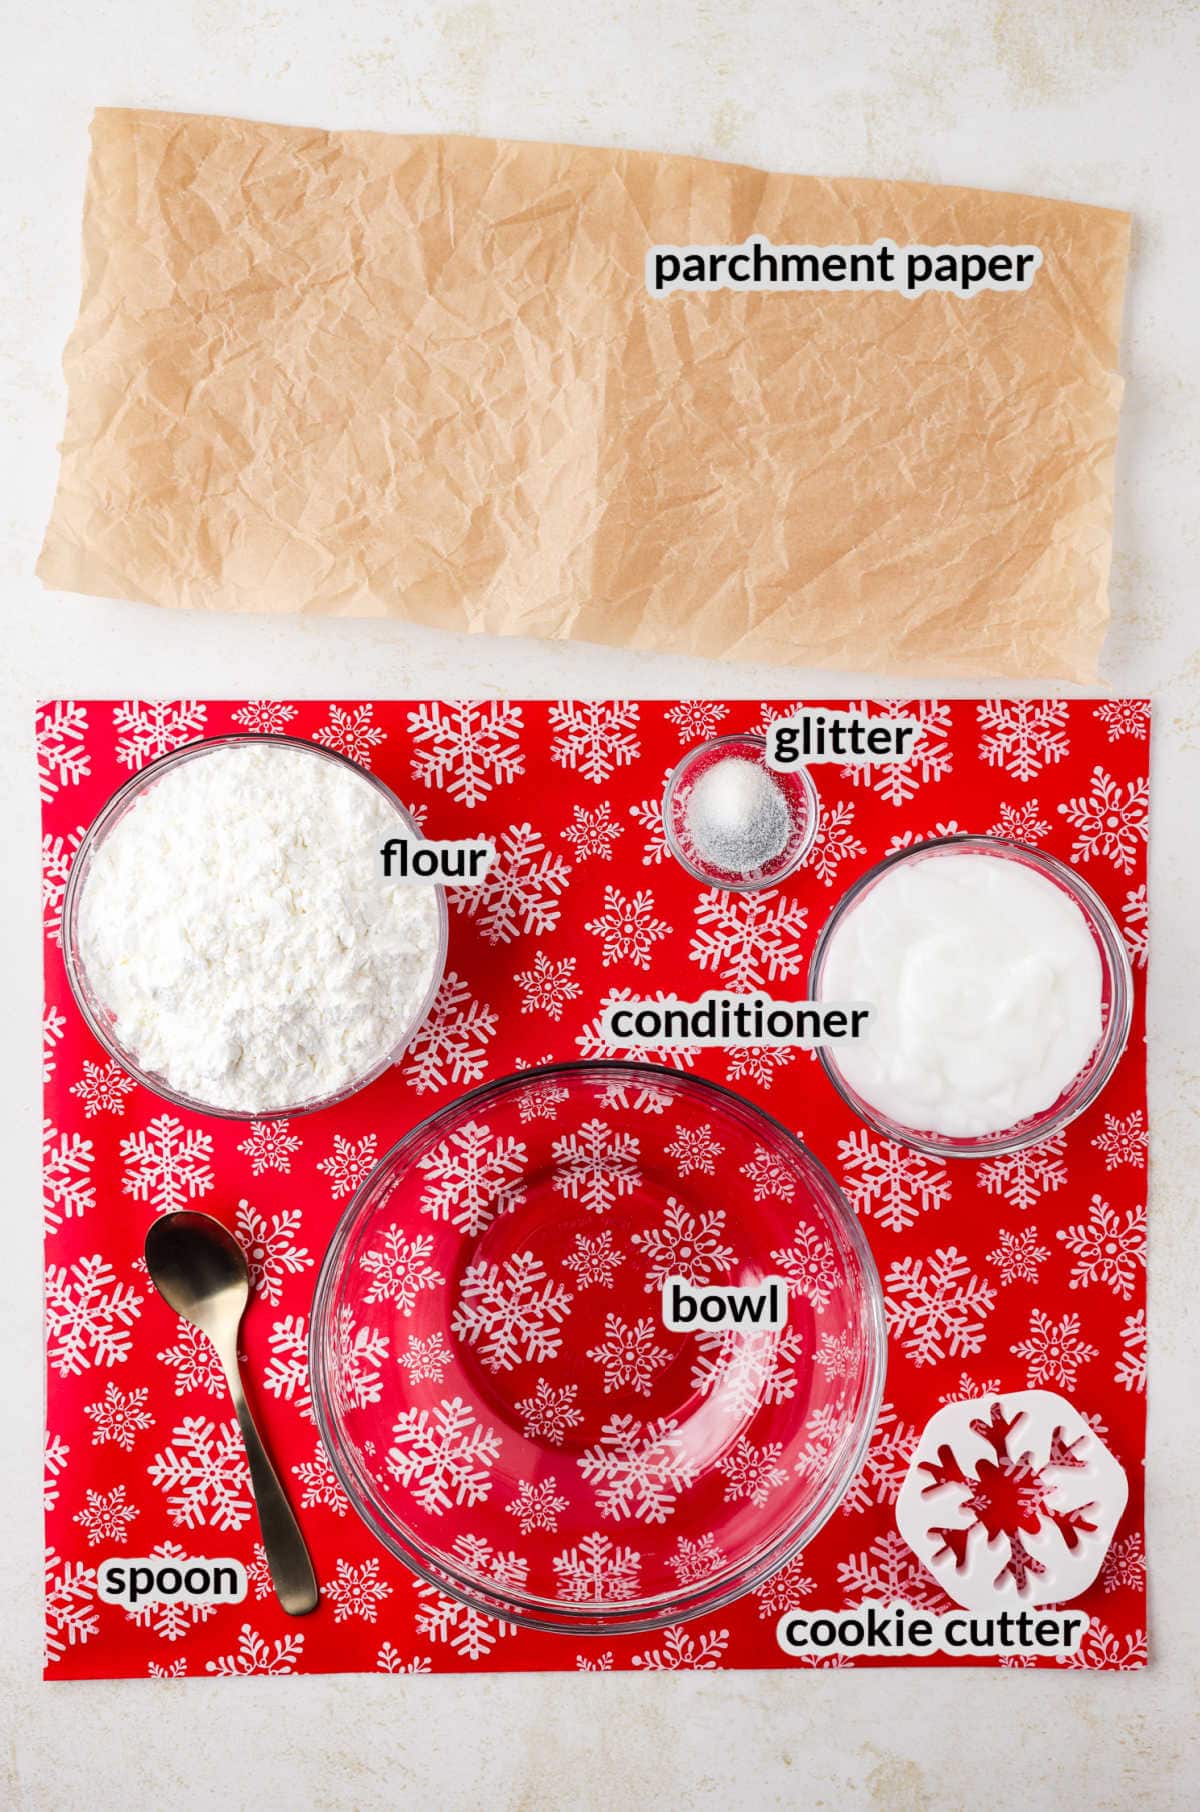
Supplies Needed
- Large mixing bowl – Grab a large bowl to stir together the two needed ingredients.
- Spoon – A regular flatware spoon or even a silicone spatula will work for mixing up your snow dough.
- Measuring cups – Measure out each of the ingredients to ensure that the dough does not have a crumbly texture or ends up too sticky.
- Parchment paper – You’ll need a bit of parchment paper to turn out the dough and continue kneading until it is mixed well and doesn’t stick to anything.
- Small container – For storage, you’ll need a small airtight container to keep the dough from drying out.
- All-purpose flour – The all purpose flour sitting in your pantry works perfectly!
- Conditioner – Make sure you’re using a plain white conditioner so that the final product turns out pure white.
- Glitter – For a little extra sparkle, add white or silver glitter into this malleable, fun, mixture.


How to Make Snow Dough
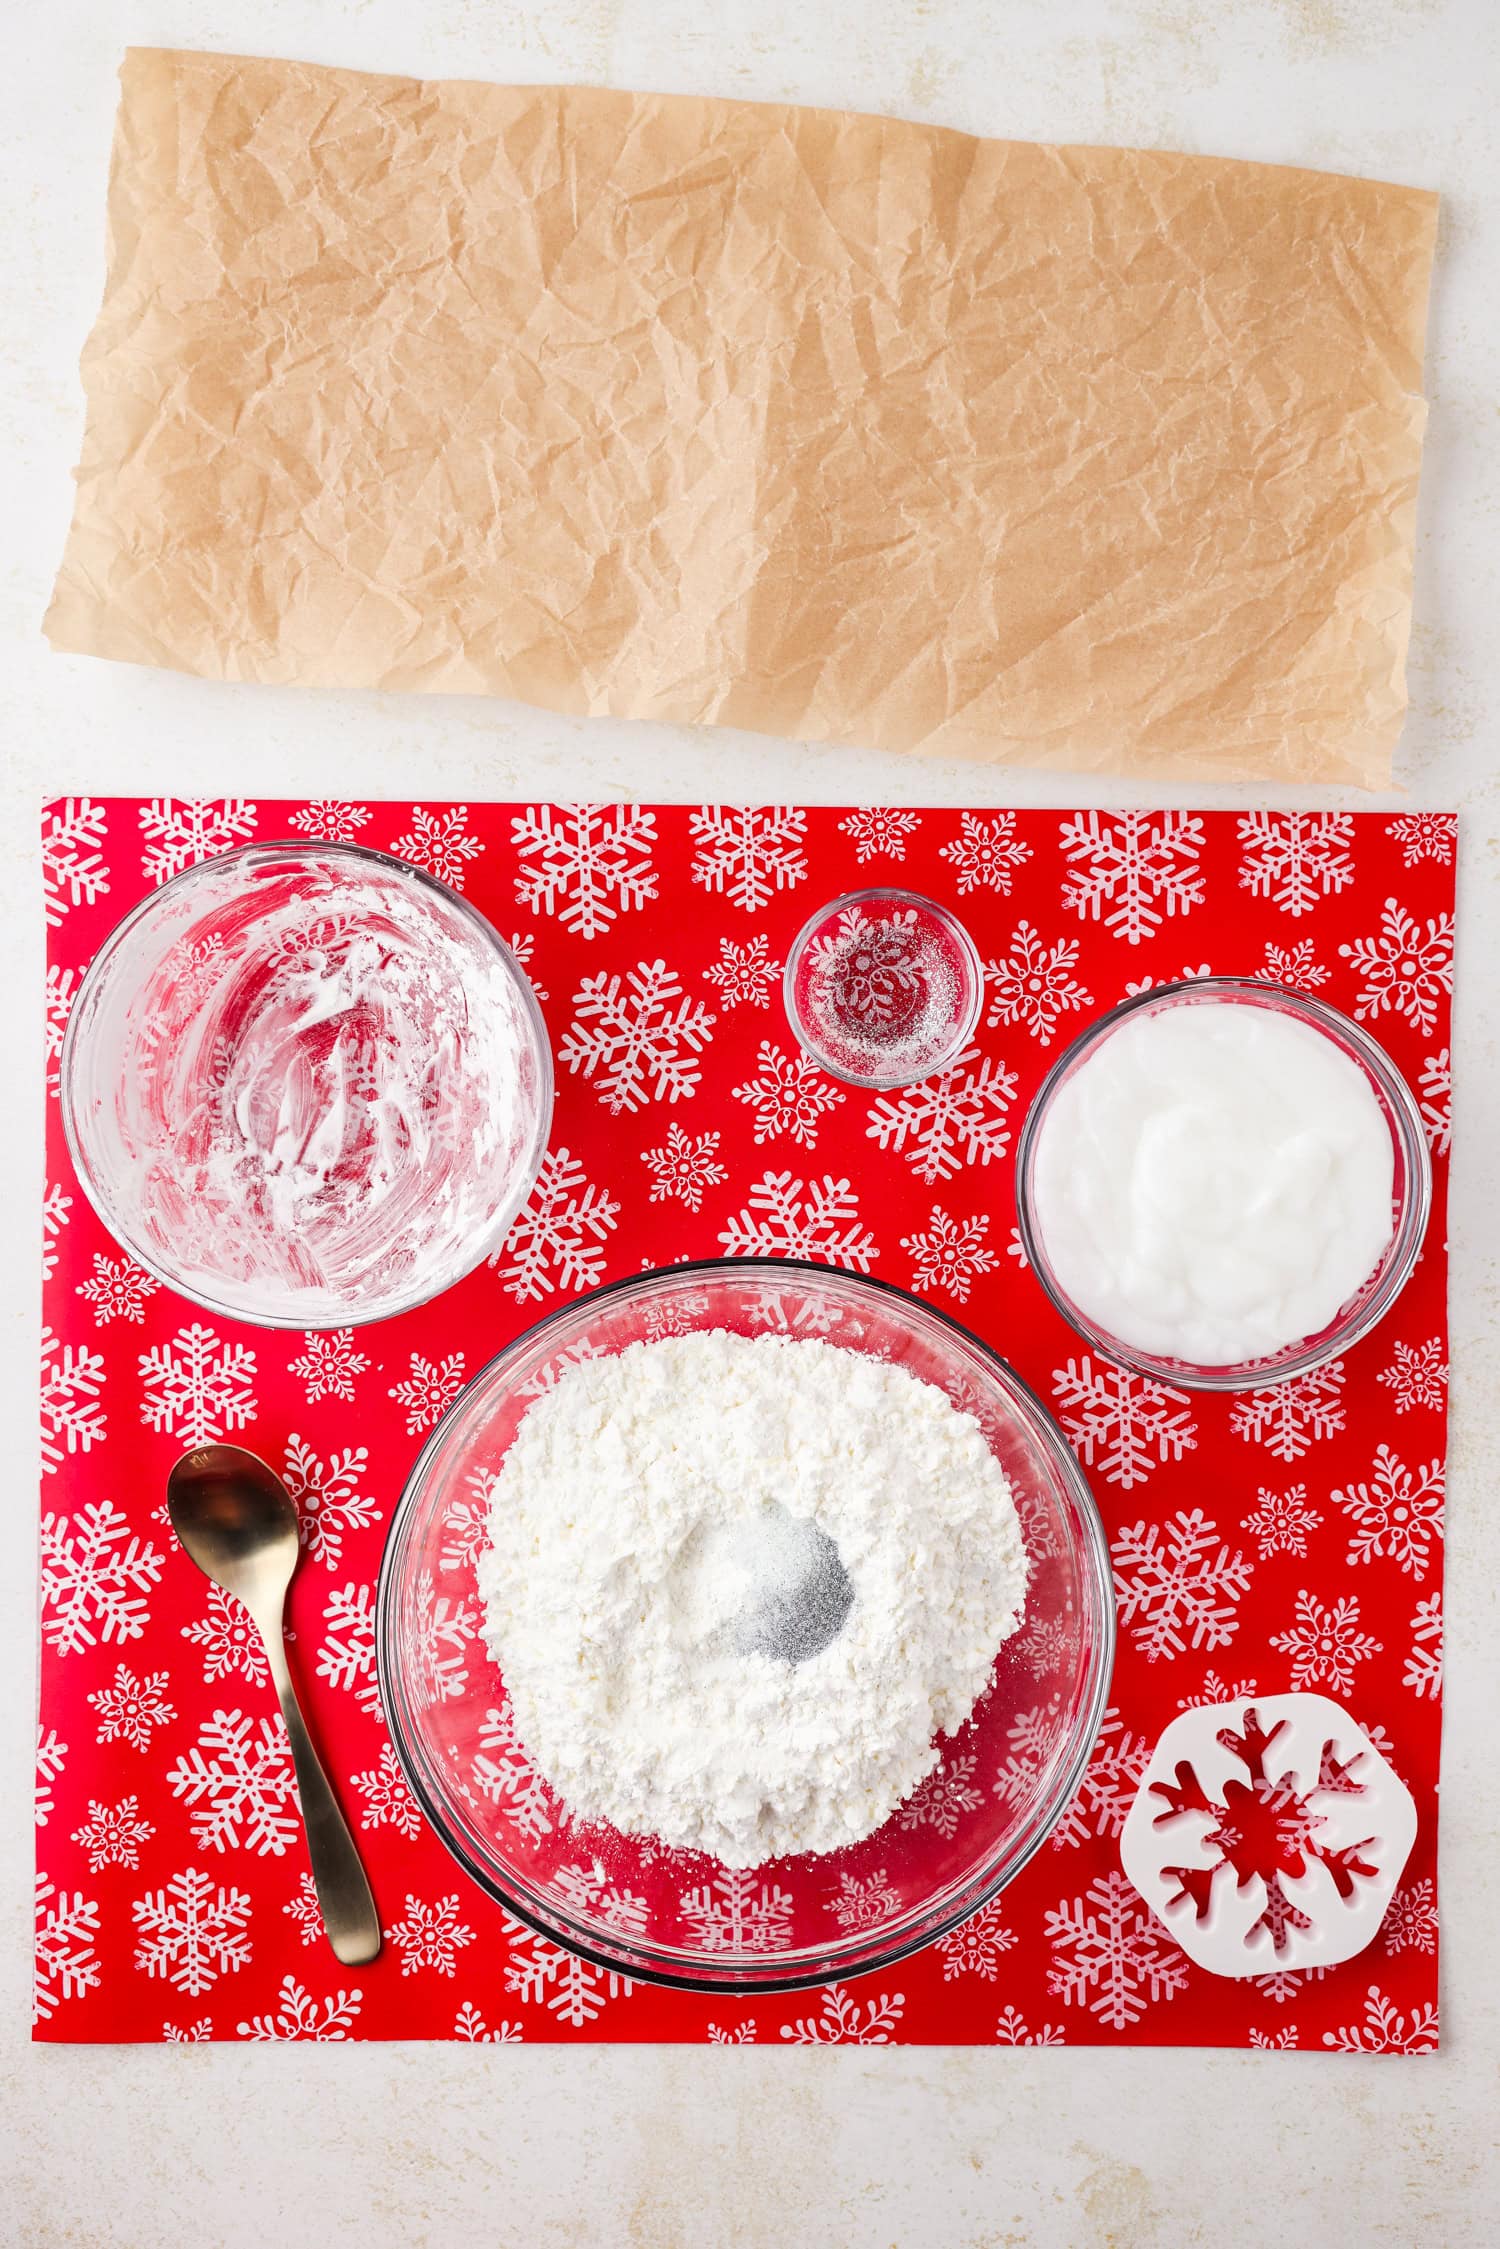
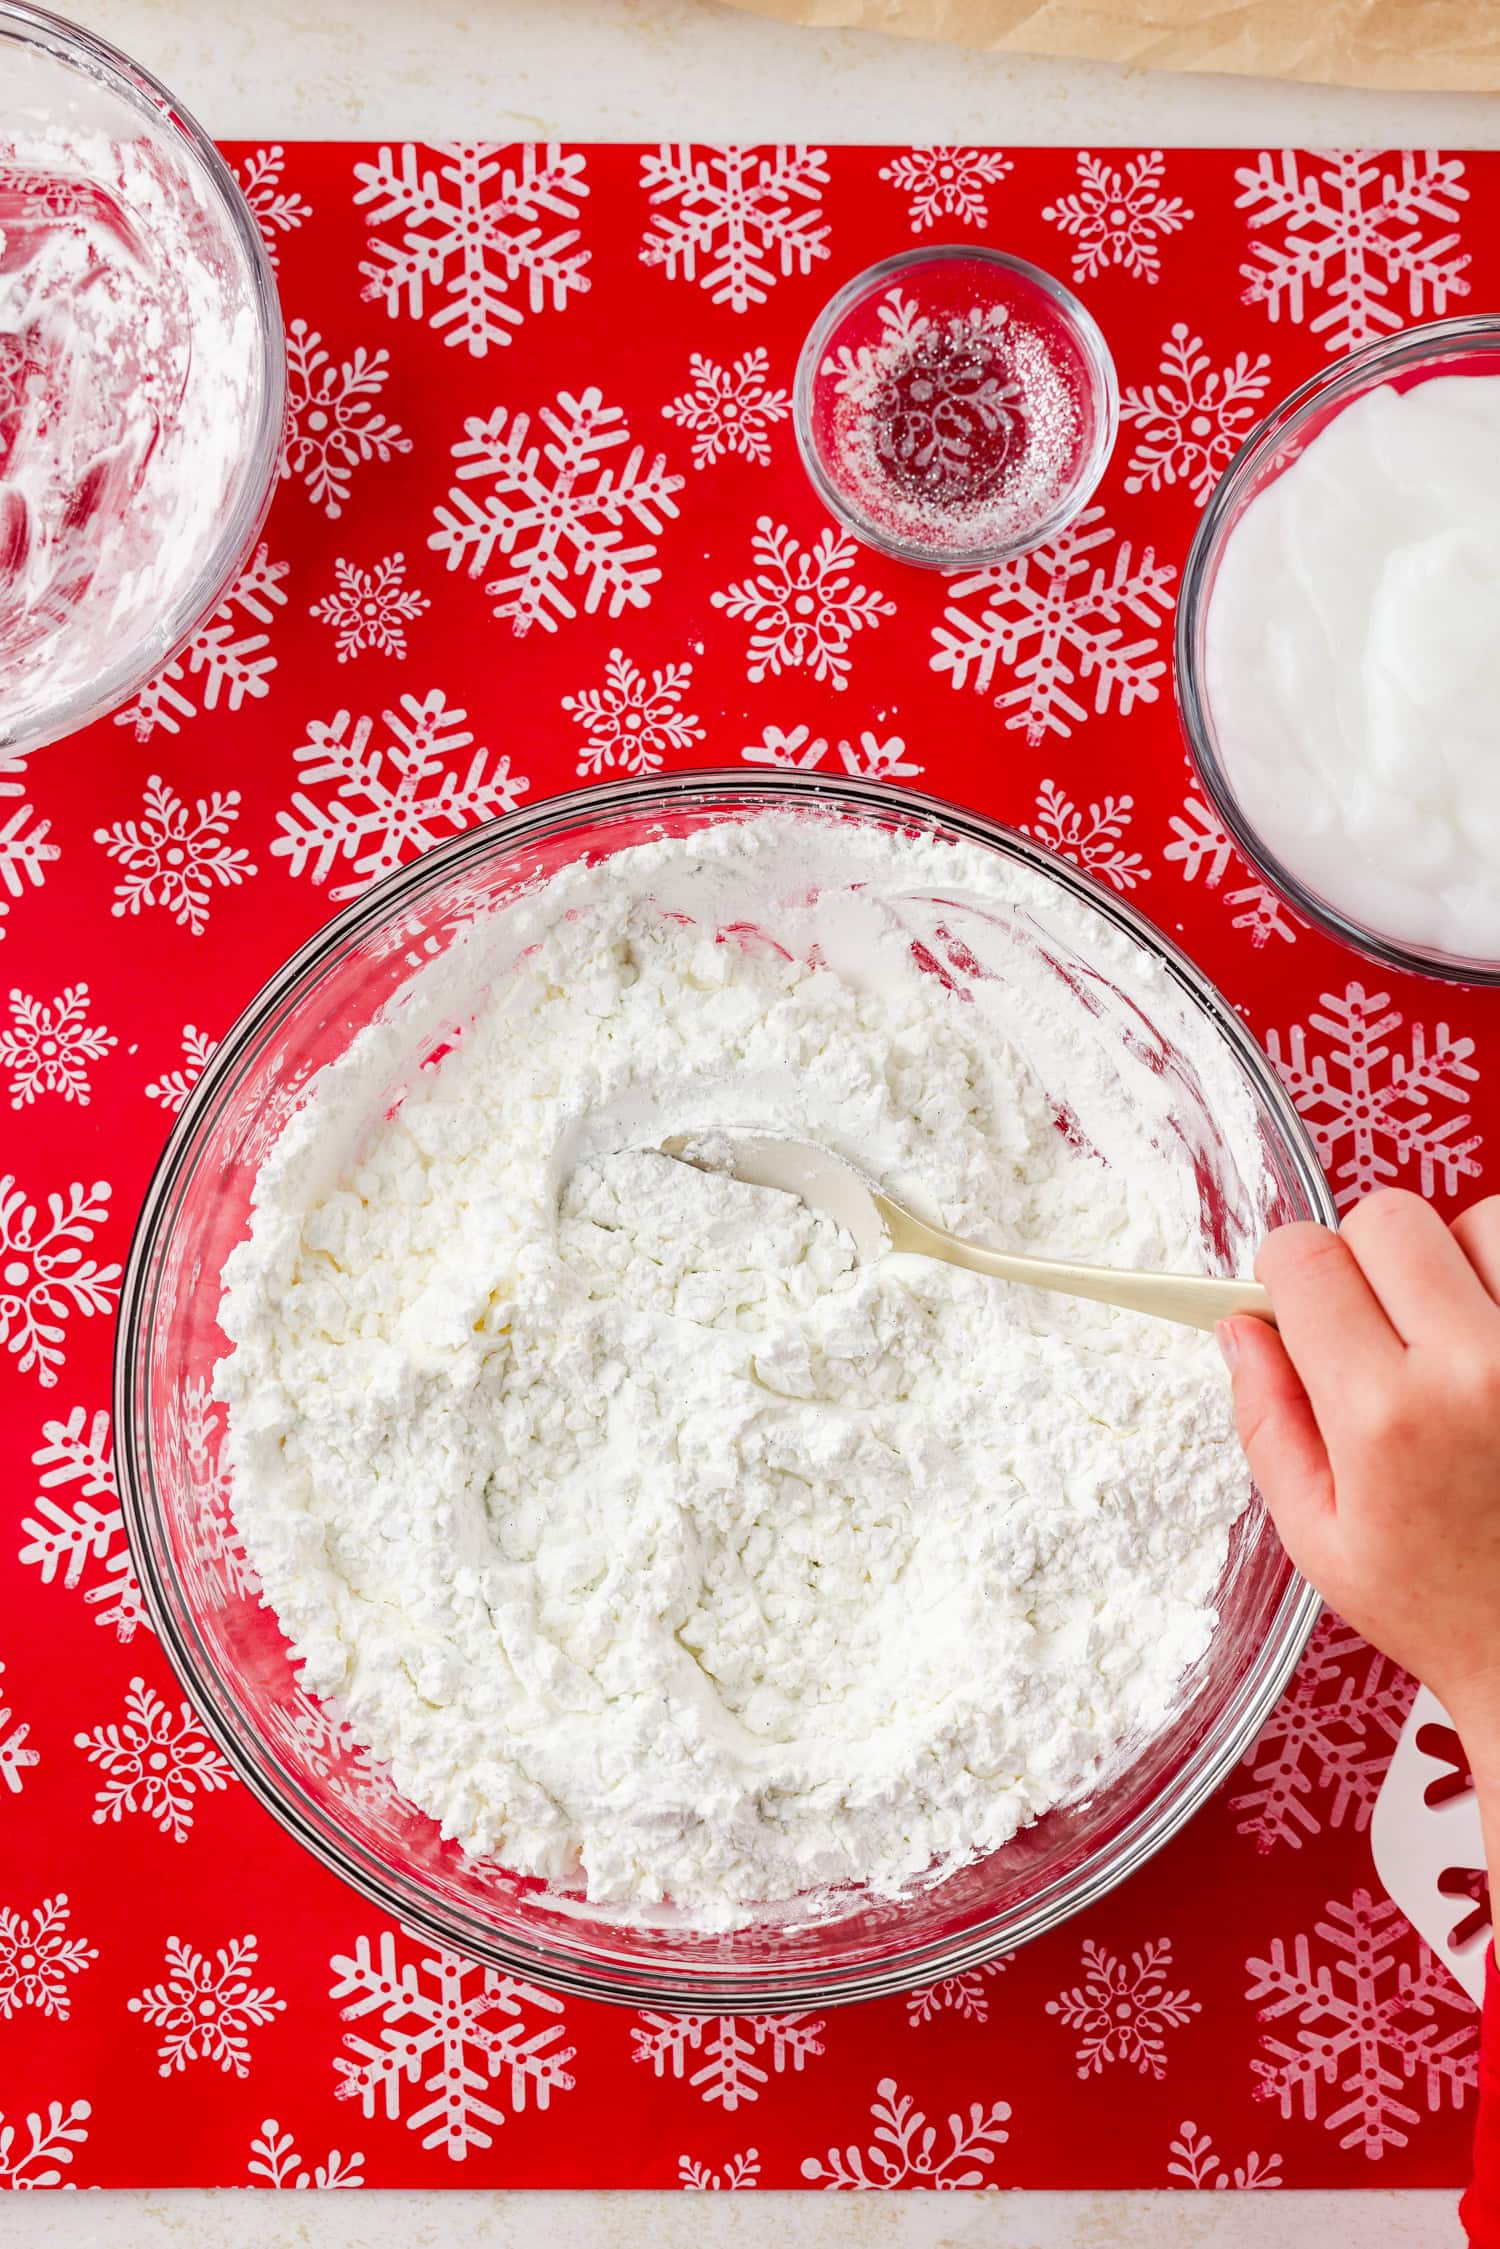
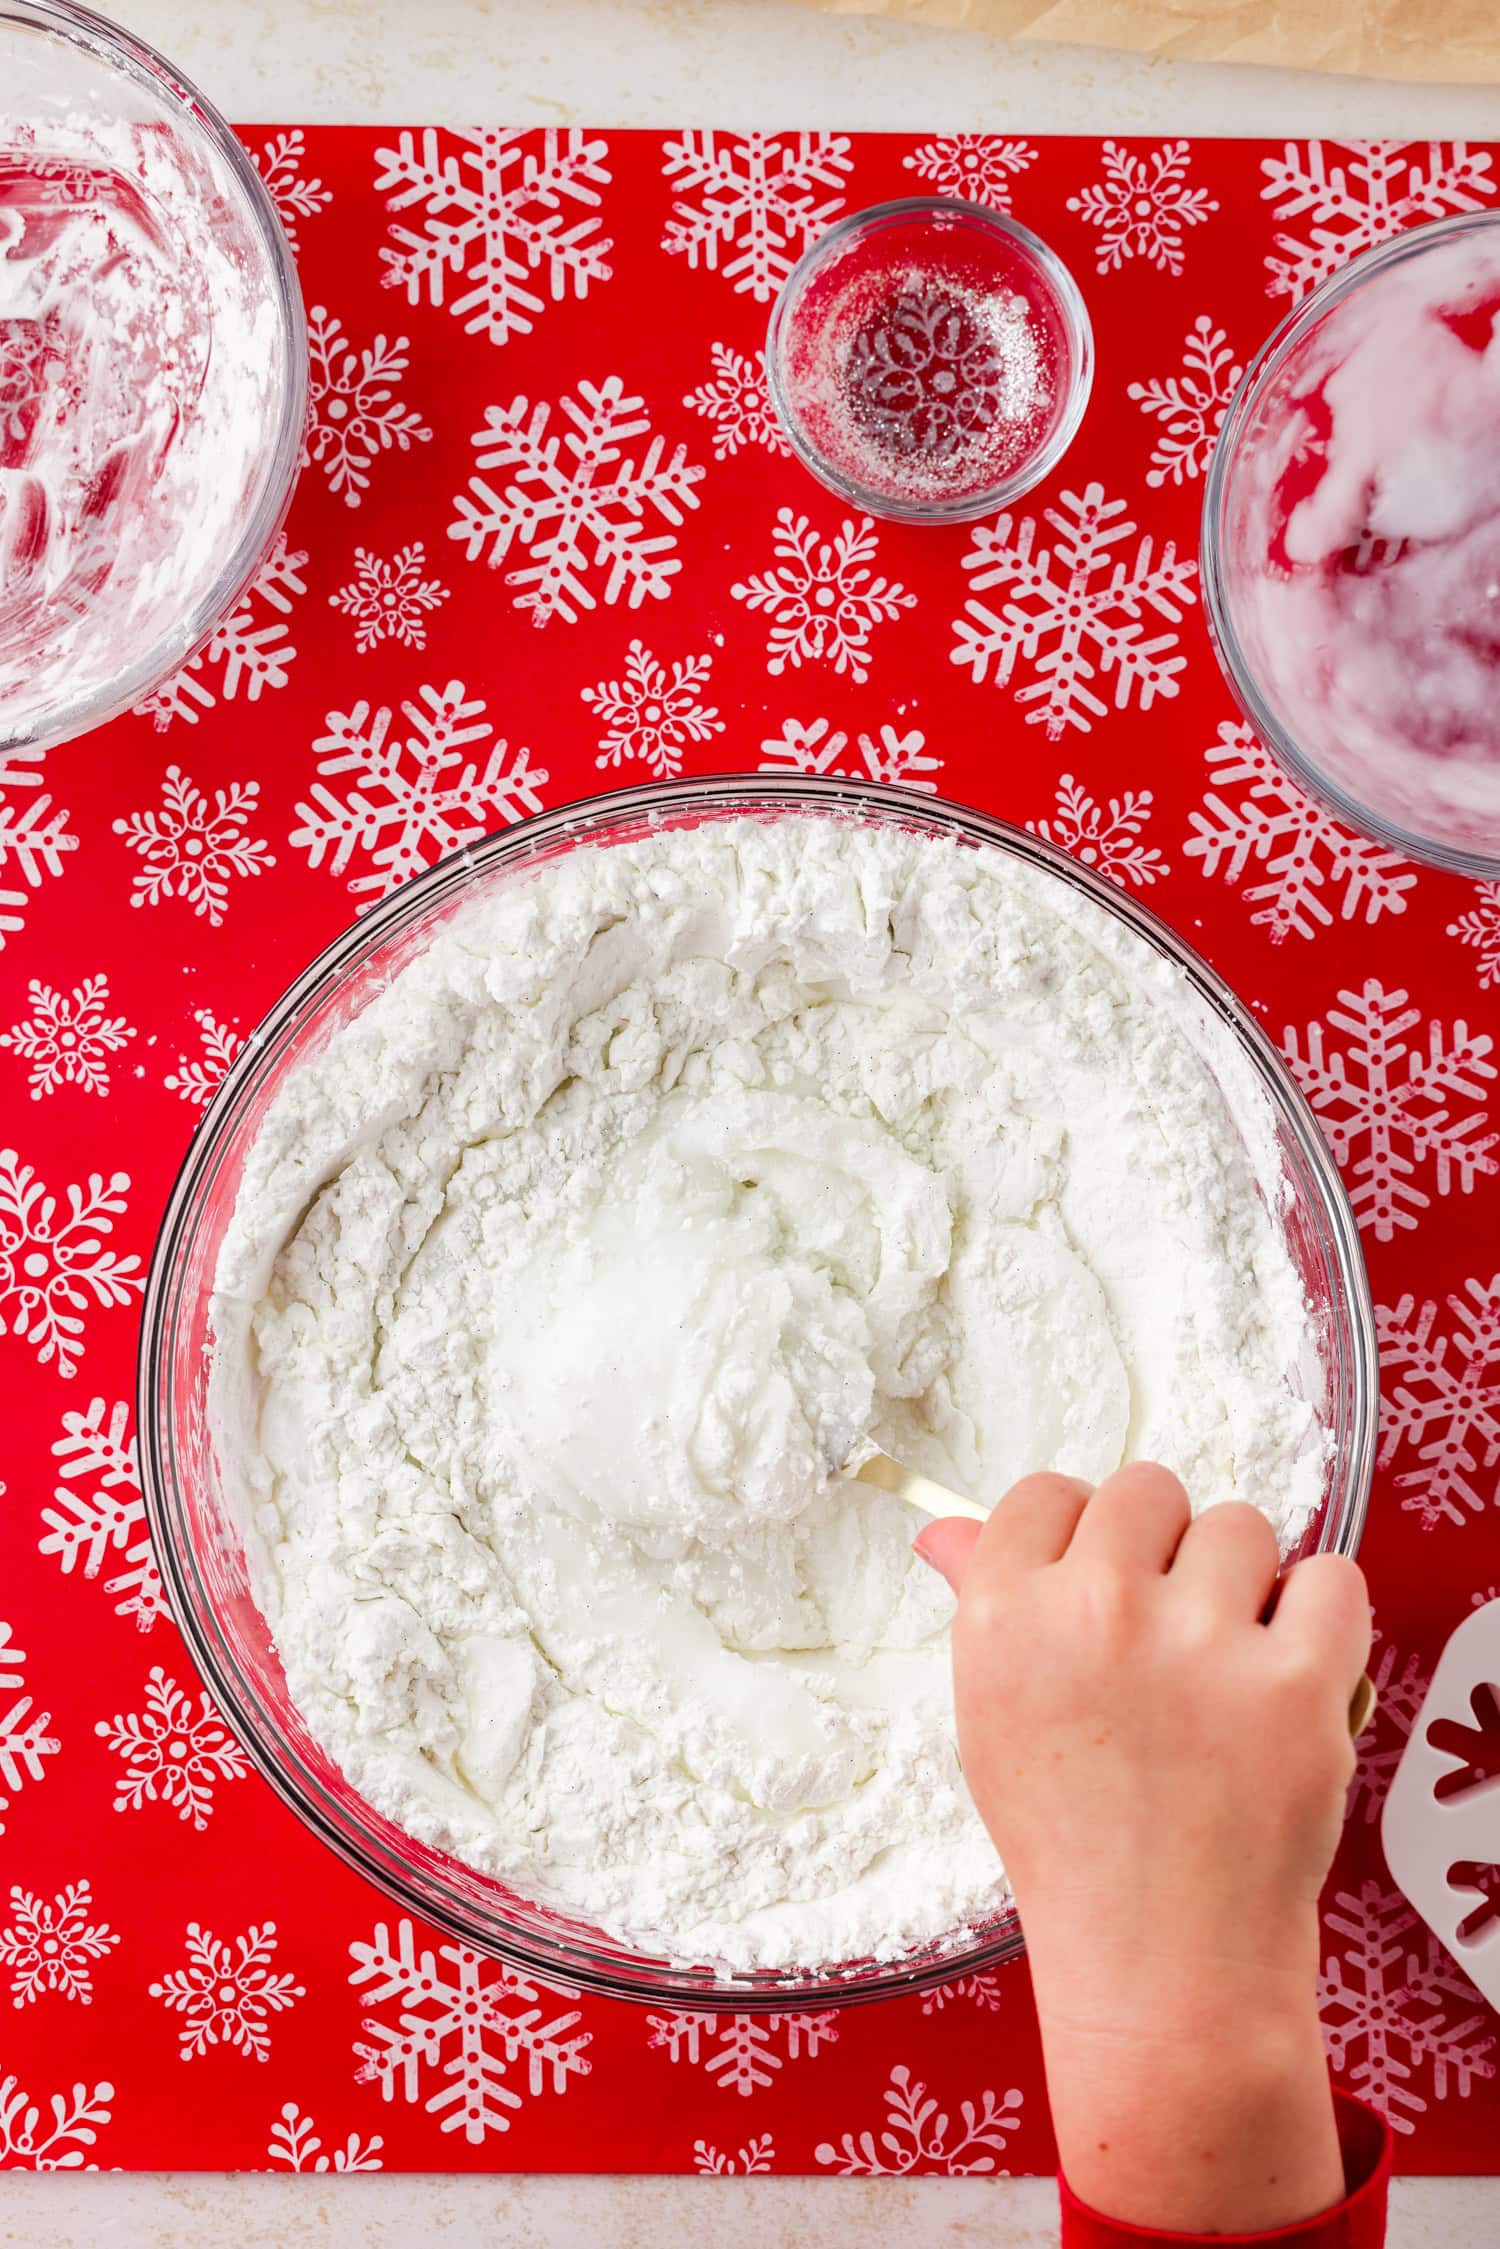
- Pour the all-purpose flour and glitter into a large mixing bowl, and mix together with a spoon until the glitter is evenly distributed throughout the flour. I used one pack of silver glitter, plus a little extra white glitter that I had on hand from a previous craft. I recommend using 1-2 packs of glitter for the amount of flour that this recipe calls for.
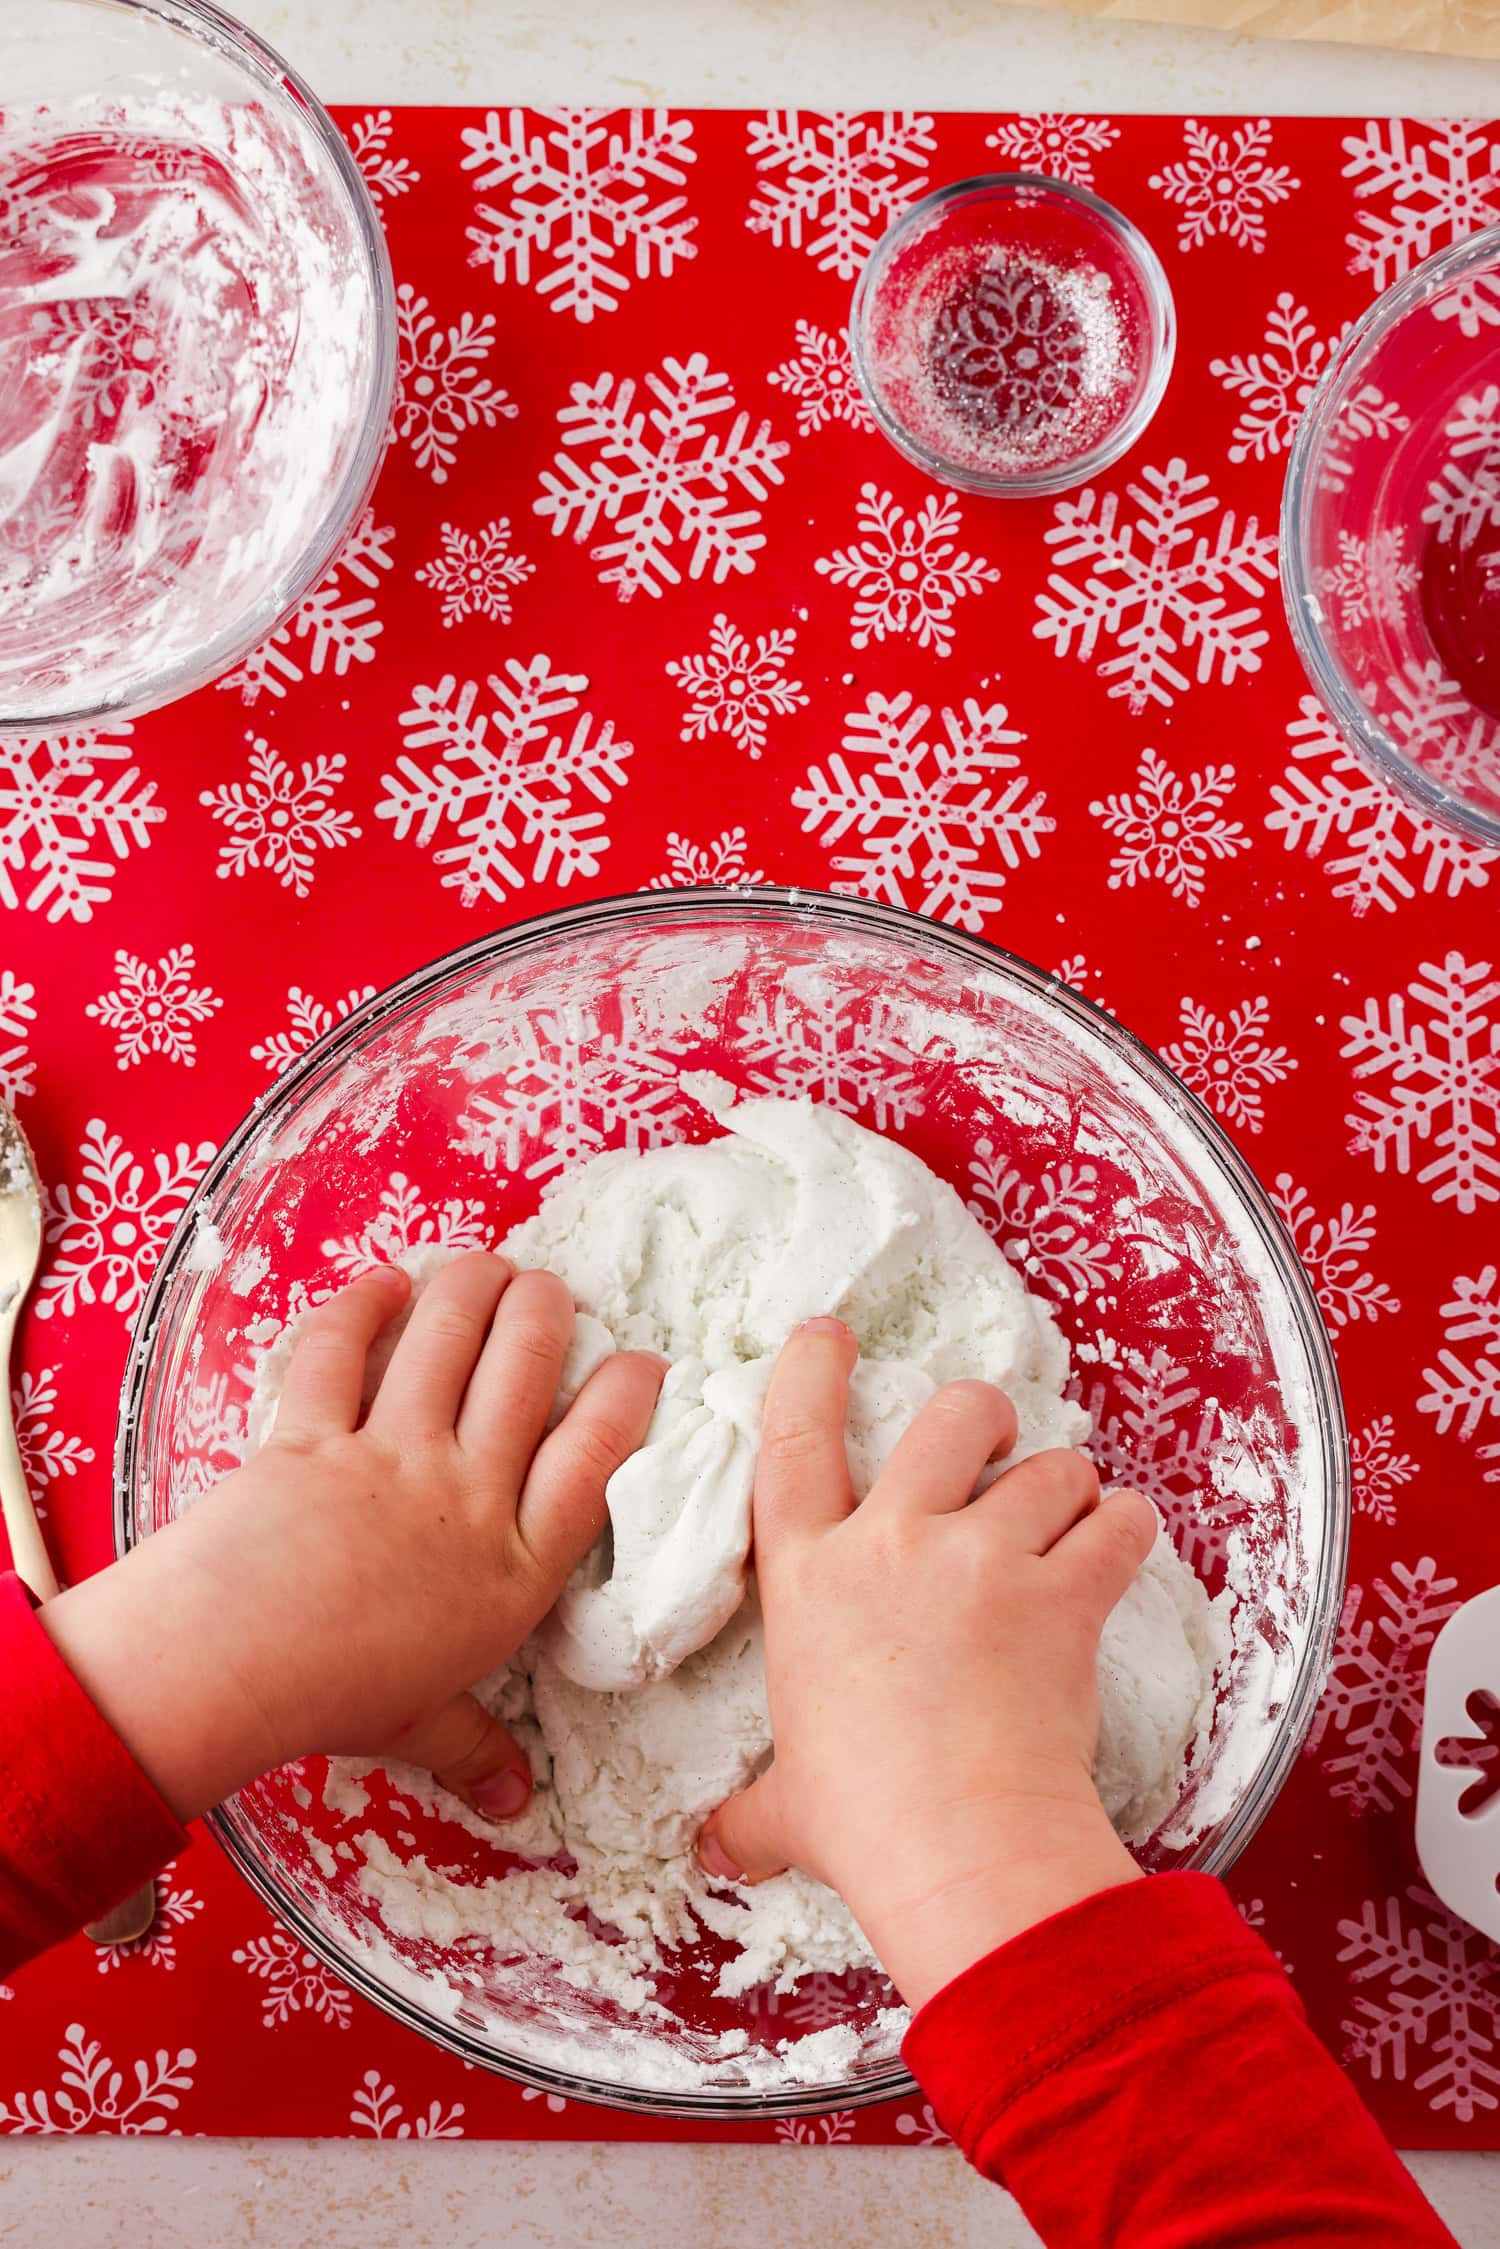
- Add in the white hair conditioner and begin mixing with the spoon until the dough is clumpy and needs to be kneaded by hand.
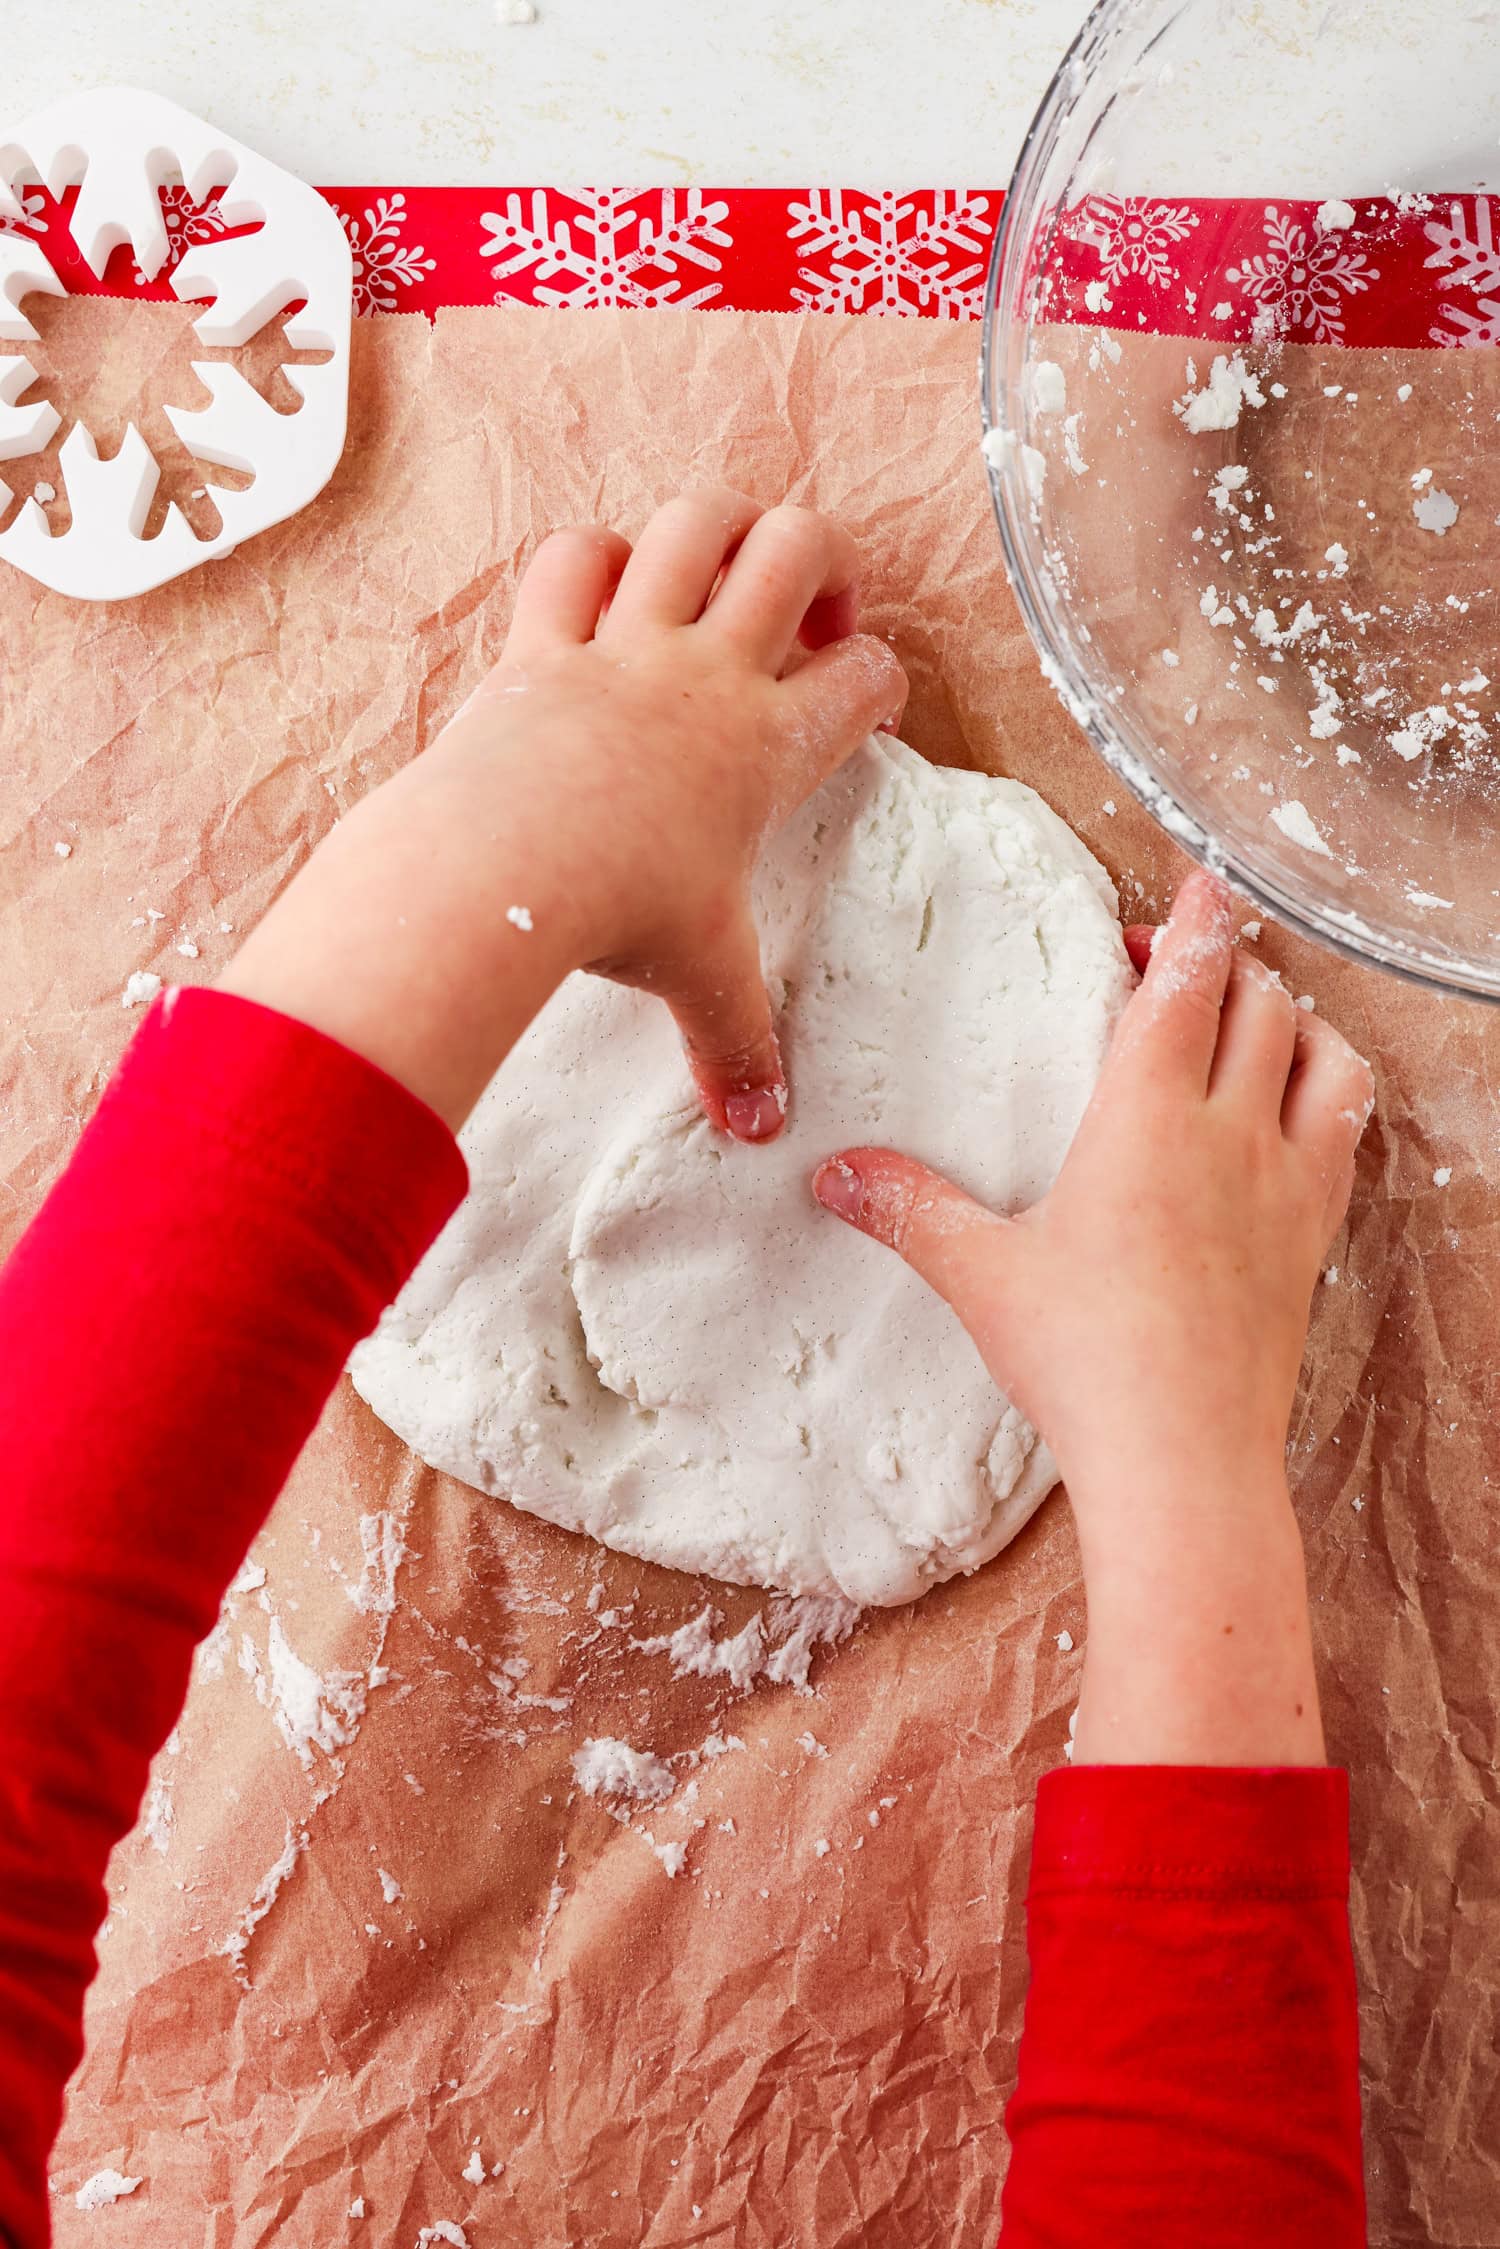
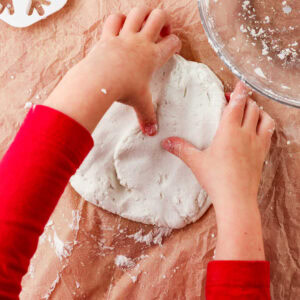
- Turn out the mixture onto a square of parchment paper and then continue kneading by hand until you have a nice, soft, sparkly dough!
- That’s it — enjoy! Store in an airtight container to keep the snow dough soft, and it will last for weeks and endless playtimes!
Pro Tips for the MOST Fun!
- If you or your kids are sensitive to strong fragrances, try to choose a conditioner with no fragrance or a faint scent that won’t bother their little noses.
- For ease of kneading the dough, tape down your parchment paper before turning out the mixture.
- I do not recommend using gluten-free flour for this recipe. Some gluten free all purpose flours may work, but they’re all made of different ingredients so I can’t ensure that it will. Feel free to give it a try if you prefer, but I recommend sticking to regular all purpose flour!
Is snow dough edible?
No, this recipe is not edible. Since it is just flour and hair conditioner, you should make sure that young kiddos are supervised while playing and creating with snow dough. If you have little ones that just LOVE to eat and taste what they’re playing with, then check my edible playdough recipe.
Can I add food coloring to snow dough?
Sure! Feel free to add a drop or two of food coloring to the mixture and knead it in well. Your dough won’t look like fresh snow at the end, but it will still be fun to play with!
I have loads of fun winter crafts where this came from! If you love this snow dough, then check out all of my other activities to drive away the winter blues.
More Fun Winter Activities You’ll Love!
- Make the prettiest DIY decorations with this easy Paper Bag Snowflake craft!
- Winter Color by Number is the perfect activity to throw together when you don’t have any craft supplies on hand.
- This Snowman Sock Craft is quite possibly one of the cutest winter crafts ever!
- Beaded Snowflakes are a classic craft that will never get old. Learn how to make your own!
Snow Dough
Equipment
- Small container with an air-tight lid for storing
Ingredients
- 1 cup + 1 tablespoon all-purpose flour
- ½ cup white hair conditioner I used TRESemmé brand
- Glitter white or silver
Instructions
- Pour the all-purpose flour and glitter into a large mixing bowl. Mix the flour and glitter together with a spoon until the glitter is spread evenly throughout. I used one pack of silver glitter plus a little extra white glitter that I had on hand from a previous craft. I recommend using 1-2 packs of glitter to this amount of flour.
- Add in the hair conditioner and begin mixing with the spoon until the dough is clumpy and needs to be kneaded by hand.
- Turn out the dough onto the parchment paper and continue kneading by hand until you have a nice, soft, sparkly dough!
- Enjoy! Store in an air-tight container to keep the snow sough soft, and it will last for weeks!