Microwave Playdough
Learn how to make homemade playdough in just a few minutes using a microwave. This quick and easy recipe is perfect for a rainy day activity with kids. Soft, moldable playdough made with pantry staples the kids will love playing with.

If you’ve got some creative little crafters in your home, then you’re going to love this easy microwave playdough recipe! You can skip the overpriced stuff at the store and make your own homemade play dough with really basic ingredients and easy-to-follow steps. If there’s a bored toddler or little ones around your house right now, this microwave play dough recipe gives you such an easy way to entertain them without a screen. Honestly, kids of all ages will love playing with this homemade playdough!
I have a ton of fun homemade playdough recipes of all different textures and scents. From oh-so-fluffy Cloud Dough to cozy Pumpkin Spice Scented Playdough, there are so many options to choose from. I even have an Edible Playdough for your littles who have a hard time not eating their play dough. You can give them some freedom to play without worry! This microwave dough is probably one of the easiest recipes out of all of them. It’s incredibly simple and anyone can make it. I know you’ll have a blast making all of your favorite shapes and little creations!
Why You’ll Love This Recipe
- It only takes 15 minutes to make microwave playdough. I’d be willing to bet that you can make a batch of this playdough in the same time, or less time, that it takes to run to the store and buy some.
- Playdough is wonderful for sensory play and to develop fine motor skills. Kids can get so creative with open-ended play and will create some of the most fun shapes and structures.
- This microwave play dough recipeis budget-friendly, using common household ingredients that you likely already have around your house. You may not even need to buy anything extra.
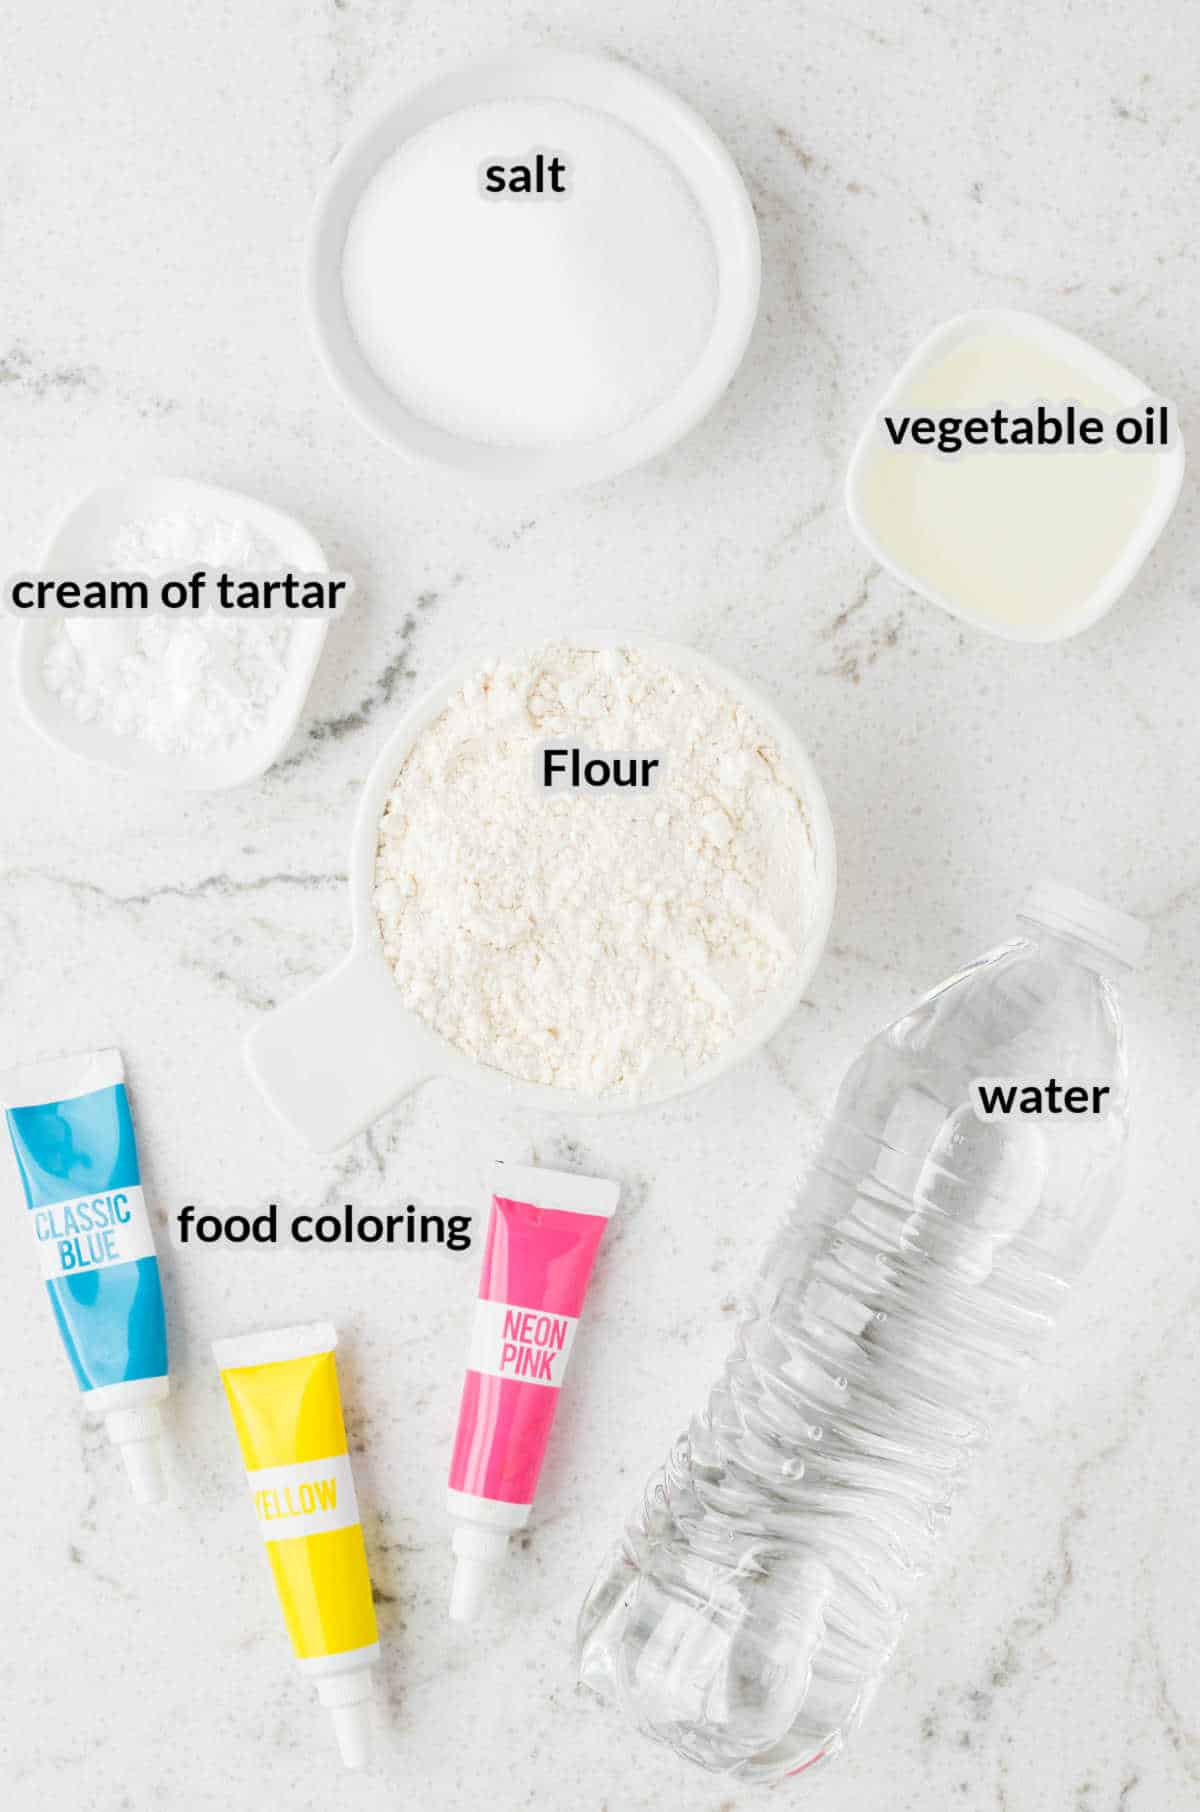
Ingredients For Microwave Playdough
- All-purpose flour – Use flour as the base of the playdough. It will provide the structure needed for playdough to have its dough-like consistency.
- Salt – Salt acts as a preservative, helping to prevent the playdough from spoiling. It also adds texture and helps firm up the dough to a buildable consistency.
- Cream of tartar – Cream of tartar improves the elasticity of the play dough and will also stabilize it. You’ll also be able to store your dough for a longer time when you use cream of tartar in the mixture.
- Water – Water is essential to hydrate the dry ingredients, create the playdough and makme it pliable.
- Vegetable oil – Add vegetable oil to the dough to keep it from drying out and to help give it a smooth and soft texture. It also helps to prevent the playdough from sticking to surfaces and hands when you play with it. Any other type of cooking oil will work in it’s place.
- Food coloring – Make any color of playdough that you want by adding a bit of food coloring to the dough. Depending on the intensity of color you want, you can use liquid, gel, or powder food coloring.
Helpful Tools
- Jumbo wooden craft sticks – I highly recommend using these to stir the playdough because they are disposable for easy clean up.
How to Make Microwave Playdough
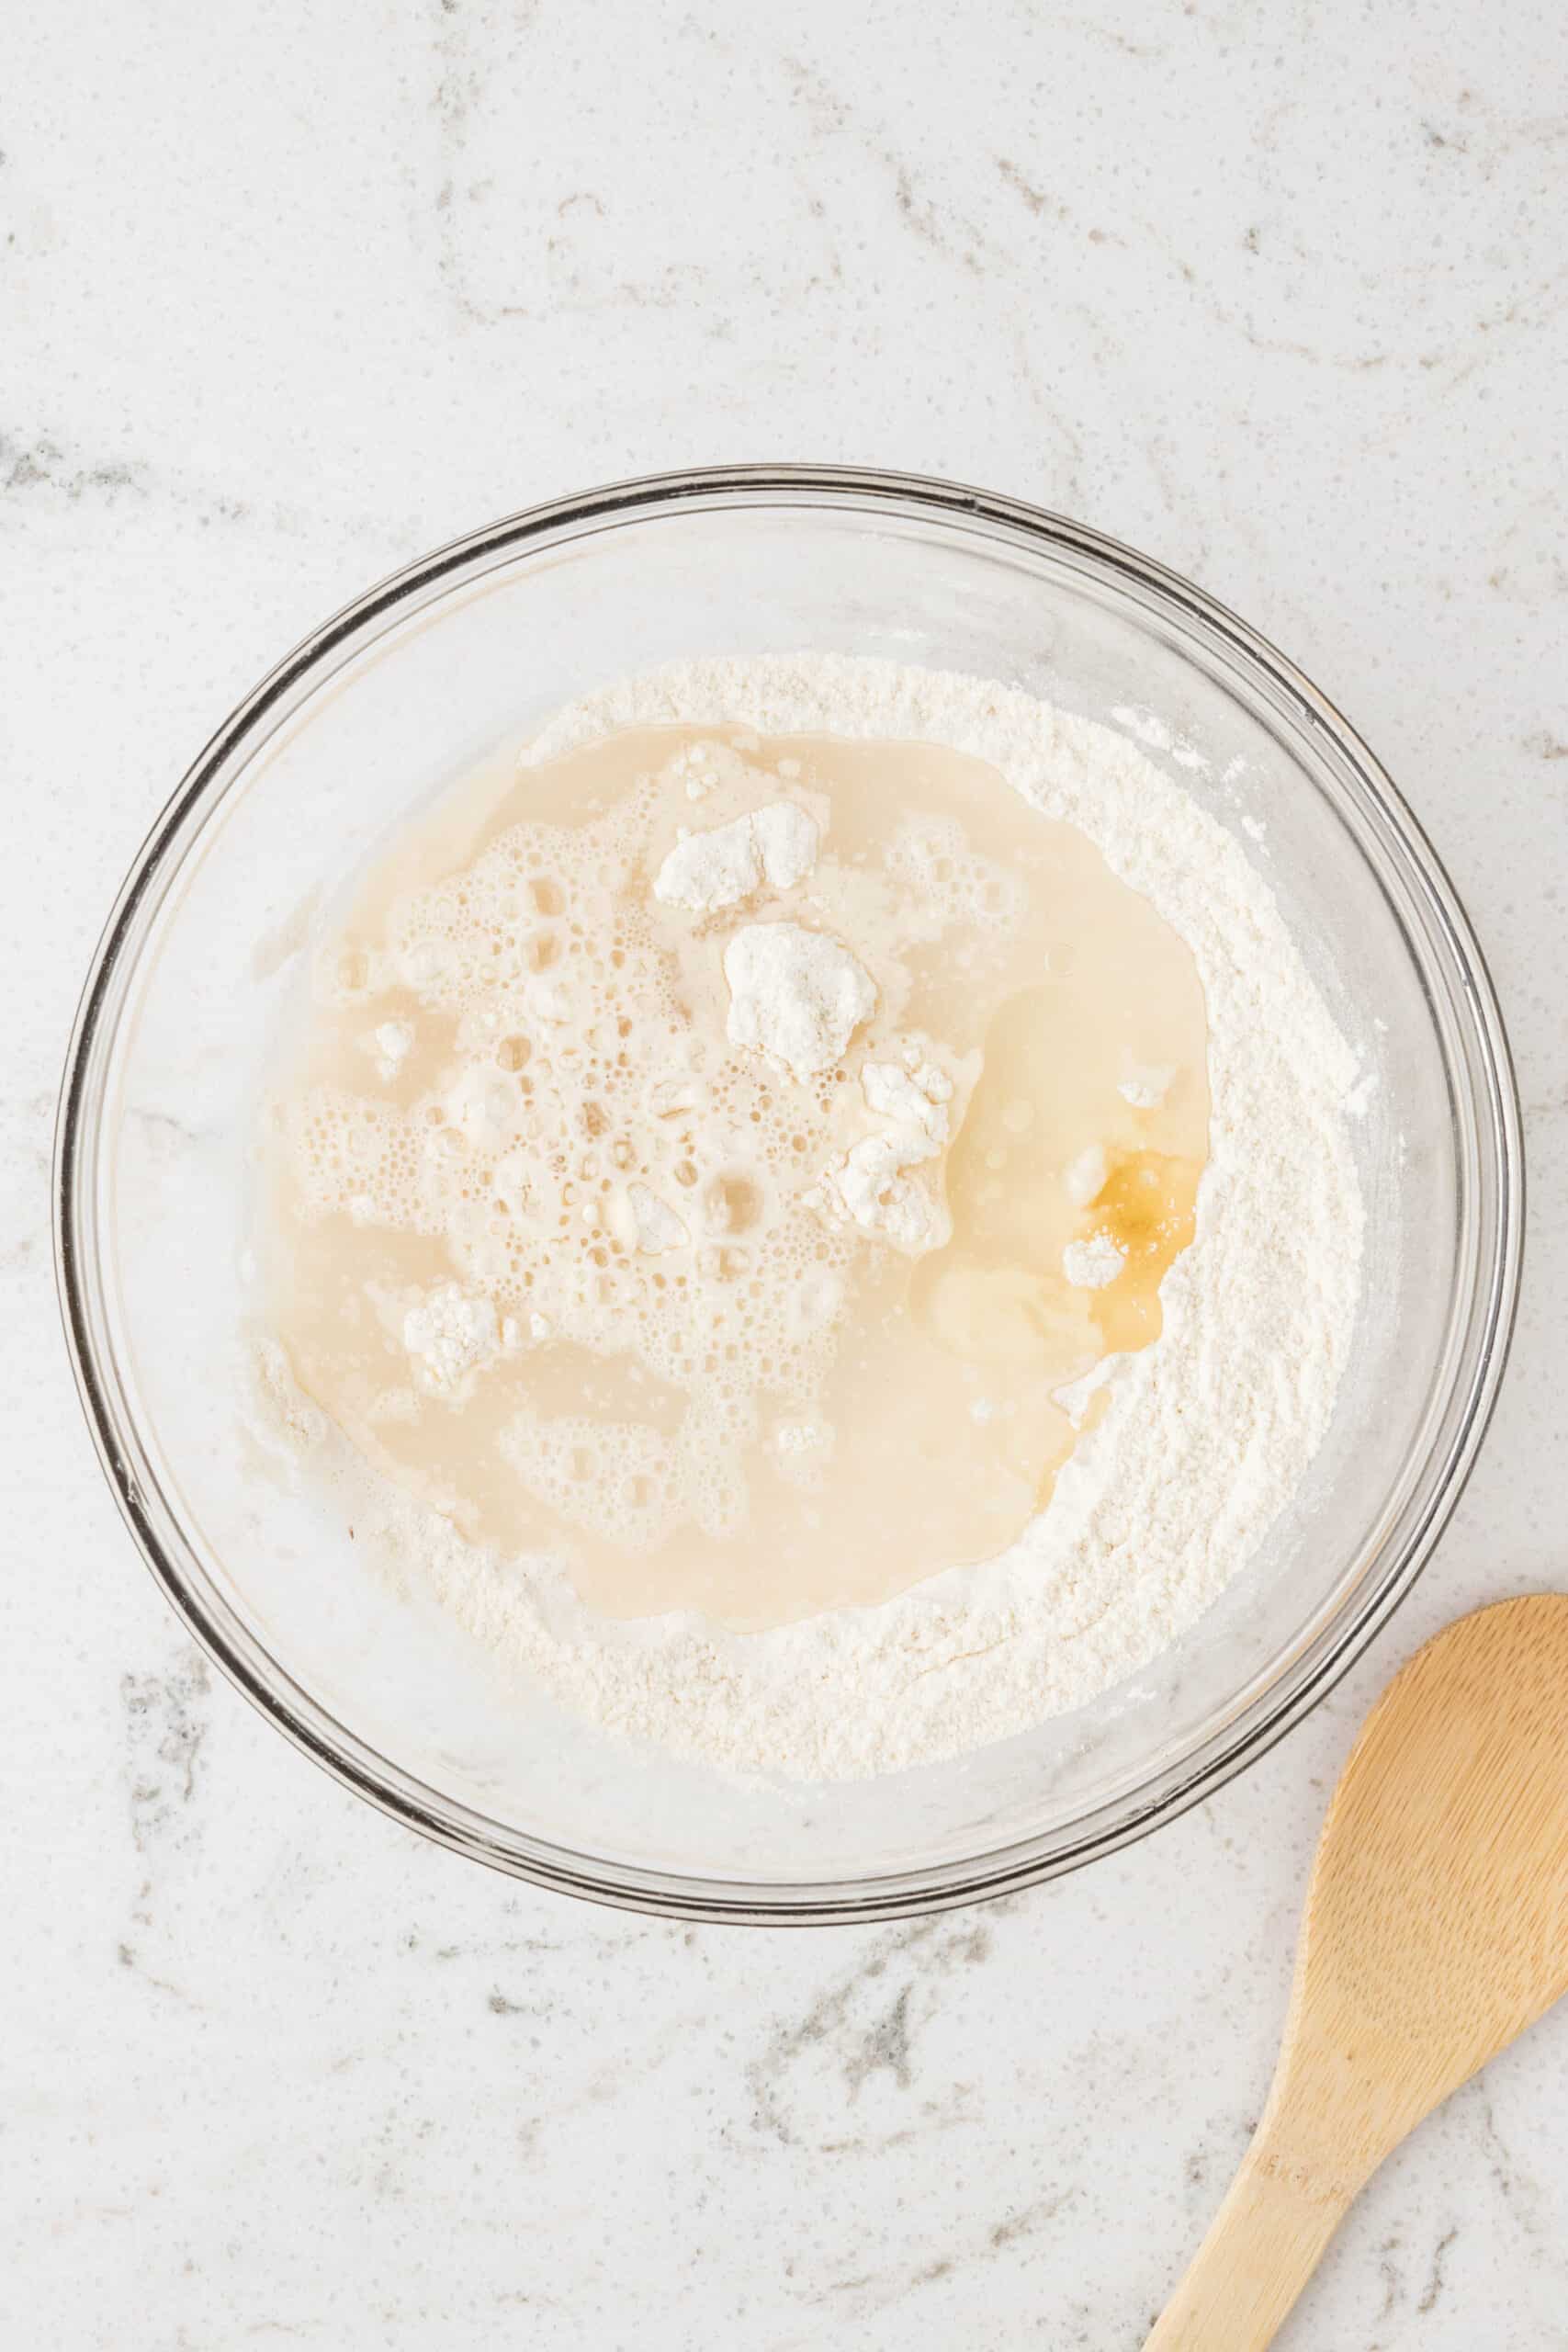
Combine 1 cup flour, ¼ cup salt, and 2 teaspoons cream of tartar in a microwave-safe bowl. Use a jumbo wooden craft stick to mix the dry ingredients until they are thoroughly combined.
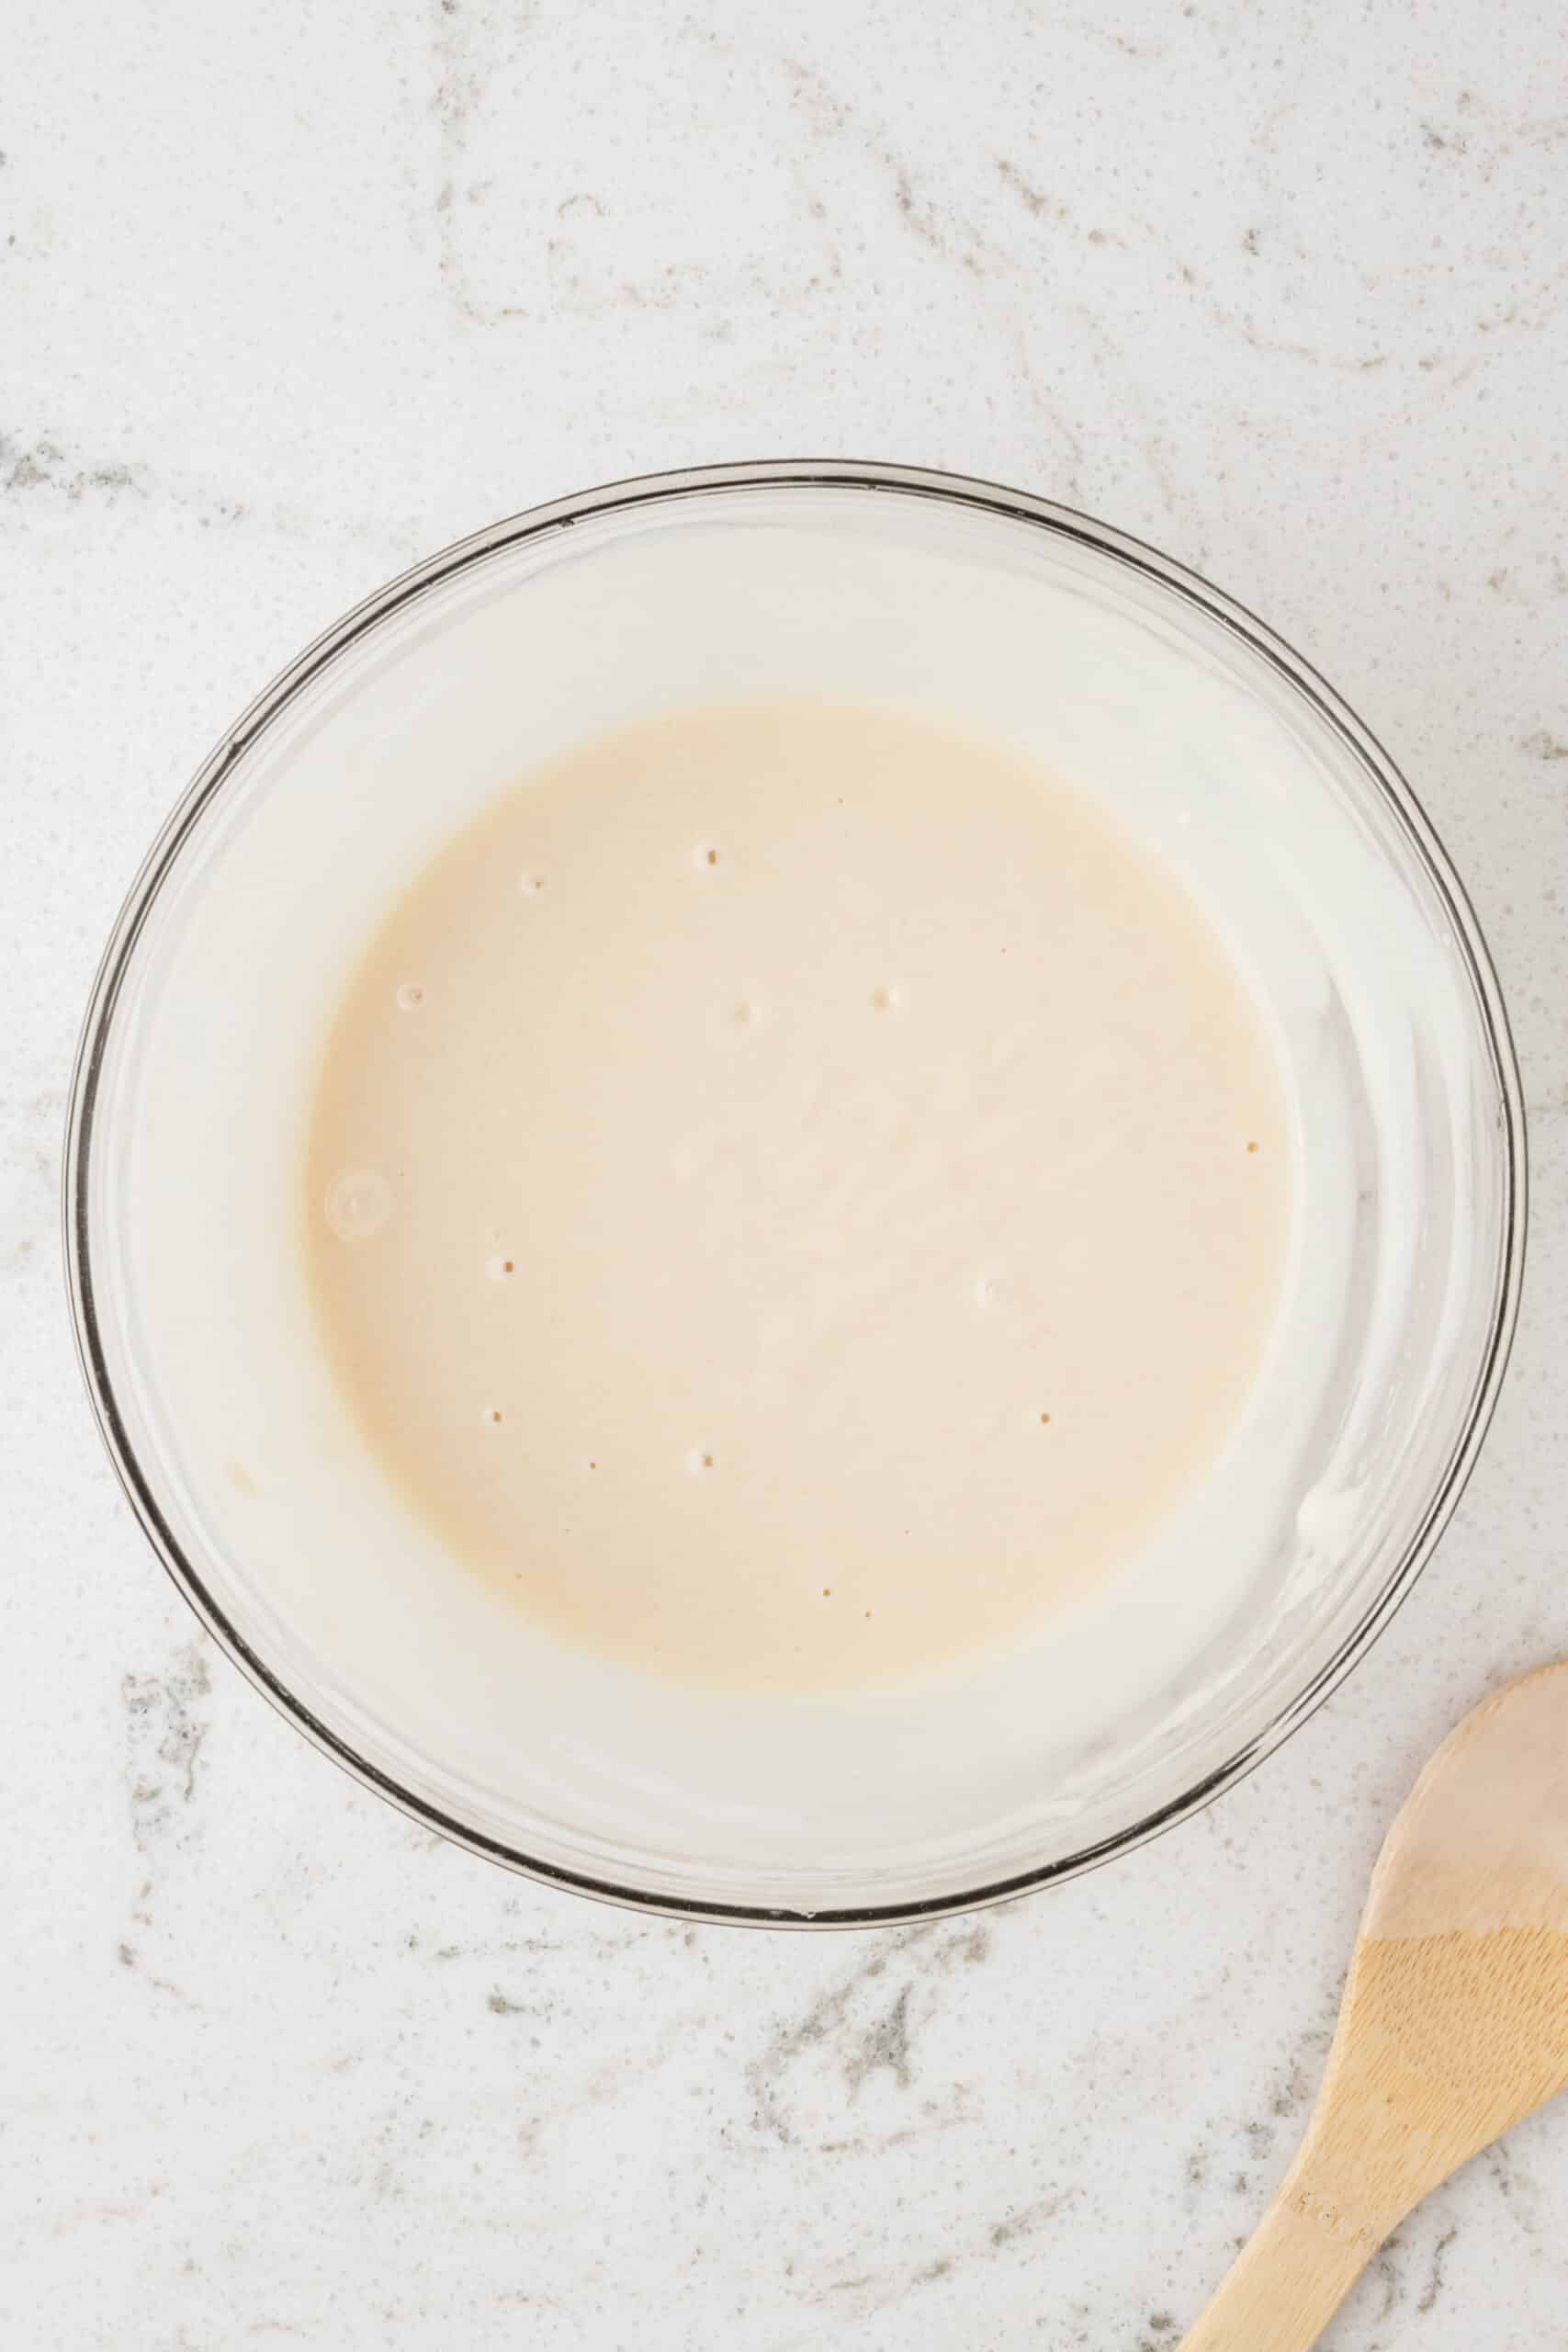
Add one cup water and one tablespoon of oil to the dry ingredients. Stir together until there are no lumps left.

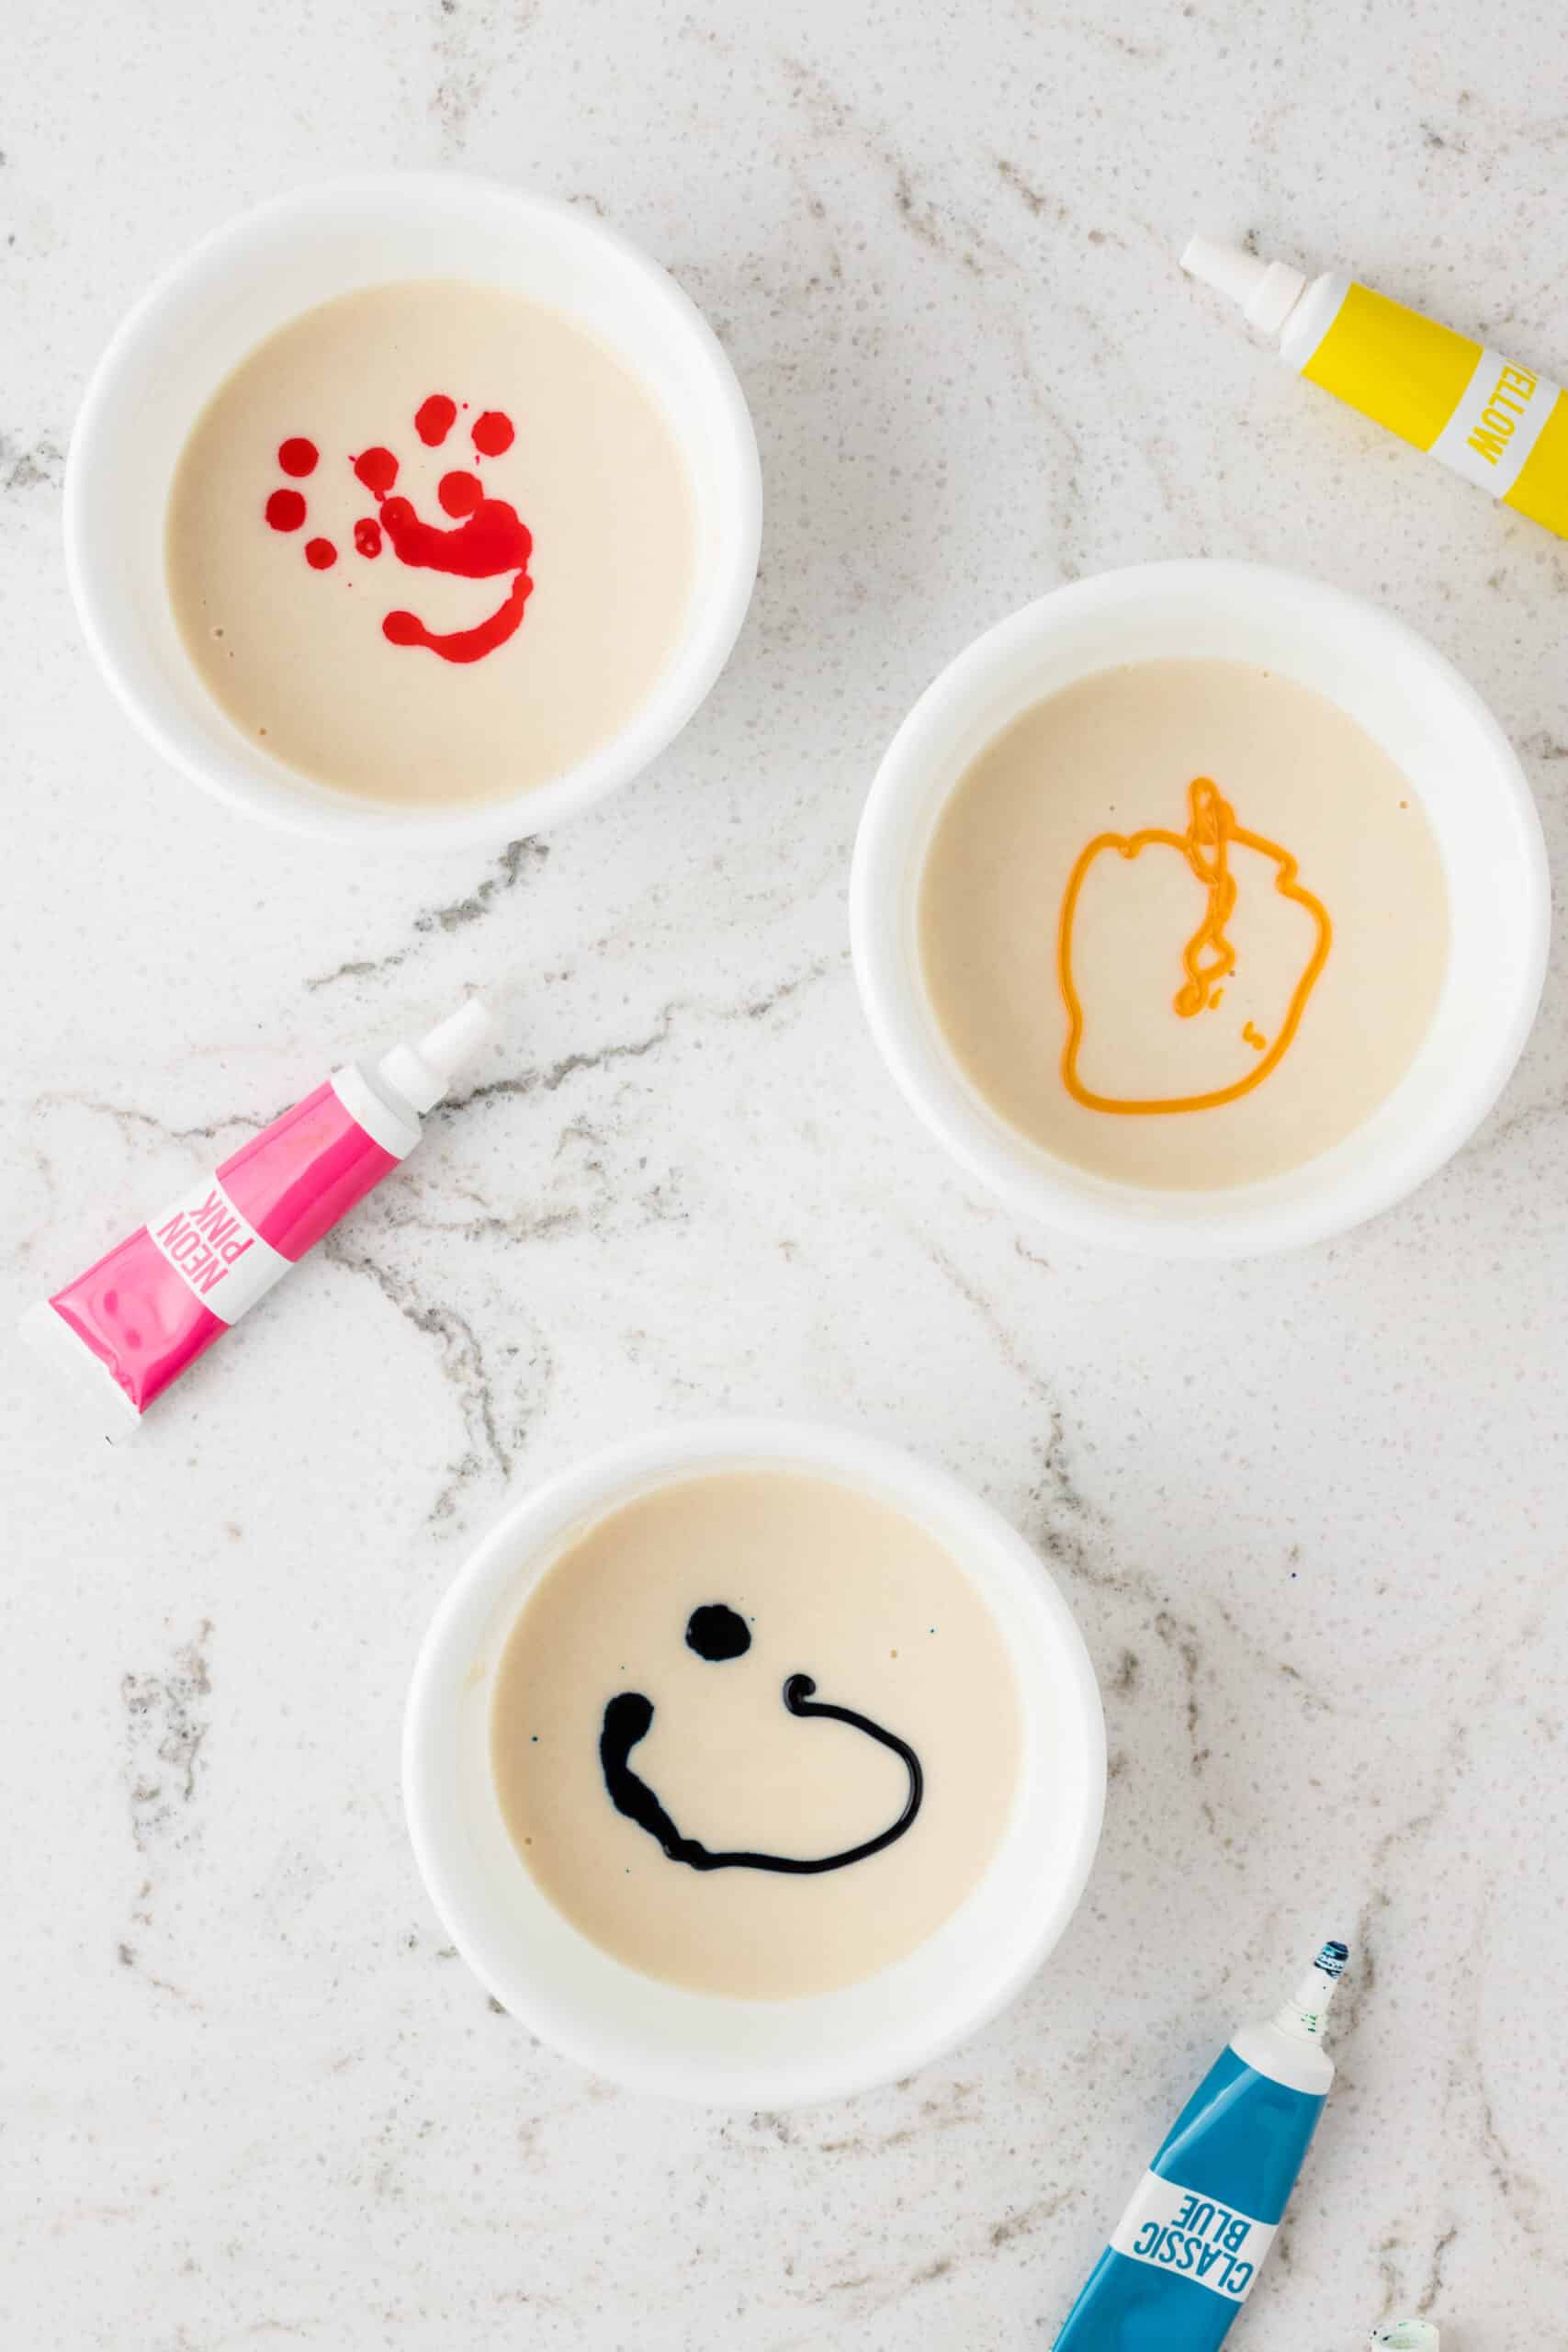
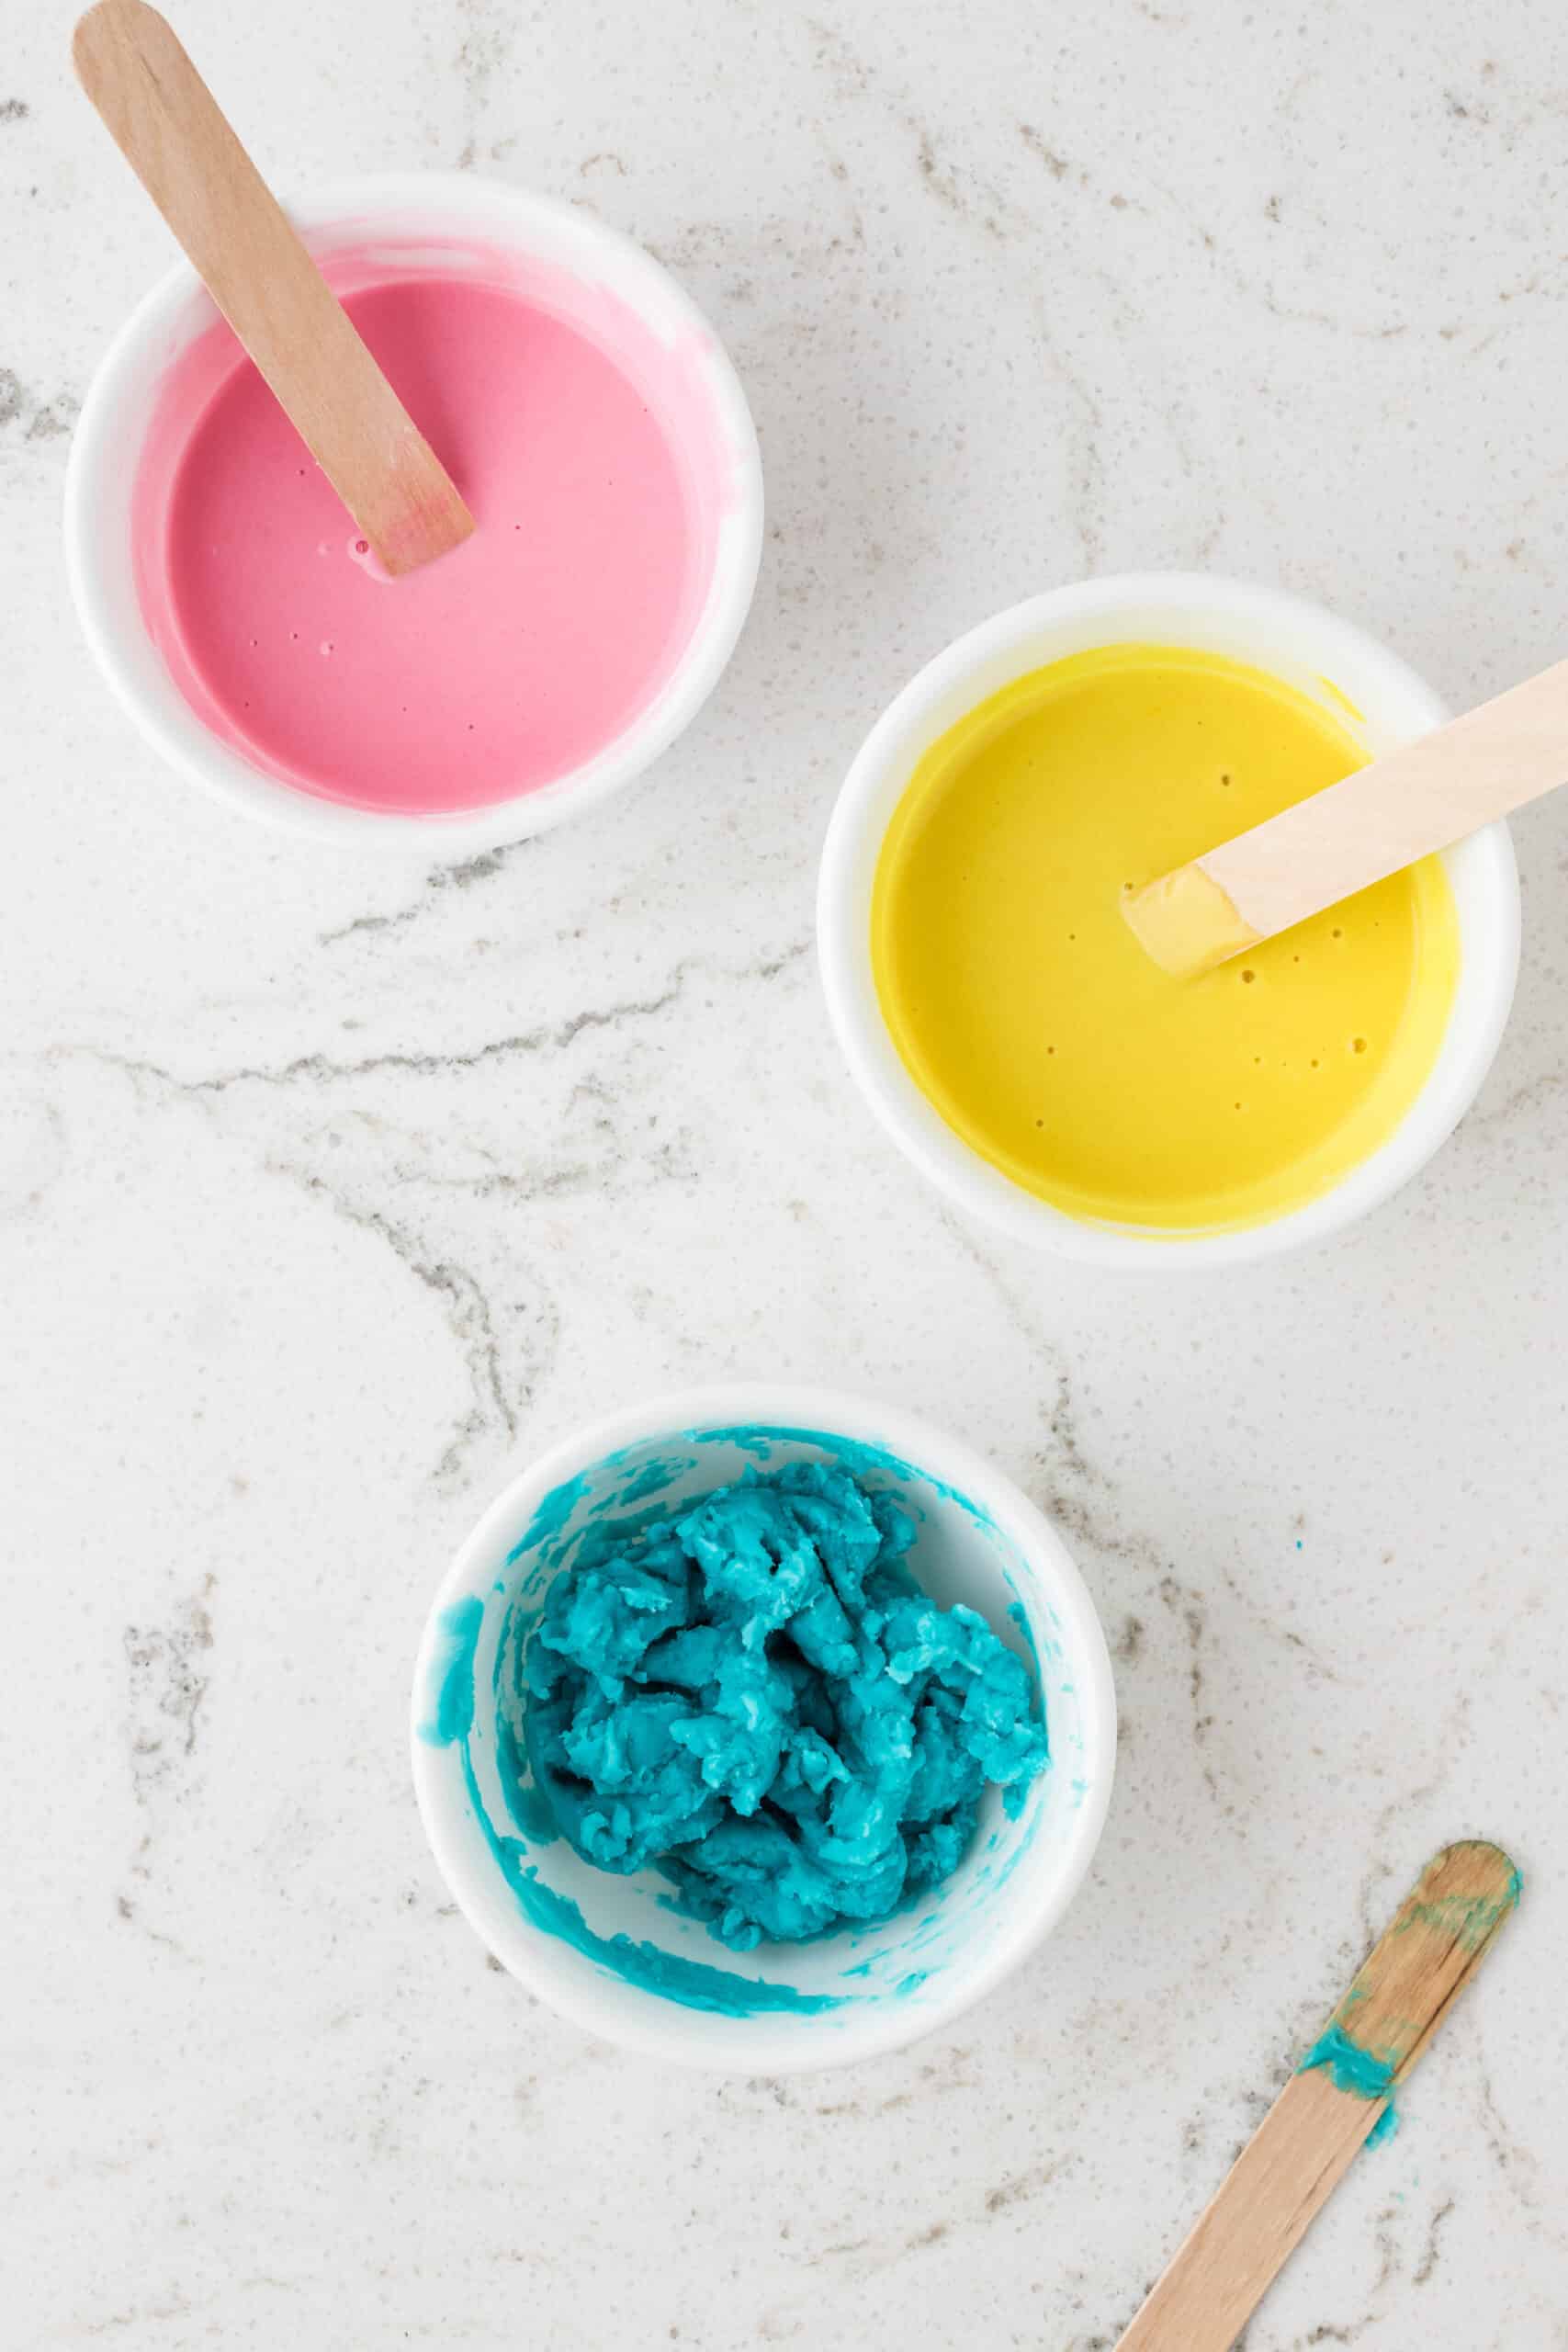
If you want to make multiple different colors, then divide the dough into multiple separate bowls. Add a few drops of food coloring to each of the bowls and the mix until the color is evenly distributed.
Microwave each bowl of dough on high for about 1 minute and then carefully remove it as it will be hot! Stir the dough thoroughly. If it’s still sticky, then microwave it for an additional 15-30 seconds.
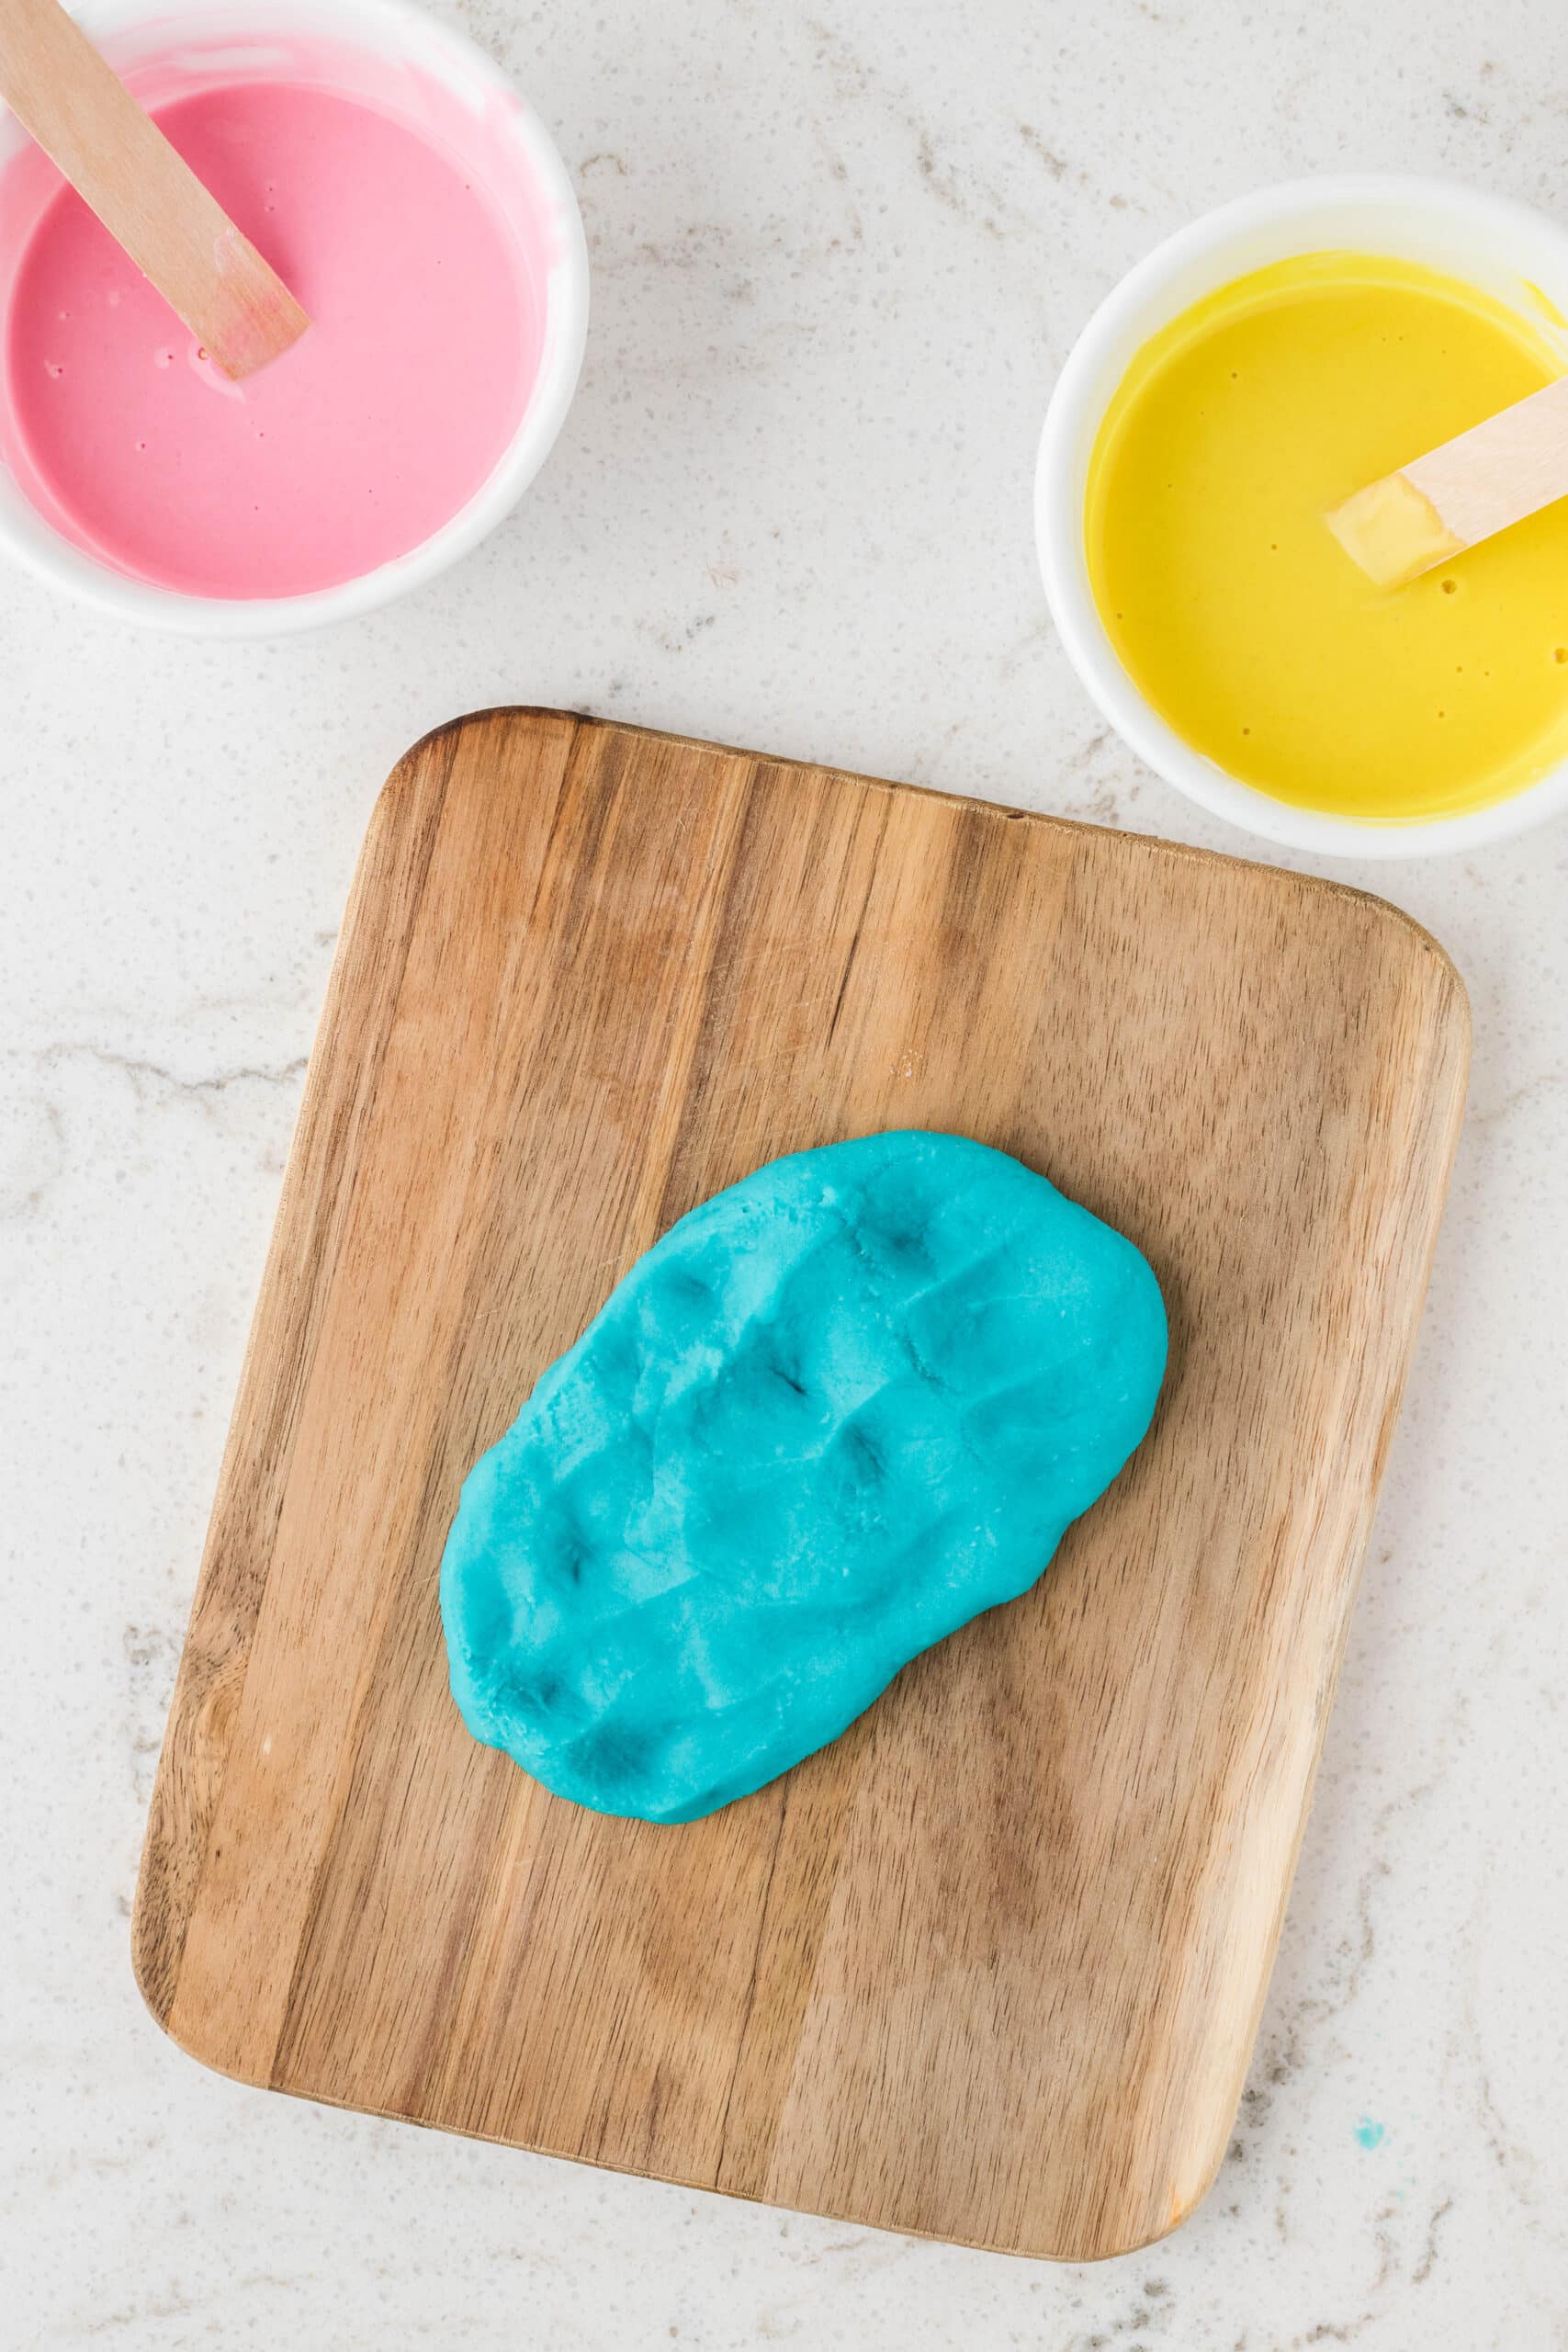
Once the dough has cooled enough to handle, knead if on a clean surface until it is smooth and easily pliable. If the dough is too sticky, just mix in a dash of flour. If it’s too dry, then add a few drops of water.
Pro Tips
- If your homemade microwave play dough is still sticky, it could be that you have not kneaded it enough. So keep kneading and see if the texture improves! If not, then add a bit of extra flour and knead if in to help reduce the stickiness.
- Feel free to add more drops of food coloring to make a color more bright! Just mix it in well until it reaches the exact color that you want.
- Add a few drops of essential oils, or even some vanilla extract, to the dough for a pleasant scent. This can make playtime even more enjoyable. Lavender playdough before bedtime to settle down? Sounds great to me!
- Be very careful when mixing the dough straight from the microwave. It can get kind of hot, so this may be a step for adults to do instead of the kiddos.
- Always wash hands and play surface thoroughly before enjoying homemade playdough. The cleaner it stays, the longer it lasts.
Once you learn how to make microwave playdough, you’ll never go back to buying it at the store. It’s just so easy to make!
Microwave Playdough
Ingredients
- 1 cup all-purpose flour
- ¼ cup salt
- 2 teaspoons cream of tartar
- 1 cup water
- 1 tablespoon vegetable oil
- Food coloring as desired
Instructions
- In a microwave-safe bowl, combine 1 cup of flour, ¼ cup of salt, and 2 teaspoons cream of tartar. Use a jumbo wooden craft stick to mix the ingredients so they are evenly distributed.
- Add 1 cup of water and 1 tablespoon of vegetable oil to the dry mixture. Stir until smooth and free of lumps.
- Divide the dough into separate bowls if you want multiple colors. Add a few drops of food coloring to each bowl and mix until the color is evenly distributed. You can adjust the amount of food coloring to achieve the desired shade.
- Microwave each bowl on high for about 1 minute. Carefully remove the bowl from the microwave (it will be hot) and stir the dough thoroughly. If the dough is still sticky, microwave it for an additional 15 – 30 seconds.
- Once the dough has cooled enough to handle, knead it on a clean surface until it becomes smooth and pliable. If the dough is too sticky, you can add a little more flour. If it’s too dry, add a few drops of water.
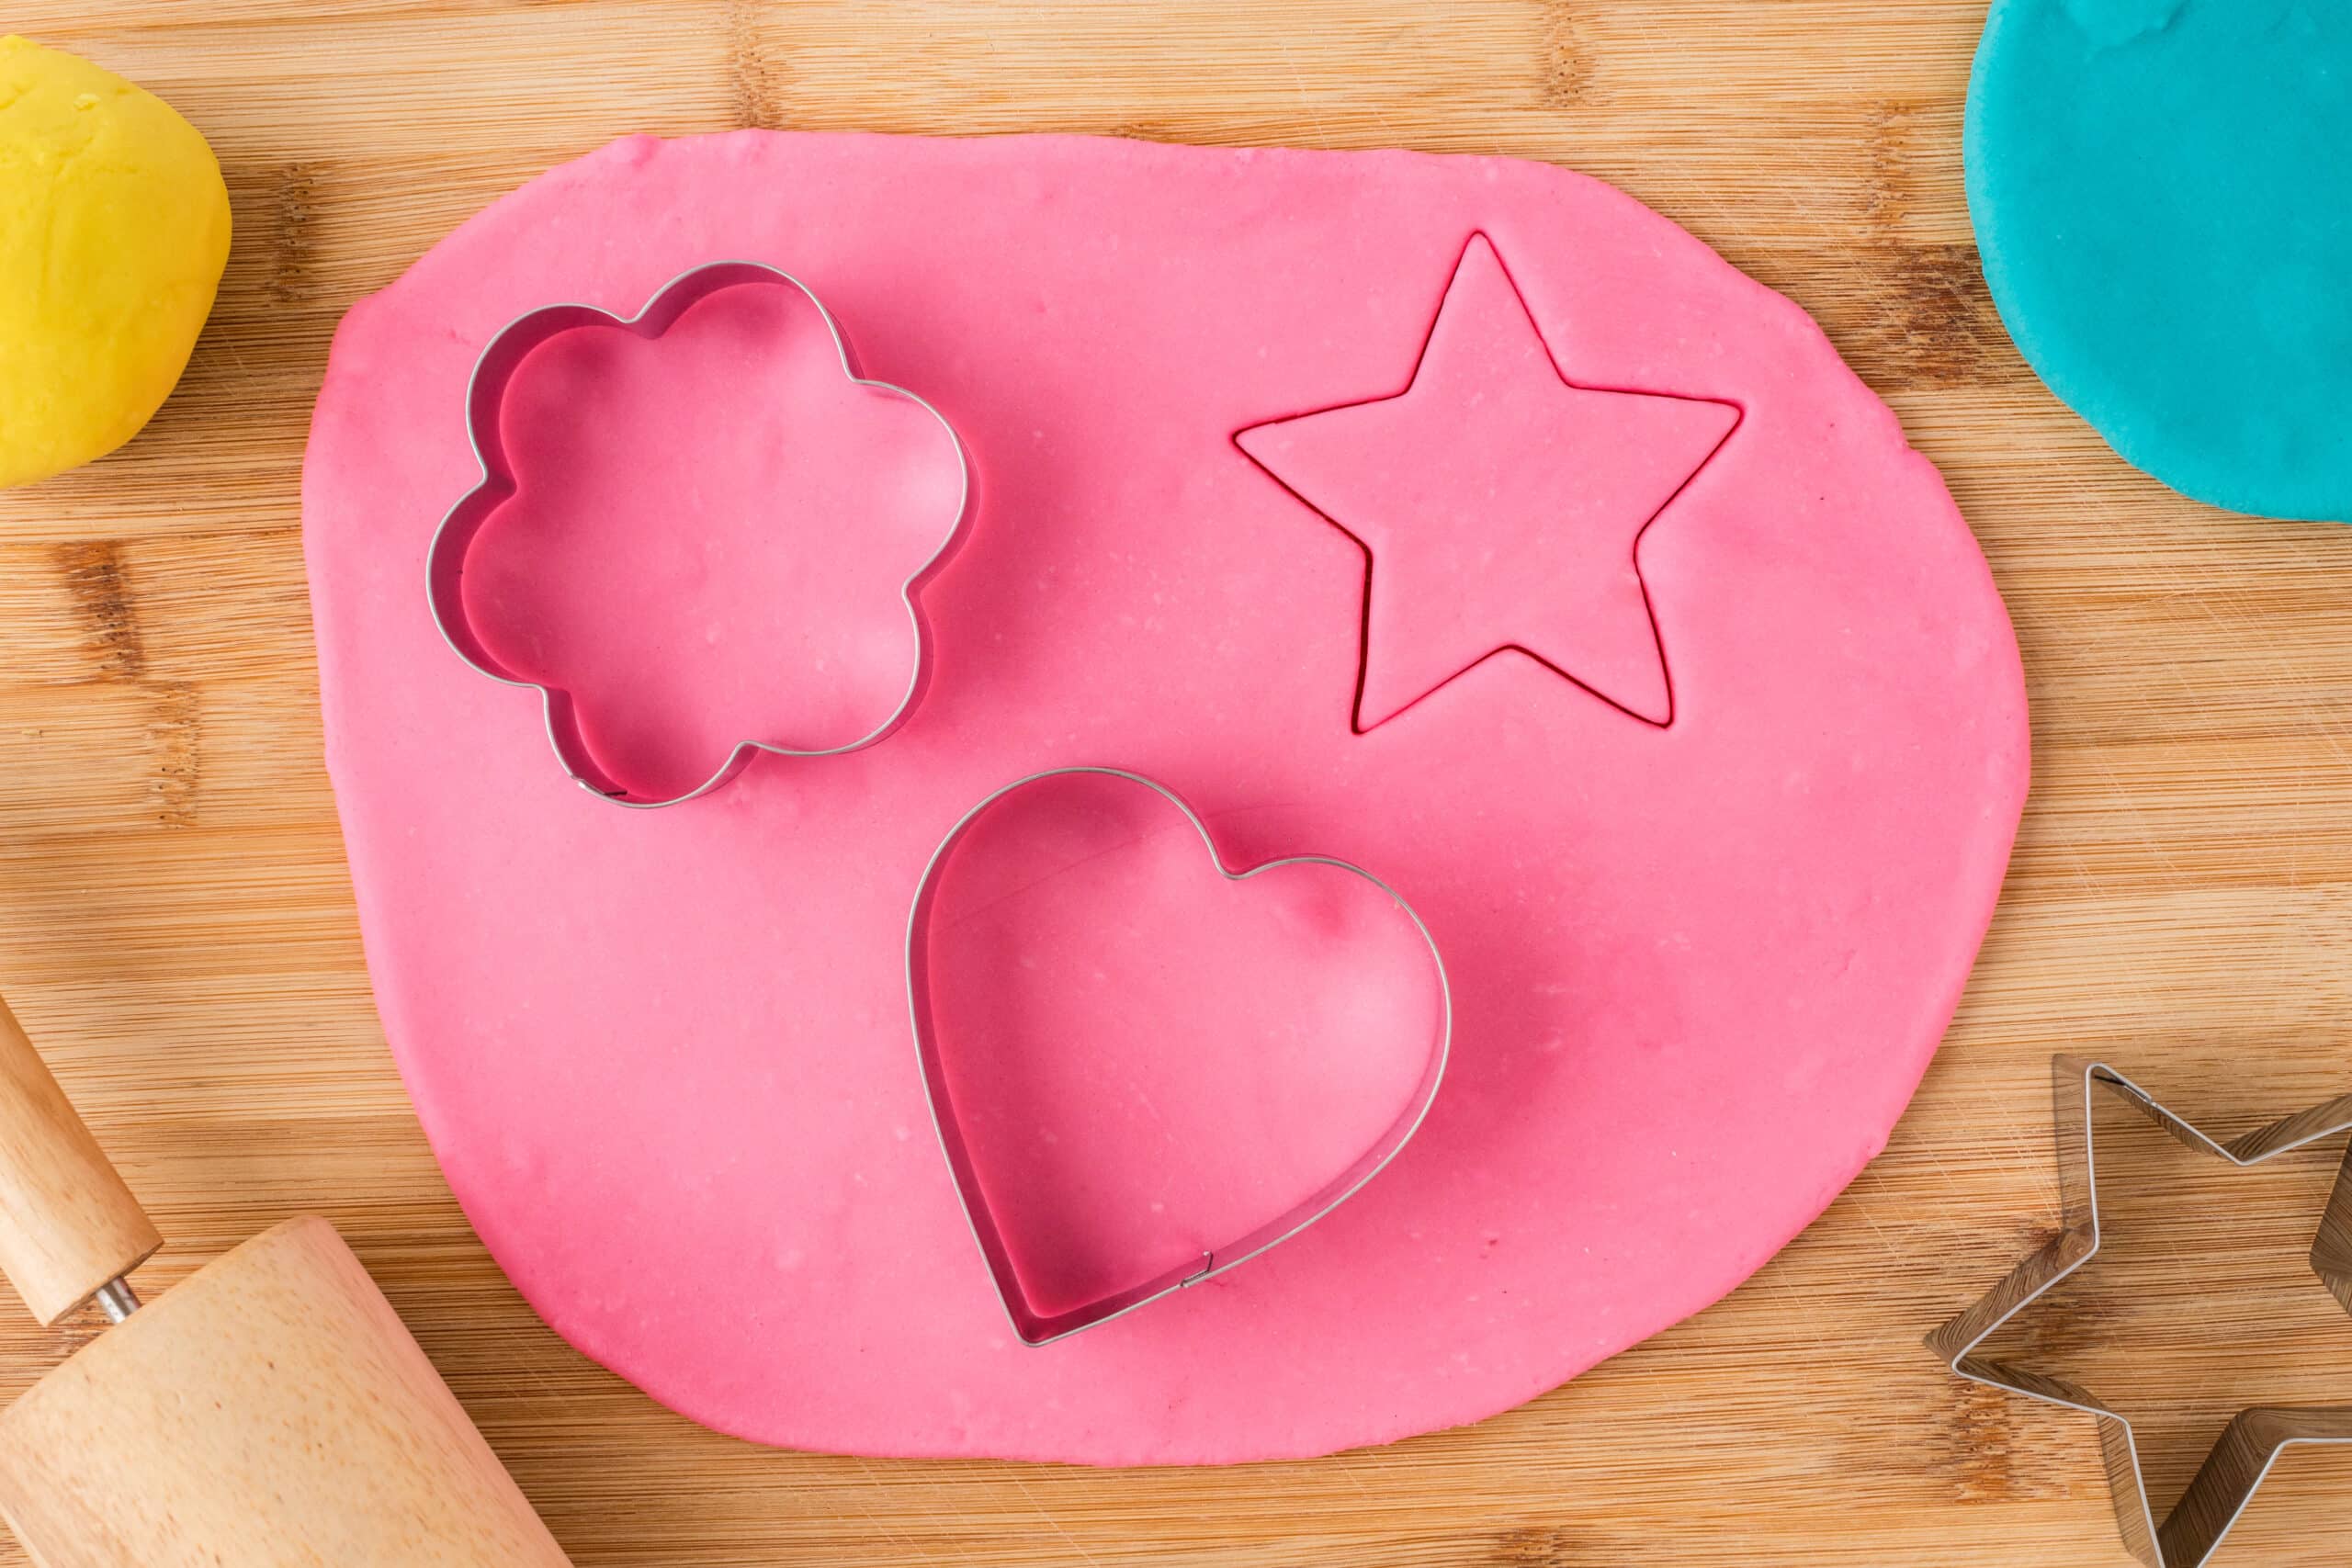
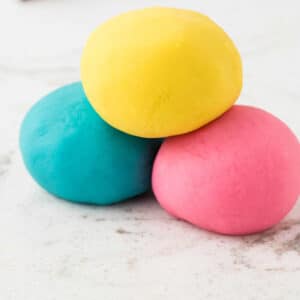
- Your microwave playdough is now ready to use! Enjoy creating fun and colorful shapes with your homemade microwave playdough!
Notes
Can I Make Microwave Playdough Without Cream Of Tartar?
There are recipes for play dough that do not use cream of tartar, but I do not recommend substituting it in this recipe. The cream of tartar is what helps create elasticity in your microwave playdough and is essential to the structure of the dough.
Storage
Place each color of your playdough into airtight containers or plastic zip lock bags with air squeezed out. Store out of direct sunlight for about 3 months. If any of the playdough becomes dry and crumbly, then toss it and make a fresh batch.
More Fun Crafts and Activities
- Make bath time way more fun with these super cool DIY Bath Bombs! Fun to create and fun to use, you can even put a little trinket inside.
- Want to preserve some of your kids’ adorable creations? Then make this easy Salt Dough Recipe. Make some great keep sake ornaments to keep or give away.
- This Handprint Sunflower Craft is the best little summer time flower craft creation. Start collecting paper towel rolls to make this sweet handprint craft.
- Want more gooey and fun activities? This Fluffy Slime is one of the best sensory play activities out there and will keep your kiddos busy for hours.