
Fluffy Slime
This easy fluffy slime recipe is my rainy-day/snow-day/summer-break go-to activity that keeps kids genuinely engaged for a solid 45 minutes. Elmer’s glue, shaving cream, contact lens solution, the safer alternative to borax, baking soda, and food coloring to create soft cloud-like fluffy slime. Divide it into portions to make rainbow color swirl slime that photographs beautifully. Perfect for ages 5+ with adult supervision, birthday party activities, and any afternoon when you need something that will keep the kids’ attention.
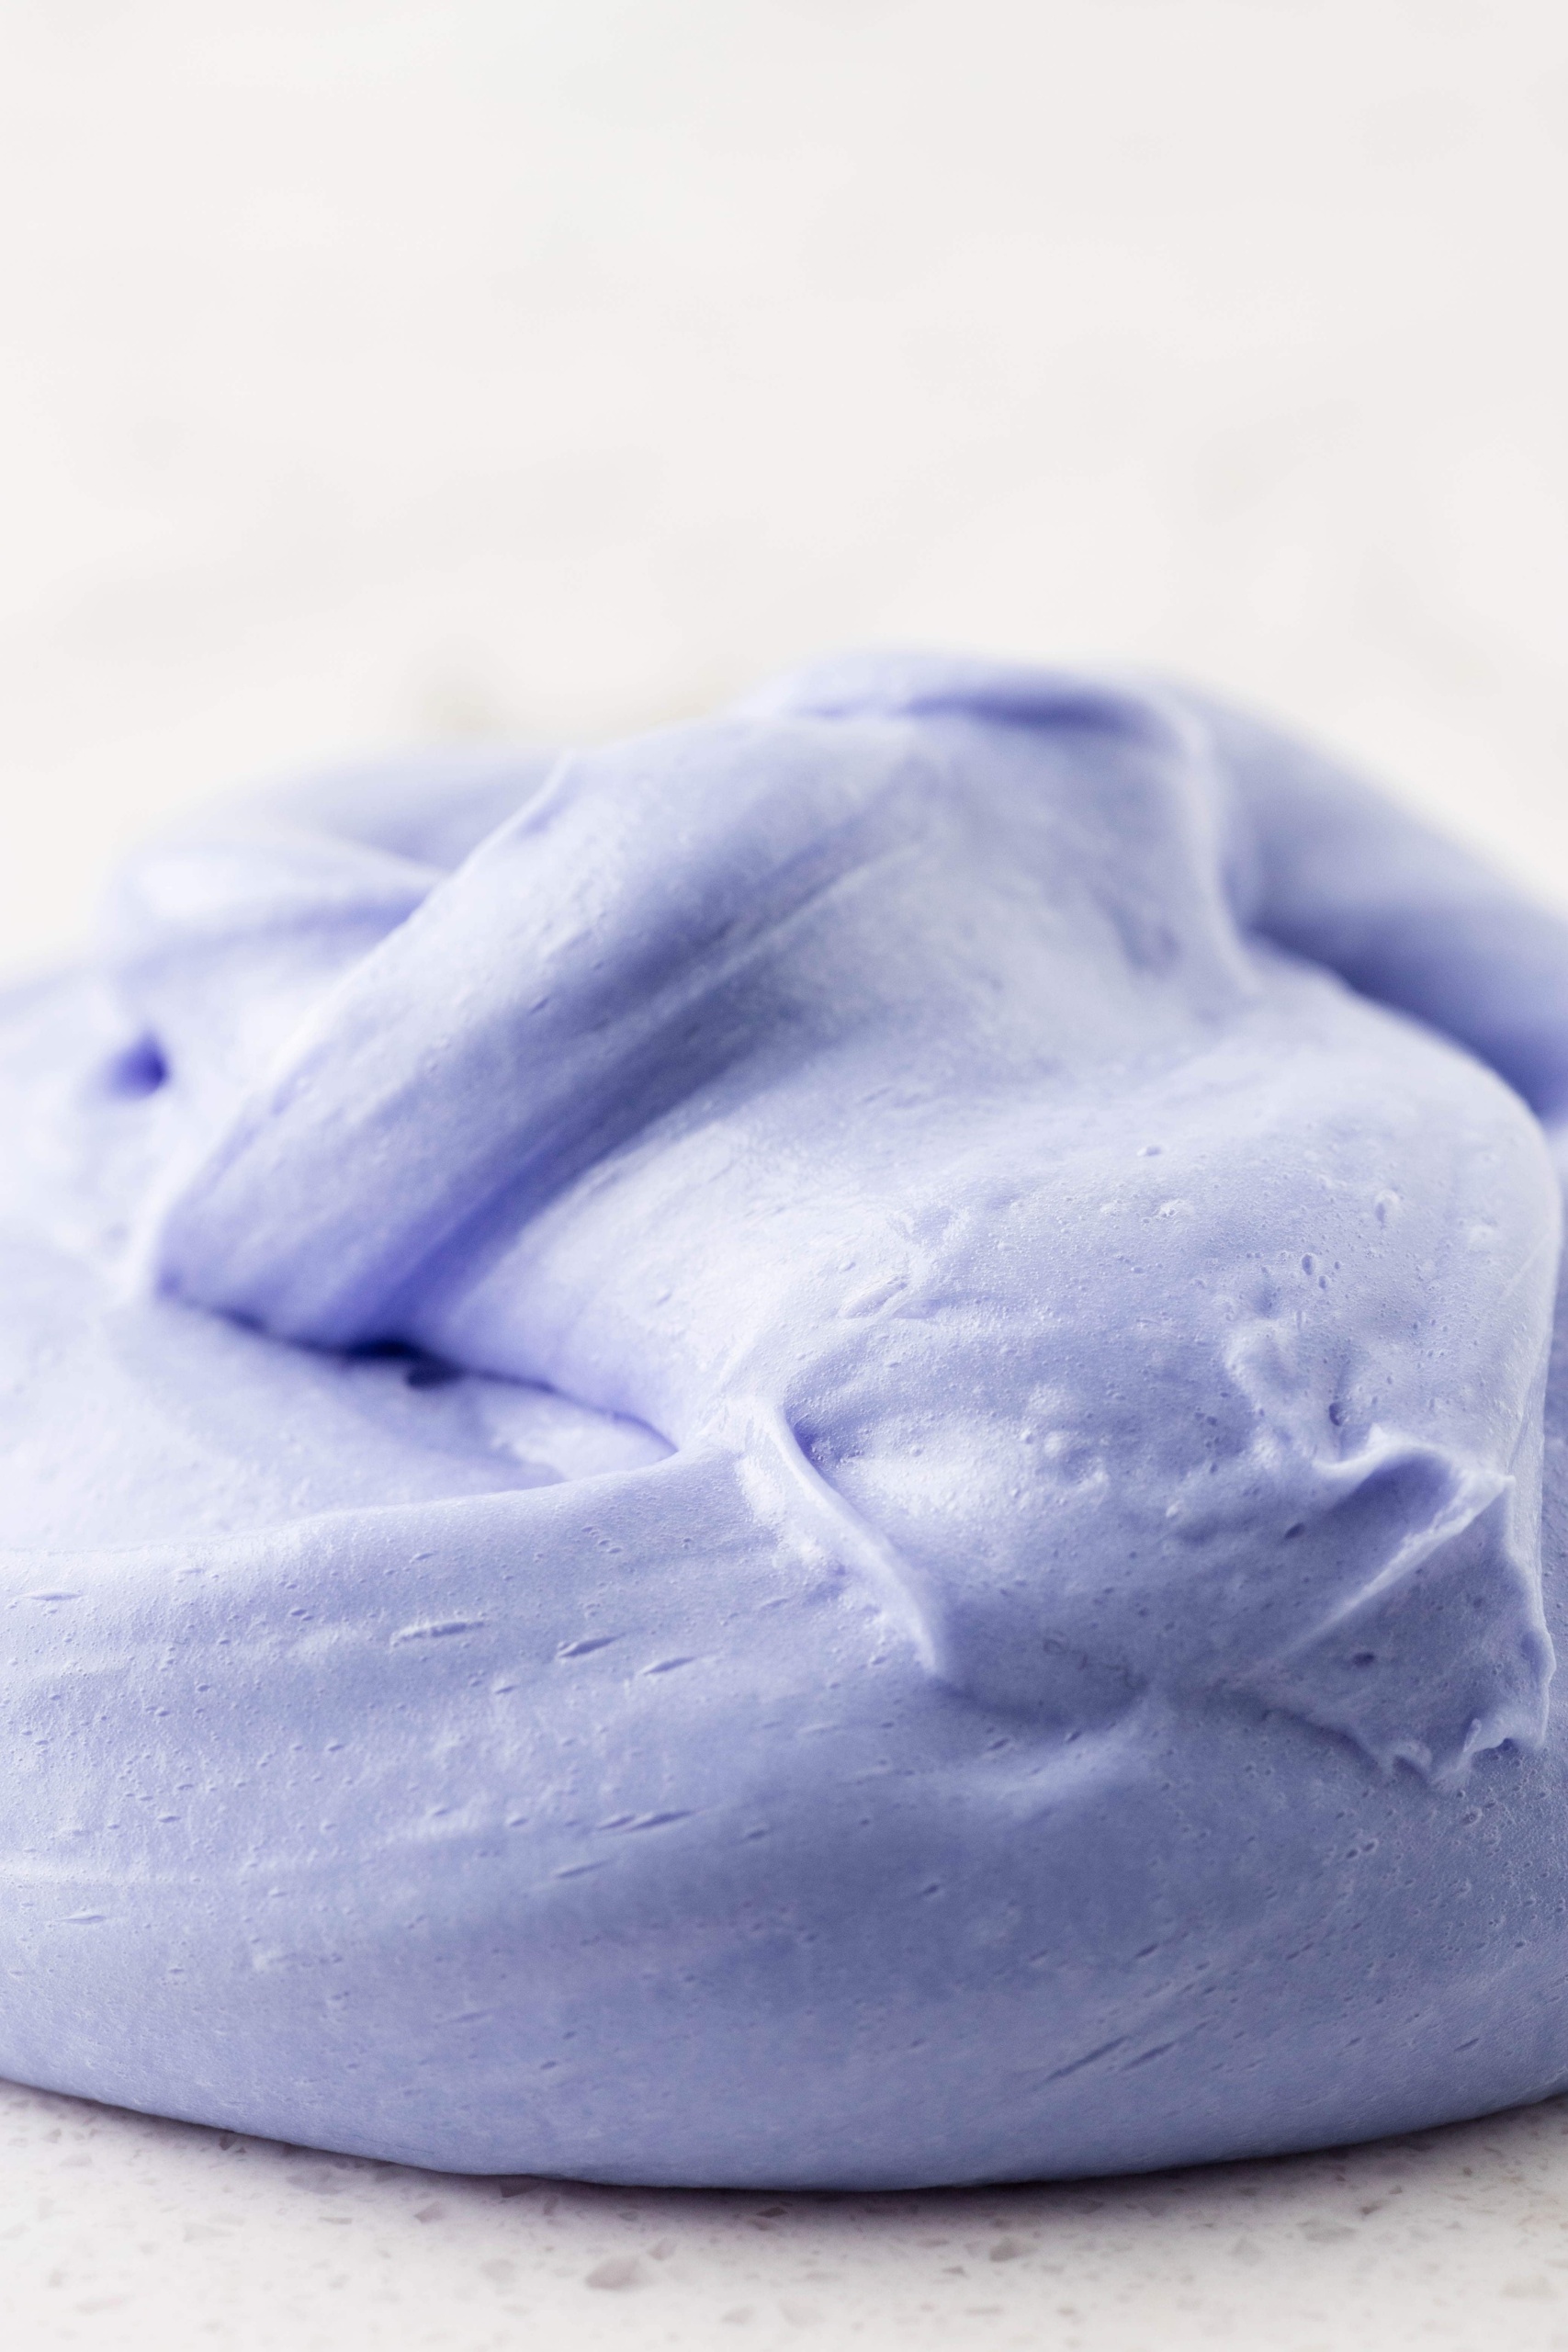
My DIY fluffy slime is kid-friendly and you probably already have everything you need to make it. Keep the kids busy and happy any time of the day.
Elmer’s glue, water, baking soda, shaving cream, contact lens solution, and food coloring: mix, knead, add activator, knead more, then divide the finished slime into portions and add different food coloring to each for that rainbow color swirl. My kids love the mixing process almost as much as the playing, and I love that the contact solution is safer than pure borax for their little hands.
A few practical tips from many rounds of making slime. Cover your workspace with a tablecloth or craft paper before starting, slime can stain surfaces and clothes if you’re not careful. Use foam shaving cream (not gel), the whipped texture is what creates the fluffy effect. Add the contact solution slowly and knead for a full 2-3 minutes before deciding if you need more, kids get impatient but the activator needs kneading time to work properly. And divide the finished slime BEFORE adding food coloring to make the rainbow swirl, once colors are fully mixed into one blob you can’t unmix them. Store the finished slime in the fridge an airtight container between play sessions and it’ll keep for 1-2 weeks.
Why You’ll Love This Activity
- Shaving foam slime is a great sensory activity for children! It involves sight, touch, and sound…because, let’s be honest, we all make fart sounds with slime!
- This is a craft, activity, and science experiment all in one! Perfect for classroom use, a summer project, or homeschool science experiment.
- It only takes 5 minutes to make this easy slime recipe. So run, don’t walk, to this craft if your kiddo has a short attention span.
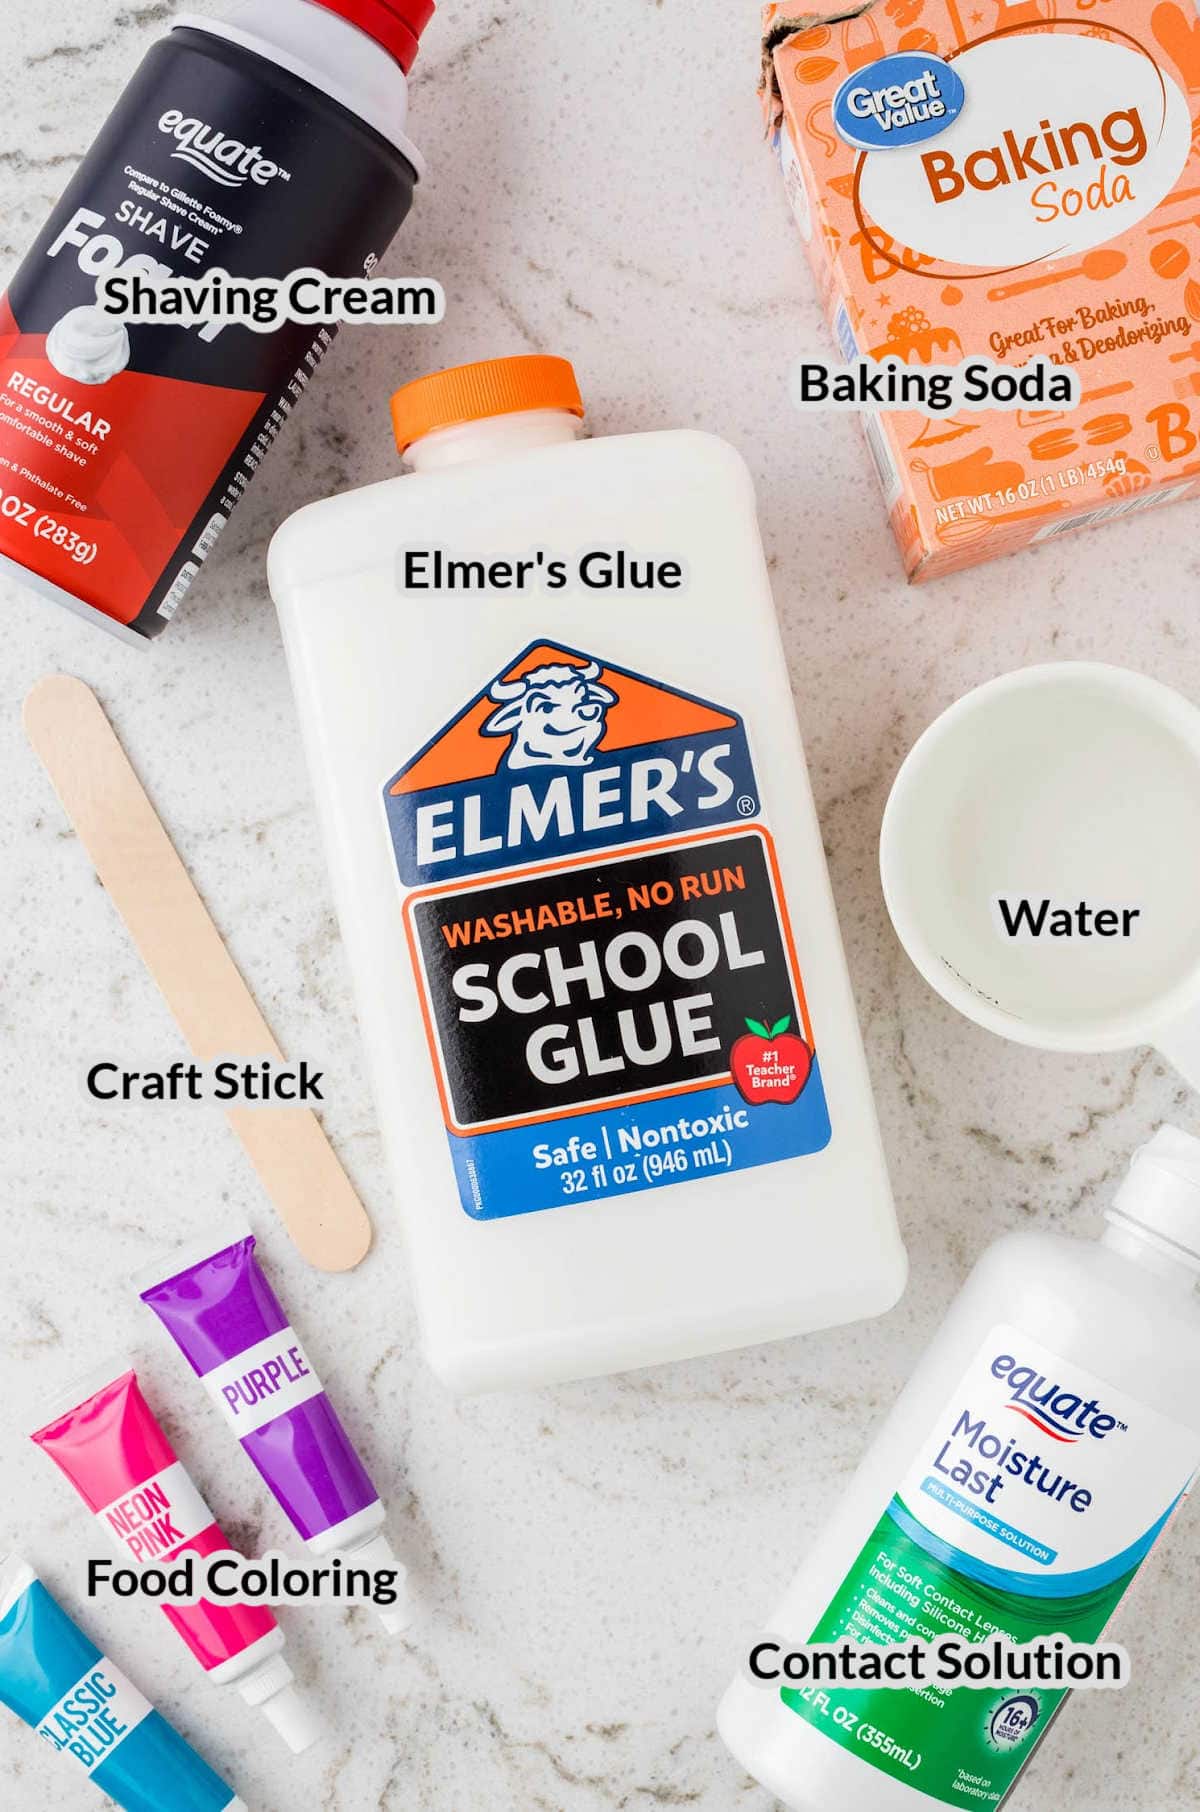
Supplies Needed
- Elmer’s glue – I used Elmer’s glue in this recipe, but you can grab a generic brand of white school glue to use instead.
- Baking soda – This will help firm up your slime, so add it in small amounts at a time until the slime reaches the firmness you’d like.
- Water – I find that room temperature works best for this activity.
- Shaving cream – This is the key to the fluffy texture of this slime. Grab some shaving cream in the health and beauty section of your local grocery store. Make sure it is the foam kind and not the gel kind.
- Contact lens solution – Make sure that whatever contact solution you purchase contains sodium borate and boric acid to activate the slime.
- Wooden craft stick – Use a wooden craft stick to stir all of the ingredients so that you can dispose of it after you use it. If you use a regular spoon, wash it immediately after mixing the ingredients together.
Variations
- Glow-in-the-dark. Add glow-in-the-dark paint or glow powder to the mixture.
- Scented. Add a few drops of essential oil during mixing. My favorites are peppermint, vanilla and lavender.
- Glitter. Sprinkle glitter during kneading for sparkle!
- Texture. Add clay or foam beads for different texture.
- Cloud slime. Add even more shaving cream for even fluffier texture.
How To Make Fluffy Slime
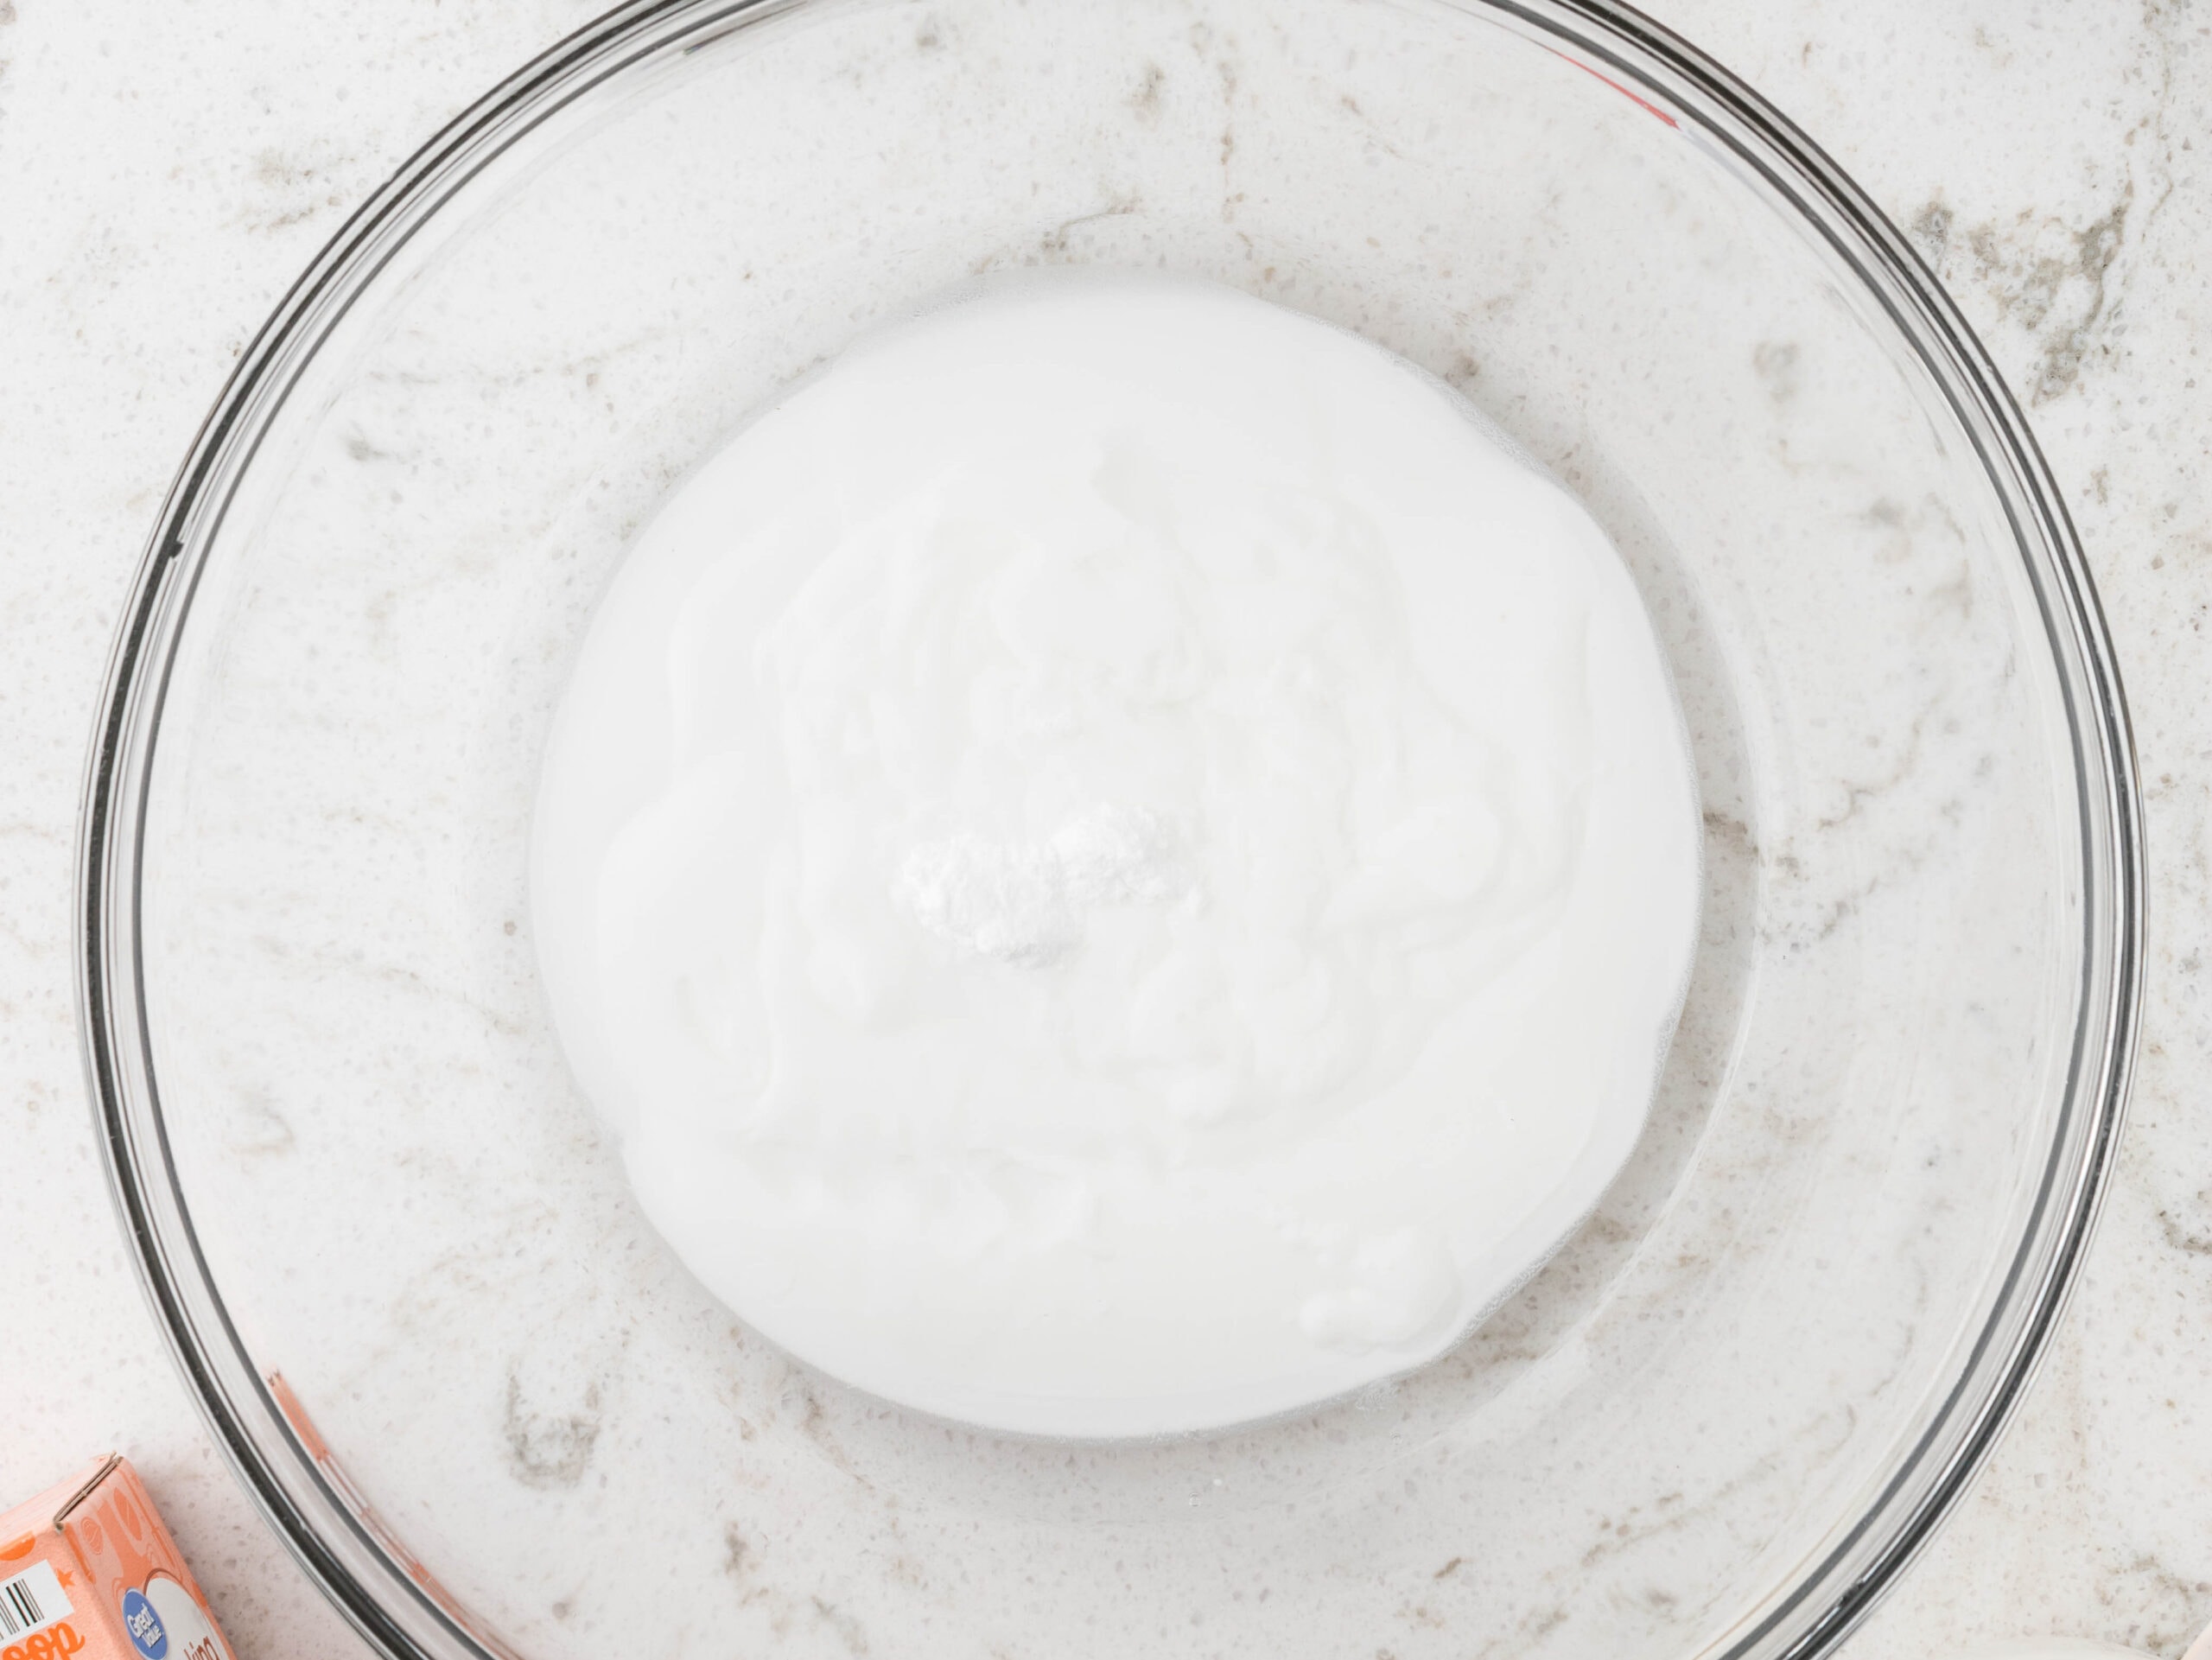
- Mix. In a large mixing bowl, mix together glue, water, and baking soda with a wooden craft stick.
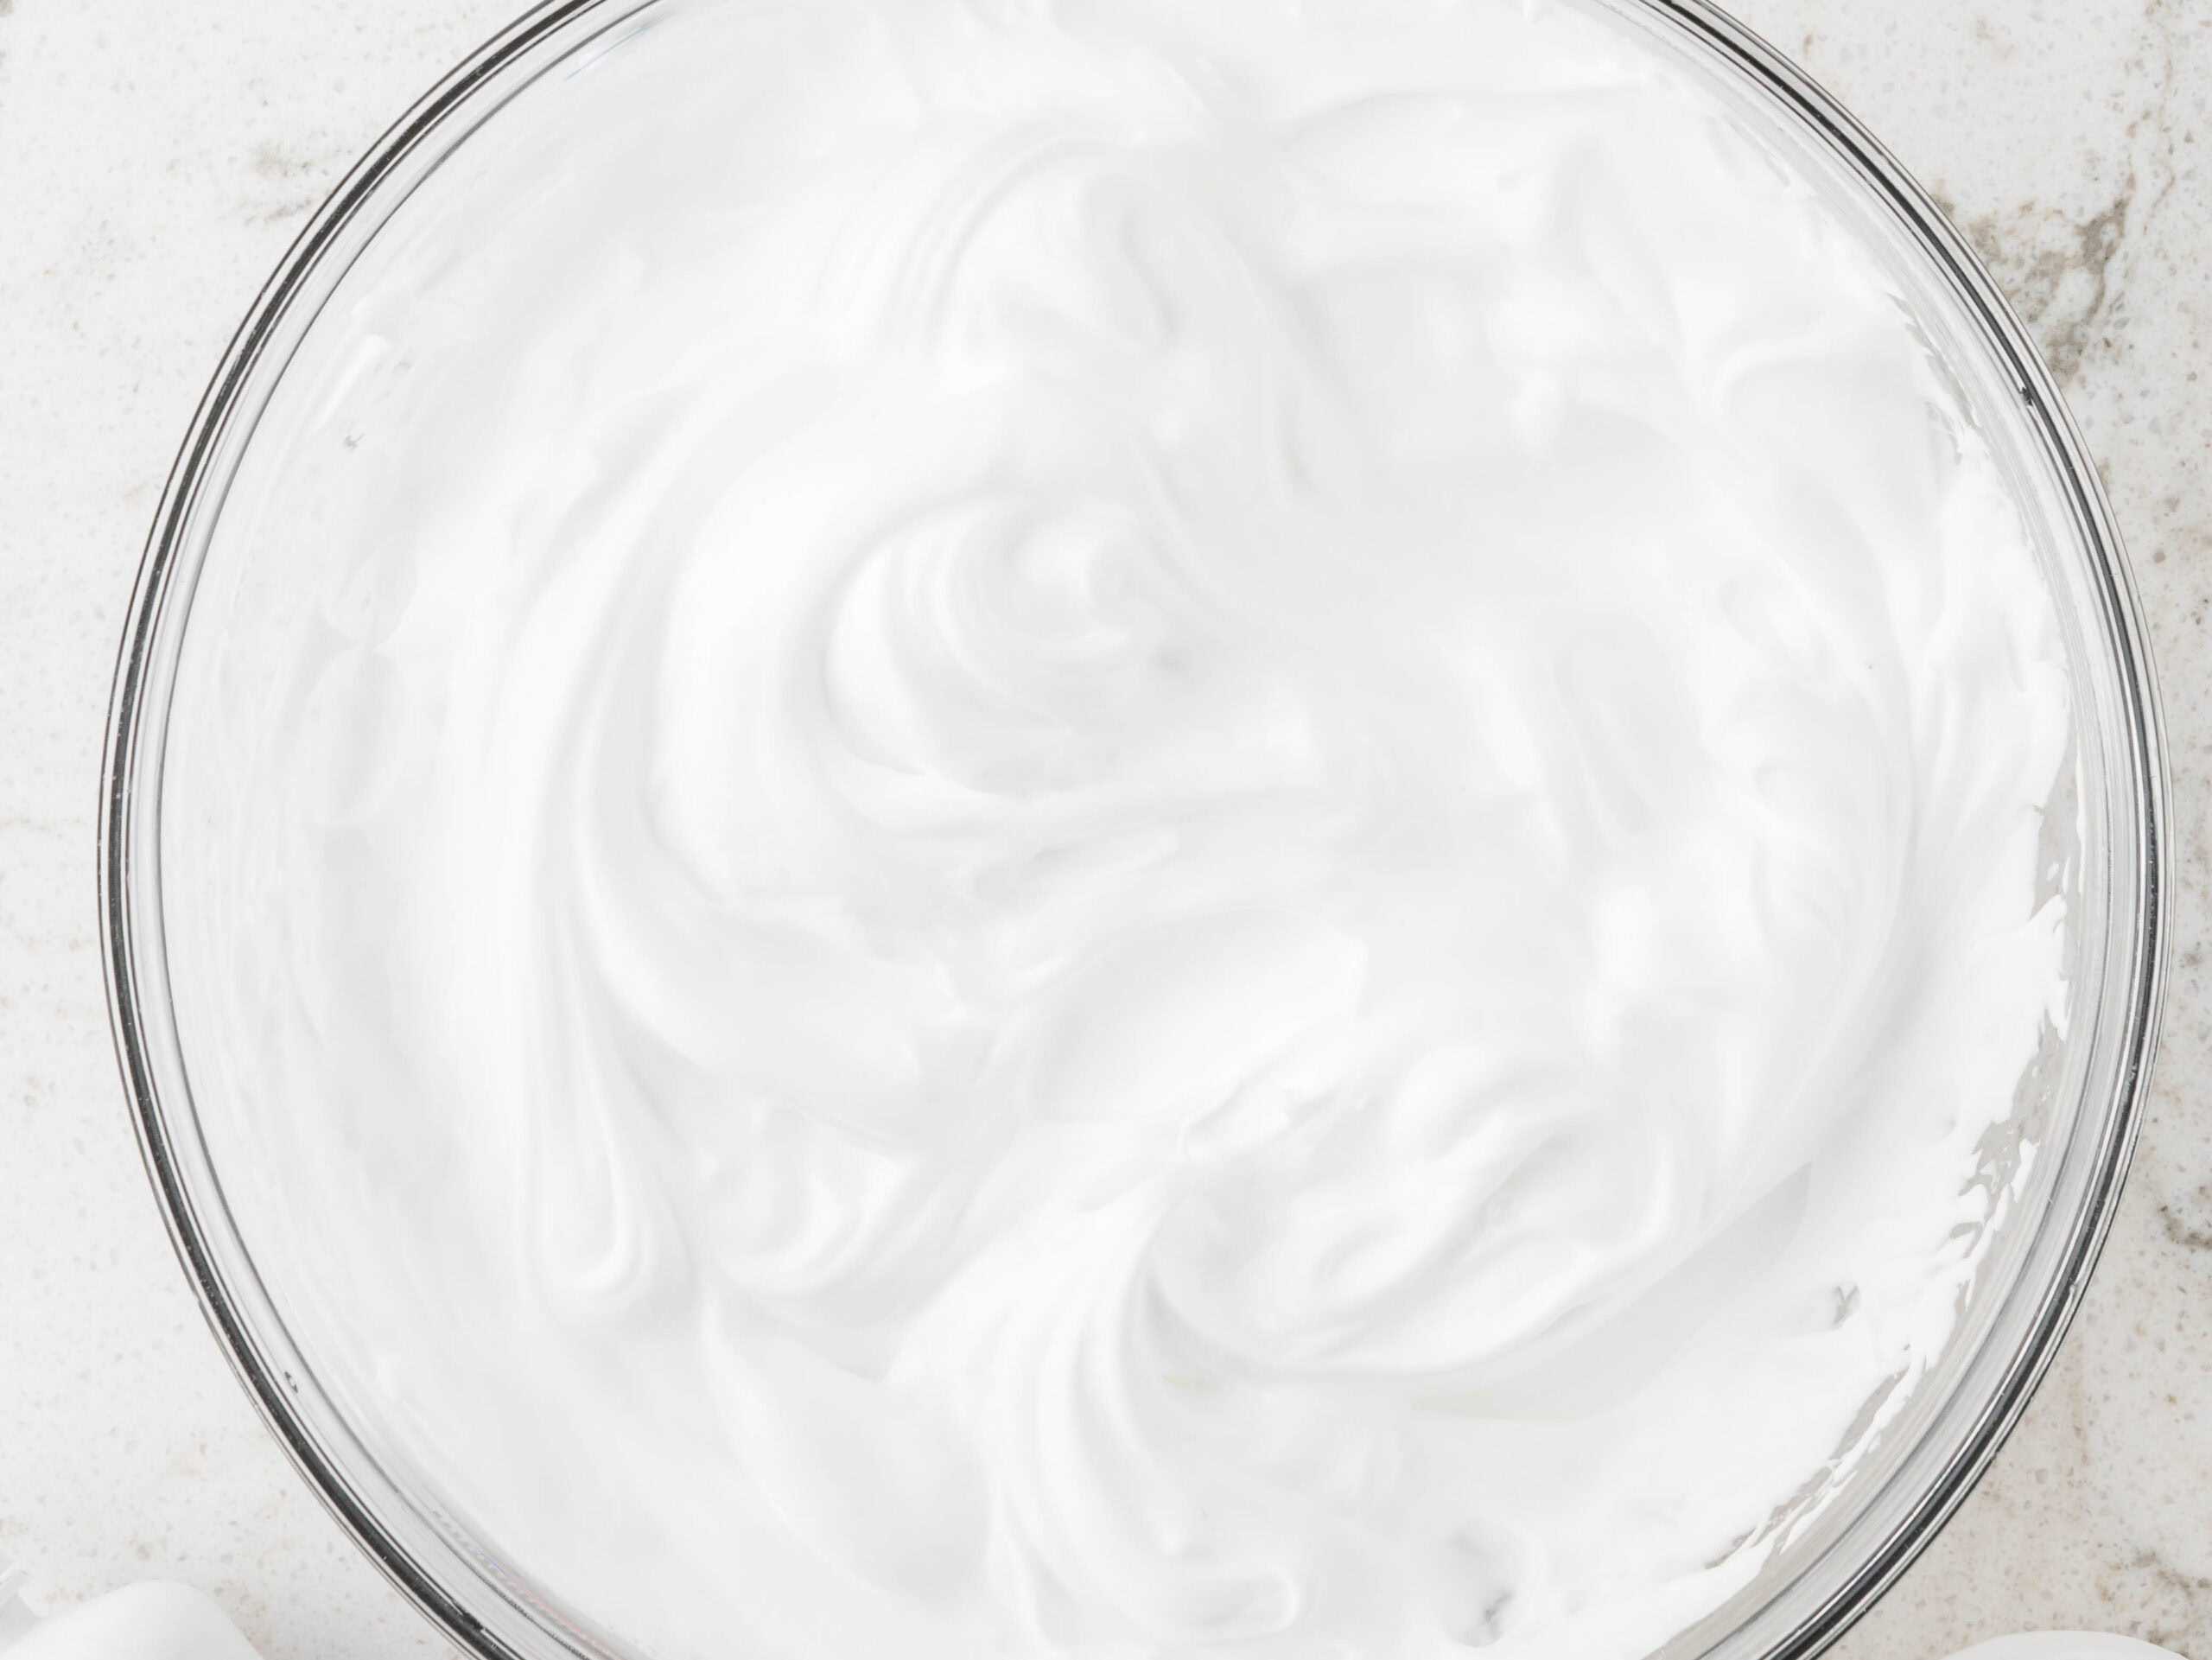
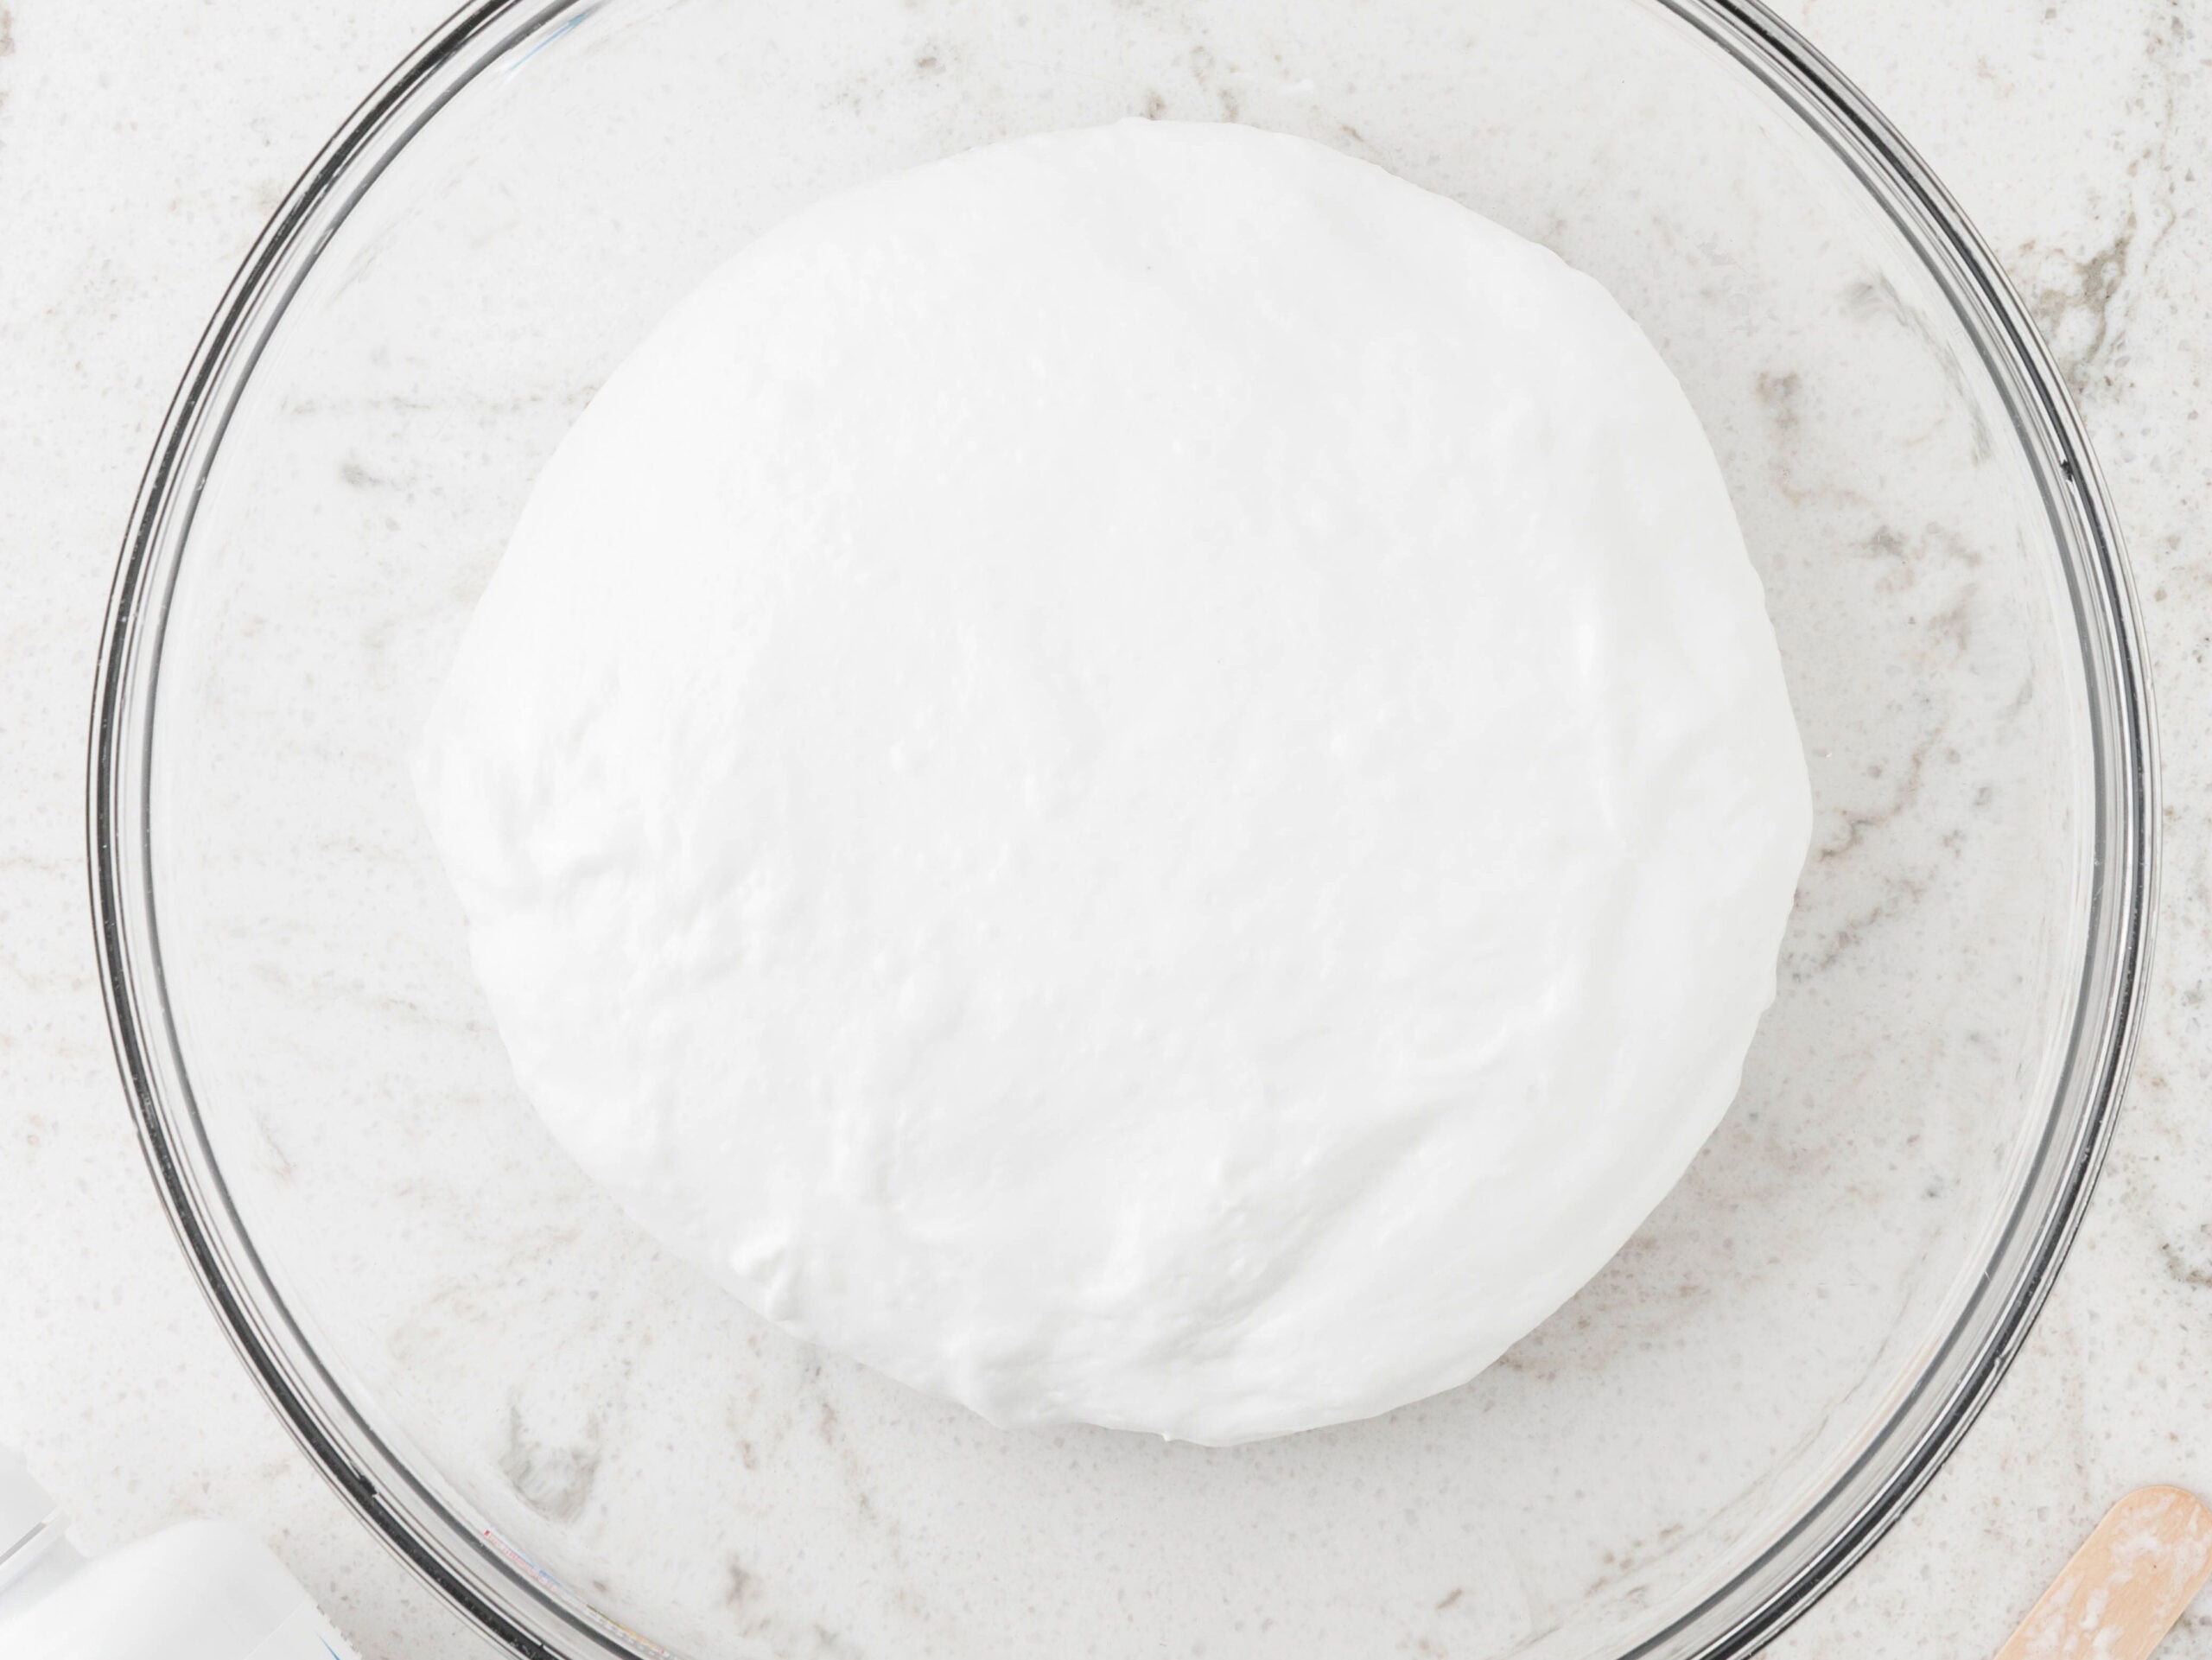
- Add remaining ingredients. Once combined, add shaving cream and stir until thoroughly distributed through the mixture. Next, add a tablespoon of contact solution and knead the mixture with your hands. Once the contact solution begins to activate, add the rest that you measured out and keep kneading. If you find the slime to still be sticky, add a small amount of the contact solution until the stickiness is gone.
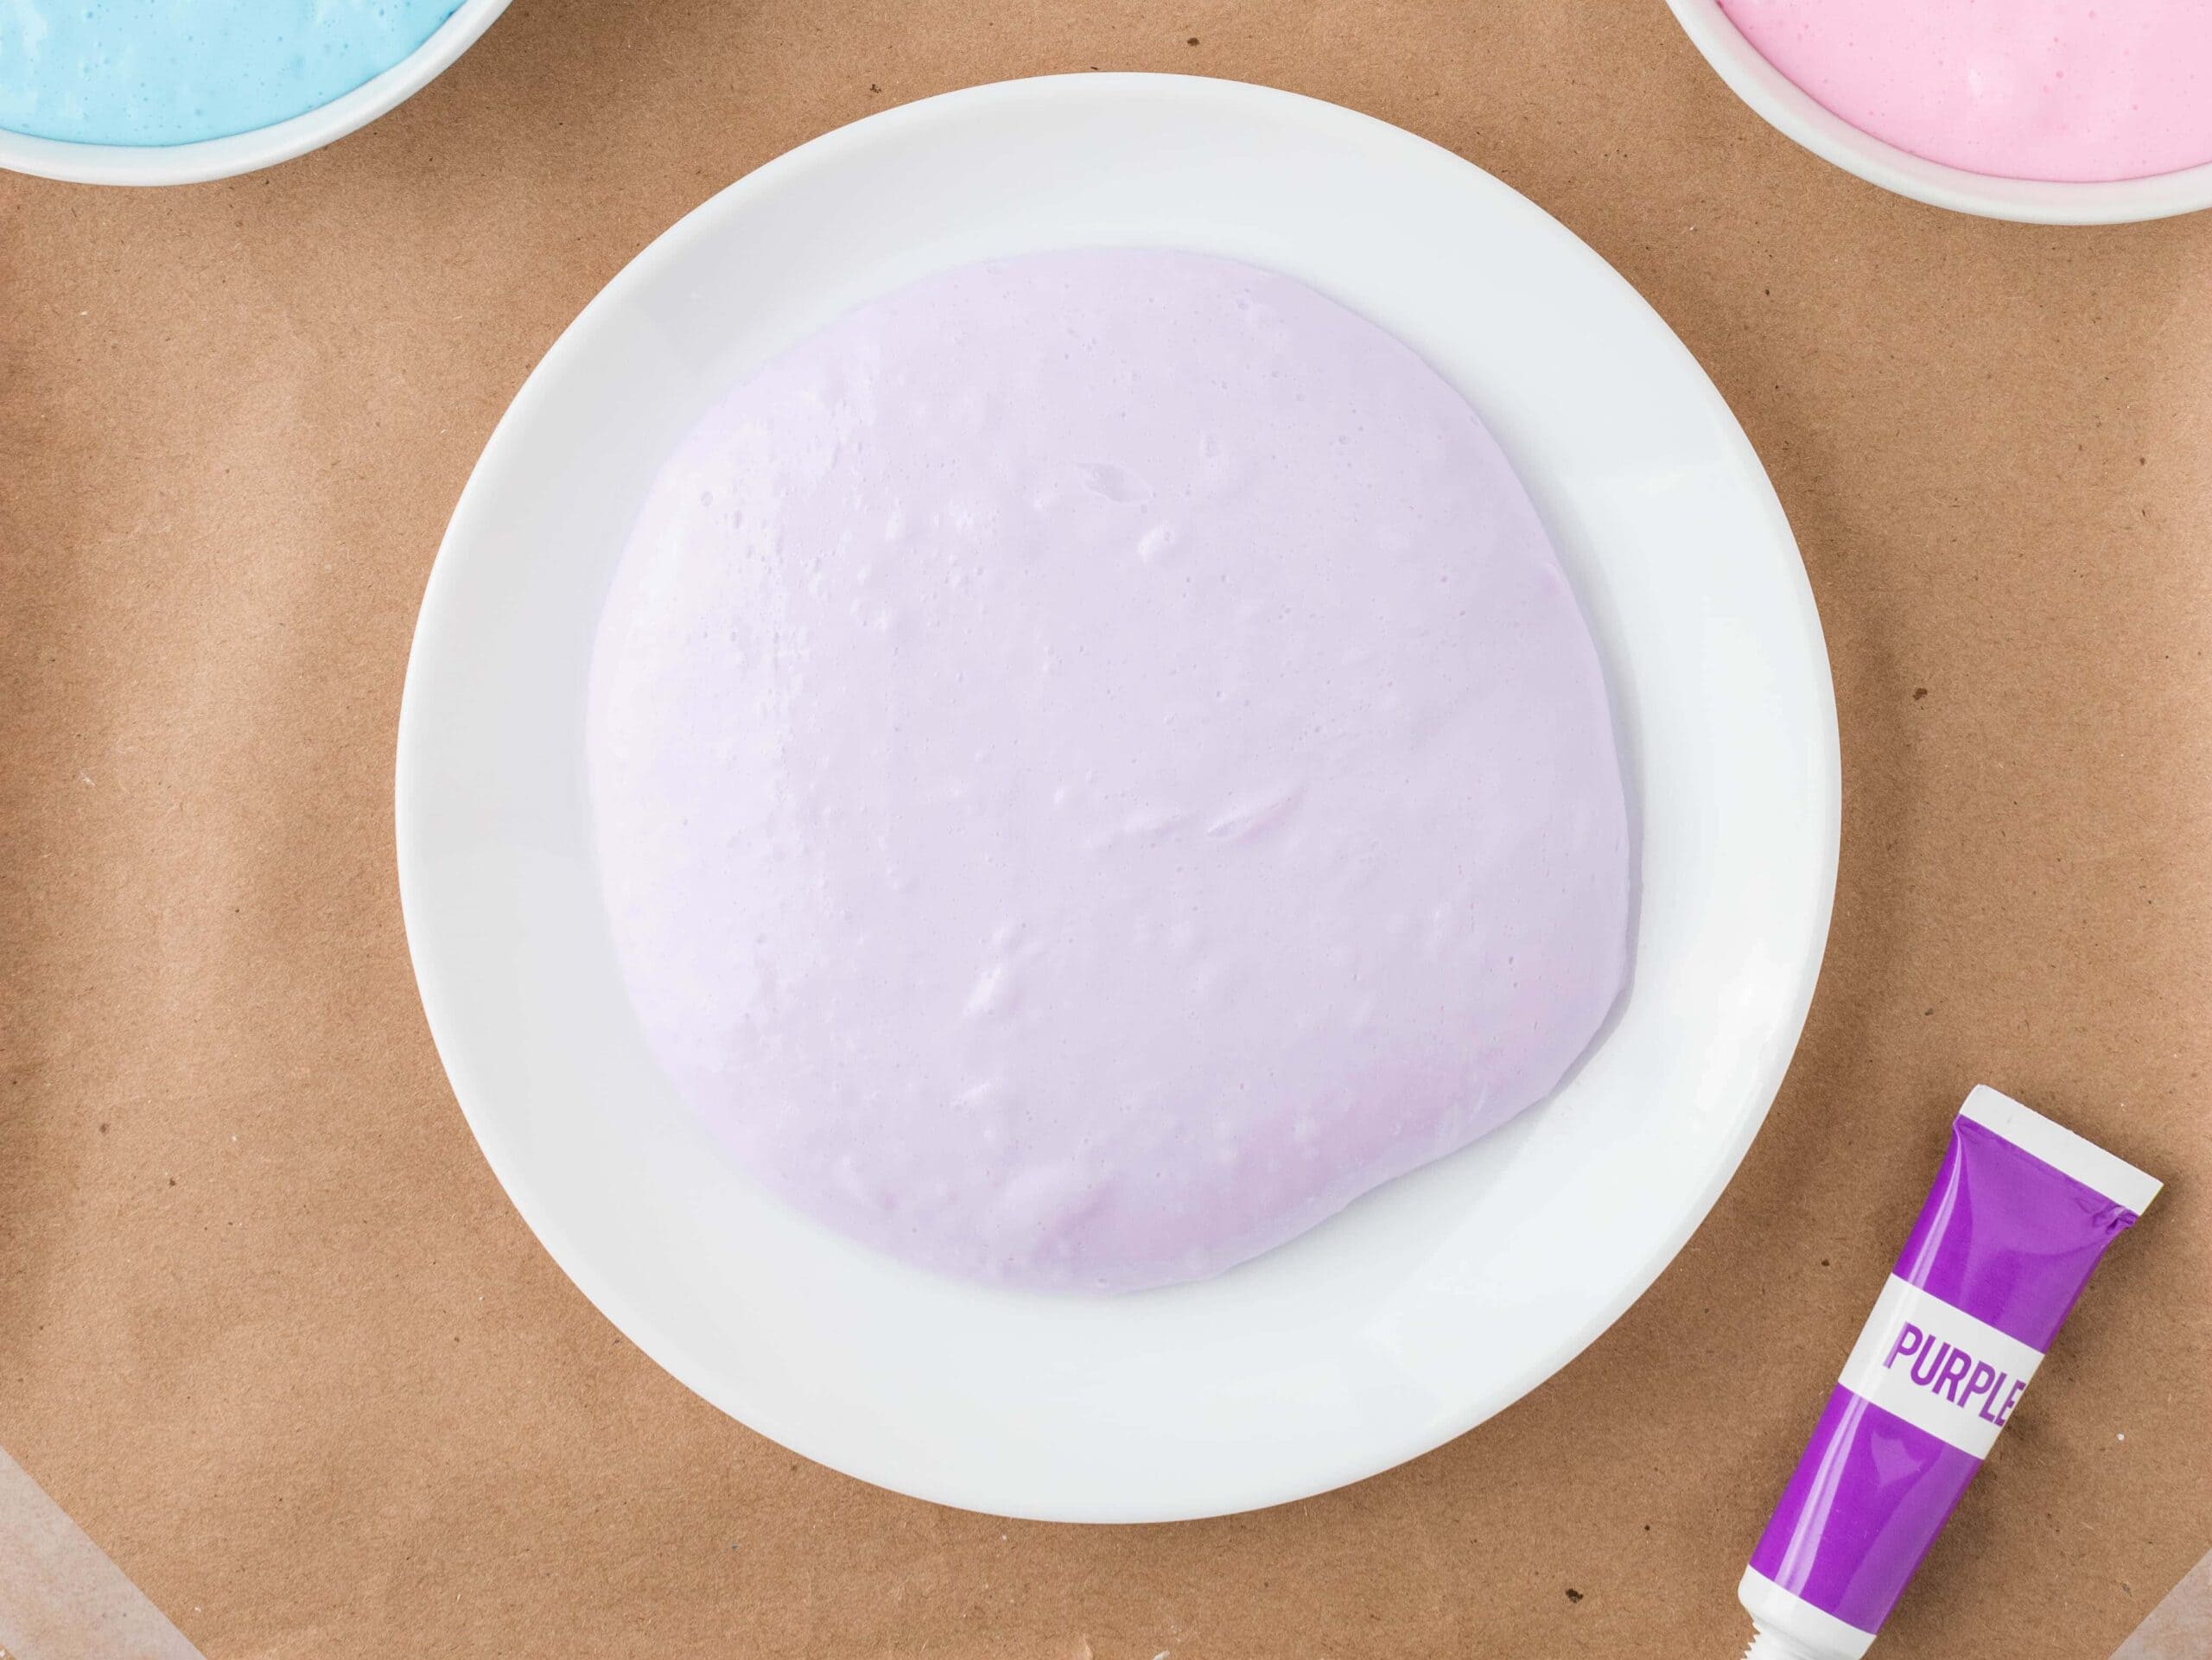
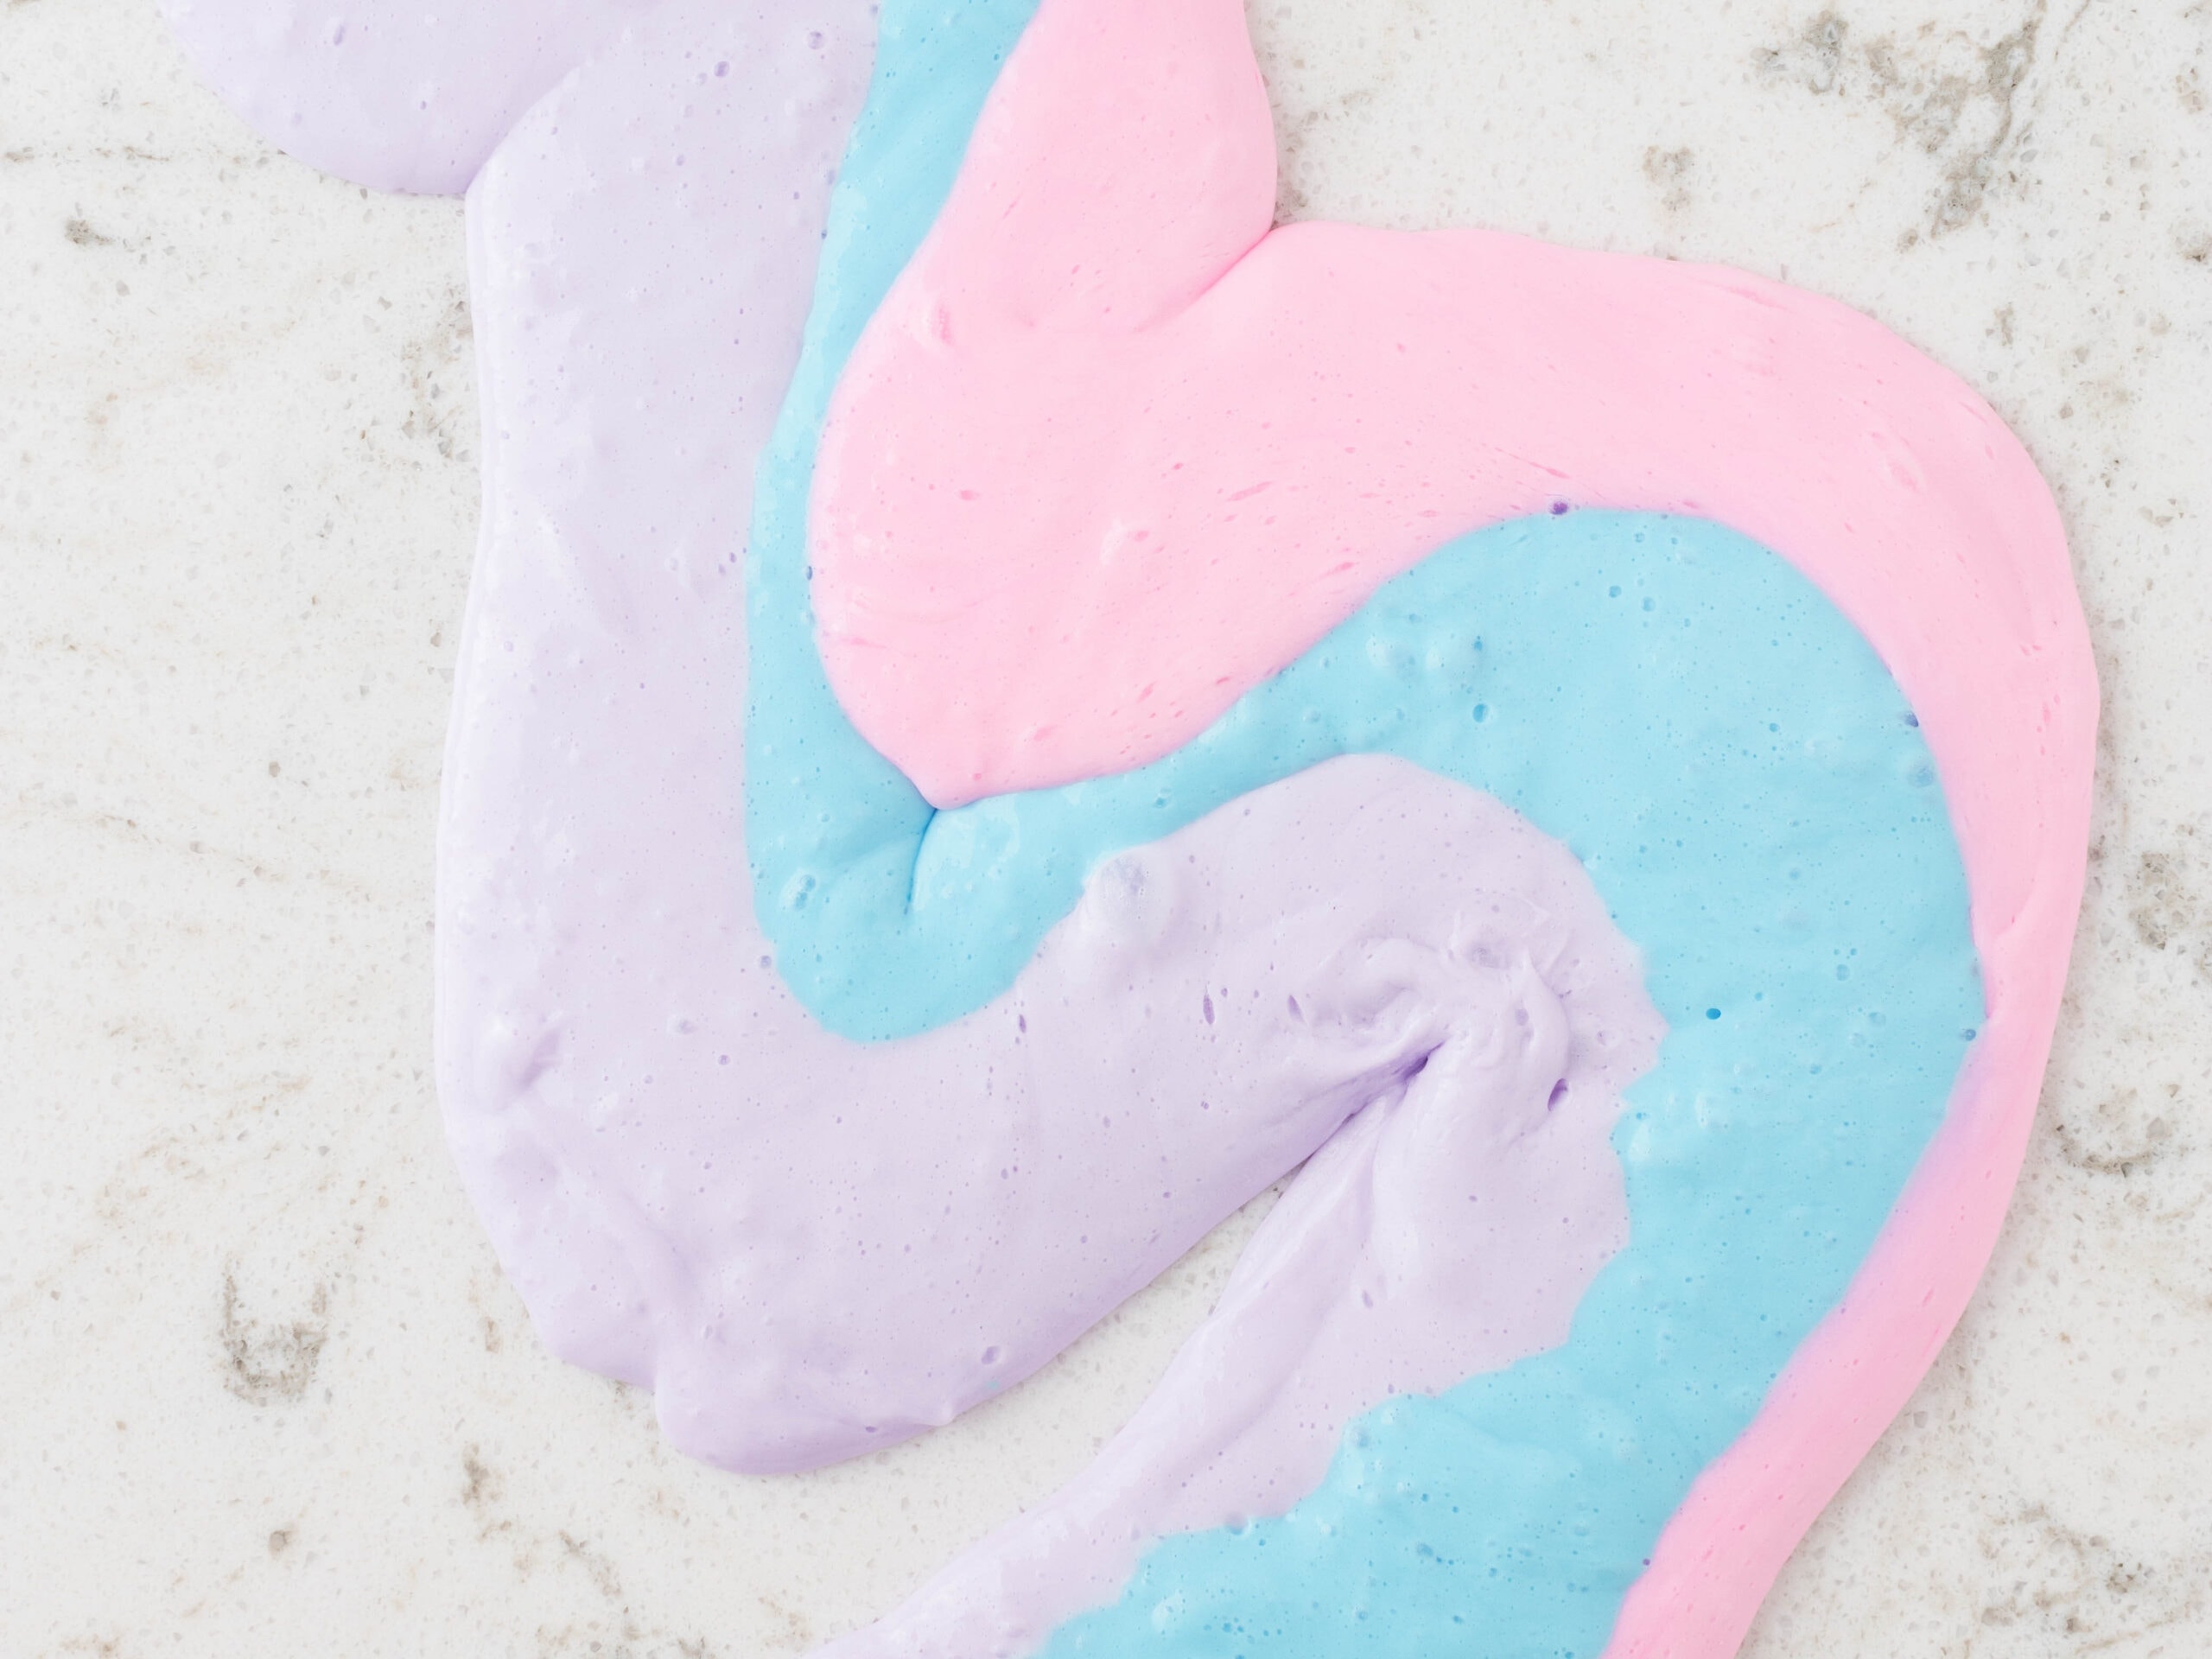
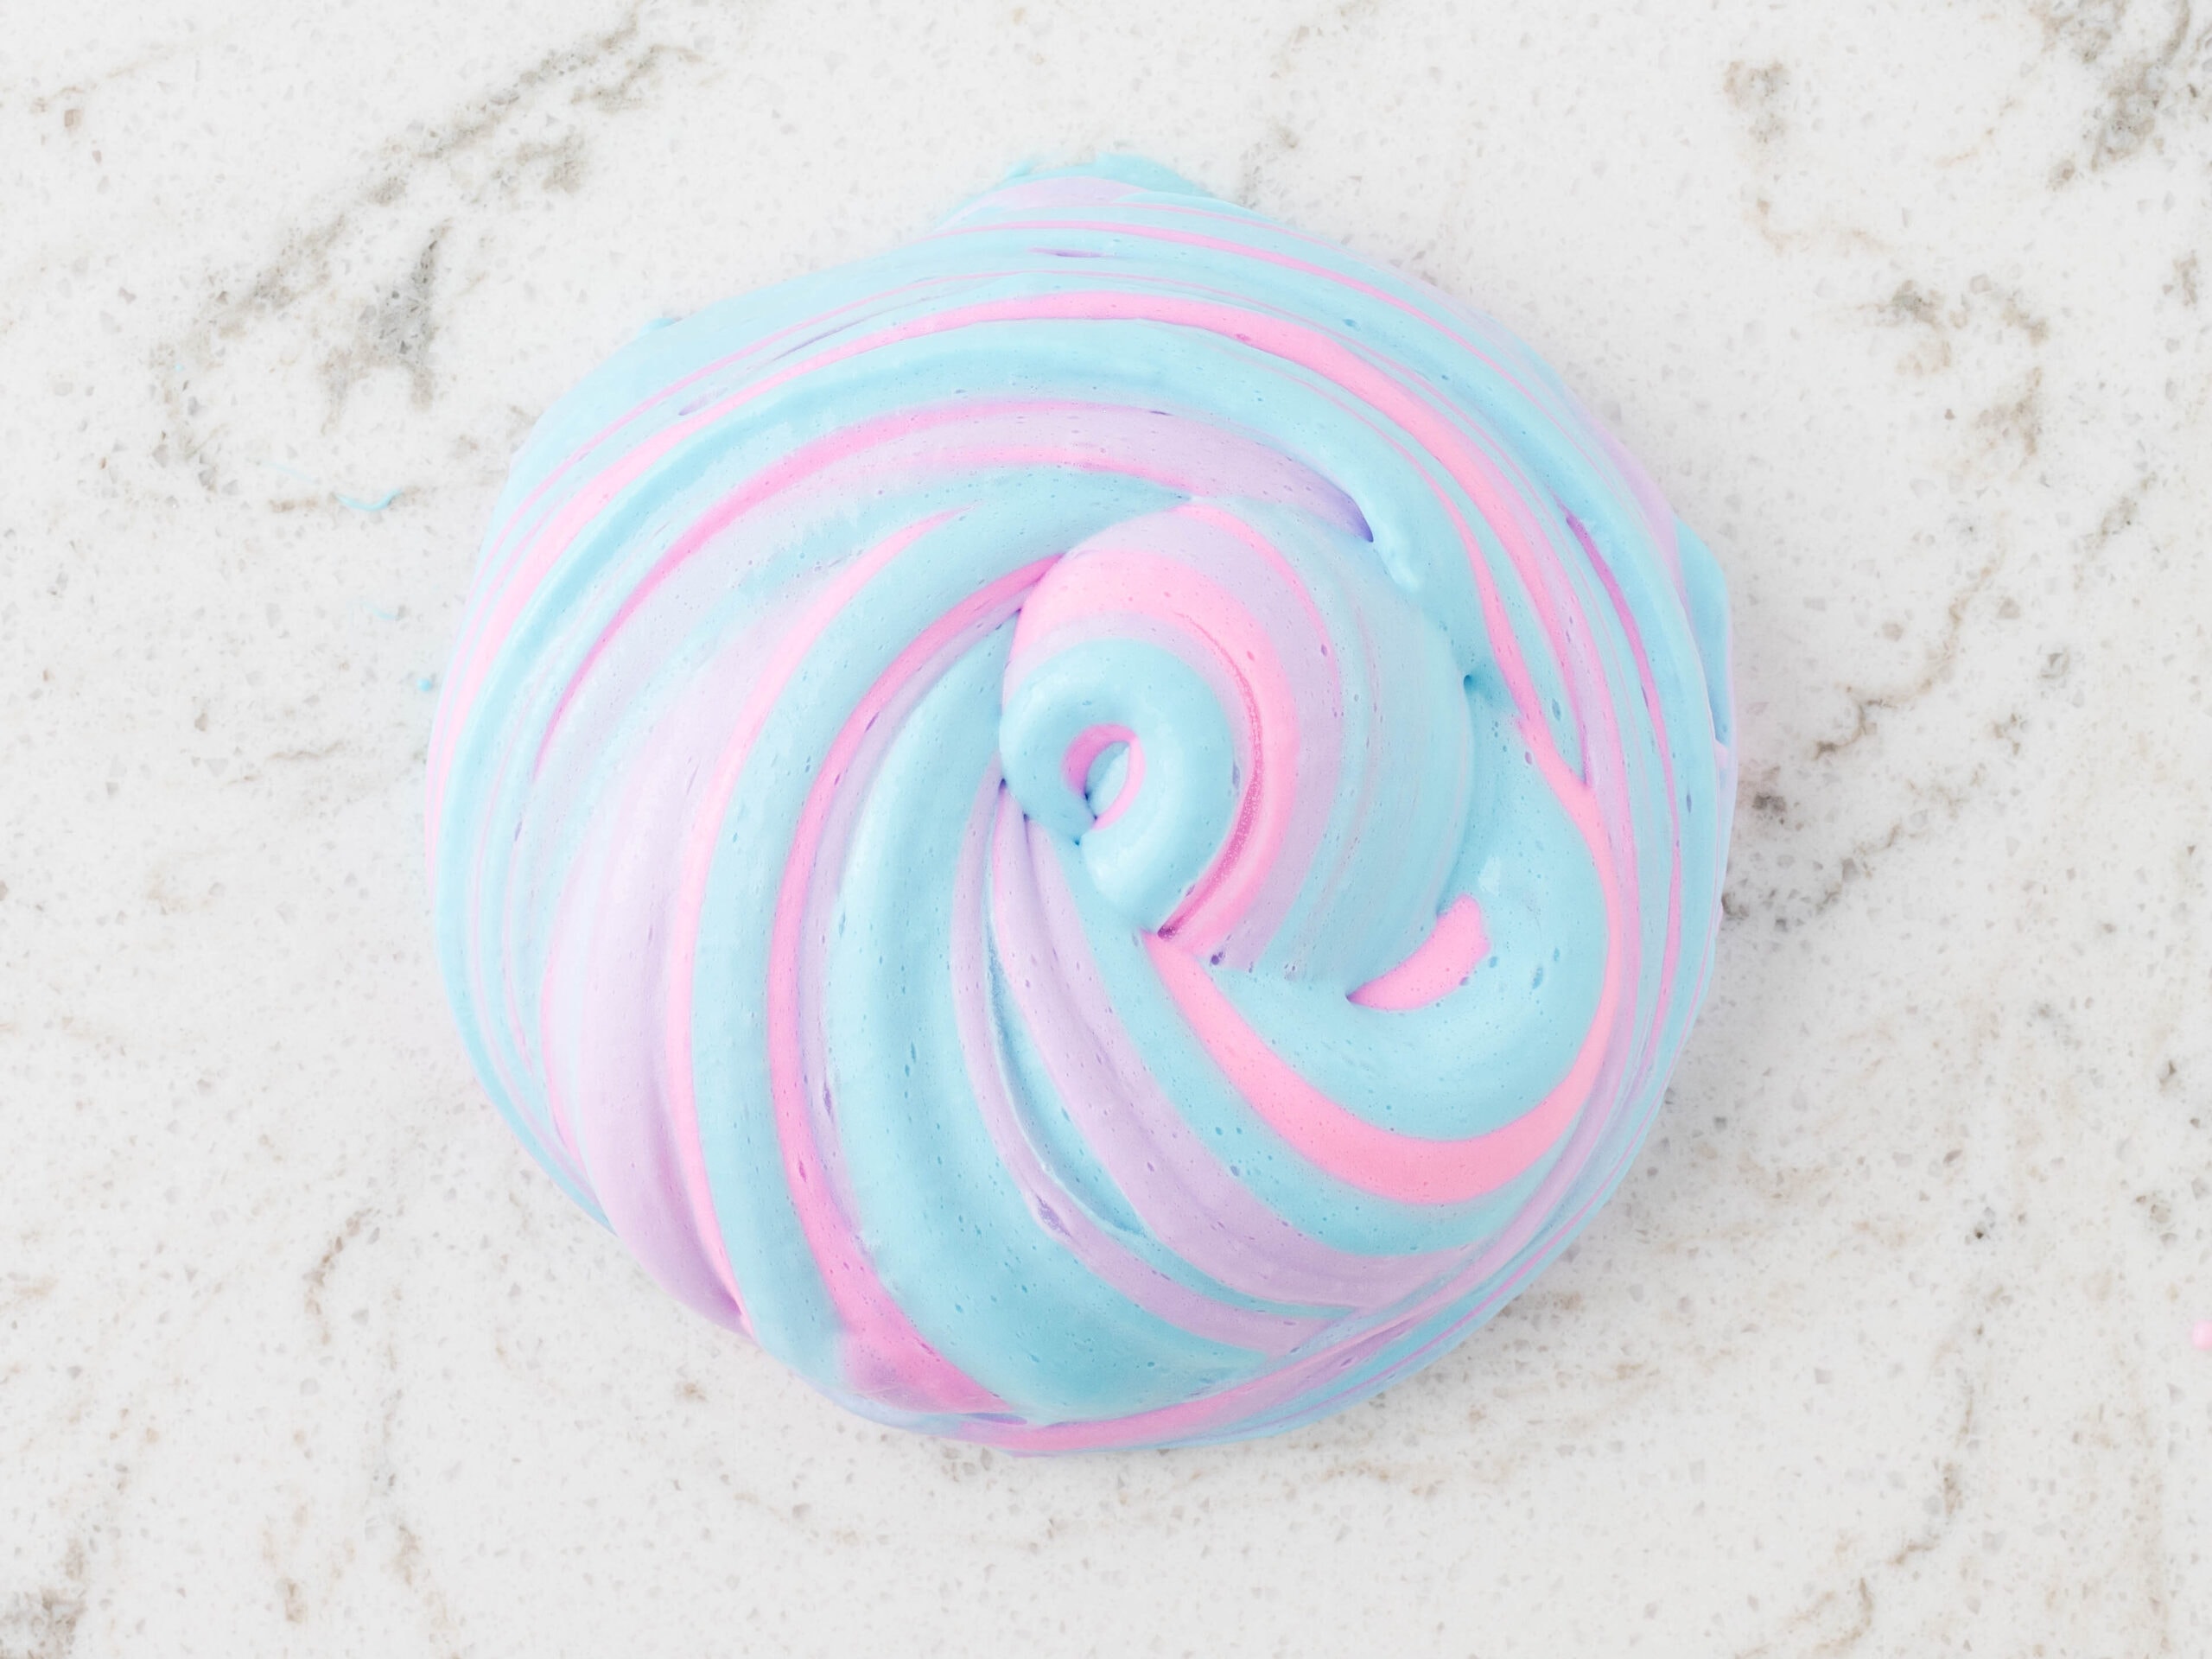
- Add food coloring. Divide slime into sections so you can make it tie dye. Add some drops of food coloring and knead it into the slime until it is the color you want. Twist all of the colors together and start having fun!
Storage
Store fluffy slime in an airtight container for about a day at room temperature.
Fridge: Store slime in the fridge for 1-2 weeks in an airtight container.
Pro Tips
- Be sure to wear gloves when you mix the food coloring into the slime. Once it’s mixed in, it won’t stain your hands, but it could in the beginning.
- Make lots of different colors with your slime! It’s way more fun that way. But keep in mind, the more you play with it, the more the colors will mix. So, it will eventually be one color.
- Feel free to jazz up this slime recipe by adding glitter to your mixture.
- Adding a drop of dish soap will make slime even stretchier.
Frequently Asked Questions
This is a safe activity for kids with adult supervision. Using contact lens solution instead of pure borax makes this a safer version. Kids 5 and older can handle with supervision, just be sure to wash hands when all done and never eat this slime.
This means you probably haven’t added enough contact solution to your mixture. Add more in, bit by bit, and keep kneading until the sticky texture is completely gone! You can also add a bit of lotion to your hands.
Unfortunately, the only solution to stiff slime is to start over.
No, contact lens solution contains boric acid or sodium borate which activates the slime and so plain saline solution won’t work. Keep your eyes peeled for “with boric acid” on the label.
If it’s a fresh slime spill, simply wipe with dish soap and warm water. If the slime has dried on carpet, freeze with an ice cube then scrape dried slime off. If it is on clothes, soak in warm water with dish soap before washing.
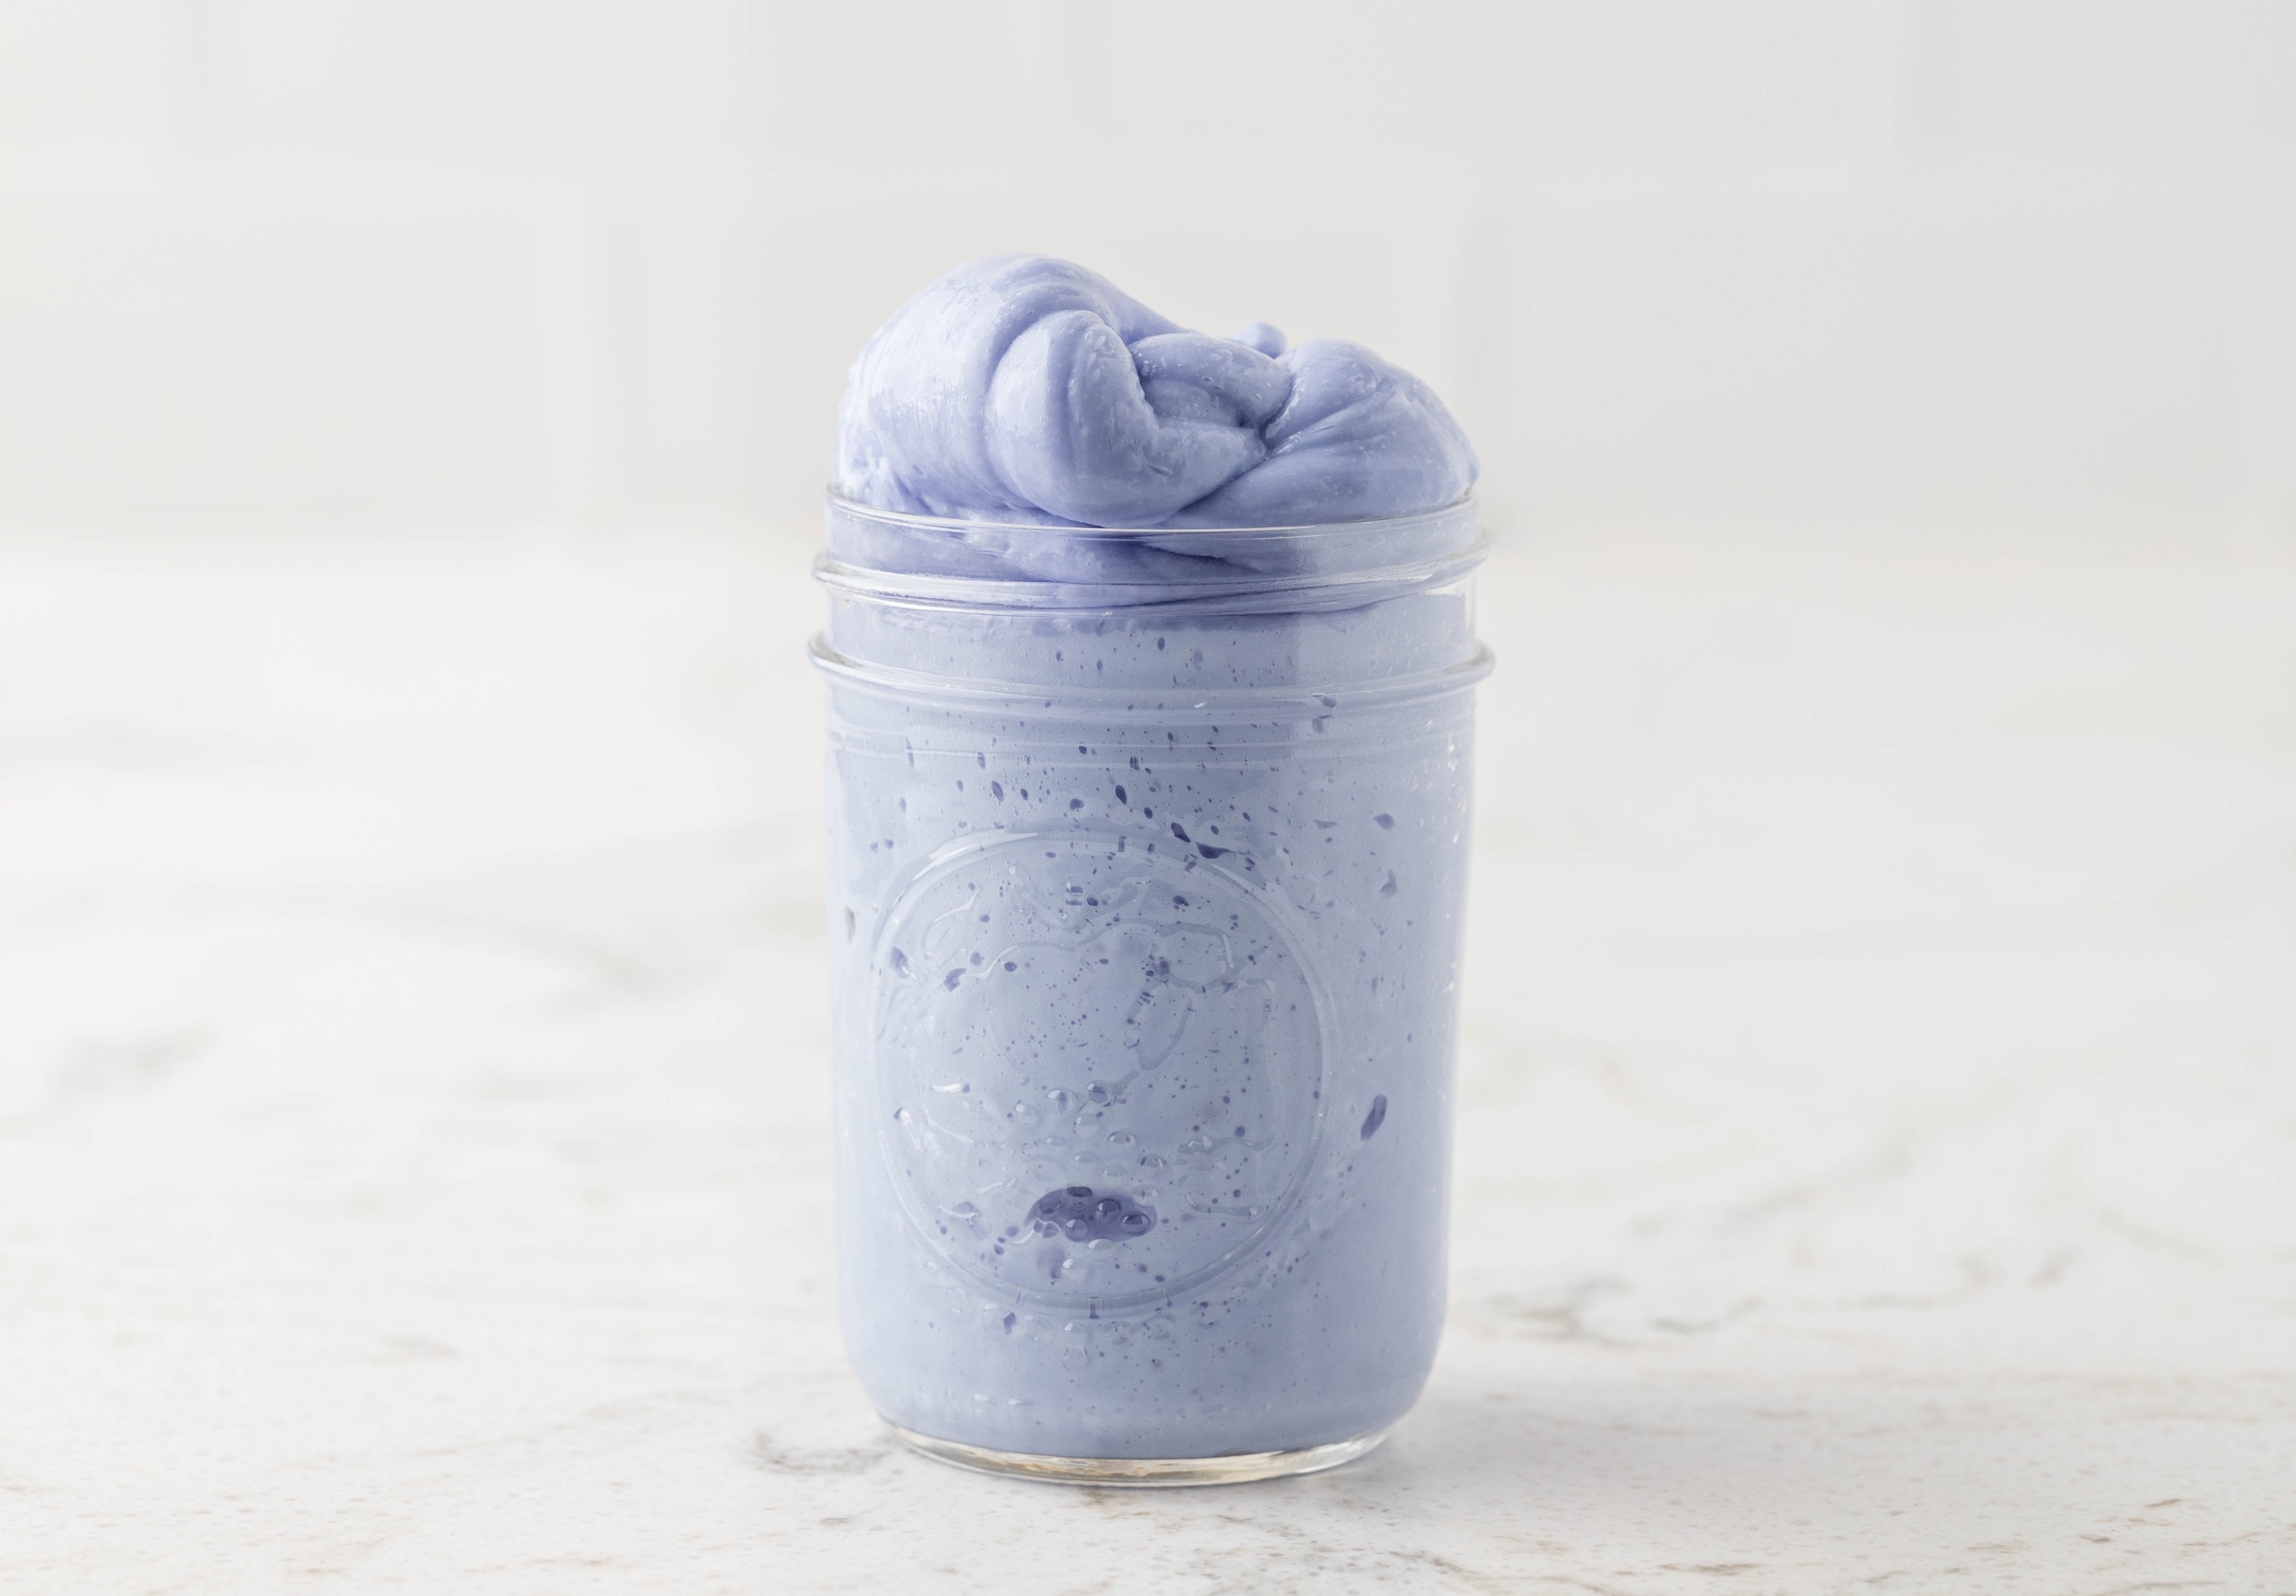

Fluffy Slime
Ingredients
- 1 cup Elmer’s glue
- ½ cup water
- 2 teaspoon baking soda
- 5 cups shaving cream
- 2 – 3 Tablespoons contact lens solution
- Food coloring
Instructions
- Let’s start by covering our surface with craft paper or a tablecloth to protect it from spills.
- Grab a large mixing bowl and add 1 cup of Elmer’s glue to the bowl.
- Add ½ cup of water and 2 teaspoons of baking soda and use a wooden stick to stir.
- Now add 5 cups of shaving cream and stir to combine.
- Add 1 tablespoon of contact solution, then knead the mixture with your hands. It will take a few minutes for the contact solution to activate. Add the remainder of the contact solution and knead the slime. If slime is still sticky, add small amounts of contact solution and knead until stickiness subsides.
- Now, let’s give our slime some color. Divide the slime into sections if you are using multiple colors. Add a few drops of food coloring to the desired amount of slime and repeat until you reach the desired color.
- Your slime is complete! Twist the different colors of slimes together to make a cool swirl. and have fun!
Notes
More Easy Slime Recipes
- Everyone needs to make the original Homemade Slime recipe, too. It only takes a few minutes to make and the kids will be busy for hours.
- If you love play dough and you love slime, you’ll be obsessed with this Cloud Dough! You only need two ingredients plus food coloring and the kids will have a blast.
- Got some extra packs of pudding in your pantry? Pudding Slime is a great way to use it up! Super easy to put together with a unique texture, this is a great activity for the kids on a rainy day.
- Make a batch of Butter Slime to switch it up a bit. This slime has a butter like texture and bends, folds and is so much fun!


Good morning!
Curious how long slime will last if stored in a storage container? I need to make slime for my son’s school project but I don’t want us to make it to early.
Fluffy slime typically lasts 1 to 2 weeks if stored properly in an airtight container at room temperature. To keep it fresh longer: If it dries out, you can try kneading in a bit of lotion or warm water to revive it.
My girls literally went crazy making this slime! It’s our go to recipe! Thank you!