Puffy Paint
This easy three-ingredient Puffy Paint recipe is a fun, hands-on craft that lets kids create colorful, textured art for a mess-free and creative activity at home.

If you’re looking for a fun new science experiment and craft, then you have got to try out this homemade puffy paint recipe! This homemade paint is the coolest thing. Made with three simple ingredients, you can create unique and cool artwork that has a really fun texture once it dries. There is lots of fun to be had with this super cool creation!
We love science experiment crafts around here! Frozen bubbles are one of our favorite things to make during the winter and oobleck is a blast to play with too. But once we learned how to make puffy paint, it became a MUST have to make the coolest artwork! Skip the store bought stuff and create a whole batch together right at home instead.
Why You’ll Love This Activity
- You only need three ingredients to make the best DIY puffy paint. You can keep these around the house and then make the recipe whenever you have an itch to do some extra cool crafting.
- Making your own puffy paint saves money! You can fill multiple plastic squeeze bottles for a fraction of the cost that a store charges for puffy paint.
- This simple DIY recipe is perfect for all ages. Even littles can learn to make this fun crafting material and will love to paint with it too!
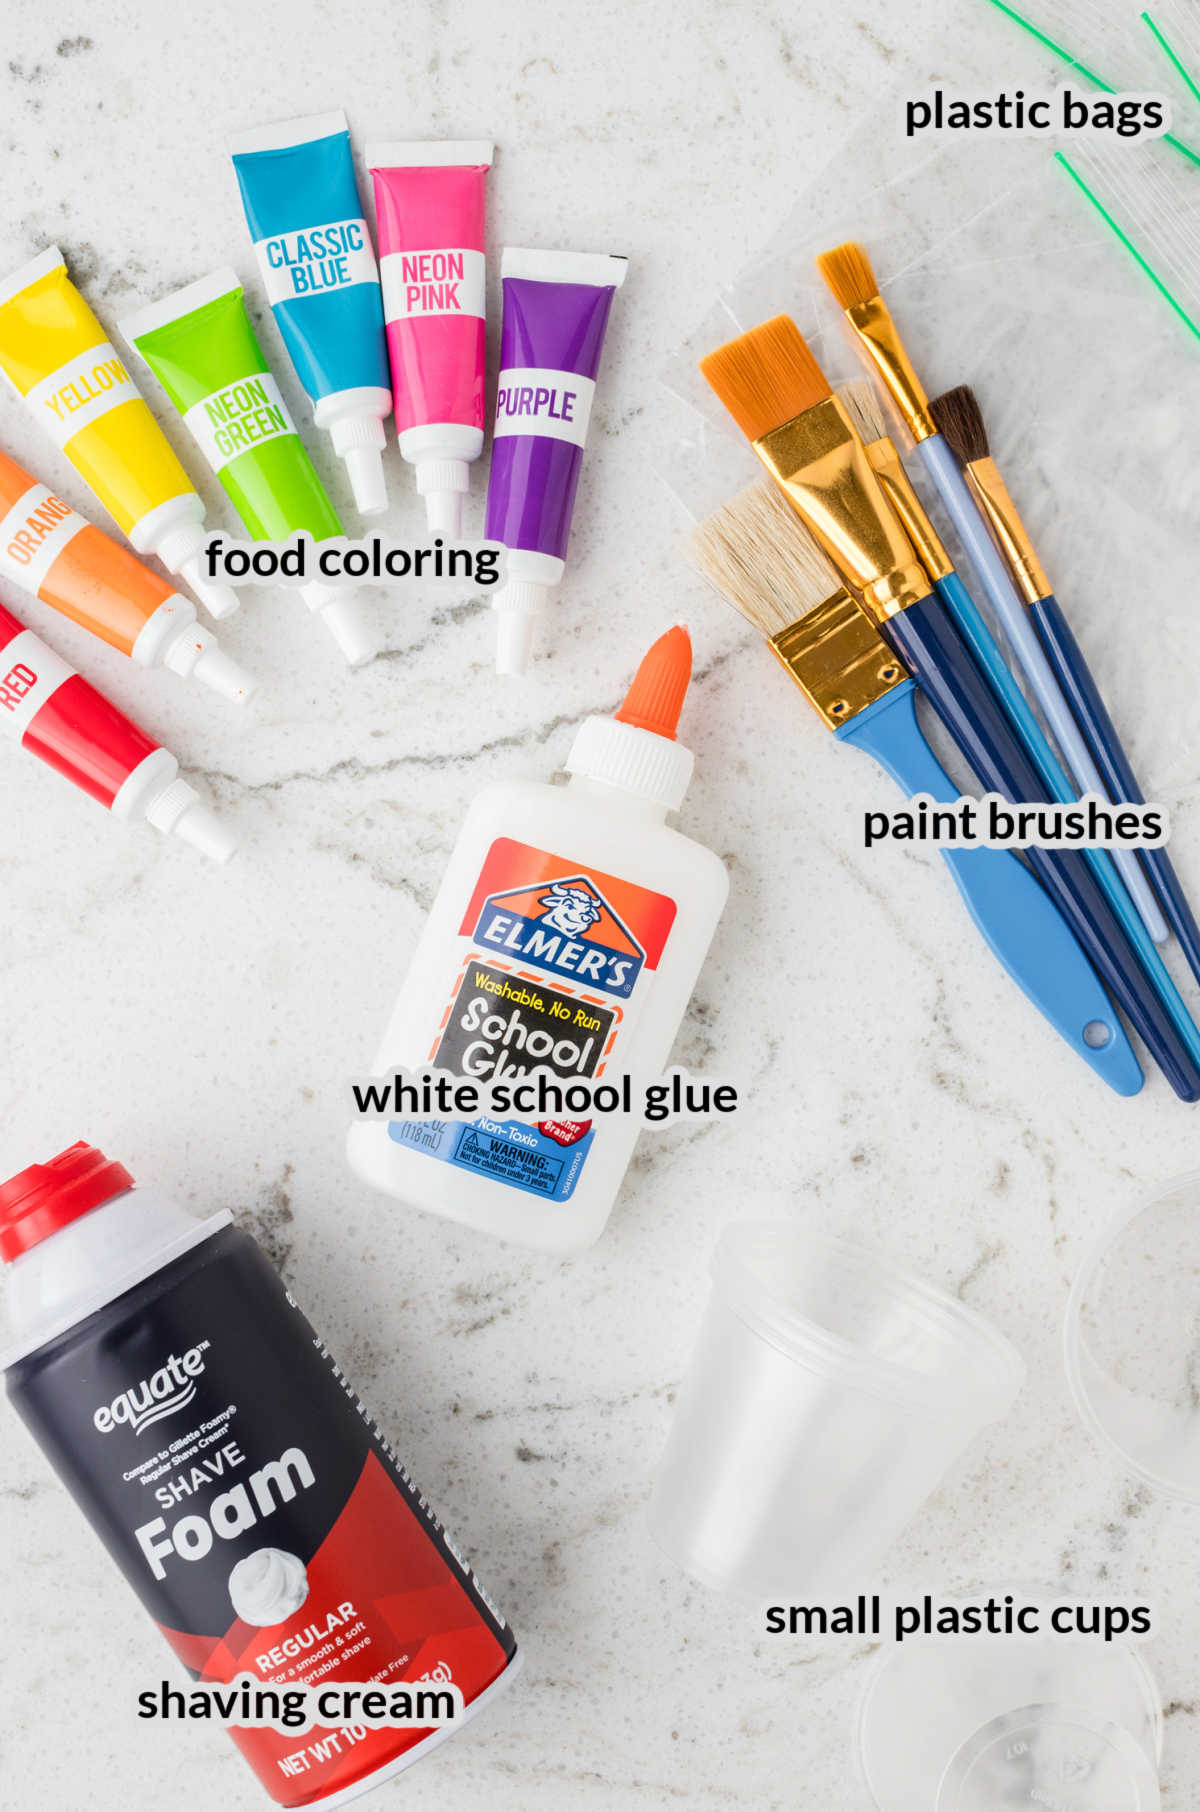
Ingredients for Puffy Paint
- Food coloring – You can use any color that you want, but we chose to do a squeeze bottle of each color we had. The more colors the better, right? I have found that gel food coloring works best, but you can use liquid food coloring too.
- Shaving cream – Make sure you get shaving cream that is plain white and does not have added color. You need shaving foam, not shaving gel, to make this experiment work!
- White school glue – A bottle of Elmer’s school glue is just the thing that will help the puffy paint dry and set to preserve your masterpieces of artwork!
How to Make Puffy Paint
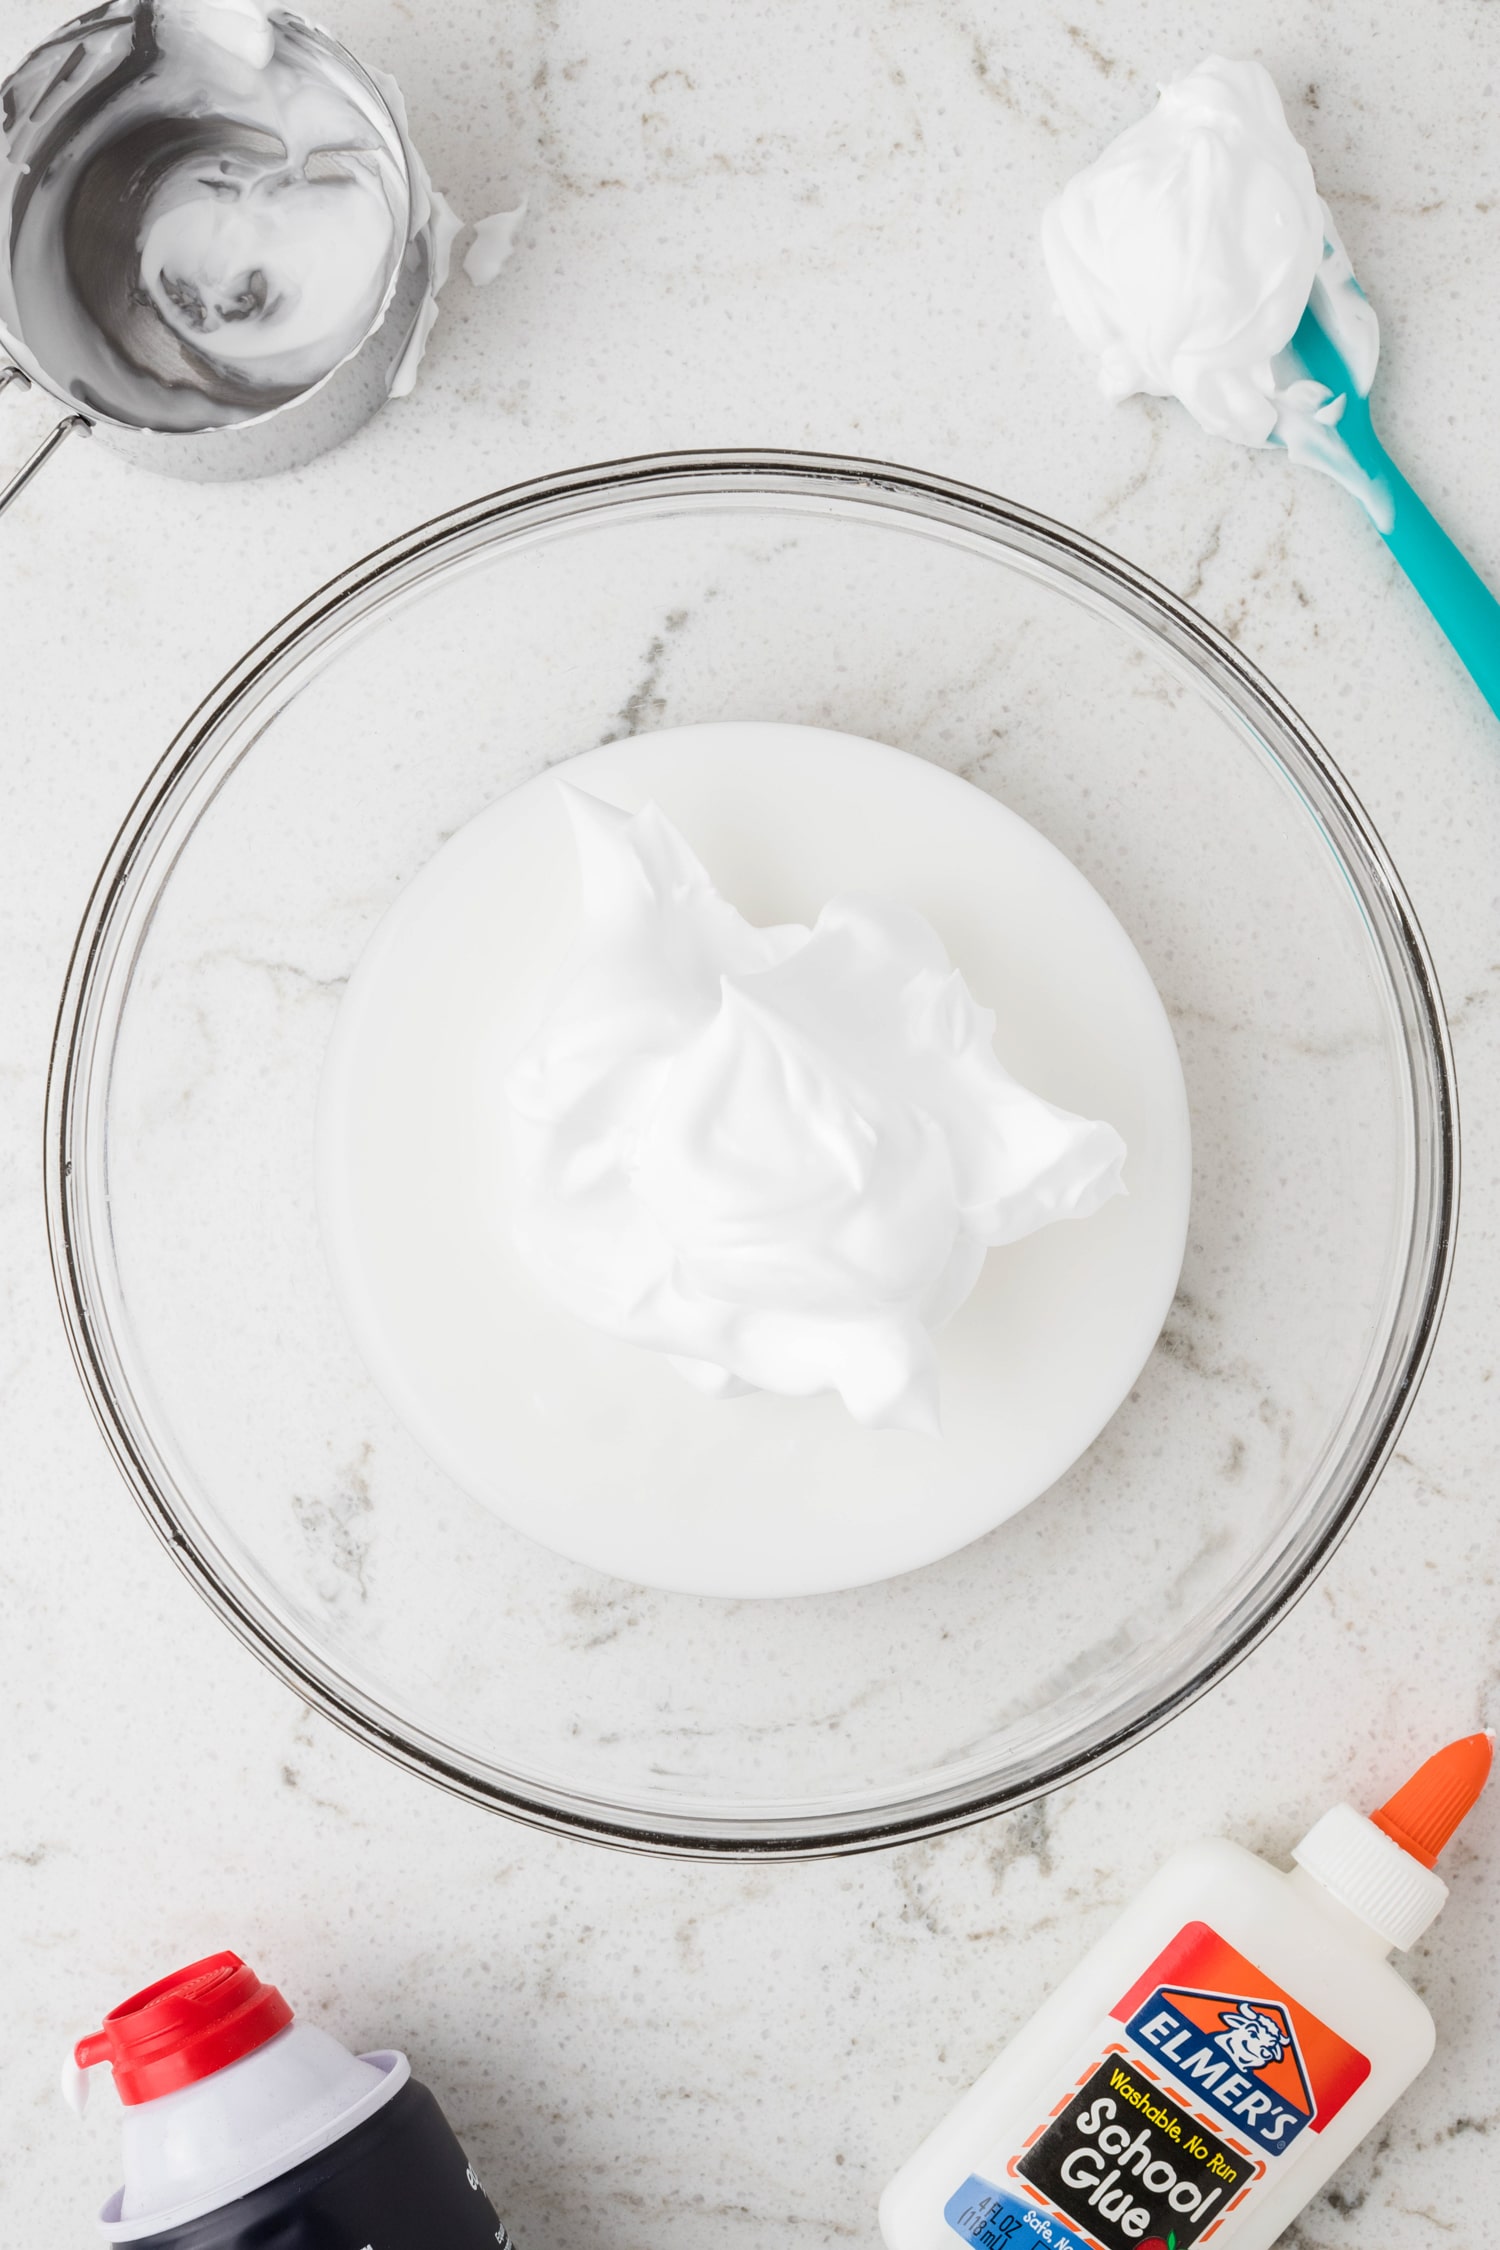
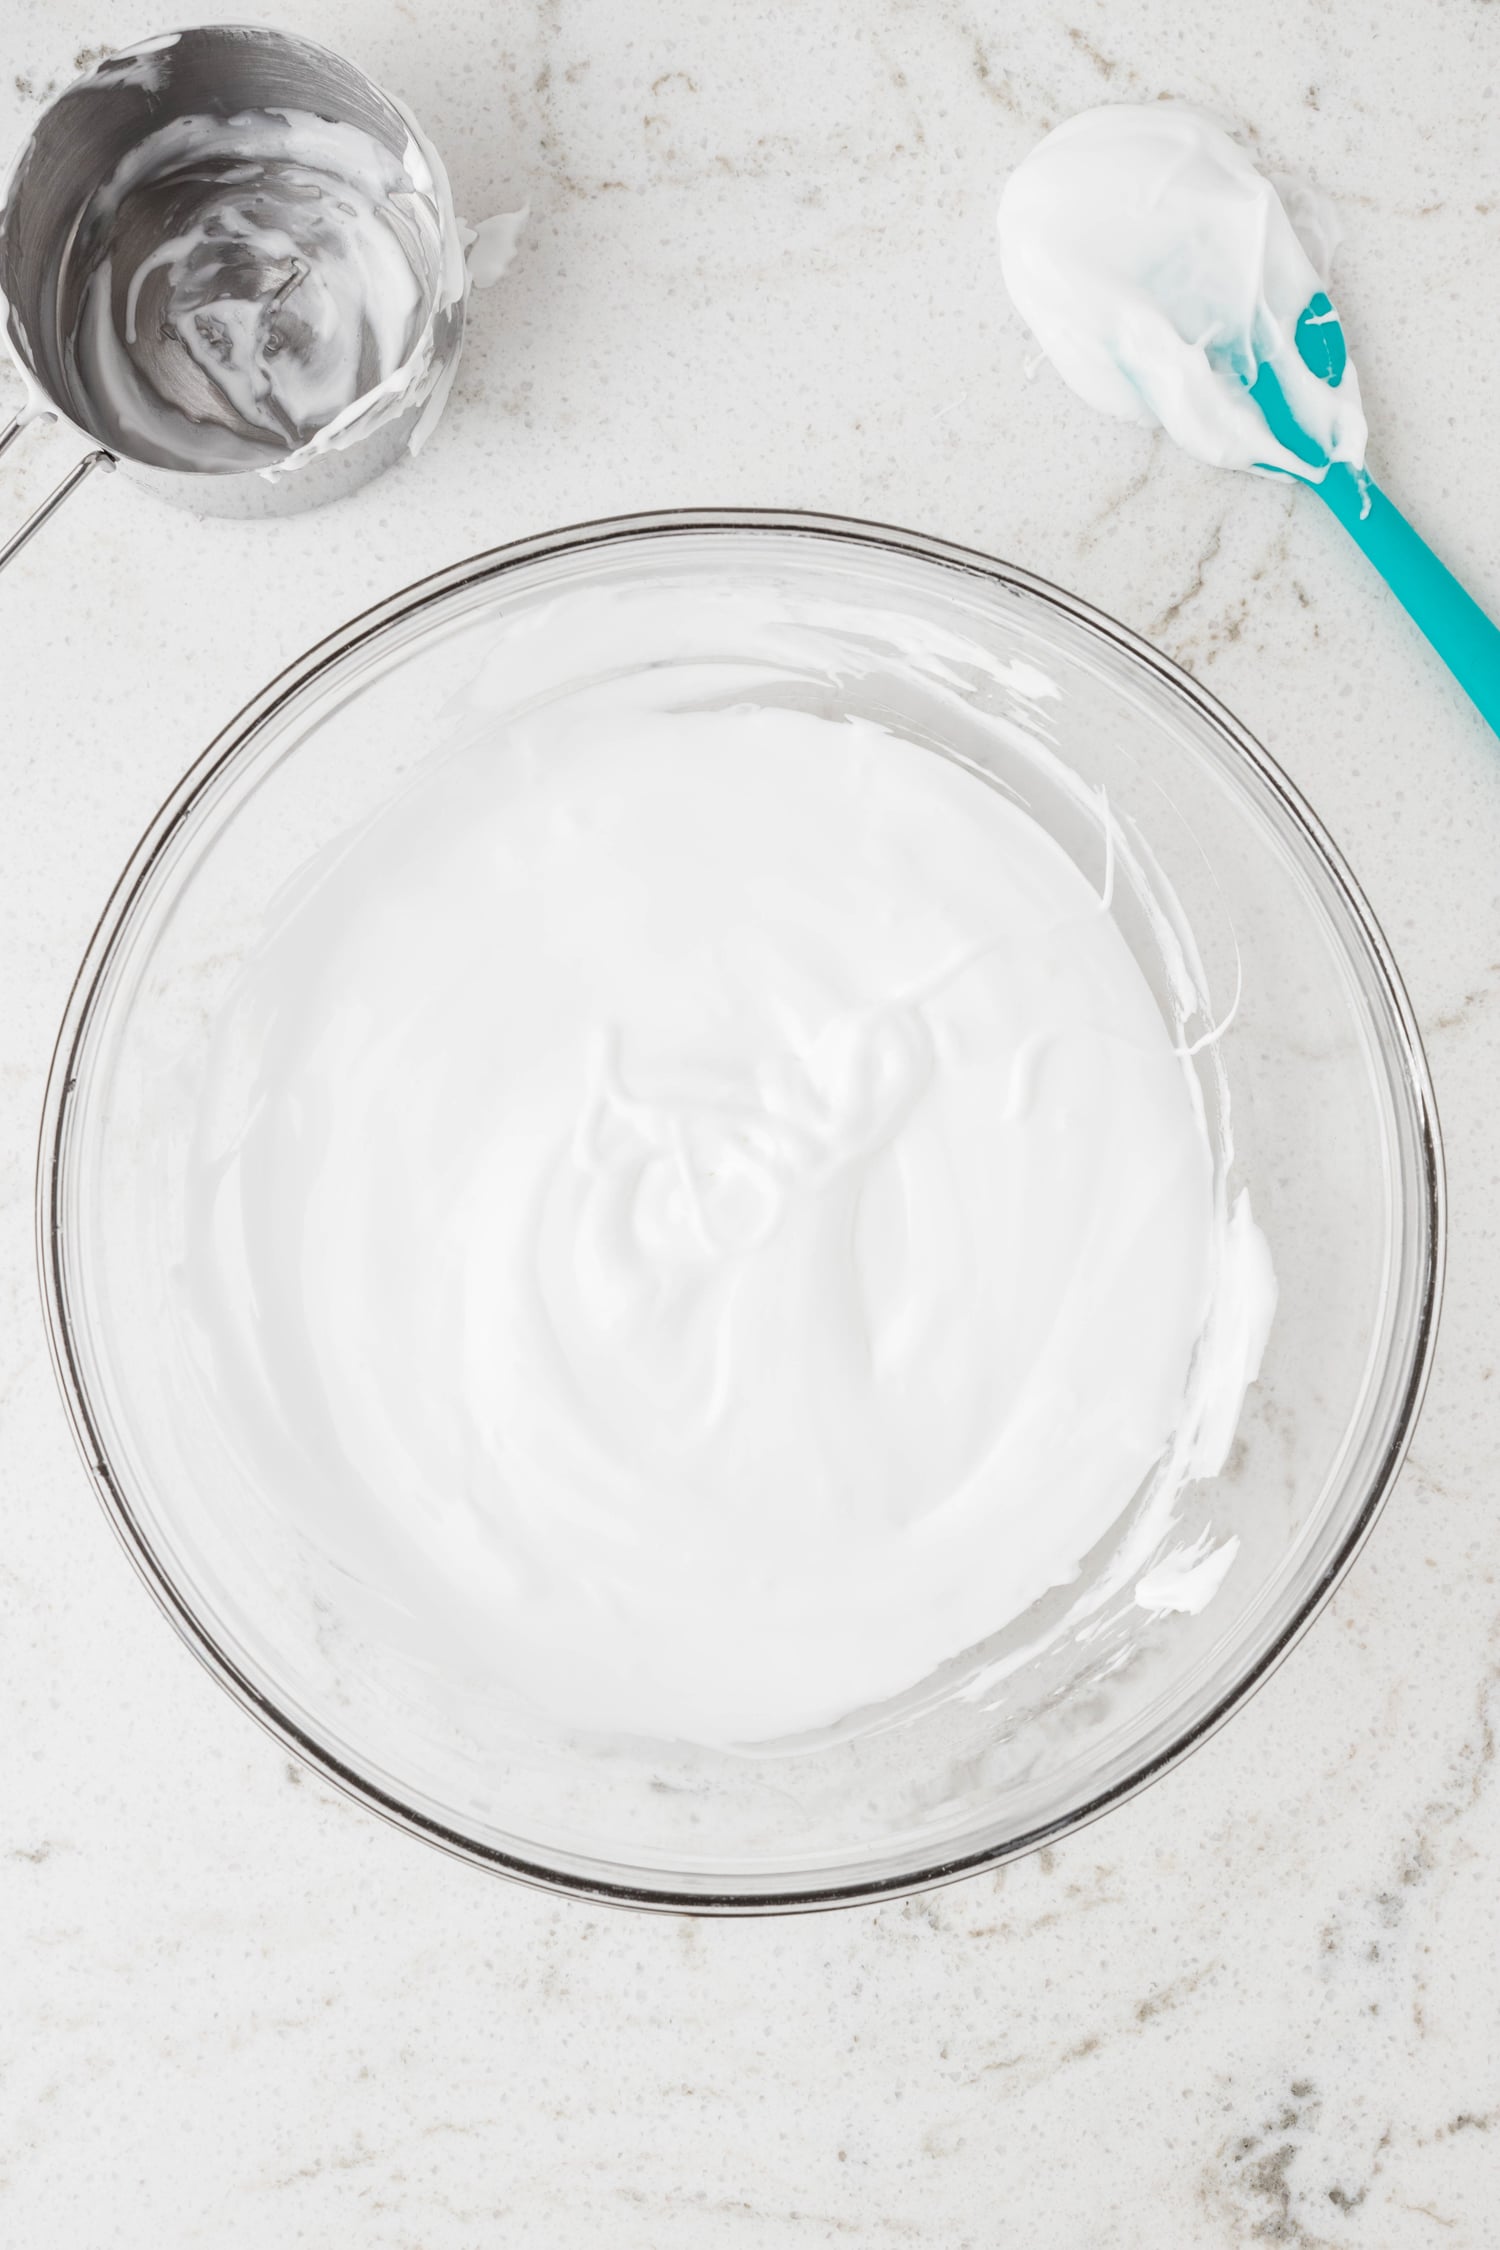
To make this fun paint, mix together the school glue and shaving cream in small bowl until thoroughly combined. The mixture will be fluffy and smooth.
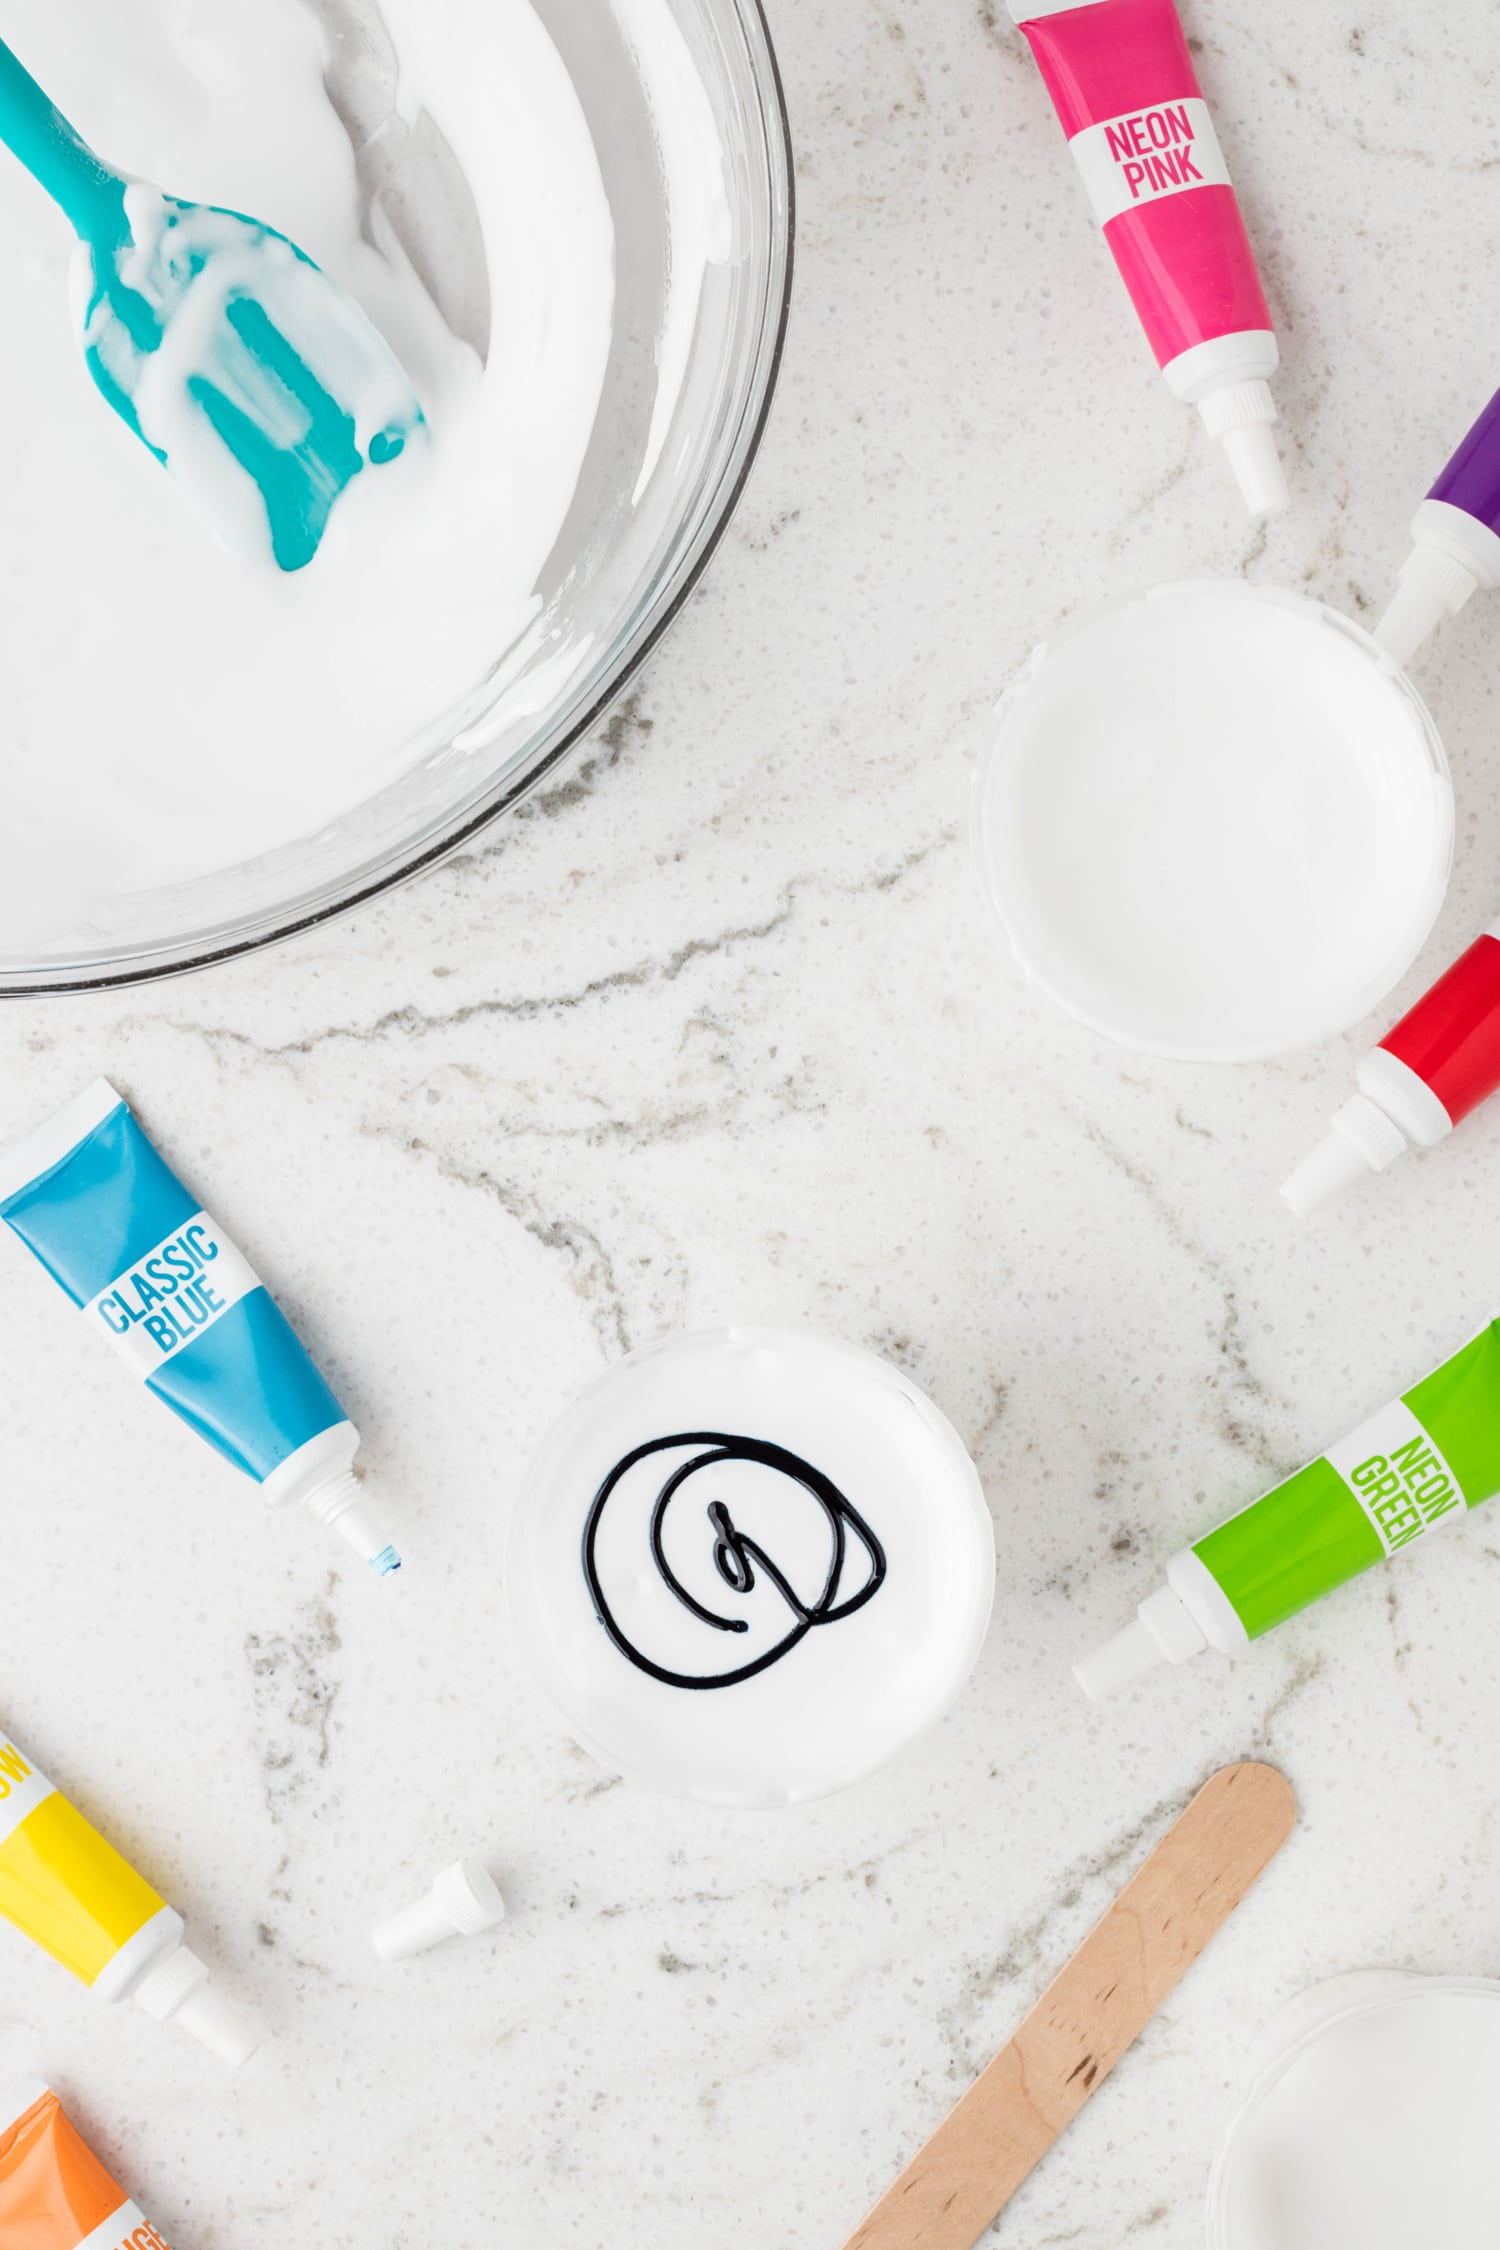
Divide the paint mixture into small plastic containers if you want to make different colors. Then add a few drops of food coloring to each one and mix until you achieve the desired color.

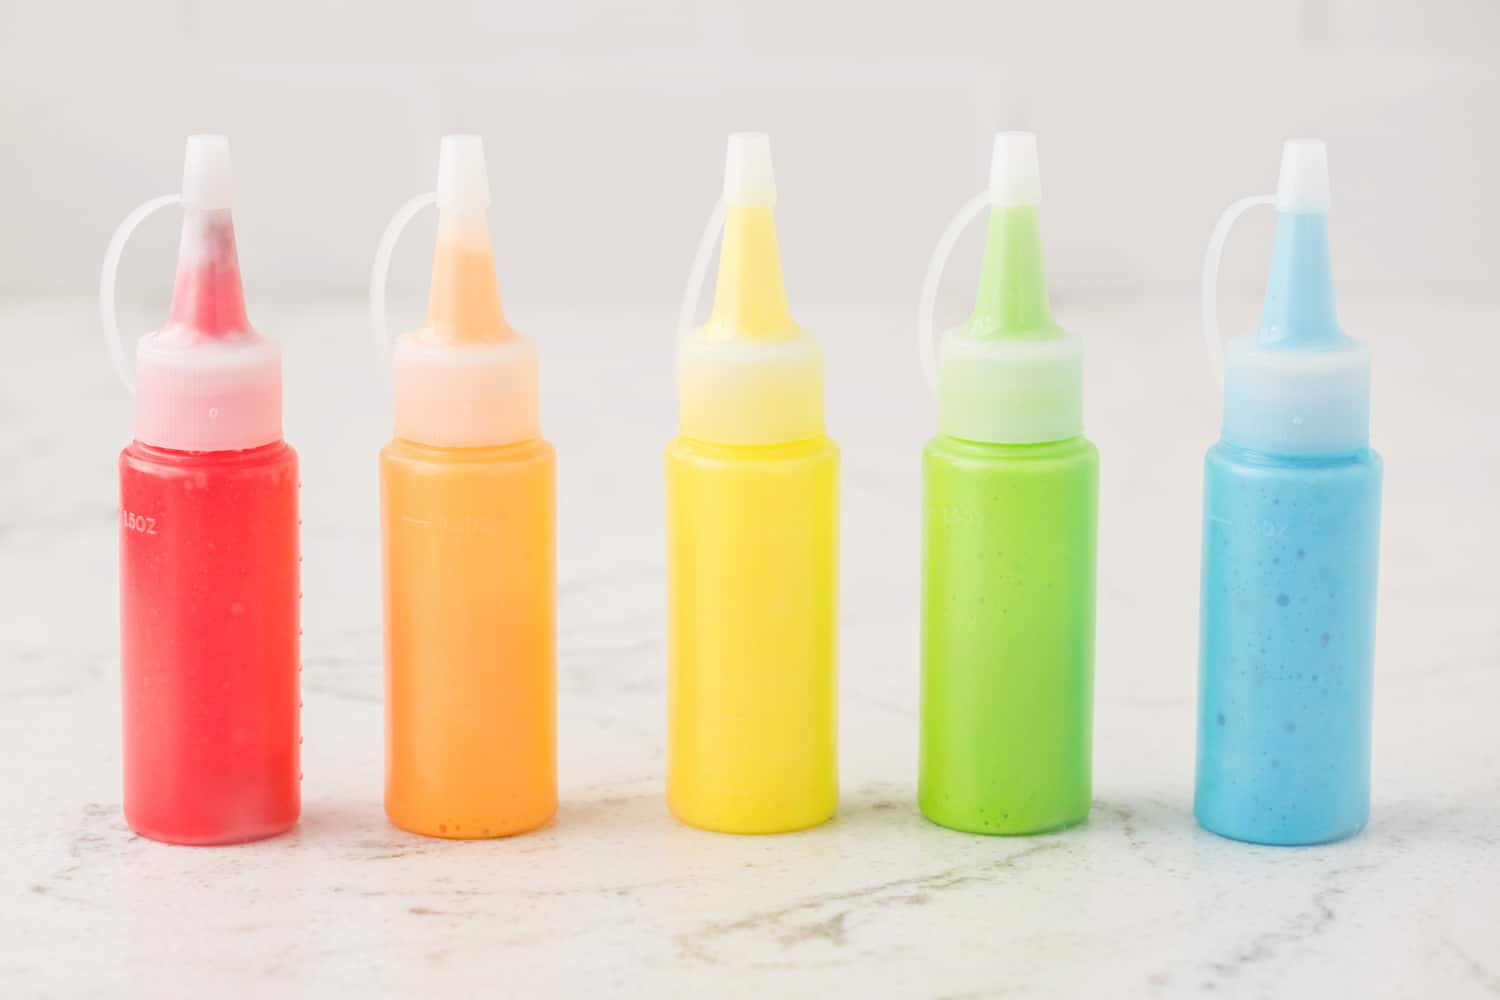
Transfer the colored puffy paint into small squeeze bottles or plastic zip top bag with a tiny hole cut in the corner.
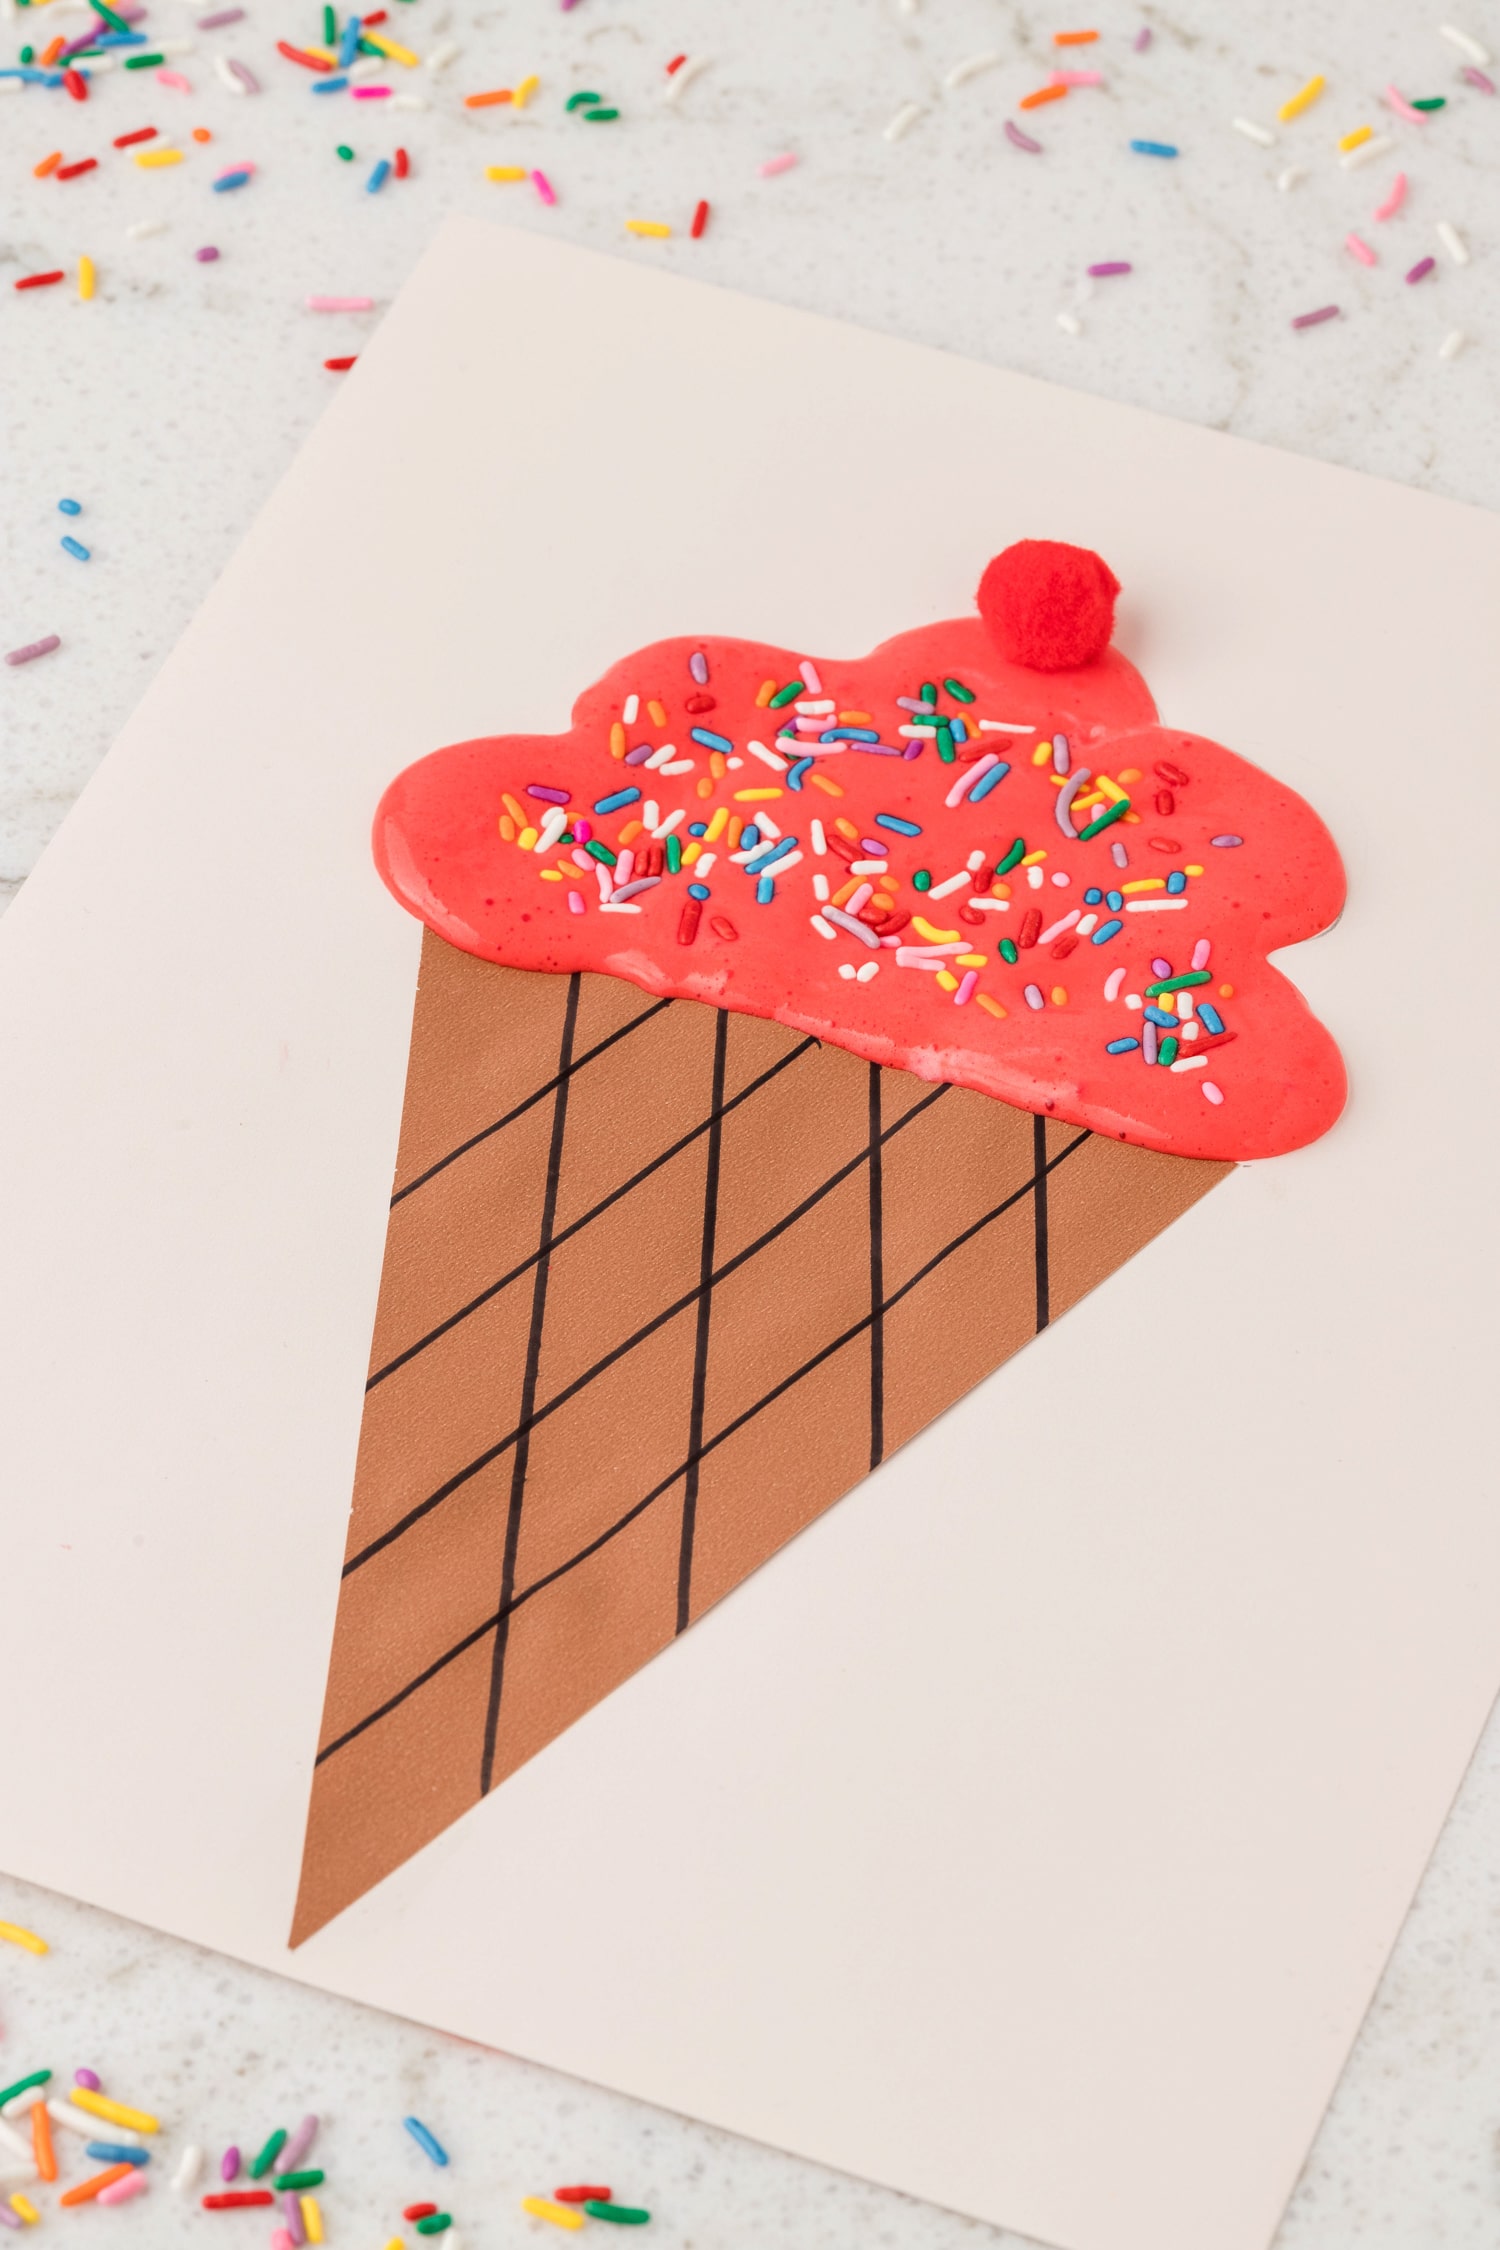
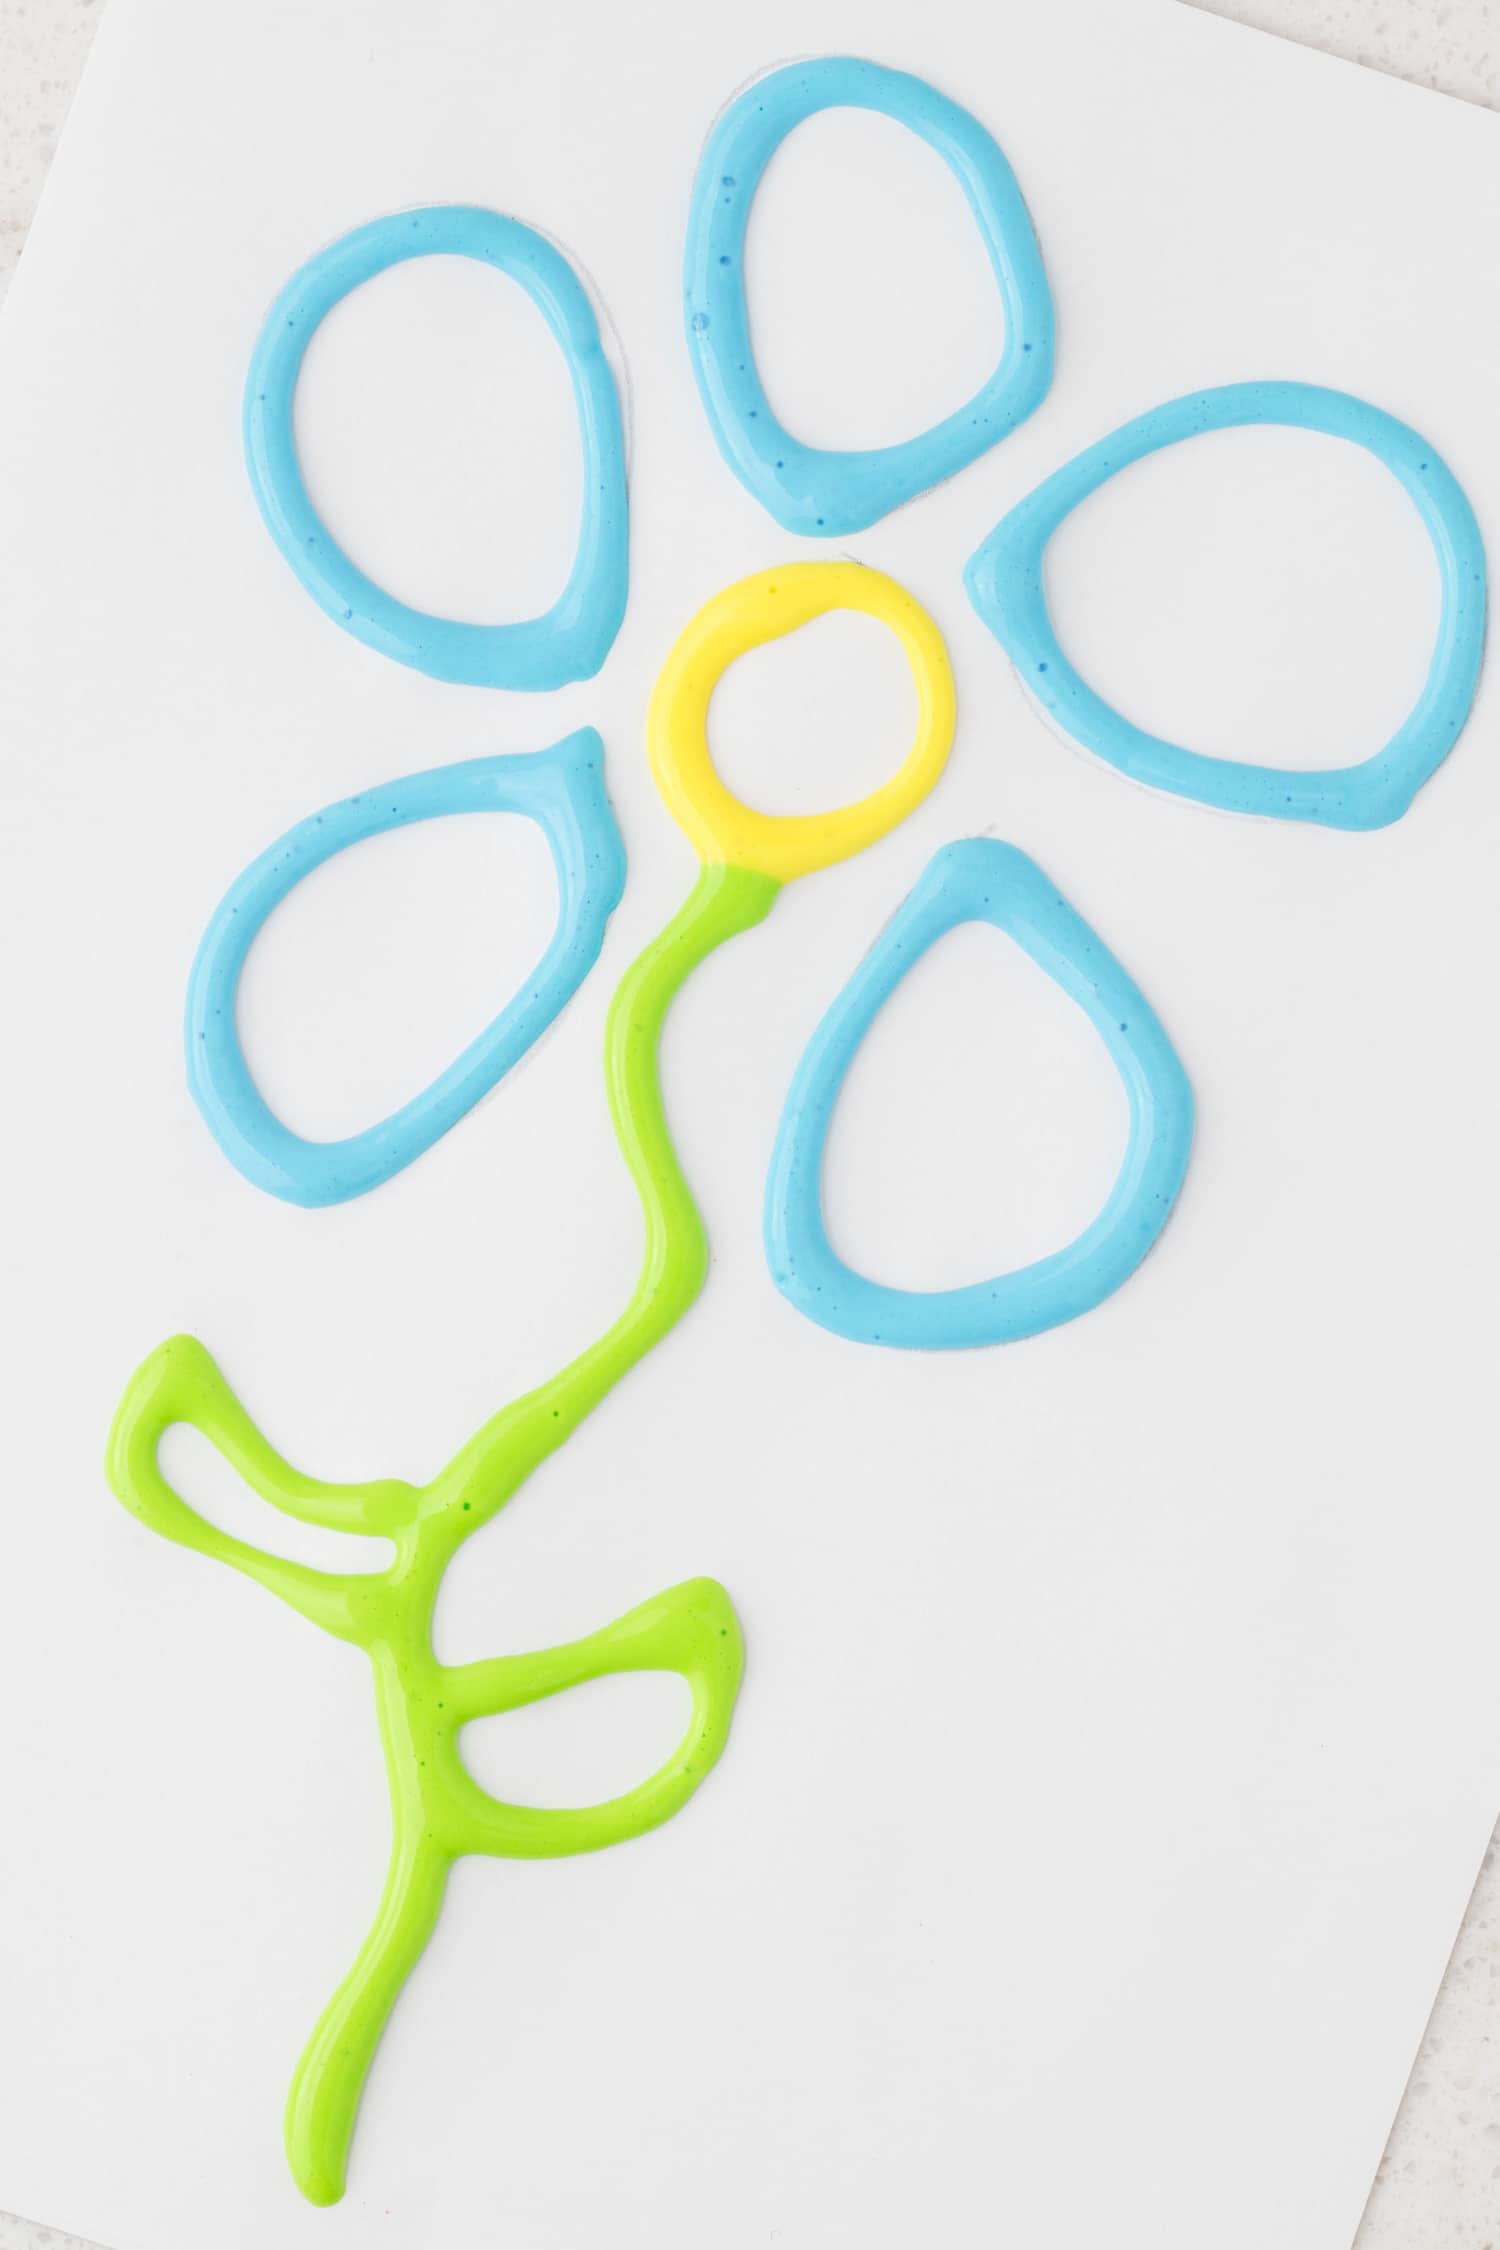
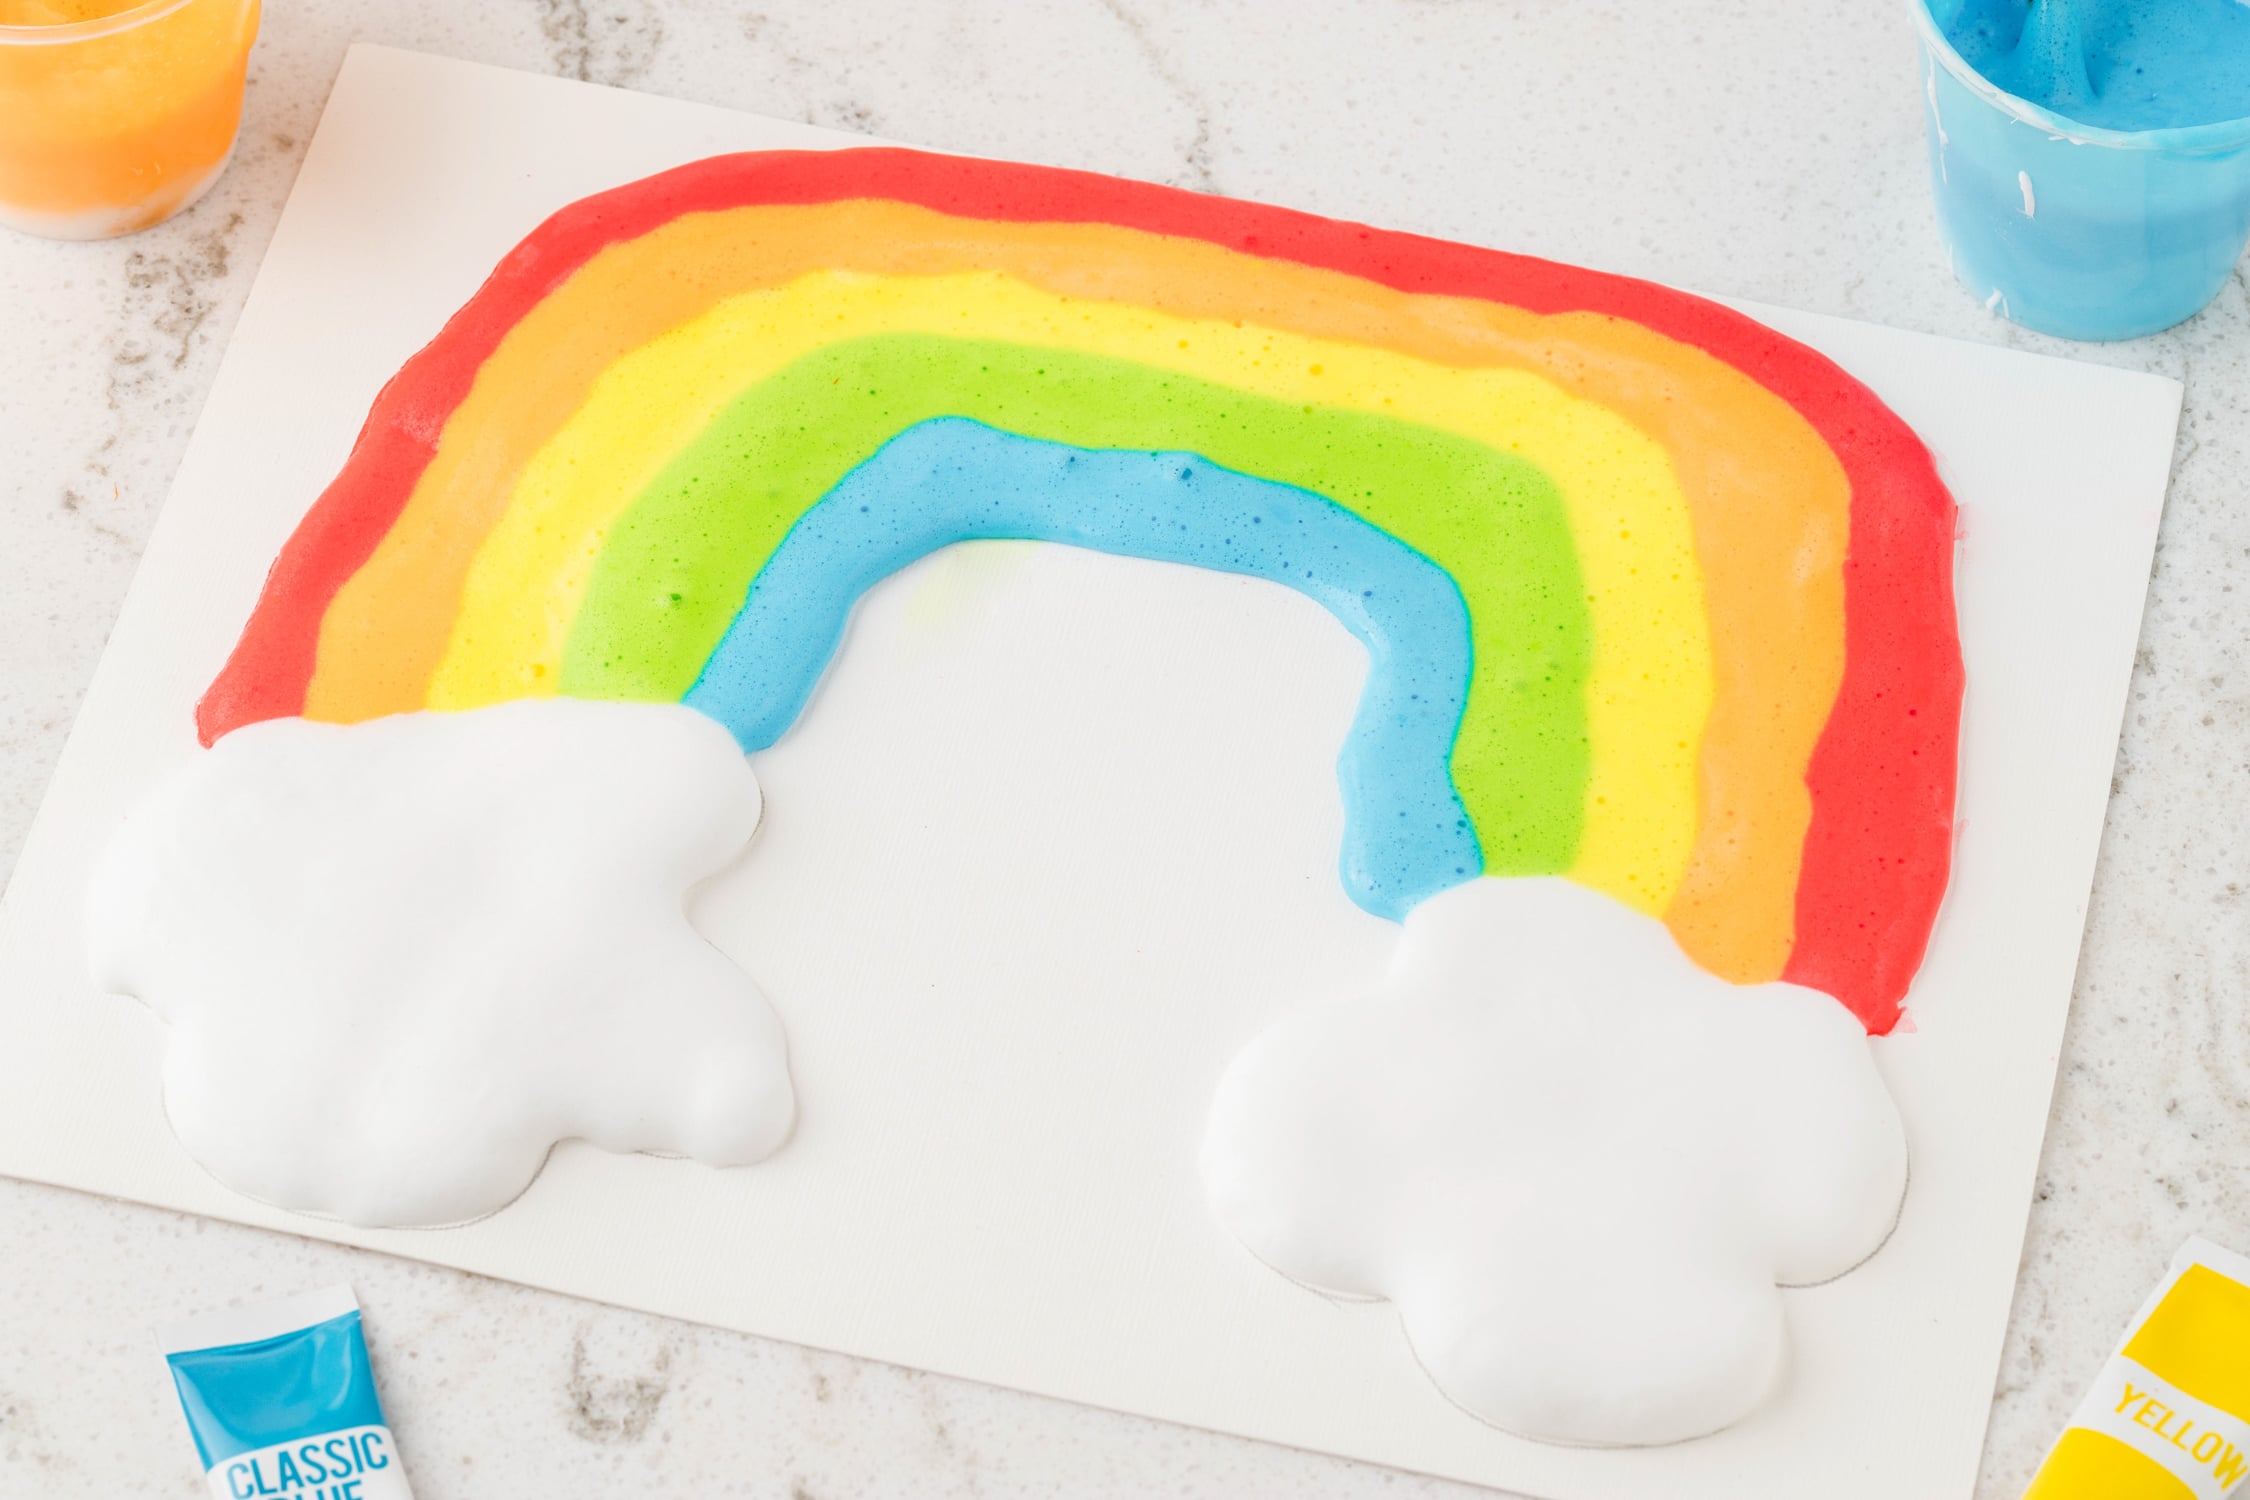
Use the puffy paint on paper or cardboard. Allow the paint to dry overnight. As it dries, it will create a fun puffy texture.
Once dried, display your artwork with pride!


How to Use Puffy Paint
There are endless puffy paint ideas, so don’t be afraid to use you imagination! You can create homemade cards by painting fun designs on cardstock, or just paint cool artwork on paper. Even paper plates are a great canvas for art.
You can paint straight from the squeeze bottle or use some paint brushes. For younger children, they can even use their fingers, though that may affect the texture once it dries. Use whatever technique is the most fun and mess free for you!
Storage
Puffy paint is best used the day it is made but can be stored in the paint bottles for one or two days as long as they are well sealed. If you are using plastic bags, place them in an airtight container for about 24 hours at room temperature and away from direct sunlight.
Pro Tips for the Best Puffy Paint
- It is important to allow plenty of time for your artwork to dry since this is a a very thick paint. It will dry, I promise! So just be patient before displaying your masterpiece.
- For easy cleanup, mix everything together in disposable containers and bowls. And if you use a bowl that needs to be washed, be sure to wipe the white glue and shaving foam glue mixture with paper towels so glue does not go down the drain.
- Try not to overmix the shaving foam and glue because it can affect the texture.
Can you use homemade puffy paint on fabric?
Since this has water based ingredients, it is best to use it on paper or cardboard. If you want to decorate a t-shirt, then grab some puffy paint from your local craft store.
Will my art stay puffy?
Over time, the puffiness will flatten a little but there will still be some texture.
I know you’ll make the most fun art projects with this DIY puffy paint recipe. Kids will love getting creative with this colorful, textured paint.

Puffy Paint
Equipment
Ingredients
- 1 cup white school glue
- 1 cup shaving cream white
- Food coloring gel or liquid
Instructions
- Mix the white school glue and shaving cream in a bowl until well combined. The mixture should be fluffy and smooth.
- Divide the mixture into smaller containers if you want to make different colors.
- Add a few drops of food coloring to each container and mix well until the desired color is achieved.
- Transfer the colored mixture into small squeeze bottles or plastic bags with a tiny hole cut in the corner for easy dispensing.
- Use the puffy paint to create designs on paper or cardboard.
- Allow the paint to dry overnight. It will puff up as it dries to create a fun textured effect.
More Fun Craft Ideas
- Did you love the fun texture of this craft? Then you have to try out Fluffy Slime too! It’s the most gooey and fluffy fun.
- This easy salt dough recipe is really fun to create all kinds of homemade keepsakes. You’ll love how simple it is to make.
- Make Easter Egg Dyed Potatoes if you want to make a ton of Easter fun on a budget. They turn out so pretty!
- Pumpkin Playdough is one of our most favorite crafts to make during the fall. It smells good enough to eat and encourages the best imaginative play!
Love how bright the colors turn out! The kids loved this activity!
Great to hear!