Frozen Bubbles
Learn how to make Frozen Bubbles! This doubles as a fun activity and science experiment all in one. Bundle up when you have subzero temperatures, go outside and make frozen bubbles.
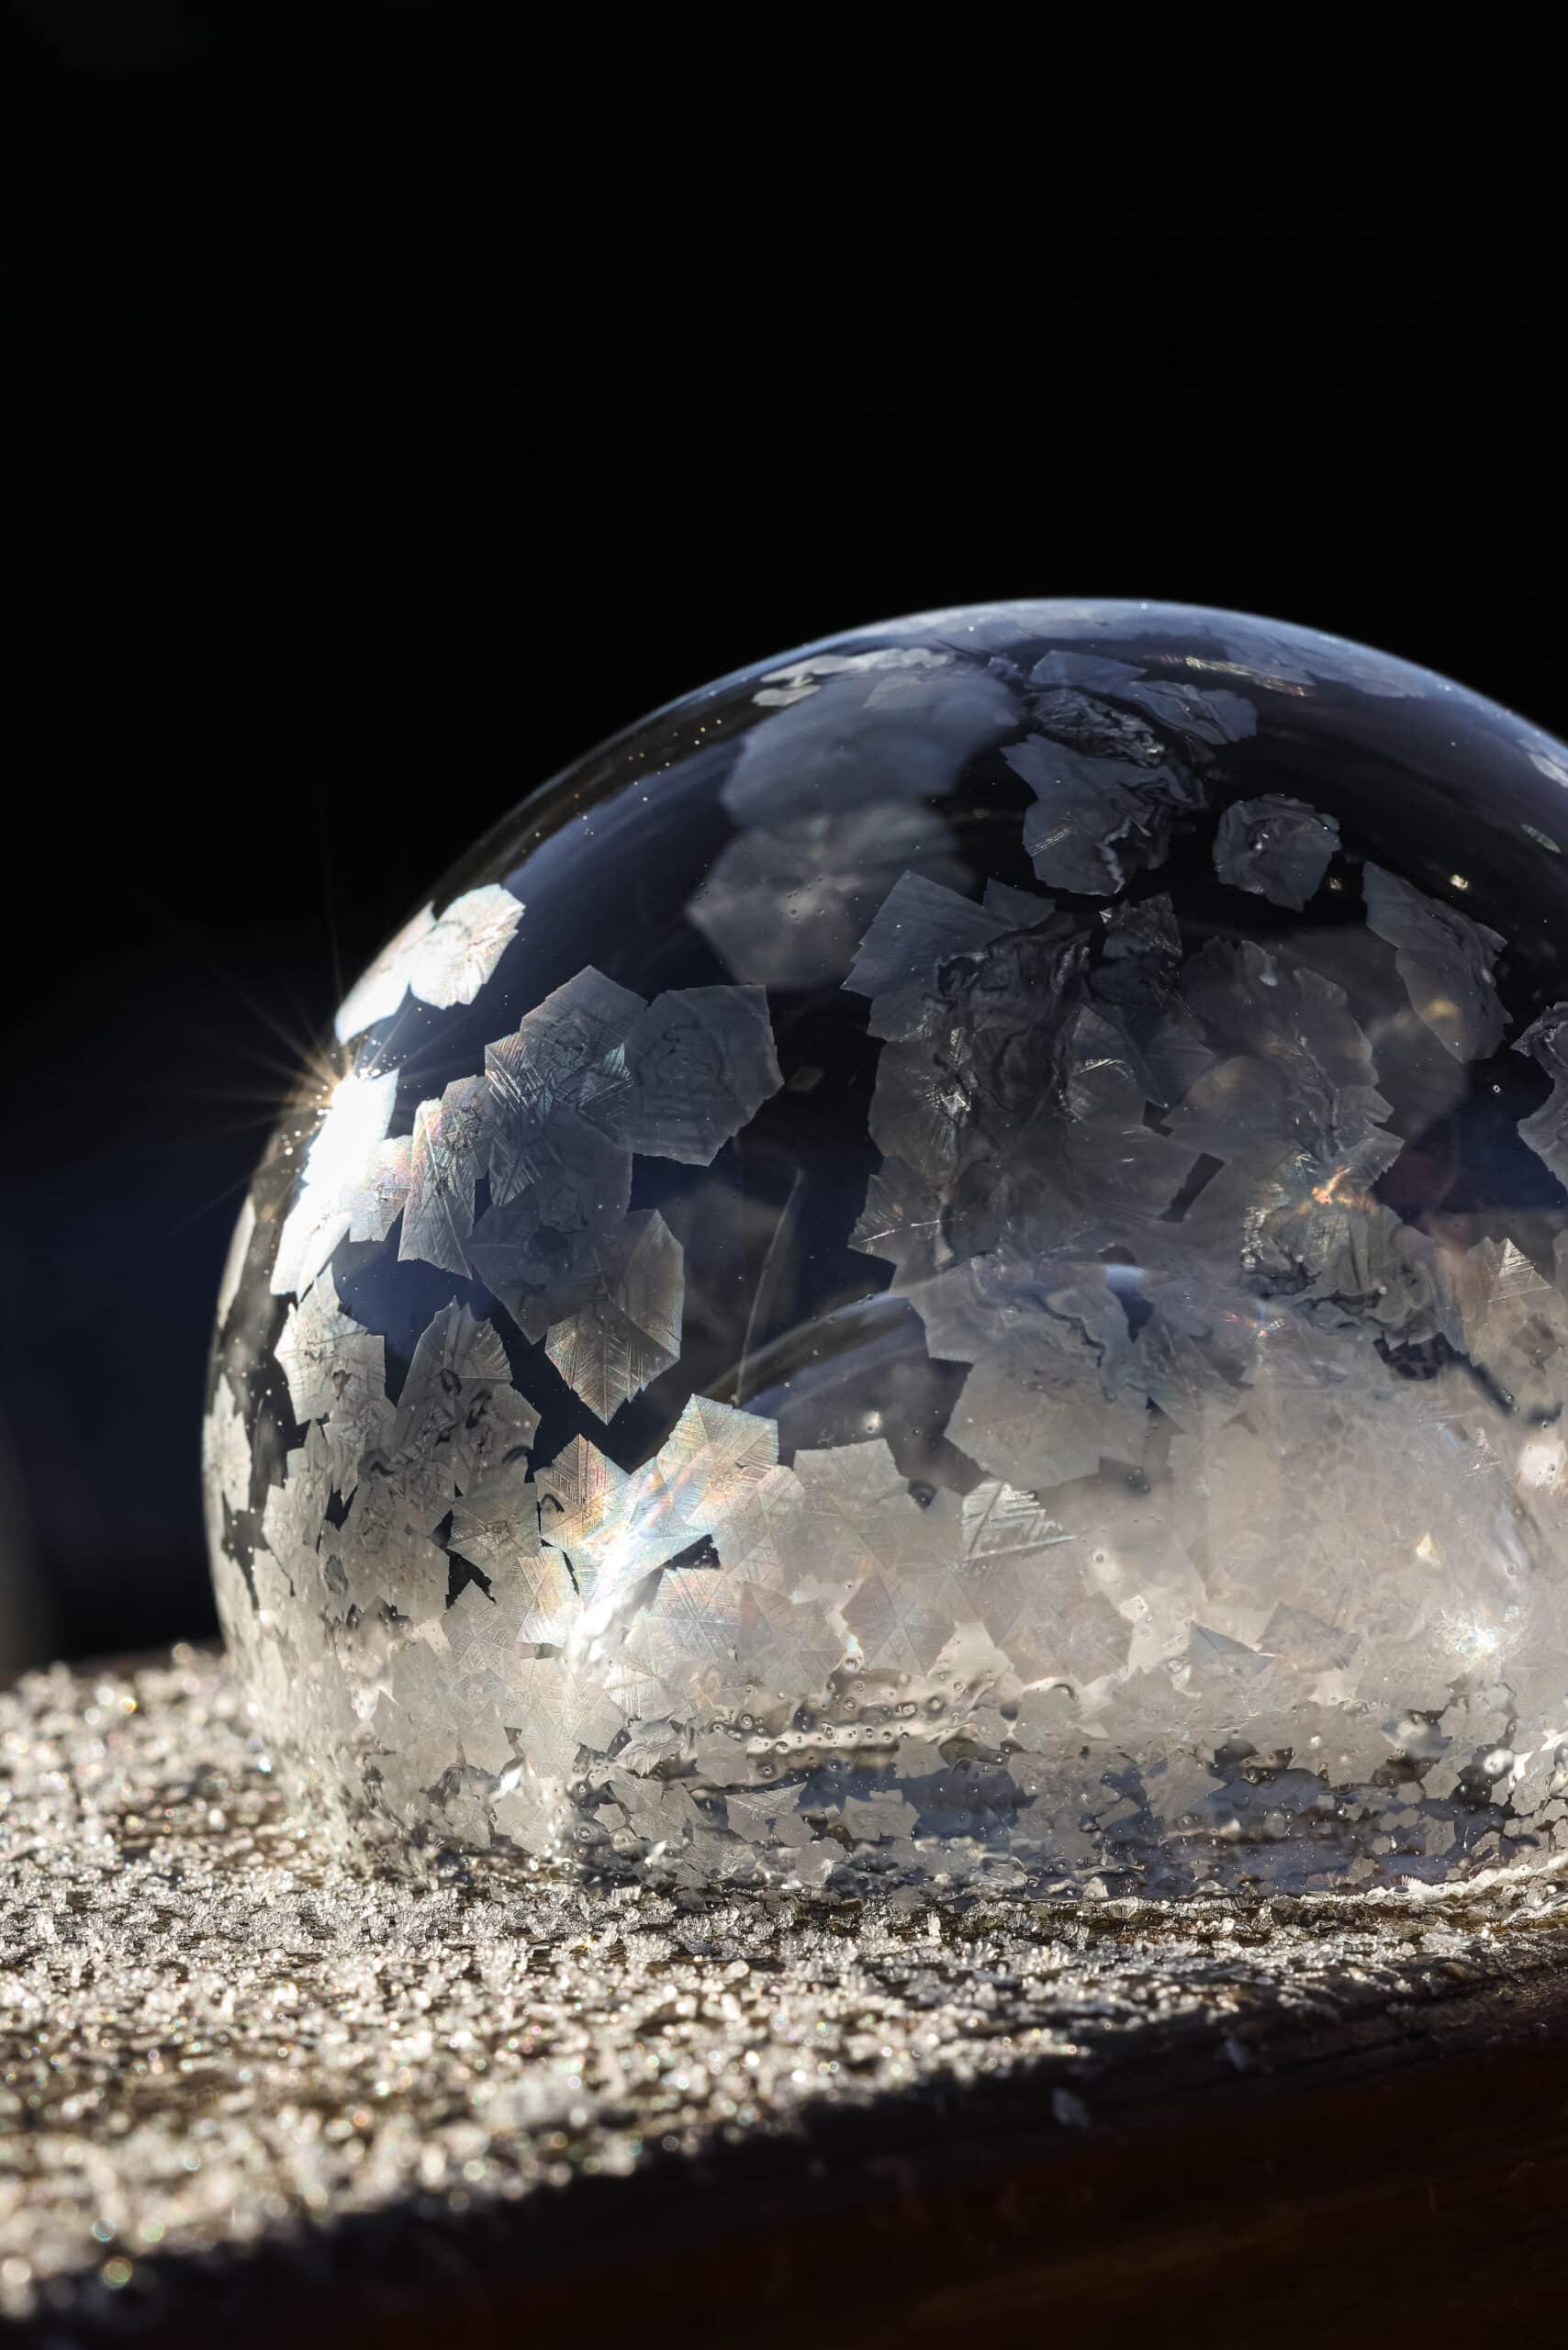
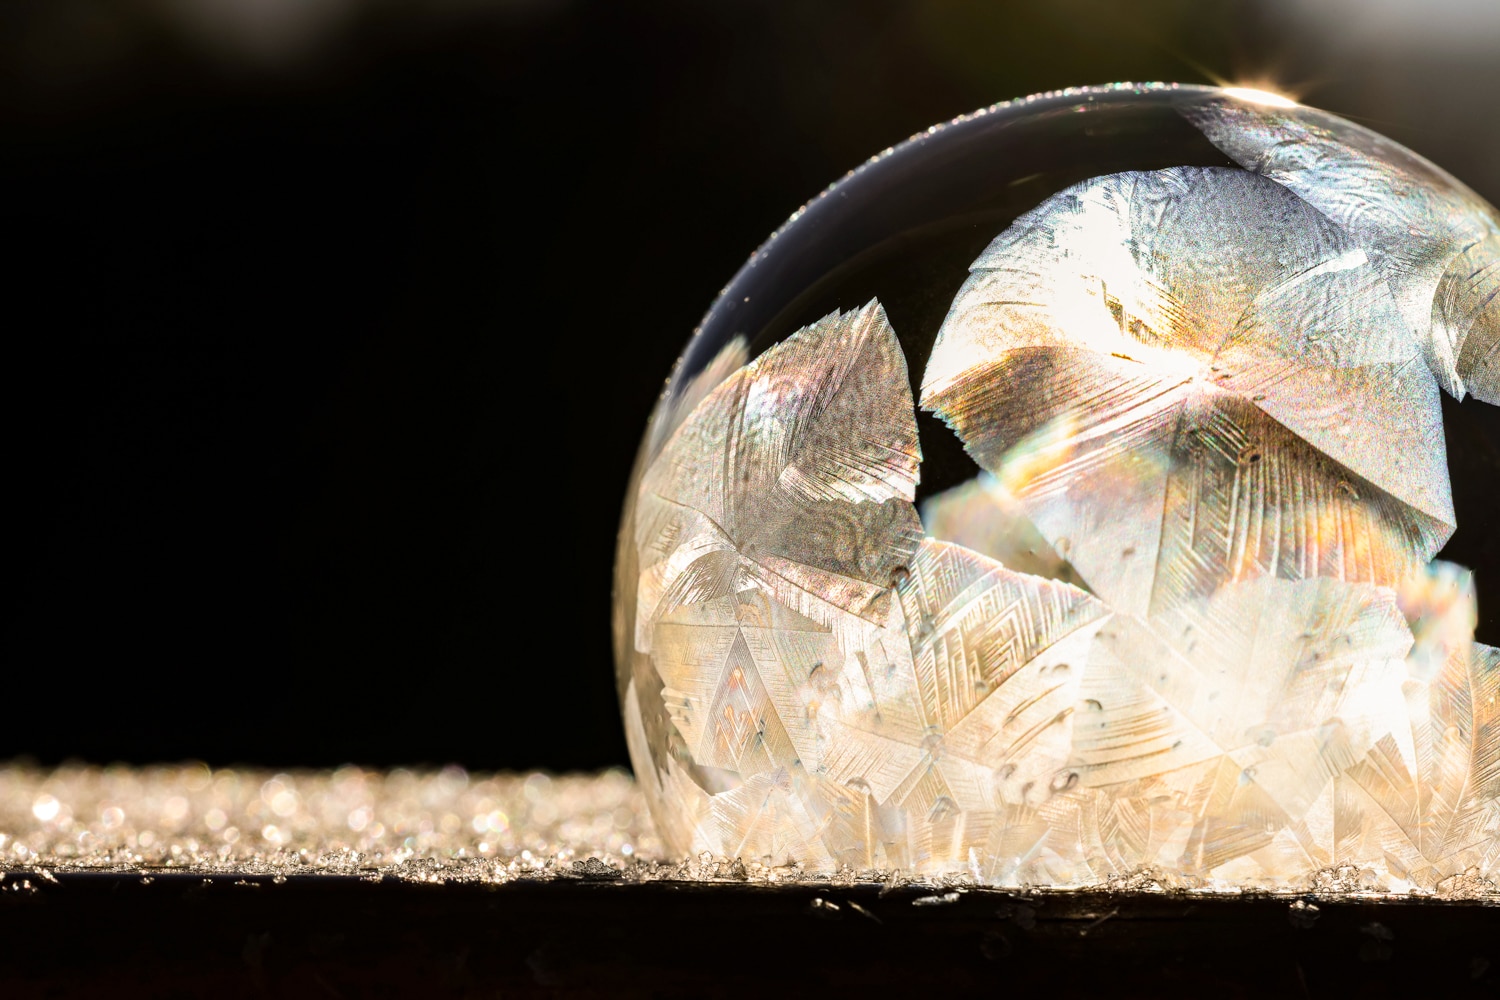
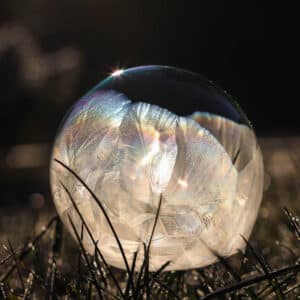
Once the last glimpses of warm air are gone from fall, we know it’s time to make frozen soap bubbles solution! This fun science experiment is sure to have your kids squealing with joy as they watch what seems like regular bubbles freeze into a pretty little creation. Watching the ice crystals grow over the bubble’s surface is just the coolest thing to watch. You can even set up a camera and video in slow motion so you can watch it back and see the crystals grow.
When the weather drops anywhere from 20 degrees to single digits, we love to get bundled up and go play with frozen bubbles. Science experiment crafts are so much fun to do as a family! Learning how to make oobleck was a blast, and it’s a wonderful summer activity. But once that weather gets chilly, you can start making frozen bubbles!
Why You’ll Love Making Frozen Bubbles
- Make science fun with easy experiments like this one! Perfect for classroom use and for homeschoolers too.
- You likely already have most of the ingredients and supplies to make frozen soap bubbles. The supplies are all pretty basic household items!
- Prep the bubble solution in just five minutes. Then just store it in the refrigerator until you’re ready to use it.
Supplies to Make Frozen Bubbles
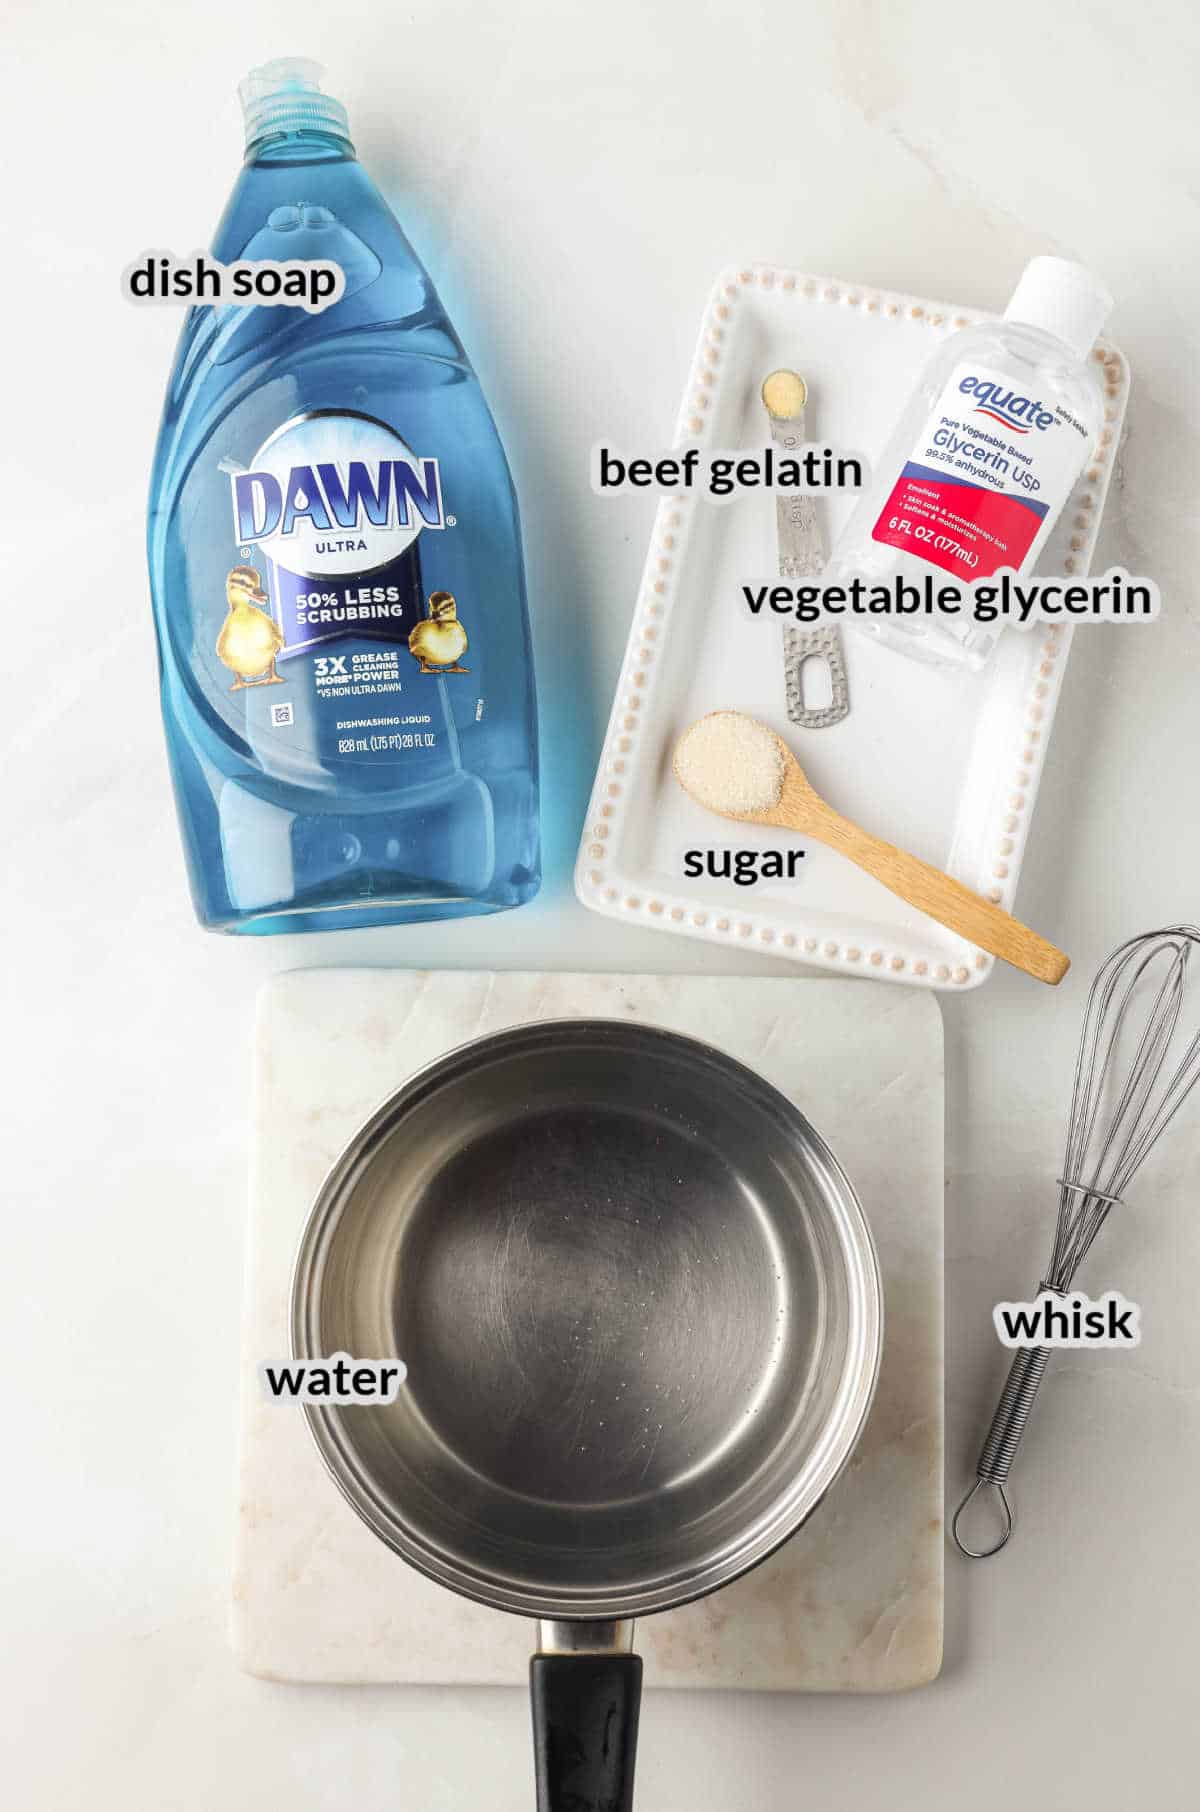
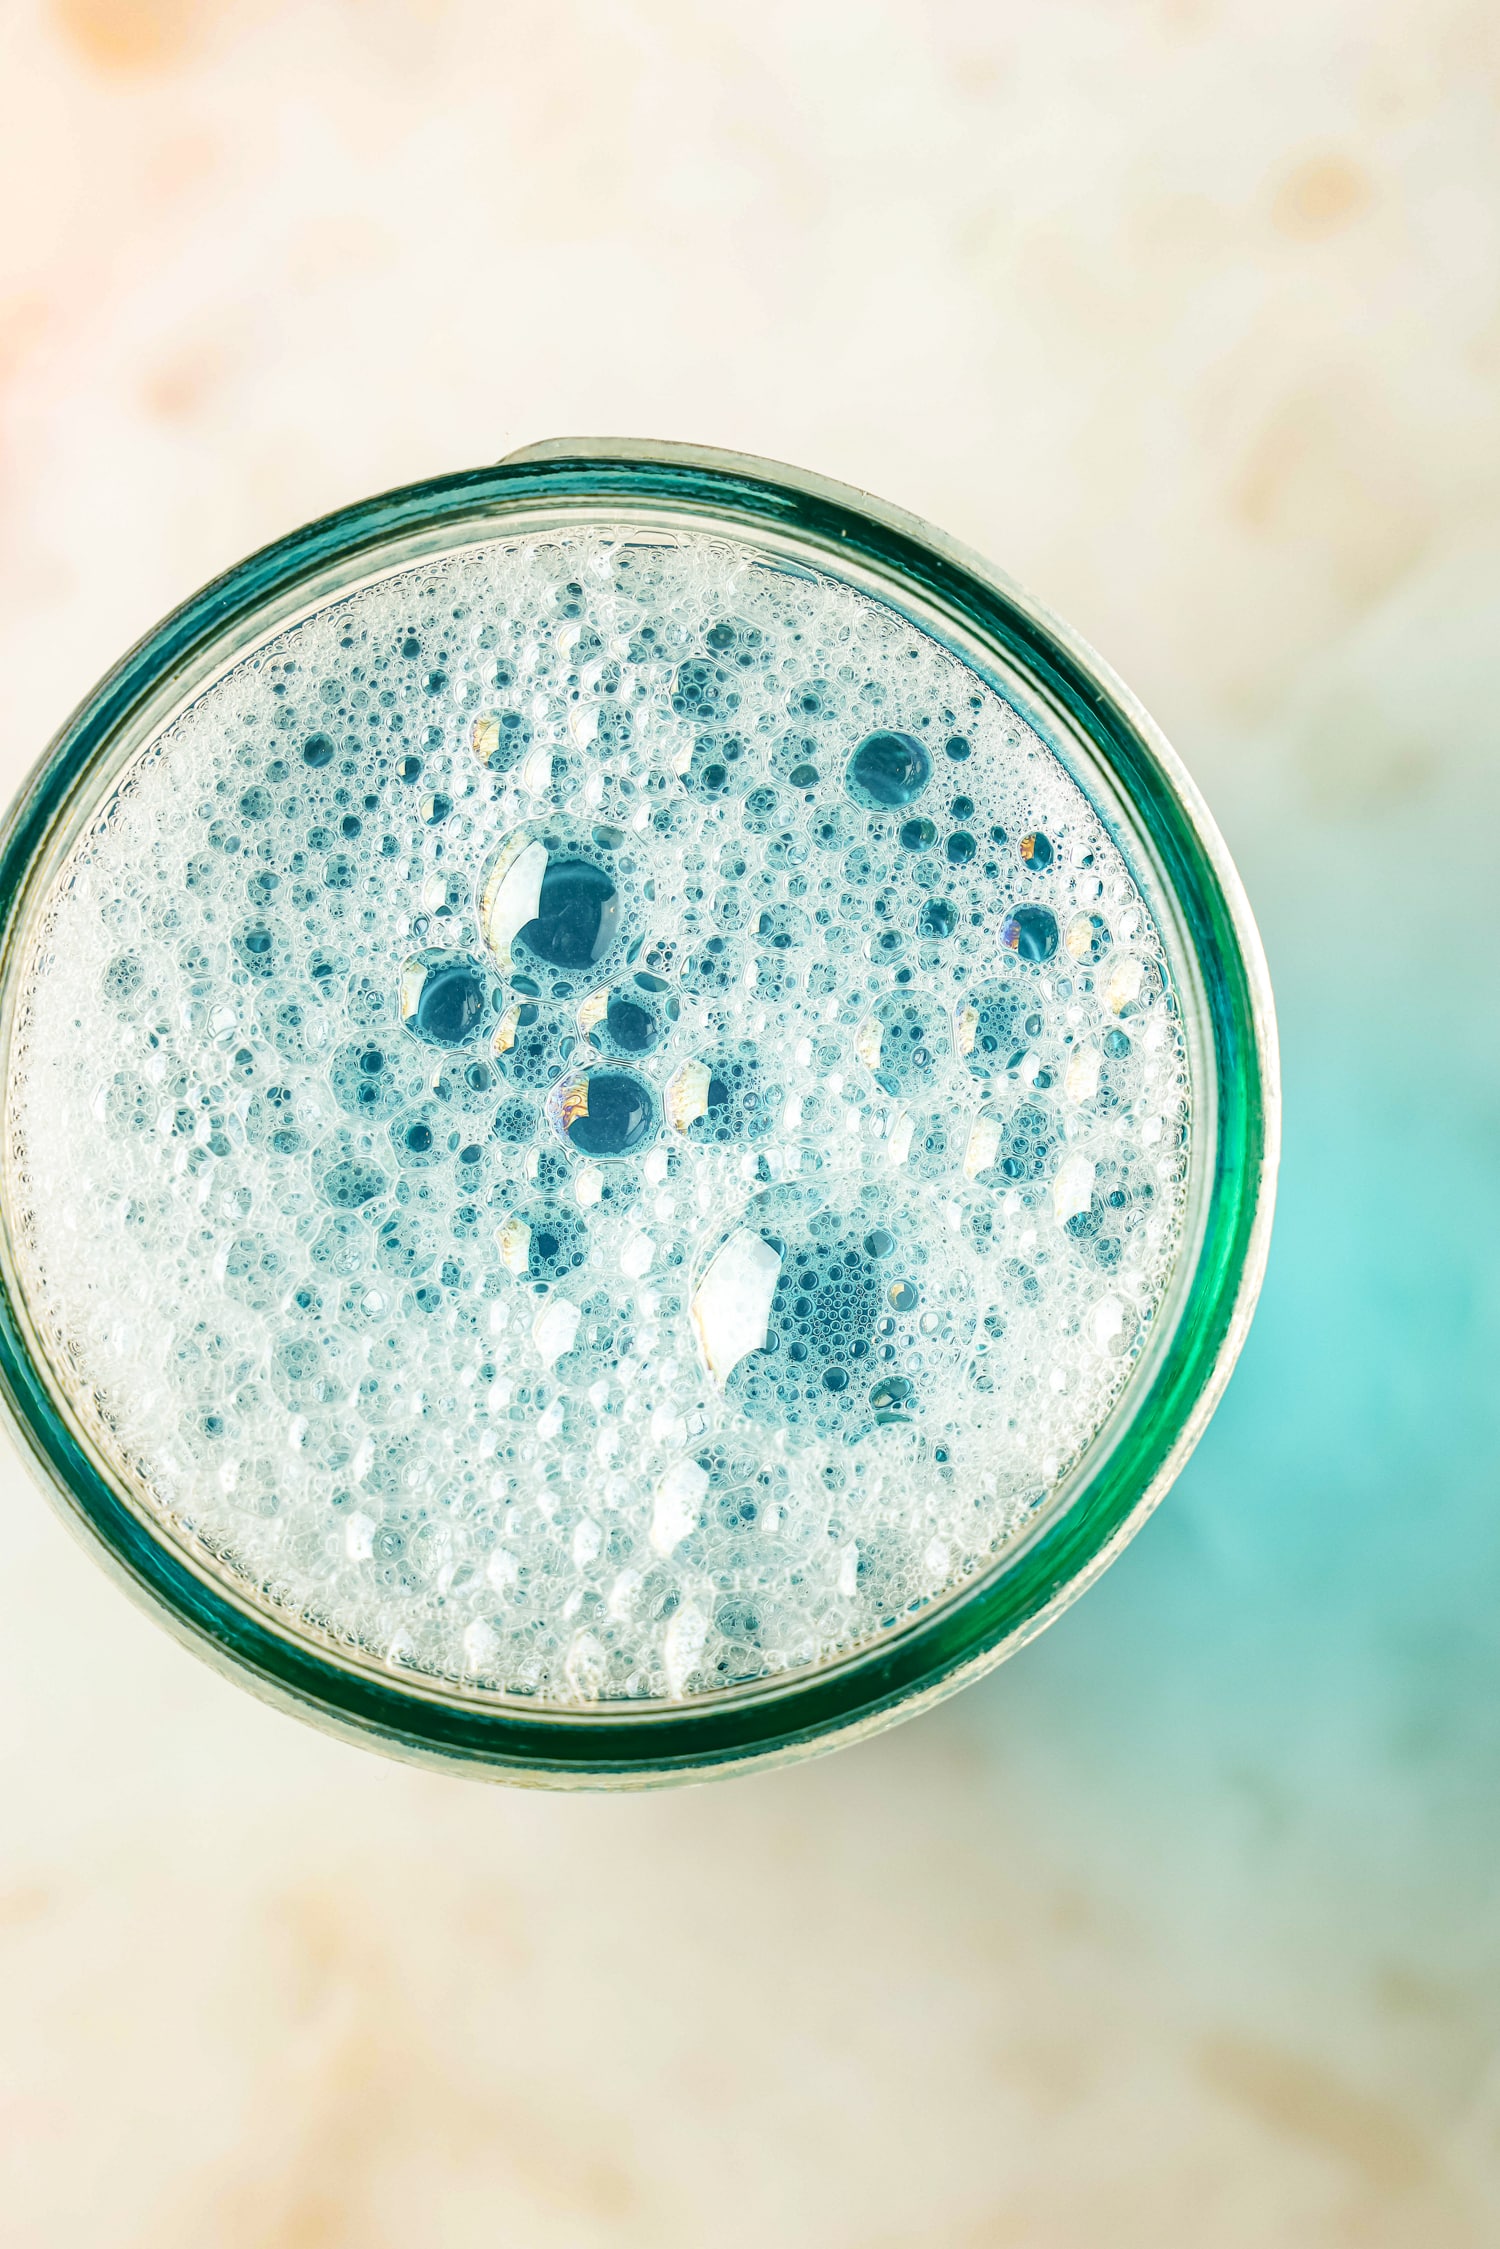
- Water – Make a liquidy bubble mixture with some water. It’ll help create lots of foamy bubbles!
- Whisk – Use a whisk to help combine all the ingredients together so that they are thoroughly mixed and incorporated.
- Dish soap – I like using blue Dawn dish soap because it makes the best bubbles! But you can use any dish soap that you have on hand.
- Sugar – Sugar will help to stabilize the bubbles and give them more structure.
- Beef gelatin – Another stabilizer for the bubbles and it will also help to thicken up the mixture!
- Vegetable glycerin – Glycerin thickens the bubble mixture and helps to lower the freezing point of the bubbles.
How to Make Frozen Bubbles
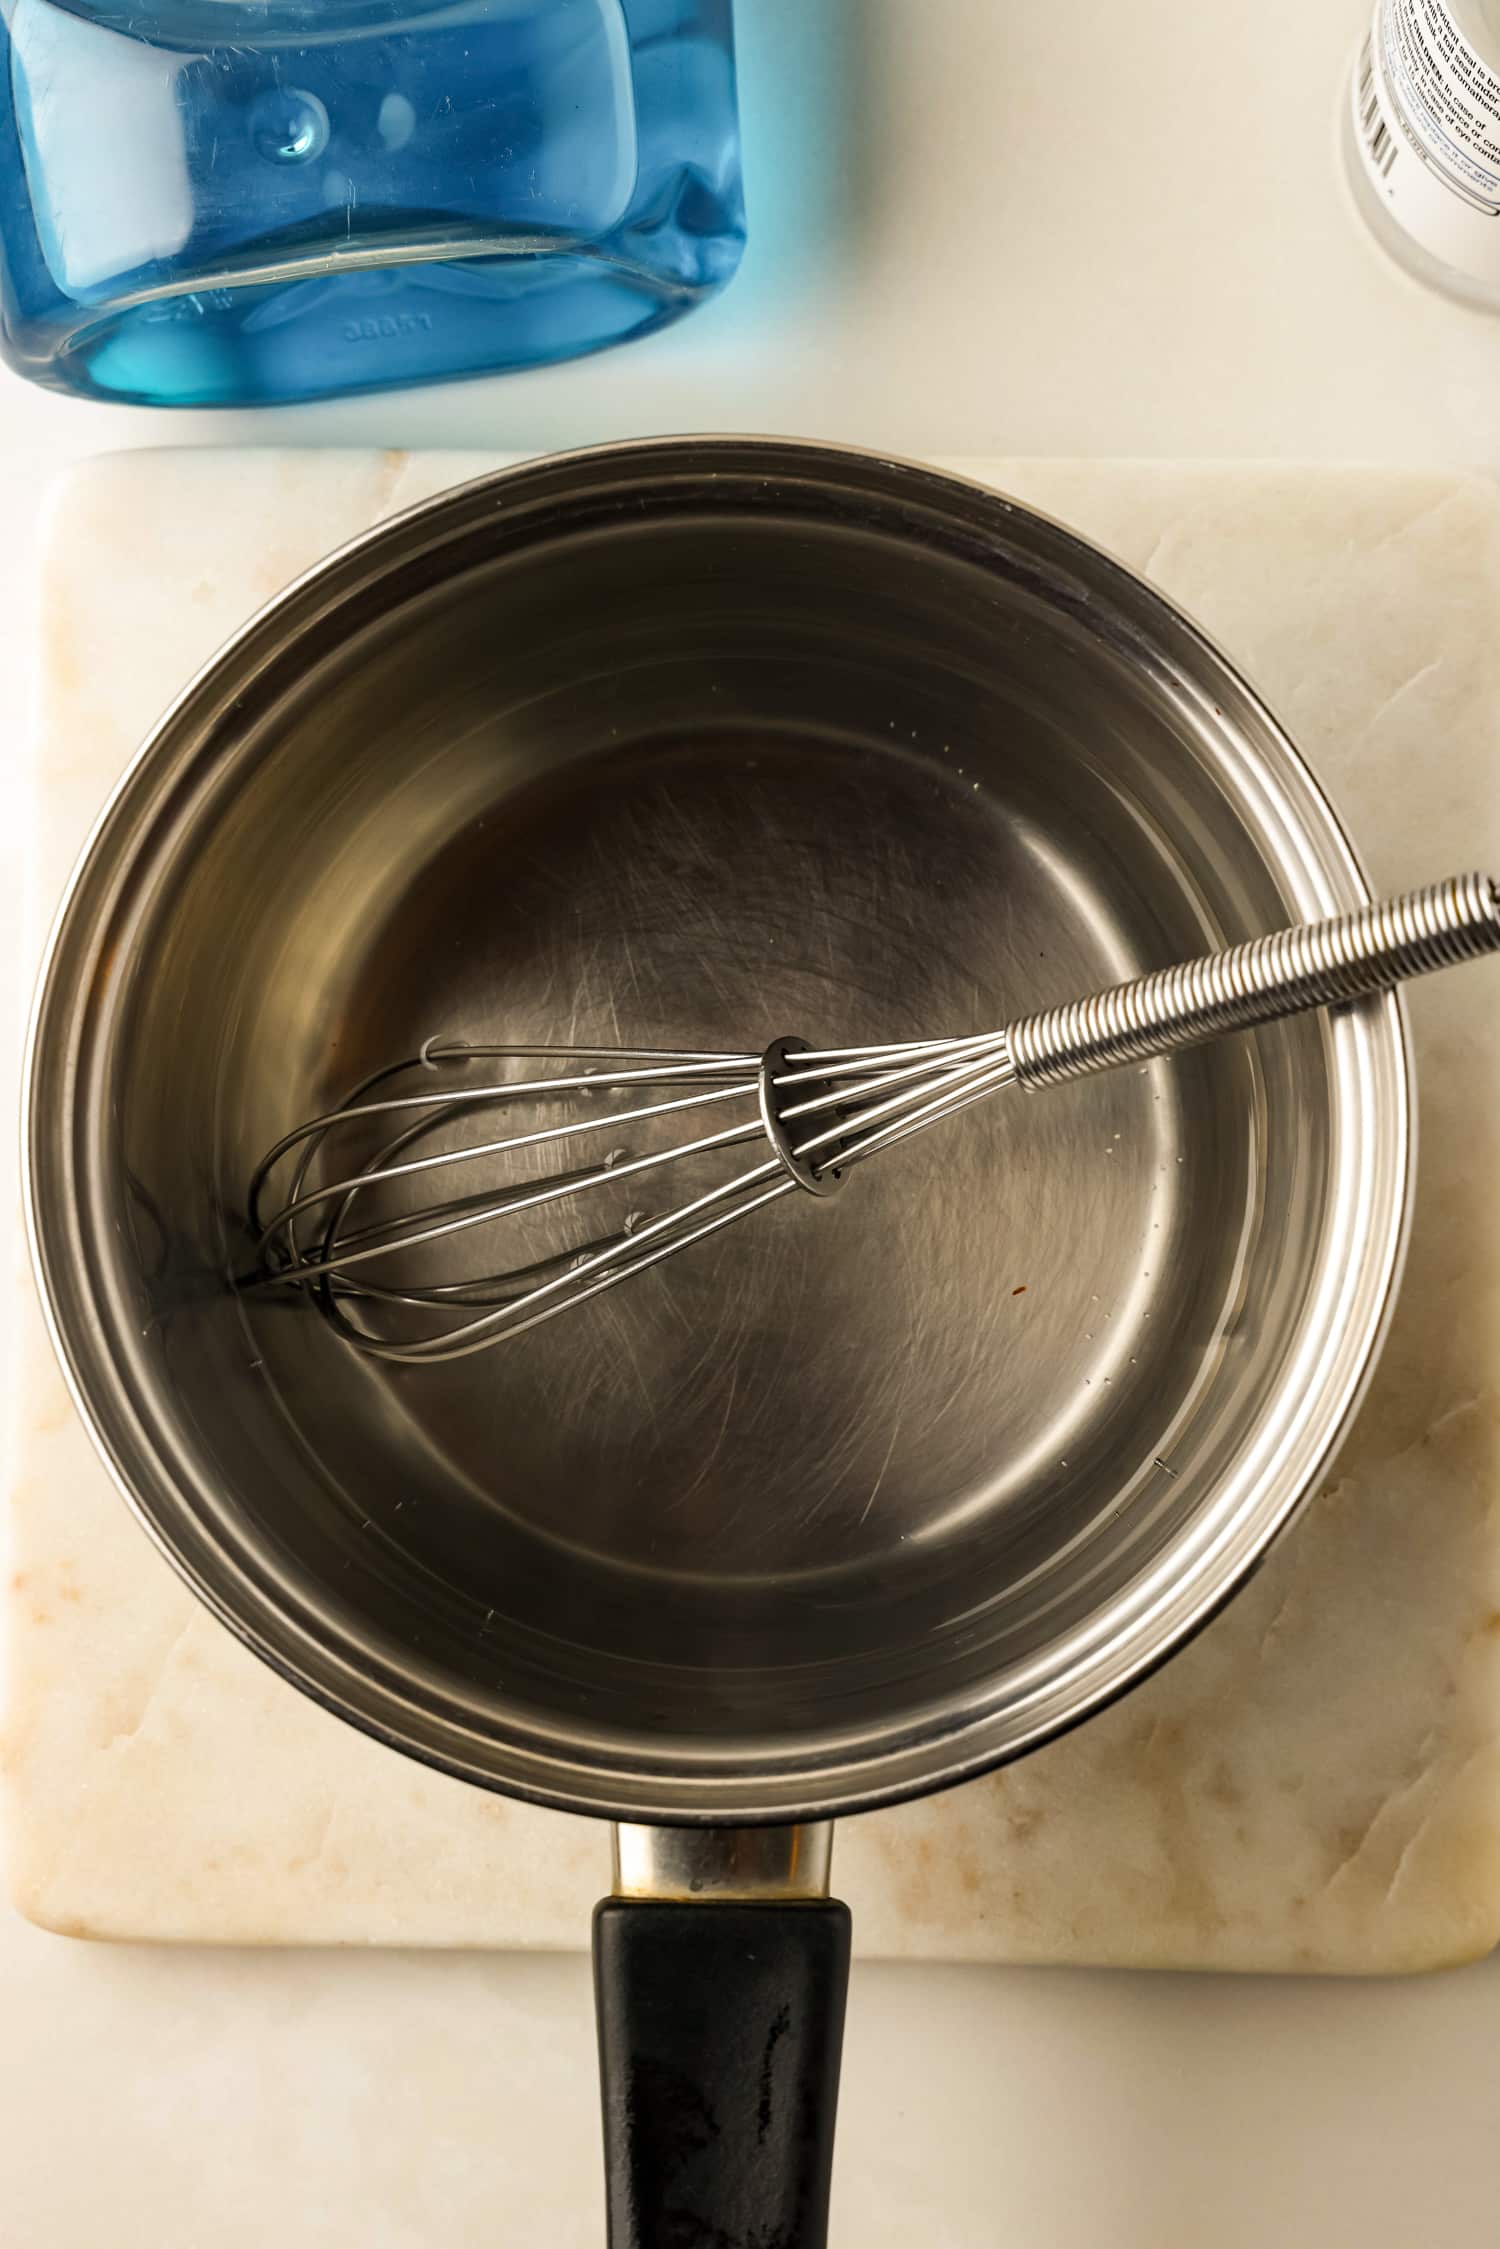
Pour the water into a small saucepan and then heat it on low-medium until the water begins to lightly steam. Remove from heat and set to the side.
Measure out the gelatin and add it to the steaming water. Mix it in until the gelatin fully dissolves and the water is clear.
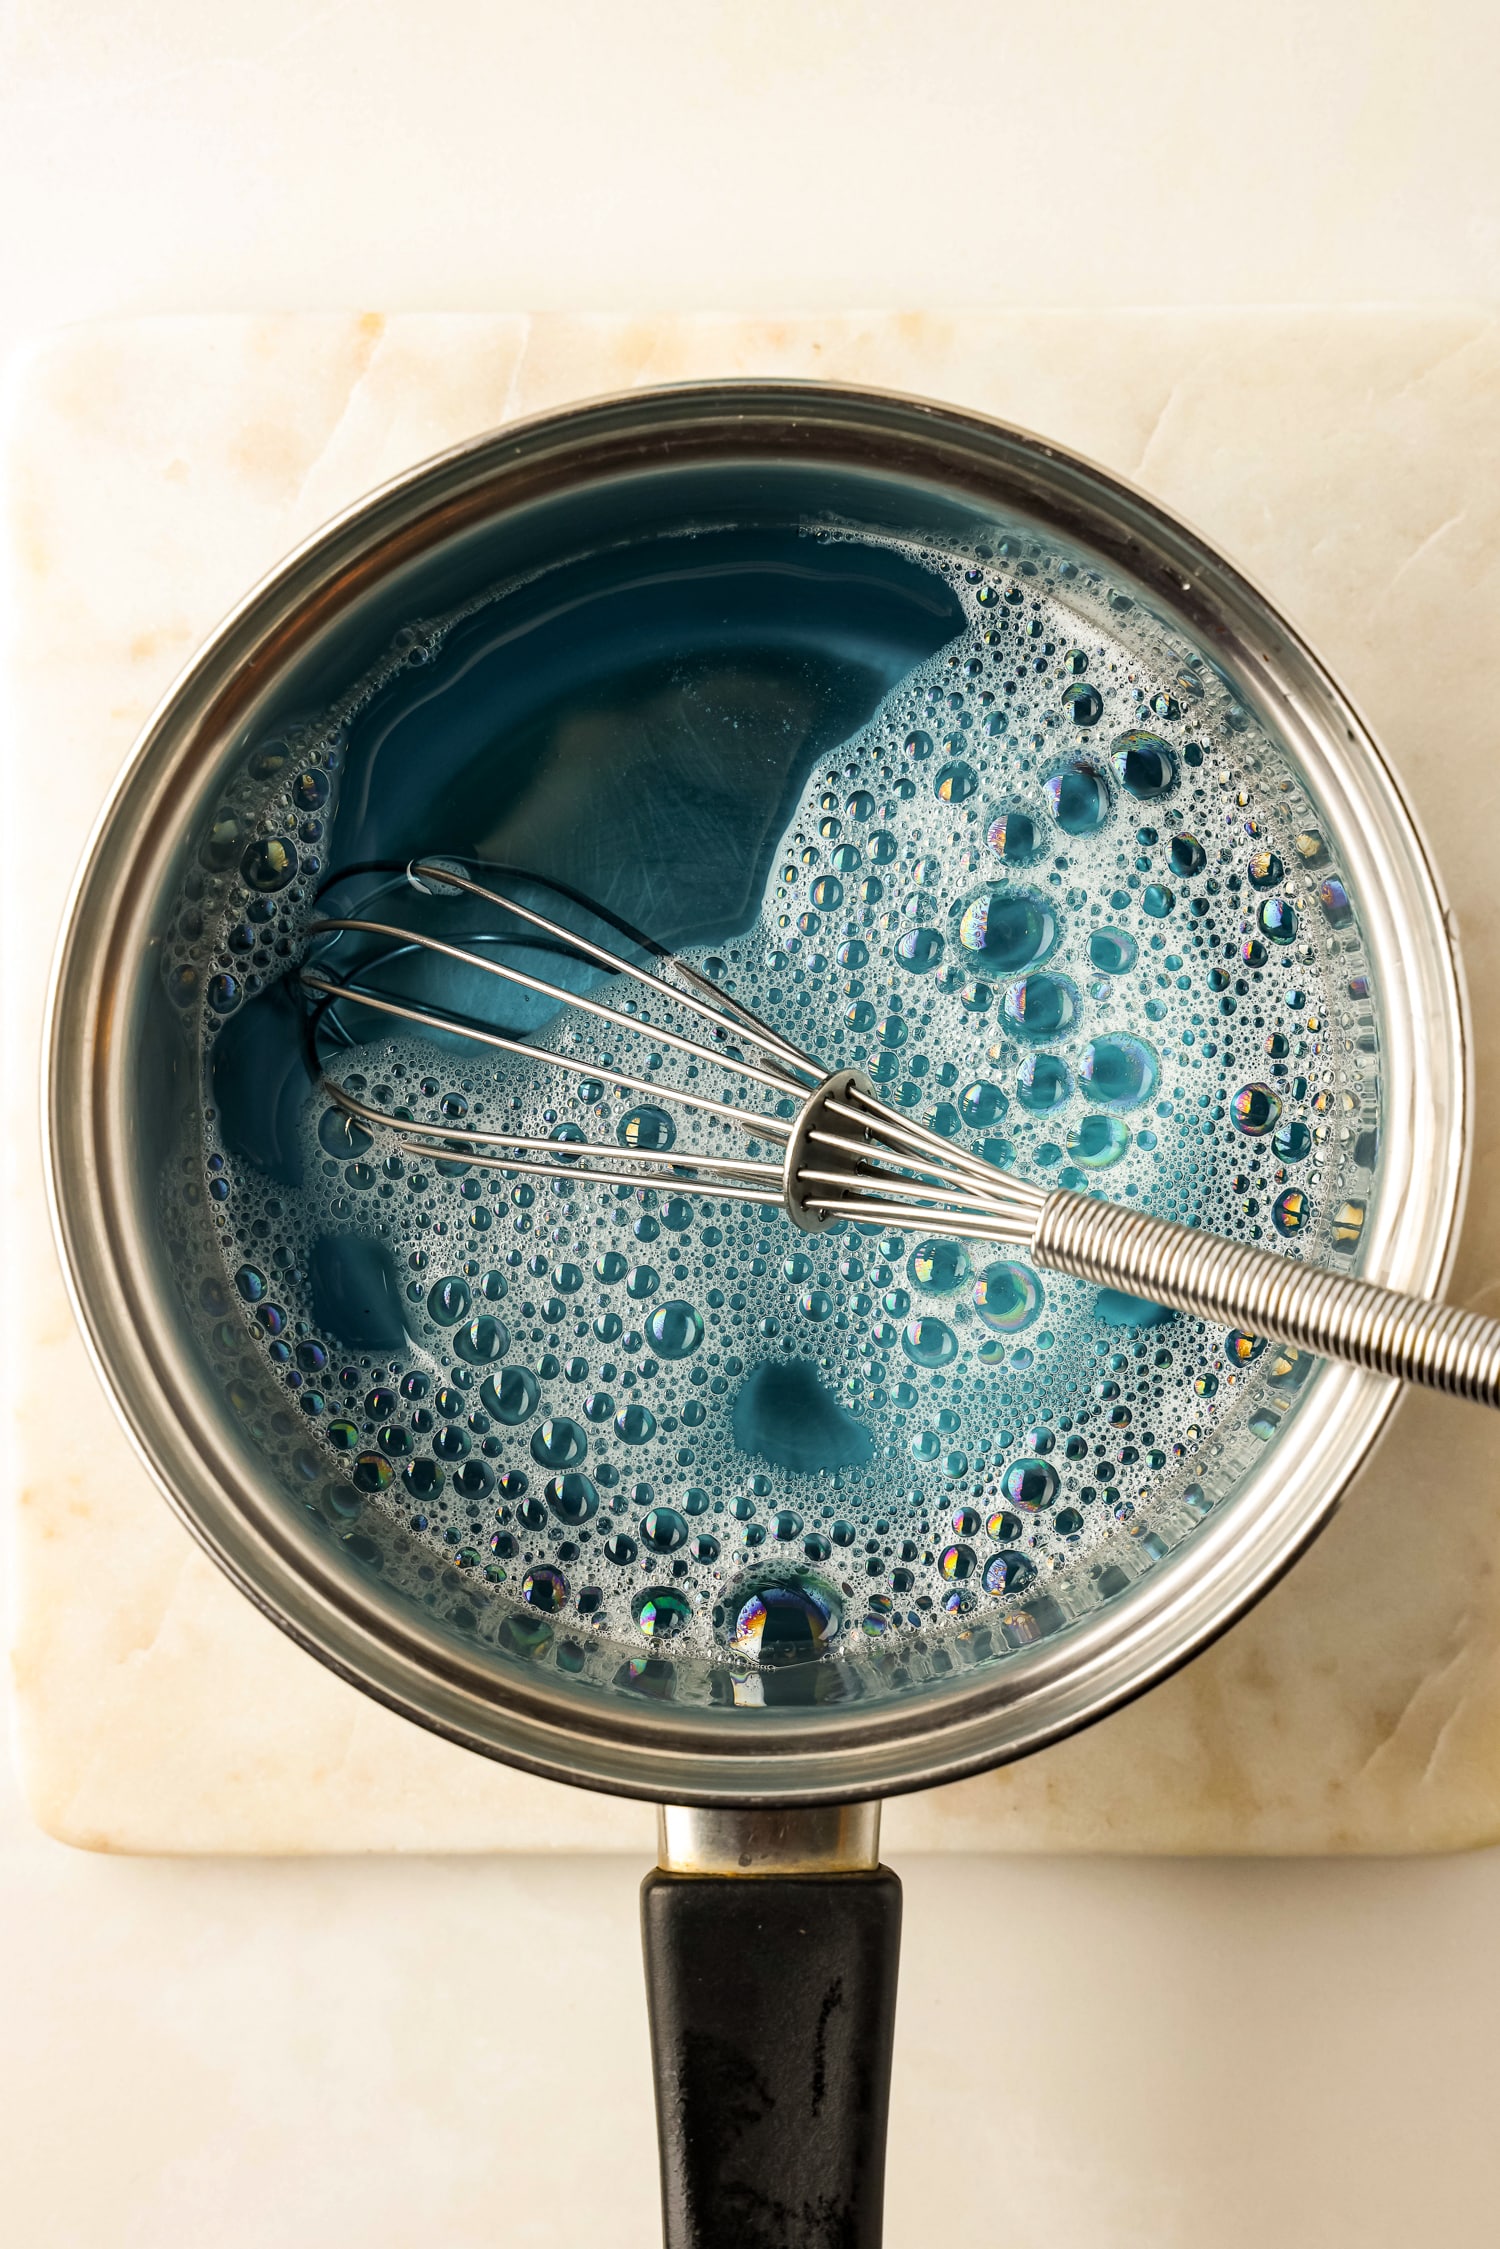
Then, add the sugar and glycerin and mix until fully dissolved. Add the dish soap to the warm water mixture and stir carefully.
Once the bubble solution has cooled to room temperature, pour it into a jar with a lid. Then place it in the refrigerator overnight.
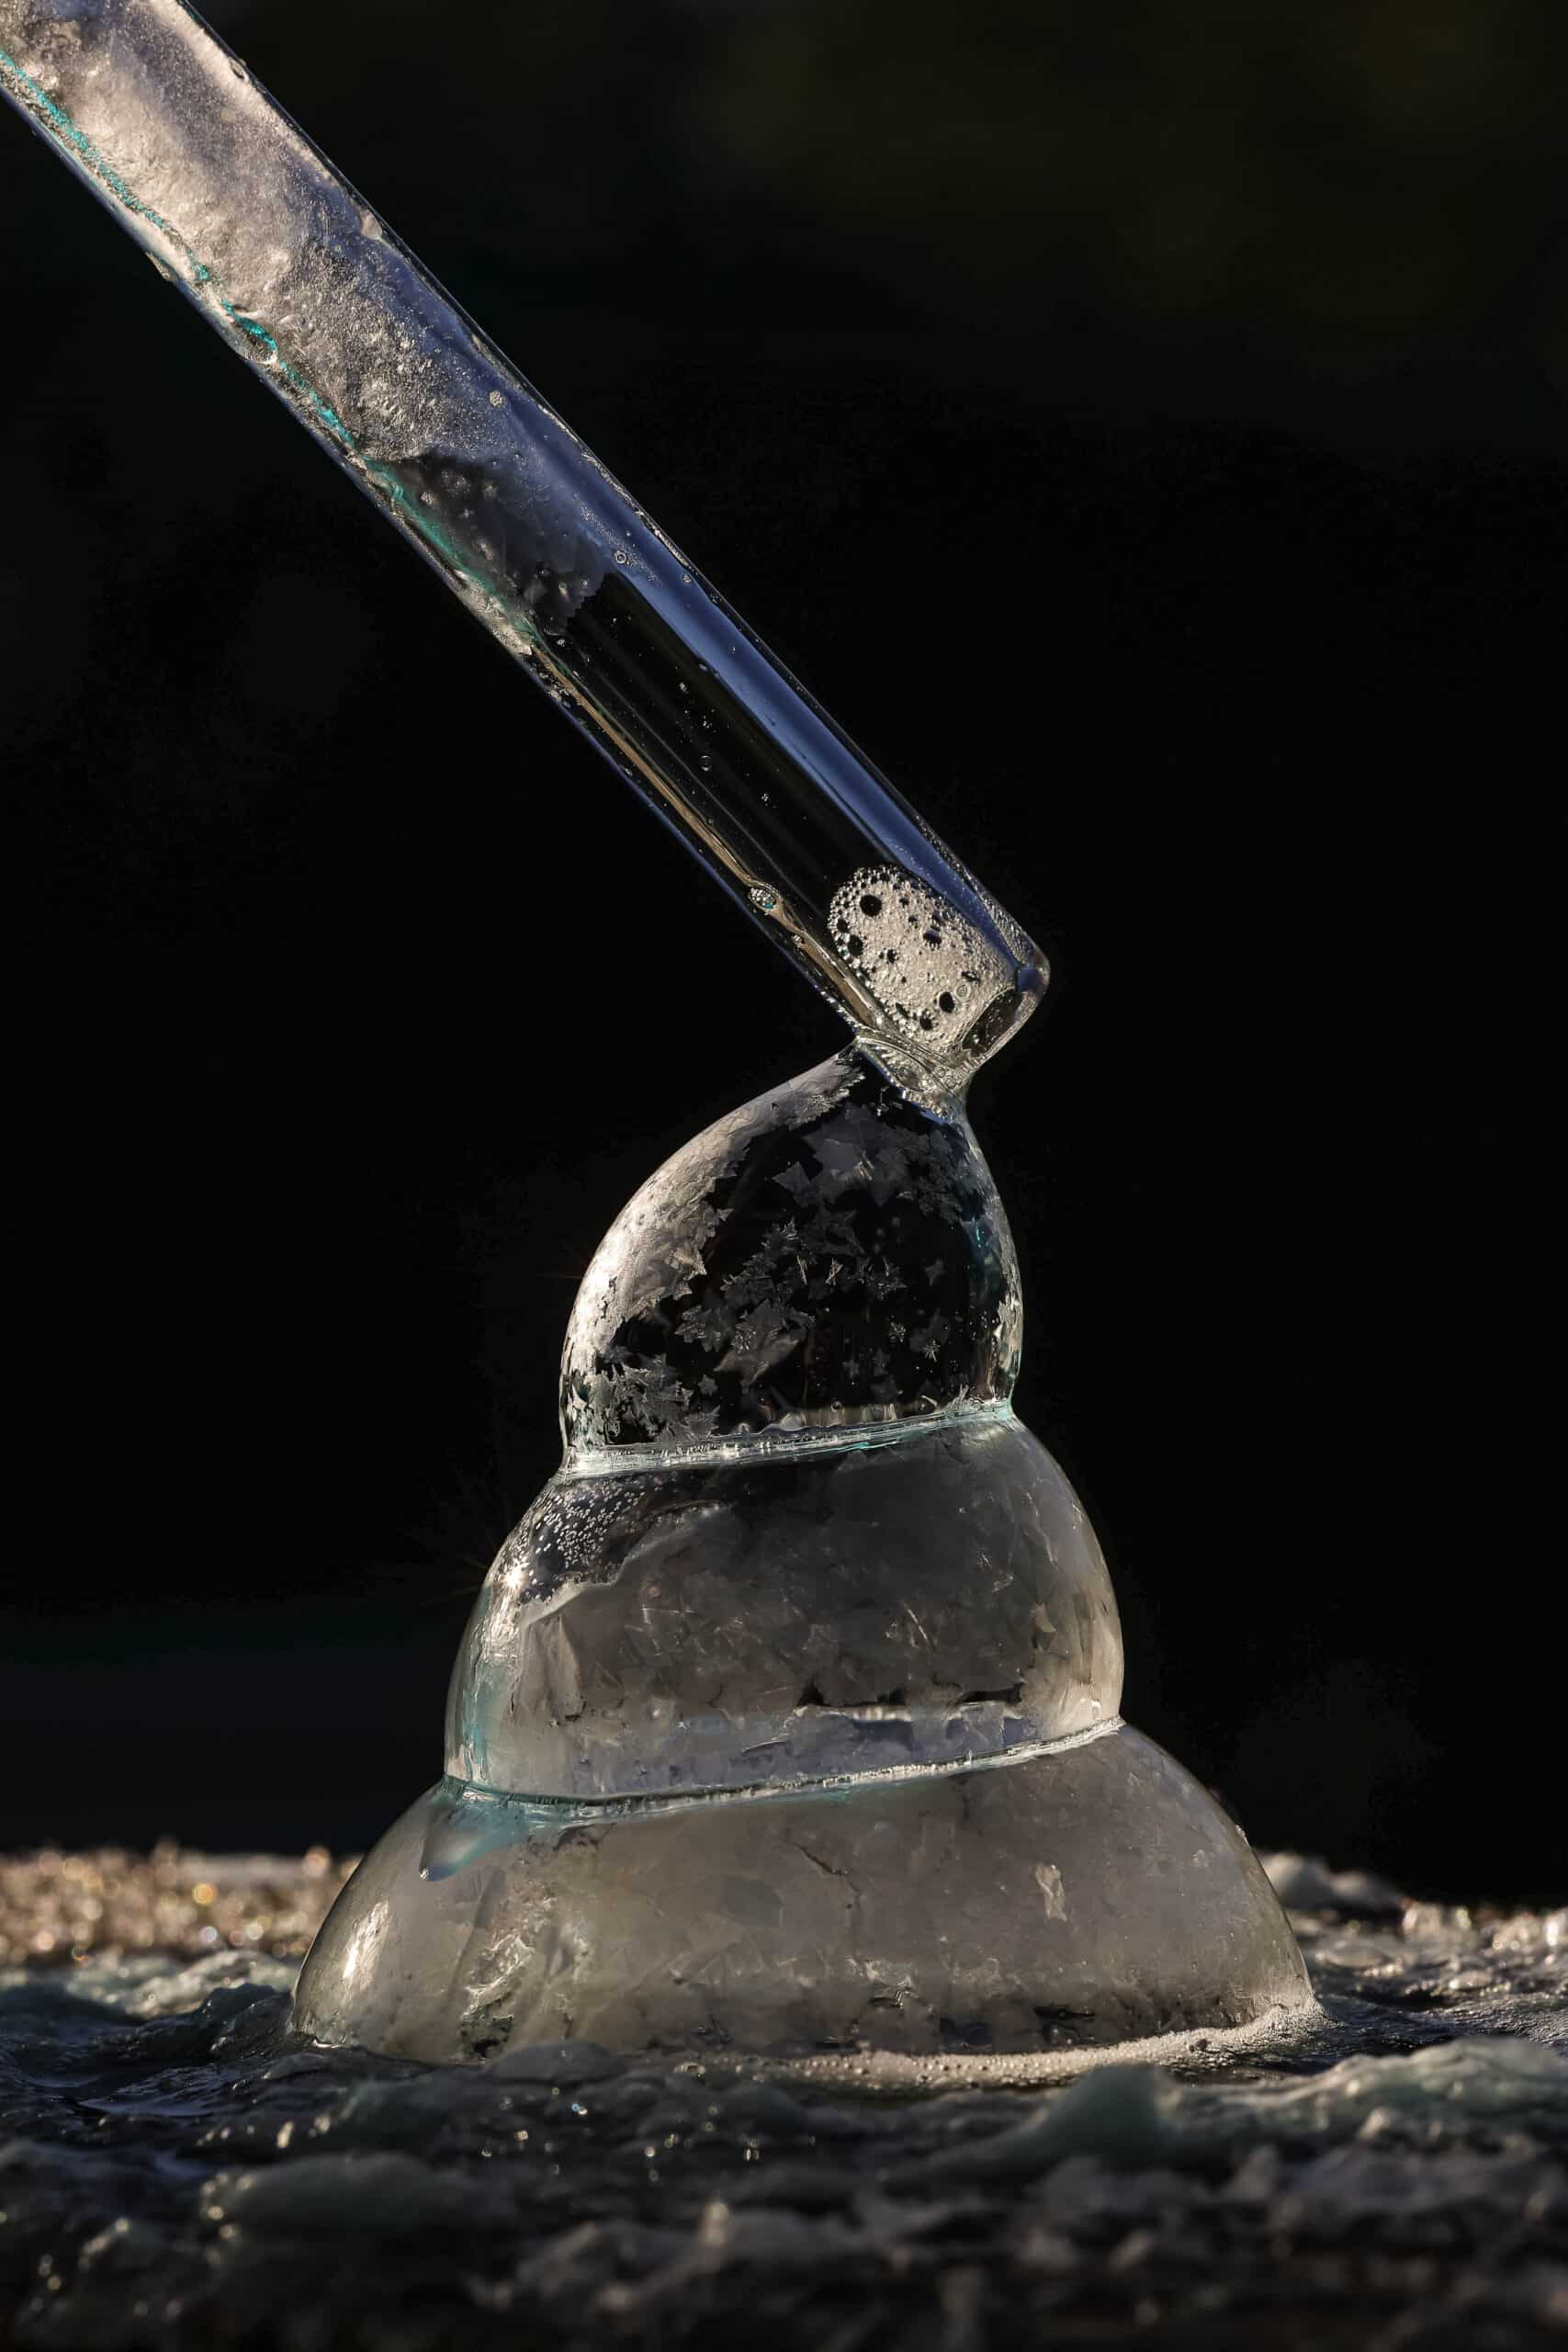
When the weather is cold enough, 20 degrees or colder, take the bubble mix outside to use it! Blow bubbles with a straw straight up and down onto a smooth surface, a textured surface could make things difficult. Leave the straw inside of the bubble and pull upwards as you are ready to release.
Be patient while blowing bubbles! It can take a little bit of practice, especially if it is windy. Look for a place to blow the bubbles that is safe from breezes. The slightest breeze can make it difficult for bubbles to form.
You can experiment with different bubble wands too, even cookie cutters! Dip your favorite bubble wand into the soapy water bubble mixture and hold it up to watch the magic happen in front of your eyes!
How long does the bubble solution last?
This solution should last for a year or more if stored properly. I would keep it in the fridge, just make sure that it doesn’t get too cold.
How do frozen bubbles work?
These bubbles actually have multiple layers! They are a bubble of water surrounded by soapy water. When you blow the bubbles in cold weather, the water layer freezes and creates crystalline patterns. This is why it is important to mix all of these ingredients together instead of using regular bubble solution. The layers of bubble solution adjust the freezing point and helps that layer of water molecules stay sturdy enough to freeze before popping.
Pro Tips for the Most Successful Frozen Bubbles Experiment
- Before you go outside, bundle up in gloves, hats and coats! That way, you can stay outside longer and make as many super cool frozen bubbles as your heart desires.
- Don’t push too much air through the straw as you form bubbles. To much internal pressure could cause them to pop.
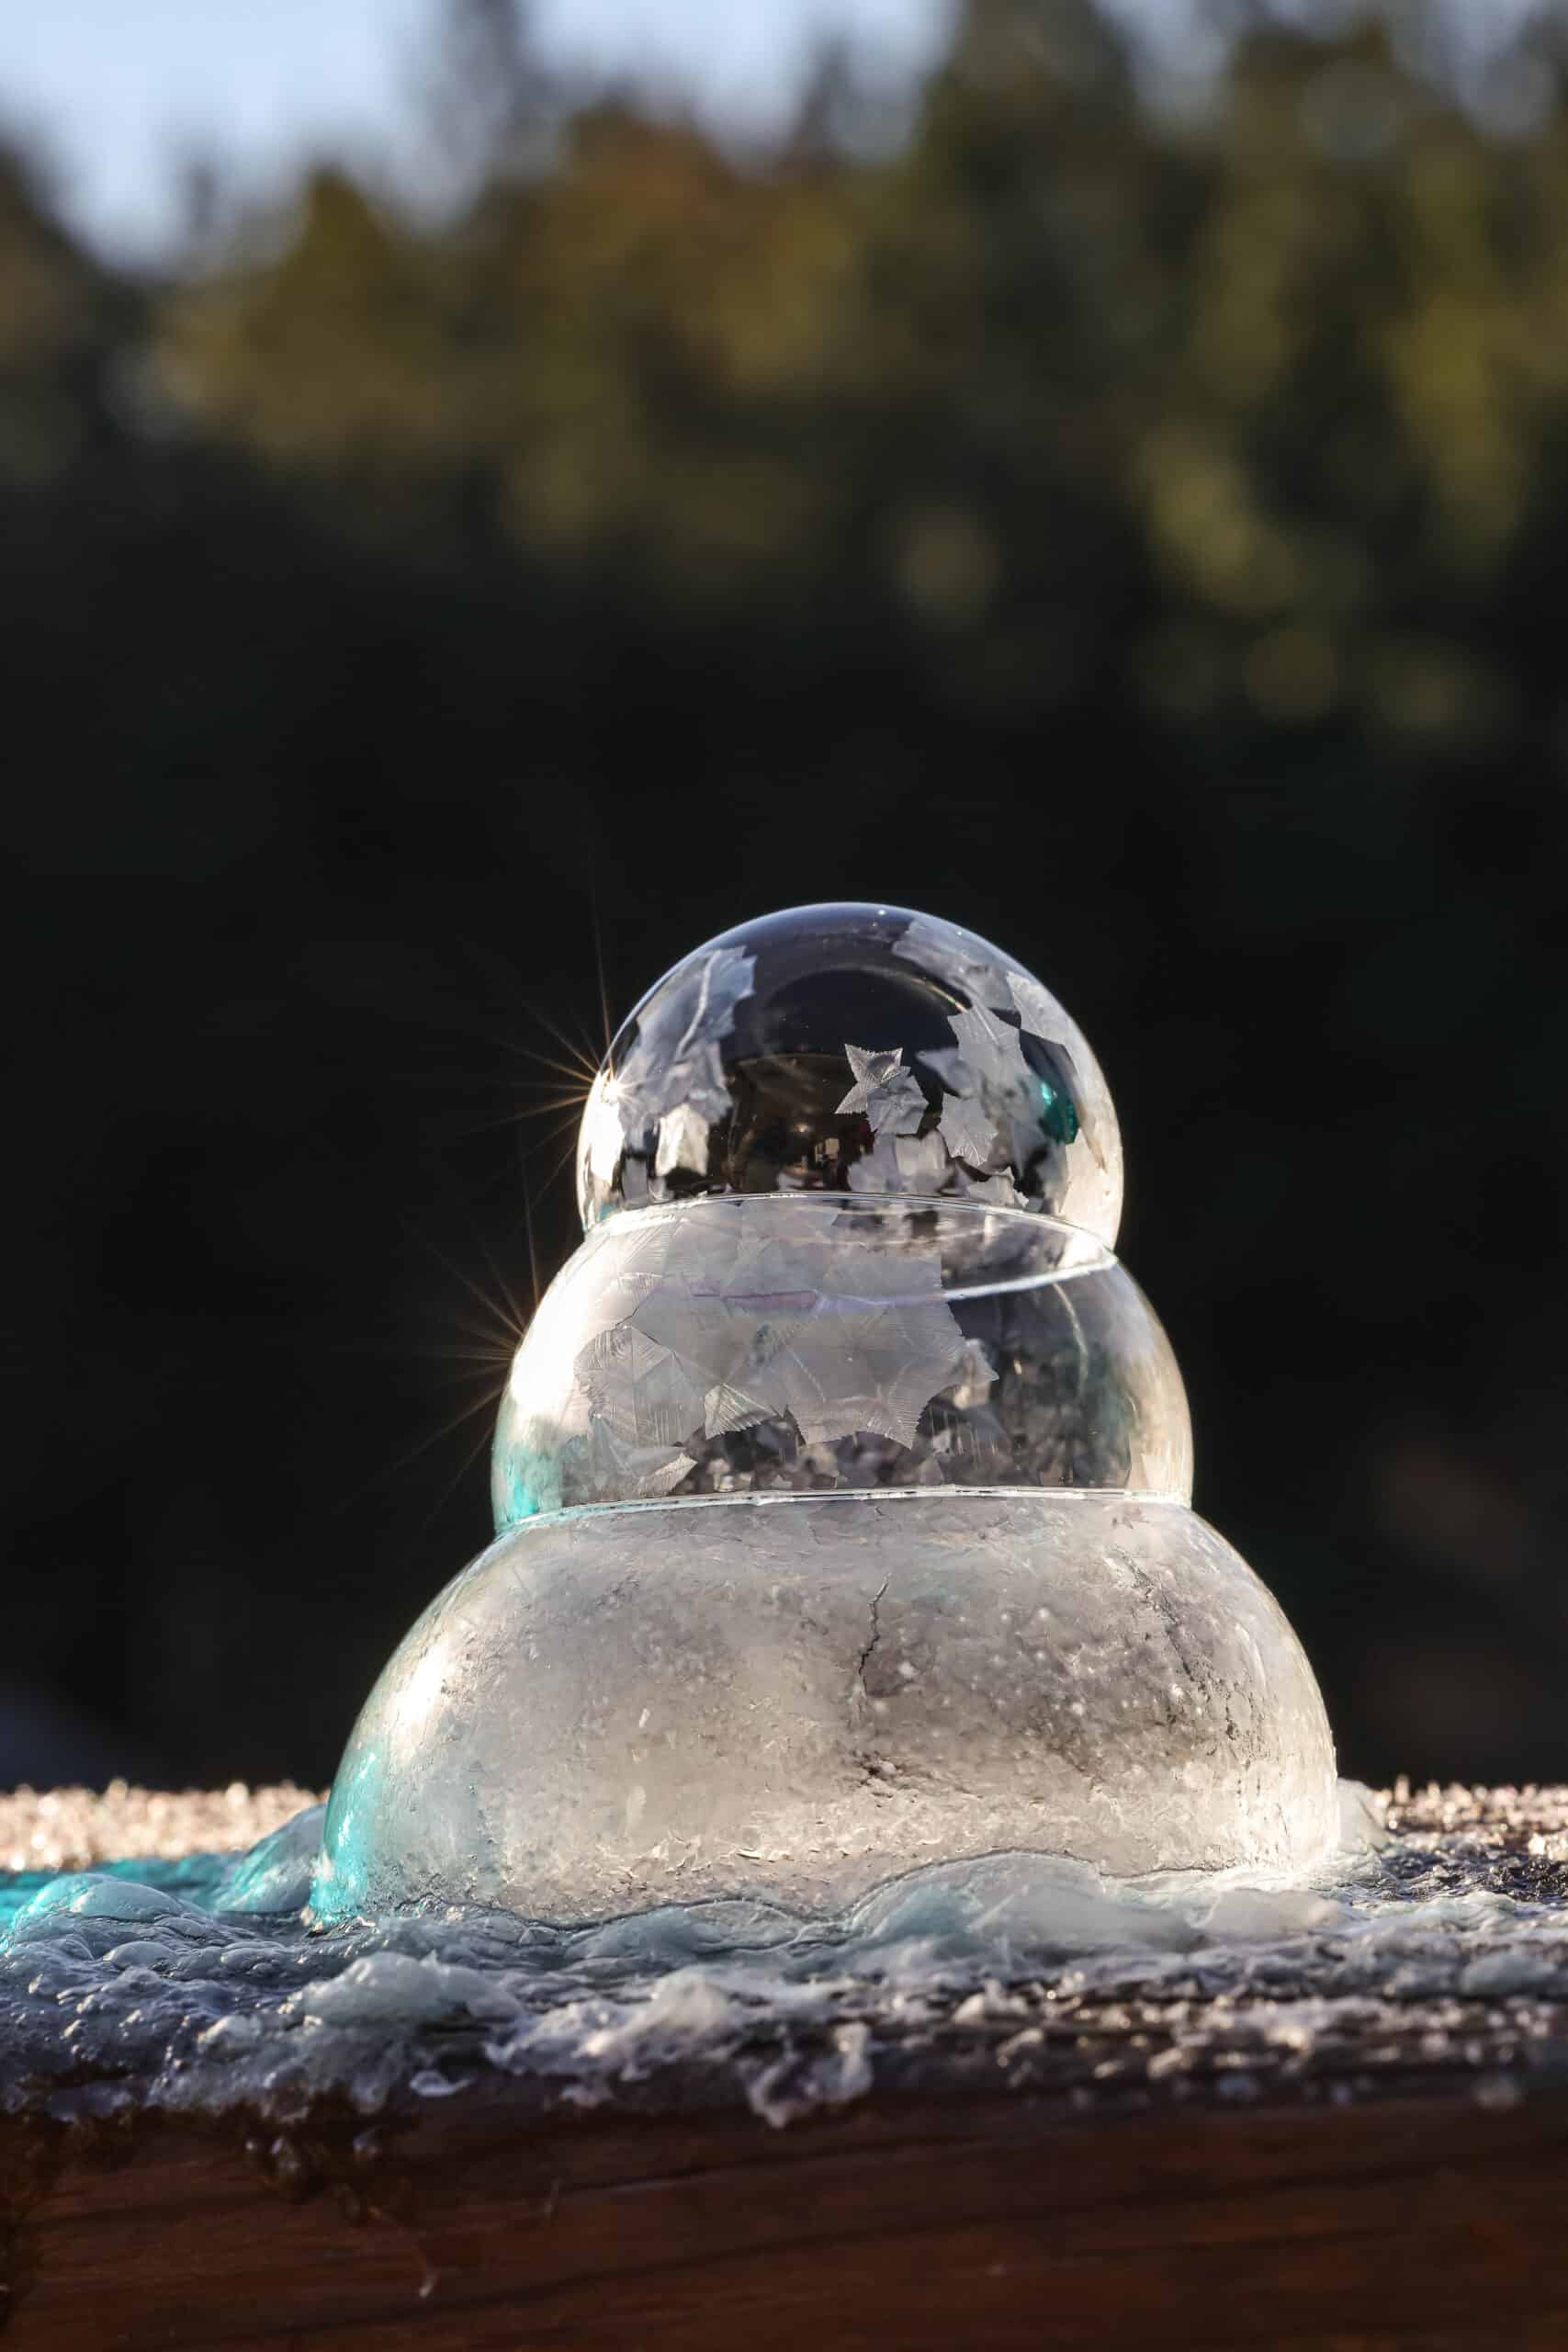
- You can stack the bubbles! Just wait for one to freeze, then build more on top of it.
Frozen bubbles are the coolest homemade science experiment! Don’t forget to photograph them, because they are so cool! If you love this experiment, then you’ve gotta check out this walking water water experiment too.
More Craft and Experiments You’ll Love!
- The tastiest science experiment is learning How to Make Rock Candy! So easy to do and it always turns out tasty.
- Kool-aid Oobleck is a goopy and gooey science experiment that any kid would love to create.
- If you’re kids love slime, then you totally have to make some Fluffy Slime! It’s the coolest thing!
- Make Homemade Sidewalk Chalk when you need a fun activity for those sunny days.
How to Make Frozen Bubbles
Equipment
- Small jar with a fitted lid
- Spoon or whisk to stir the solution
Ingredients
Ingredients and Kitchen Equipment:
- 1 cup tap water lightly steaming
- ⅛ teaspoon beef gelatin
- 3 Tablespoons sugar
- 2 Tablespoons vegetable glycerin
- 4 Tablespoons dish soap I use the blue Dawn brand, but I have used AJAX before.
Instructions
For Bubbles
- Measure the water and pour it into a small sauce pan. Heat on low-medium heat just until the water begins to lightly steam. Remove from heat. (You can simply move the sauce pan to a burner that is not hot.)
- Measure ⅛ of a teaspoon of gelatin, and add it to the lightly steaming water. Mix until it dissolves and the water is clear.
- Next, add the sugar and glycerin to the hot water. Stir until dissolved.
- Add the dish soap to the sweet water mix. Carefully stir in the dish soap.
- Allow for the bubble solution to cool to room temperature. Once it has cooled, pour into a jar that has a lid, and then put it in the refrigerator overnight.
- When the weather is just right (20 degrees or COLDER) take your bubble mix outside and bring your straws. It works best if you blow them with the straw straight up and down onto a smooth surface, leaving the straw inside the bubble and pulling upwards as you are ready to release. It can take a little bit of practice and persistence, especially if it is windy. Look for a place to blow your bubbles that is safe from breezes.
- You can also experiment with different bubble wands, and even cookie cutters. Dip a bubble wand or cookie cutter into the bubble solution, and hold it up to watch it form amazing patterns as it freezes!
For Bubble Wands
- We used Perler beads to shape the bubble wands. They are a fun project, and the kids LOVE creating fun shapes with them. You can find them at Walmart or online at Amazon.