Salt Dough Recipe
This easy Salt Dough Recipe is perfect for kids’ crafts like handprints, ornaments, and fun shapes—simple to make, fun to decorate, and ideal for creative play at home or in the classroom!
Salt dough is essentially just playdough that you can dry to preserve your fun creations. We use it to make Christmas ornaments every year, but there are so many more incredible crafts that you can make with this malleable dough. If you’re looking for a simple recipe to make salt dough at home, then you’ve come to the right place! This basic salt dough recipe is a great activity to do on a snowy, cold or rainy day when everyone is stuck inside.
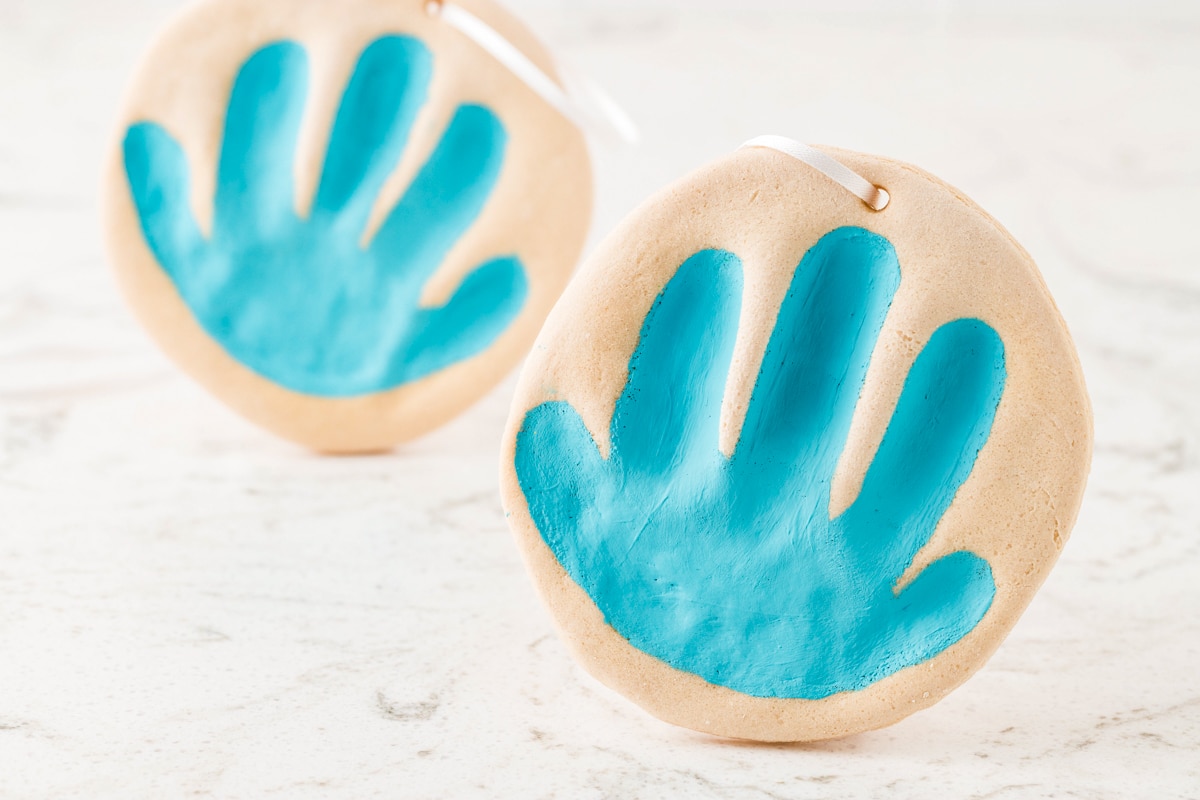
Activities that create keepsakes are some of the most important crafts. You not only create the best memories, but you get to have something you can look at for years to come and remember your kids at their younger age. This salt dough recipe can be used to create keepsake ornaments, handprints, Mother’s Day gifts, and so much more. Use your imagination and you can create anything that you set your mind to!
Why You’ll Love This Activity
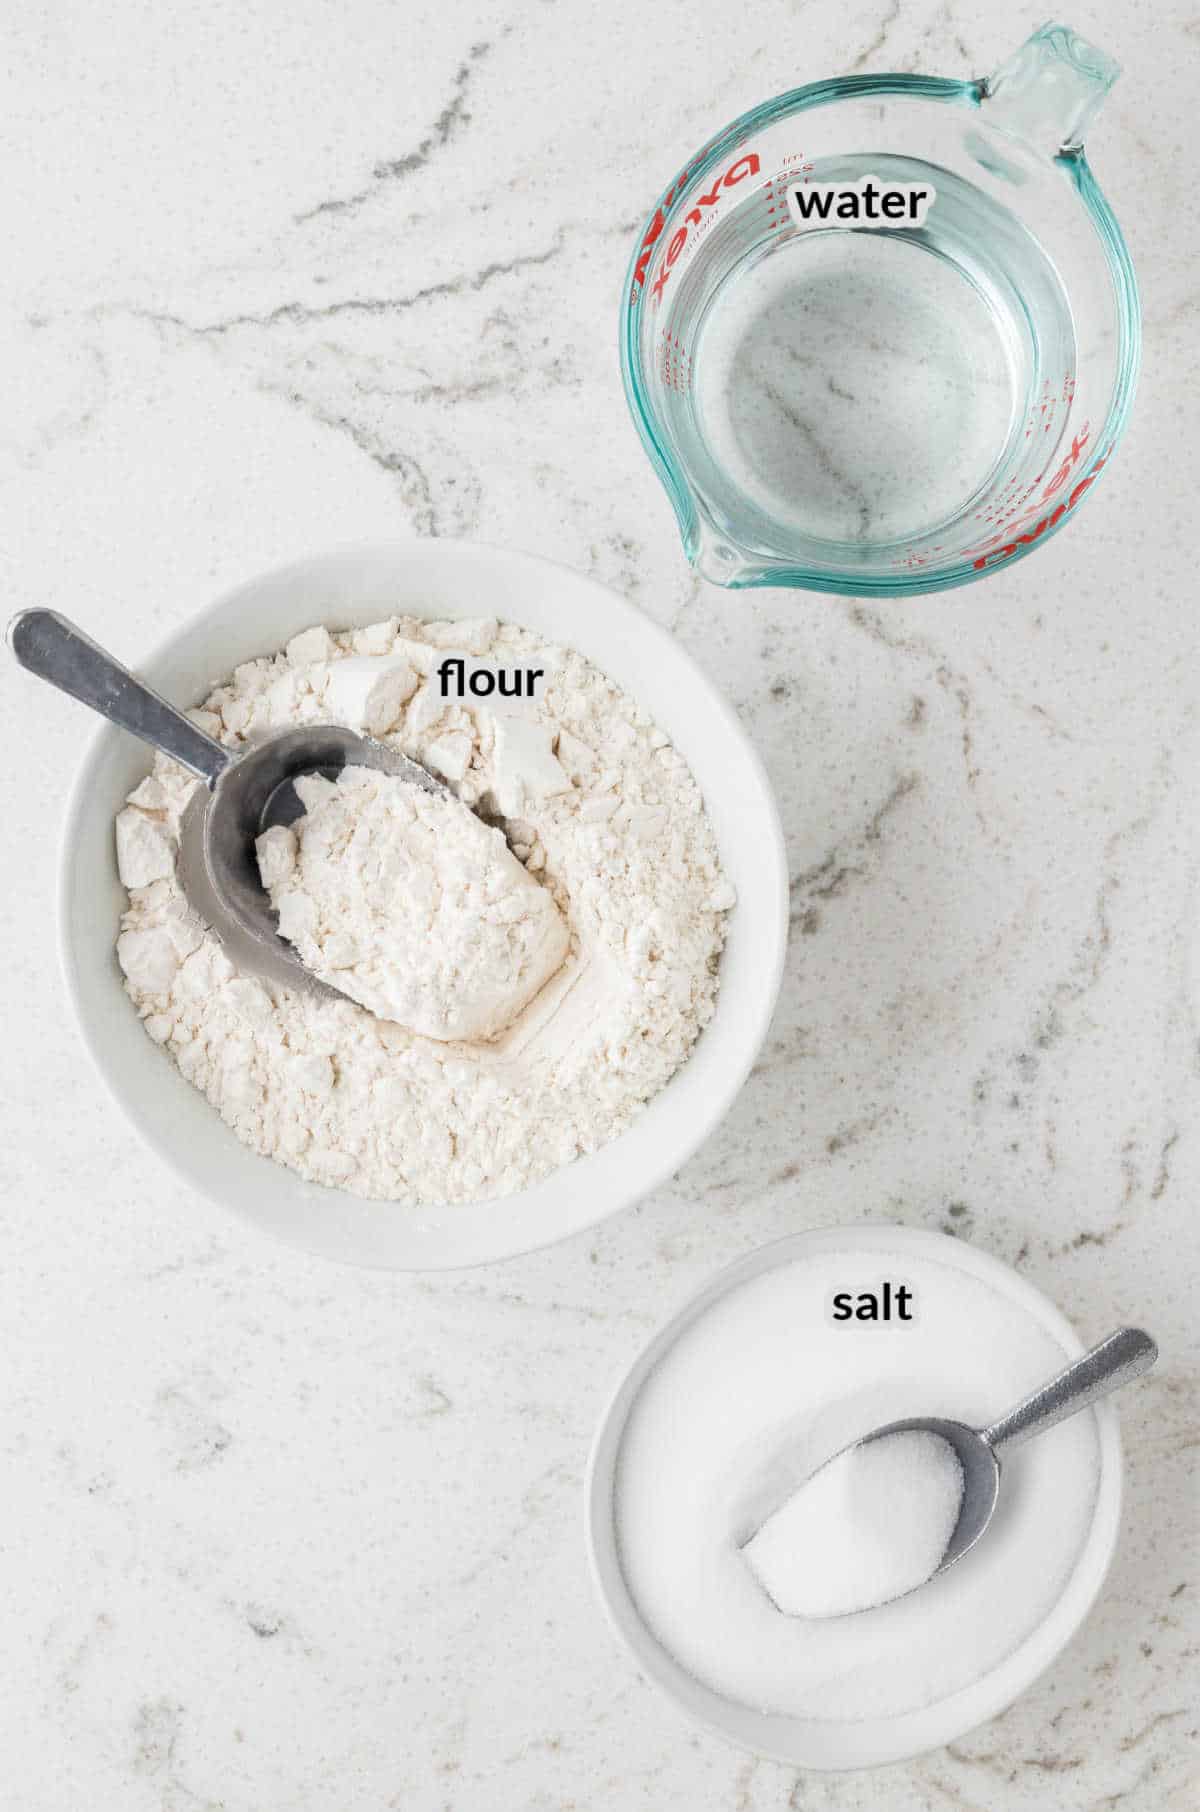
- You only need three kitchen staple ingredients to make this super simple recipe. Nothing out of the ordinary. Just flour, salt and water — voila!
- Making this salt dough recipe and creating fun crafts with it is a great way to refine fine motor skills. It’s a great sensory activity as well.
- With this dough, you can make hundreds of different creations. A great way to encourage your kids to use their imagination and creativity.
Ingredients for Salt Dough Ornament Recipe
- Flour – Use all purpose flour as the base ingredients to make the mixture for this homemade salt dough recipe. Be sure not to use self-rising flour or your ornaments will puff up as they bake.
- Salt – This is what helps hold the dough together to create all of the fun shapes. Use regular table salt because the crystals are small and dissolve well. Coarser salts will be trickier to incorporate into the dough.
- Water – All you need to bring the dough together is a little water.
Ideas For Decorations
Depending on the shapes you create, you can use paint, glitter, stickers, googly eyes, pipe cleaners and more to decorate your dry salt dough ornament. You can even decorate salt dough Christmas decorations with tinsel!
How To Make Salt Dough
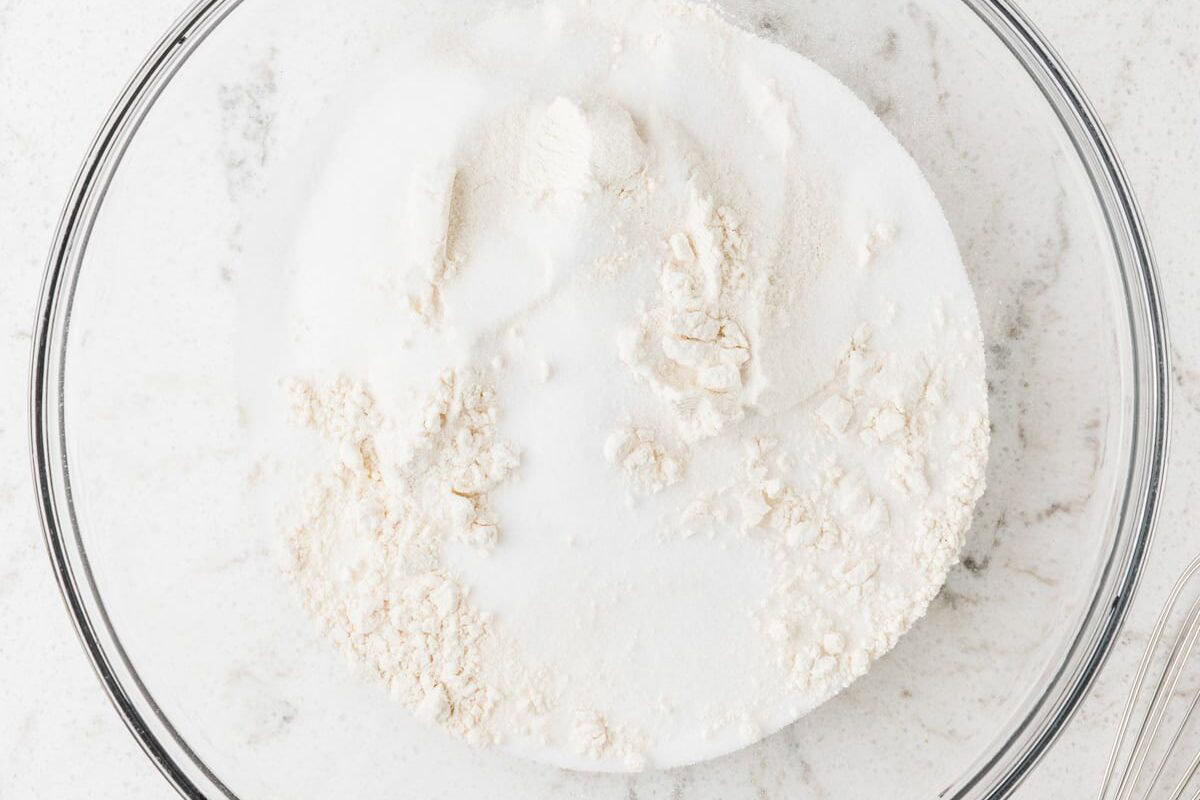
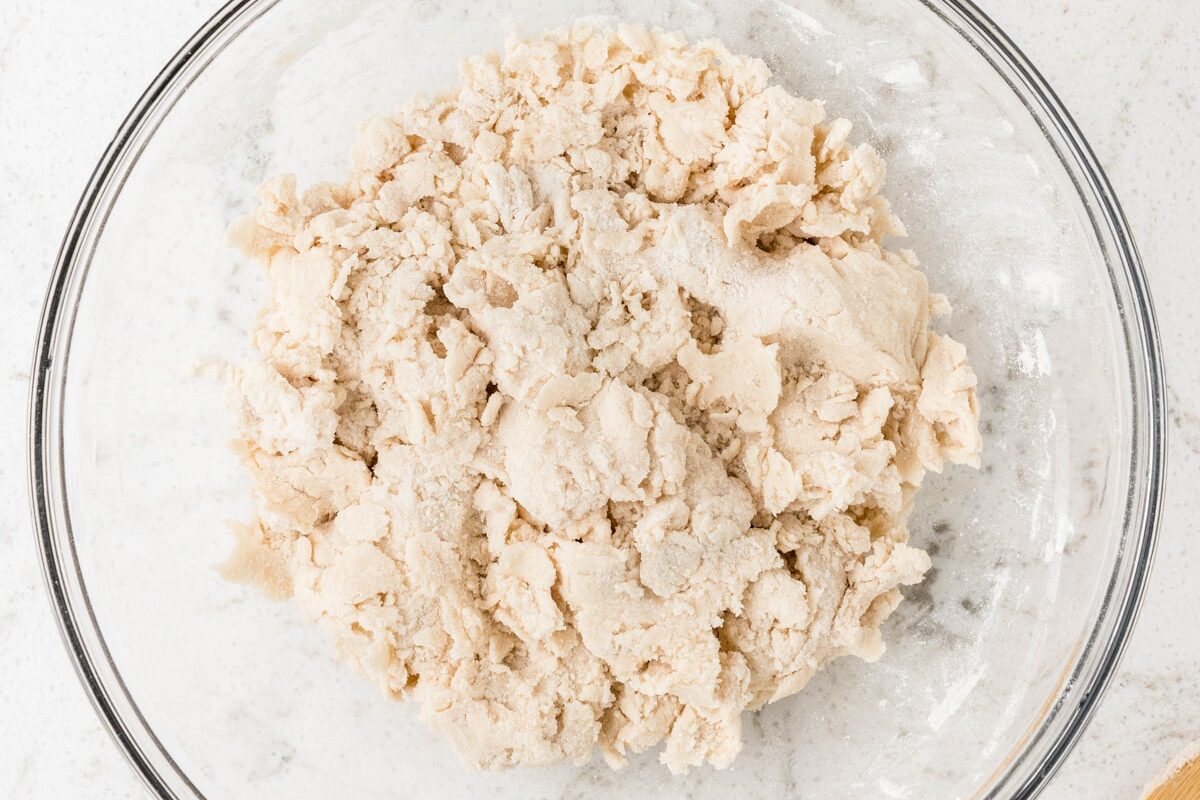
- Pour the all purpose flour and salt to a large mixing bowl and mix it together until well combined.
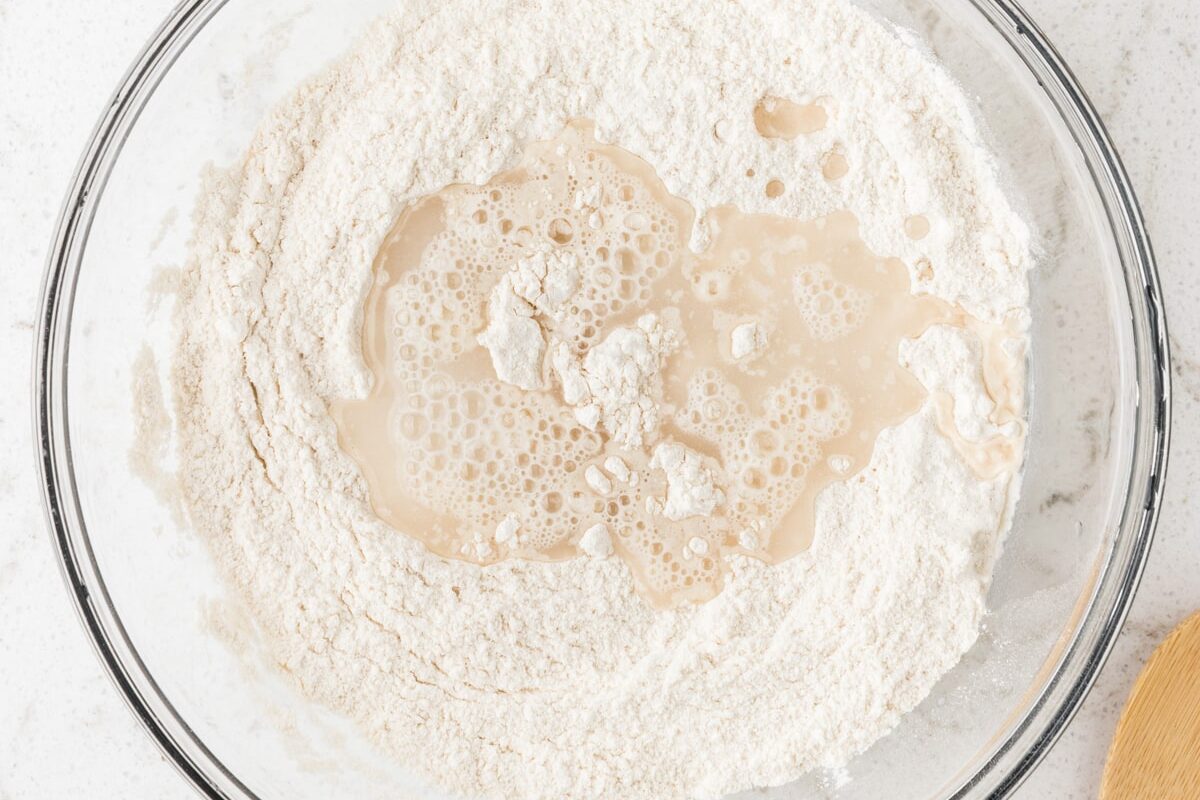
- Add water to the dry ingredients little by little, stirring continuously. Start with about ¾ cup of water, and then you can add more if needed. You’ll want to make a dough that is smooth and pliable, not too wet.
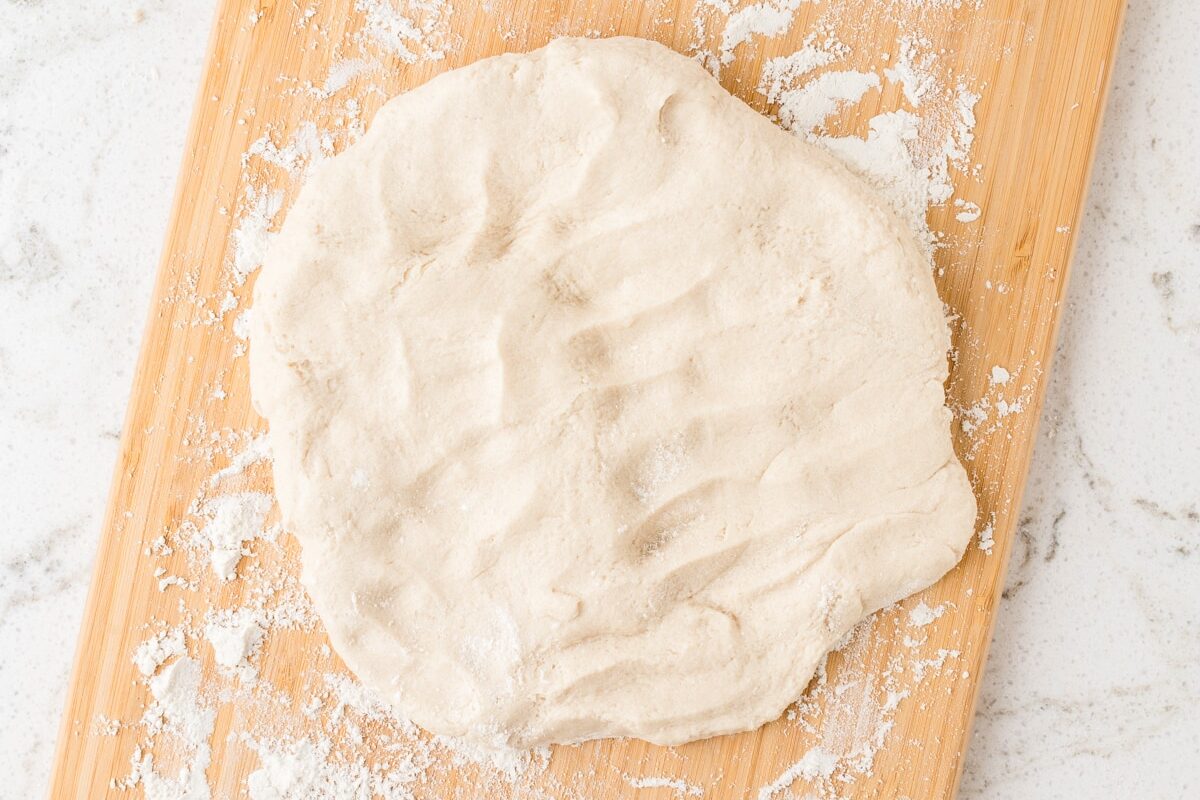
- Transfer the salt dough to a lightly floured surface and then knead until smooth and elastic. If the dough is still sticky, just add some more flour until it is the right consistency.
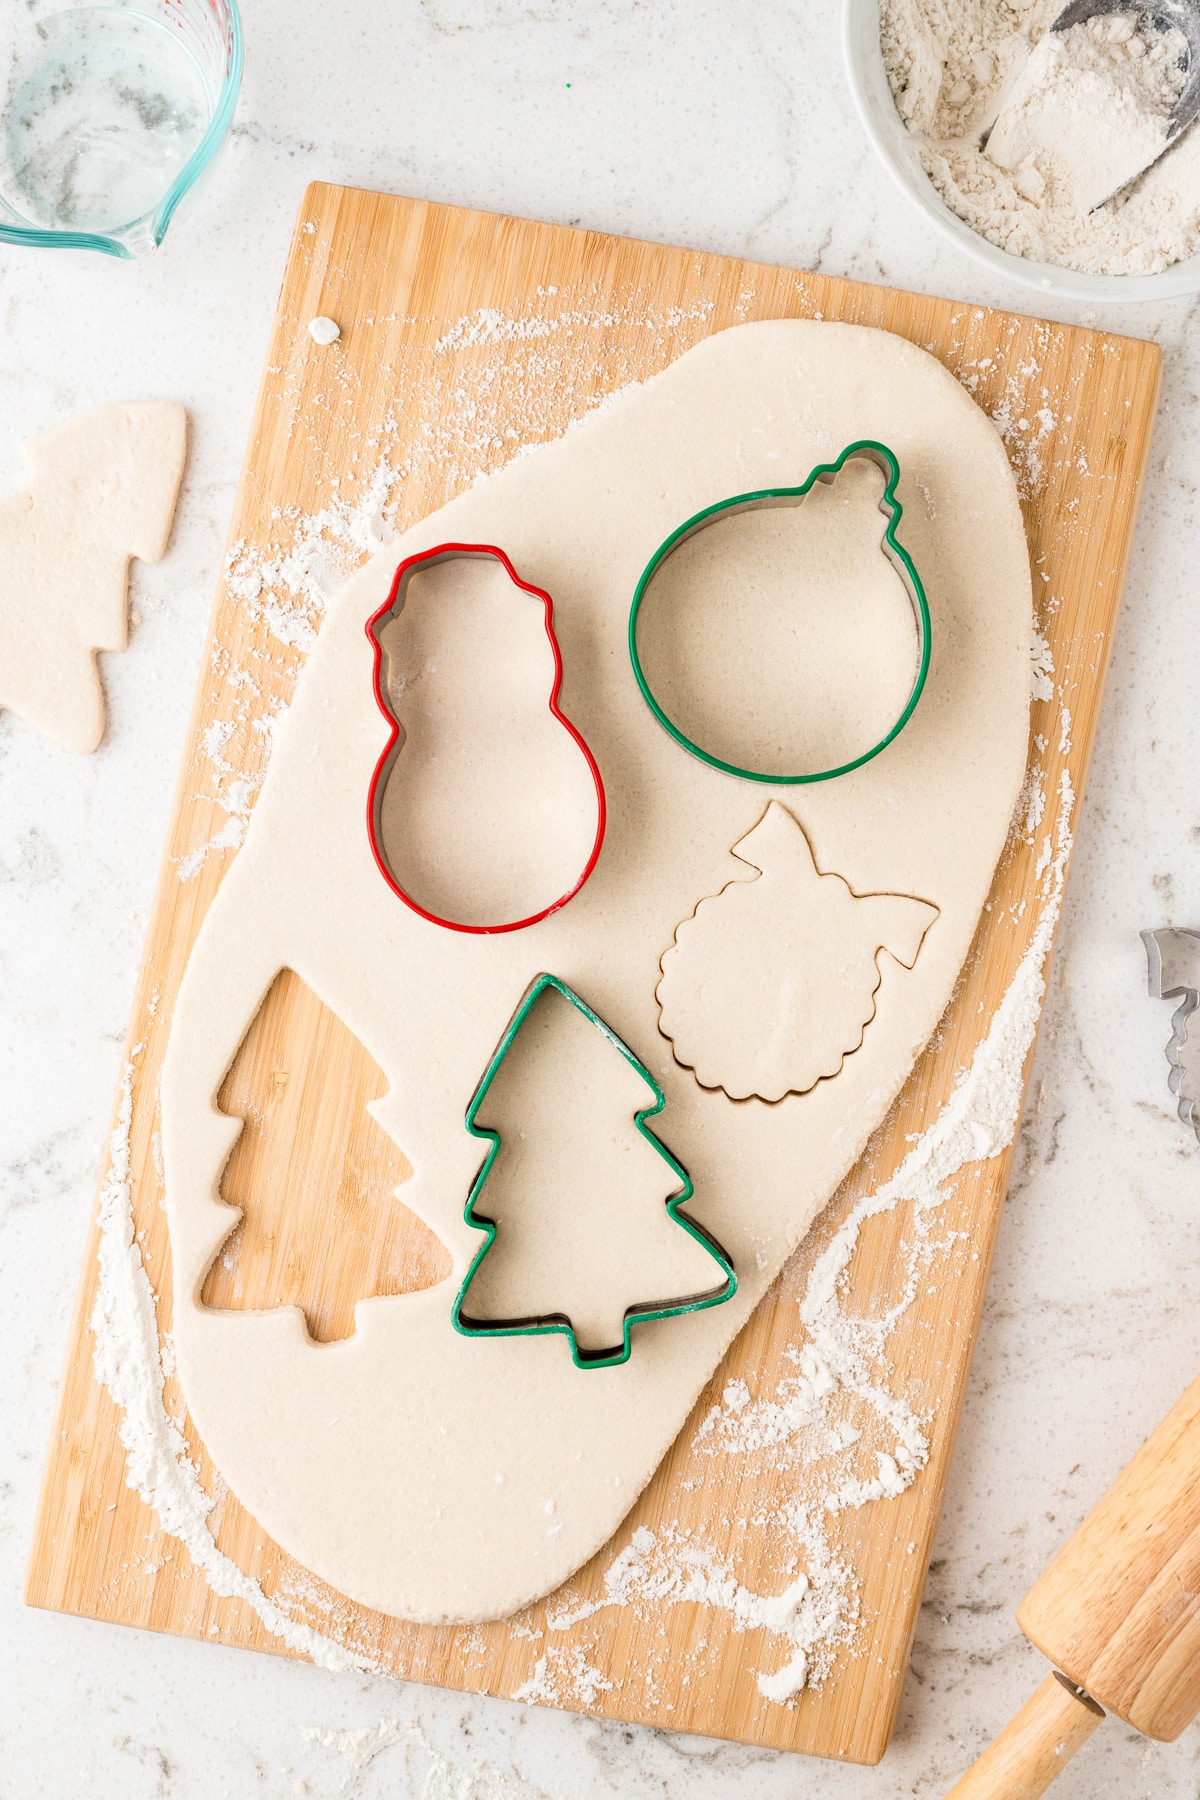
- Use your hands or a rolling pin to roll out the dough to your desired thickness. I typically shoot for a ¼ inch thickness.
How to Make Ornaments
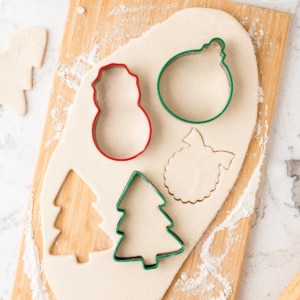
- Using Christmas cookie cutters, or a knife, cut out desired shapes from the dough. You can create ornaments of any shape, handprint or footprint keepsakes, and tons of other fun crafts.
- If you are creating salt dough ornaments, you’ll need to use a straw or other round object and poke a hole at the top of each shape. Once dried, thread ribbon, string or twine through it to hang.
- Let the homemade salt dough ornaments or shapes dry at room temperature for 24-48 hours. You can also bake them in the oven at 250 degrees Fahrenheit for about 2 hours, or until dry.
- Once the shapes have completely hardened, you can paint them or decorate however you want. Feel free to seal them with a clear sealant or varnish.
- Once the paint and decorations have dried, the ornaments are ready to go on your tree!
What Can I Do With Salt Dough?
There are so many super fun things that you can make with salt dough! Christmas ornaments are most popular, but you can make tons of cool things.
Make a large circle and press your little one’s hands in to make a keepsake salt dough handprint ornament with the date. You can also make salt dough beads and dry them to string onto a necklace. I’ve even seen some people make balls of dough and press sea shells or other keepsakes into them to make a necklace bead as well.
Pro Tips
- It is very important to make sure that your salt dough creations are completely dry before you paint or decorate them.
- Don’t bake the ornaments at too high of a heat, or for too long, they could become damaged. Watch them very closely if you decide to dry them in the oven.
- Make sure the dough is pliable and malleable. If it is too dry or too sticky it will be difficult to shape and may not dry correctly.
Storage
Fridge: If you make too much salt dough or plan to reserve some for another time, you can store it in a ziplock bag or airtight container for up to a week.
Store baked and decorated ornaments carefully in an airtight container. I recommend wrapping them in tissue paper to keep them safe from breaking in storage.
I can’t wait to see what incredible creations you come up with after making this easy salt dough recipe. Have SO much fun!
Salt Dough Recipe
Equipment
Ingredients
- 2 cups all-purpose flour
- 1 cup salt
- 3/4 to 1 cup water
Instructions
- In a bowl, combine the flour and salt. Stir them together to ensure an even distribution.
- Gradually add water to the flour and salt mixture, stirring continuously. Start with 3/4 cup of water and add more if needed. The goal is to form a smooth, pliable dough.
- Once the mixture starts to come together, transfer the mixture to a lightly floured surface. Knead the dough until it becomes smooth and elastic. If the dough is too sticky, add a bit more flour.
- Use a rolling pin to roll out the dough to your desired thickness. Typically, 1/4 inch is a suitable thickness for most salt dough projects.
- Use cookie cutters or a knife to cut out shapes from the rolled-out dough. You can create ornaments, handprints, or anything else you have in mind.
- If you’re creating ornaments, use a straw or a small round object to make a hole near the top of each shape. This hole will be used to thread a ribbon or string for hanging.
- You can either bake the shapes in the oven or let them air dry. If baking, preheat your oven to 250 degrees Fahrenheit and bake for about 2 hours or until the dough is hardened. If air drying, place the shapes on a flat surface and let them air dry for 24-48 hours, depending on the thickness.
- Once the shapes are fully dry and hardened, you can paint them using craft paints and decorate them as you like. Allow the paint to dry completely.
- (Optional): If you want to preserve your salt dough creations, you can seal them with a clear sealant or varnish.
More DIY Crafts
- This Cloud Dough is light and fluffy and just an absolute blast to play with! Switch it up from regular Play Doh with this super smooth dough and add food coloring to change it into your favorite color.
- Make some Pumpkin Playdough around the fall season that smells good enough to eat. Just be careful when you make those pretend pumpkin pies!
- If your kids constantly want to eat their playdough, then make this super fun Edible Playdough recipe. This is a great activity for kids to participate in at a birthday, too.
- Gingerbread Playdough is another great holiday recipe. Just be careful, this playdough smells good enough to eat!
This recipe worked great! The kids loved playing with the dough and making different shapes!
Great to hear!