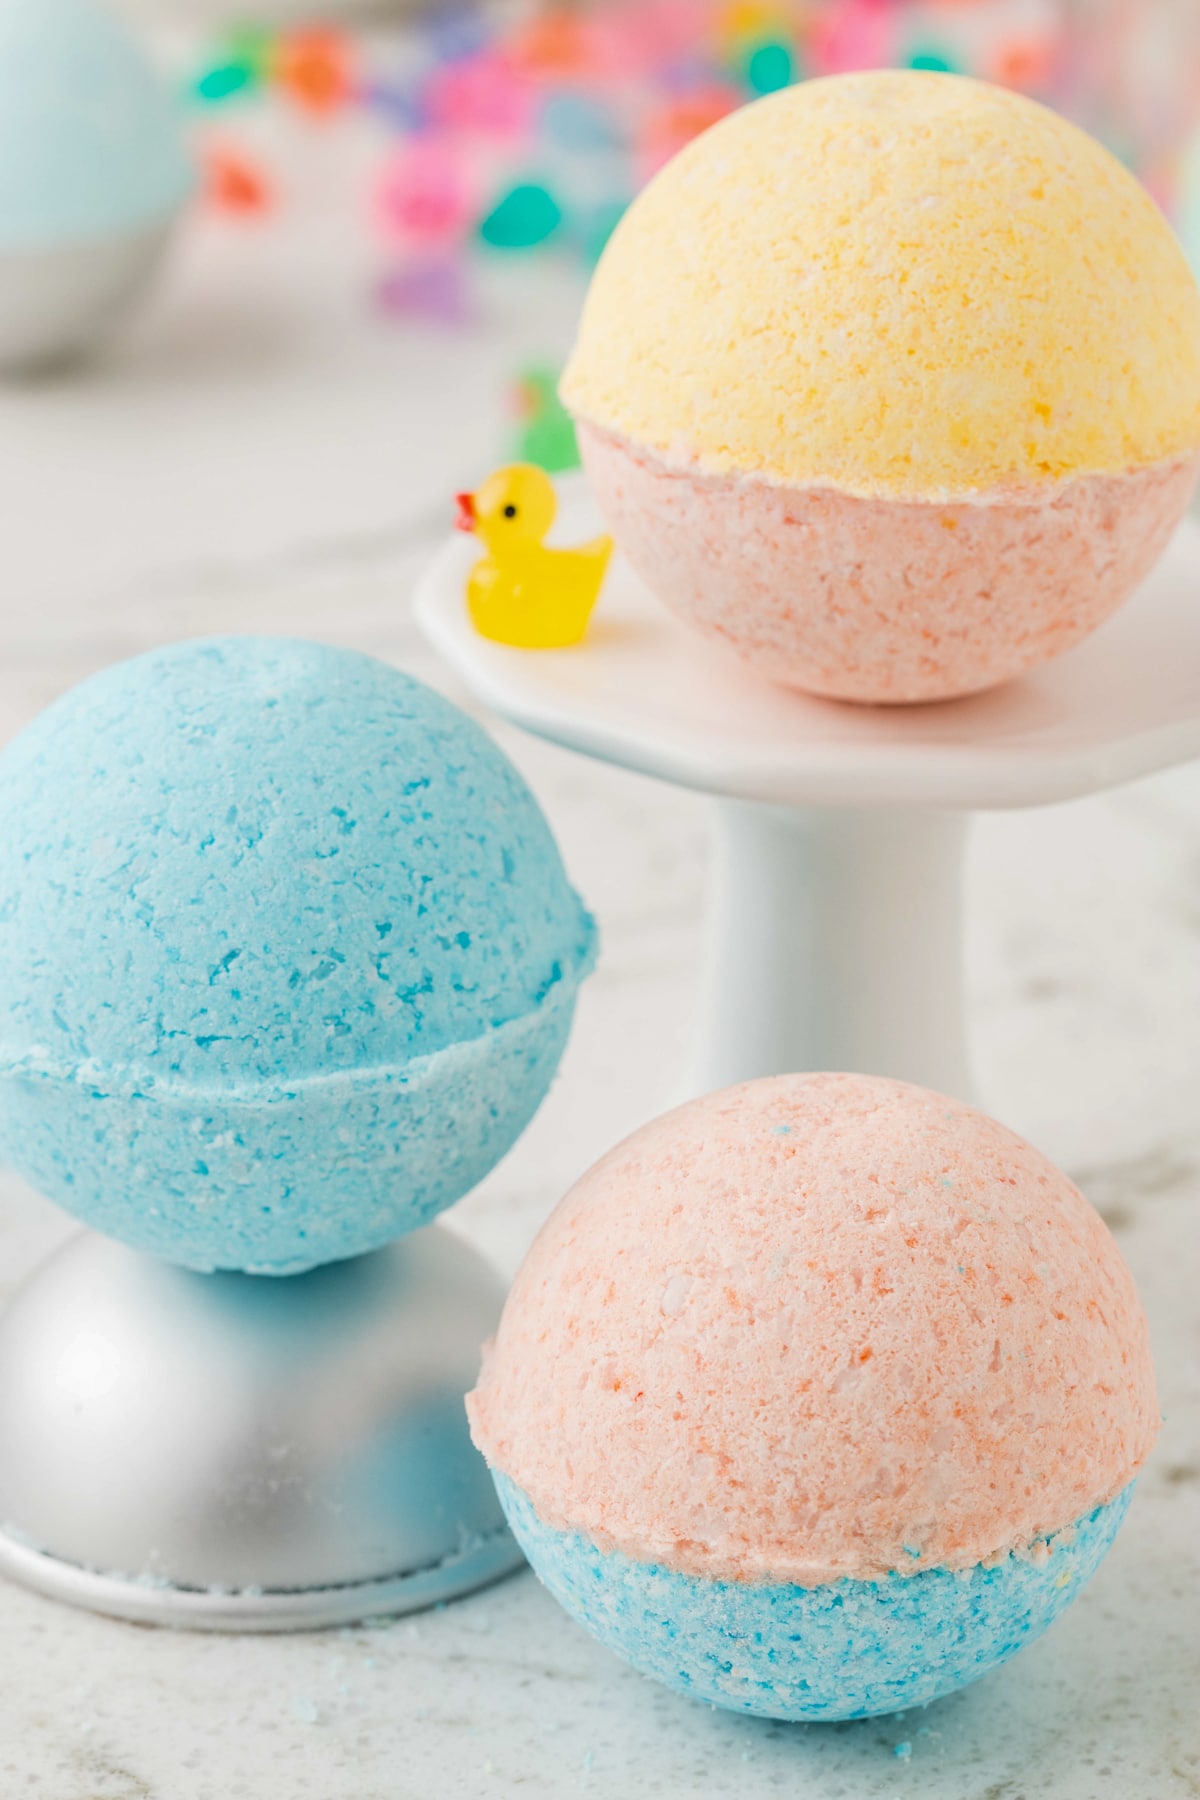
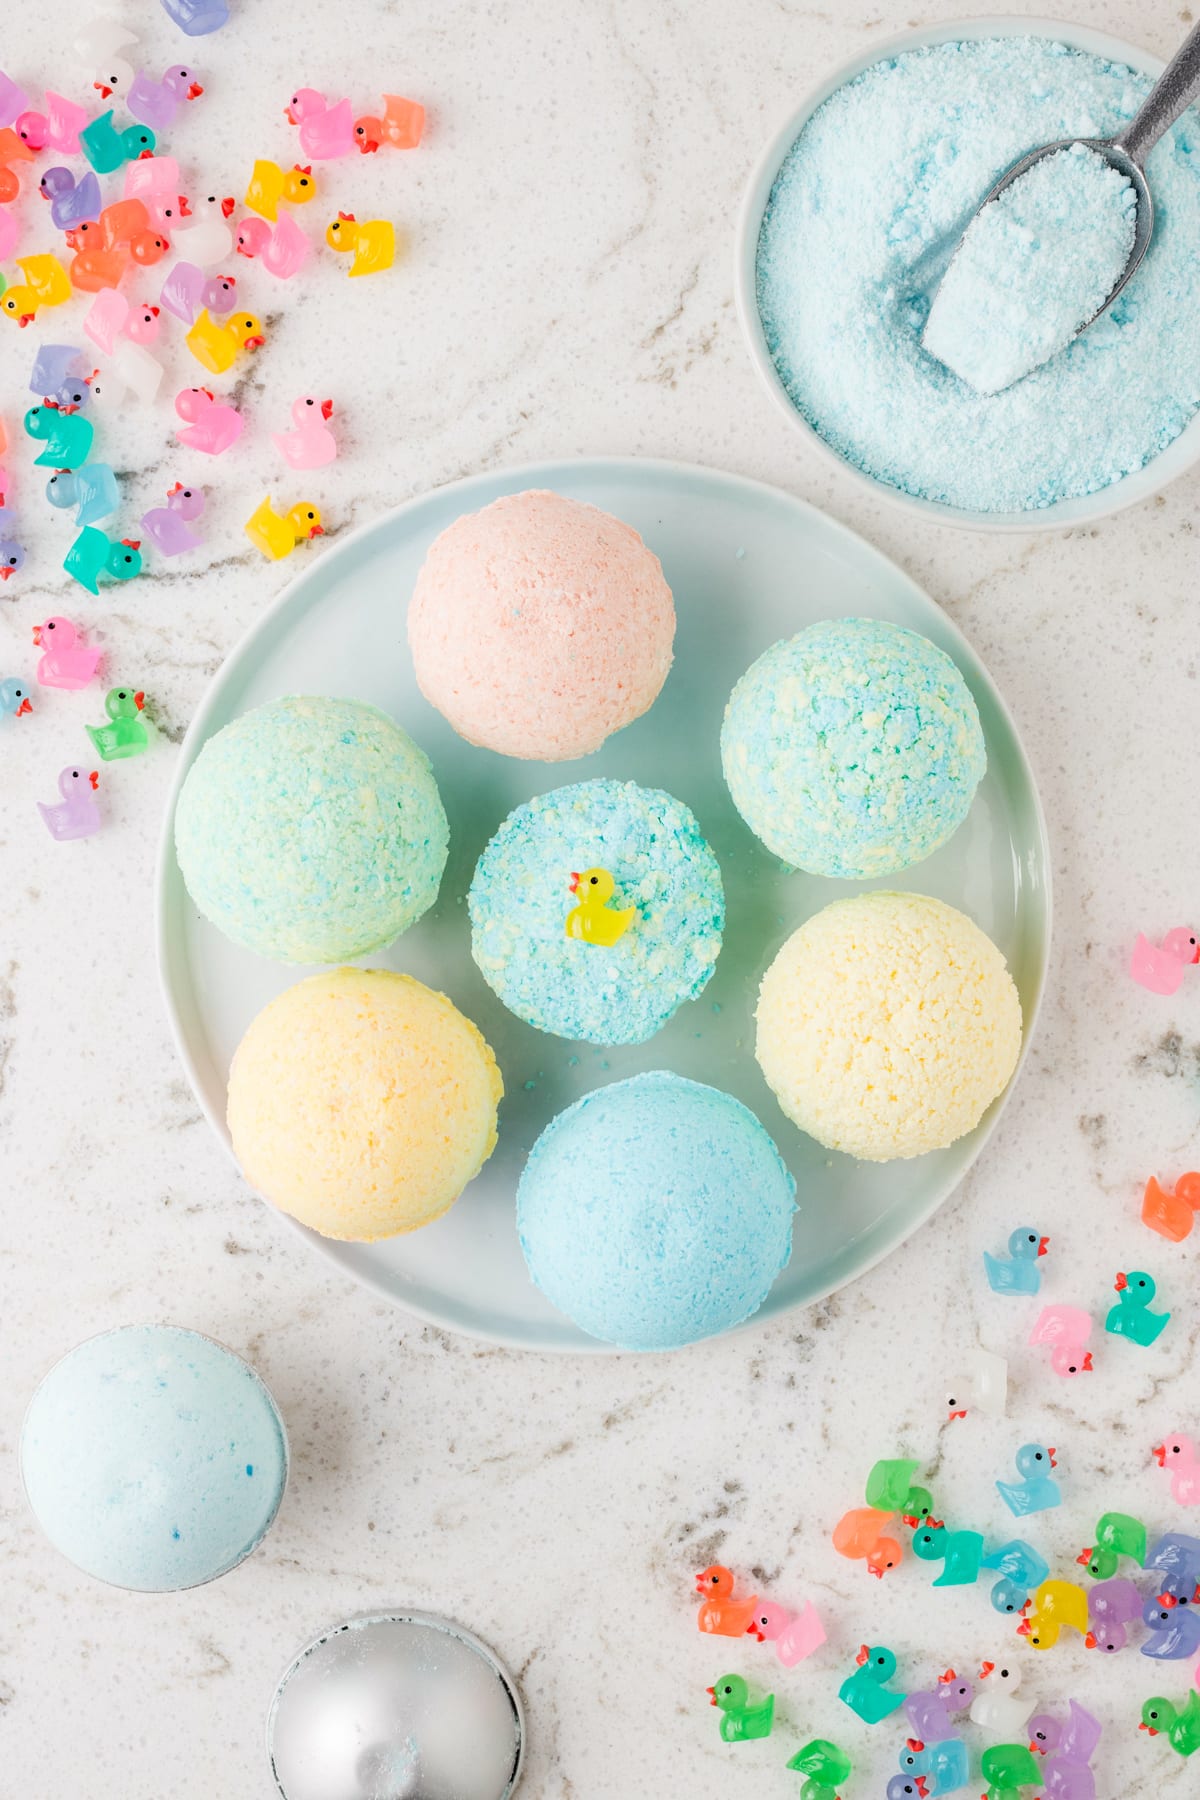
Homemade Bath Bombs
These homemade bath bombs for kids are my go-to when I need bath time to feel like an event instead of a battle, folks. Six simple ingredients, one afternoon of kitchen chemistry with the kids, and suddenly bath time has a fizzing, color-changing surprise with a little toy hidden inside. It’s science experiment, craft project, and bath time negotiating tool all rolled into one. And honestly, I’m not sure who has more fun making them, me or the kids.
This whole homemade bath bomb thing started because I caved and bought the kids store-bought bath bombs from that fancy store in the mall. I know you know the one. Eight dollars each, the size of a baseball. My kids have three baths a week between them. Do the math on that and I was bankrolling a small European vacation in bath bombs alone.
So I dug around online, wrote down some ingredients, and one Saturday afternoon I turned my kitchen into a mad-scientist’s lab. The kids wore aprons. Someone spilled the baking soda. Someone else insisted we add food coloring before I was ready. The first batch was a cracked, crumbly, and fizzless disaster. By the second try we had it, and by the third batch the kids were asking if we could make them for their cousins for Christmas.
Now we make a huge batch every couple of months. The kids even each pick their own color, scent, and toy to hide inside. Bath time has officially gone from “I will negotiate the dishes for the rest of my natural life if you will just please get in the tub” to “MOM WHICH BATH BOMB CAN I USE TONIGHT?” A quieter miracle has never been worked in my home, and it happened for about eleven cents per bath bomb.
Why You’ll Love DIY Bath Bombs
- These are the perfect way to appease the kiddos who don’t like bath-time. If they can help make something fun for their bath time, they may be much more excited!
- You can make your own DIY bath bombs for kids in less than a half hour. Just let them set for 24 hours and then they’re ready to go. Makes a great homemade Christmas present!
- This recipe to learn how to make bath bombs for kids is so easy to follow. It may seem difficult to make these bath fizzies, but it’s actually quite simple!
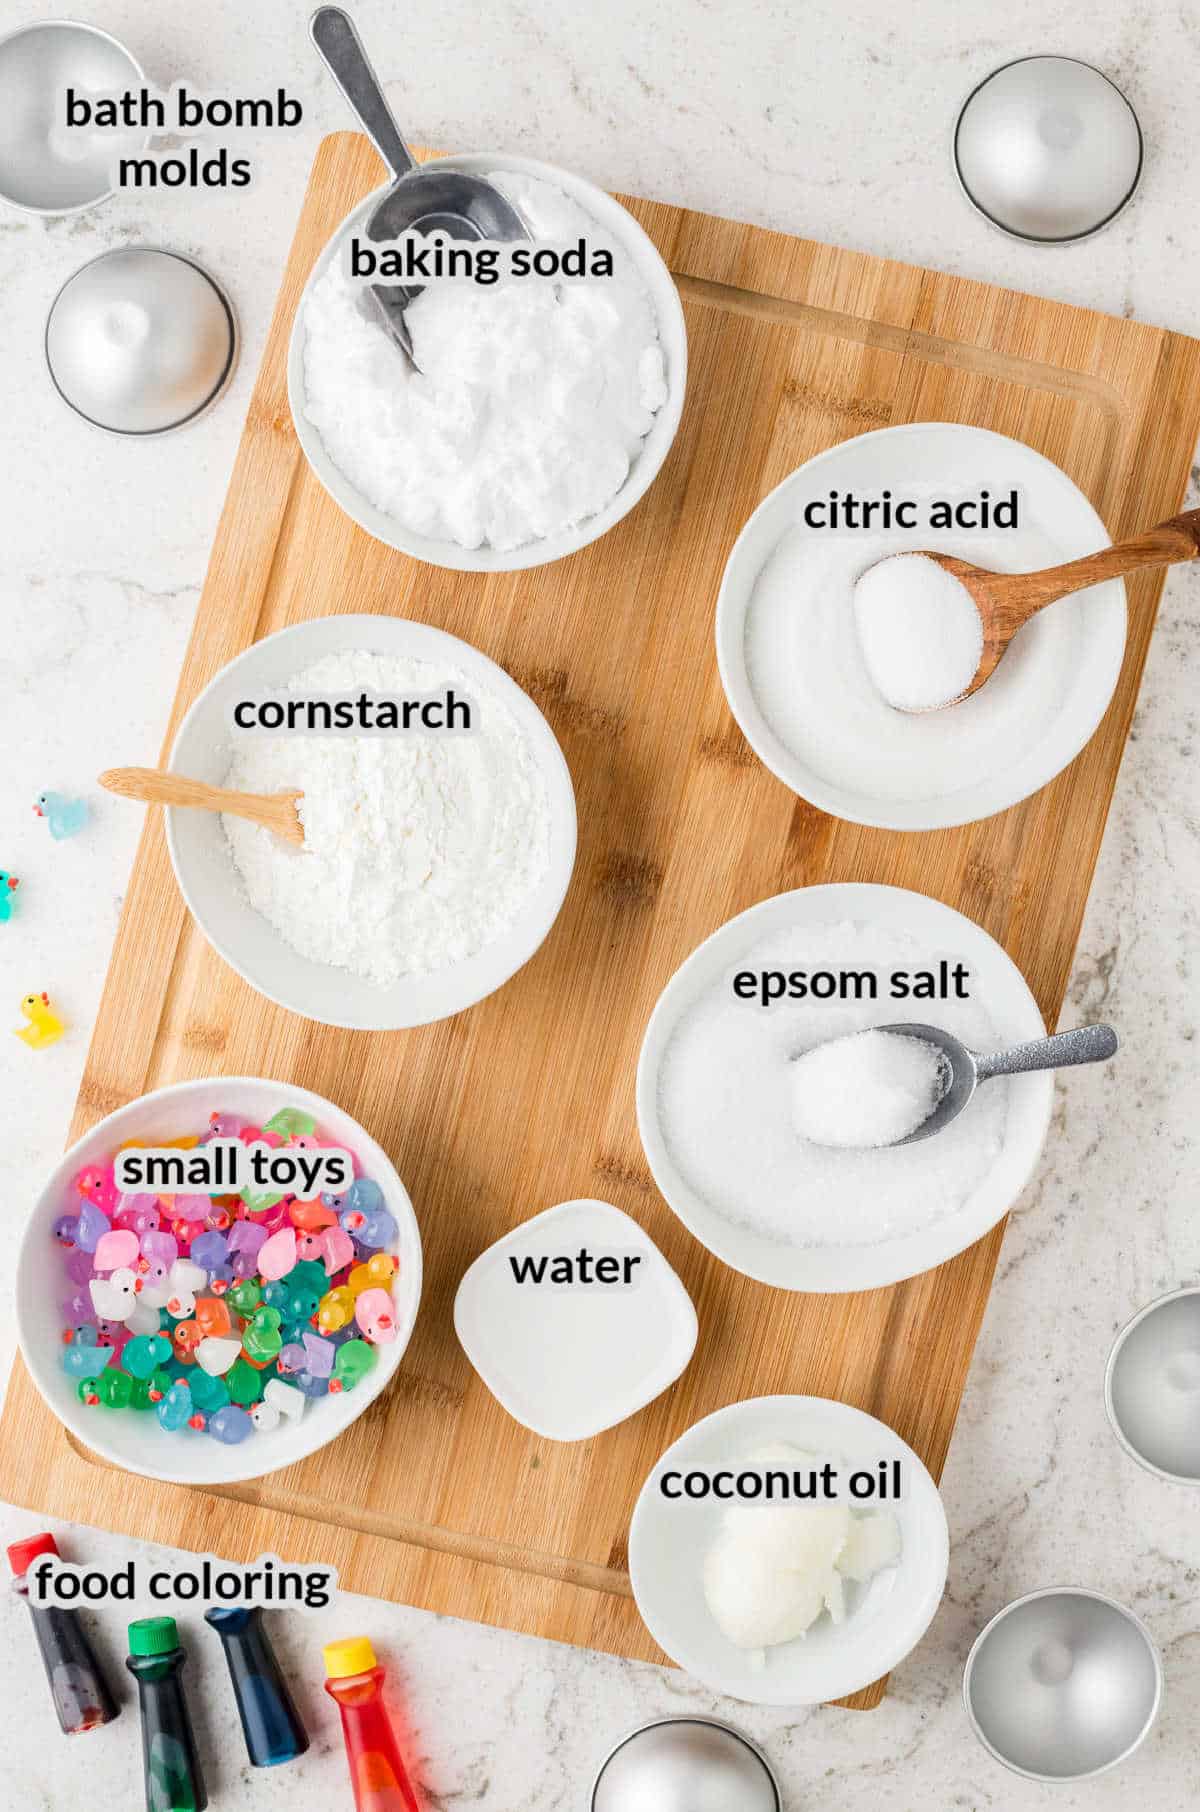
Ingredients for Homemade Bath Bombs
- Baking soda – Baking soda is one of the ingredients that will help to create the fizz of each bath bomb.
- Citric acid – Citric acid will react with baking soda to make the bath bombs fizzy and bubbly! Replace with cream of tartar if necessary.
- Bath bomb molds – There are many different types of molds that you can use. Silicone, metal, plastic, etc. Just choose whatever you can easily find, they’ll all work! A muffin pan, a cookie scoop, measuring cup or ice cube trays can also be used. Cookie cutters are a fun idea to make themed bath bombs!
- Cornstarch – Cornstarch acts as a binder for all of the ingredients to come together in a moldable form. You can also use cream of tartar, tapioca powder or arrowroot powder in its place.
- Epsom salt – Epsom salt helps to relax the body and soothe skin. You can also use magnesium flakes or fine pink Himalayan salt.
- Water – You’ll need just a little bit of water to help the food coloring mix into the bath bomb ingredients.
- Coconut oil – Coconut oil is a great way to add moisture to the dry ingredients without causing them to fizz before they are put into the tub.
- Food coloring – Use whatever colors that you want! Any will do. Micah powder is a really great option for bath bombs, while food coloring is actually safer for sensitive skin.
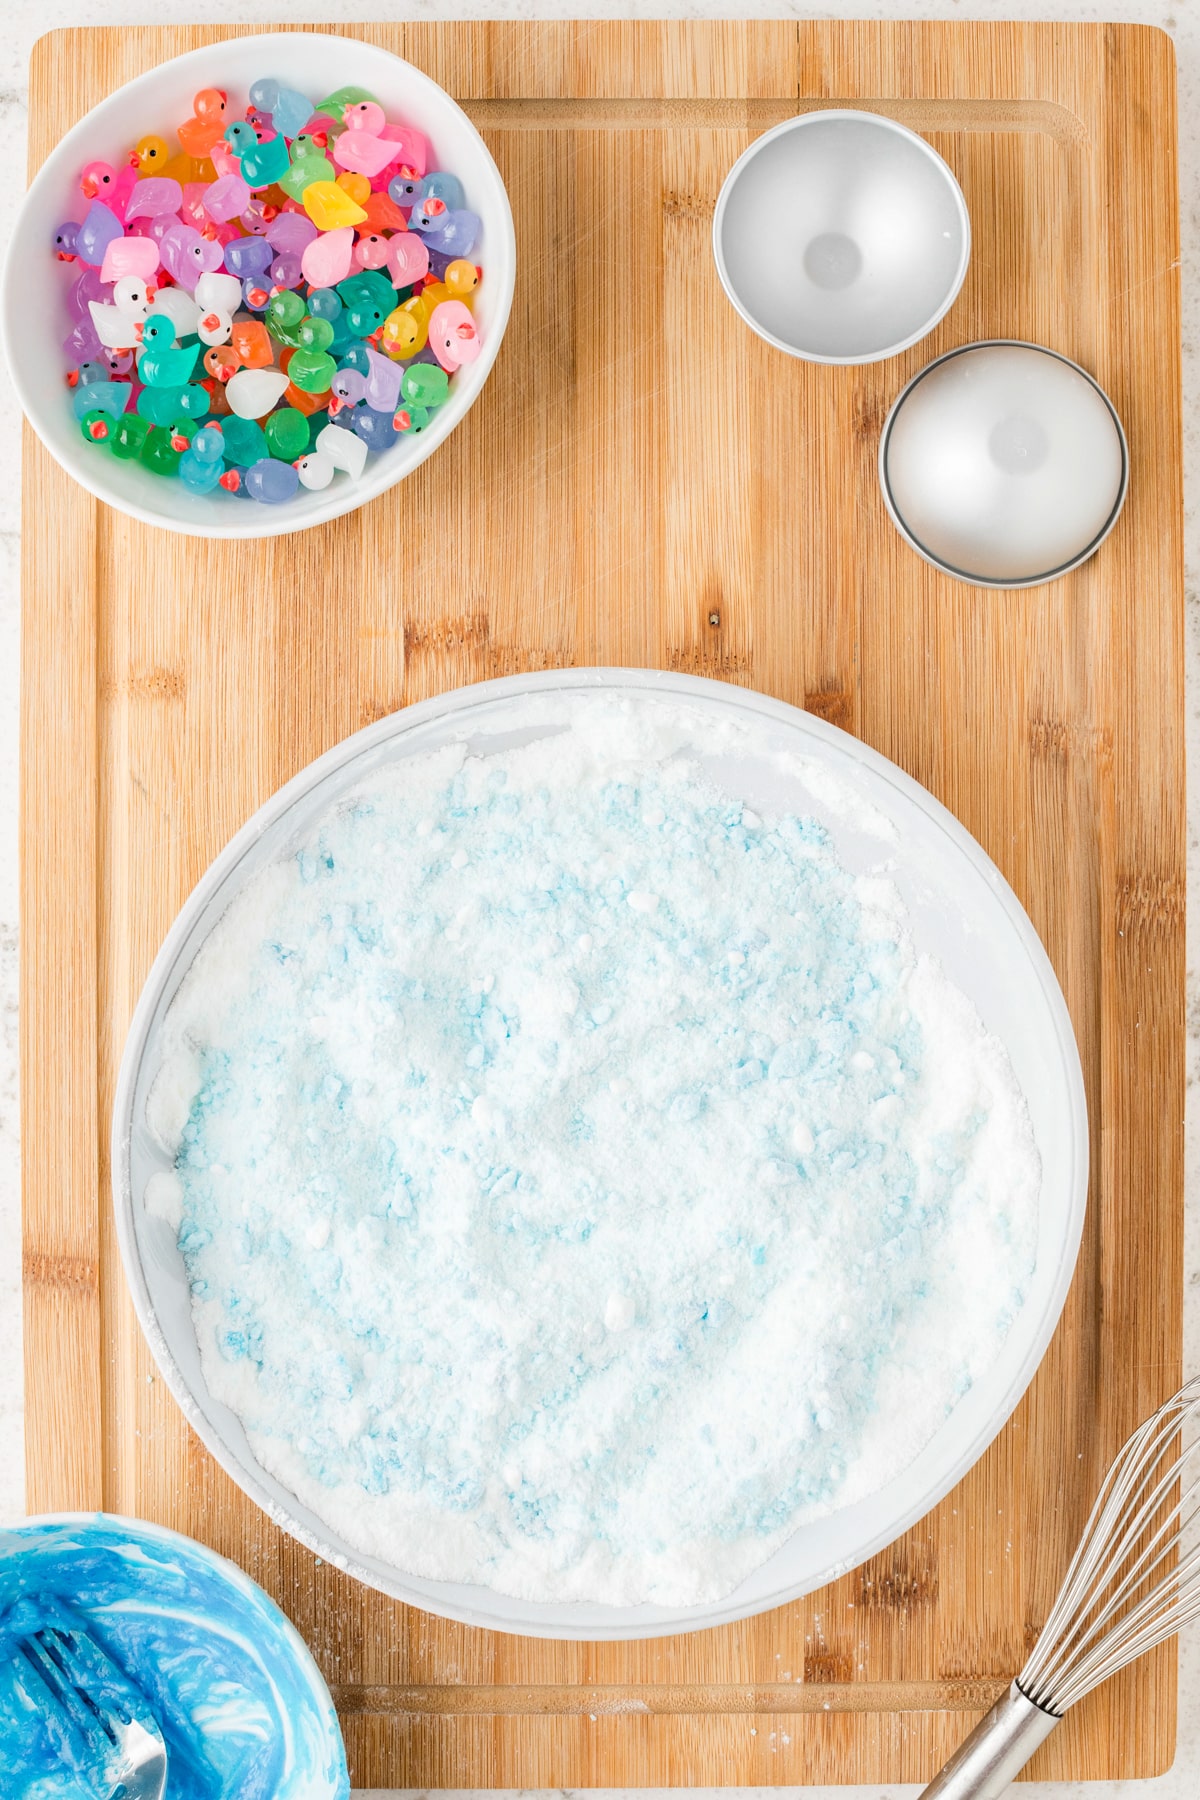
- Small toys – Little toys like plastic duckies, fake rings, fake coins, and other fun small objects are the perfect “treasure” to hide in a bath bomb. Skip this step for kids under 2 and make sure kids 3-5 are well supervised. Avoid anything with batteries or metal that can rust, and anything with fabric or stuffing.
Can I add scent to my homemade bath bombs?
Yes, you can easily add scent to these fizzy creations with a few drops of an essential oil of your choice.
- Lavender: calming, great for bedtime bath bombs
- Eucalyptus: cold/congestion relief
- Peppermint: energizing
- Orange/sweet orange: cheerful, uplifting
- Chamomile: gentle, safe for sensitive skin
- Vanilla: comforting
- Rose: luxurious, great for gifting
I don’t recommend essential oils for kids under 2, so keep that in mind if you are giving these away as gifts to family friends. For kids under 6, stick to lavender, chamomile and sweet orange only. Patch test on a small area first!
How to Make Homemade Bath Bombs for Kids
Prepare toys. Choose some small waterproof toys or trinkets, wash them well and set aside.
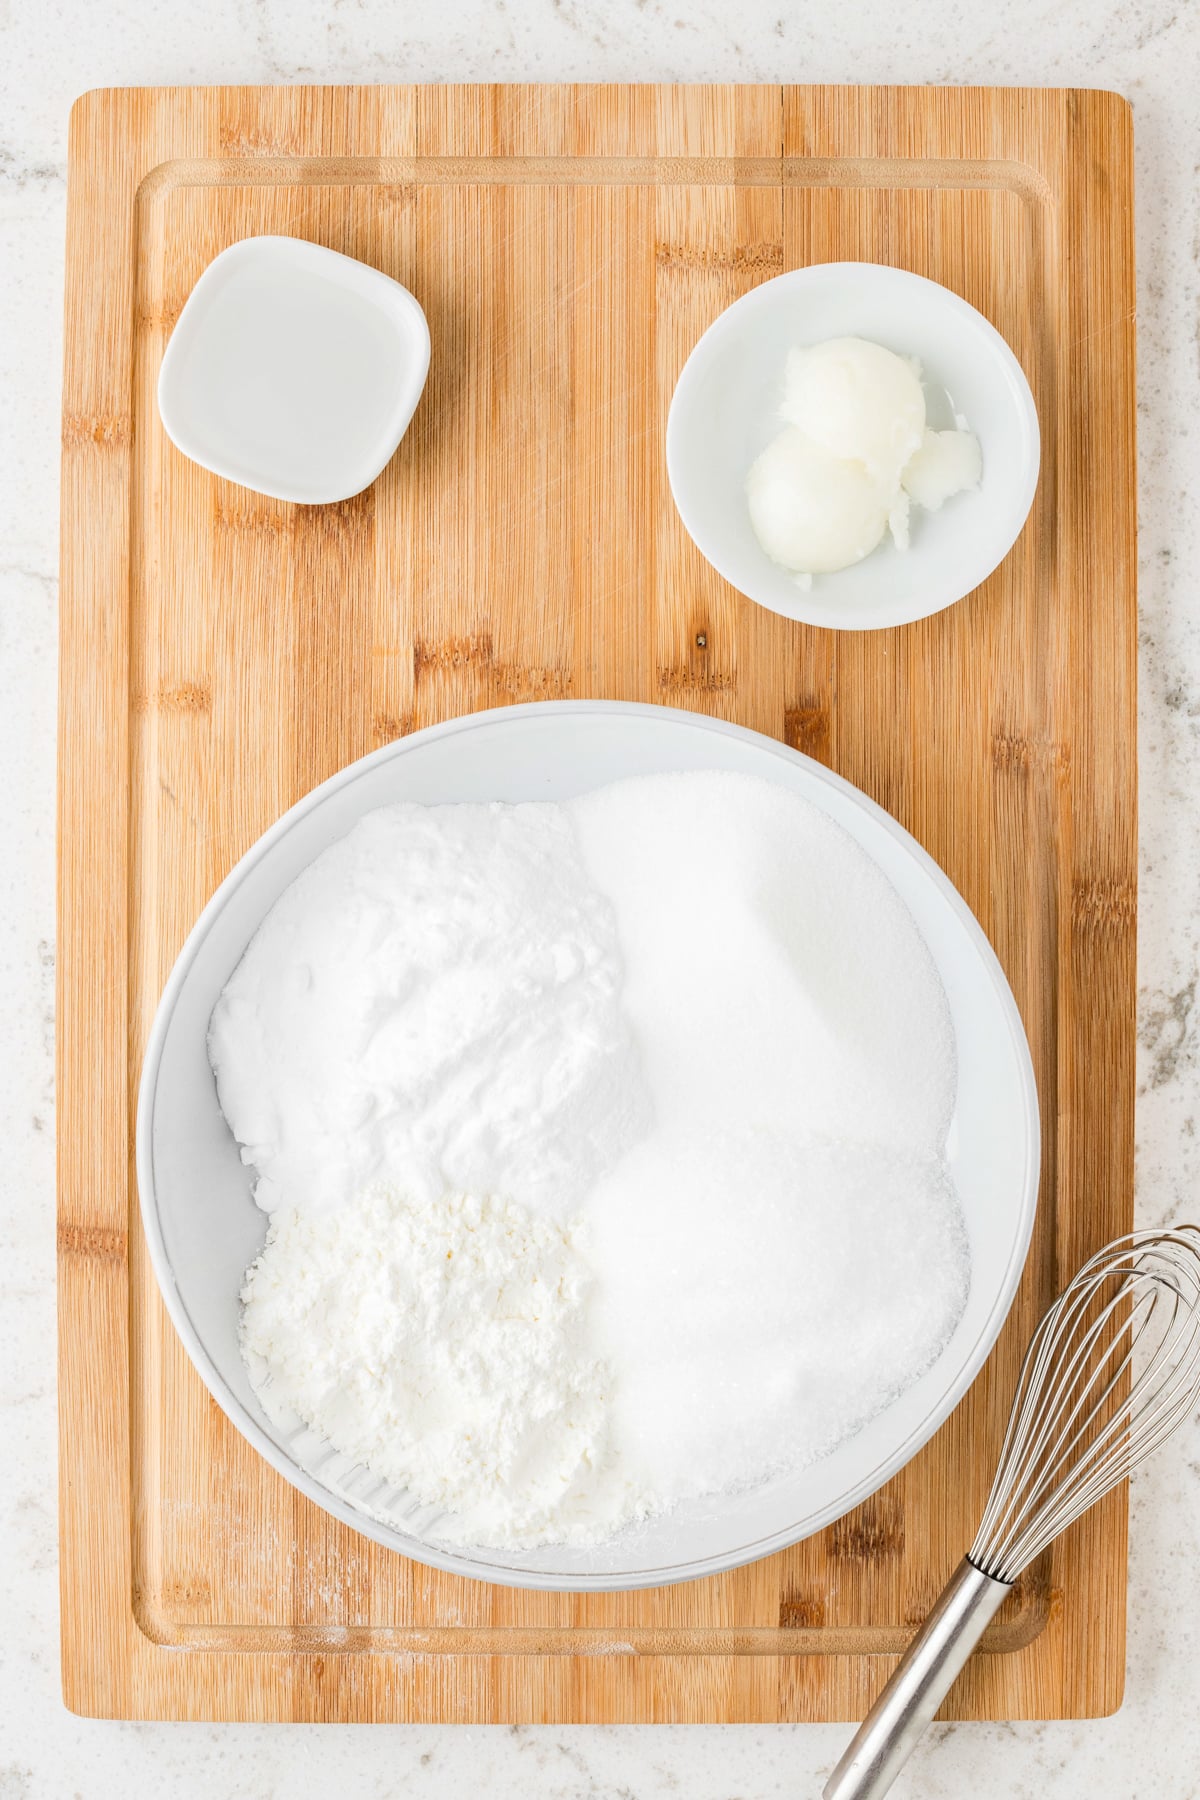
Combine dry ingredients. In a large mixing bowl, combine baking soda, citric acid, cornstarch and Epsom salt. Whisk well to ensure the ingredients are thoroughly combined and there are no clumps.
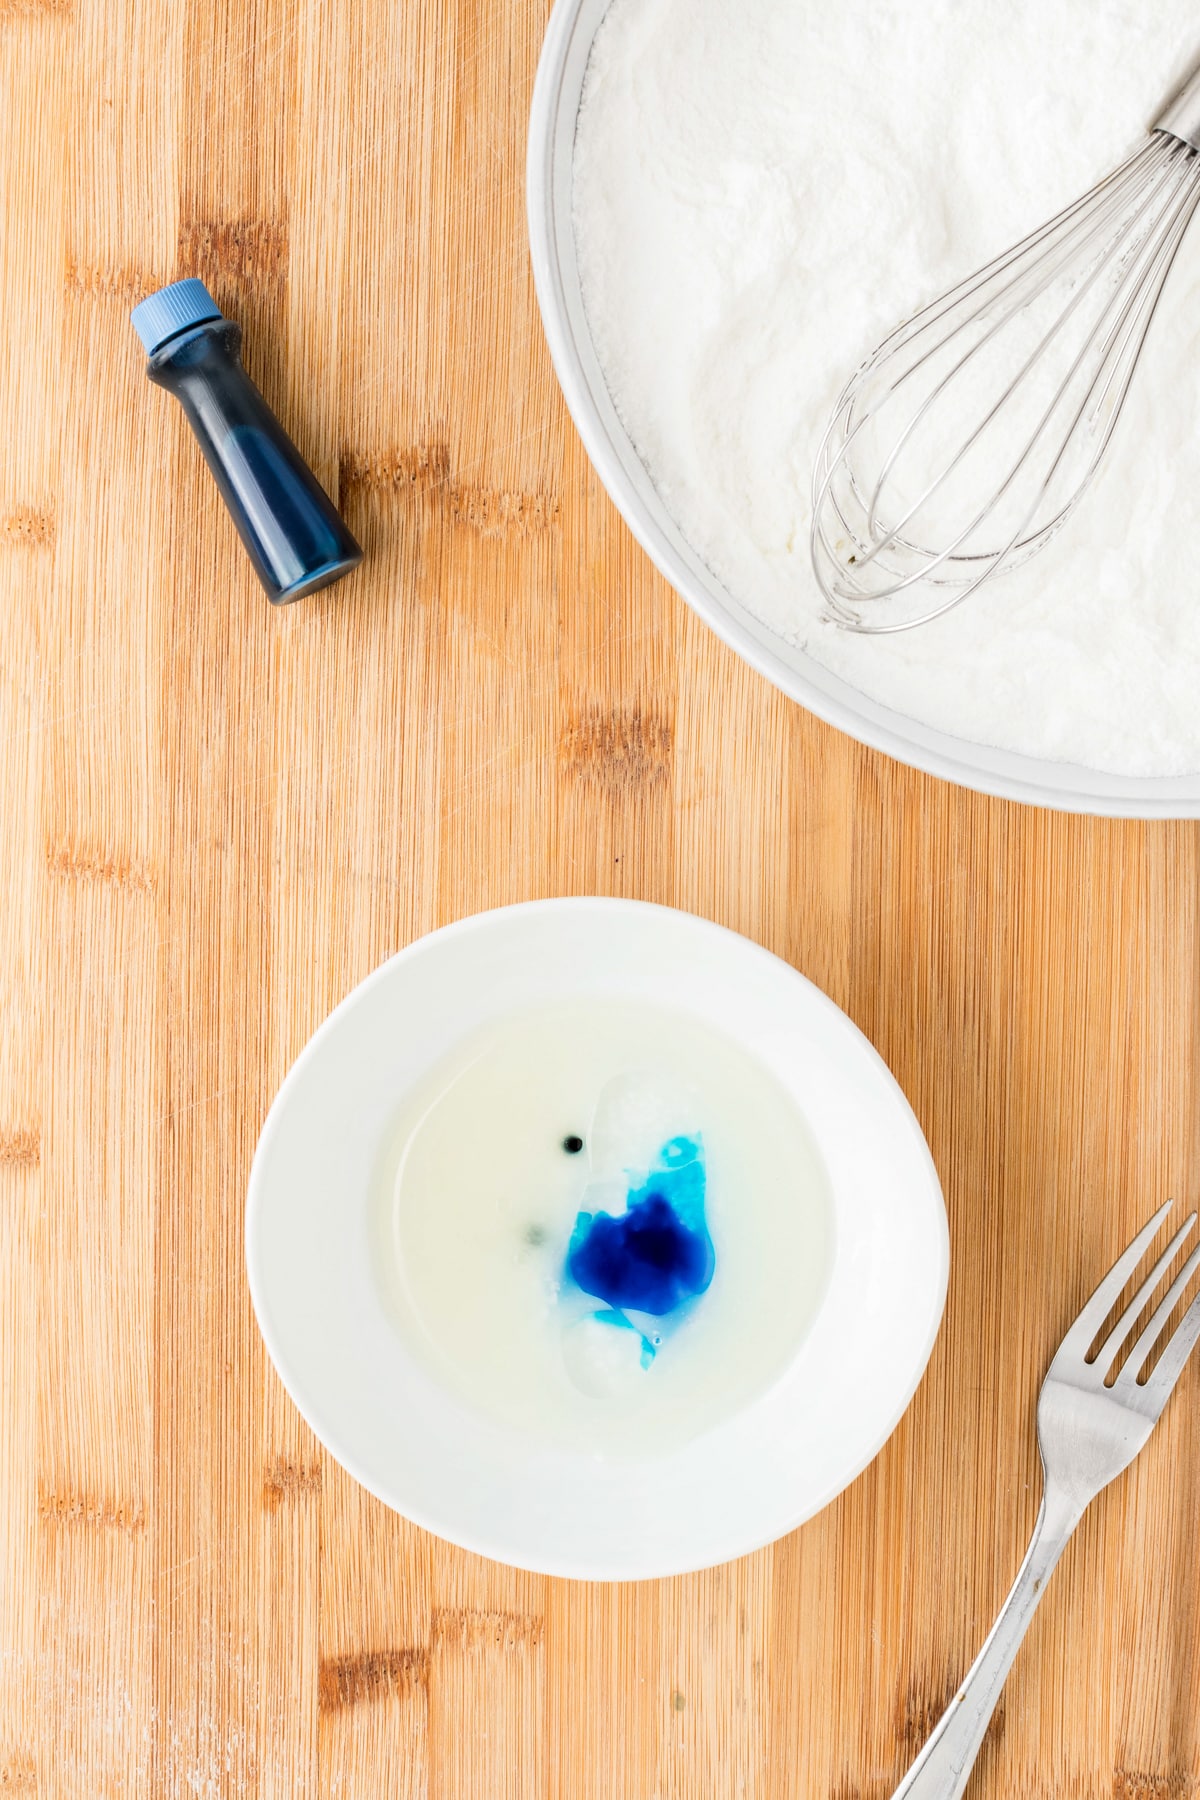
Combine wet ingredients. In a separate bowl, mix together melted coconut oil, water and a few drops of the food coloring that you want to use.
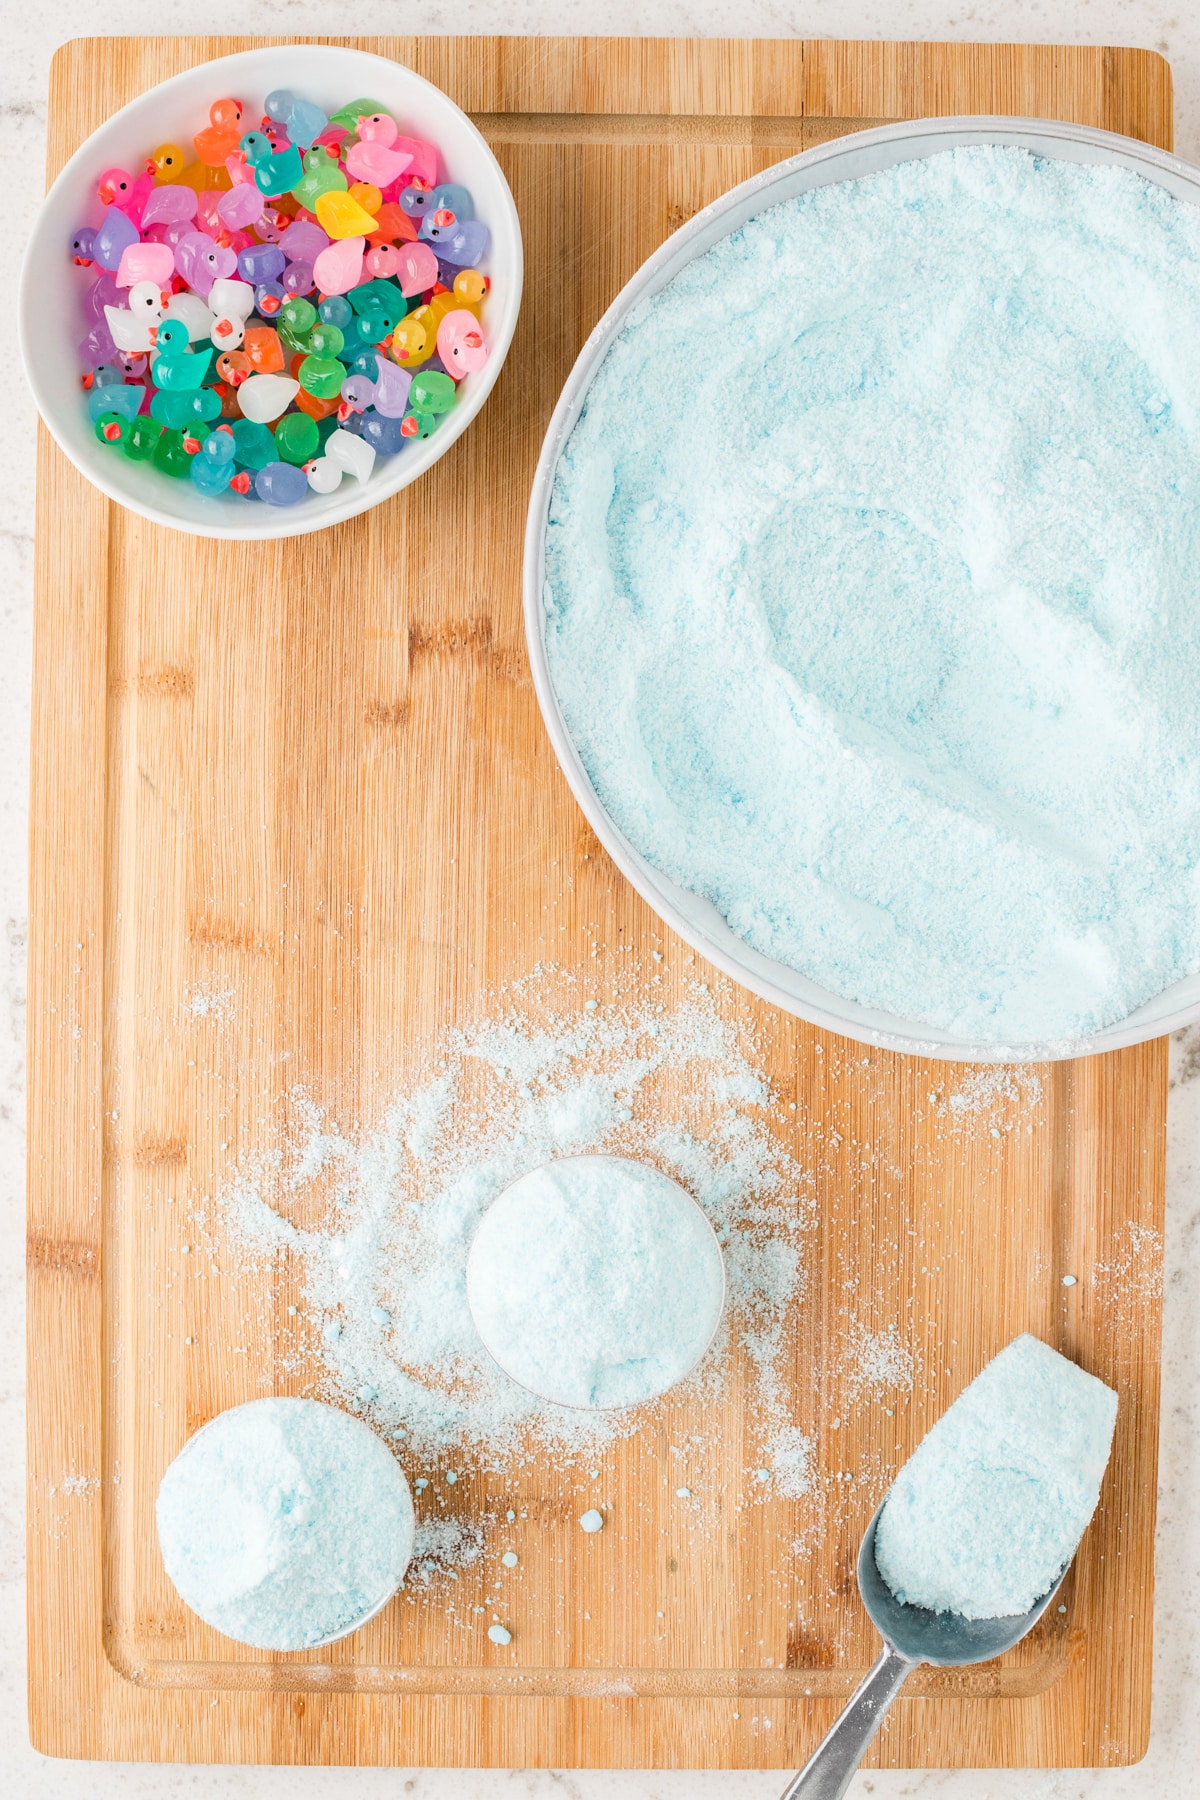
Mix all ingredients together. Slowly add the wet ingredients to the dry, stirring continuously. Be careful not to stir too quickly or the mixture will begin fizzing. Once mixed, the bath bomb mixture should have a crumbly texture that holds together when squeezed. If you find that it is too dry, slowly add a bit more water.
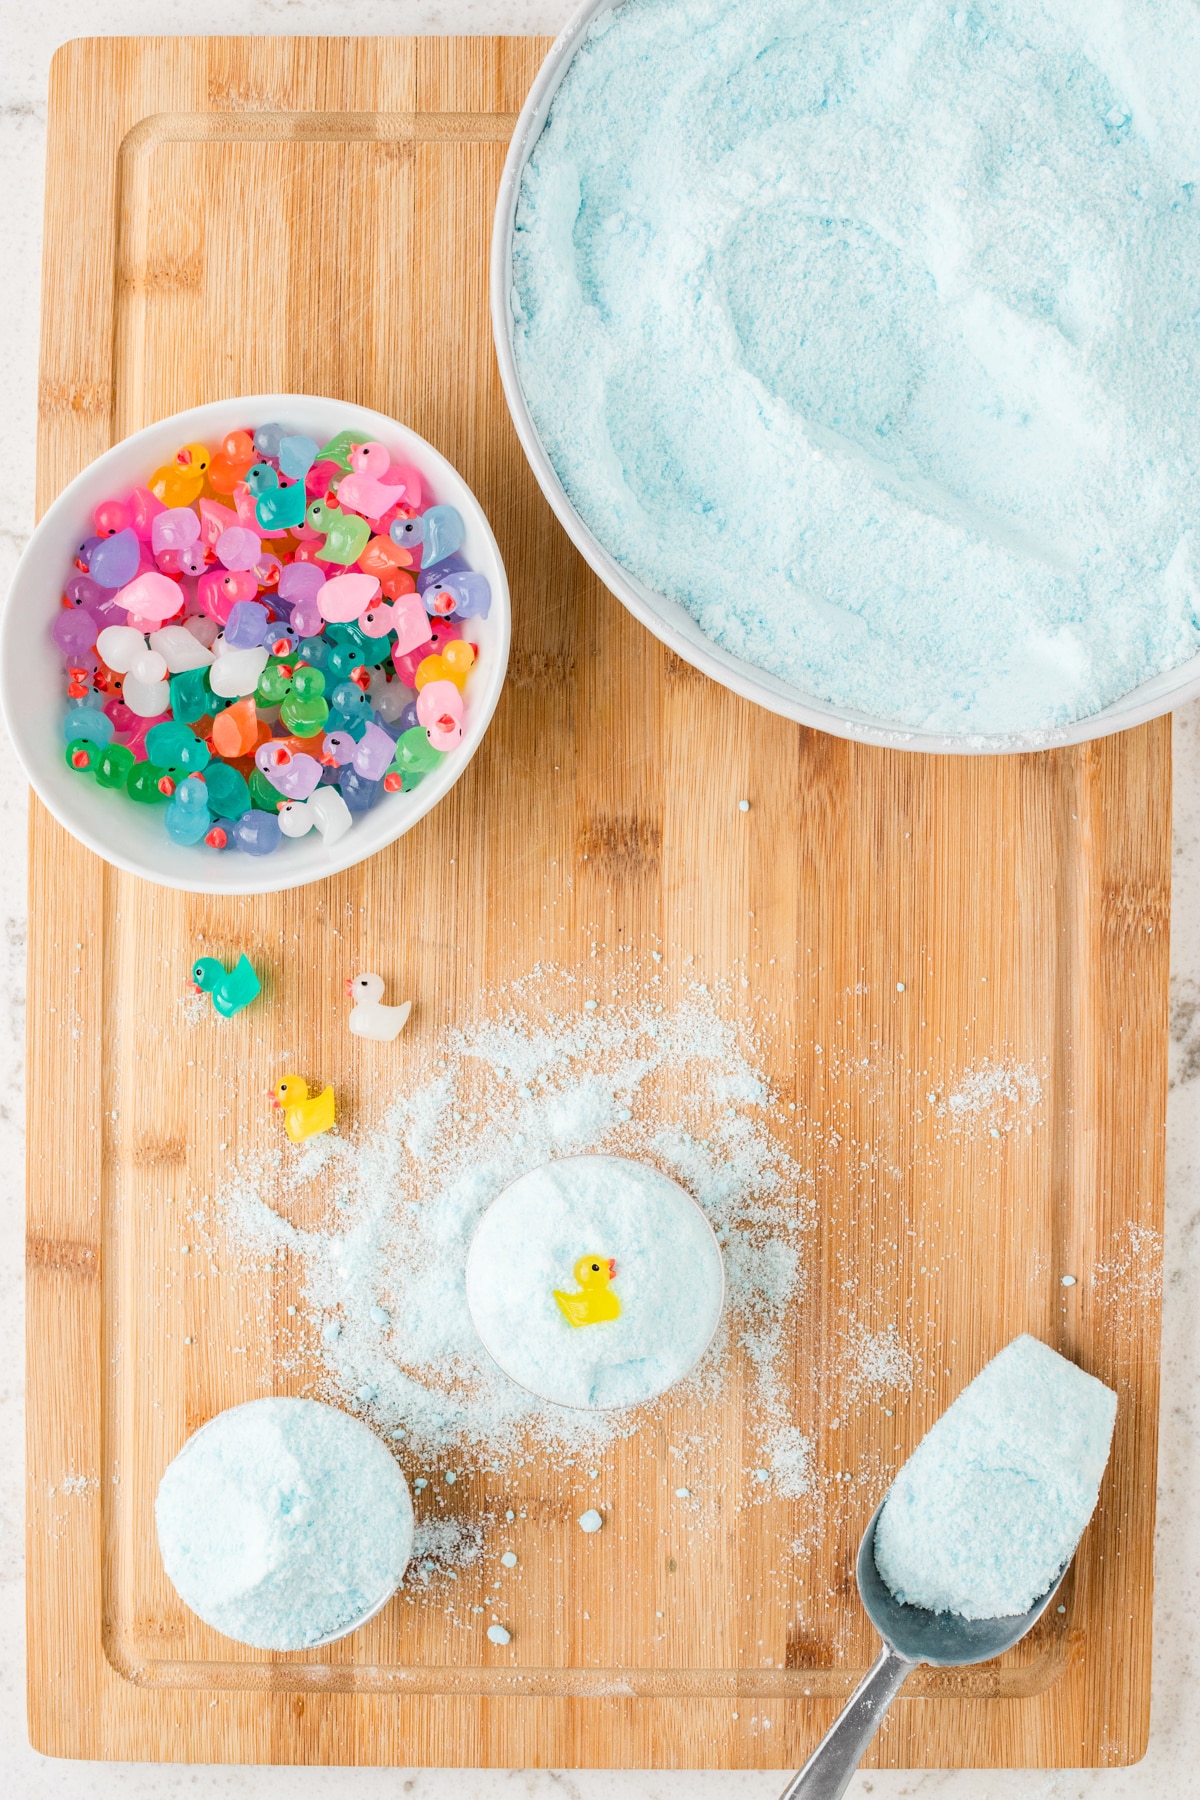
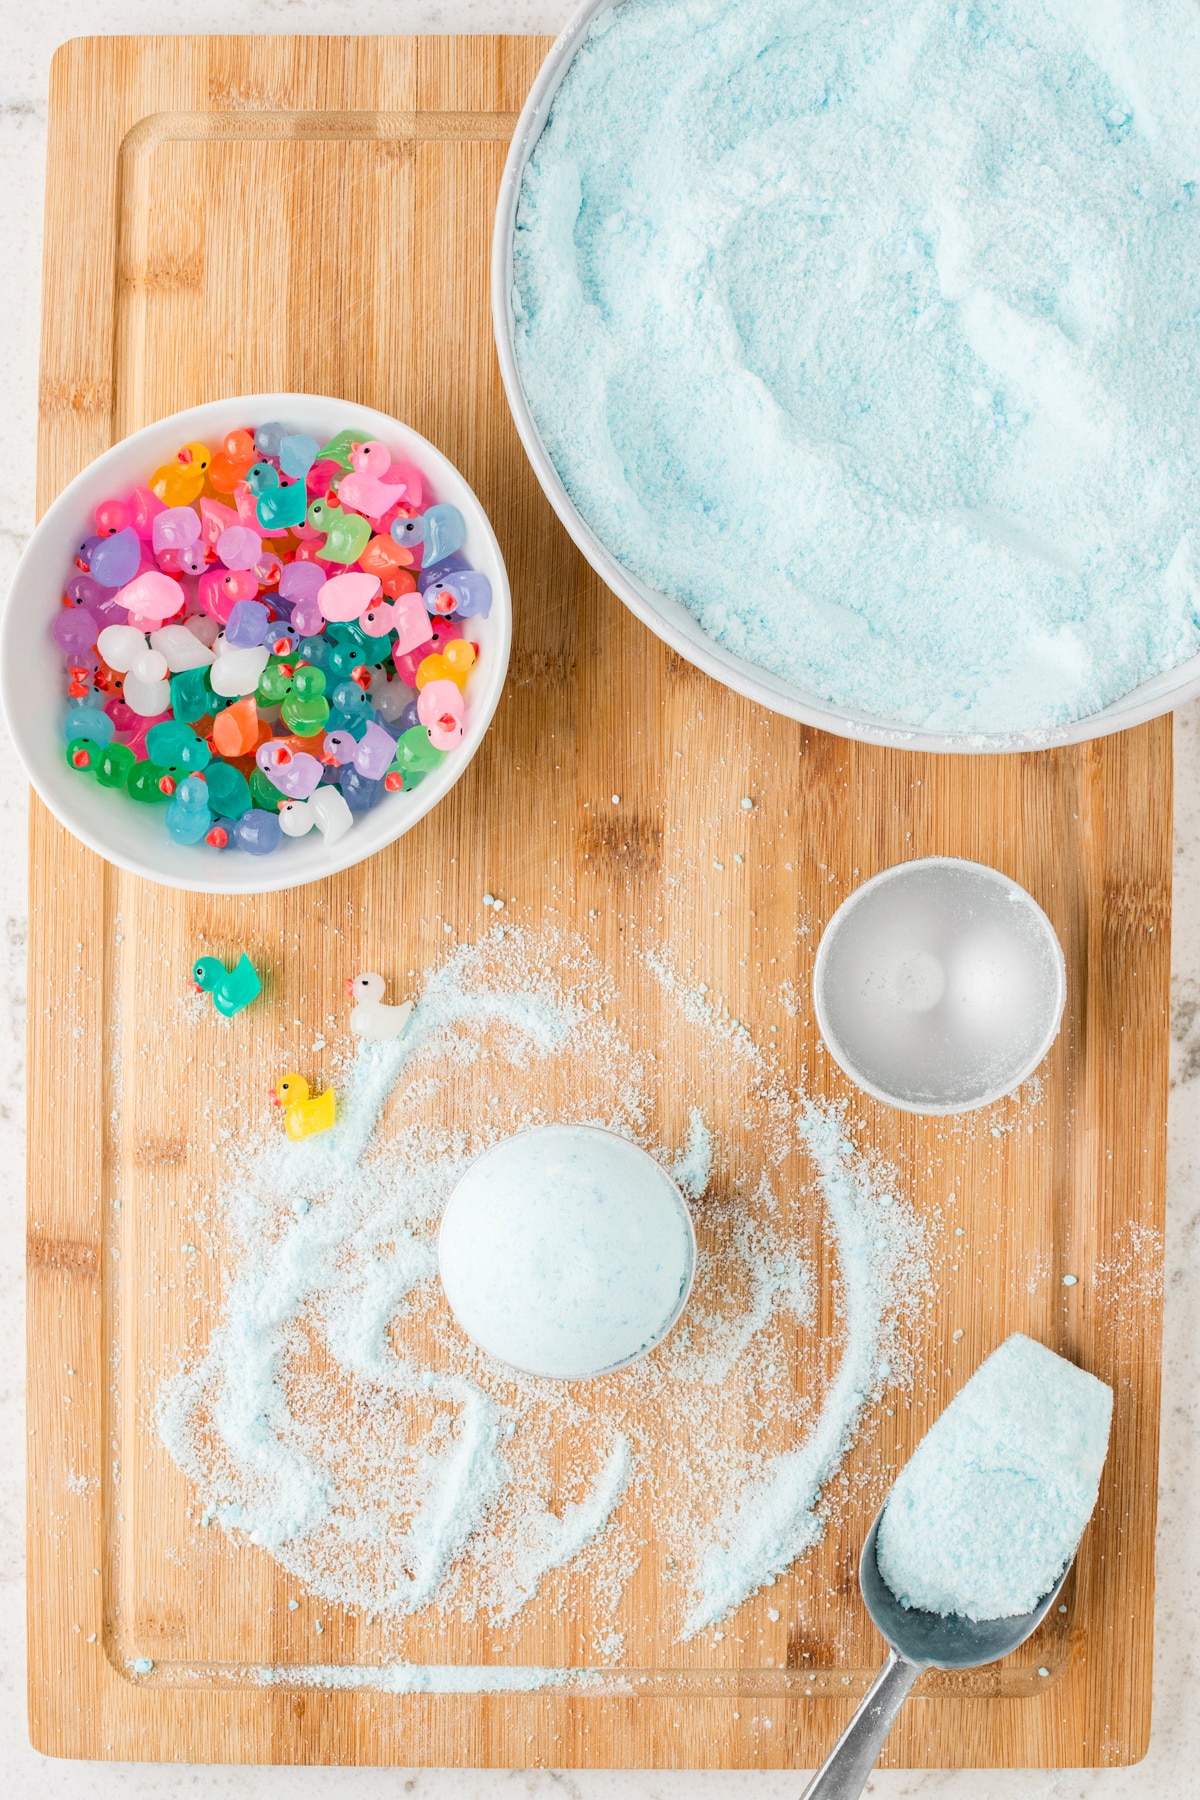
Portion and add toy. Scoop a heaping amount of the mixture into one of the bath bomb molds. Add a small toy in the center, ensuring it does not touch the outside of the molds. Top with more of the mixture. Fill the other half of the mold and then squeeze the two sides firmly together to pack the bath bomb down.
Leave to set. Gently remove the DIY bath bombs from the molds and place them on a flat surface to set for at least 24 hours. When they are ready to be used, drop a bath bomb into a warm bath and watch the fizzy fun!
Storage
The great thing about bath bombs is that they have a long shelf life when stored properly. Place them into an airtight container and store for up to 6 months in a cool, dry place. You can store them in plastic bags if you prefer, but they may not last as long.
Pro Tips
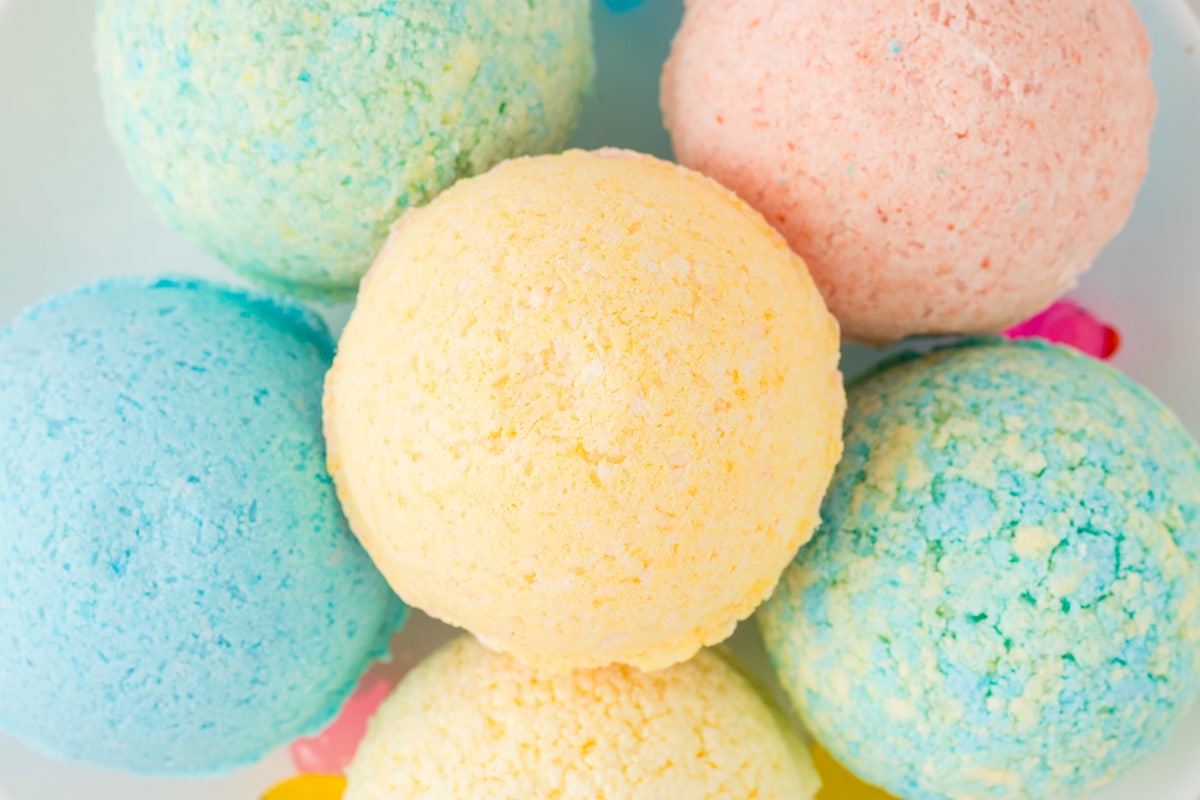
- Have fun making tons of different colors! Divide the dry mixture into different bowls once it’s mixed together and then make different colored bath bombs. Then you can use two colors on one bath bomb, or make multiple different ones in a variety of fun colors.
- Make sure that you allow these homemade creations to set well before using. After carefully removing them from the molds, allow to set for a minimum of 24 hours before using.
- These bath bombs are perfect gifts! Wrap individually in cellophane bags, or you can wrap them tightly in plastic wrap and place in a pretty drawstring bag. Don’t forget a personalized gift tag!
- Lightly dust the inside of the mold with cornstarch before packing in the bath bomb to help with removing from the mold once set.
Troubleshooting
If you end up having a few duds and the homemade bath bombs aren’t fizzing, you may not have used enough citric acid. Try making a new batch and ensure that you measure each ingredient properly so that the correct chemical reaction can occur to make the fizz.
It is also possible that you’ve just stored it away for too long. If you notice the color starting to fade away, it is likely that the bath bomb is a little bit old and it probably won’t fizz much anymore. I recommend using your homemade bath bombs within 6 months.
Adding the liquid too quickly will cause it to fizz so I recommend adding about one teaspoon at a time, and whisking it right away. You can even use a spray bottle to add the wet ingredients.
The bath bombs won’t hold their shape if they are too dry so add a little more moisture. The mixture is meant to feel like damp sand and will hold it’s shape if you squeeze it in your fist. Dry bath bombs will also crumble easily.
The concentration of the food coloring might change the color of the bath water, so use it sparingly. Mica powder is a great alternative with a much more vibrant color and is less likely to stain.
Either too much liquid was added making the bath bomb too wet or the bath bomb wasn’t left in the mold long enough to set.
Ingredients
- 1 cup baking soda
- ½ cup citric acid
- ½ cup corn starch
- ½ cup Epsom salt
- 2 Tablespoons coconut oil melted
- 1 Tablespoon water
- Food coloring optional
Instructions
- Choose small toys or trinkets that are waterproof and safe for the bath. Wash and dry the toys thoroughly. Set aside.
- Combine the baking soda, citric acid, cornstarch, and Epsom salt in a large bowl. Mix the dry ingredients well, ensuring there are no lumps.
- Mix the melted coconut oil, water, and a few drops of food coloring, if desired, in a separate small bowl.
- Slowly add the wet ingredients to the dry ingredients, stirring continuously. Be careful not to add too much liquid at once to avoid premature fizzing.
- Take a small amount of the mixture and squeeze it in your hand. It should stick together without crumbling. If it is too dry, add a little more water.
- Place a heaping amount of the mixture into the bath bomb mold.
- Add a small toy or trinket in the center, ensuring it’s centered and doesn’t touch the sides of the mold. Top the mold with more of the mixture. Fill the other side of the mold with another heaping amount of the mix. Squeeze the 2 molds together firmly to pack the bath bomb.
- Gently remove the bombs from the molds and place them on a flat surface to dry for at least 24 hours.
- Drop one of your DIY bath bombs into a warm bath and watch it fizz. The surprise toy inside will make bath time even more enjoyable for the kids!
Notes
More Science Activities You’ll Love
- Learn How to Make Oobleck for the most slimy and goopy fun. A blast of an activity!
- This Ice Painting is a really easy science experiment and craft in one for younger kids.
- Homemade Slime is way better than the store-bought stuff and is so cool to make!
- While Cloud Dough isn’t exactly of a science experiment, it is still really cool to make and watch how the ingredients form such a fluffy toy to play with.
I’m so sorry to say that this was an epic fail for us. We followed the instructions and the bath bombs keep growing and after we took them out of the molds, I think due to the citric acid and water interaction. Any suggestions?
I’m so sorry your bath bombs didn’t work out. A few causes could be if you unmold them too soon, the still-moist interior may expand or humidity in the air (especially during summer or in bathrooms/kitchens) can trigger this.
We loved making these! These make a perfect Mother’s Day or any day gift!