Christmas Tree Pom Pom Painting
A quick and easy Christmas craft for toddlers or preschoolers! This Christmas Tree Pom Pom Painting is the perfect activity for young children. It’s easy to do with supplies around your house. Plus, it’s great for children’s fine motor and sensory processing skills.
Need a quick and easy craft that’s cute? This Christmas Tree Pom Pom Painting is just what you need!
We did these adorable Fall Leaf Pom Pom Paintings that were so fun that we needed another Christmas one to do!
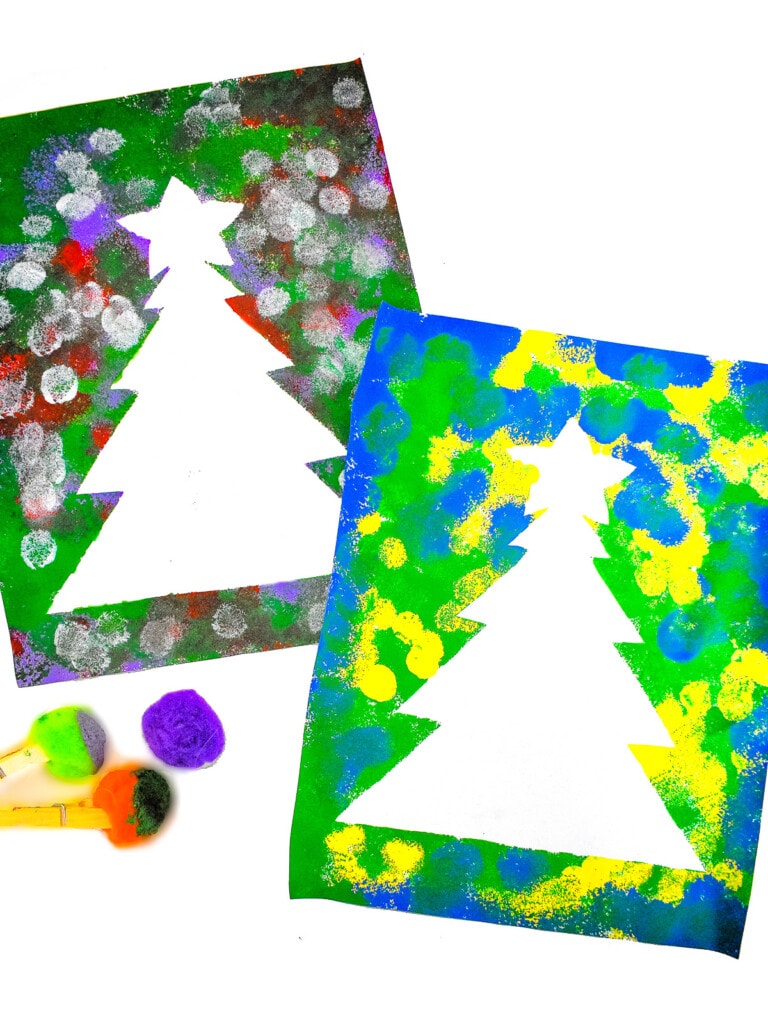
For this quick and easy Christmas Craft all you need to do is print the Christmas Tree Outline, cut it out, tape it to a piece of white cardstock and have the kids paint with pom poms!
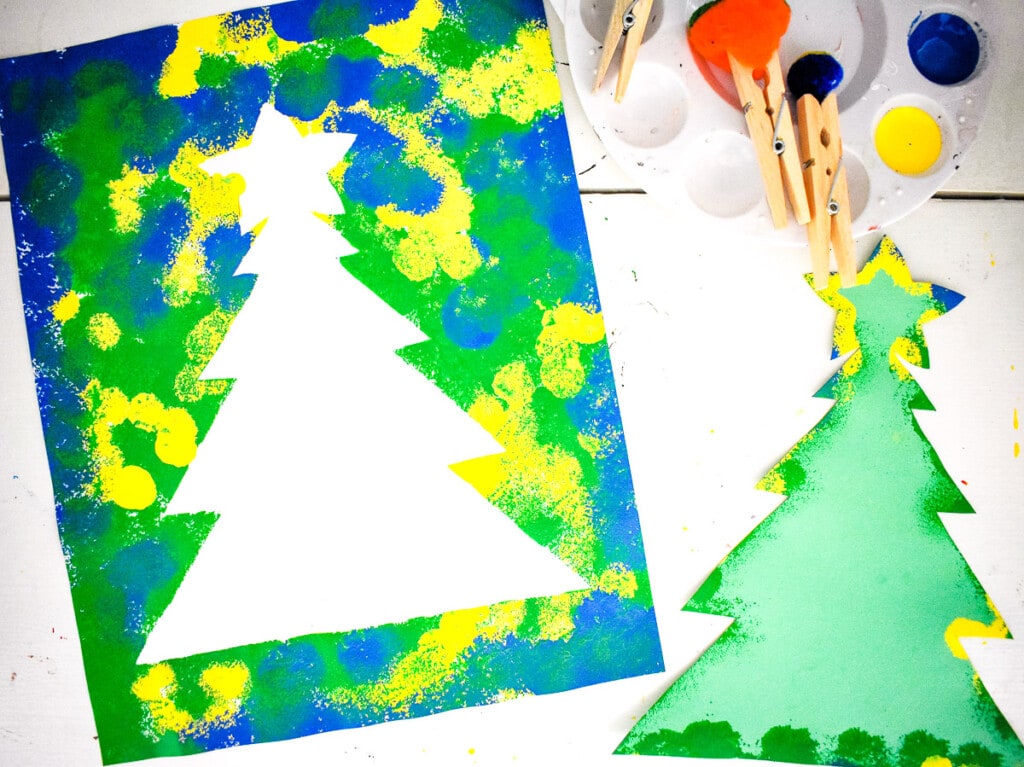
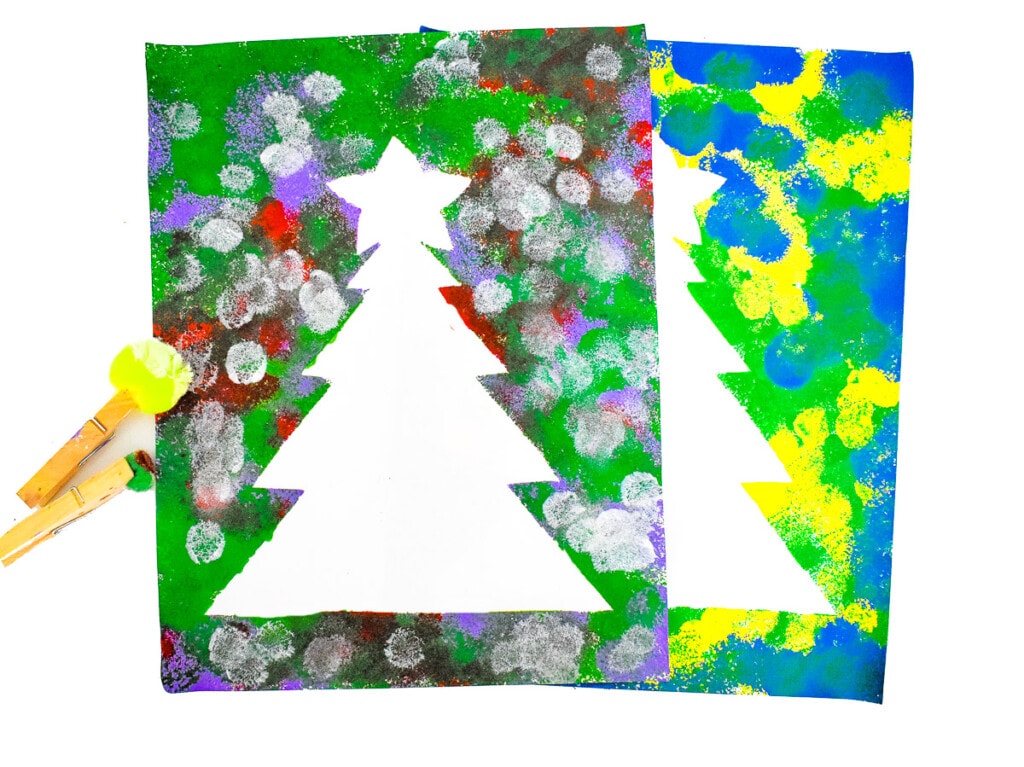
We love how each Christmas Tree painting will turn out totally unique to that child. I had one child that left white paper showing, I had one child paint more of a rainbow pattern. They were all cute and precious!
Pom Pom painting is a great option for kids that don’t like the feeling of using finger paint. It also addresses fine motor and sensory processing skills.
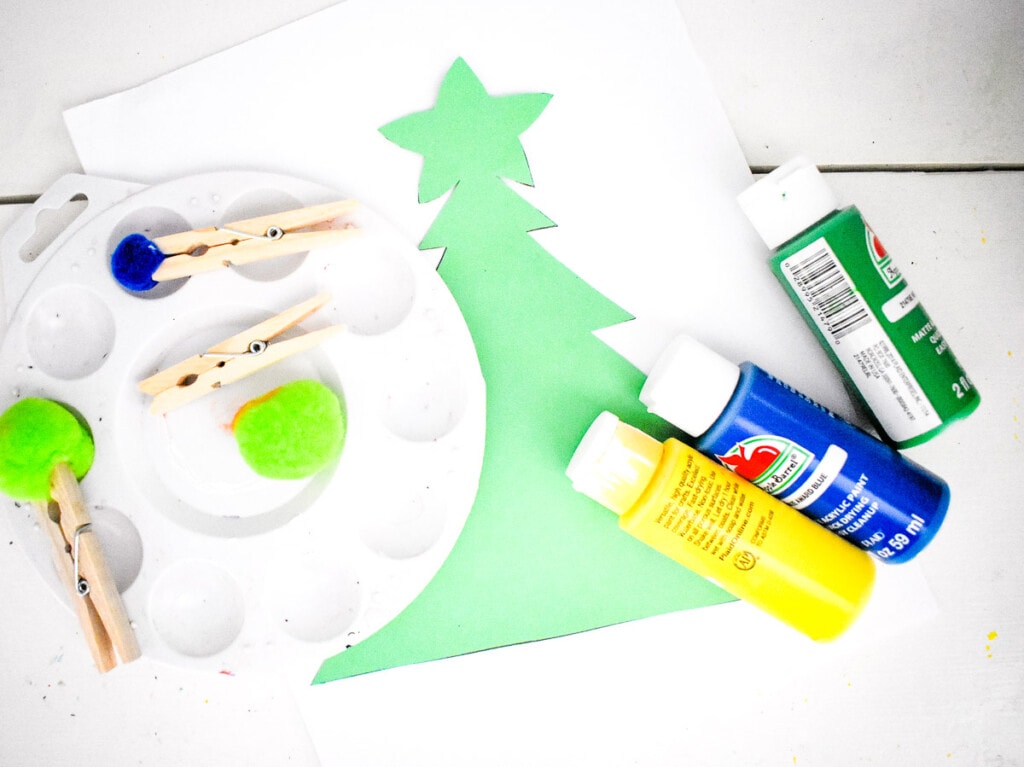
Supplies Needed for Christmas Tree Pom Pom Painting
- Christmas Tree Template
- White cardstock
- Acrylic paint – green, yellow, blue, red
- Clothespins
- Pom Poms
- Masking tape
- Scissors
We linked a washable tempera paint for the acrylic paint because messes happen when you are working with little but a regular Acrylic paint will work too!
If you don’t have clothespins you can even have a child grab a larger pom pom with their finger and just use it that way. Their hands might get messy but that’s half the fun!
Print and Trace Christmas Tree
The first step is to print the Christmas Tree template provided.
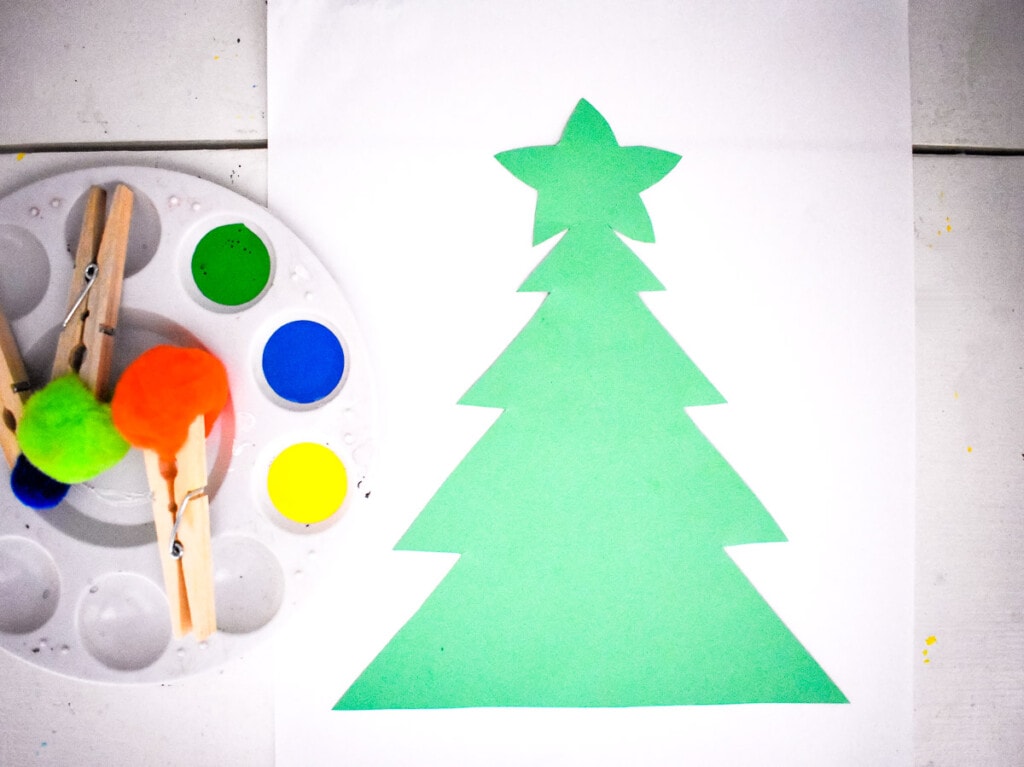
Cut out the Christmas tree. We recommend tracing the outline onto a different color of paper or cardstock to make it easier to see when the child is painting, but this is totally optional. We used a green Christmas tree.
Another option that worked great for us is grabbing a colored piece of printer paper and printing it on that and cutting out the outline. No tracing onto a different piece of paper!
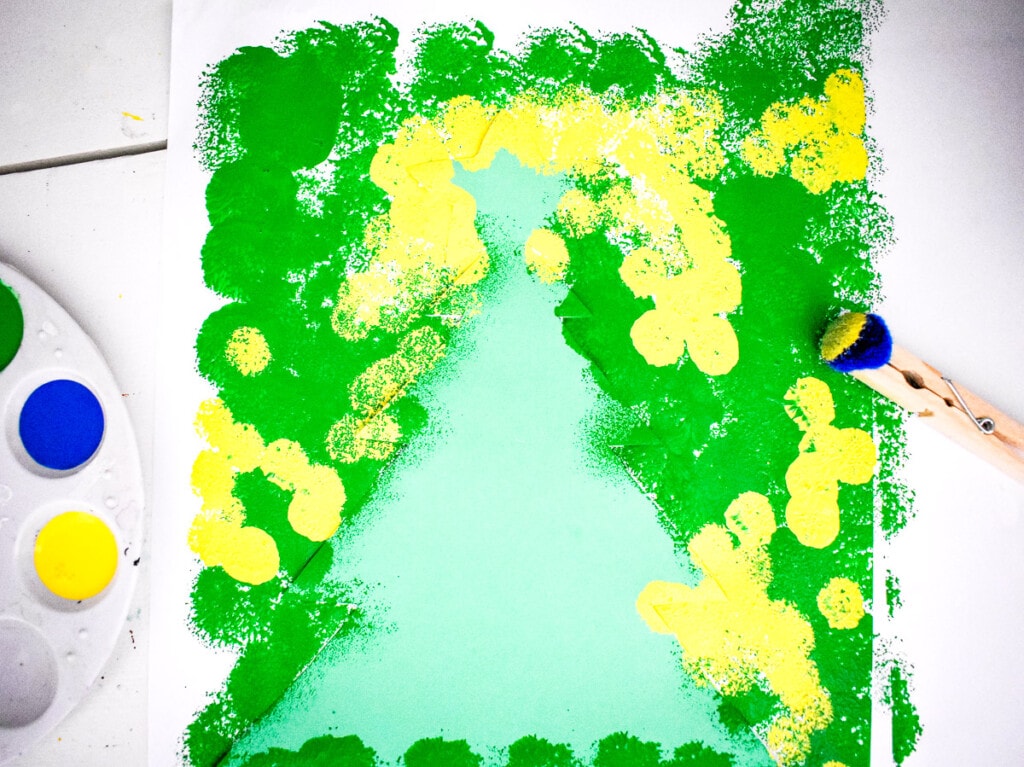
Next, place the tree in the middle of a white sheet of cardstock. Use two small pieces of rolled up masking tape on the back to stick it in place. Stick the tape towards the outside of the tree to make it hold in place better.
Time to Paint!
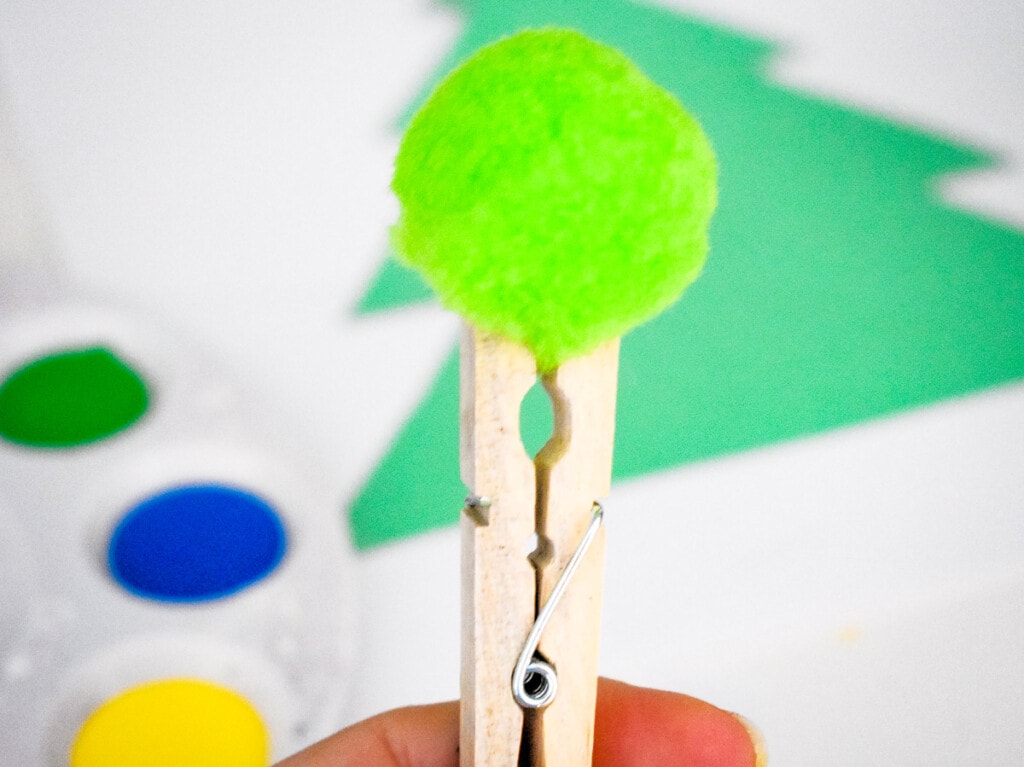
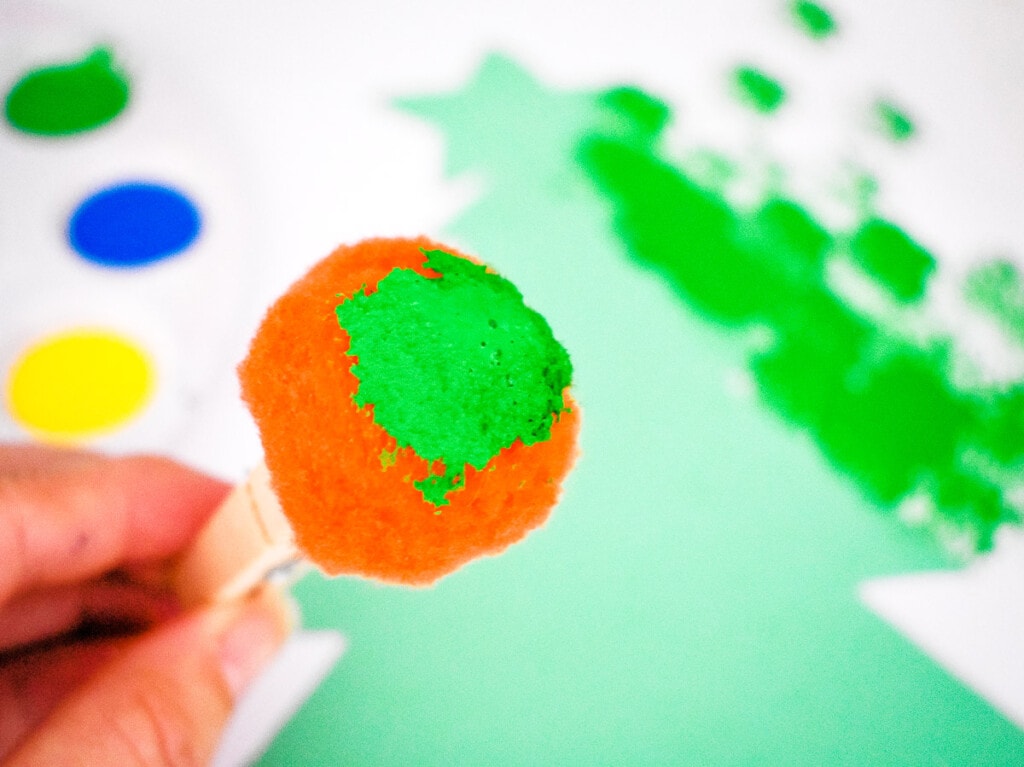
Now, clamp a pom pom in place in clothespin. You will need one pom pom and clothespin combination per color of paint you are using. Match the pom pom to the color paint it goes with to make it easy and teach kids colors and matching!
We used different sized pom poms but they can all be the same size too.
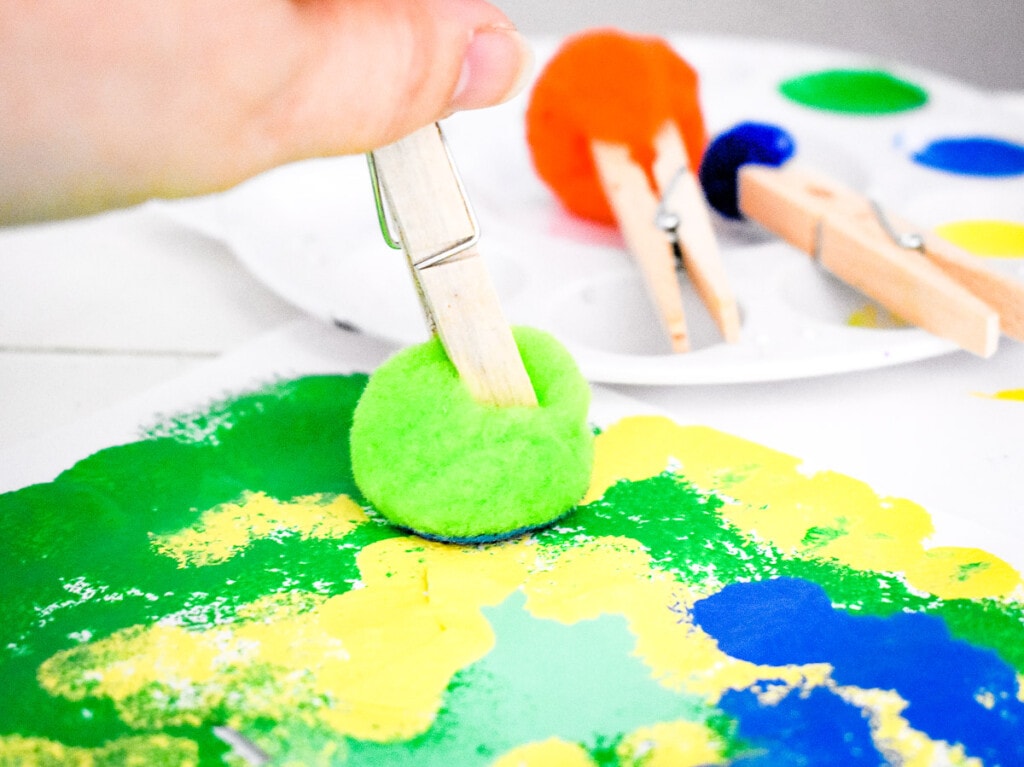
Dip the pom pom in desired color of paint and begin stamping paint around the Christmas tree cutout. Stamp until the entire page is covered.
The last step is to remove the tree and tape carefully BEFORE the paint dries.
Fun Tip! Save your clothespins and make this Clothespin Snowman Craft as another fun Christmas craft!
More easy Christmas Crafts for Kids
- If you have young kids these Handprint Angels are so cute and fun!
- Can ugly sweaters be cute? They can be if you make these adorable Christmas Stocking Ornaments!
- Gnome are so cute and trendy! Grab your popsicle sticks and create a Popsicle Stick Gnome!
- Christmas Stocking Ornaments are the perfect craft to keep and decorate with every year. Homemade ornaments are always fun to bring out at Christmastime.
If you take a picture and share them on Instagram make sure to #kidsactivityzone or tag us @kidsactivityzoneblog so we can see them!

Christmas Tree Pom Pom Painting
Ingredients
Instructions
- Start by printing the Christmas Tree template.
- Cut out. You can then trace it on a different color of cardstock to make it easier to see. We used green. This step isn’t necessary, however, only if it makes it easier.
- Place the tree in the middle of a white sheet of cardstock. Use two small pieces of rolled up masking tape on the back to stick in place.
- Now, clamp poms in clothespins. You will need one stamp per color. We also used different sizes of poms.
- Begin stamping paint around the Christmas cutout.
- Stamp until the page is covered.
- Finally, carefully remove the tree and tape before drying completely.