Handprint Angel
Adorable and easy Handprint Angel Craft is a simple craft that’s so precious for Christmas. Simply trace your child’s handprints, cut them out and glue them to paper. Then cut out the rest of the angel from the template provided to create your Angel!

Quick, easy and adorable crafts are just what you need when you have a toddler or preschool age child. They love to do crafts, but their attention spans are very short and that’s ok! That’s why we love this simple Handprint Angel!
With minimal supplies and steps this is a quick and easy craft that will take about 15 minutes.
It would be a great addition to any Sunday School class during Christmas Time too! The parents will love getting these sent home with their child. You can even cut out the Angel’s body and head before class so it’s all prepped and ready to go.
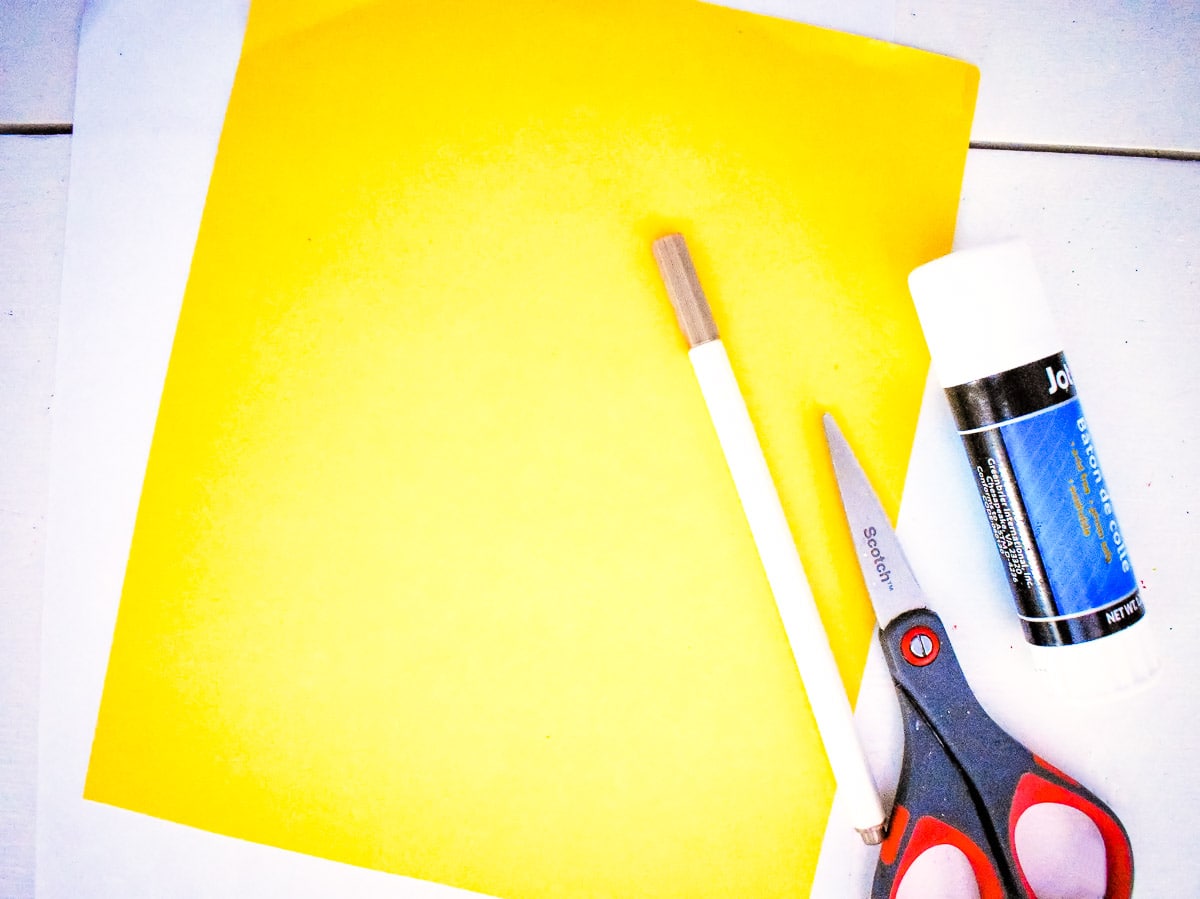
Supplies Needed
The supply list is pretty simple for this craft! If you don’t have a gold metallic marker you can use a brown marker too or anything you want to use. Another great option would be to snip a pipe cleaner and form it into an oval and glue it on the Angel.
- Angel Template
- White paper
- Yellow cardstock
- Gold metallic marker
- Glue stick
- Scissors
- 2” circle paper punch (optional)
Print Template and Cut Out
The first thing you want to do when you start this easy Angel Craft is to print the template. Just print it on white printer paper.
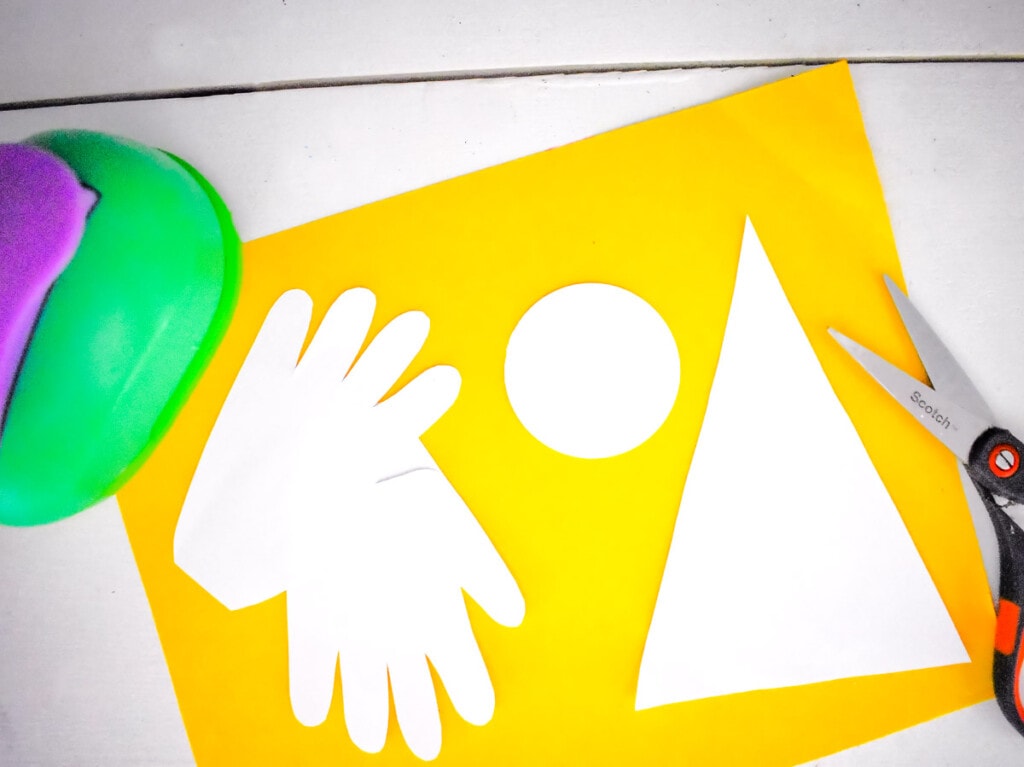
Cut out the triangle and circle from the template. You could also use a 2” circle paper punch if you happen to have that on hand for the head shape.
This will be the triangle for the angel’s body and circle for the head.
Trace & Cut Out Handprints
Now, we need to do is trace your little one’s handprints on white paper. You will need both handprints to form the Angel’s wings. Cut out the handprints.
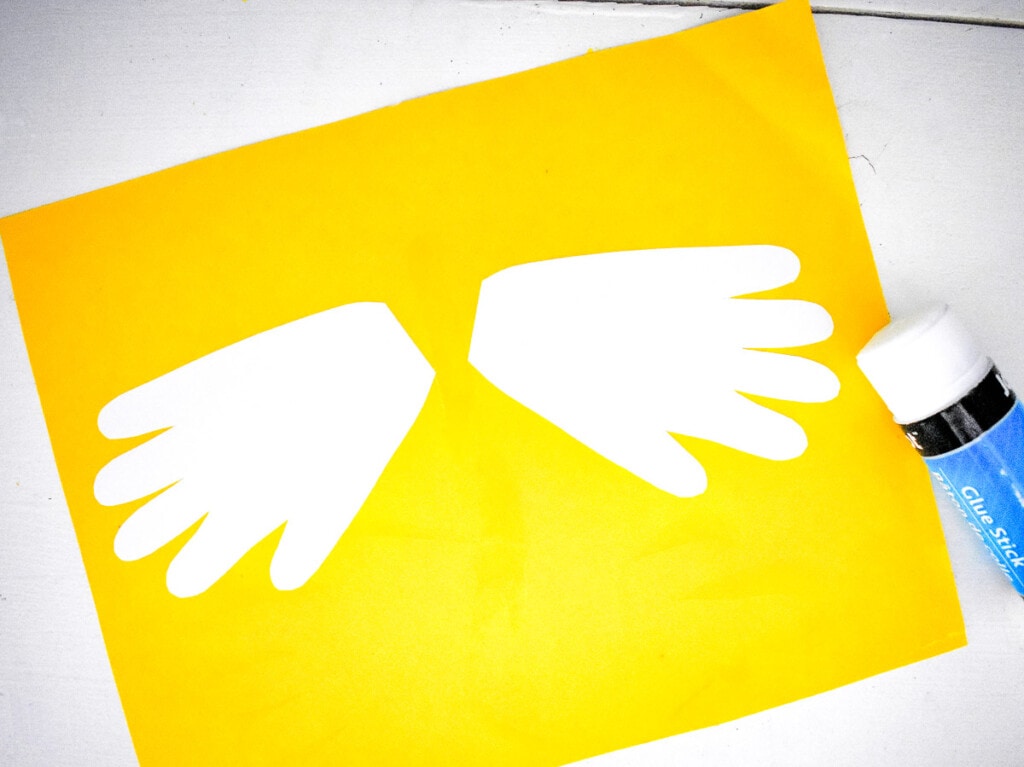
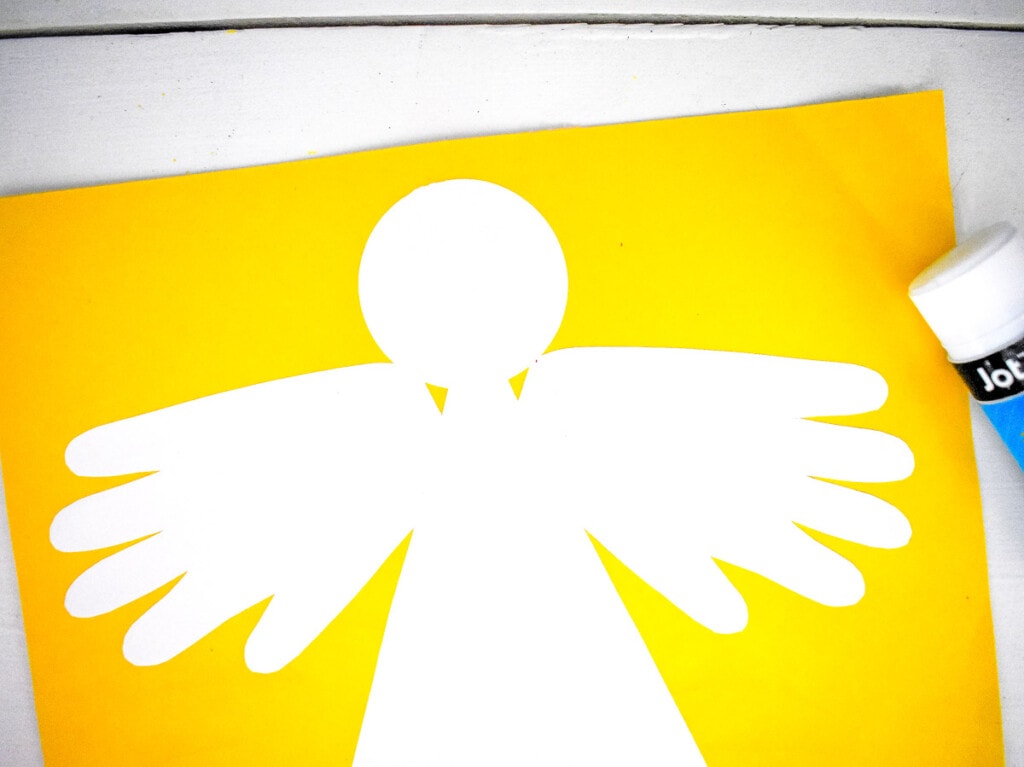
Assemble Angel
Now, glue the handprints in the center of a sheet of yellow cardstock, slightly separated.
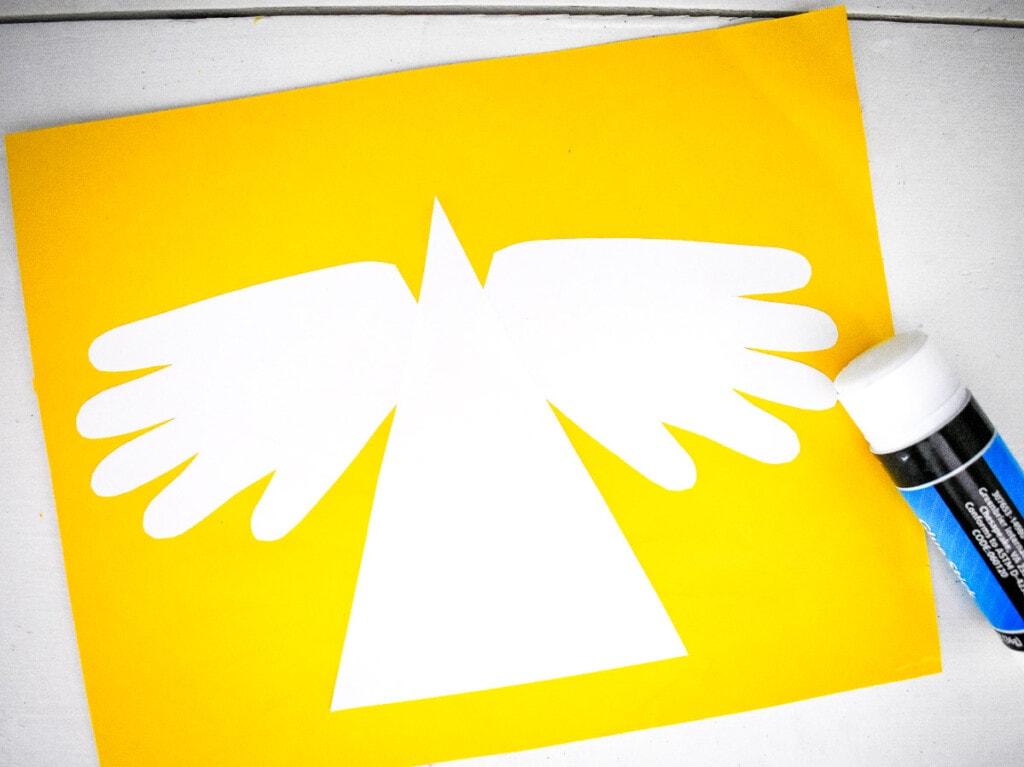
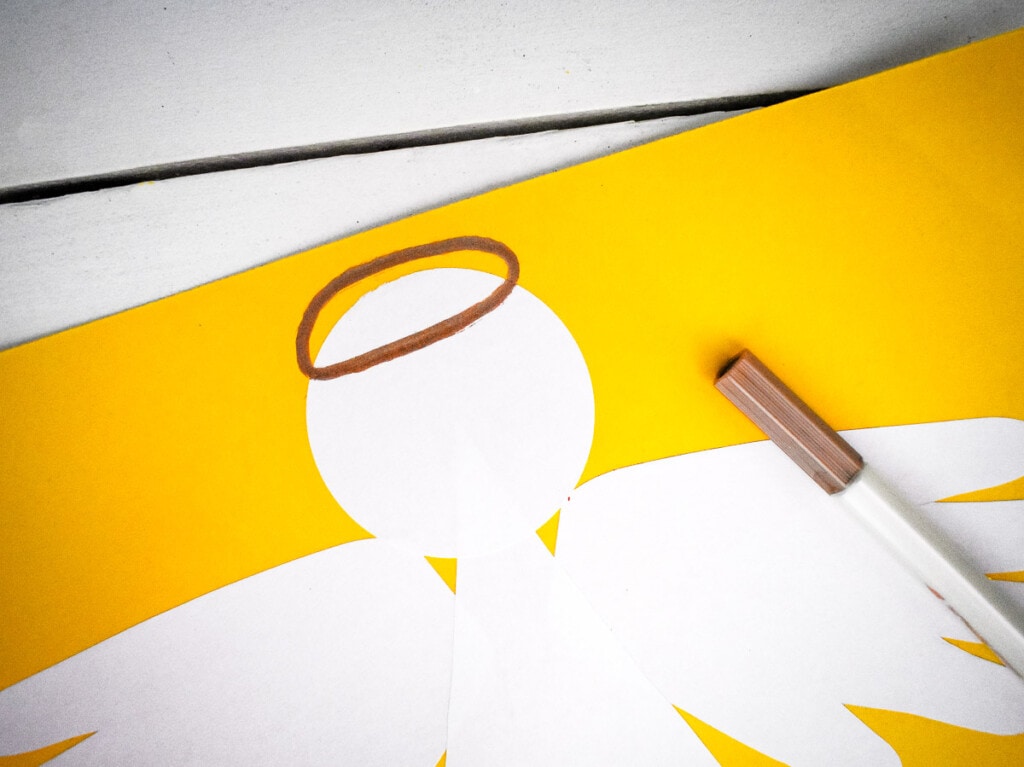
Glue the triangle just over the wrist of the handprints. And adhere the circle to the top of the triangle. Finally, draw a halo with a gold metallic marker.

MORE HANDPRINT CRAFTS!
- Make these adorable and festive Handprint Christmas Trees for the holidays!
- How cute are these Paper Bag Handprint Reindeers? So quick and easy!
- Kids always love Santa so we can’t pass up these adorable Handprint Santas!
- This Ladybug Handprint Craft is a great summer or spring activity.
If you take a picture and share them Instagram make sure to #kidsactivityzone or tag us @kidsactivityzoneblog so we can see them!

Instructions
- Begin by printing the handprint angel template2. This is just an easy way for you to get the size of the body and head for the angel. It’s really just a triangle and 2” circle, however.
- Trace the little one’s handprint on white paper. Cut out. You’ll need both handprints.
- Cut out the triangle and circle from the template. You could also use a 2” circle paper punch if you happen to have that on hand for the head shape.
- Now, glue the handprints in the center of a sheet of yellow cardstock, slightly separated.
- Glue the triangle just over the wrist of the handprints.
- And adhere the circle to the top of the triangle.
- Finally, draw a halo with a gold metallic marker.