Paper Bag Handprint Reindeer Craft
An adorable and easy Christmas craft that anyone can tackle! This Paper Bag Handprint Reindeer Craft needs minimal supplies and is quick and easy to make. Perfect for toddlers and preschoolers. Simply trace and cut out the handprints, glue onto a paper bag, decorate and you have yourself a cute reindeer craft the kids will love!

This quick and easy paper bag craft is so cute! It quickly turns into a cute reindeer after you trace and cut out your child’s handprints, glue them to the top and then decorate.
Your very own Rudolph the Red-nosed Reindeer is ready to guide the way this holiday season!
We love watching Rudulph the Red-Nosed Reindeer every year before Christmas. The kids always enjoy it no matter how many times they’ve seen it.
Now you have a fun reindeer craft to pair with it! Don’t forget these Reindeer Graham Cracker Treats as an easy snack to go with the movie or craft! And if you want to decorate the house before movie night, make some Paper Bag Snowflakes!
The best part about this cute, simple reindeer craft is that it requires minimal supplies which you probably already have in your house! It’s the perfect craft to pull out when you’ve got some spare time in your day.
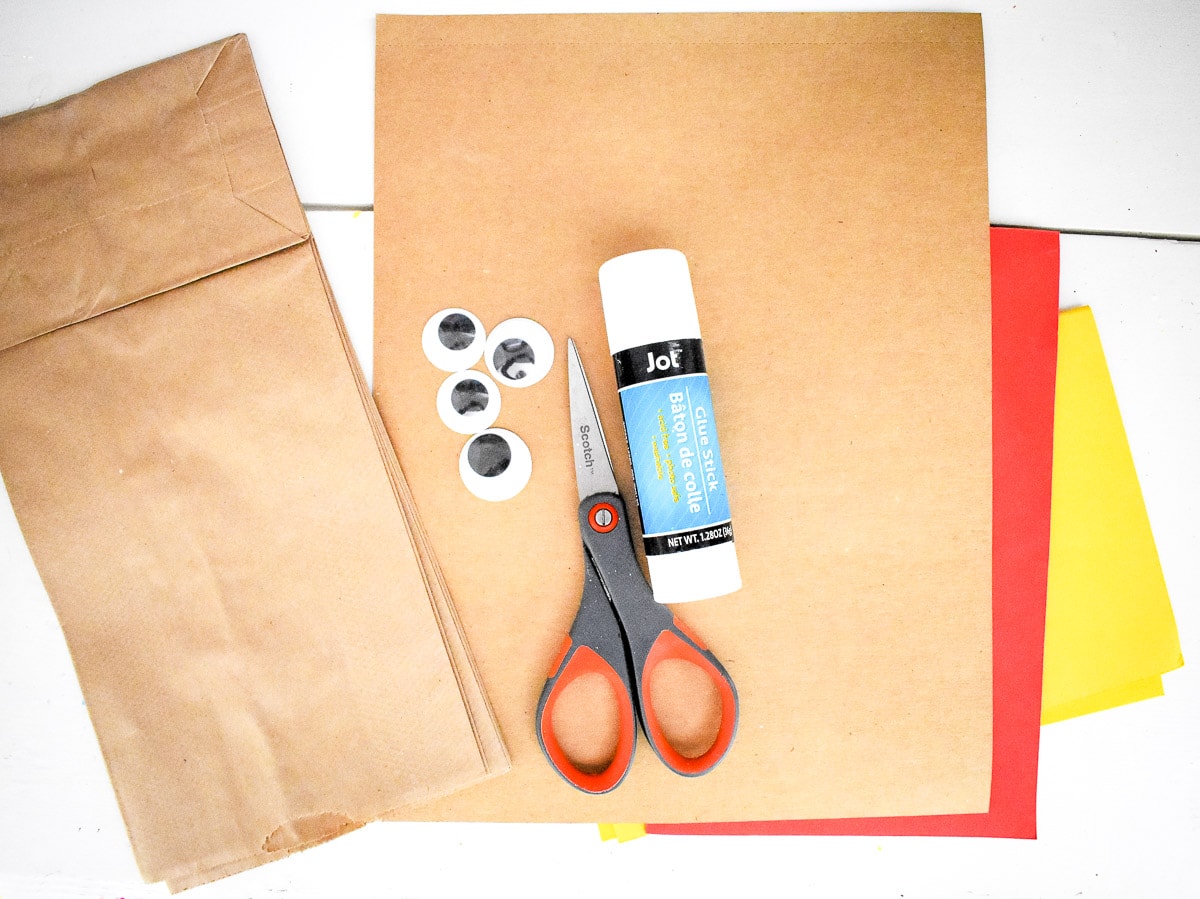
Supplies Needed
- Brown paper lunch bags – a classic brown bag is all you need
- Cardstock – brown, red and yellow are used for this craft. You can use construction paper if you don’t have cardstock, it just doesn’t hold up as strong.
- Googly eyes – medium sized are best to go with the size of the paper bags
- Scissors – older kids can do the tricky cutting or have the little kids practice using their fine motor skills with safety scissors
- Glue stick – nice and sticky without a sticky mess!
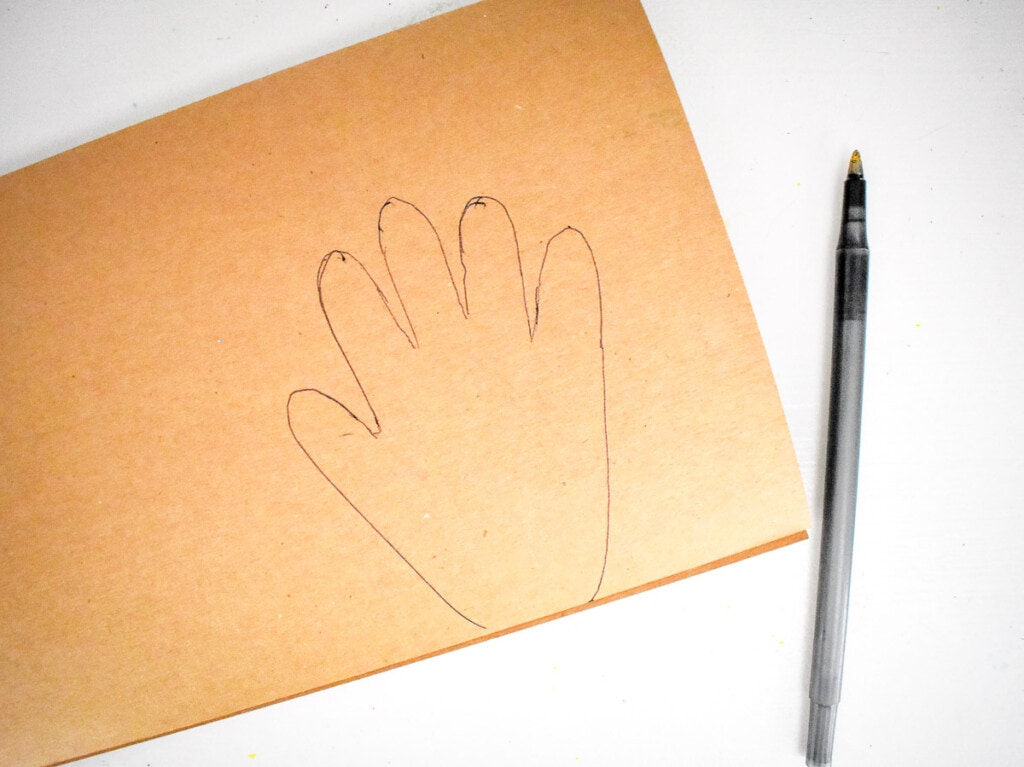

How do you make a handprint reindeer?
The first step to making this cute reindeer is to trace your children’s handprints on brown cardstock. Brown construction paper will work, but it won’t hold up as well and tends to flop over.
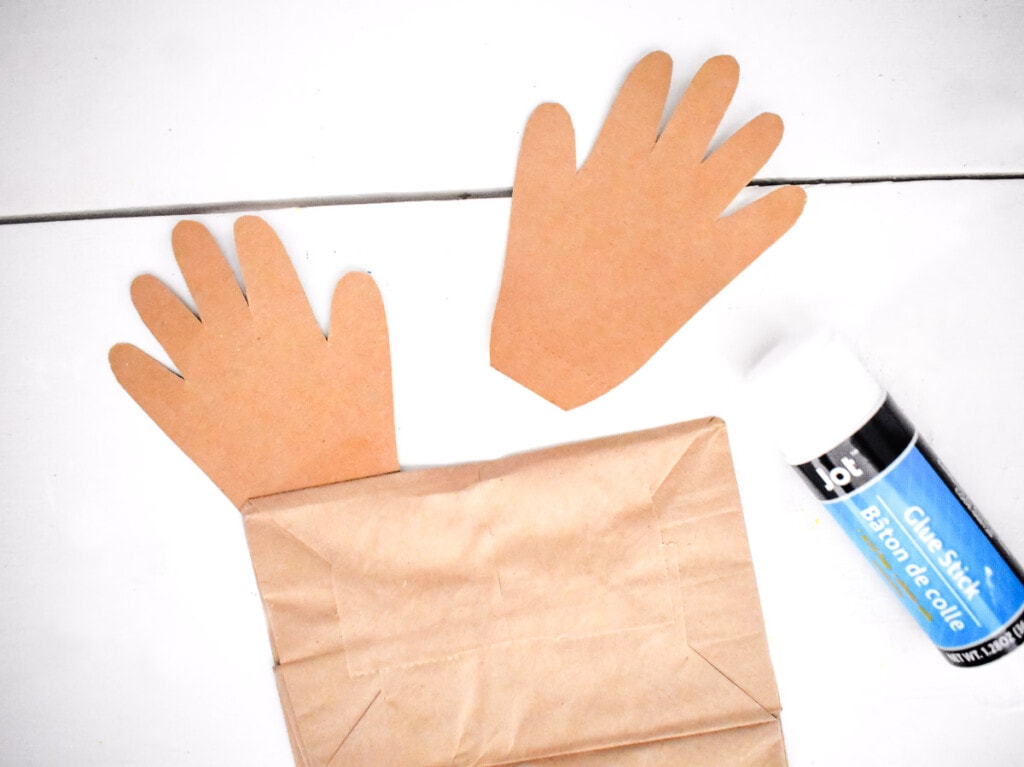
After you have the handprints cut out, you will glue them to the back of the paper bag. Make sure to flip them over so the side you traced is facing backwards so we can’t see any of the tracing on your cute reindeer!
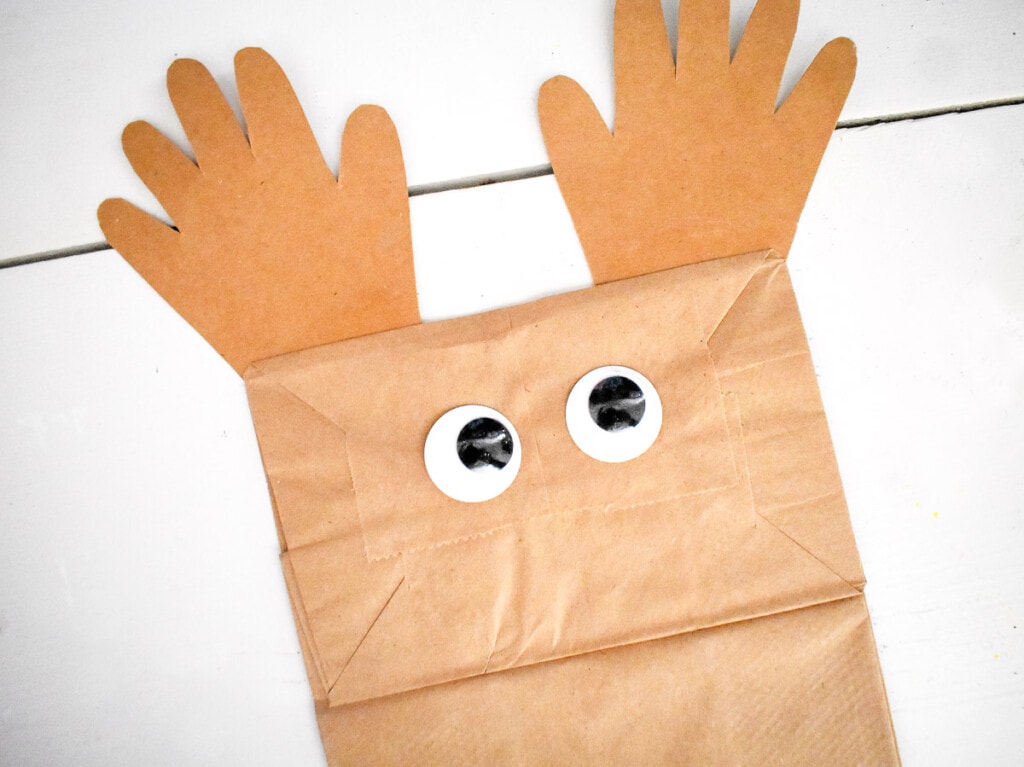


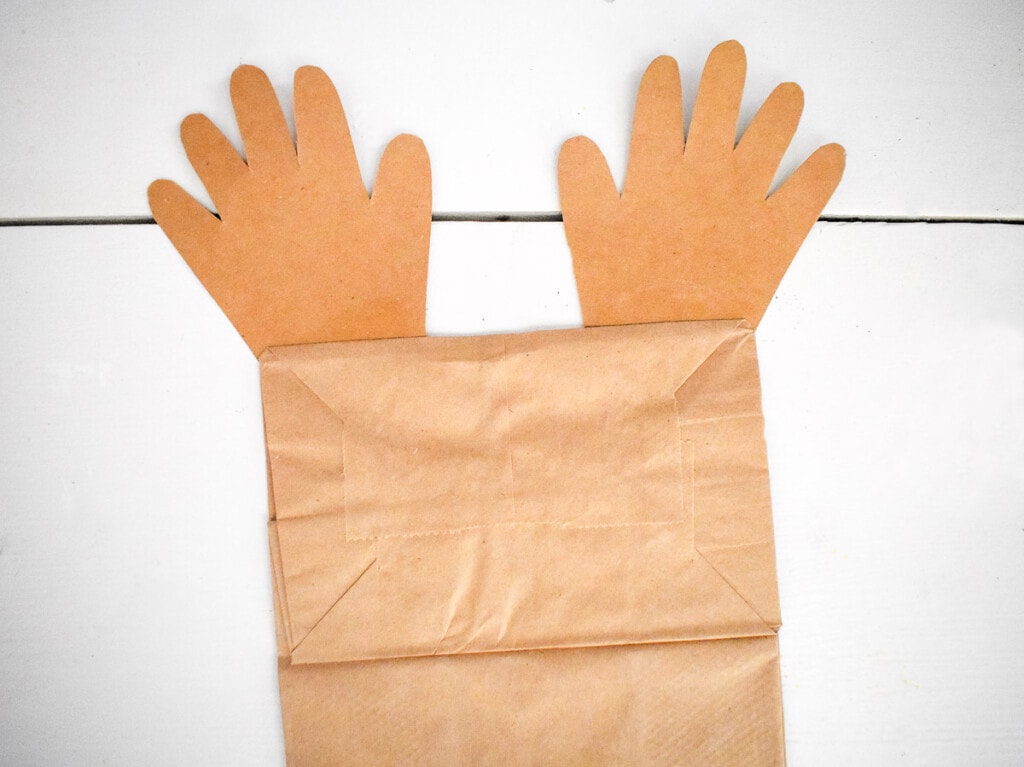
Time to Decorate!
After you have the handprint antlers glued onto the paper bag, start your reindeer face by attaching your googly eyes to the front. We used a size medium googly eye for our craft.
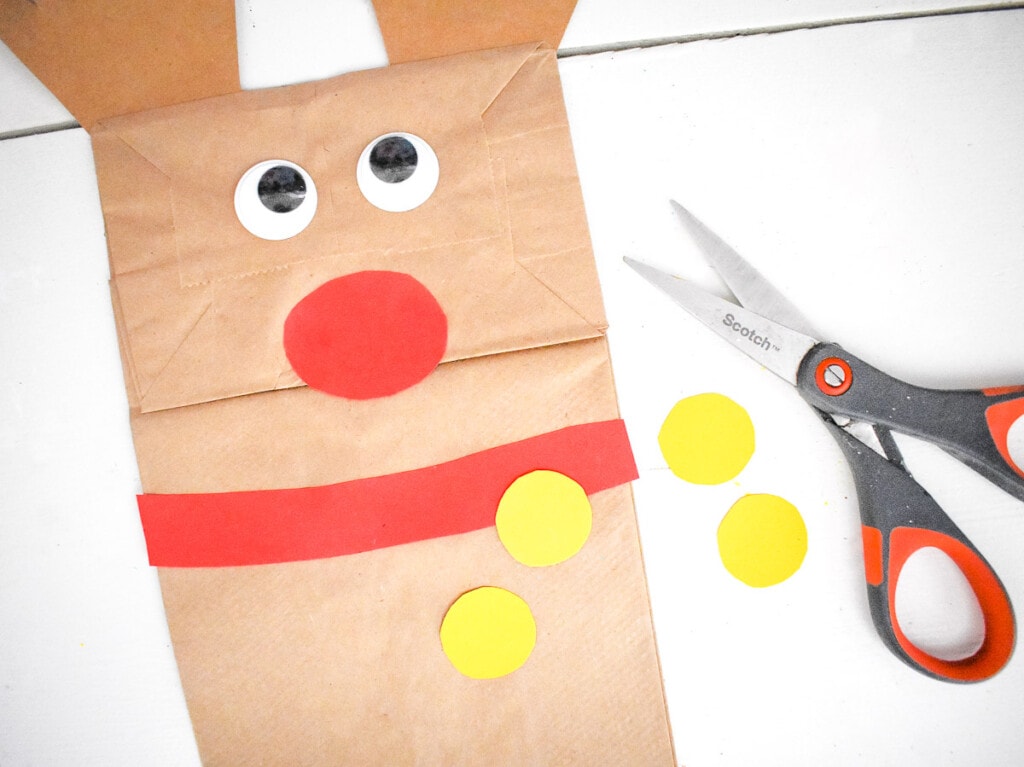
Cut a circle nose out of the red cardstock and glue it near the bottom of the flap. You can even make all of Santa’s reindeer if you have black cardstock to make noses with.
After the eyes and nose are attached, cut a strip of red card stock the same width as the paper bag. Glue the red strip to the bag.
Then cut three yellow circles out of yellow cardstock. Glue the yellow circles along the red strip to make some jingle bells.
Your reindeer handprint craft is complete!
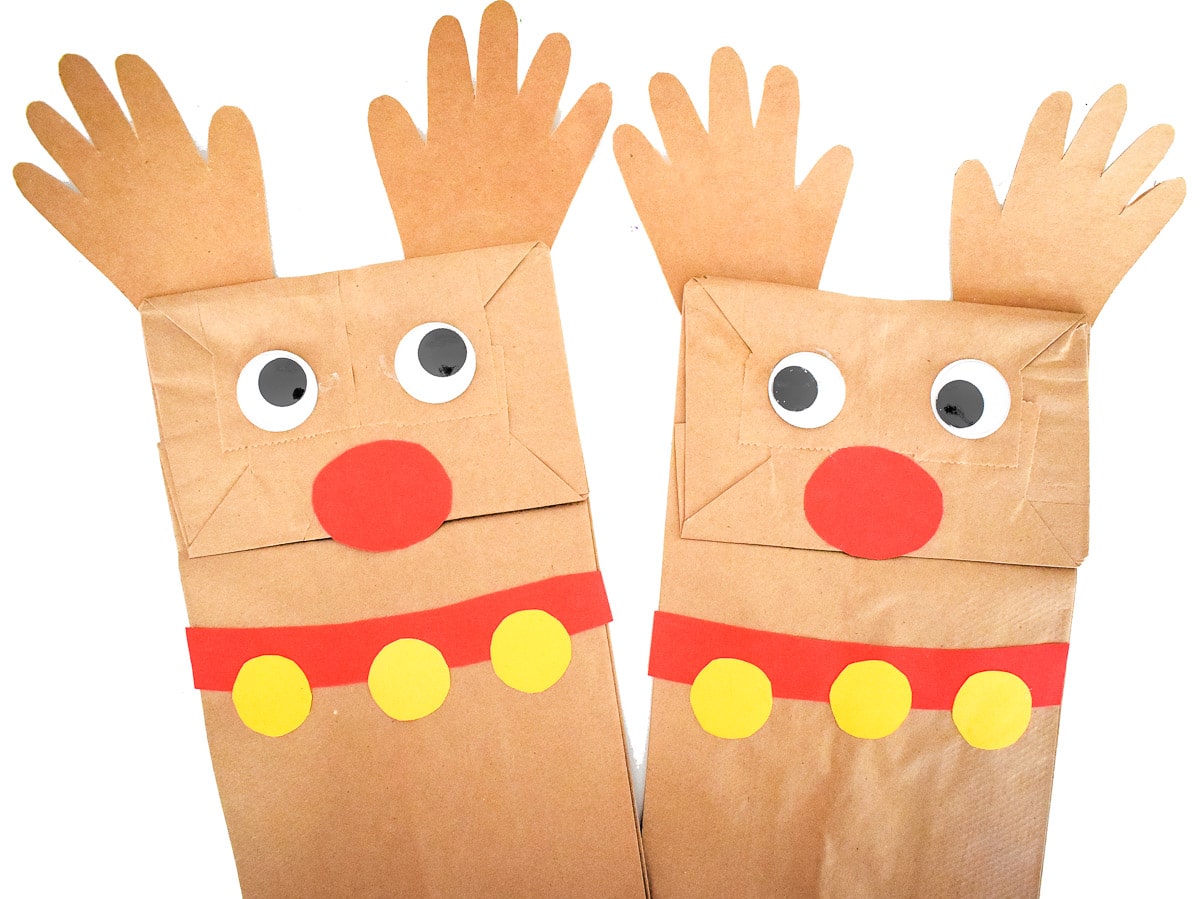
What do I do with my paper reindeer craft?
Where do I start? These paperbag reindeer can be used as puppets – have the kids make a few reindeer and put on a show!
If you love homemade Christmas decor, you can definitely use these reindeer to make a super fun garland! Tack up some yarn or string along the top of your window and hang the flap of the paper bags overtop.
Like something a little more subtle? Stick a magnet to the back of your paper bag reindeer and hang it on the fridge!
This paper bag reindeer craft is sure to get everyone into the holiday spirit! A great festive activity for the whole family to enjoy. As far as Christmas paper bag crafts go, this is a must make!
MORE CHRISTMAS ACTIVITIES!
- Grab your toilet paper rolls and make this adorable Christmas Light Painting.
- The kids love making these edible Reindeer Graham Cracker Treats.
- Want more homemade ornaments? This fun Grinch Popsicle Craft is always a hit!
- Need an easy Christmas Countdown? Print out this Santa Claus Countdown and grab your cotton balls!
MORE PAPER BAG CRAFTS
- How adorable is this heart handprint tree for Valentine’s Day?
- Make this cutie paper bag cactus in the summer time.
- Nothing beats a book with an accompanying craft just like our brown bear!
- The kids will love to make this Paper Bag Bunny Craft at Easter!
If you take a picture and share it on Instagram make sure to #kidsactivityzone or tag us @kidsactivityzoneblog so we can see them!
Ingredients
- Brown Paper Lunch Bags
- Cardstock Brown, red and yellow
- Googly Eyes Medium
- Scissors
- Gluestick
Instructions
- Begin by tracing the little one’s hands on brown cardstock. You will need both hands.
- Cut out the handprints.
- Glue the handprints to both sides of the top of a paper bag.
- Now, cut an oval nose from the red cardstock.
- Glue the nose in place toward the bottom of the flap of the bag.
- Adhere googly eyes.
- Next, cut a strip from the red cardstock the same width as the paper bag.
- And cut 3 small circles from the yellow cardstock.
- Glue the strip onto the paper bag.
- Finally, glue the yellow circles along the red strip.