Butterfly Life Cycle Activity with Butterfly Kit
Raise your own butterflies! This fun, hands on Butterfly Life Cycle Activity with Butterfly Kit explains how to raise your own butterflies using a kit, while also explaining the steps of the butterfly cycle as they grow. Have fun and learn from this butterfly activity.

Ready to teach your little ones each stage of a butterfly life cycle? Then you’ve gotta get a butterfly grow kit and start learning! It’s seriously so much fun. It’s truly fascinating that the little insects, caterpillars, turn into a beautiful butterfly. This activity spans over three weeks as you watch and document each of the different stages of the life cycle of a butterfly. Hands-on activities, like this one, are some of the best ways to learn!
If you’re a homeschooling parent or a classroom teacher, this is a great way to fill in some time in your lesson plans. Your kids will love it and it’s a fun way to learn! While you’re at it, involve some cute crafts in your learning activity. This toilet paper roll butterfly craft and coffee filter butterfly craft are both really fun! Create your own science center with this stages of the butterfly life cycle activity.
Why You’ll Love this Activity
- Complete a butterfly life cycle unit with this fun activity. It’s great for a small group to a classroom setting — however you choose to do it.
- This is a wonderful STEM lesson! And really, it can be used for kids of all ages, though I find kindergarten and first grade ages tend to enjoy it most.
- Watching the stages of a butterfly life cycle is an unforgettable experience. Your kids are going to remember this for years to come.

Supplies Needed
- Butterfly kit – There are many different types of kits out there. Yours should include live caterpillars (some kits include vouchers to receive caterpillars at a later date — make sure you read to know what your kit includes so that you are prepared), caterpillar food, and stands
- Sugar – Mix some sugar with a little water for the butterflies once they emerge. You can also feed them fresh fruit such as sliced oranges, watermelon, pears, etc. for their first meal.
- Q-tip – You’ll need a q-tip to brush away some of the webbing on the chrysalis that may make it difficult for the butterfly to break through.

What to Do with this Butterfly Life Cycle Activity
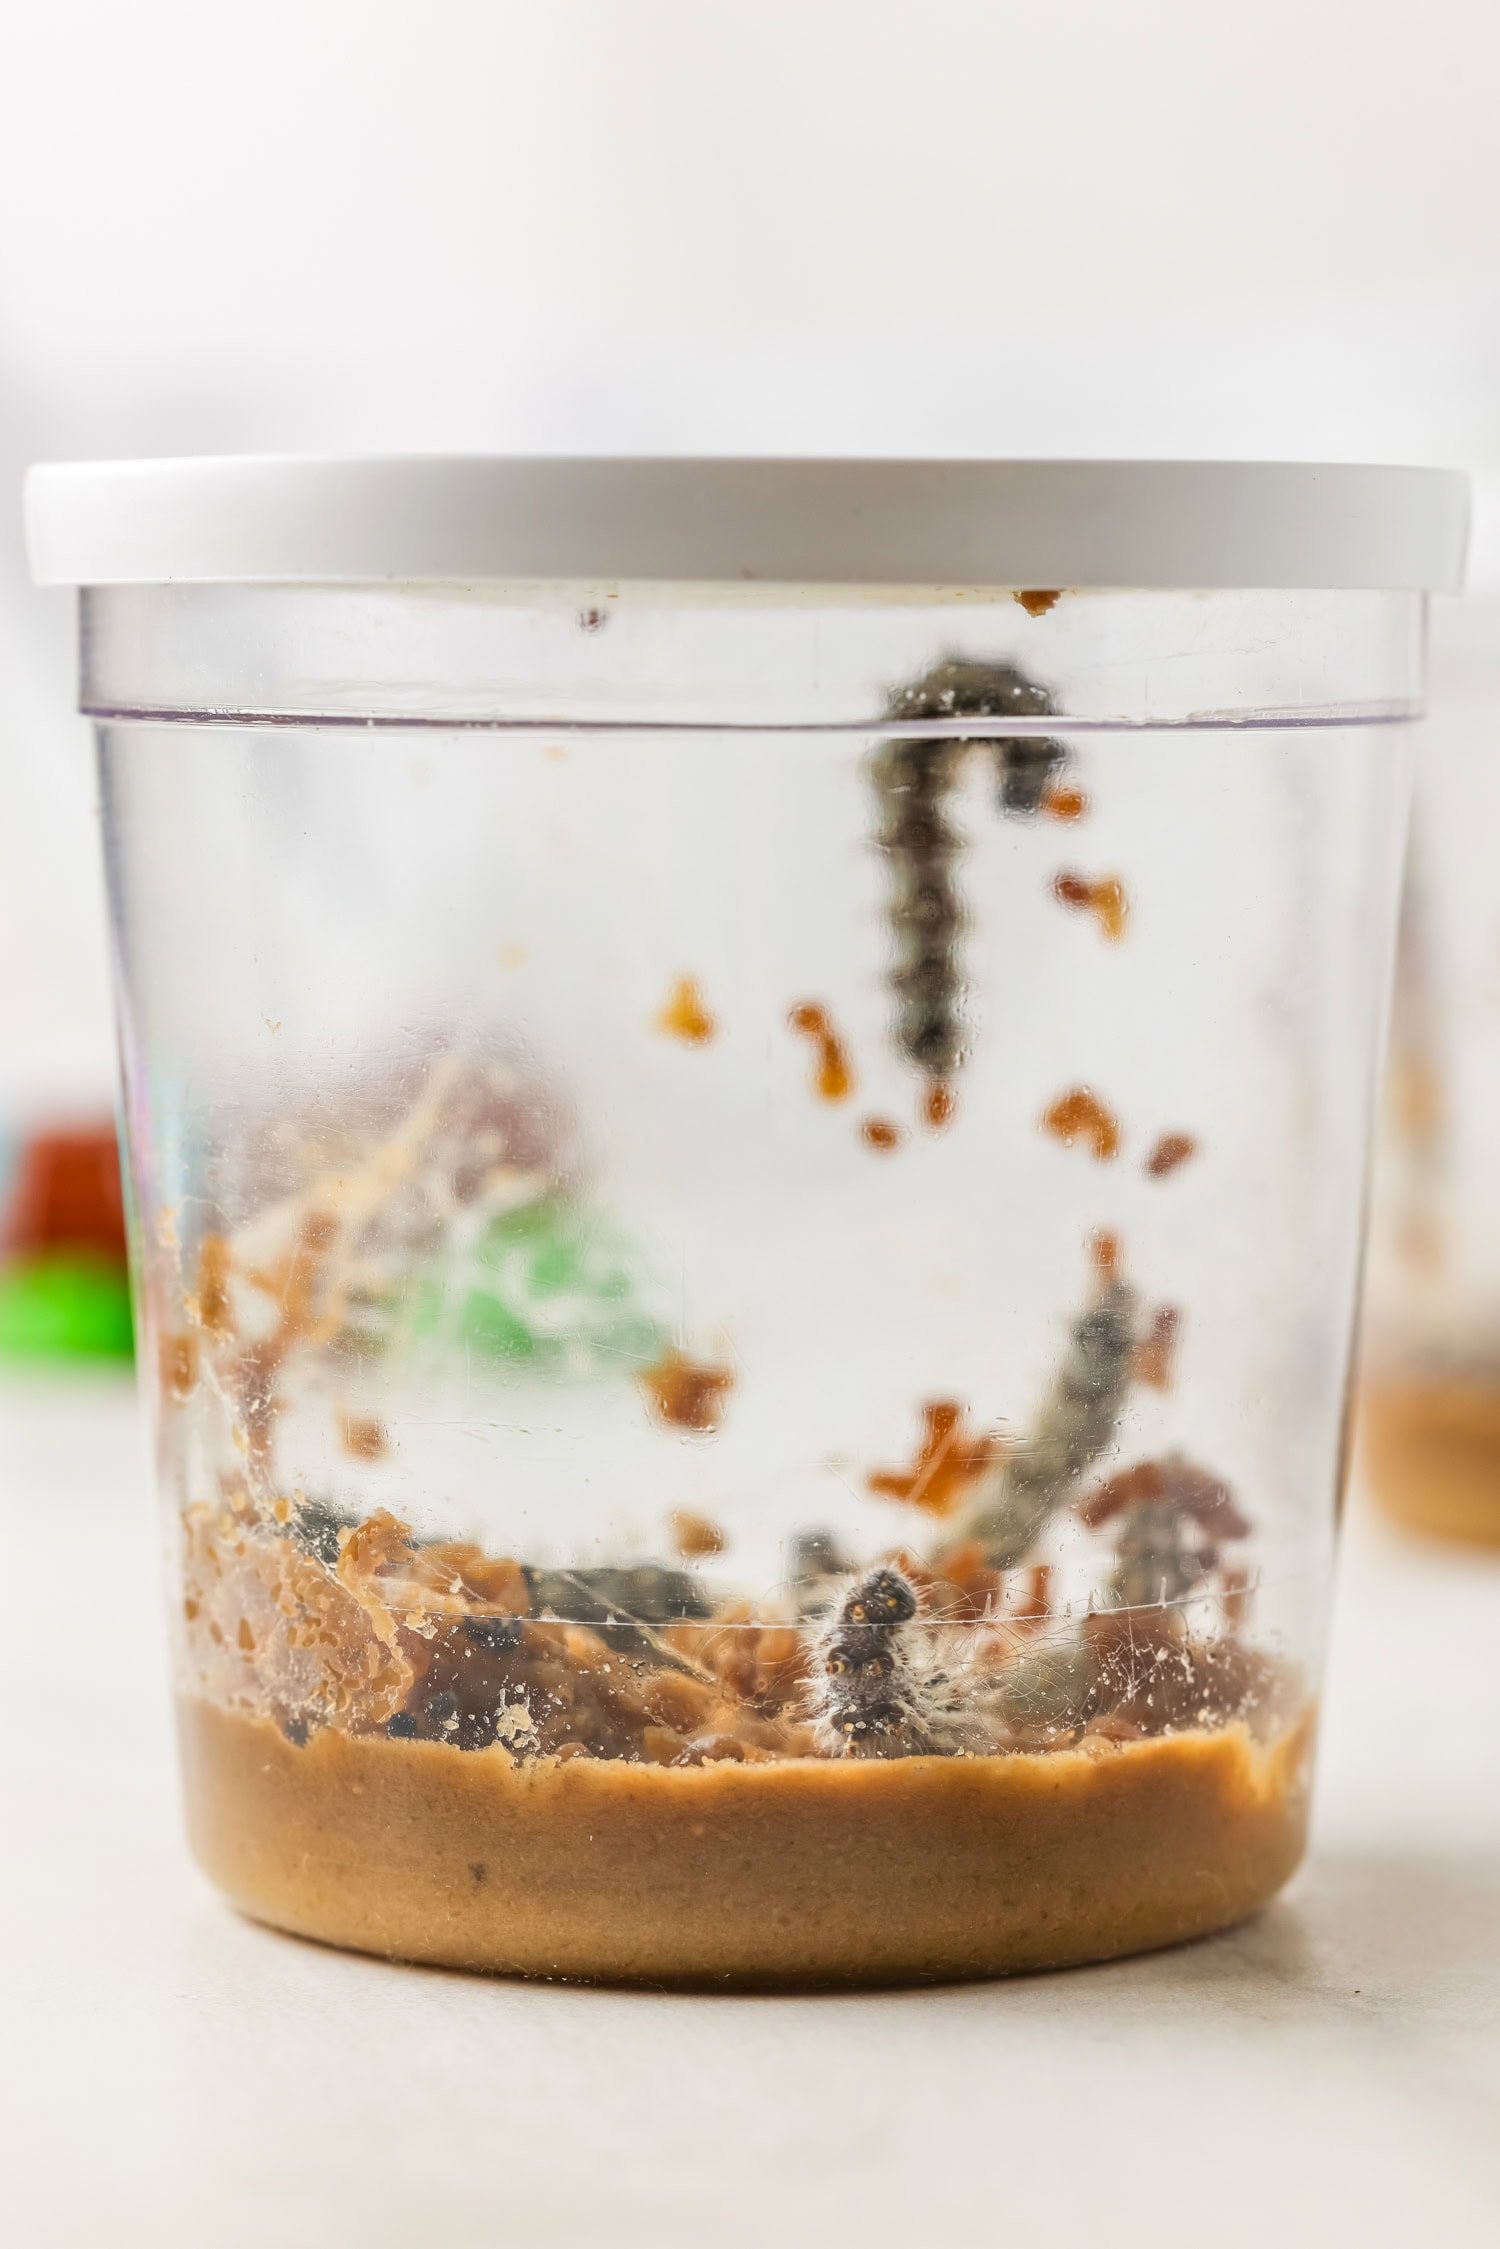
When the live caterpillars arrive, open the container and then set them in a place that is free from harsh, direct sunlight or cold drafts. If you have little hands around, then I recommend keeping them in a place where they won’t be easily bumped or opened!
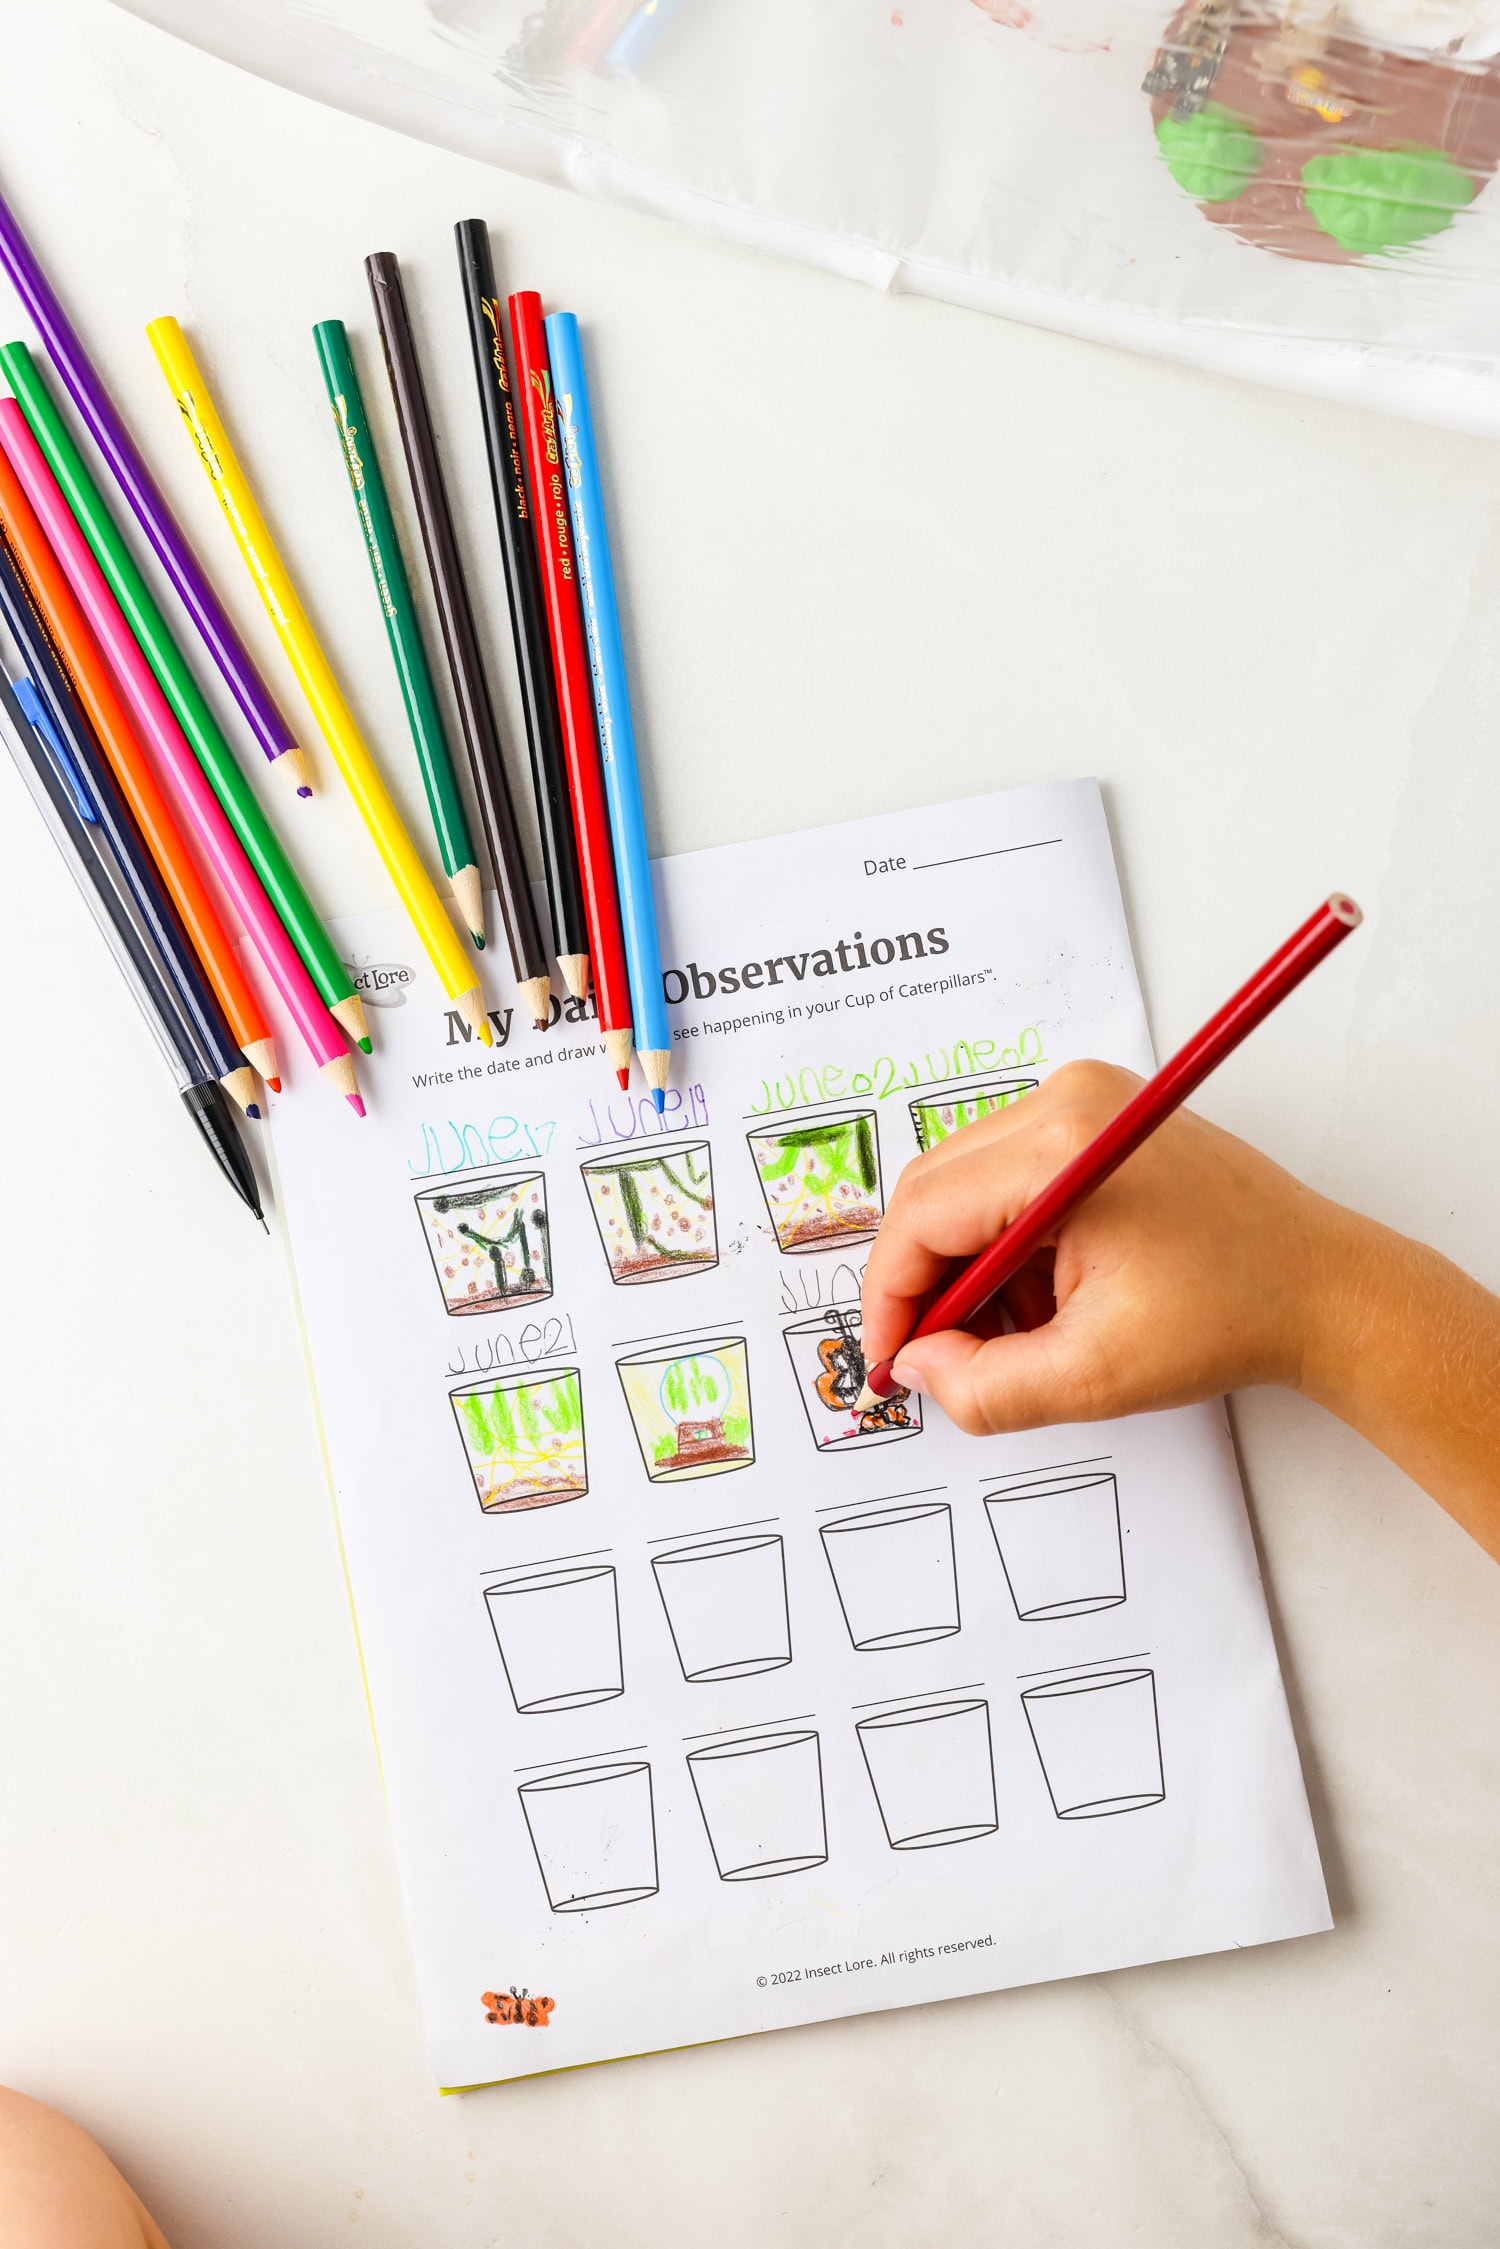
Now you just need to observe! If you have little observers, they will LOVE the observation journal that comes with the recommended kit. It is full of activities to follow along with as you watch the caterpillars transform. During the first few days, the caterpillars will eat and make silky, stringy webs.
Within a few days, each of the caterpillars should begin to hang from the lids and form their chrysalides. Be careful not to bump or disturb them while they go through this transformation.
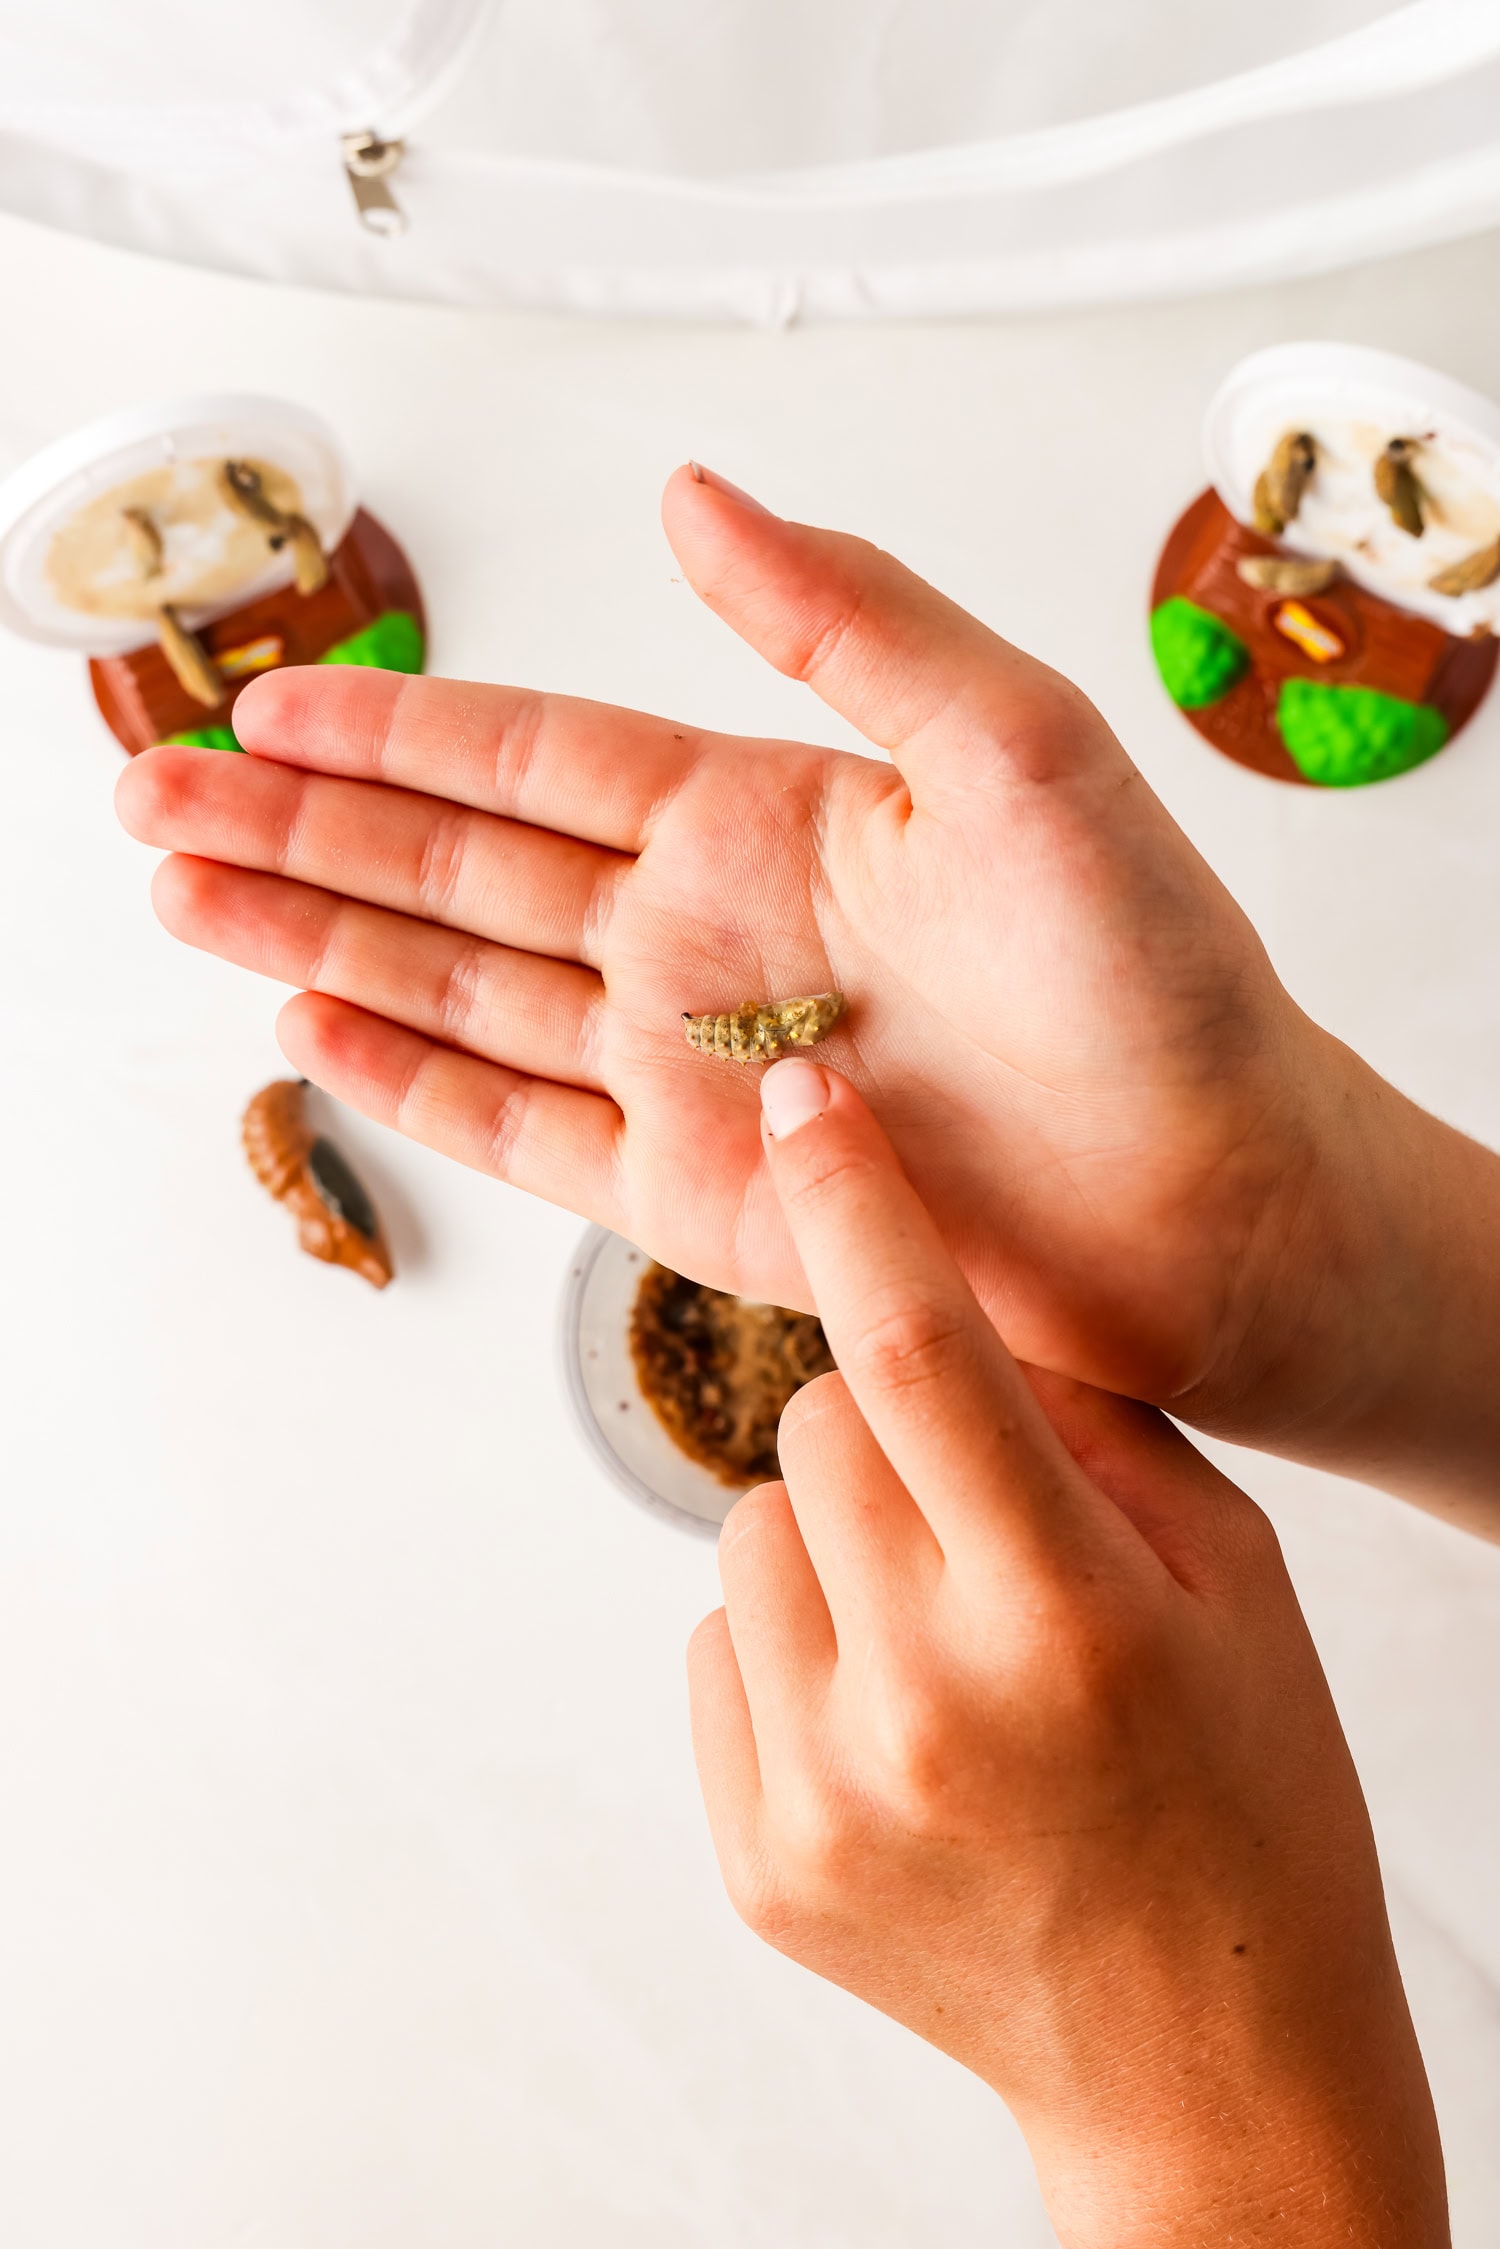
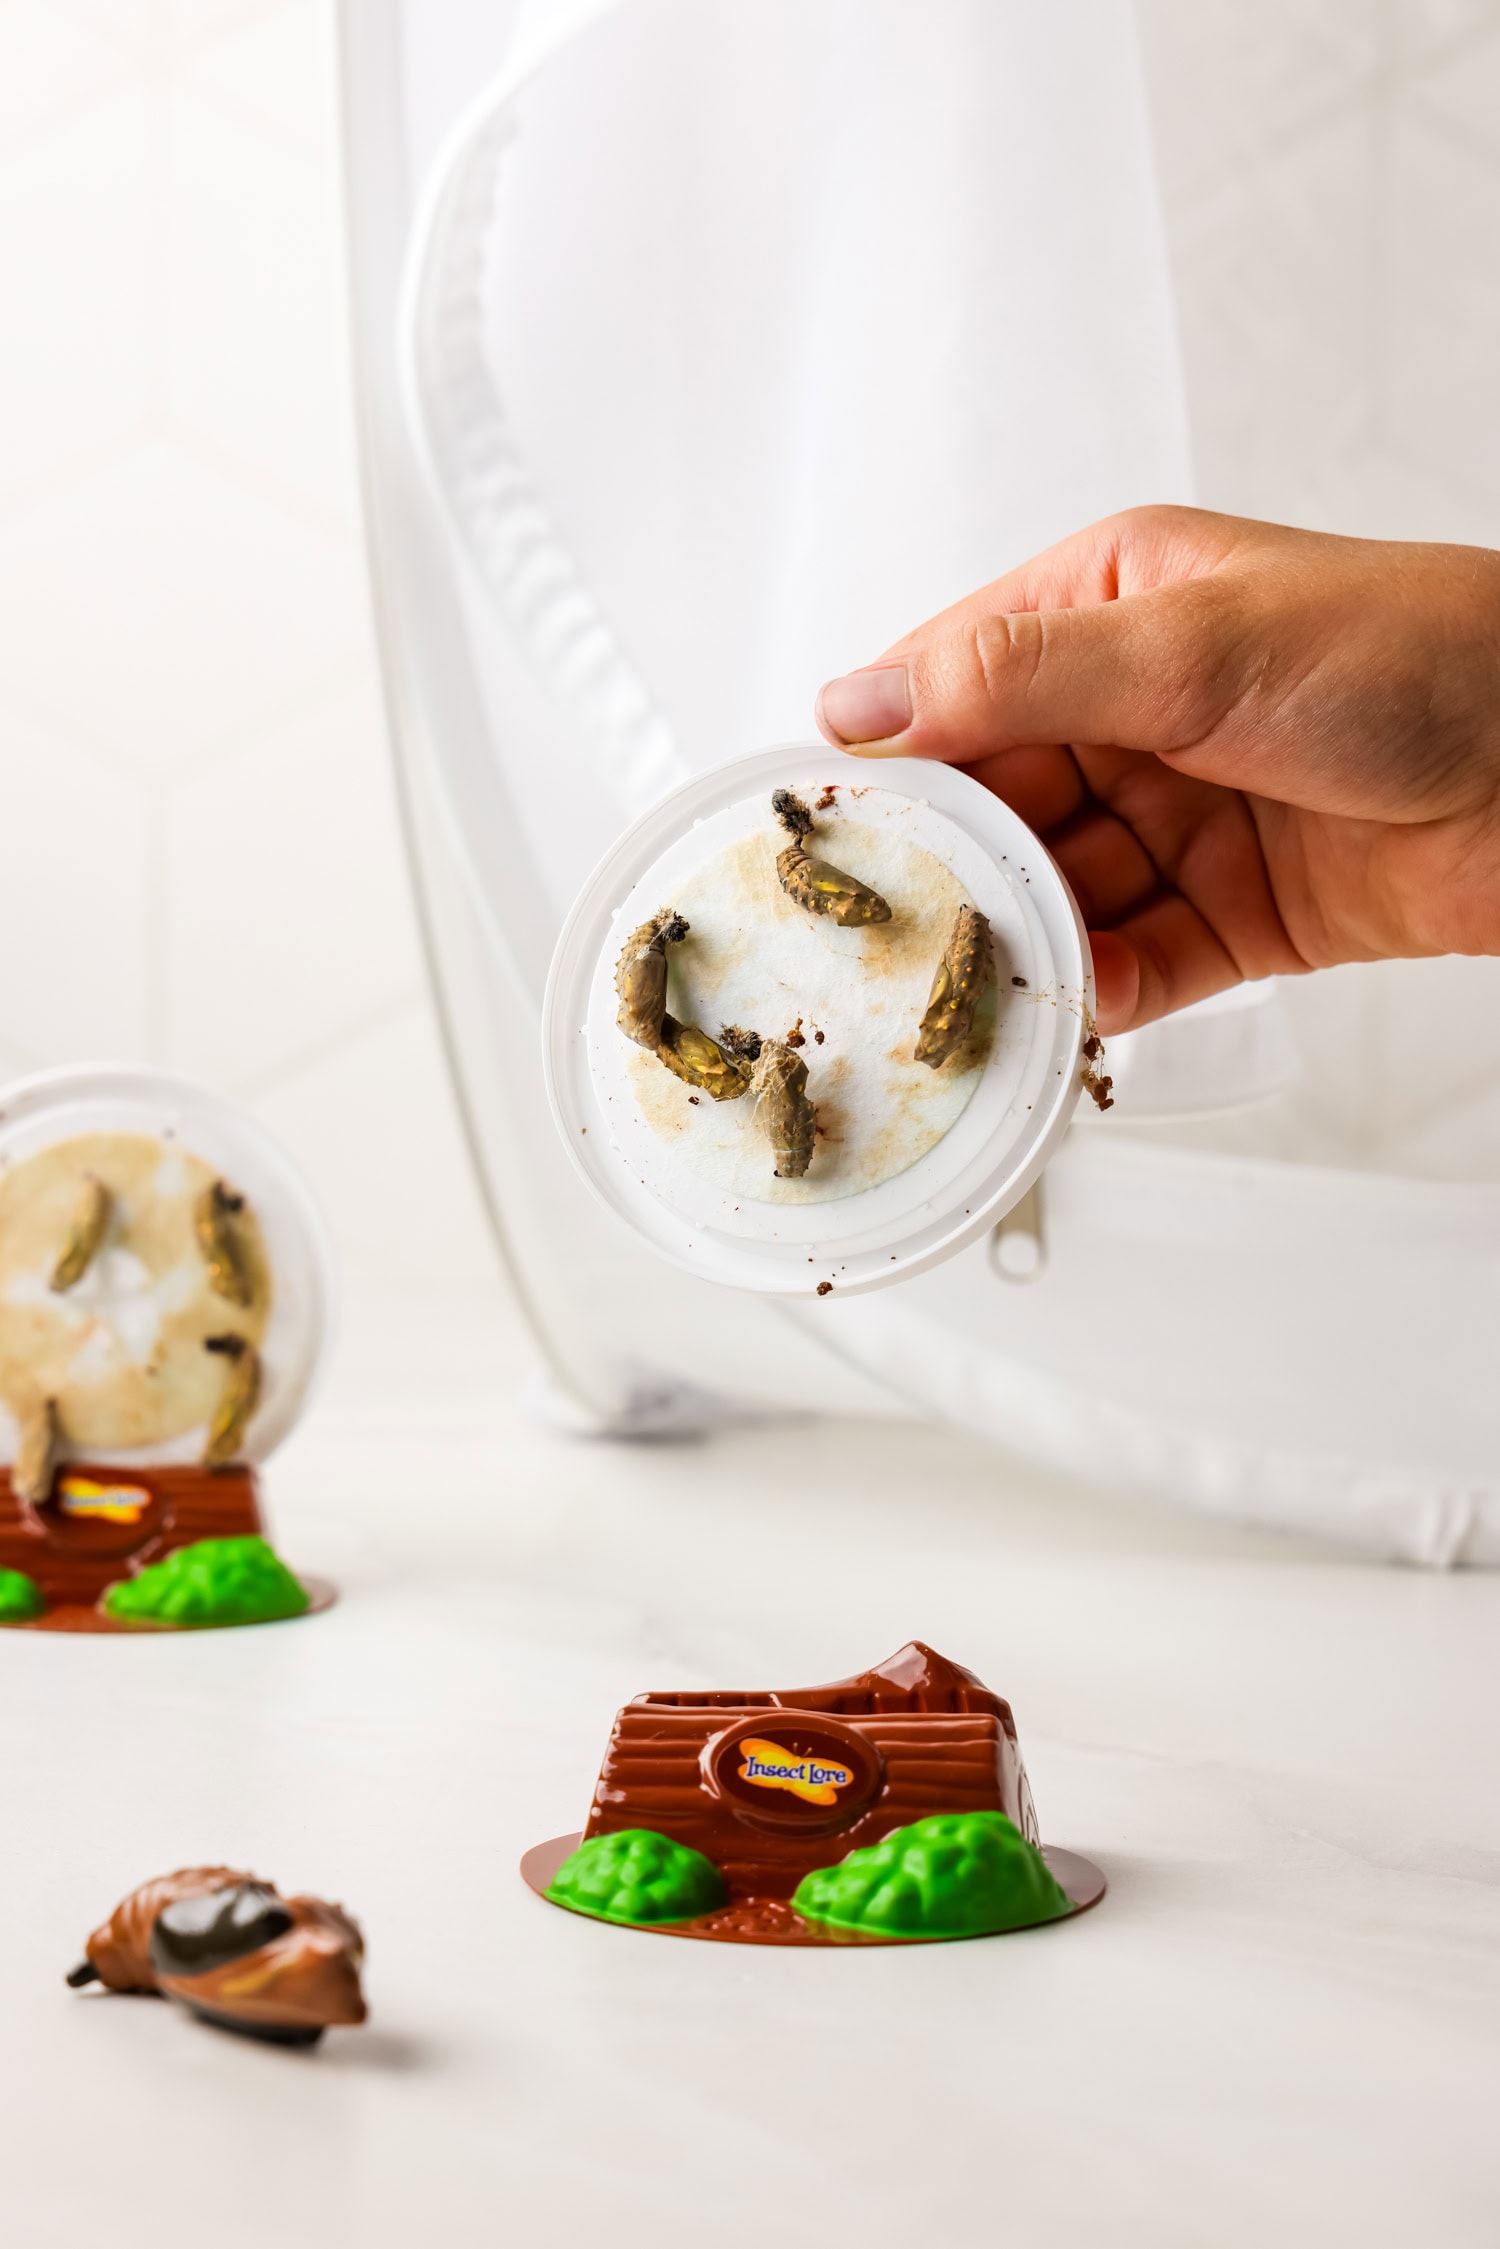
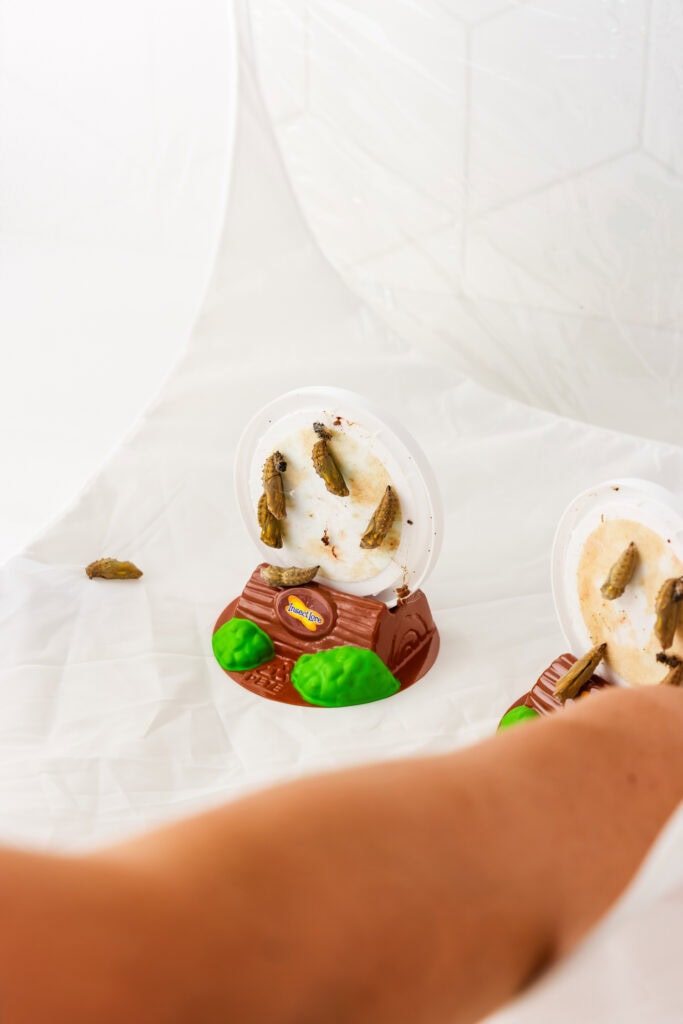
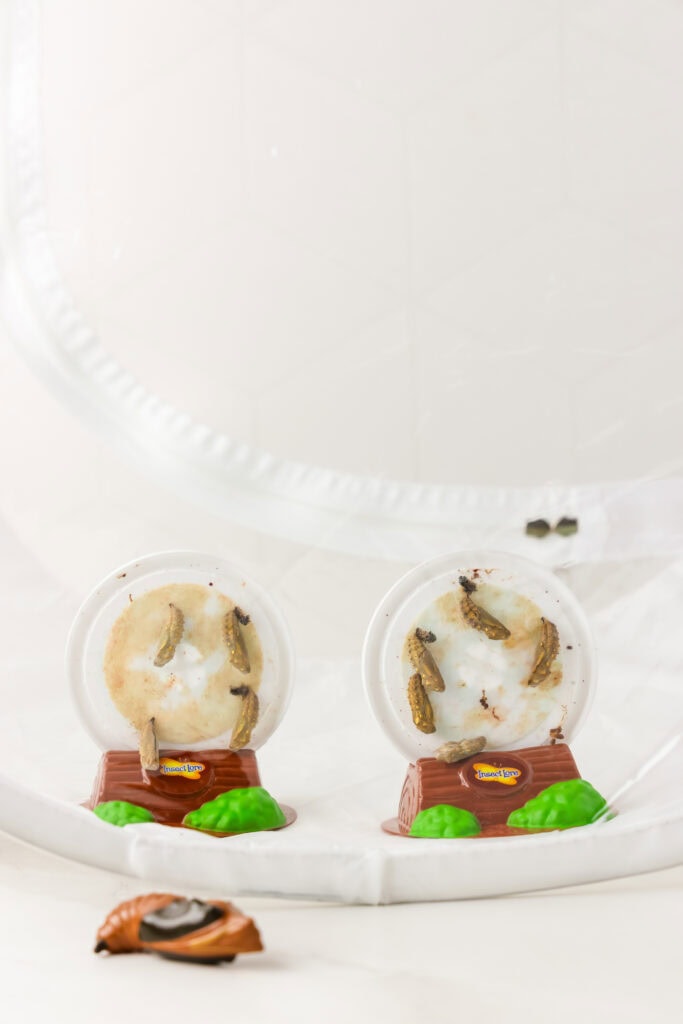
Once all the caterpillars have formed a chrysalis, let them set up and “harden” for about 3 days. After this, it is safe to carefully remove the lid and set them up on their stands.
Don’t worry if a chrysalis falls or has fallen during the process. It happens! When you transfer them to the habitat on day 3, you will carefully move the fallen chrysalis to the habitat. You can place it on a paper towel, if you’d like. Place it near the side of the habitat with netting so that when the butterfly emerges, it has something to climb up on as its wings dry and straighten.
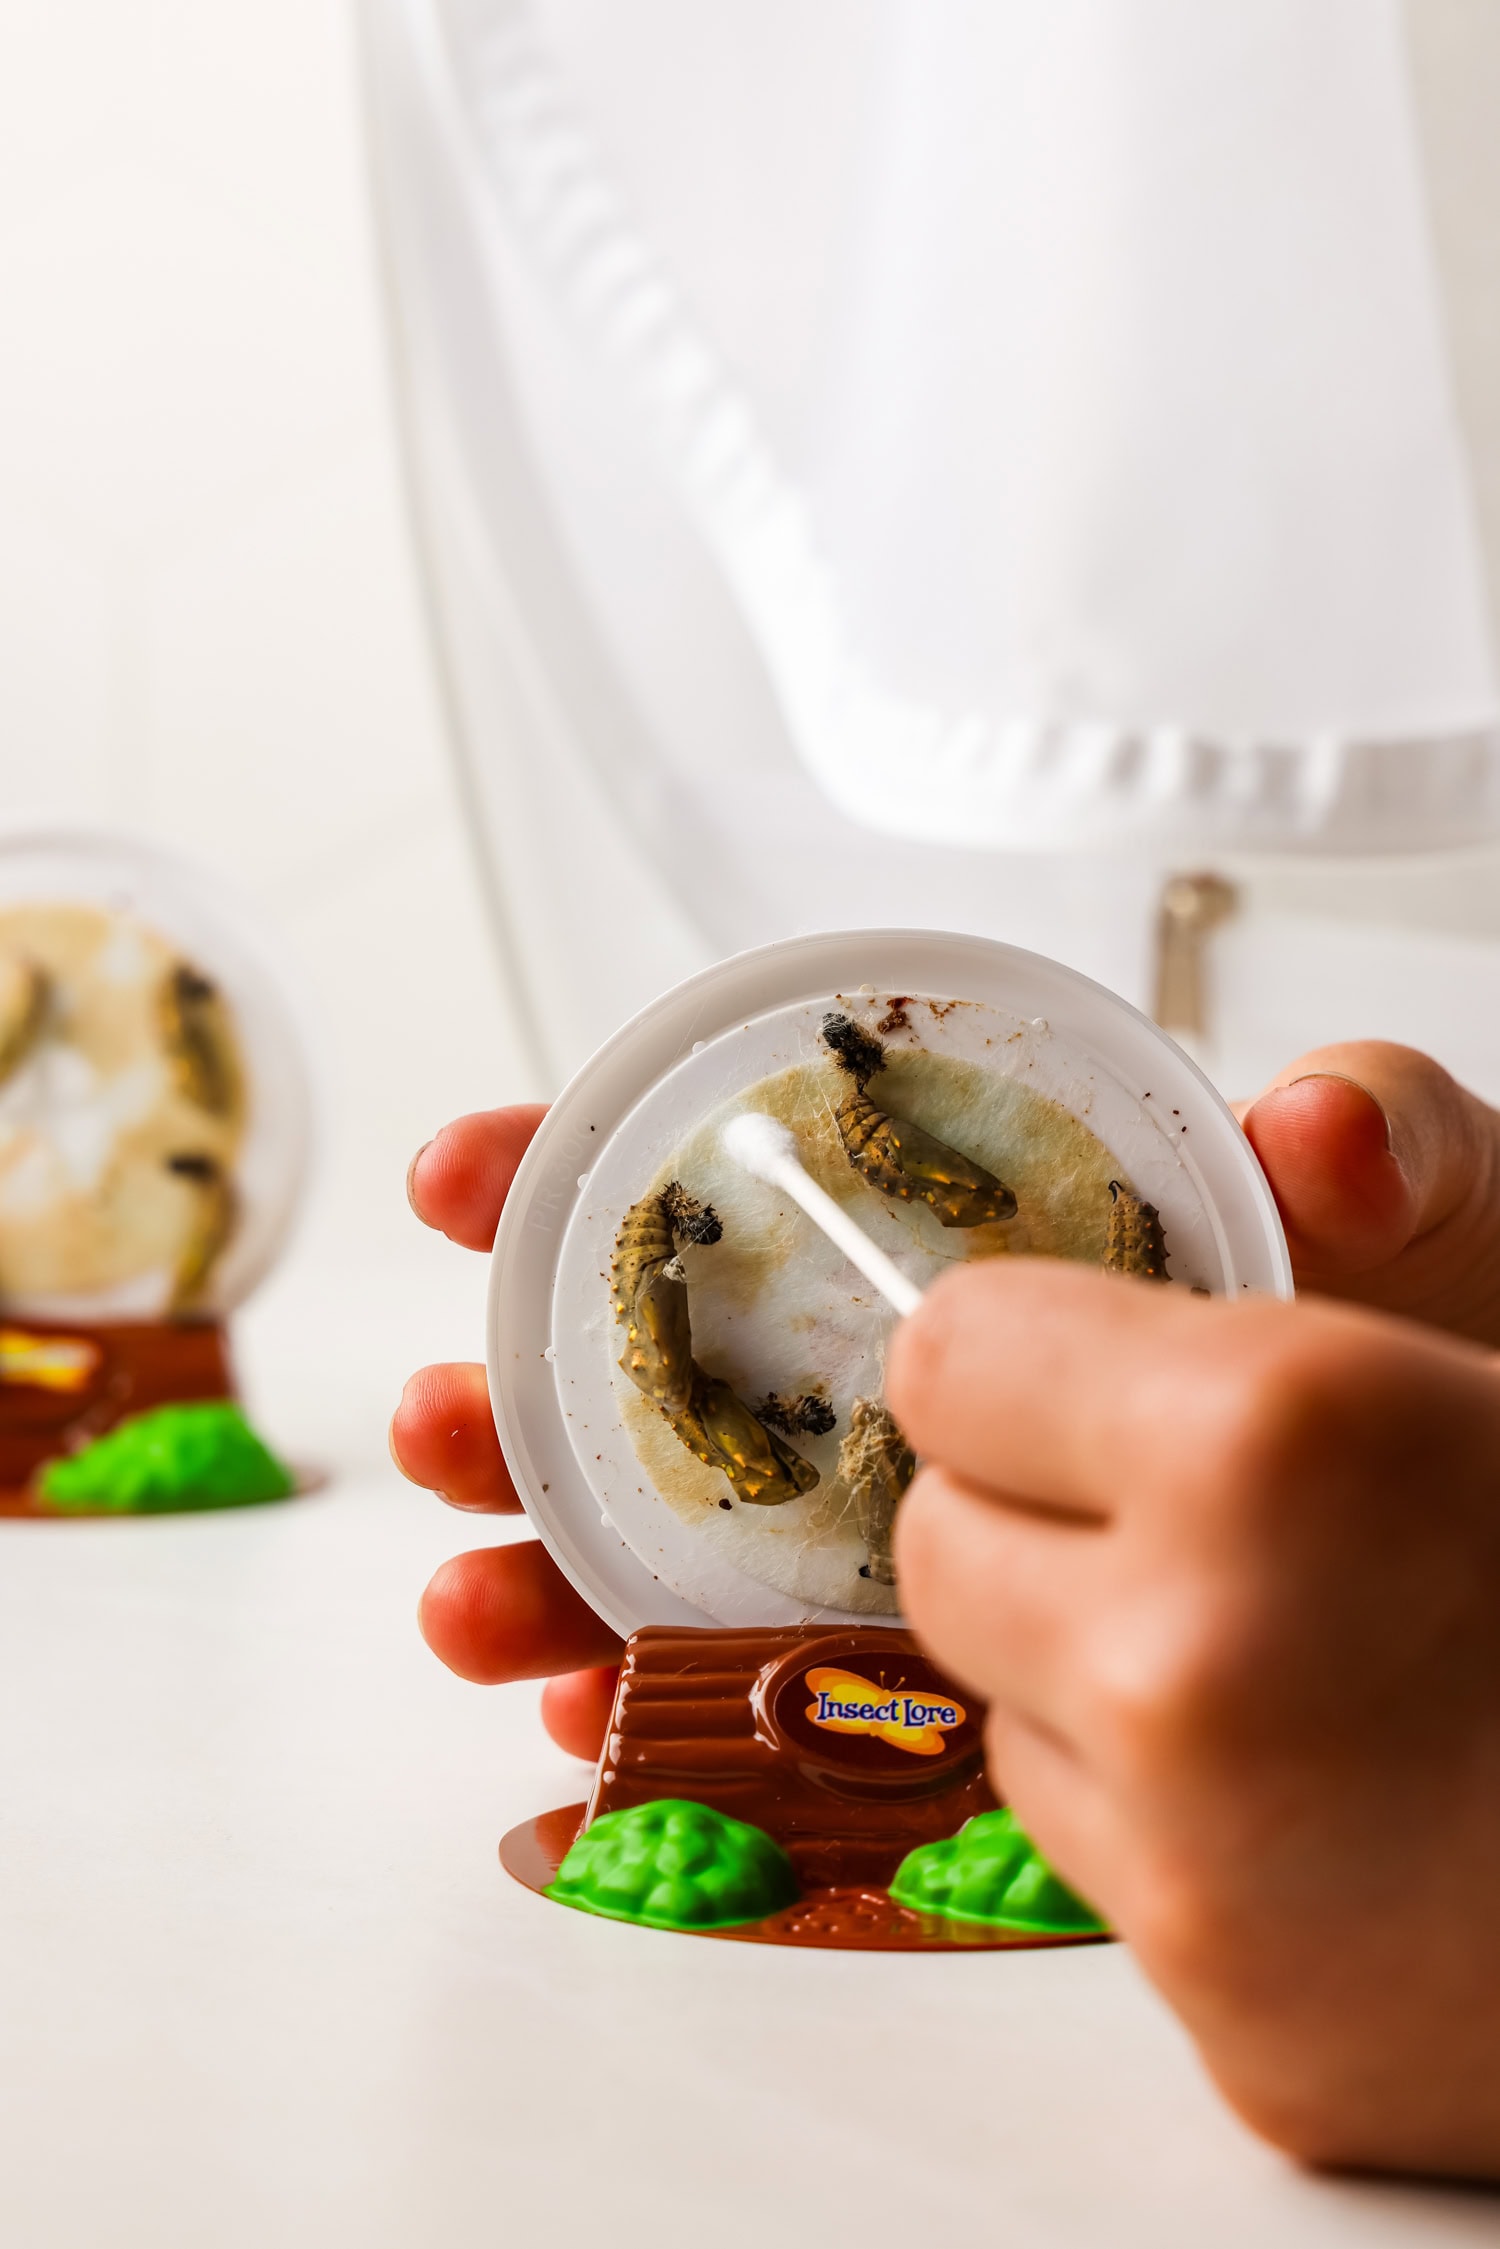
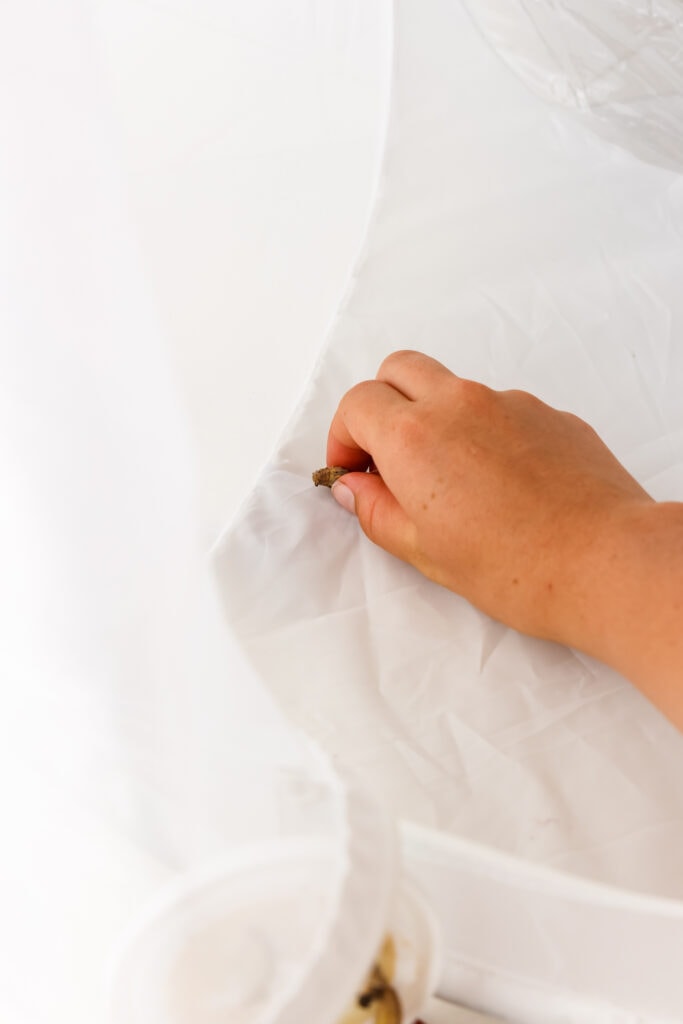
This is where your Q-tip comes in handy. After removing the lids and placing them in the little stands, gently brush away any webbing that may make it difficult for the butterfly to emerge from the chrysalis.
This part is FUN! Sometimes, a chrysalis may “wiggle” as you brush away the webbing. The reason for this wiggle is an instinctive defense that they use to ward off predators in the wild. Some will wiggle more than others!
Watch and wait! Typically, it takes about 5-7 days for a Painted Lady butterfly to emerge from its chrysalis. Observing the colors and transparency of the chrysalides will give you a clue as to when they may emerge! If the chrysalis is brownish and papery, it is likely near the beginning of the chrysalis phase.
As they transform inside, the chrysalis becomes more and more transparent, and just before they emerge, you can see the patterns on their wrinkled up wings! Once you see this, watch closely because once it is time to emerge, the butterflies waste NO time! A single butterfly can emerge in as little as 10 seconds, so if you want to catch one coming out of the chrysalis, be patient and watch, otherwise, you may miss it!
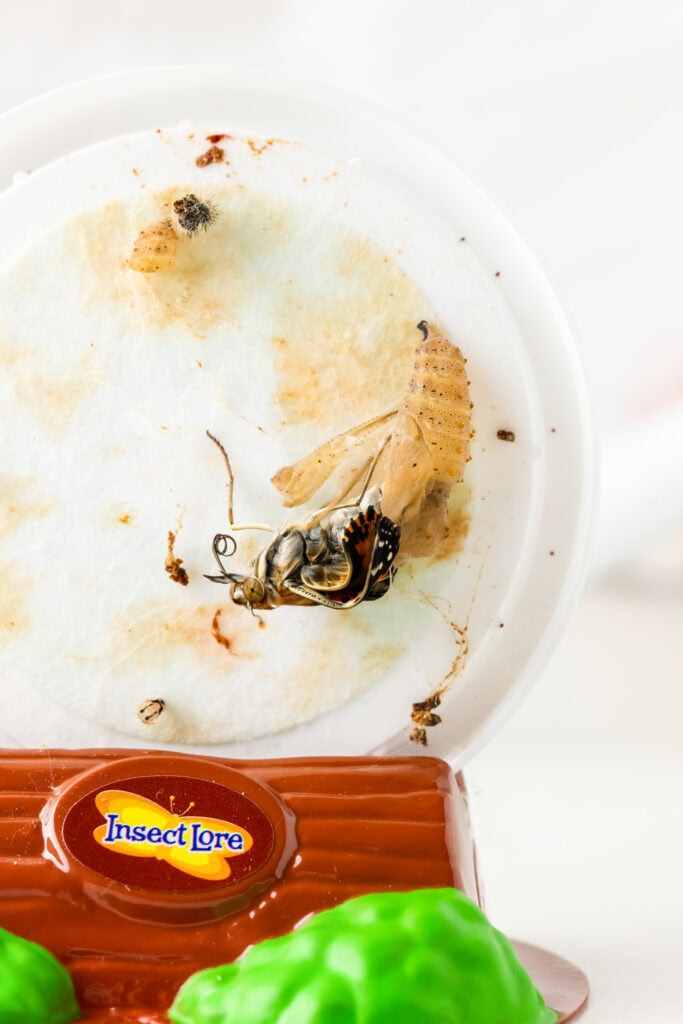
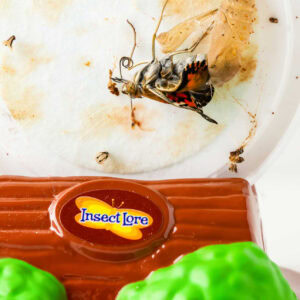
After the butterflies emerge, they like to hang and dry their wings. It is a lot of fun to watch them climb and watch as their wings unfold. *Please note: Sometimes butterflies are messy when they emerge and dry. You may notice some red “liquid” that can be mistaken for blood as they hang and dry. This is called meconium, and is a natural part of the process. It is leftover waste from the transformation process. It cleans up easily with some hydrogen peroxide! Spray/pour hydrogen peroxide on the areas AFTER releasing the butterflies, and then rinse with water.
After they emerge you can feed them the prepared sugar water on a sponge or give them small pieces of cut fruit on a paper plate. Make sure that they can get to the juices of the cut fruit! (If feeding orange slices, break them open to release the juices inside.)
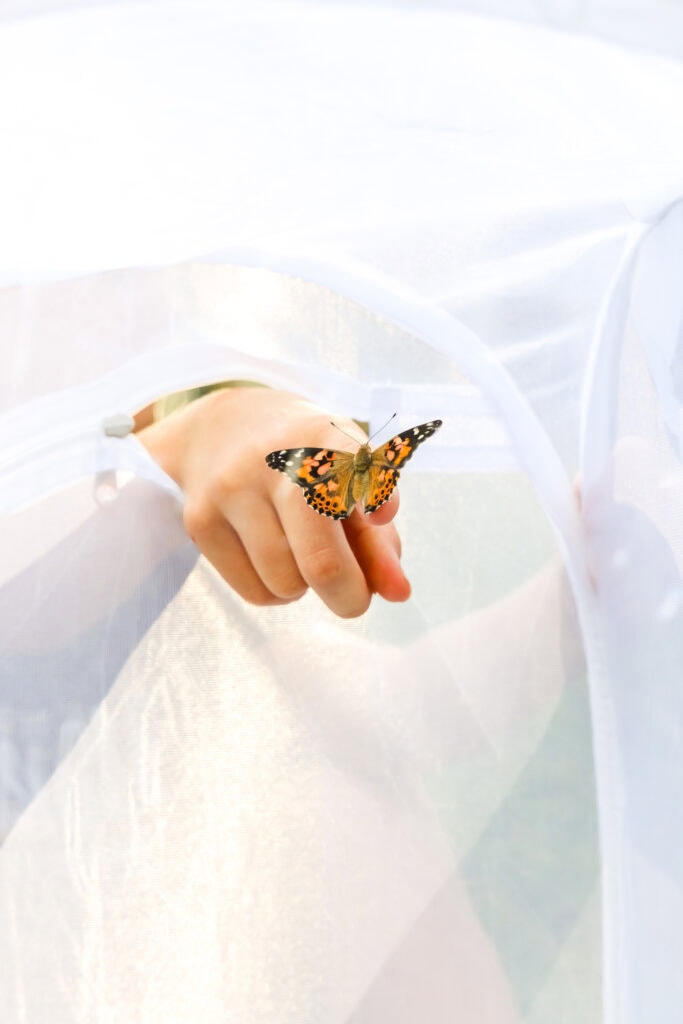
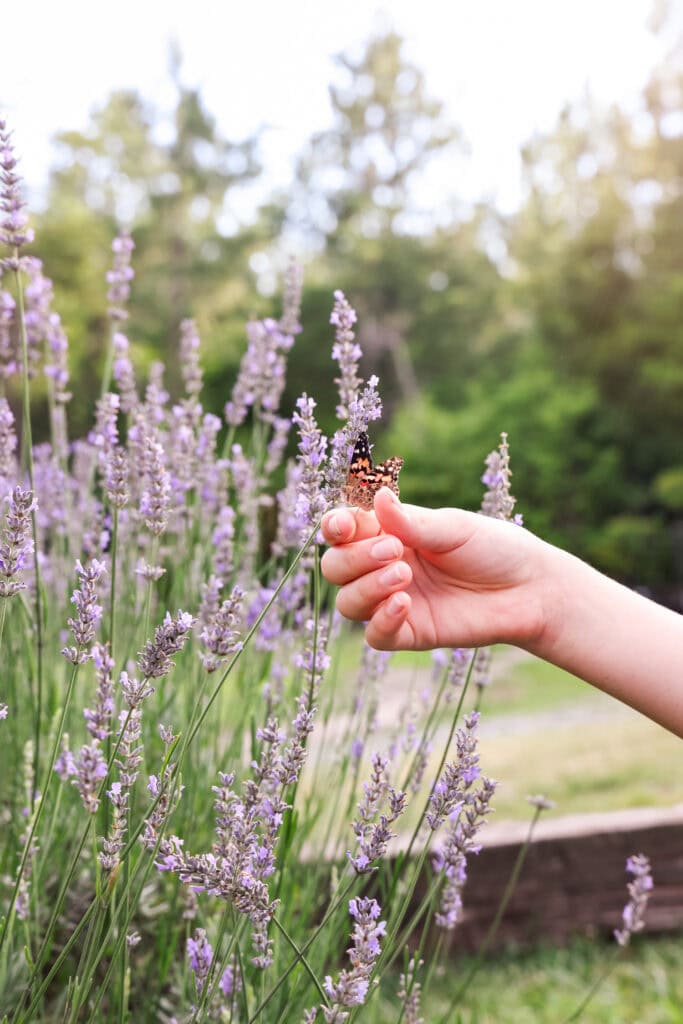
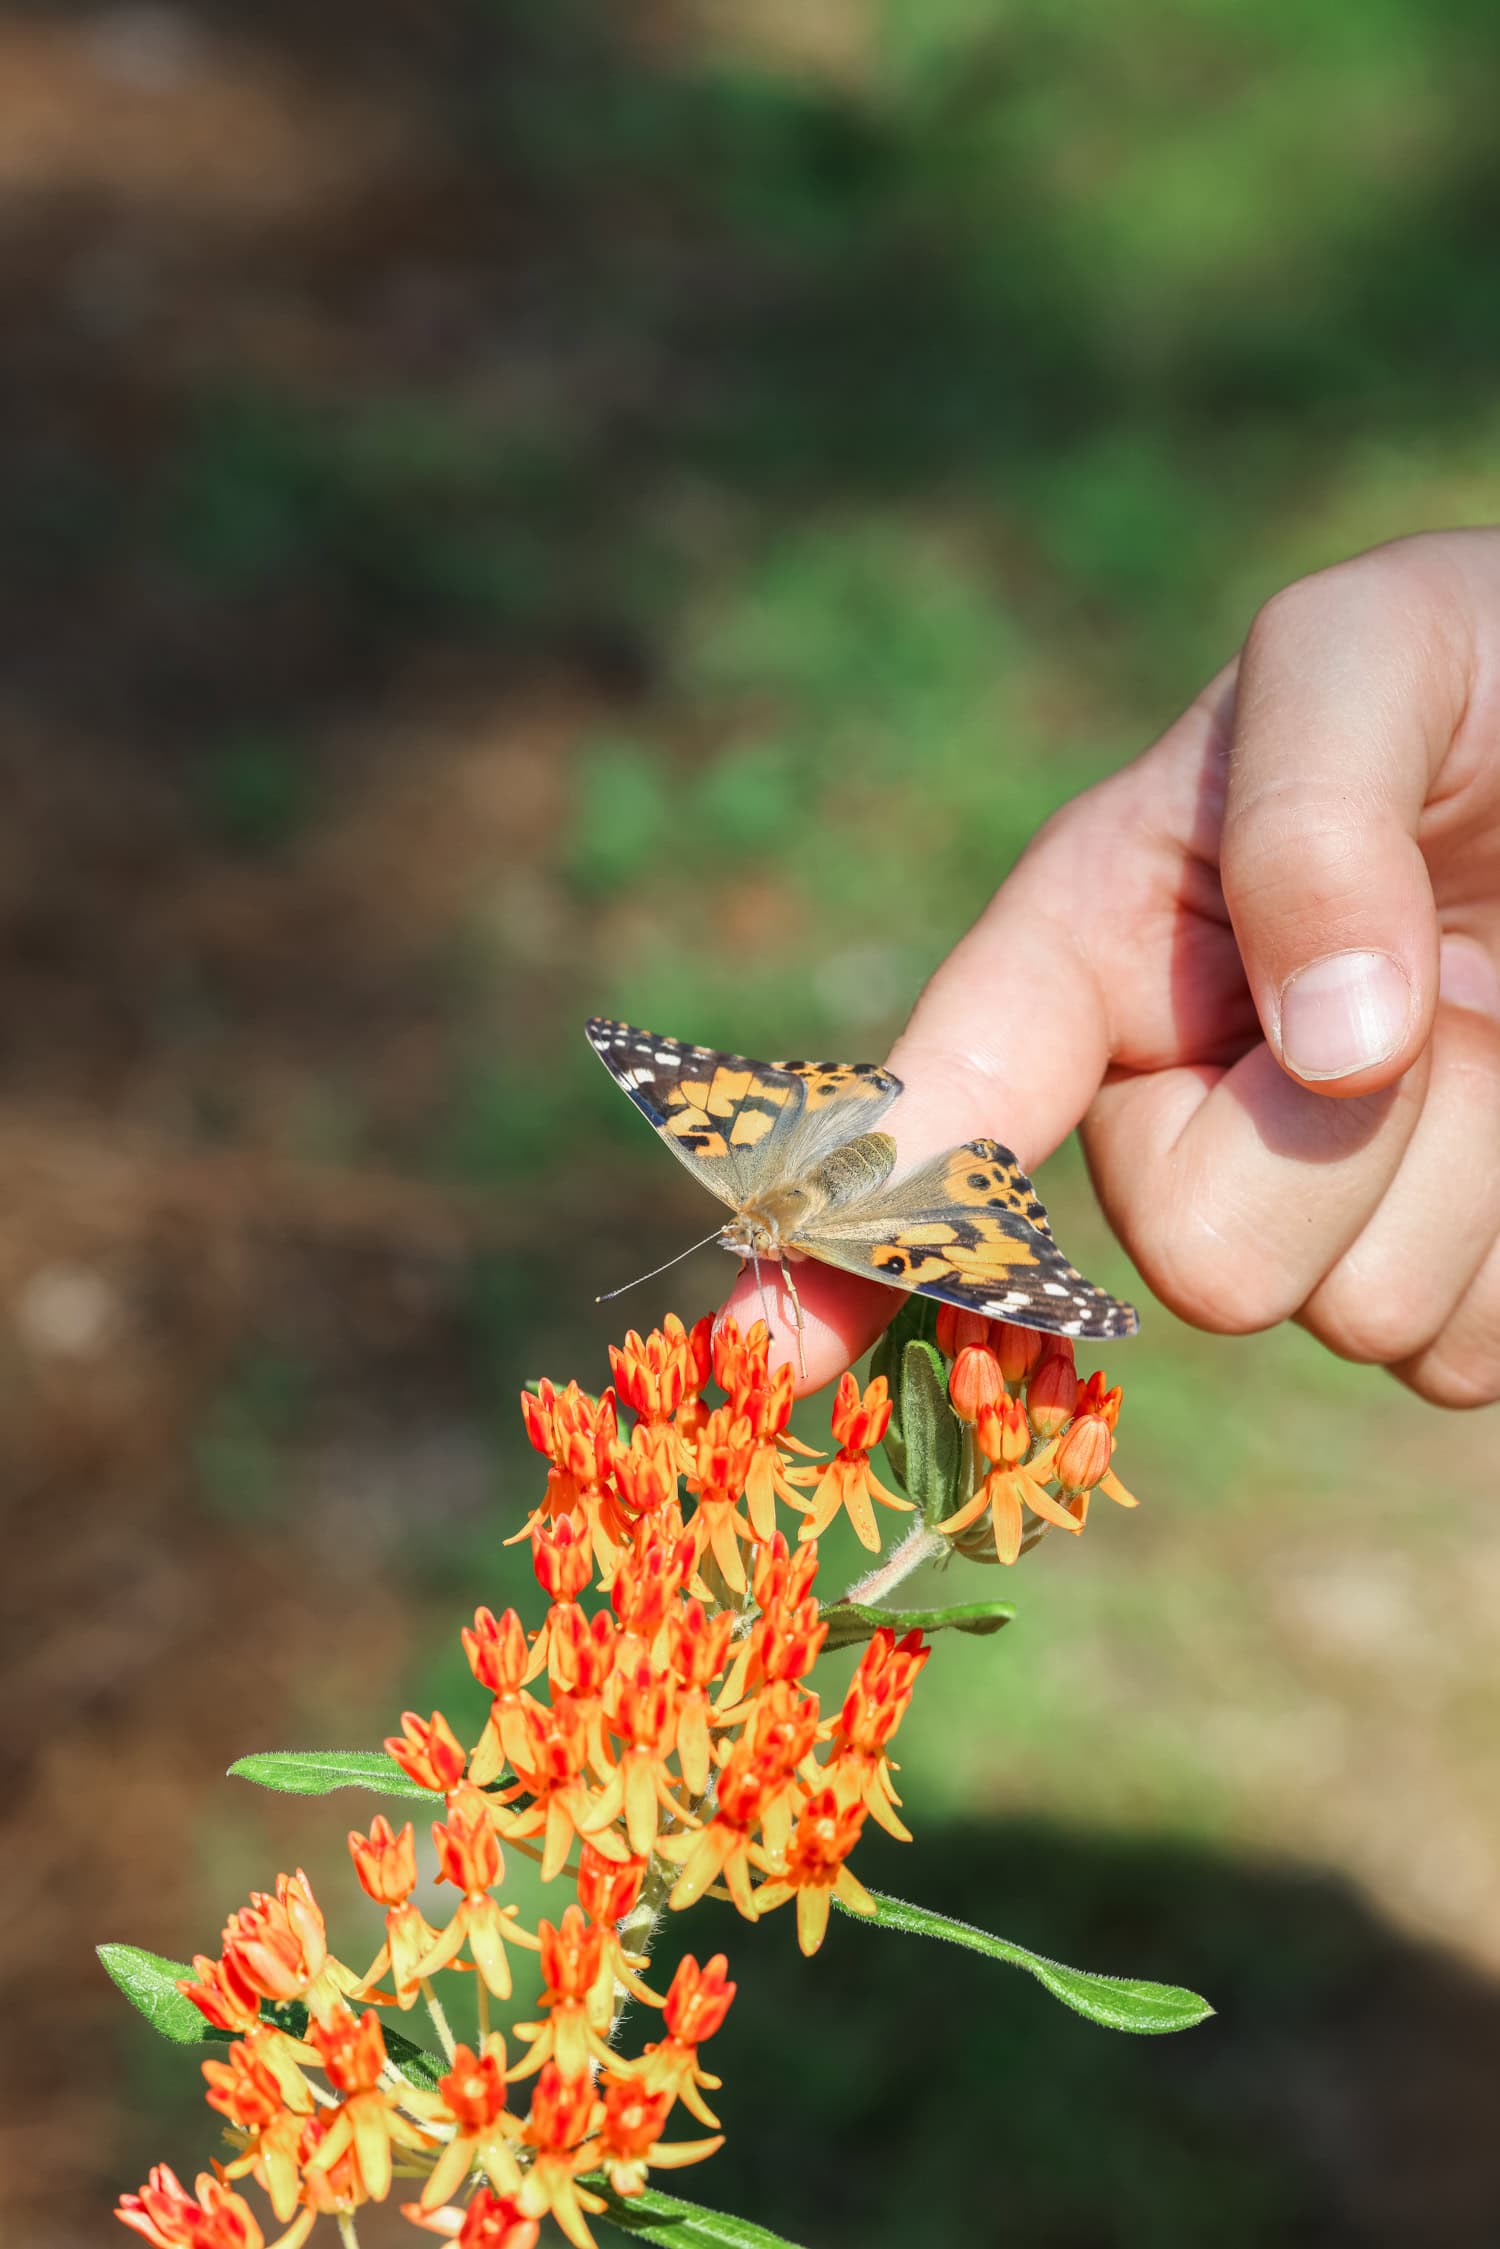
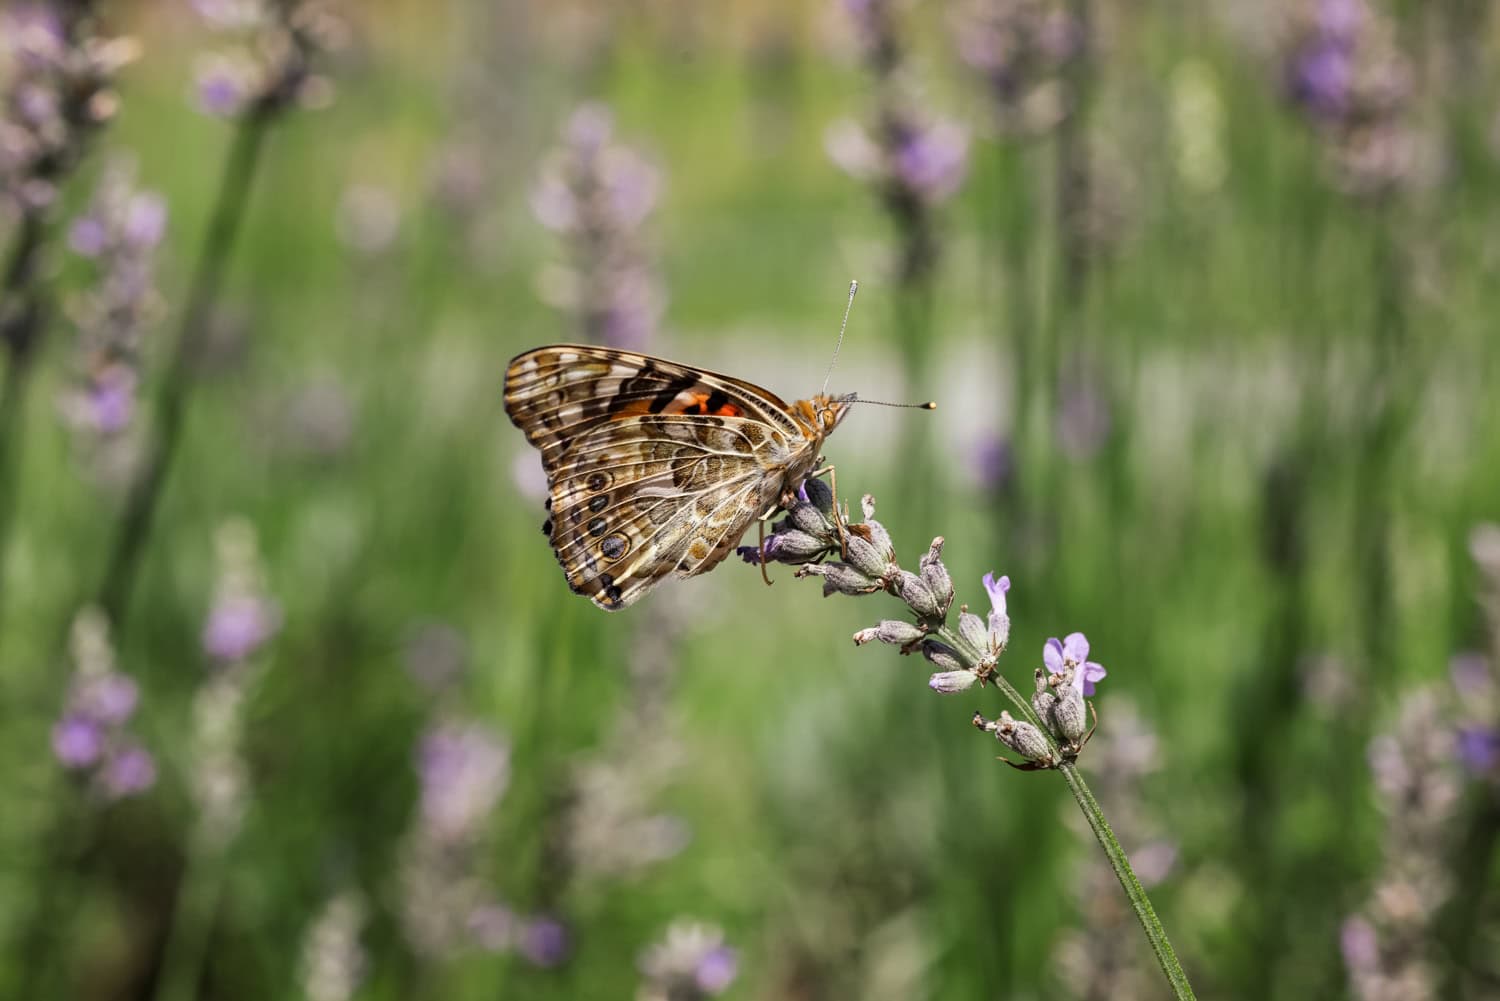
After observing your butterflies for a few hours (up to a day or two), it is time to release them and watch them fly! Some butterflies will fly away as soon as possible to find food, while others hang around on a finger or a nose. It is best to release them where there are plenty of flowers to drink from!
Pro Tips for the MOST Fun!
- Make sure you choose a safe spot to set up the little chrysalis pods. Anywhere with high foot traffic or lots of playing kiddos would not be the best decision.
- Patience is key with the activity. It’s essentially just a waiting game — so if you have littles who get antsy while waiting then maybe make a calendar to keep track of days and do a sort of “countdown”.
- Deal gently with the caterpillars and chrysalides so you do not disturb whichever stage they are in. Depending on the age of the children you are doing this project with, then they may need a lot of adult supervision.
I hope you have so much fun learning about butterflies and seeing their incredible life cycle! Make as many unforgettable memories as you can!
More Activities You’ll Love!
- This easy Fall Alphabet Activity is another fun thing for your young kiddos to complete. Learning truly can be so much fun!
- Do you have some little bookworms? Then you have to check out this DIY Dried Flower Bookmark activity.
- Enjoy the beautiful spring time weather with this easy Paper Kite Craft. It’s so much fun and really unique!
- This homemade Puffy Paint is one of our most favorite things to create with. Not only is it artistic fun but it’s a great sensory craft too.
Butterfly Life Cycle Activity
Ingredients
- Butterfly kit*
- Sugar To mix with a little water for the butterflies once they emerge. you can also feed them fresh fruit such as sliced oranges, watermelon, pears, etc…
- Q-tip
Instructions
- When the live caterpillars arrive, open them up and set them in a place that is free from harsh, direct sunlight or cold drafts. Also, if you have little hands around, I recommend keeping them in a place where they won’t be easily bumped or opened!
- Observe! If you have little observers, they will LOVE the observation journal that comes with the kit recommended above! It is full of activities to follow along with as you watch the caterpillars transform. During the first few days, the caterpillars will eat and make silky, stringy webs.
- Within a few days, the caterpillars will begin to hang from the lids and form their chrysalides. This is such a fascinating process to watch. They should not be bumped or disturbed while going through this transformation.
- Once all the caterpillars have formed a chrysalis, let them set up and “harden” for about 3 days. After this, it is safe to carefully remove the lid and set them up on their stands. Don’t worry if a chrysalis falls or has fallen during the process. It happens! When you transfer them to the habitat on day 3, you will carefully move the fallen chrysalis to the habitat. You can place it on a paper towel, if you’d like. Place it near the side of the habitat with netting so that when the butterfly emerges, it has something to climb up on as its wings dry and straighten.
- This is where your Q-tip comes in handy. After removing the lids and placing them in the little stands, gently brush away any webbing that may make it difficult for the butterfly to emerge from the chrysalis. This part is FUN! Sometimes, a chrysalis may “wiggle” as you brush away the webbing. The reason for this wiggle is an instinctive defense that they use to ward off predators in the wild. Some will wiggle more than others!
- Watch and wait! Typically, it takes about 5-7 days for a Painted Lady butterfly to emerge from its chrysalis. Observing the colors and transparency of the chrysalides will give you a clue as to when they may emerge! If the chrysalis is brownish and papery, it is likely near the beginning of the chrysalis phase. As they transform inside, the chrysalis becomes more and more transparent, and just before they emerge, you can see the patterns on their wrinkled up wings! Once you see this, watch closely because once it is time to emerge, the butterflies waste NO time! A single butterfly can emerge in as little as 10 seconds, so if you want to catch one coming out of the chrysalis, be patient and watch, otherwise, you may miss it!
- After the butterflies emerge, they like to hang and dry their wings. It is a lot of fun to watch them climb and watch as their wings unfold. *Please note: Sometimes butterflies are messy when they emerge and dry. You may notice some red “liquid” that can be mistaken for blood as they hang and dry. This is called meconium, and is a natural part of the process. It is leftover waste from the transformation process. It cleans up easily with some hydrogen peroxide! Spray/pour hydrogen peroxide on the areas AFTER releasing the butterflies, and then rinse with water.
- After they emerge you can feed them the prepared sugar water on a sponge or give them small pieces of cut fruit on a paper plate. Make sure that they can get to the juices of the cut fruit! (If feeding orange slices, break them open to release the juices inside.)
- After observing your butterflies for a few hours (up to a day or two), it is time to release them and watch them fly! Some butterflies will fly away as soon as possible to find food, while others hang around on a finger or a nose. 😊 It is best to release them where there are plenty of flowers to drink from!
Notes
- Live caterpillars (some kits include vouchers to receive caterpillars at a later date… Make sure you read to know what your kit includes so that you are prepared!)
- Caterpillar food
- Stands