Paper Kite Craft
Create a beautiful paper kite with this easy step by step guide, complete with pictures to help you along the way. Perfect for a fun and simple DIY craft project! The kids will love creating these kites and flying them this summer.

“Let’s go fly a kite, up to the highest height. Let’s go fly a kite and send it soaring!”🎶 Be honest, you sang it too! How can you not think of Mary Poppins when you see a fun paper kite?! This adorable craft is perfect for kids of all ages. It’s the perfect way to get out in the sun and enjoy a breezy spring or summer day — especially after a long winter. I have gone through my fair share of store-bought kites, but there’s just nothing like a homemade kite. While you’re crafting some
Breezy spring days are for fun in the sun memories like flying paper kites with fun prints. Embrace the spring fever and make memories that will last for years and years to come. Some DIY garden stepping stones are a fun craft to make to put in your spring garden too! I promise, homemade kites truly will help you create some of your most fond memories. You’re gonna love them!
Why You’ll Love this Paper Kite Craft
- You can make as many kites as you want with this simple how-to. It would be a super fun family craft that everyone would enjoy!
- Homemade kites are actually way more affordable than store-bought. If you’re looking to stick to a budget, then this is a wonderful activity.
- Teach your kids a fun science lesson about gravity with this easy to make craft. A lesson, craft and fun memory maker all in one.
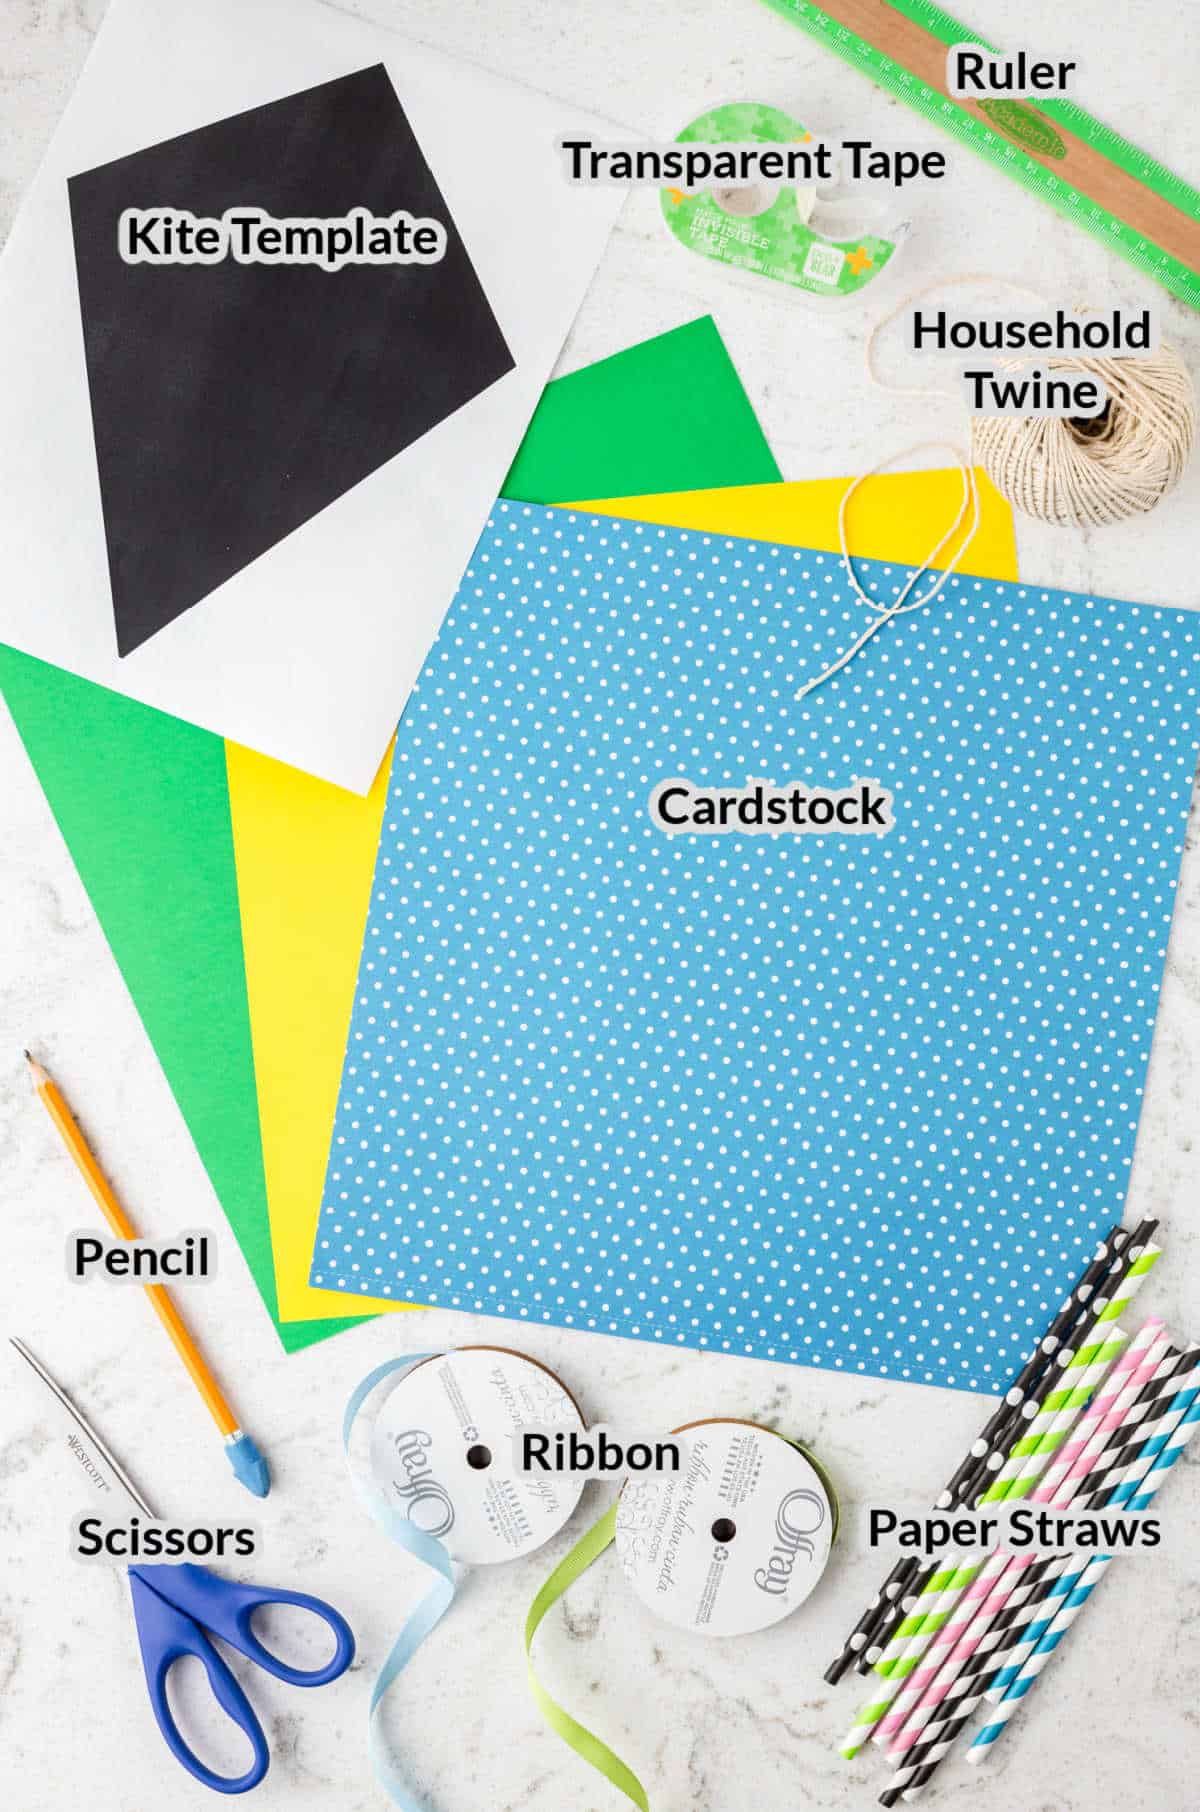
Supplies Needed
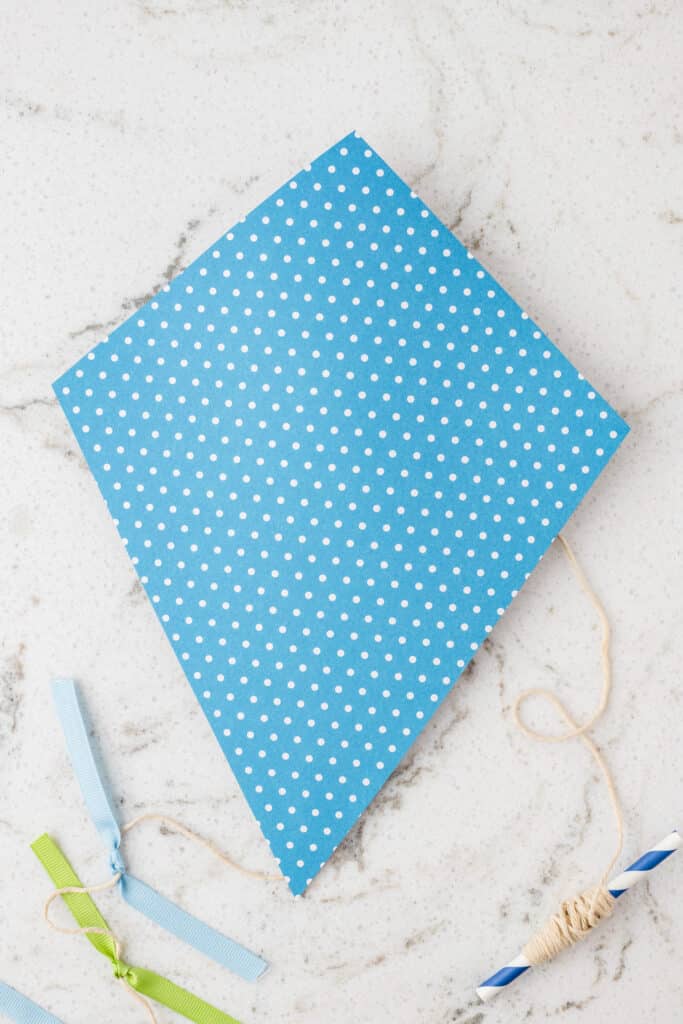
- Cardstock – Grab some cardstock in bright colors and fun patterns to make the prettiest craft paper kite. I like to have plenty of different colors on hand so that my kids can choose whatever they want. I personally love paper with a pattern of polka dots and stripes too.
- Kite template – Download and print my simple kite template to make this paper kite craft extra simple.
- Paper Straws – You can use some plastic straws in this craft too. Even wooden skewers would work as well.
- Household twine – This will be used for for the kite string. Make sure that you have plenty so that you can fly your kite as high as you want.
- Transparent tape – Use some transparent tape to secure all of the kite pieces together.
- Ribbon – Add a fun little embellishment with some ribbon — it’s perfect to use as the tail.
- Scissors – You’ll need a good pair of scissors to cut out the diamond shape for the kite, as well as a few of the other materials.
- Ruler – Have a ruler on hand because you’ll need to measure a few different things.
- Pencil – Use a pencil or a pen to trace the template and accurately cut out what you need.
How to Make a Kite with Craft Paper
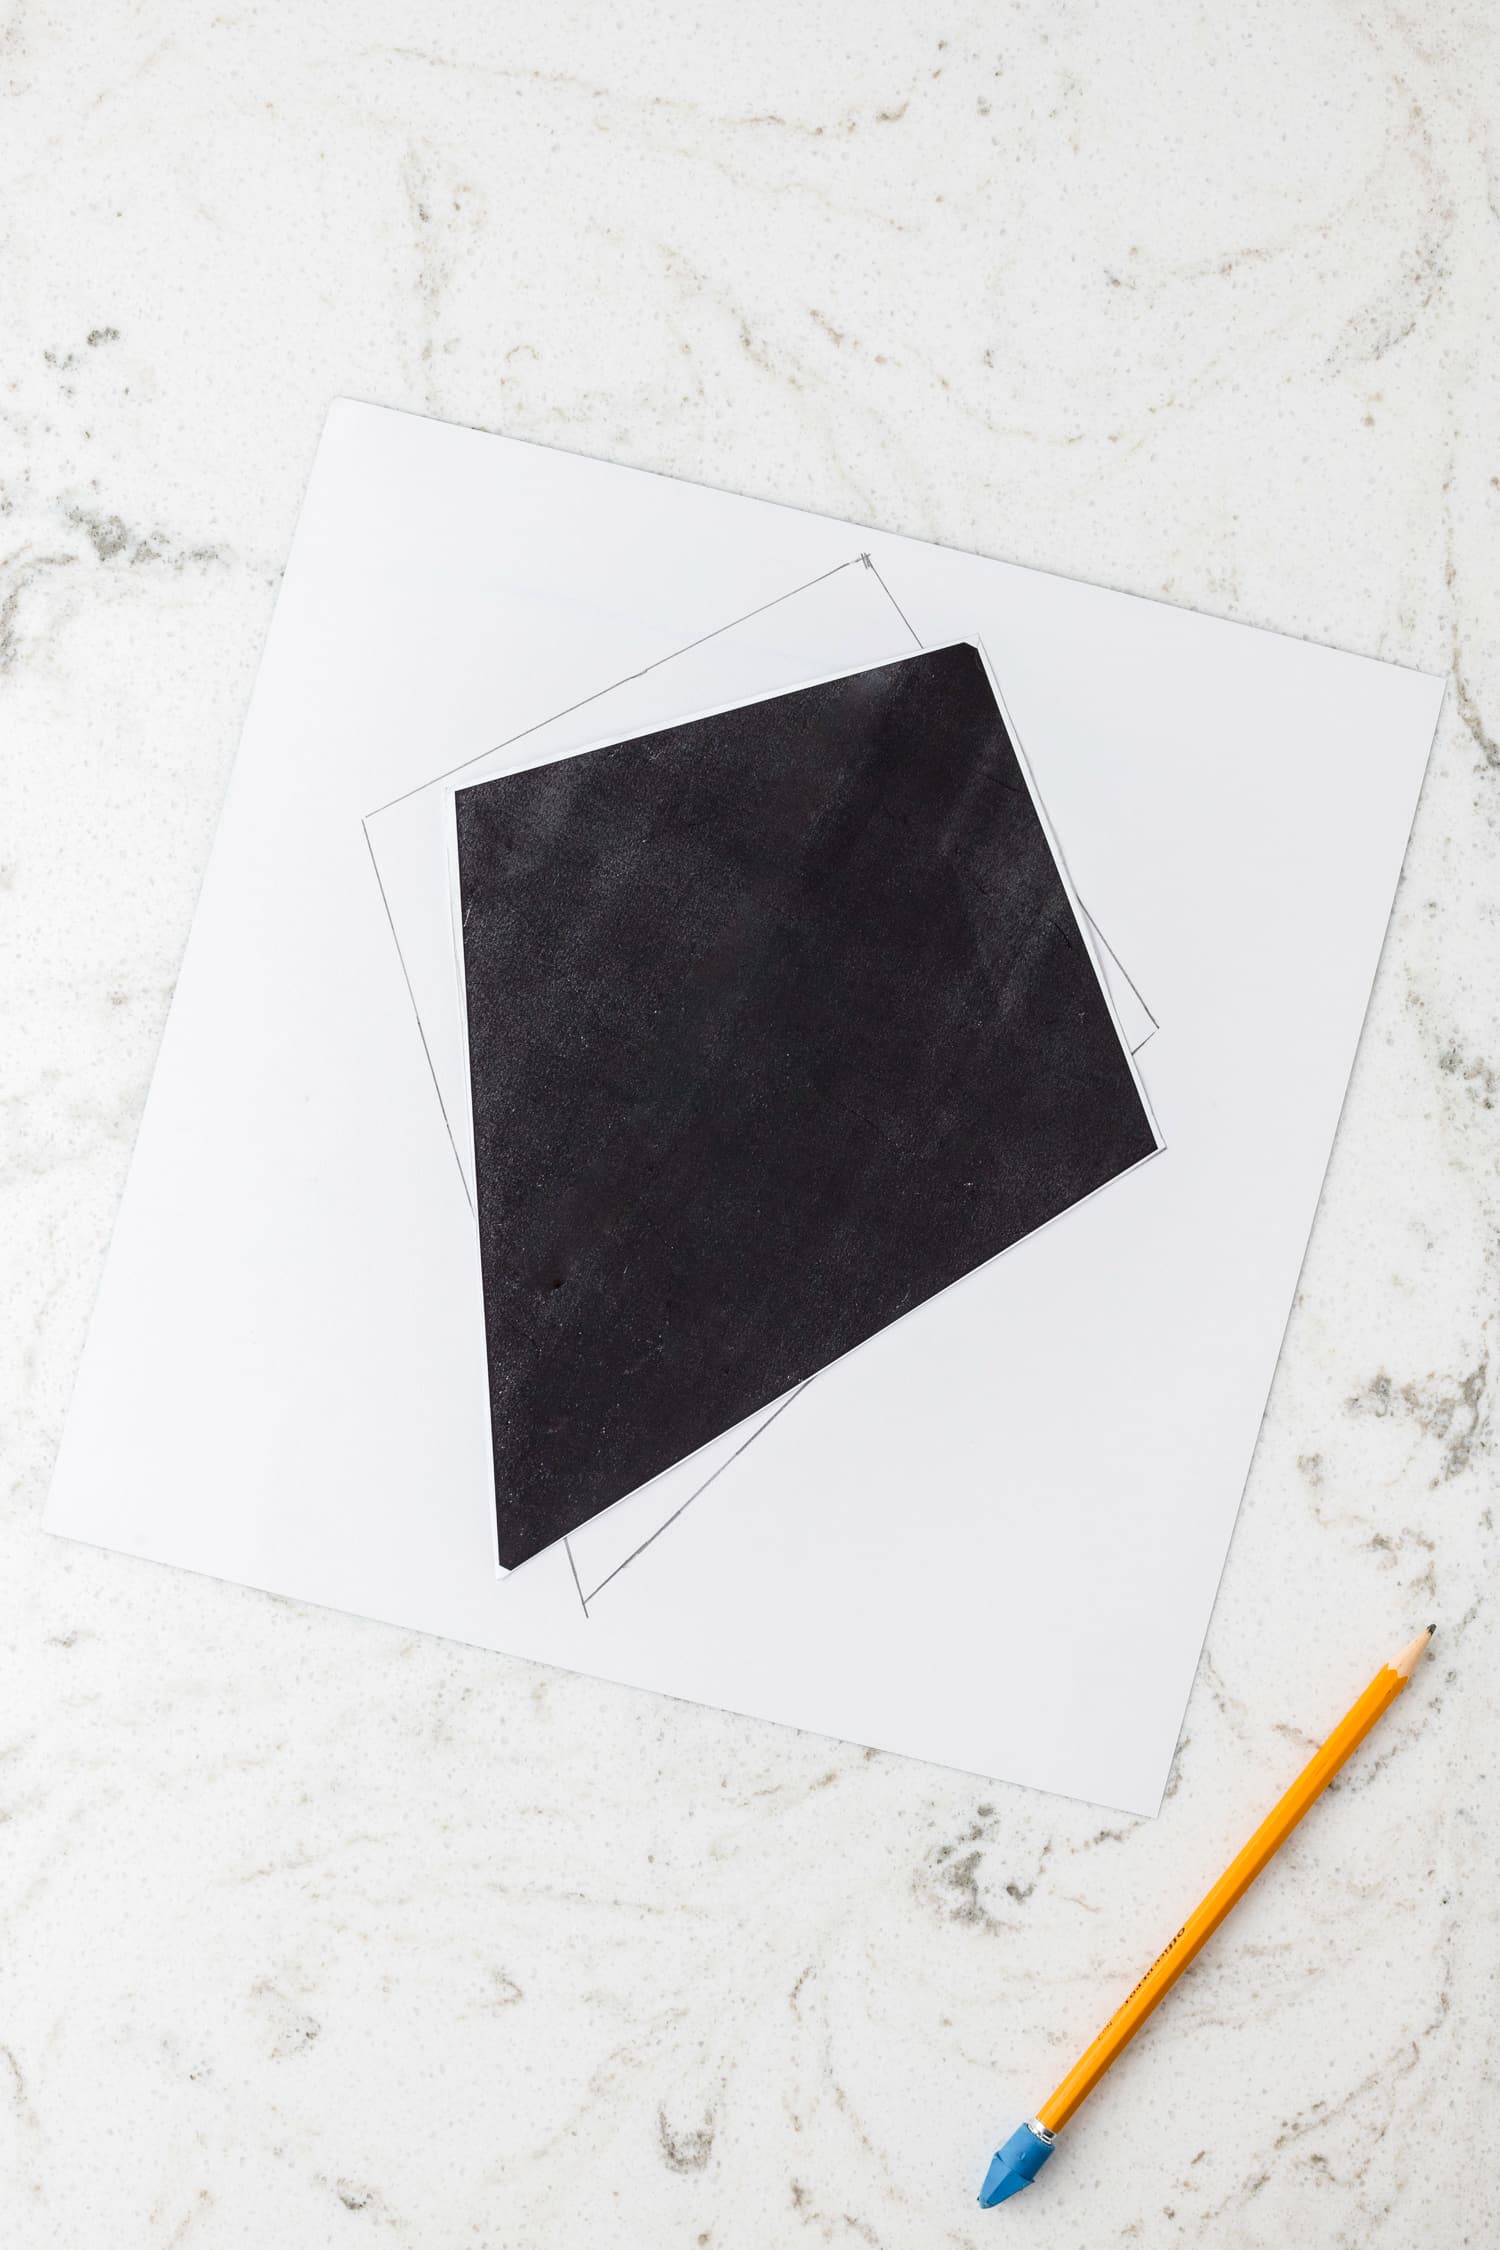
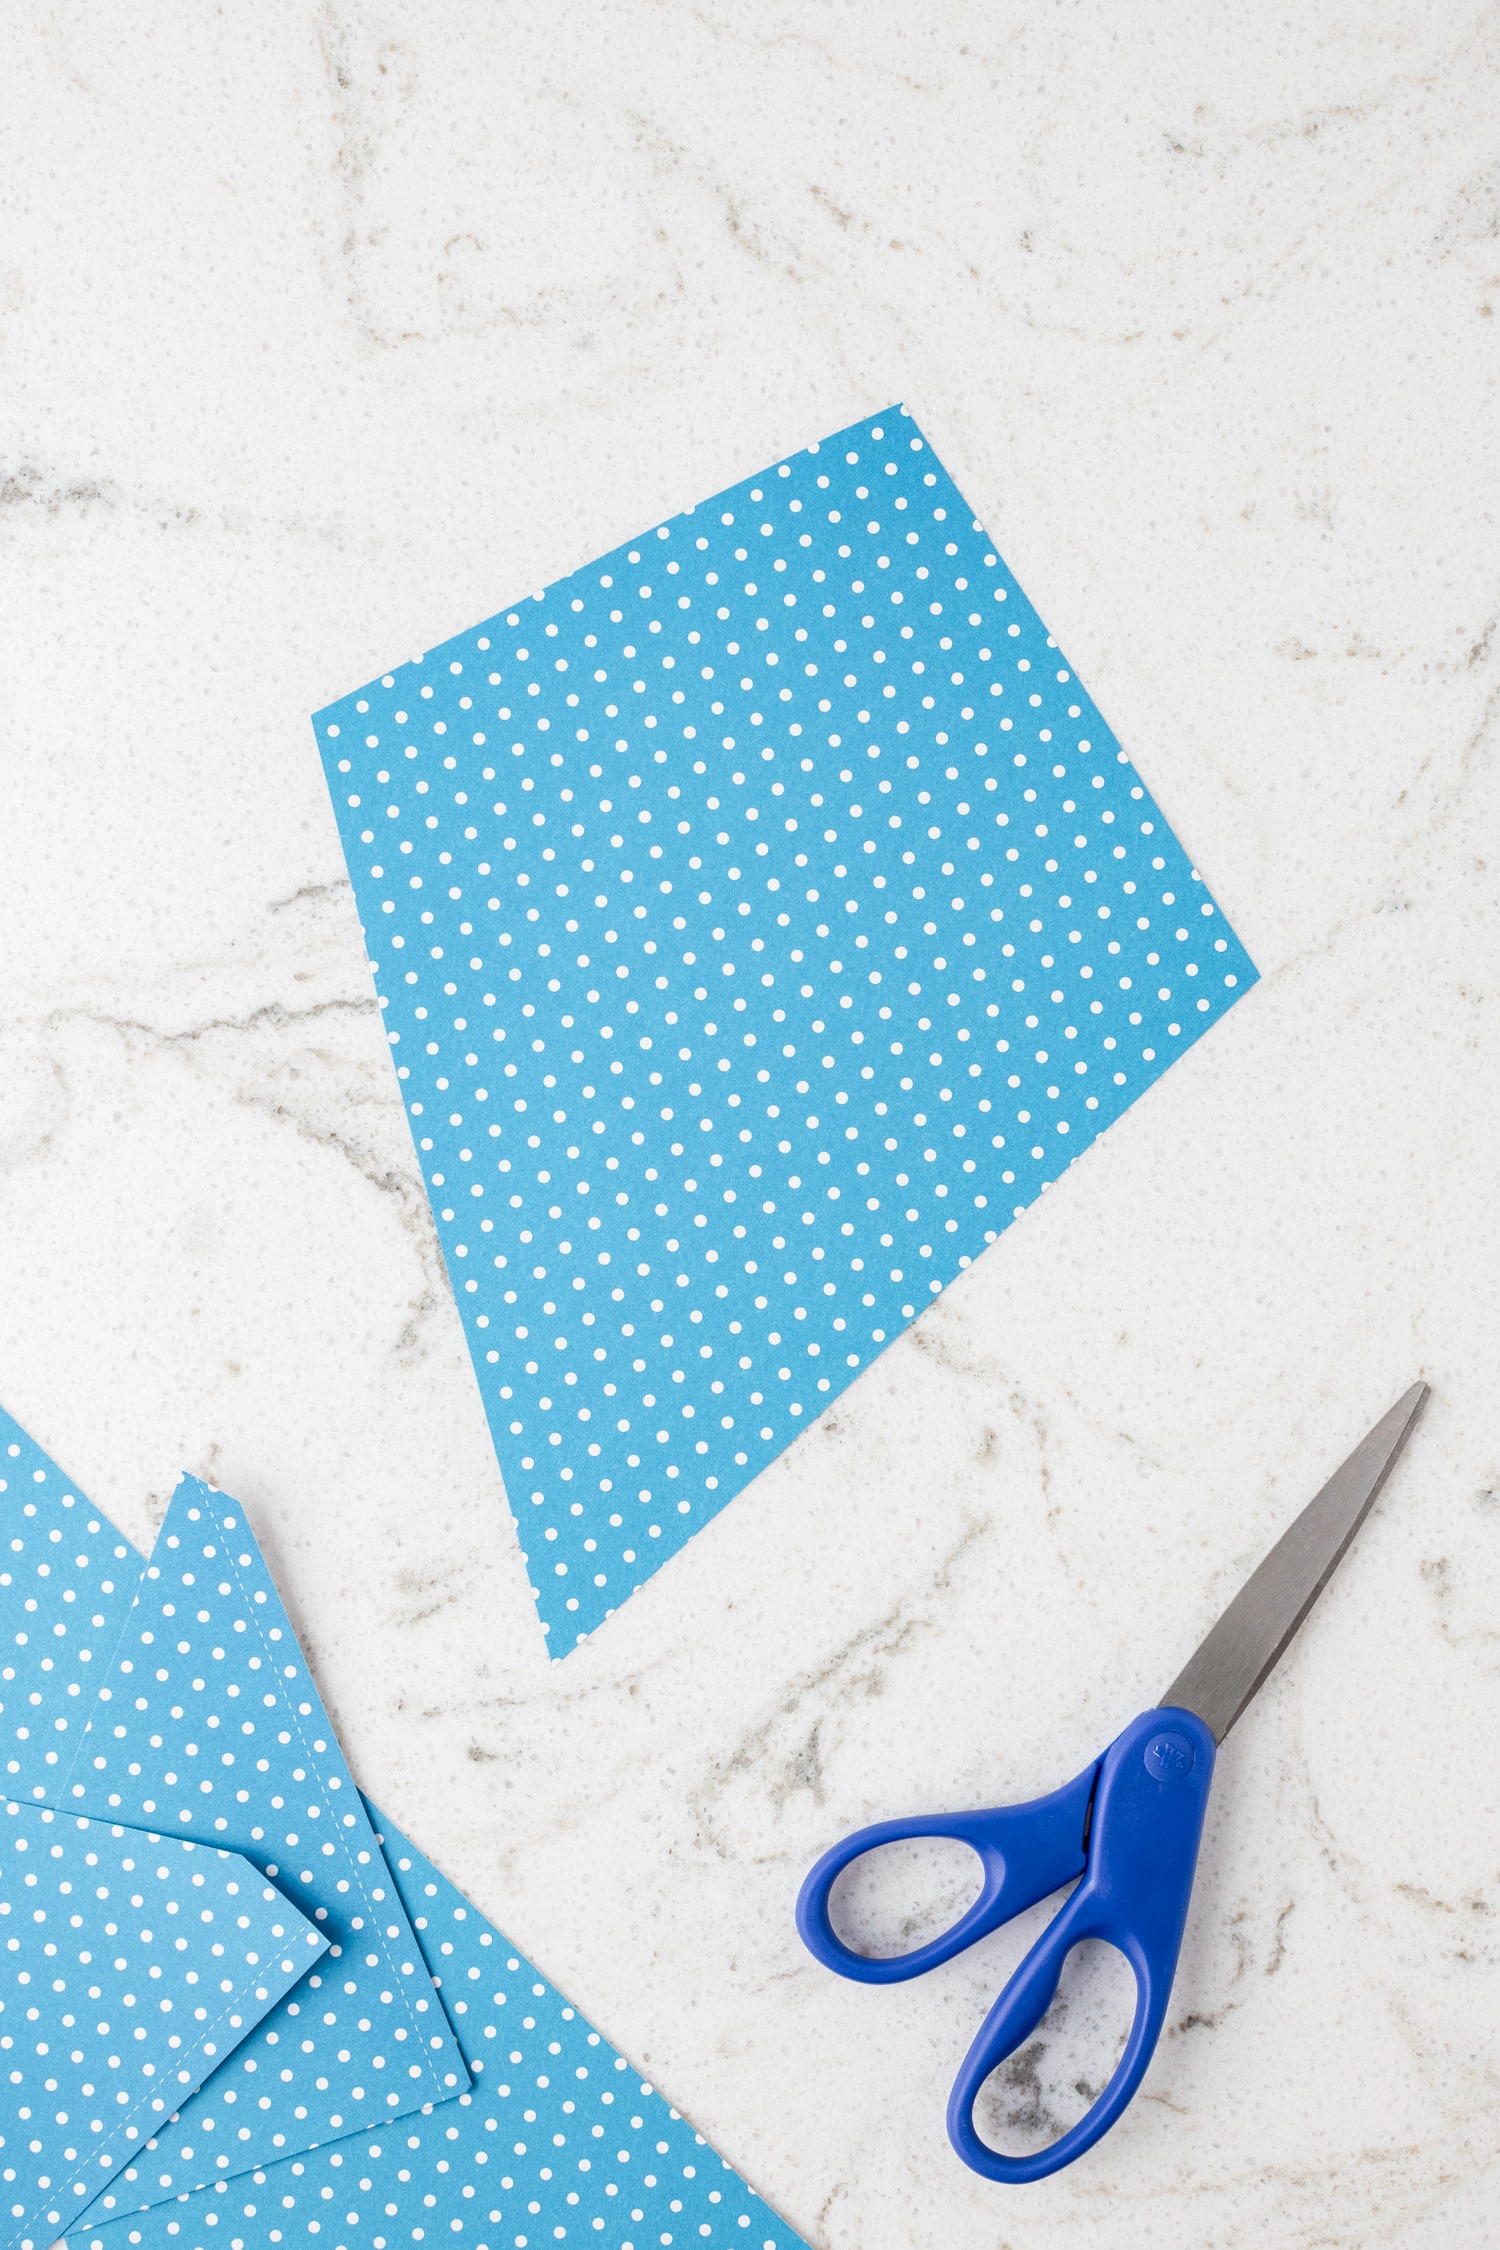
Place the card stock on a flat surface. Then trace the cut-out paper kite template onto the back of the card stock and carefully cut out the kite shape.
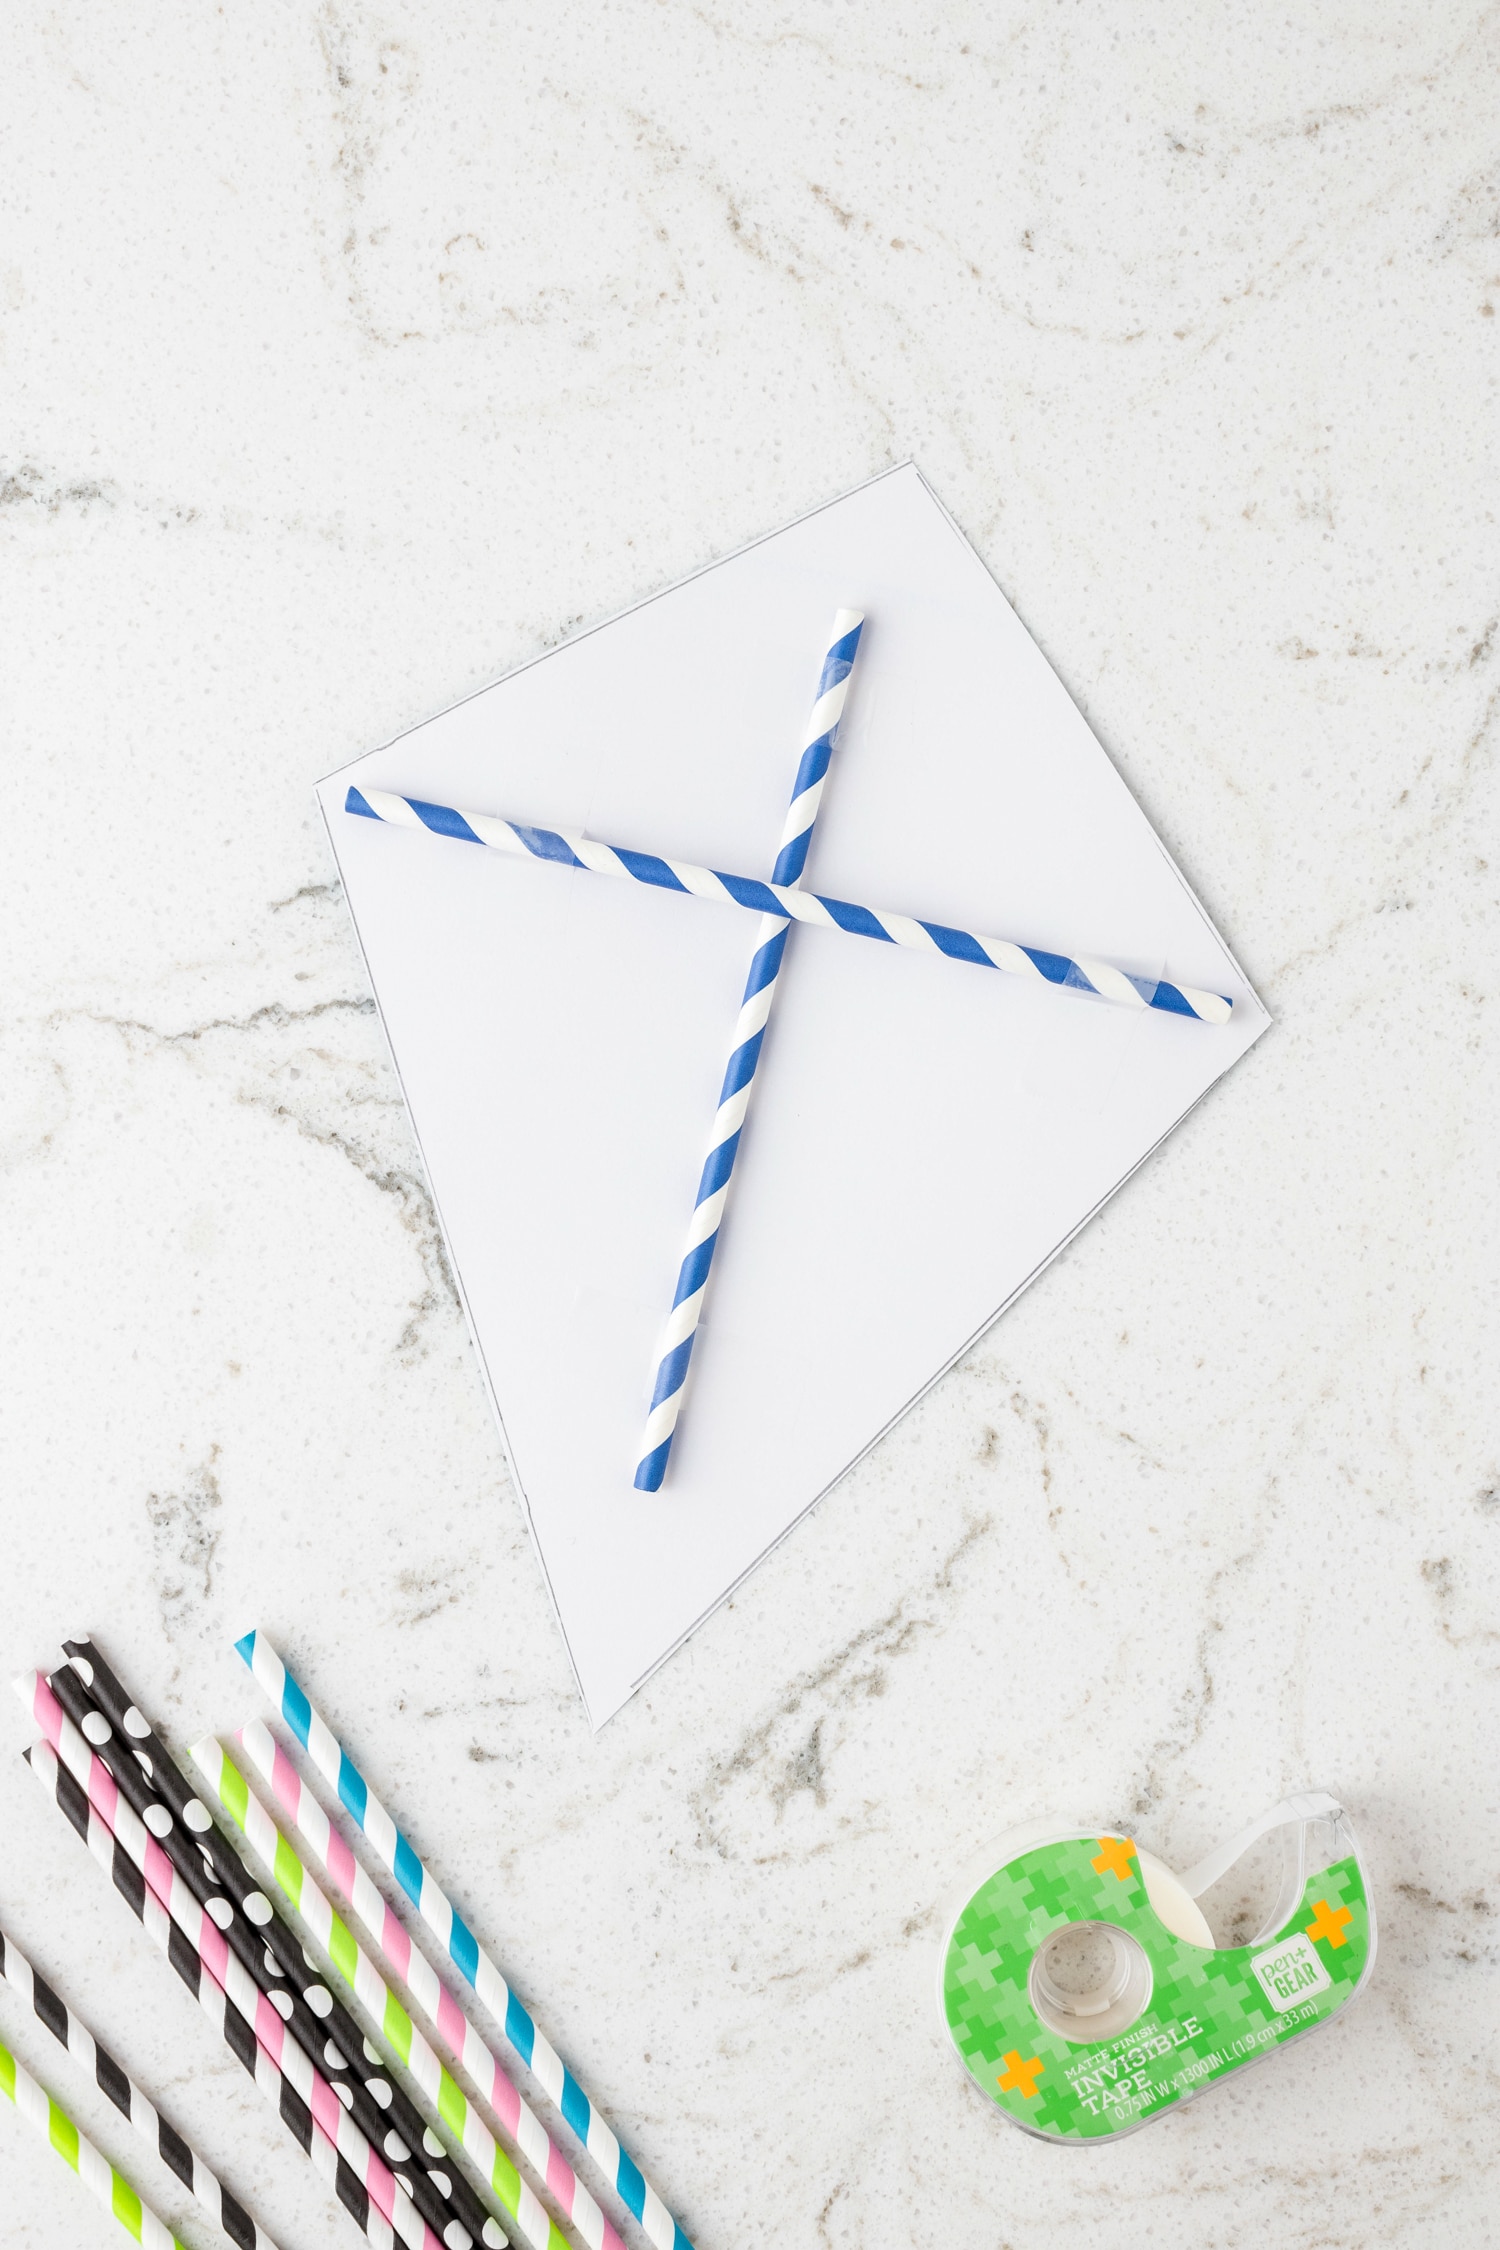
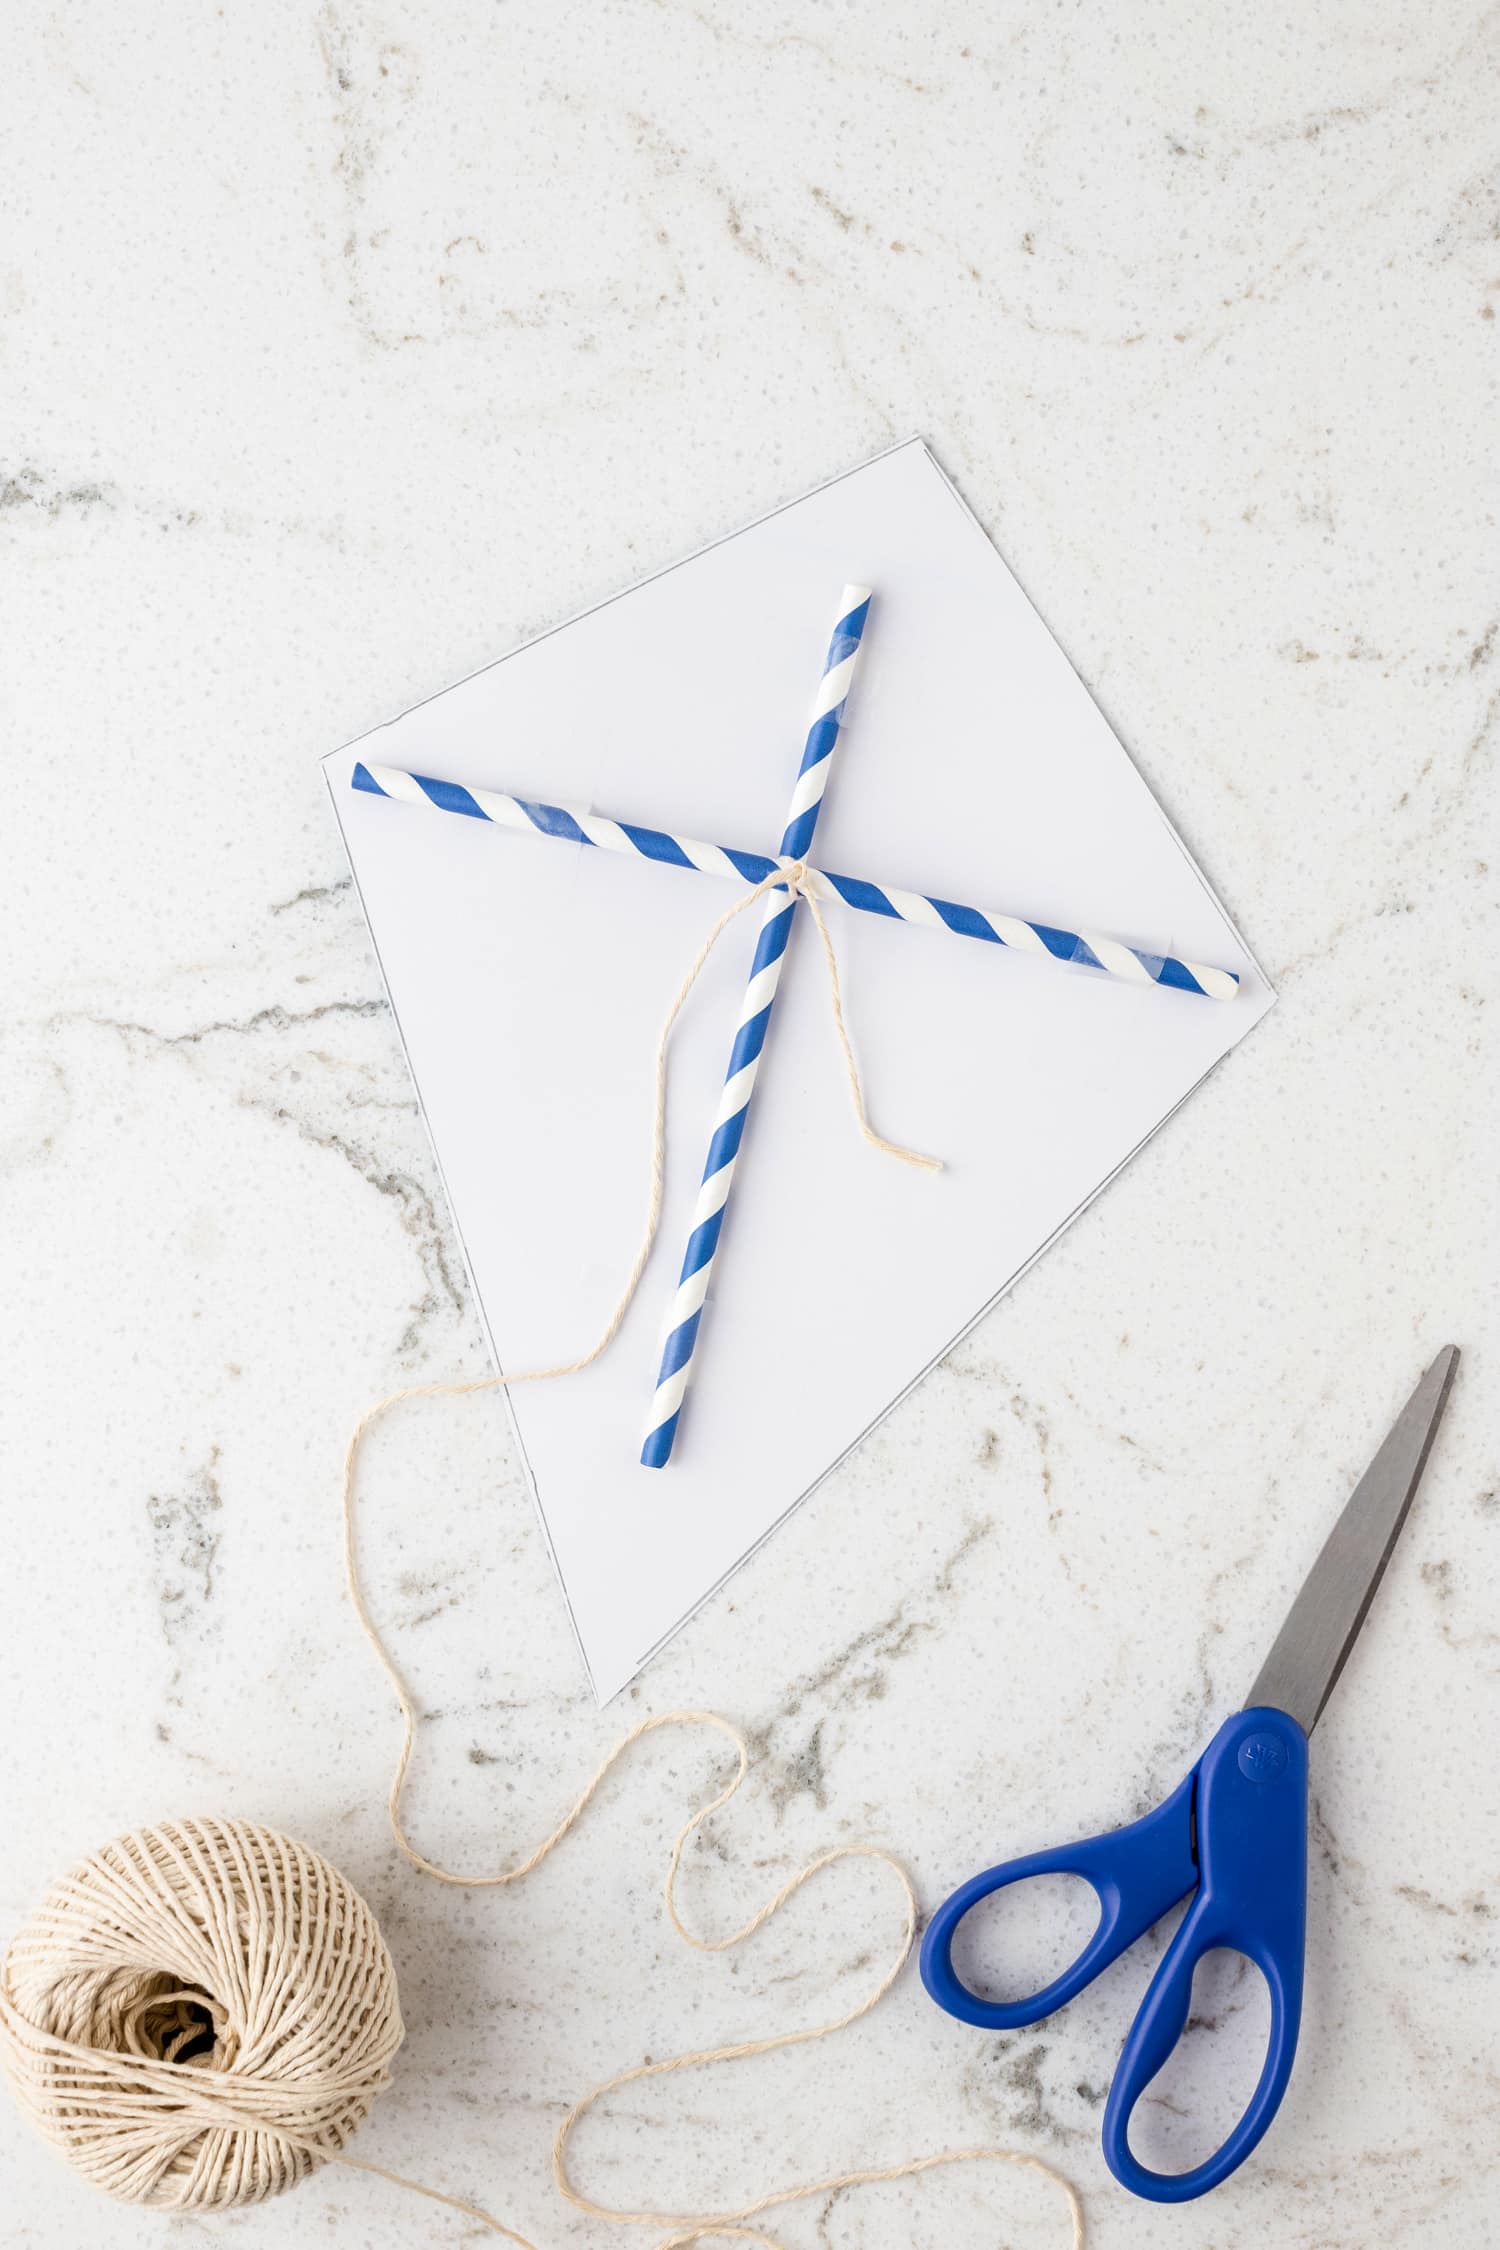
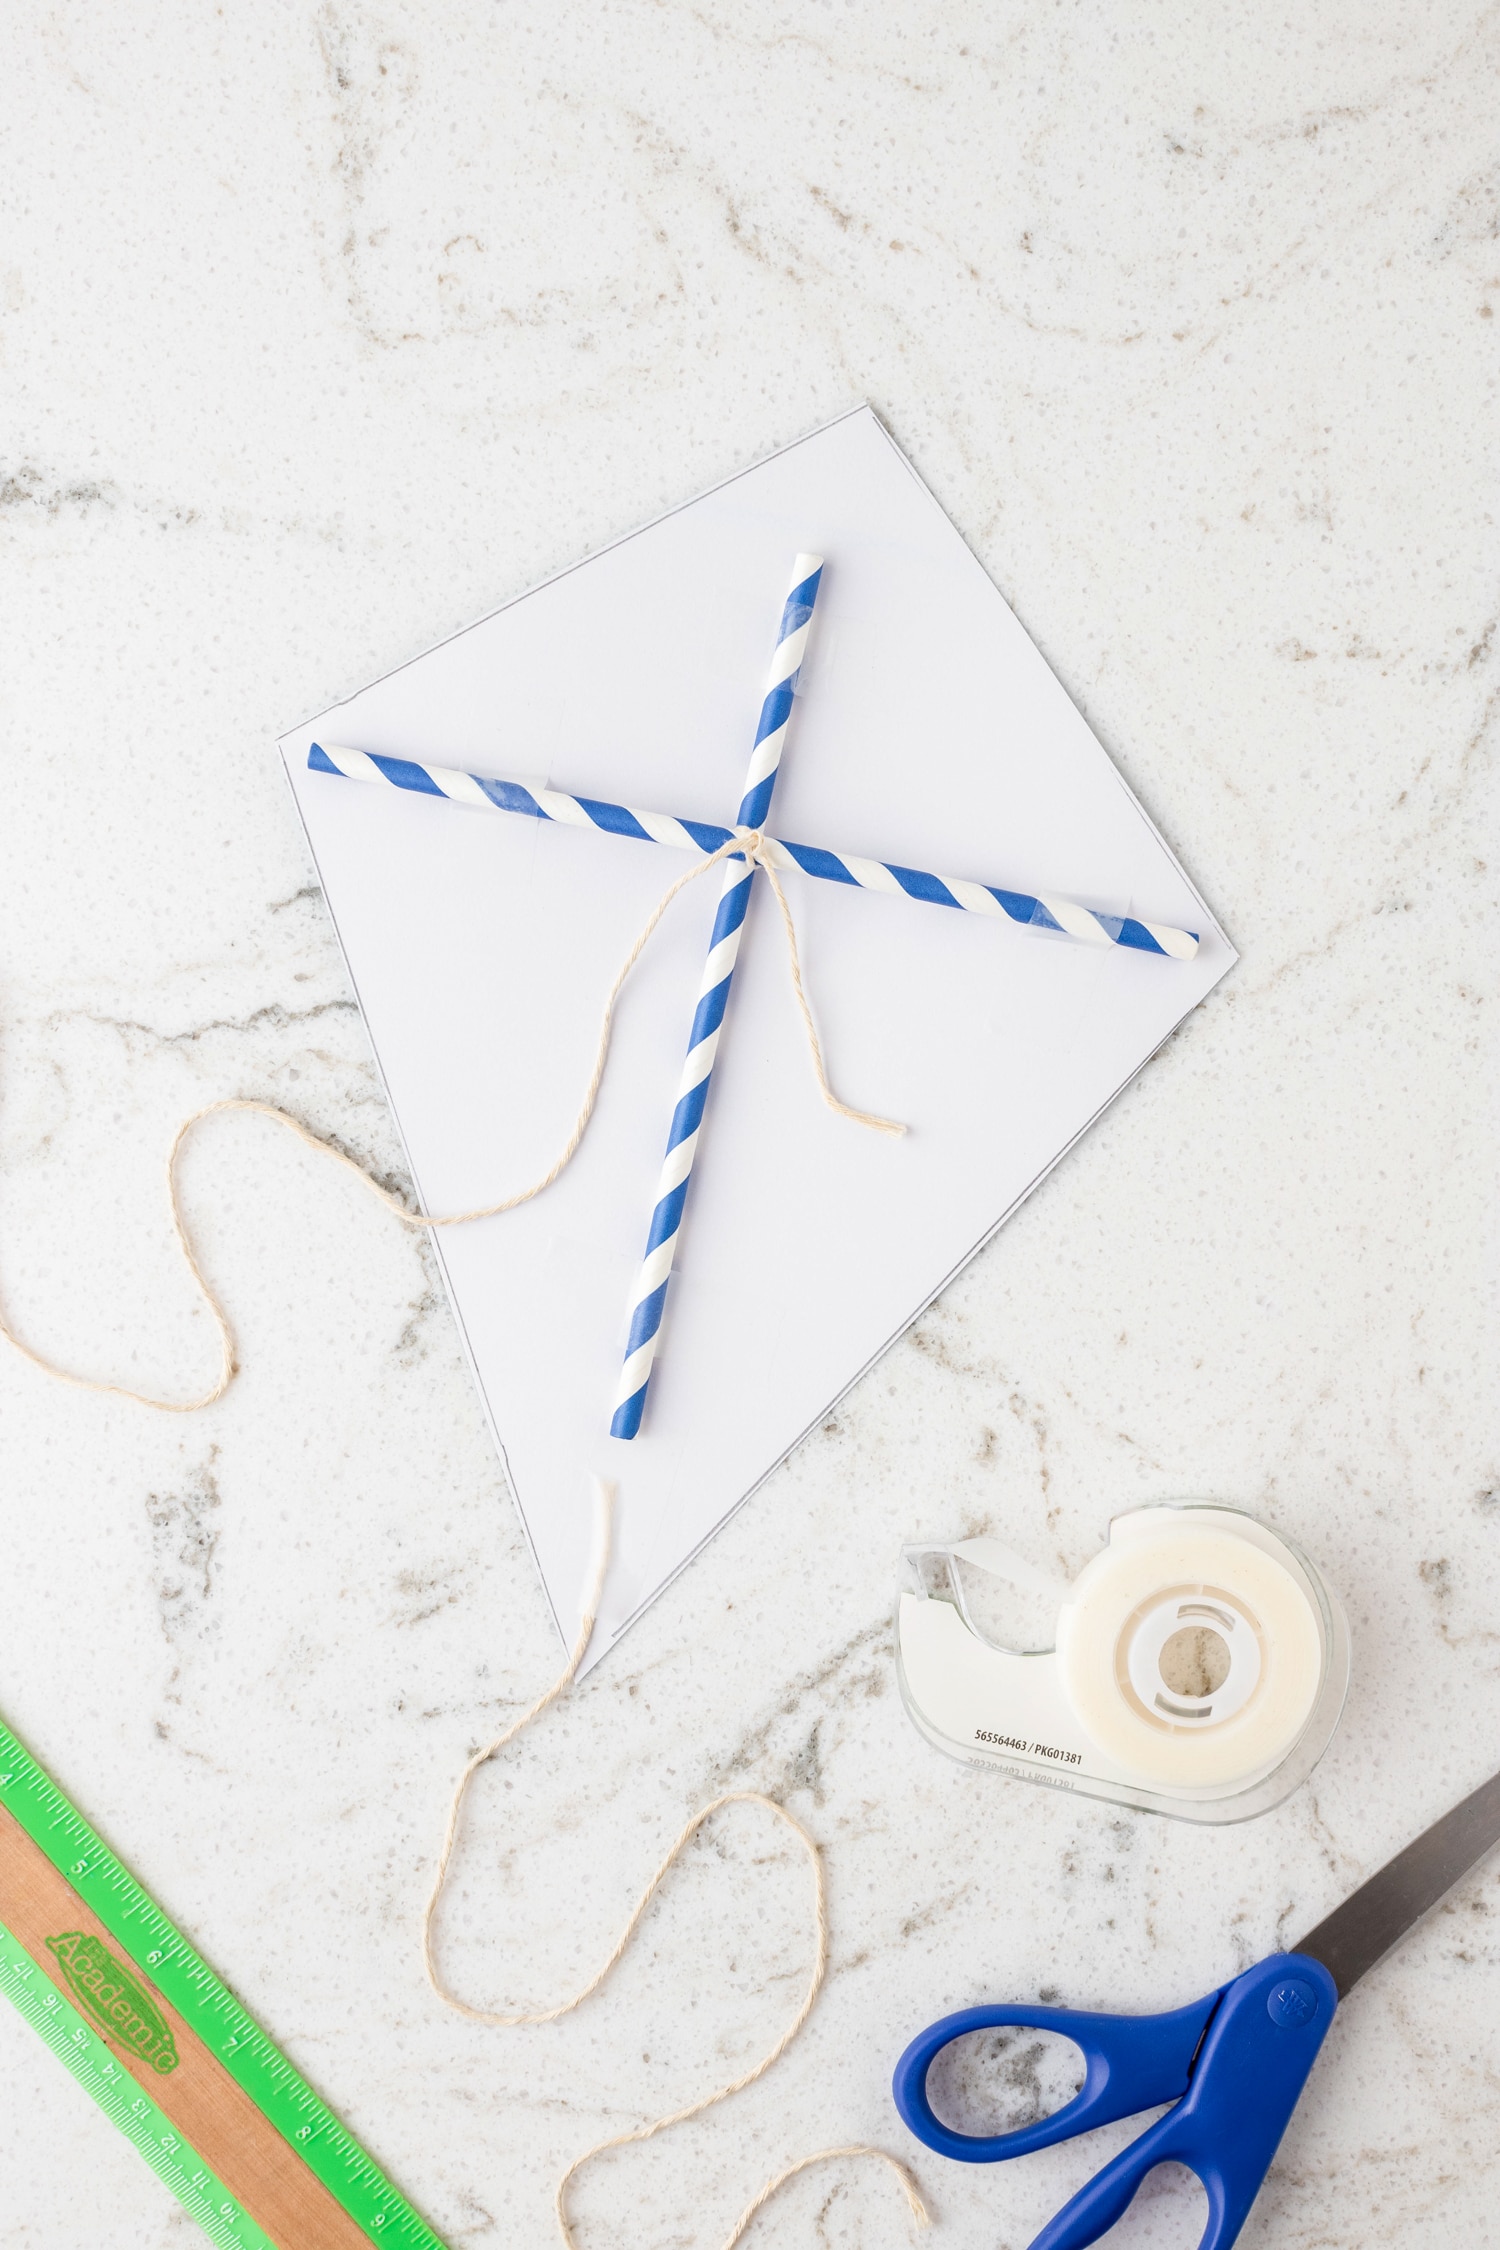
Next, take one straw and place it along the center line of the card stock. Tape it securely at the top and bottom.
Take the second straw and place it horizontally across the widest part of the kite (about ⅓ down from the top). Tape it securely on both ends.
Cut a long piece of household twine about 4 to 6 feet long and tie one end of the twine to the intersection point of the two straws. Reinforce with extra tape if necessary to ensure it is secure.
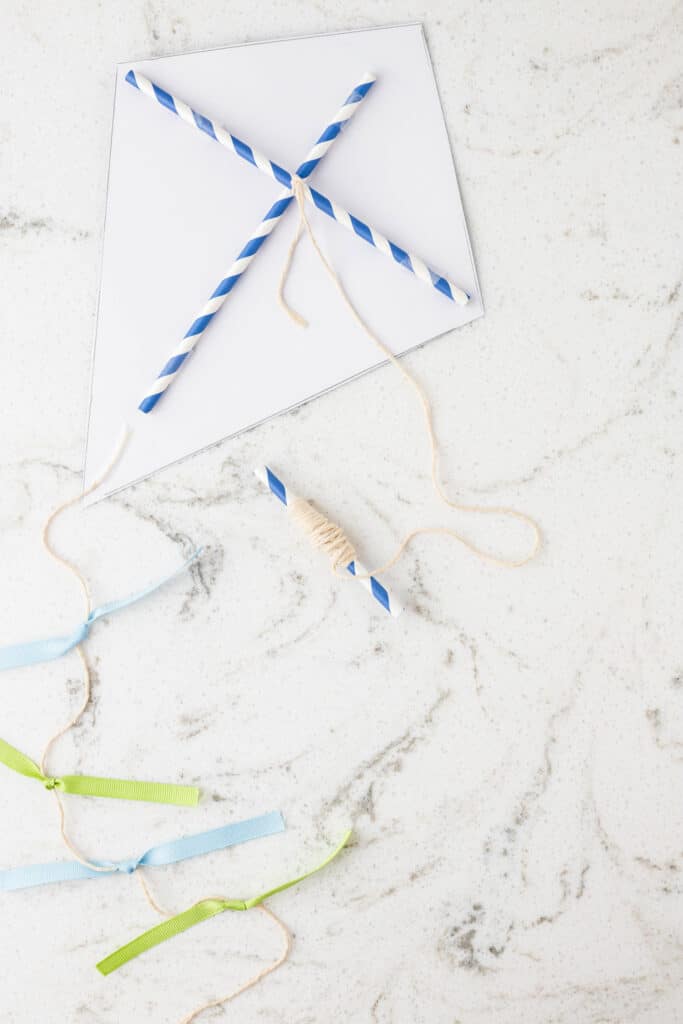
Cut another straw in half and tie the other end of the twine to it to make a spool for the kite. This will allow you to let the slack out when flying the kite.
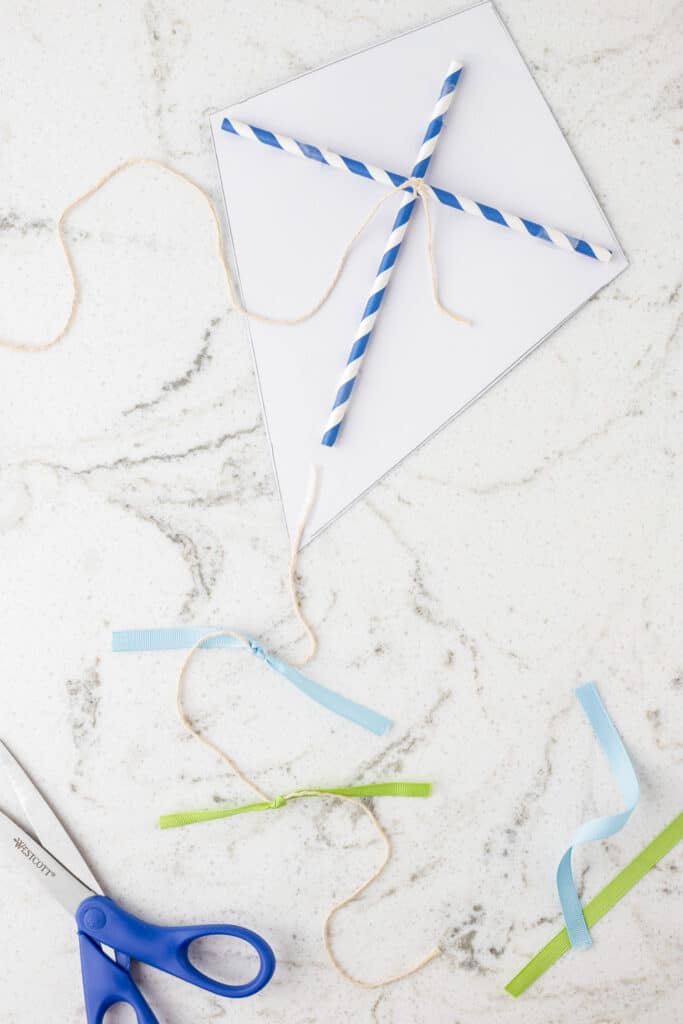
Next, cut another piece of twine about 18 inches long and tape it to the bottom of the kite. This will create the tail.
Cut several lengths of ribbon, each about 6 inches long. Tie the ribbons to the tail of the kite, spacing them out. This will help stabilize the kite in the air.
Ensure all taped areas are secure, and add extra tape if needed. That’s it, your kite is ready to go!
What makes a kite fly better?
It’s all about the wind and the angle in which the kite is flying. You need to get enough wind underneath the kite to keep it up in the air, against the force of gravity. It also helps if your kite is made out of lightweight materials!
What cause a kite not to fly?
If it looks like you’ve got a dud, you most likely just don’t have enough wind. Wait for a windier day and then try again! If you still can’t get your kite to fly, then it may be too heavy. Make sure you haven’t added lots of decorations on it that is weighing it down.
Pro-Tips for the MOST Fun!!
- Grab stickers, crayons, markers, glitter glue — any and all fun craft materials you have in your craft cabinet, and make this kite all your own. Add a personal touch! Just don’t weight it down with anything too heavy or it may not fly well.
- If you find that the paper straws are bending too easily, you can use some wooden dowels or skewers instead.
- Making this craft with a bunch of kiddos? Make sure you write their name on the each homemade paper kite. This will help you keep track of whose is whose, especially if they lose their kites for a few minutes in the wind.
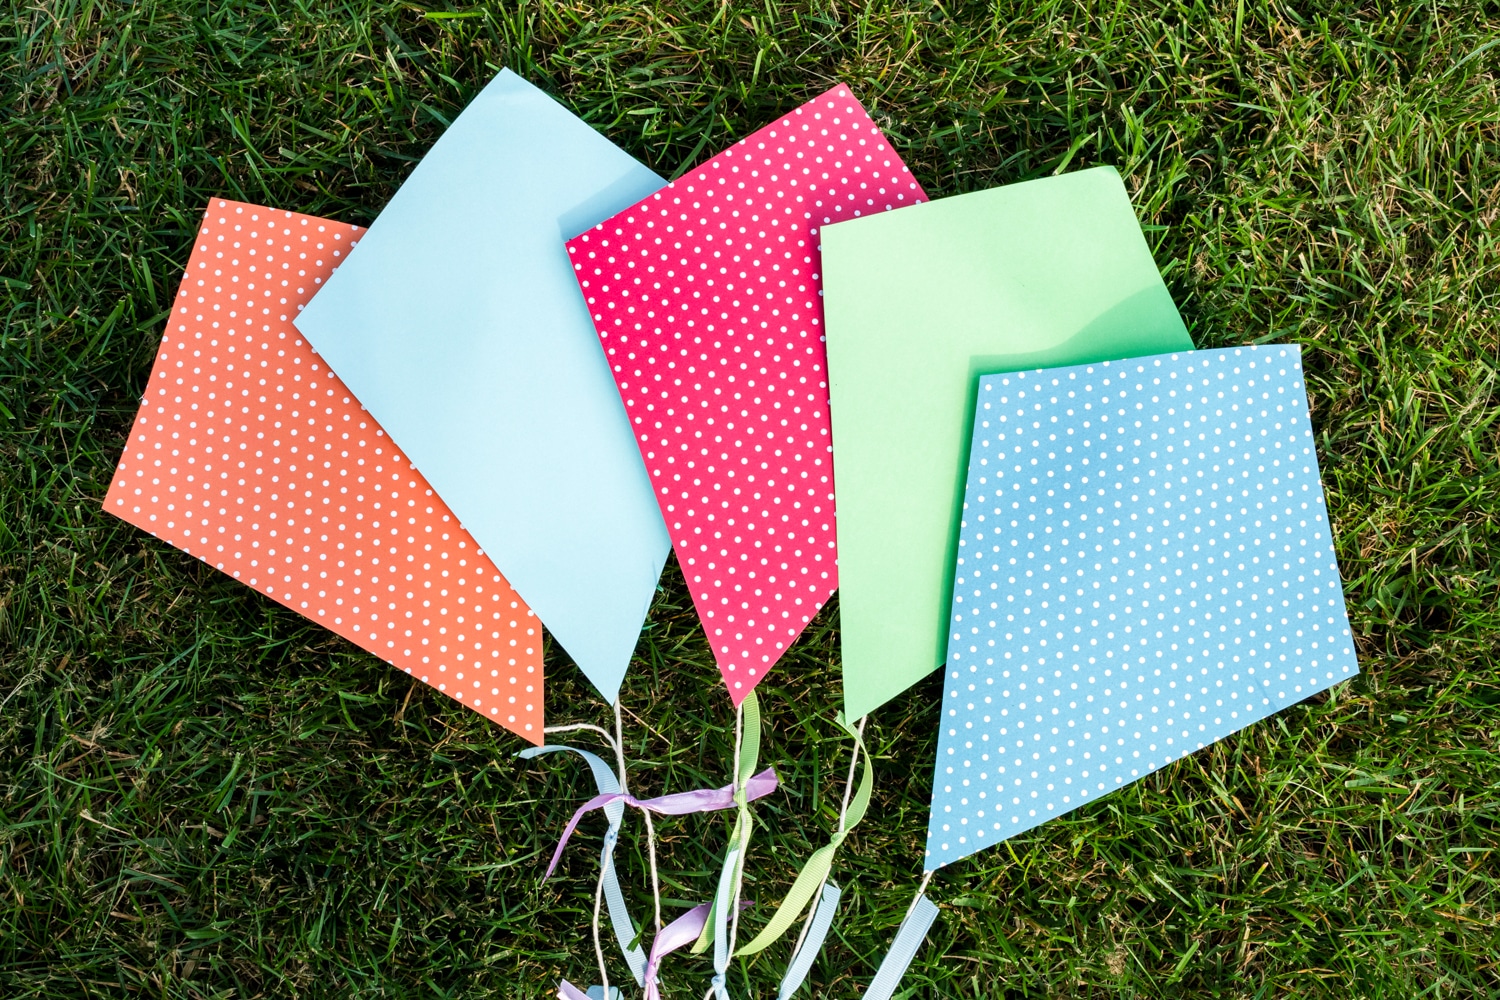
These adorable paper kites are sure to bring squeals of delight and giggles of joy! I hope you make so many memories with this easy craft.
More Easy Crafts You’ll Love!
- This Paper Chain Snake is so much fun for imaginative play and is really simple to make!
- Make some Paper Bag Love Birds if you’re looking for a cute craft that will bring a smile to anyones face.
- Christmas time isn’t really complete as a kid until you make this Christmas Tree Handprint Ornament.
- Want a craft, activity and science experiment rolled into one? Then check out this awesome Fluffy Slime recipe!
Paper Kite Craft
Ingredients
- Cardstock
- Kite Template
- Paper Straws
- Household twine for the kite string
- Transparent tape
- Ribbon for the tail
- Scissors
- Ruler
- Pencil
Instructions
- Place the card stock on a flat surface. Trace the cut-out paper kite template onto the back of the card stock. Cut the kite shape out of the card stock.
- Next, take one straw and place it along the center line of the card stock. Tape it securely at the top and bottom.
- Take the second straw and place it horizontally across the widest part of the kite (about ⅓ down from the top). Tape it securely on both ends.
- Cut a long piece of household twine about 4 to 6 feet (about 4 arm lengths) long. Tie one end of the twine to the intersection point of the two straws. Reinforce with extra tape if necessary to ensure it is secure. Cut another straw in half and tie the other end of the twine to it to make a spool for the kite. This will allow you to let the slack out when flying the kite.
- Cut another piece of twine about 18 inches long. Tape this twine to the bottom of the kite. This will create the tail.
- Cut several lengths of ribbon, each about 6 inches long. Tie the ribbons to the tail of the kite, spacing them out. This will help stabilize the kite in the air.
- Ensure all taped areas are secure, and add extra tape if needed.
Flying kites was always my favorite growing up! We made these mini kites and the kids wore themselves out running around the backyard with them! So fun!
Glad you enjoyed making this craft! Thanks for sharing!