4th of July Dirt Cups
These 4th of July Dirt Cups are so easy to make and delicious! The kids love the Red, White and Blue theme and it’s no-bake and ready in a few minutes which we love. Layers of crushed Oreos, pudding and gummy worms on top.
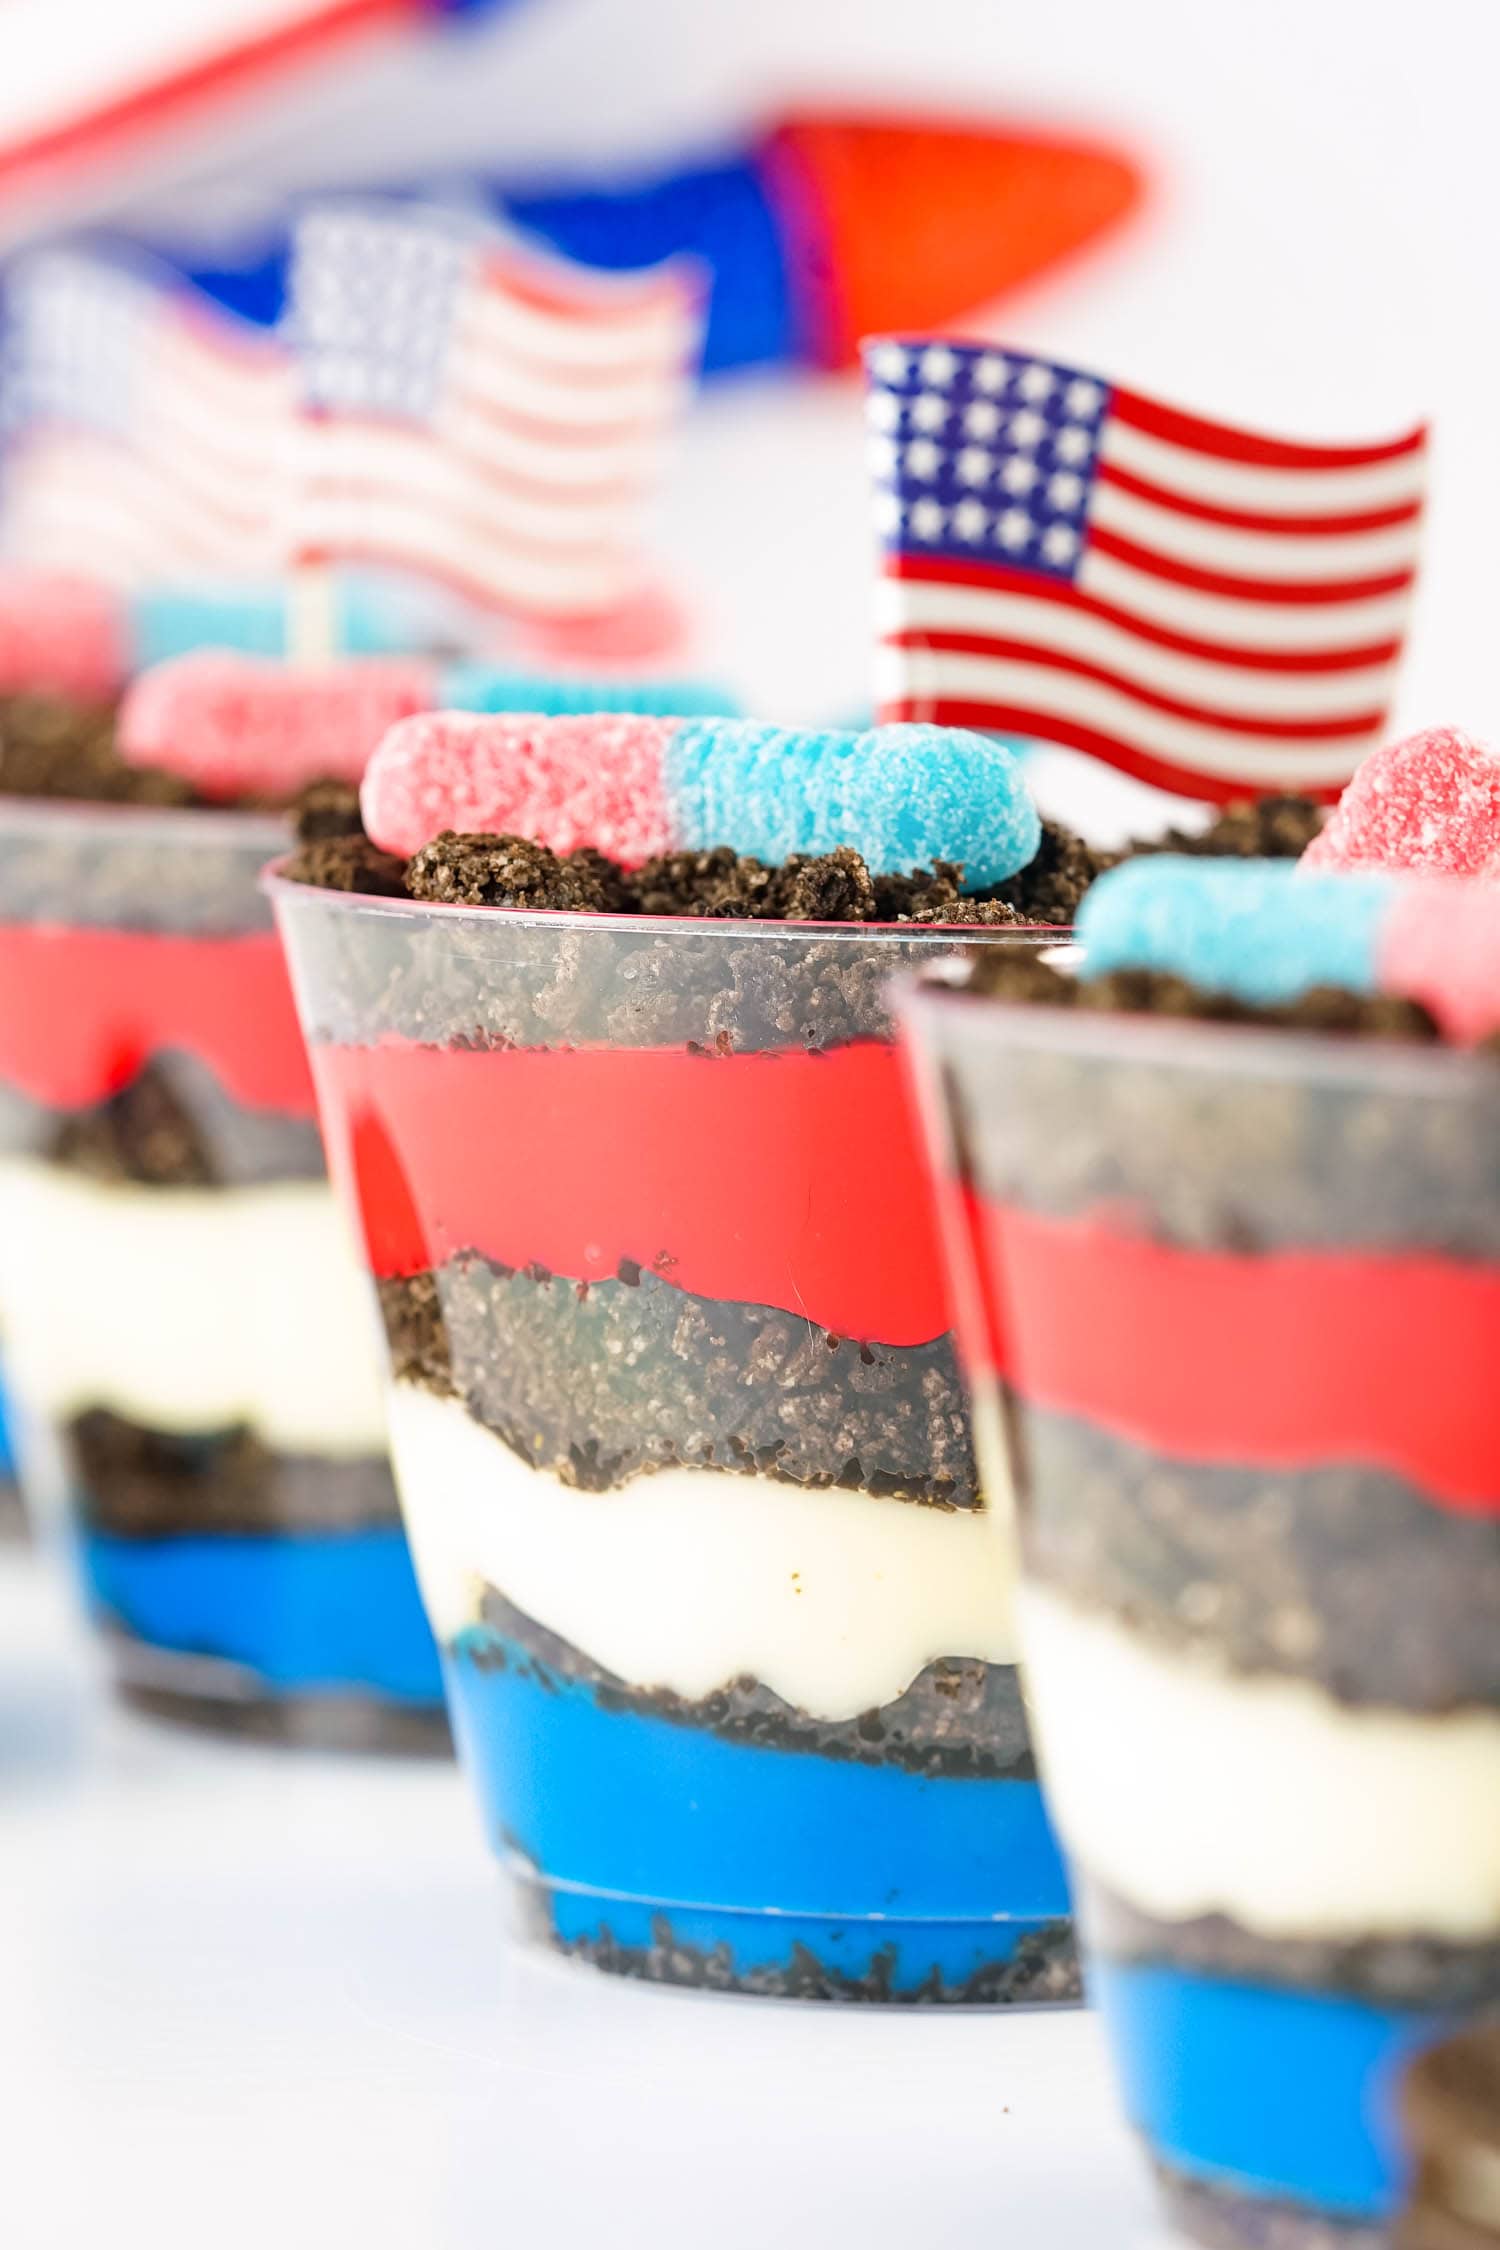
Looking for an easy kids dessert that you can serve this 4th of July? These 4th of July dirt cups are perfect! Dirt cups are two in one fun. A snack and a perfectly acceptable activity to “play” with. You can hide gummy worms in the “dirt” and let the kiddos get to scavenging as they eat each bite of pudding cup.
With the fun patriotic colors, you can make these for any national American holiday. Fourth of July, Memorial Day, or any other time you’re ready to whip out that patriotic red white and blue. This recipe is also insanely easy! Older kids would have a blast helping you in the kitchen. Let them try their hand at making these fun red white and blue dirt cups.
And don’t forget to make more fun snacks like 4th of July bottle rocket kabobs or 4th of July Rice Krispie treats. There are plenty of super fun snacks you can make!
Why You’ll Love 4th Of July Dirt Cups
- Let those sweet kiddos help you make this dirt cup recipe! You can play a color identification game and work on motor skills as they scoop layers of pudding and dirt into each cup.
- A delicious dirt cup dessert encourages imagination as kids eat the worms and dirt! I can’t tell you the amount of times my kids have come up with silly stories as they eat dirt cups.
- It only takes 10 minutes to make a batch of 4th of July Dirt Cups.

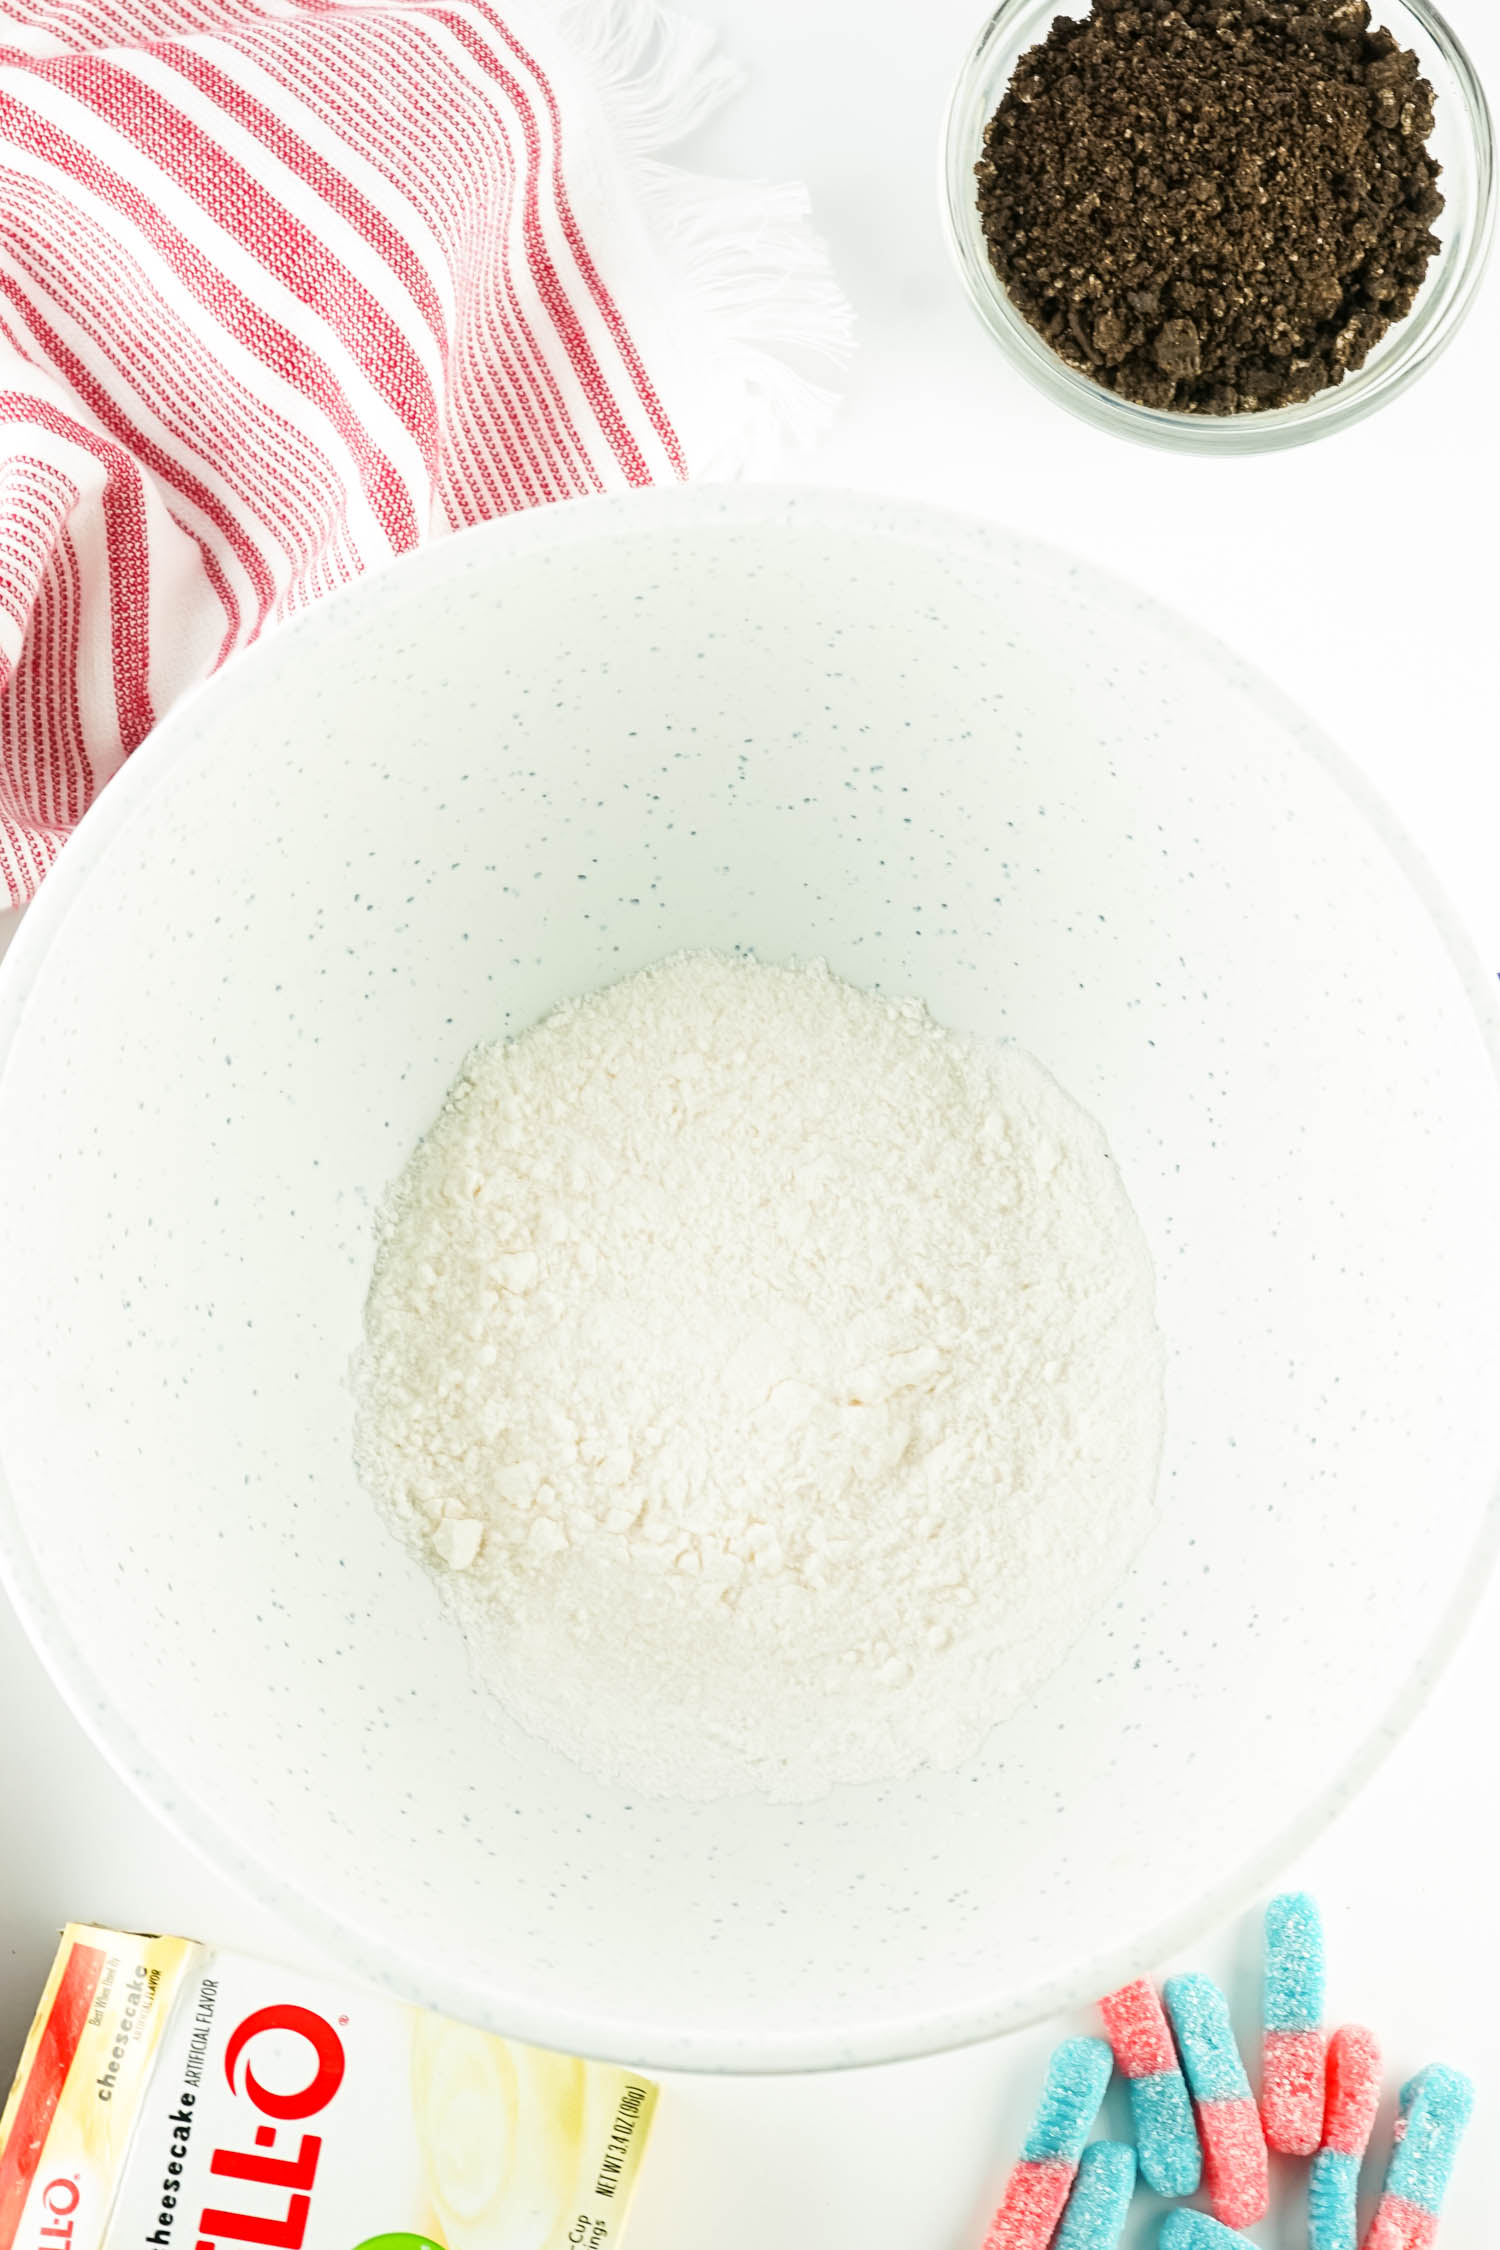
Ingredients for Red White and Blue Dirt Cups
- Dessert cups – You can use disposable plastic cups, or glass ones! Wide mouth mason jars also work great as a serving dish for these layered dirt cups.
- Crushed Oreo cookies – When you crush up Oreo cookies, it resembles the look and texture of dirt. A perfect edible “dirt” that taste super yummy too!
- Cheesecake pudding – You can of course use whatever flavor pudding you like. However, cheesecake pudding tastes great with the crushed Oreos and is actually a really versatile flavor.
- Red and blue gel food dye – Gel food dye works so much better in pudding than liquid food dye. If liquid is all you have, feel free to use it! You may have to use a few more drops to get the right color though.
- Milk – I recommend using whole milk or 2% milk. It will create the best flavor and the most creamy texture for the pudding layers.
- Gummy worms – To keep the patriotic colors going, pick the red and blue gummy worms out of the bag! You don’t have to do this, but it will keep the pretty 4th of July colors throughout the entire dirt cup.
- Flag topper – Grab some of those toothpicks that have tiny American flags on them. It’s the perfect touch to finish off your 4th of July Dirt cups.
Helpful Tools
- Mixing bowls
- Whisk
- Measuring cup and spoons
- Plastic dessert cups
- Rolling pin
- Optional: Food processor
How to Make 4th of July Dirt Cups
- Begin by crushing the Oreo cookies in a Ziploc bag with a rolling pin. Or, make it go more quickly by placing the cookies into a food processor and pulsing until they form a crumbly texture.
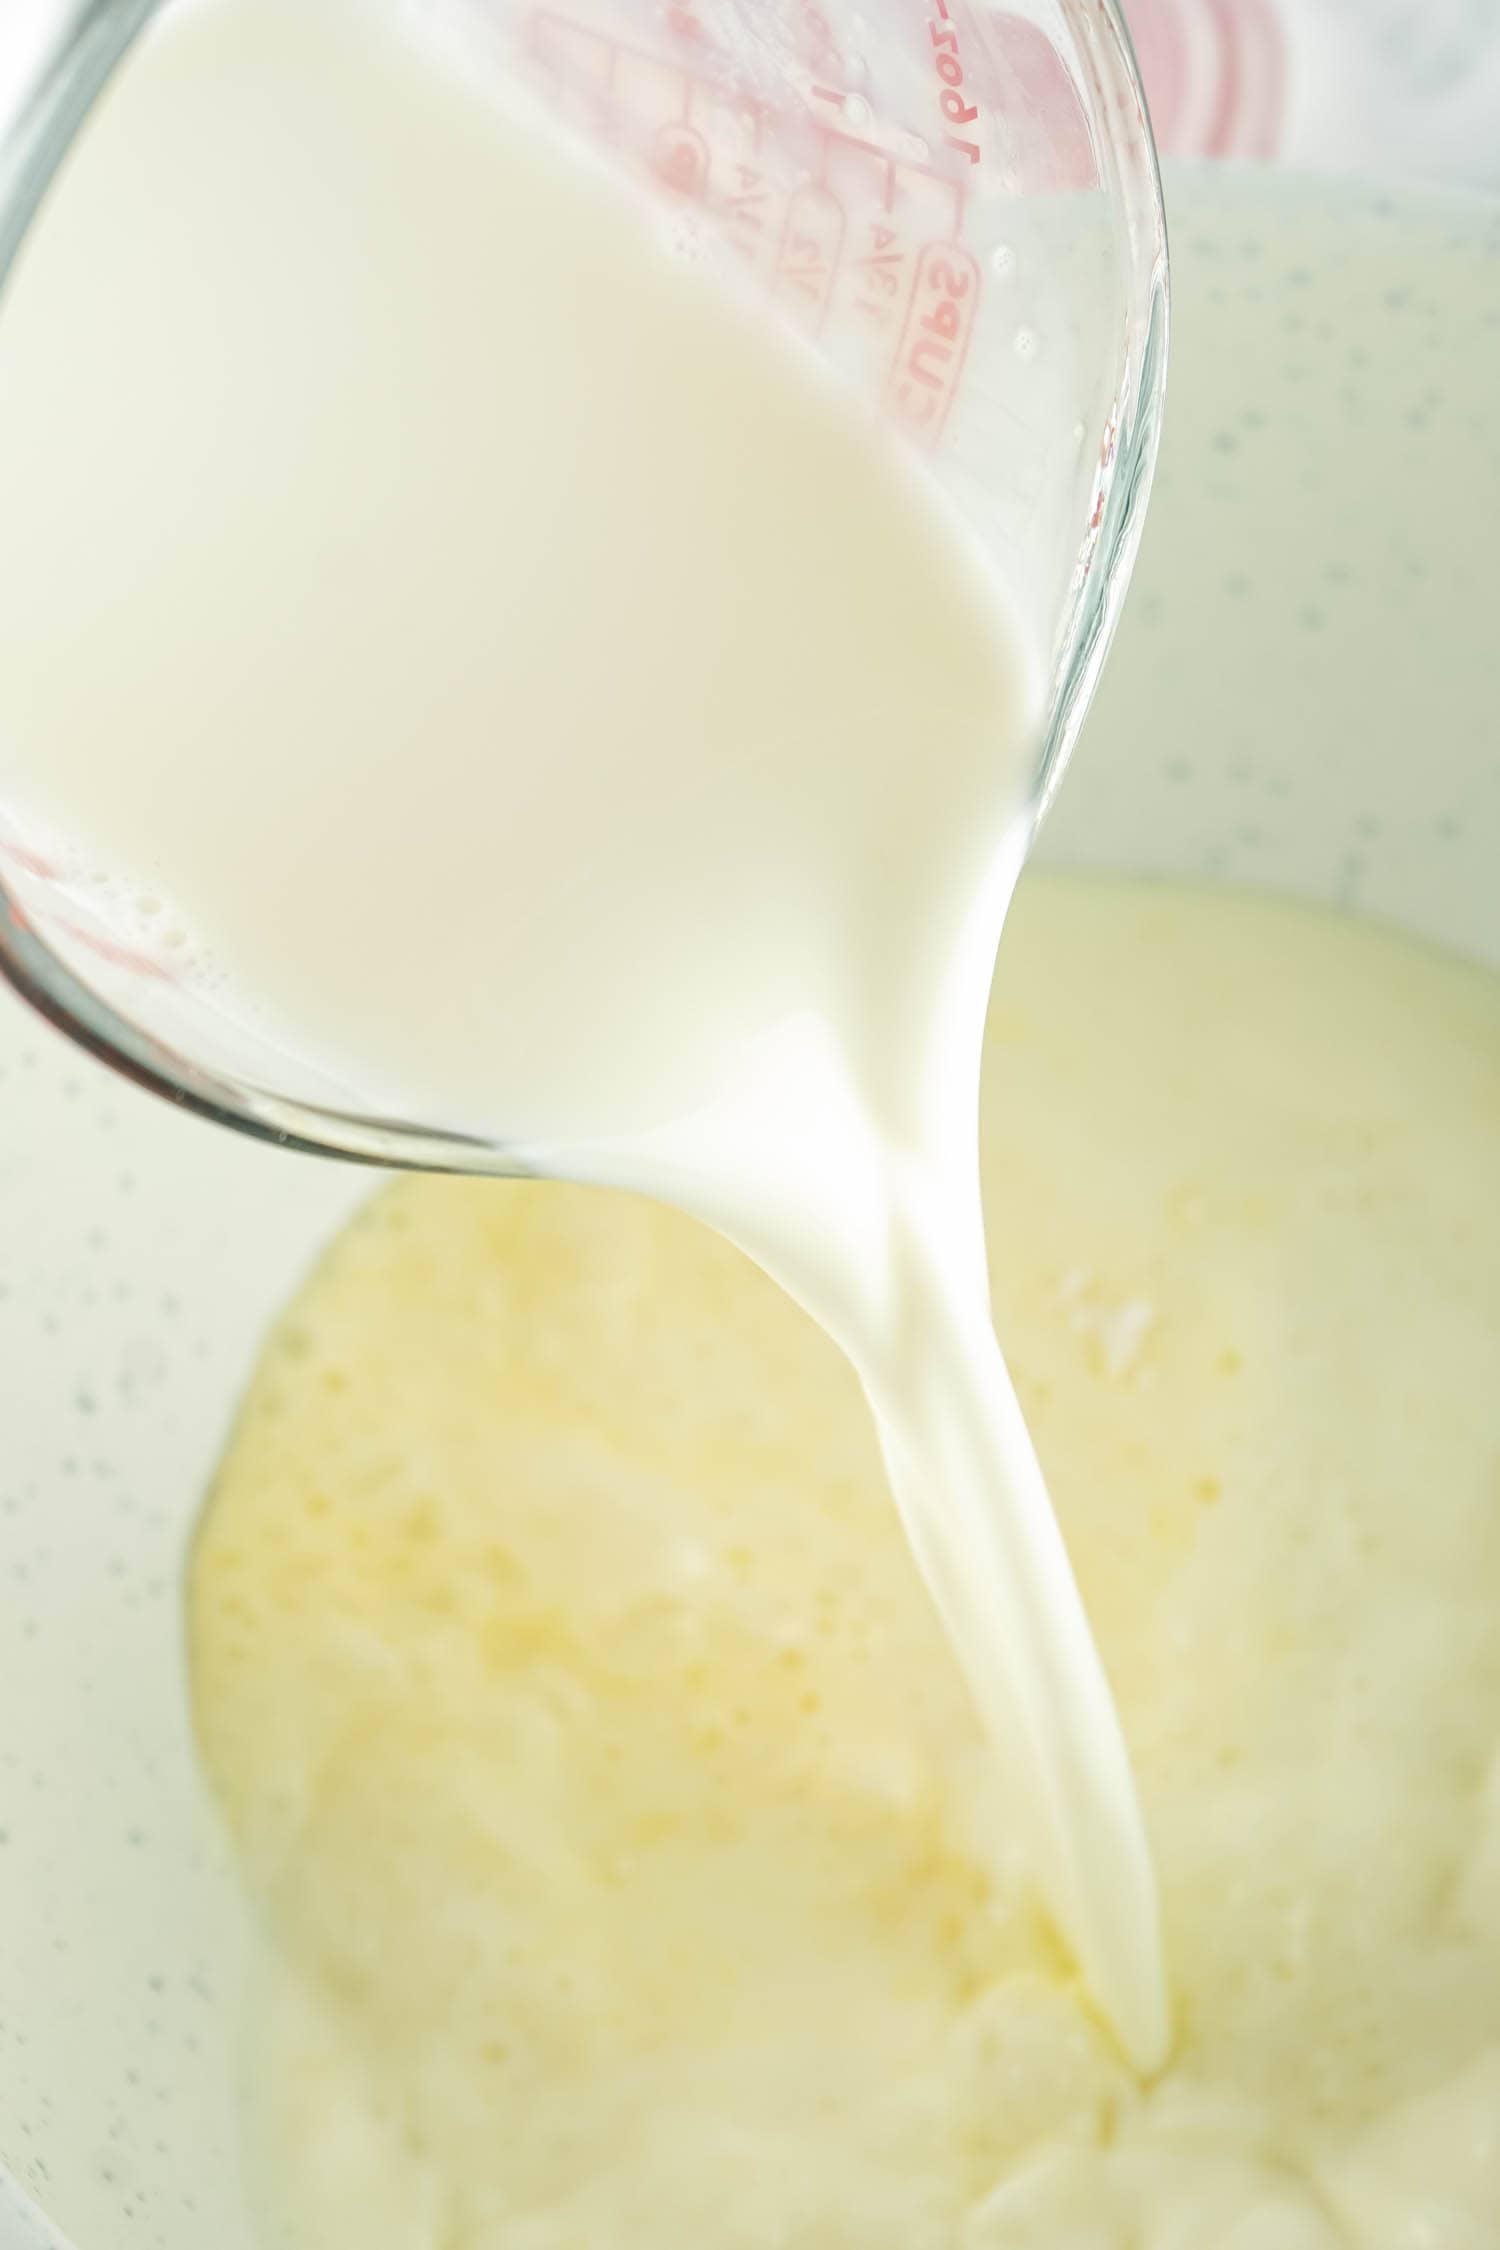
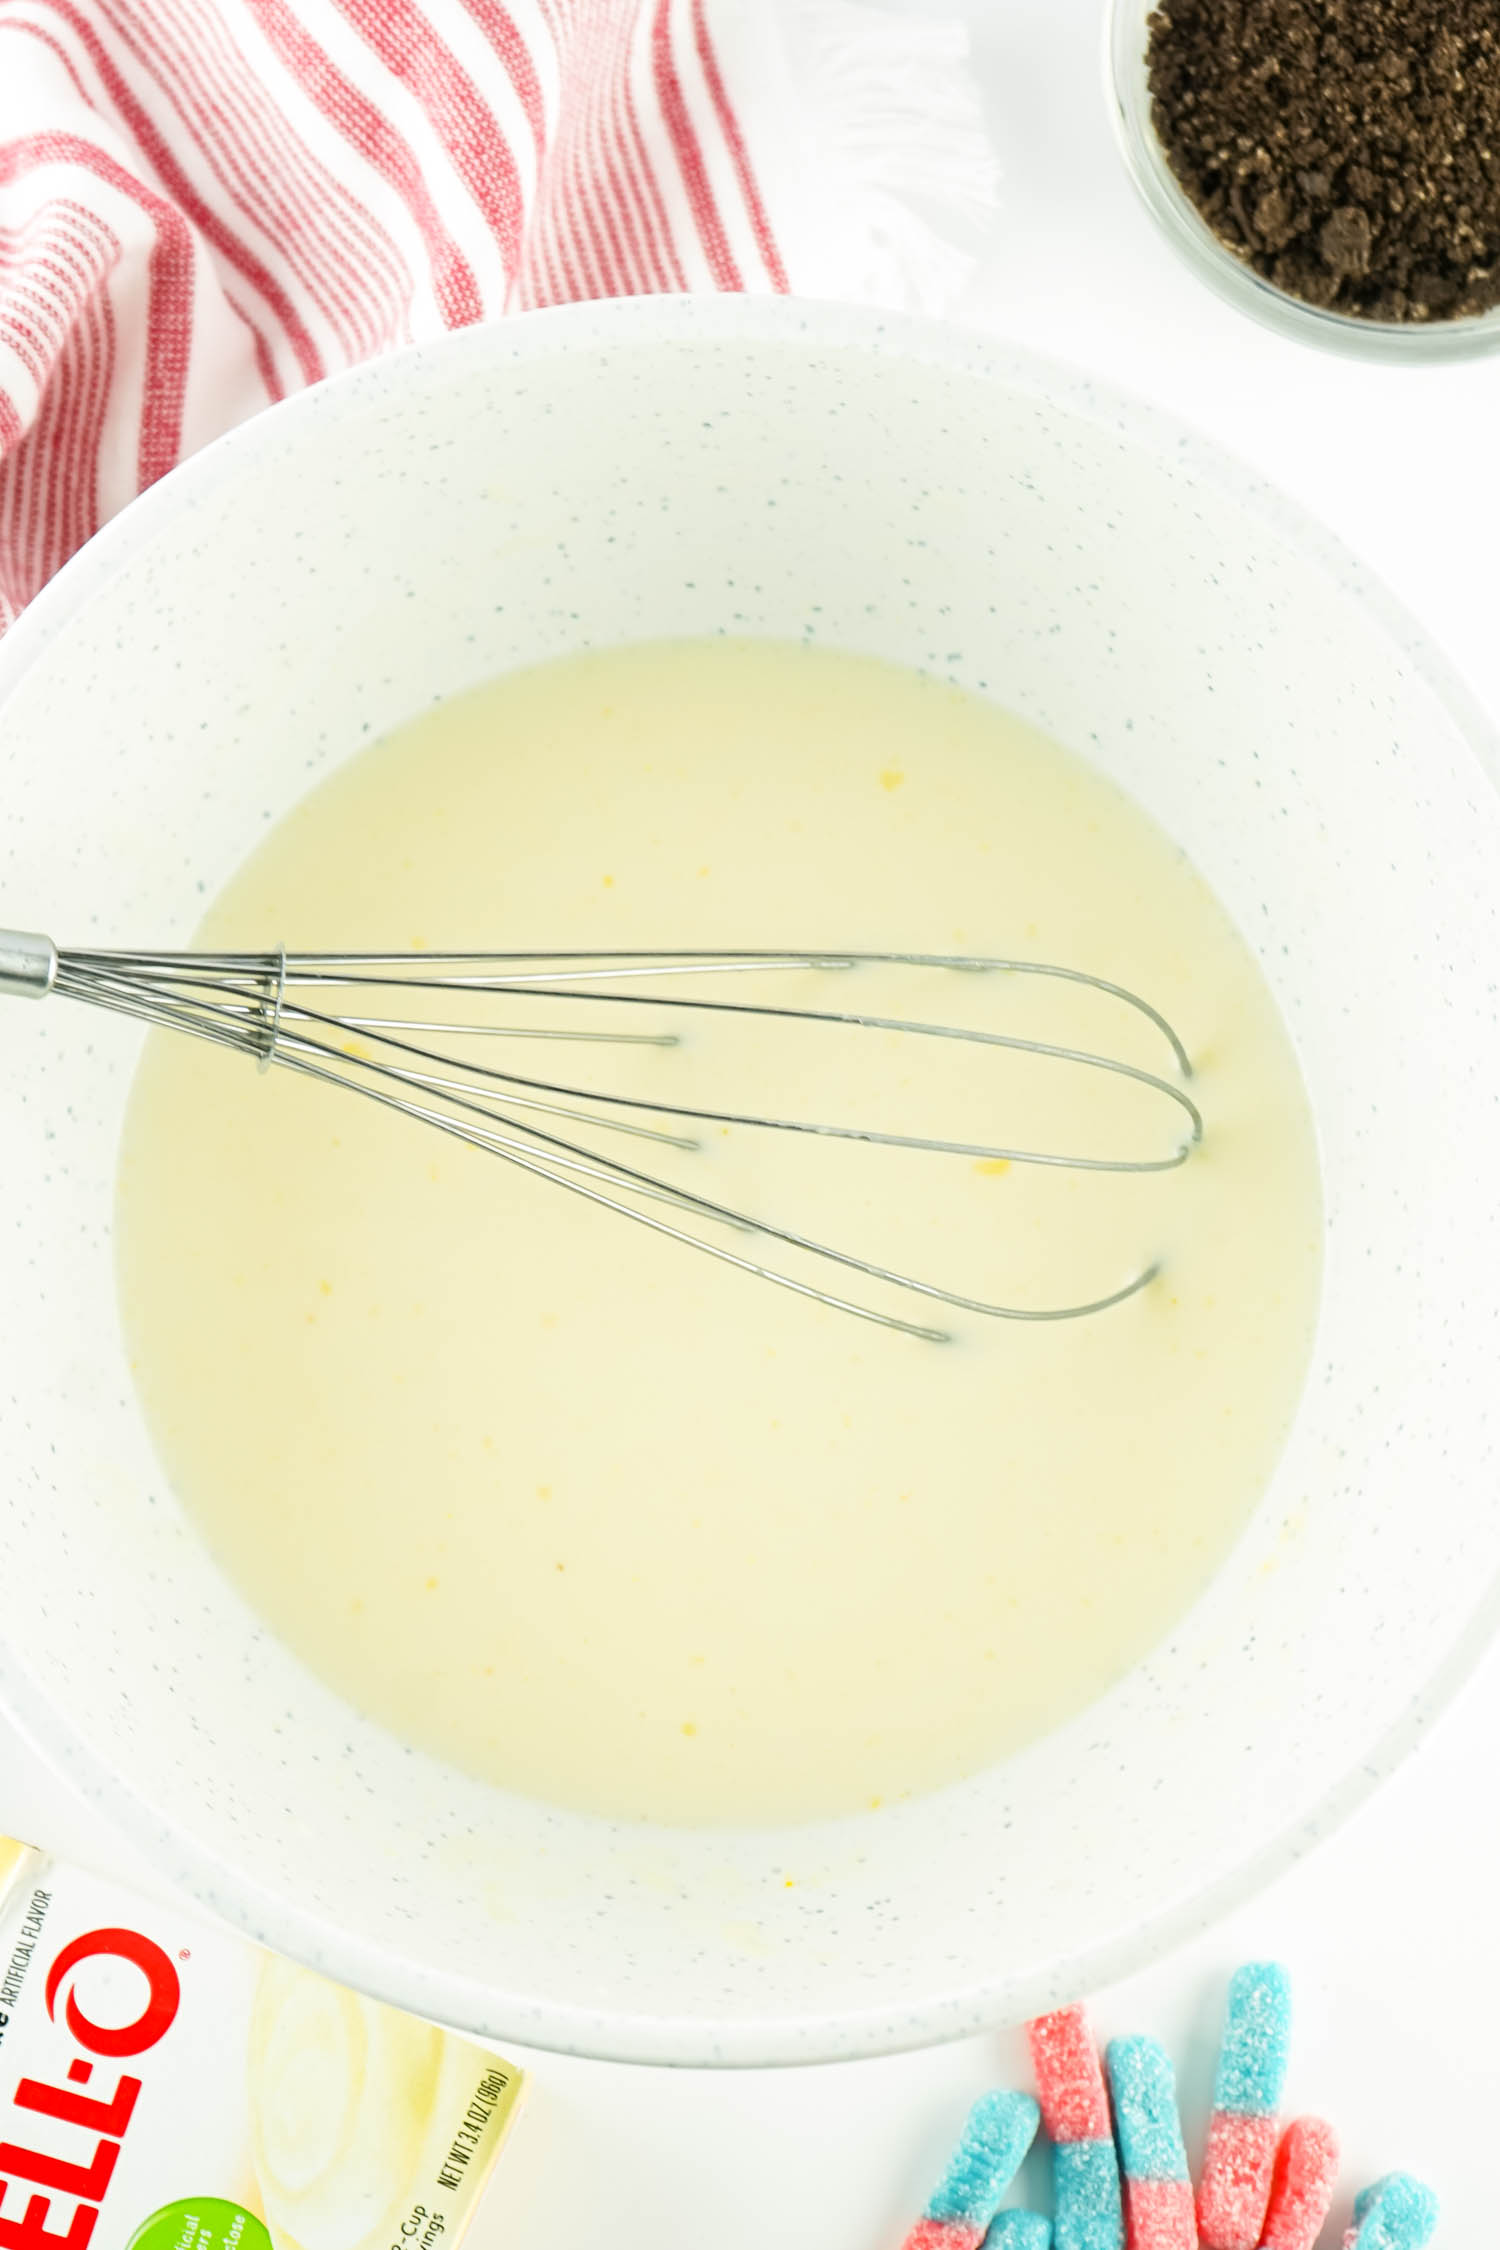
- Pour the boxes of pudding into a large mixing bowl and whisk in the milk. Once combined and smooth, allow to sit until it thickens.
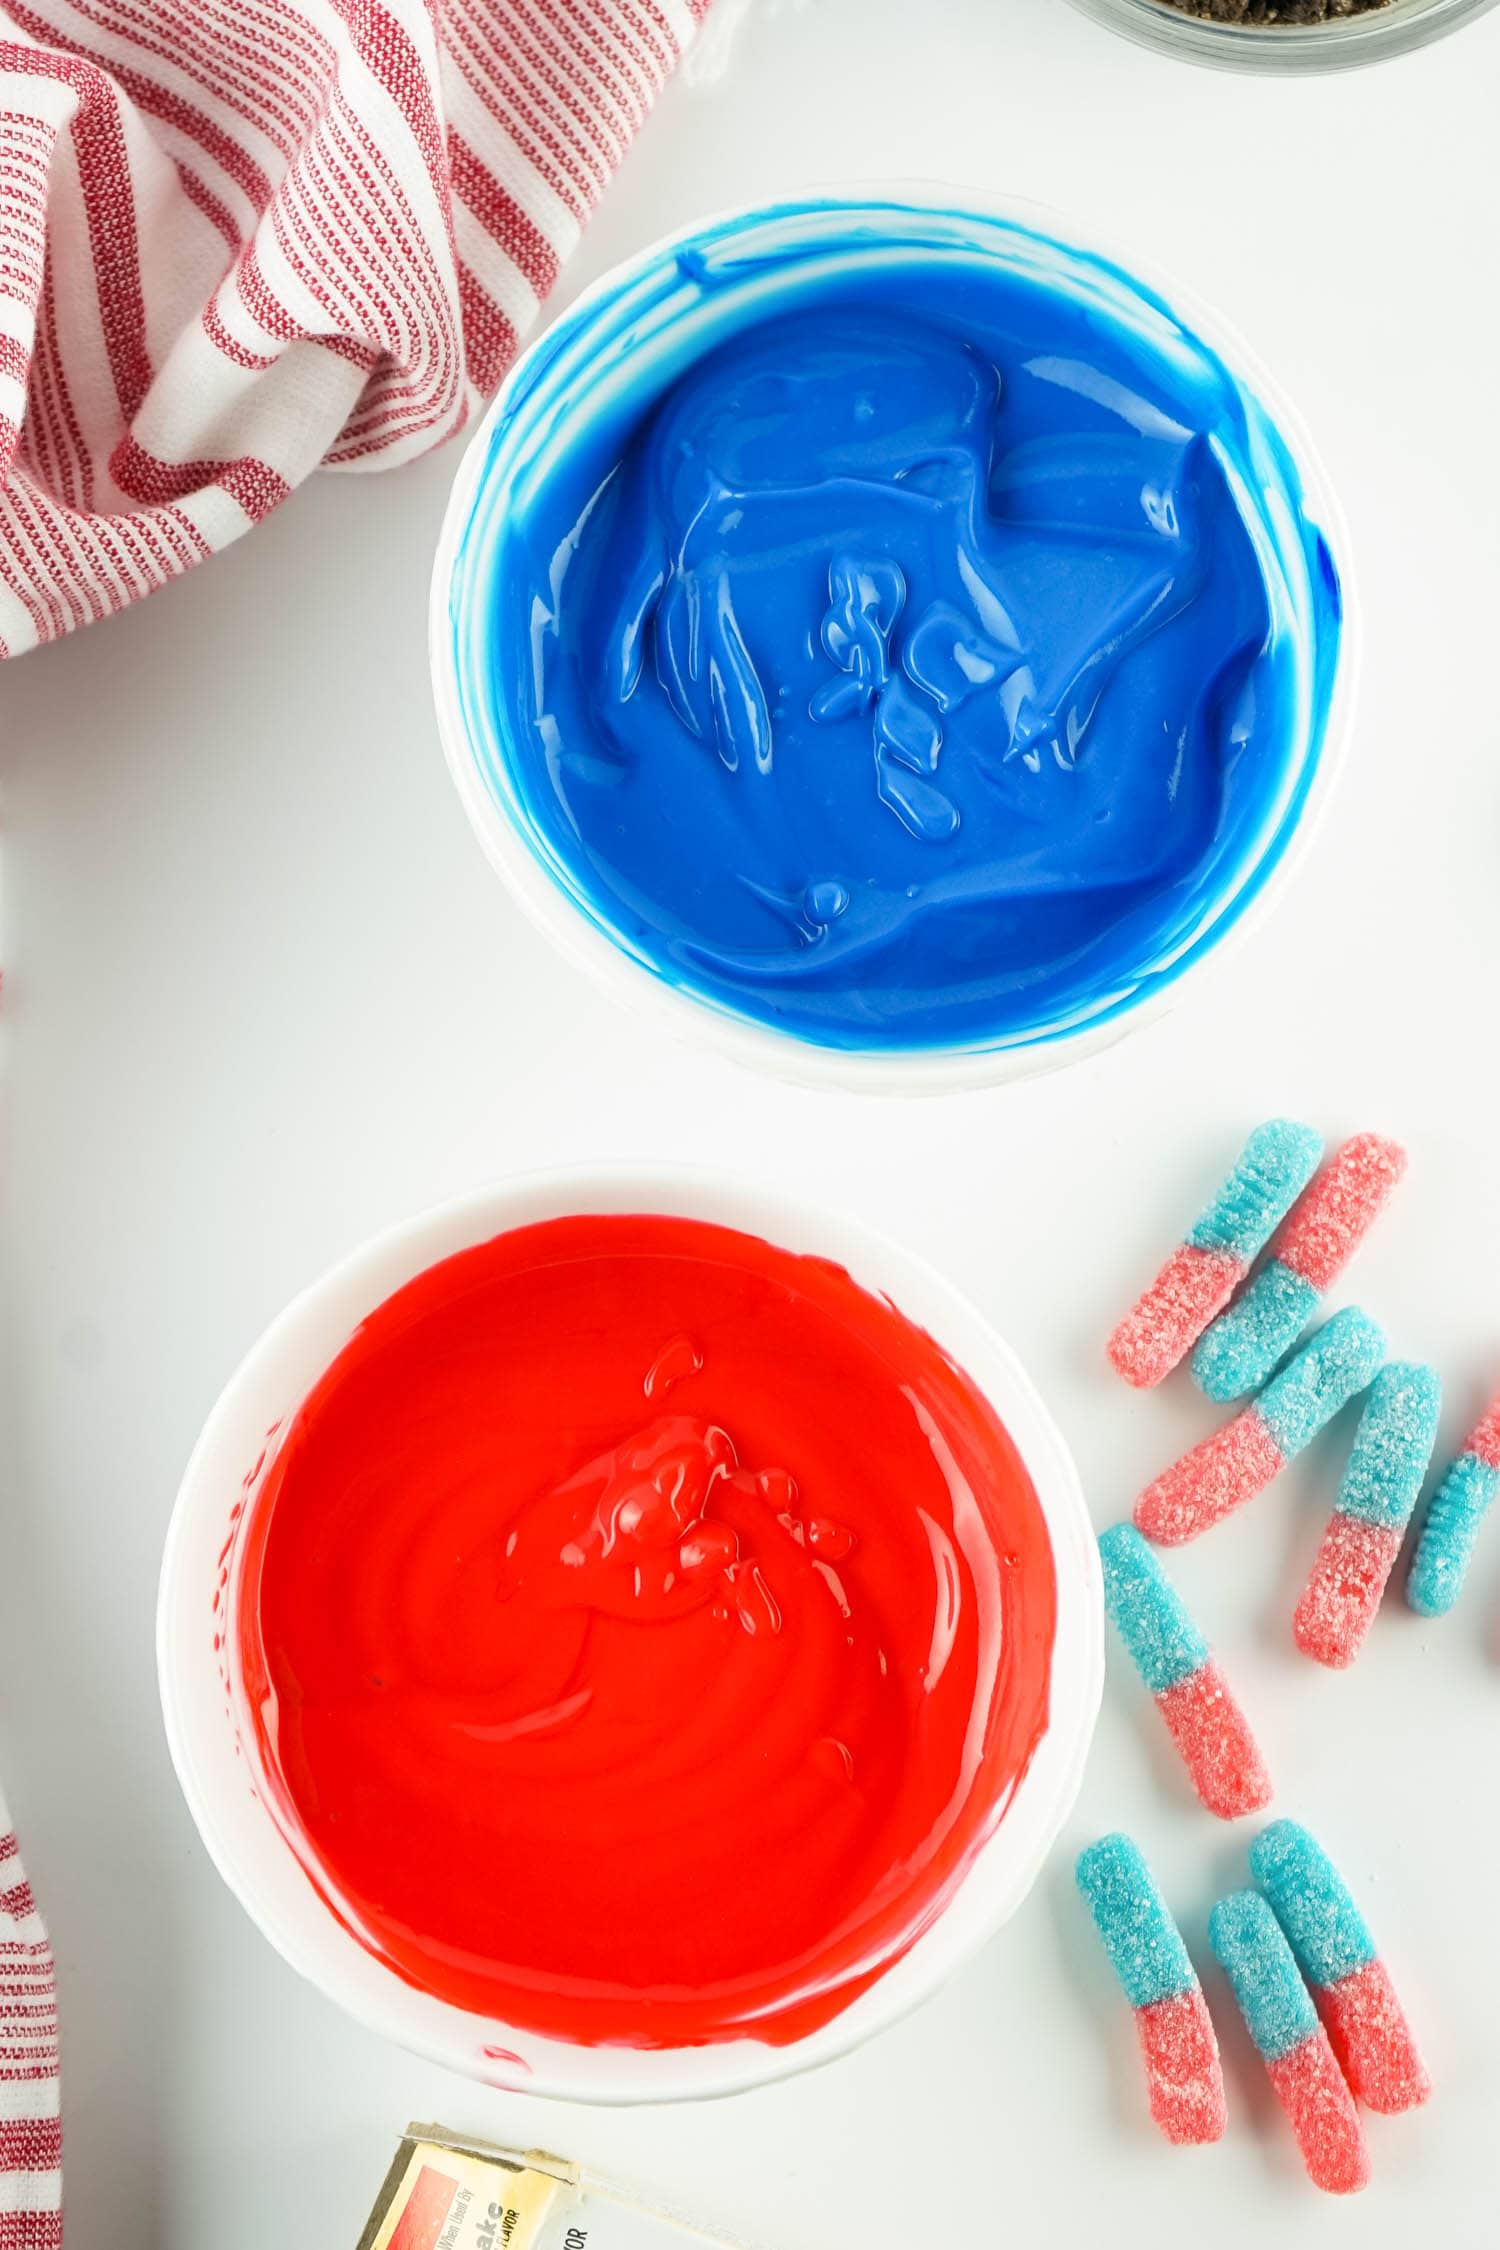
- Scoop out 1 cup of pudding and place it into a separate bowl. Scoop another 1 ½ cups of the pudding into another separate bowl.
- Add blue dye to the bowl with 1 cup of pudding, and red dye into the bowl with 1 ½ cups pudding. Stir the dye in until thoroughly combined.
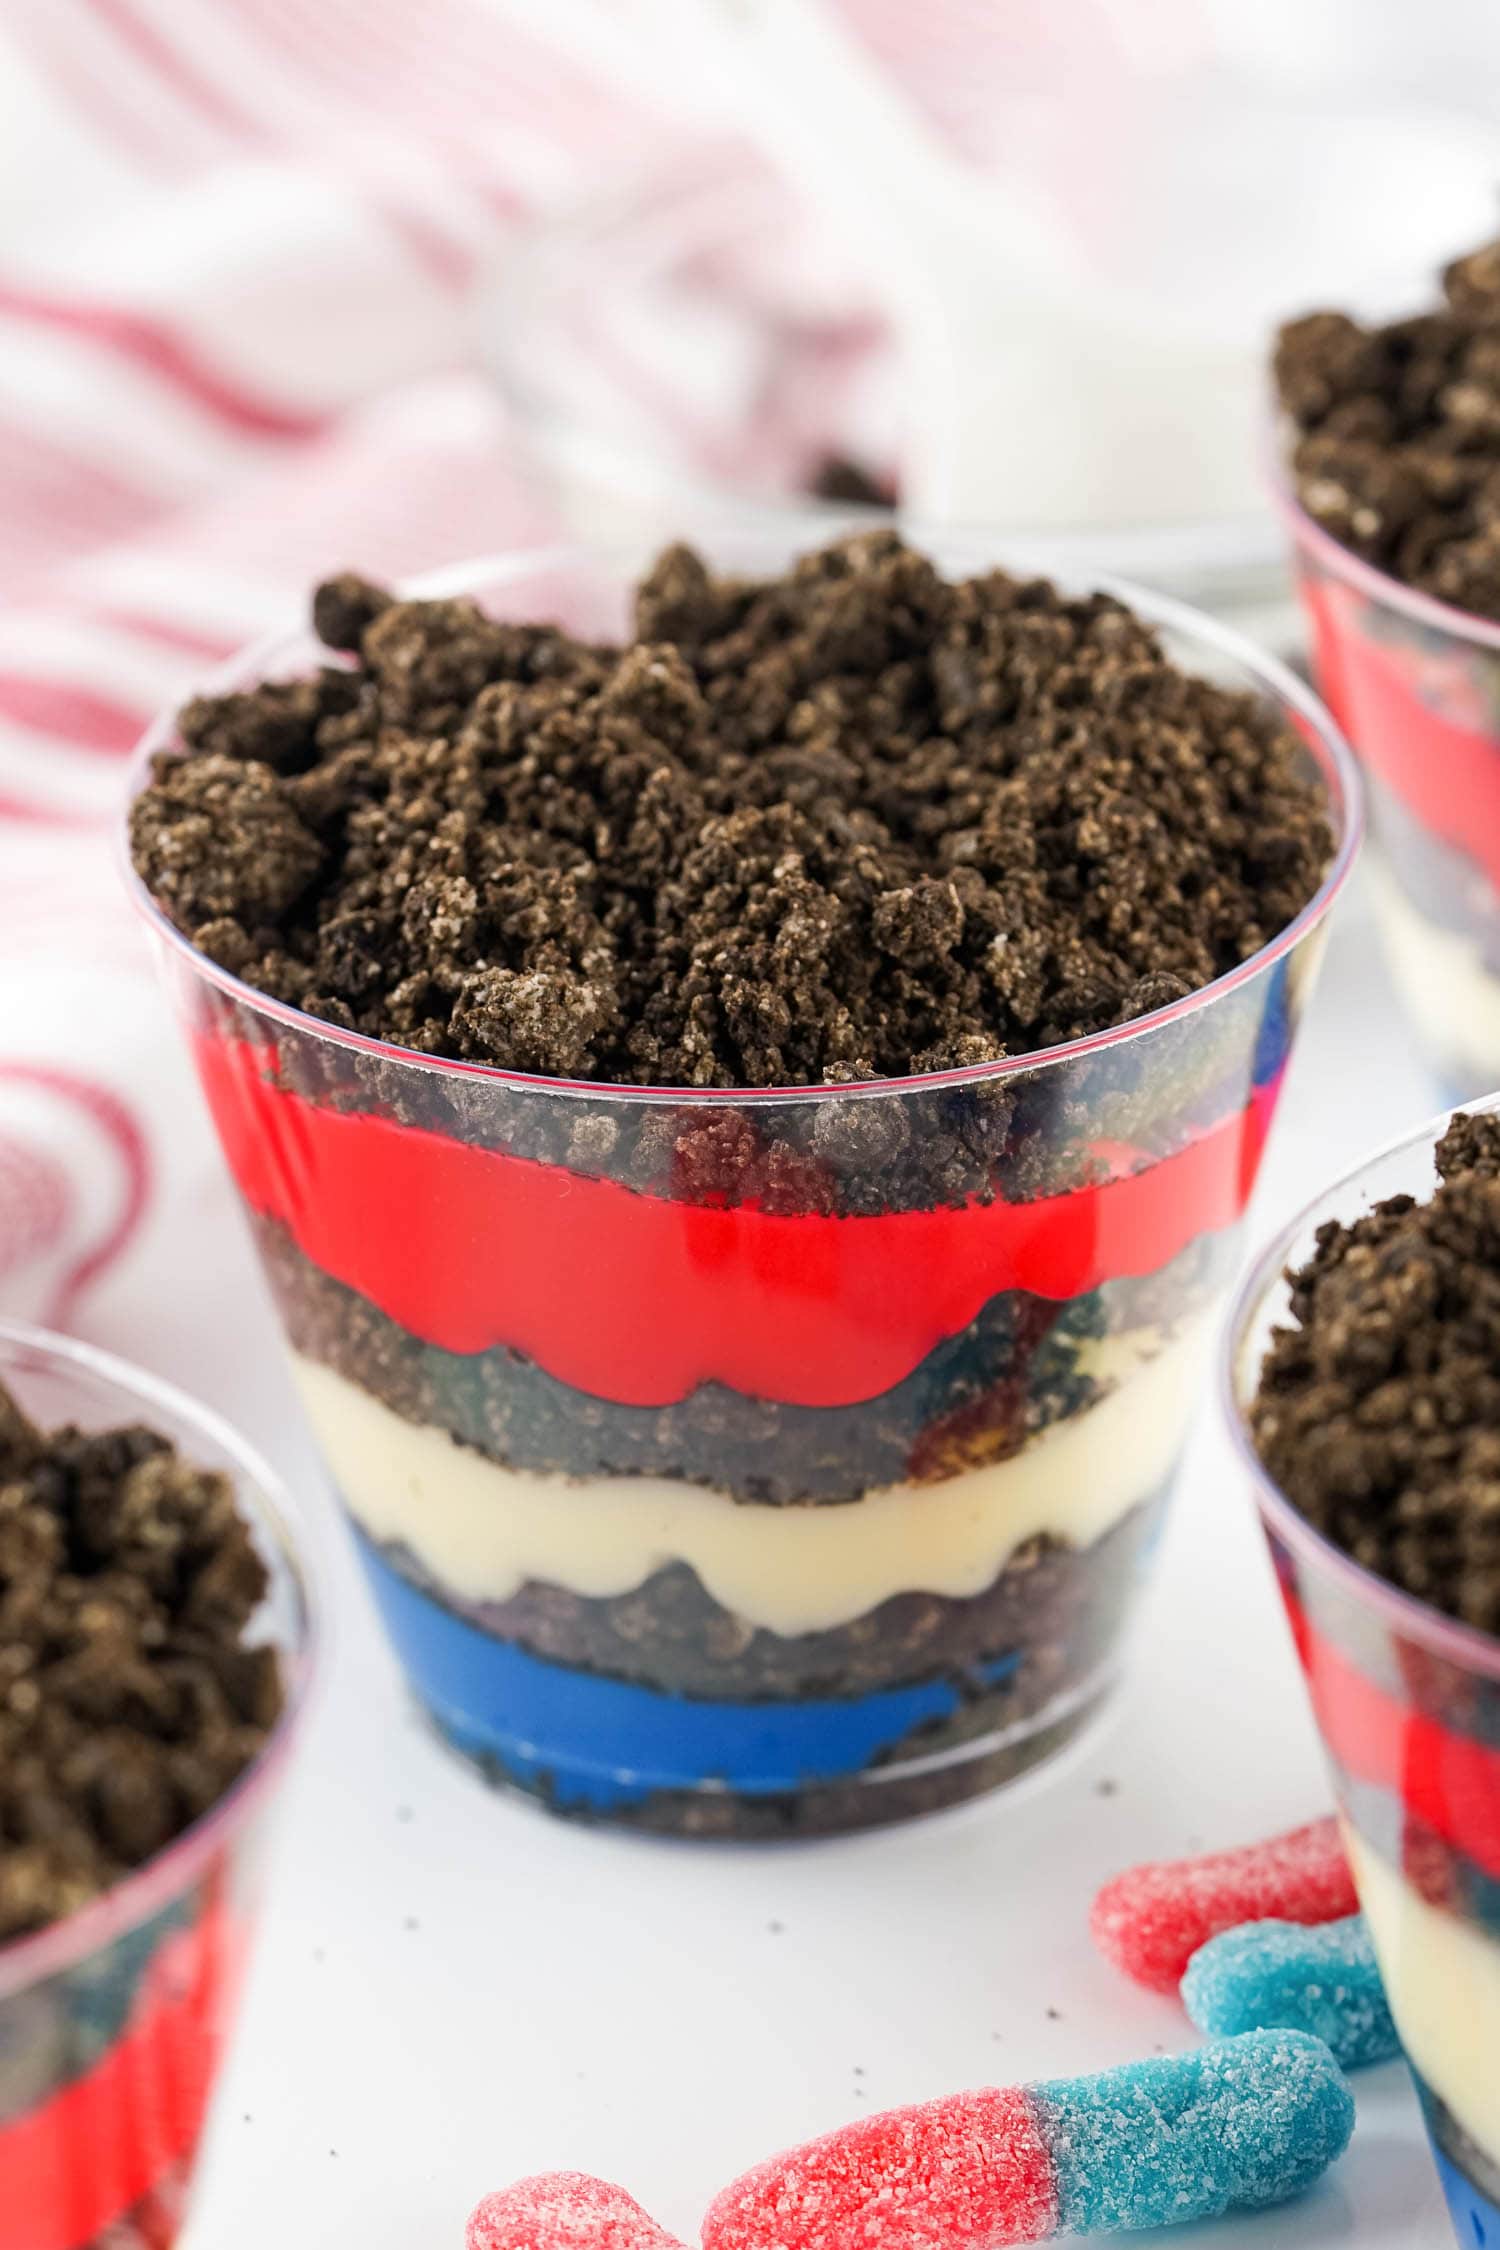
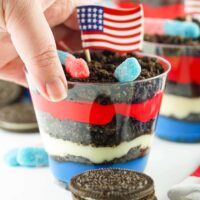
- Line up your pudding cups and and place one tablespoon of Oreo dirt into the bottom of each cup. Spread it out evenly with a spoon or by shaking each cup.
- Add two tablespoons of blue pudding onto the on top of the Oreo layer, and spread it out evenly. Place another layer of Oreo, then 3 tablespoons of white pudding.
- The next layer needs to be 1 ½ tablespoons of Oreo dirt, and then place four tablespoons of red pudding on top.
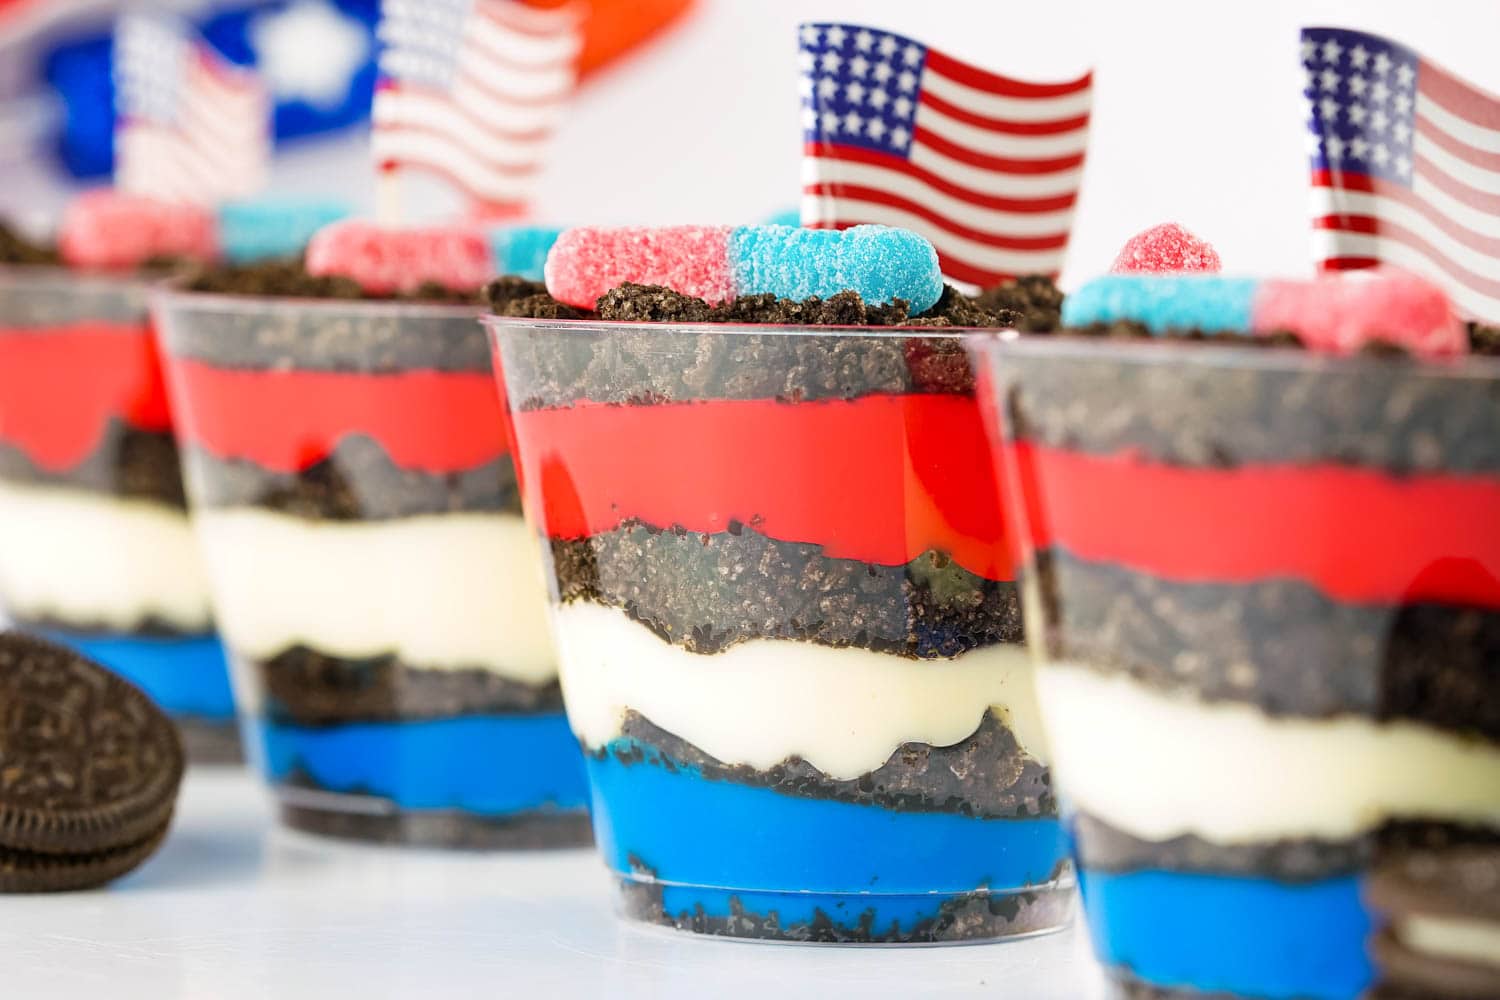
- Top each of your 4th of July dessert cups with a final layer of crushed Oreos and then place a few gummy worms and one flag into each cup as the finishing touch!


How to Store Leftover 4th of July Dirt Cups
Cover each leftover dirt cup with plastic wrap and store in the refrigerator for up to 4 days. However, it is important to note that the longer these red white and blue dirt cups sit, the more the Oreo dirt will get soggy and layers will begin to bleed together. So the more fresh they are, the better!
Can I use something other than crushed Oreos for the dirt layers?
Crushed graham crackers or vanilla Oreos would look more like sand, but serve the same purpose. You could also crush up crunchy chocolate chip cookies or a brown cookie like chocolate teddy grahams.
Can I use other candy in my 4th of July dirt cups?
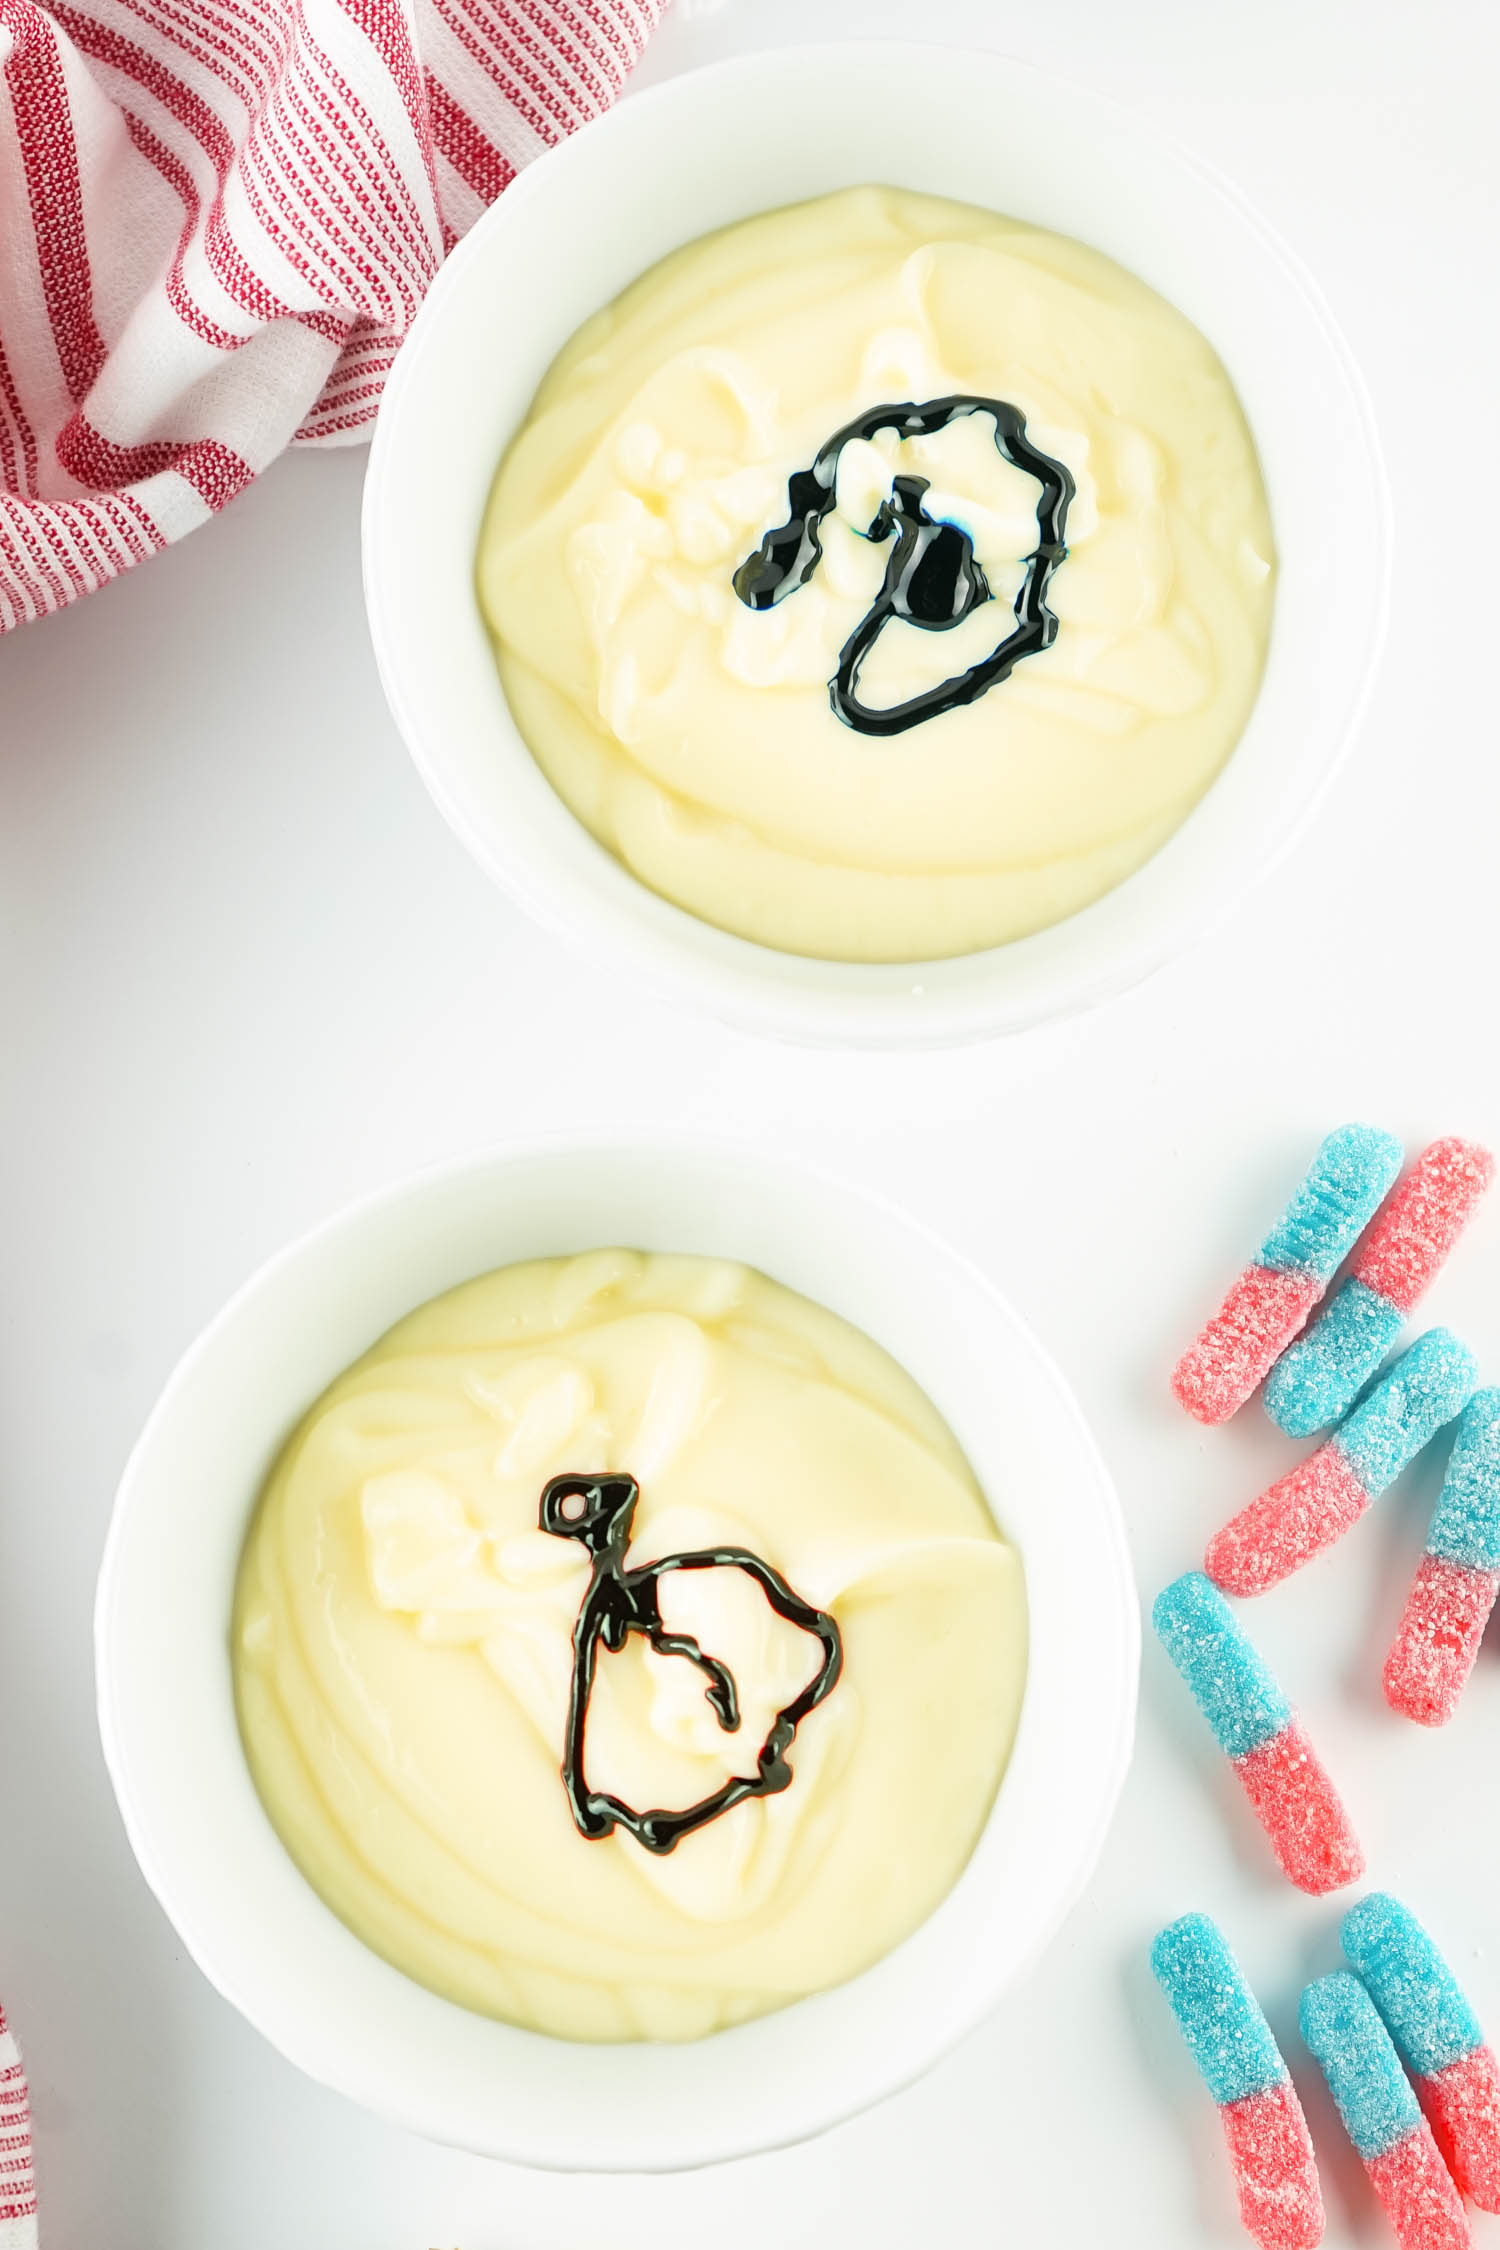
Worms are the funniest since it’ll mimic worms in real dirt! But you can use any candy you want. If you like the sour element, sour patch kids or sour gummy bears are a great option. You can also add some more tasty chocolate elements by sprinkling chocolate chips between layers or even drizzling some chocolate syrup onto the top of each dirt cup.
Sometimes you can find candy bugs if you look at the right stores. Those would be so fun to add in!
Pro Tips!
- Don’t let these 4th of July dessert cups sit out in the heat! Keep them chilled until ready to serve.
- Add whatever candy and fun hidden treats that you want. Use your imagination and have fun!
- Carefully place each layer into the cups so that they don’t mix together. Try not to stir, just pour it in and spread it out with the silicone spatula.
We love this 4th of July dirt cup recipe so much! Patriotic, tasty, and a blast to make. And don’t forget to add in a fun craft like 4th of July Handprint Art.
More 4th Of July Recipes You’ll Love
- 4th of July Cookies with M&M’s are super easy to make and a really great shareable treat.
- Got extra strawberries? Make some Red White and Blue Strawberries!
- Brownies made patriotic? Count me in! These Patriotic Brownies are incredibly easy and perfectly chocolatey.
- Red White and Blue Bark is one of the easiest desserts you could make for the fourth of July.
4th of July Dirt Cups
Ingredients
- 2 boxes cheesecake pudding 3.4 ounces each
- 4 cups milk
- 19 Oreo cookies crushed
- ¼ teaspoon red gel food dye
- ¼ teaspoon Blue gel food dye
- 8 red and blue gummy worms
Instructions
- To crush the Oreo cookies put them in a Ziploc bag and crush them with a rolling pin or use a food processor to chop them.
- To make the pudding pour both boxes of pudding mix in a large mixing bowl and add the milk. Whisk until the pudding is smooth. Let it thicken.
- Place 1 cup of the pudding in a separate bowl and 1 ½ cups of the pudding in yet another bowl.
- Add the blue dye to the bowl with only 1 cup pudding and stir until no color streaks appear.
- Add the red dye to the bowl with 1 ½ cups pudding in it and stir until no color streaks appear.
Line up your cups and place 1 tablespoon crushed oreos in the bottom. Spread evenly. - Place 2 Tablespoons of the blue pudding on top, and gently spread even.
- Add another tablespoon of crushed oreo and spread even again.
- Add 3 tablespoons white pudding as the next layer and spread evenly.
- Add 1 ½ tablespoons as the next layer. Spread evenly.
- Add 4 tablespoons of the red pudding as the next layer.
- For the last and final layer, add 2 tablespoons of crushed Oreo. Top with two gummy worms and one flag per cup and enjoy!