Salt Dough Ornaments
Make these adorable Salt Dough Ornaments with our easy salt dough recipe. This classic craft is perfect for an easy Christmas craft. They make great homemade gifts and keepsakes to treasure for years to come.

Salt dough ornaments are a classic keepsake craft that every kid should make at least once during their childhood! Being able to make your own unique creation to hang on the tree can be so special for kids. It helps them feel like they’ve contributed something really significant to the holidays and always puts a huge smile on their face.
I love having them make multiple different ornaments every year. This handprint Christmas tree ornament is one of my favorites, and the classic popsicle stick reindeer ornament is a blast too! But I love that with salt dough, you can make different creations year after year. These Handprint Santa Ornaments are fun to do to see how your kids grow, too! So follow along to learn how to make salt dough ornaments that can go on your family tree for generations to come!
Why You’ll Love Salt Dough Ornaments
- Salt dough ornaments are pretty sturdy and may last much longer than ornaments that are made from paper and other materials. If you store them carefully, you can enjoy them for many many years.
- These sweet creations are the perfect keepsake for families. Looking at them each year will remind you of all of the precious holiday memories you have shared together.
- Creating the dough and painting the ornaments is a great way to exercise fine motor skills. Littles won’t even known that this is a learning activity because they’re having so much fun!
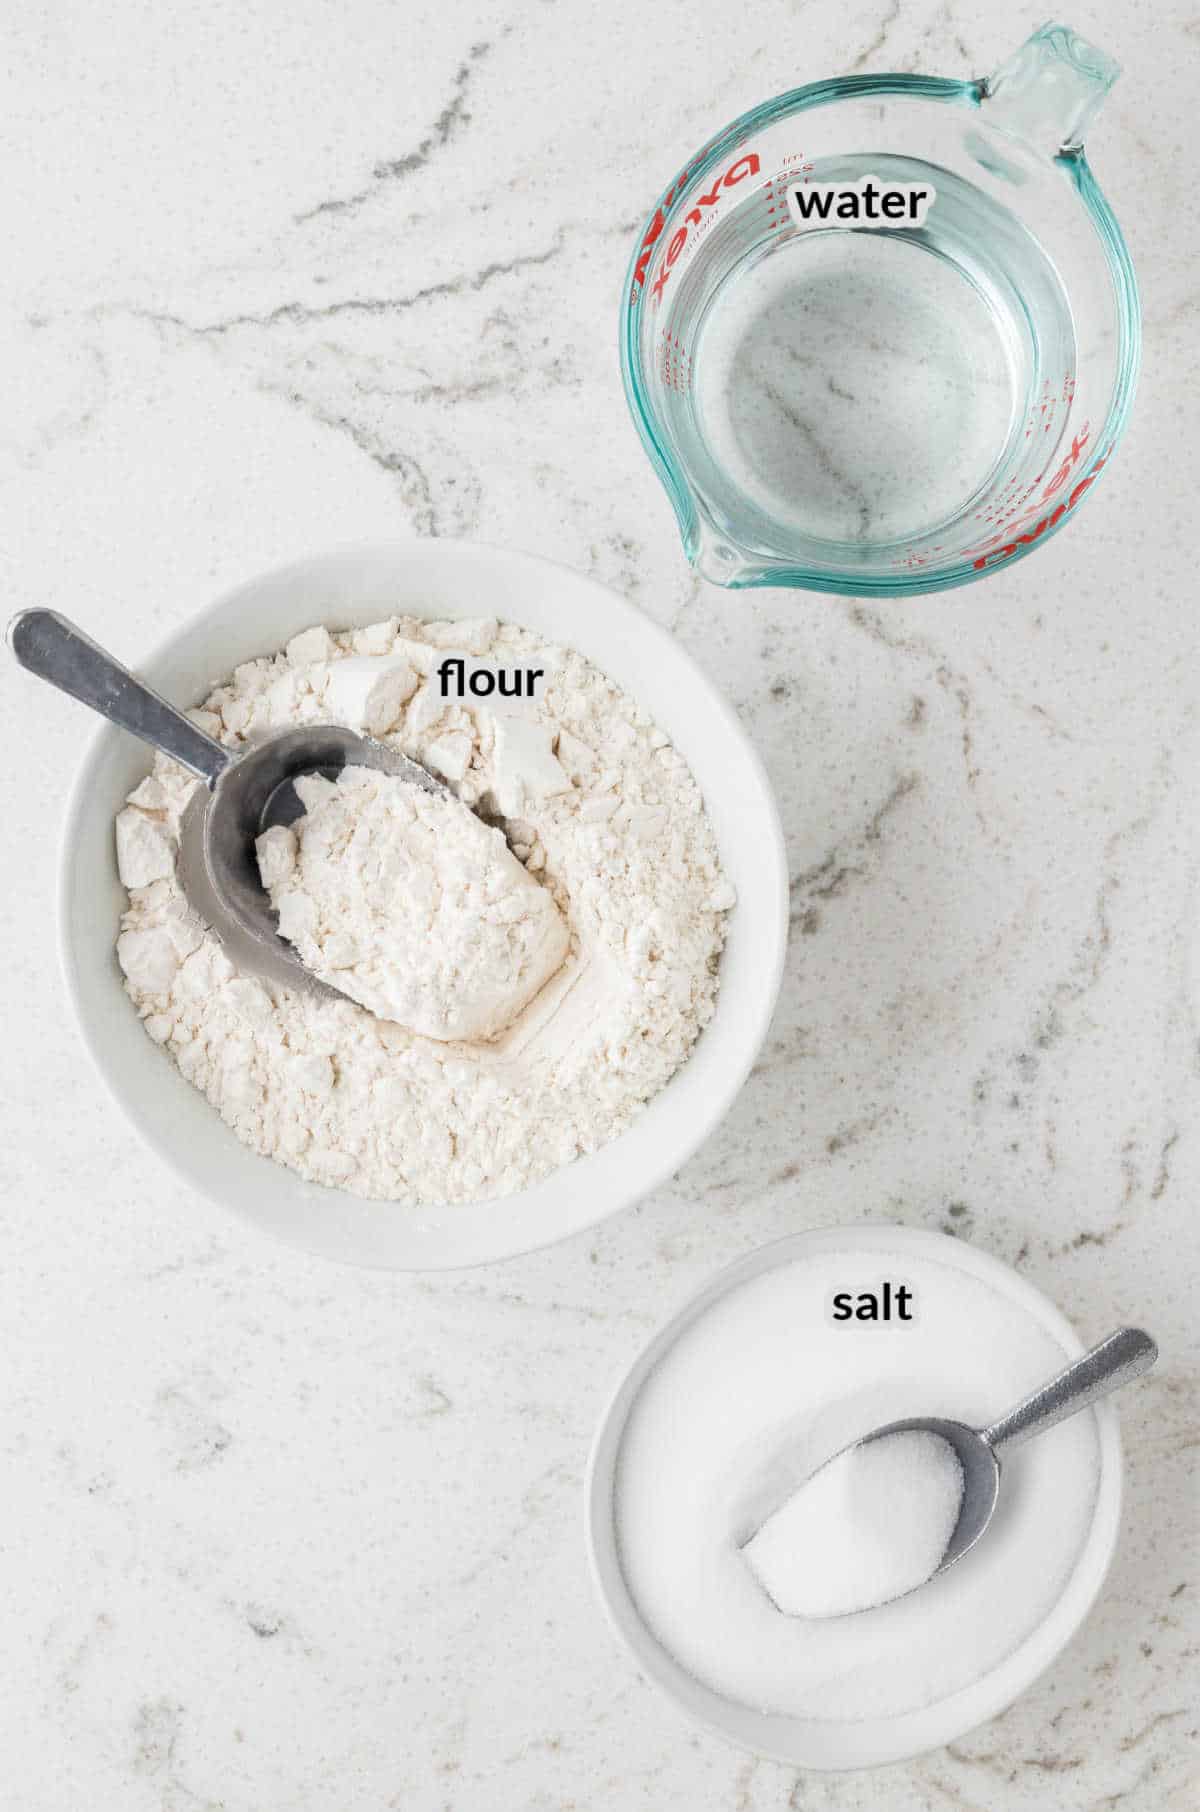
Ingredients for Salt Dough Ornaments
- Flour – I grab all purpose flour to make the mixture for these homemade salt dough ornaments.
- Salt – This is what helps hold the dough together to create all of the fun shapes that will eventually dry into decorations for your Christmas tree!
- Water – All you need to bring this together is a little water. These three simple ingredients make the perfect dough that is malleable and dries well.
Helpful Tools
- Mixing bowl
- Mixing spoon
- Cookie cutters
- Rolling pin
- Measuring cup
- Ribbon or string
- Straw
- Paint brush
- Optional: Baking sheet
How to Make Salt Dough Ornaments
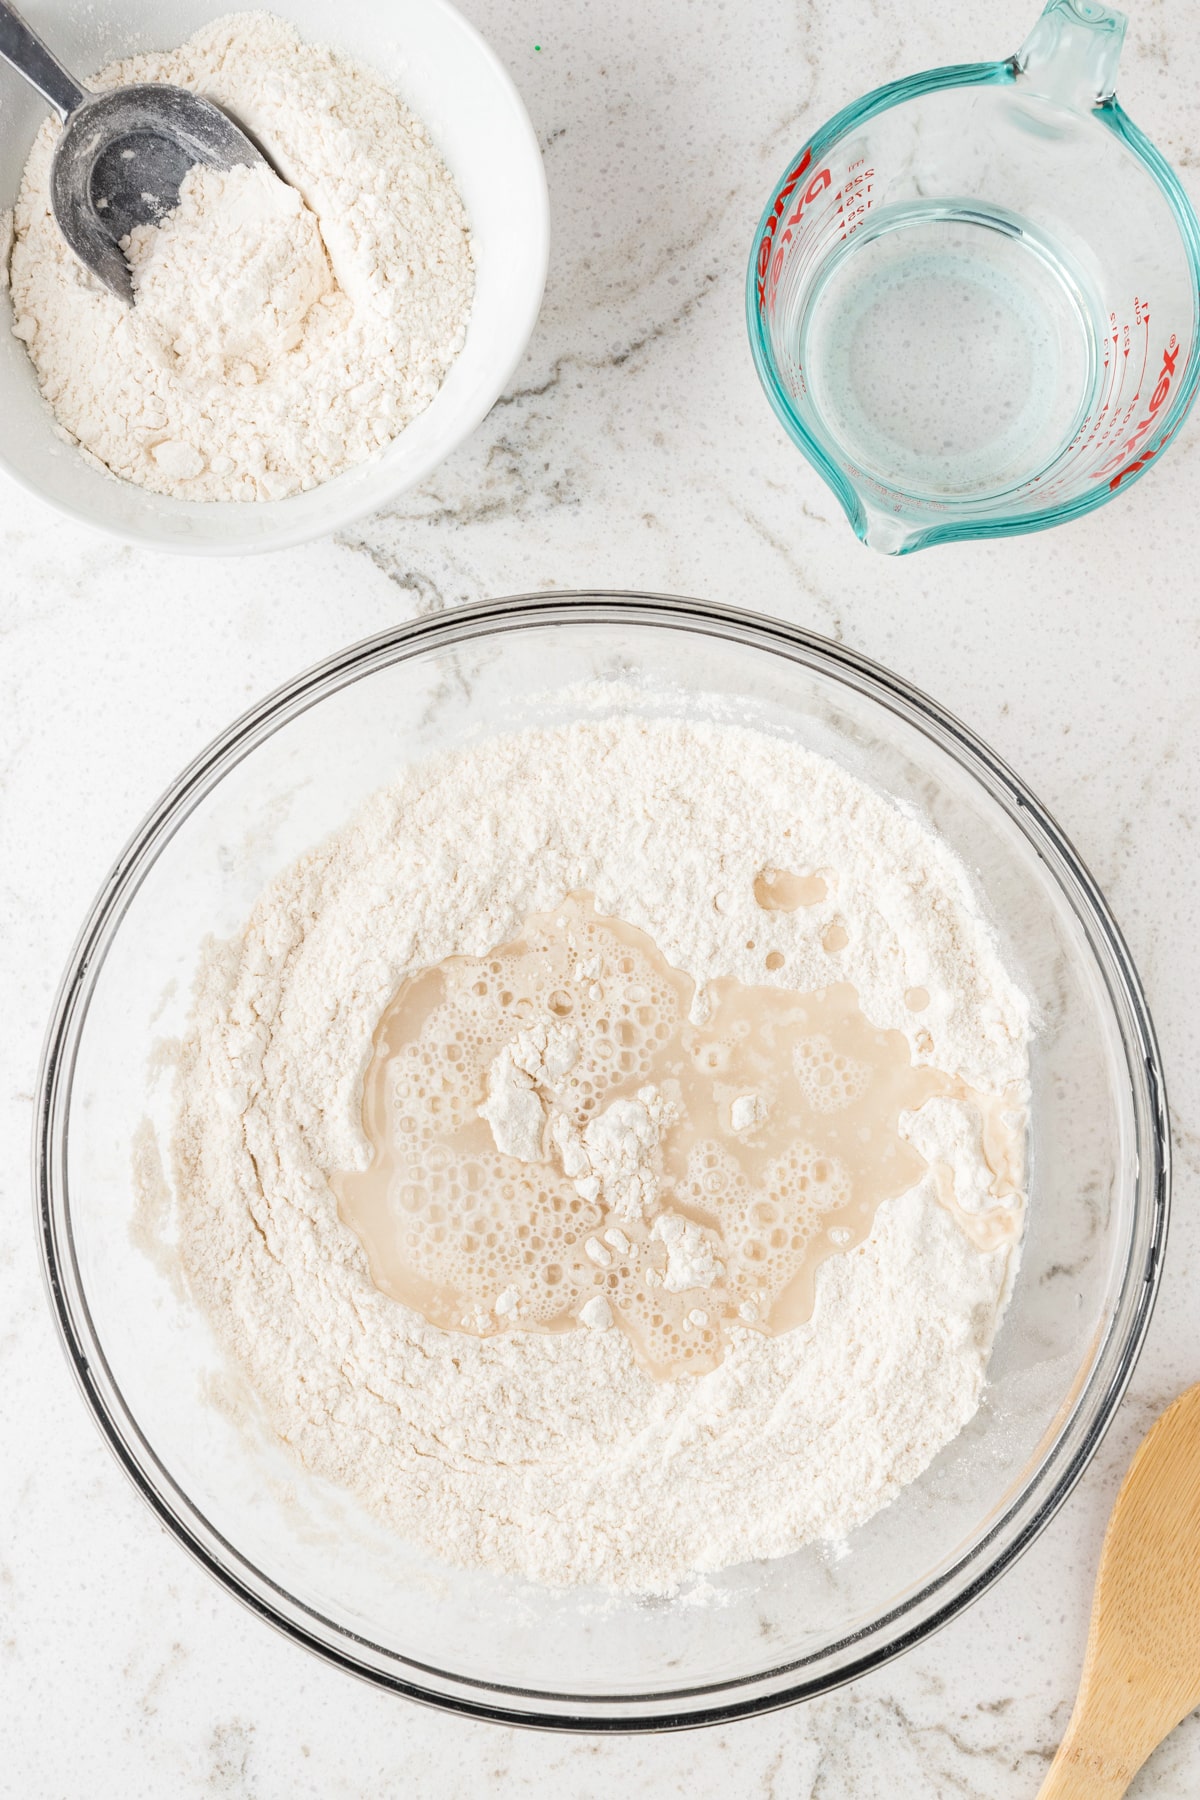
- Add the all purpose flour and salt to a large mixing bowl, then mix them together until evenly distributed.
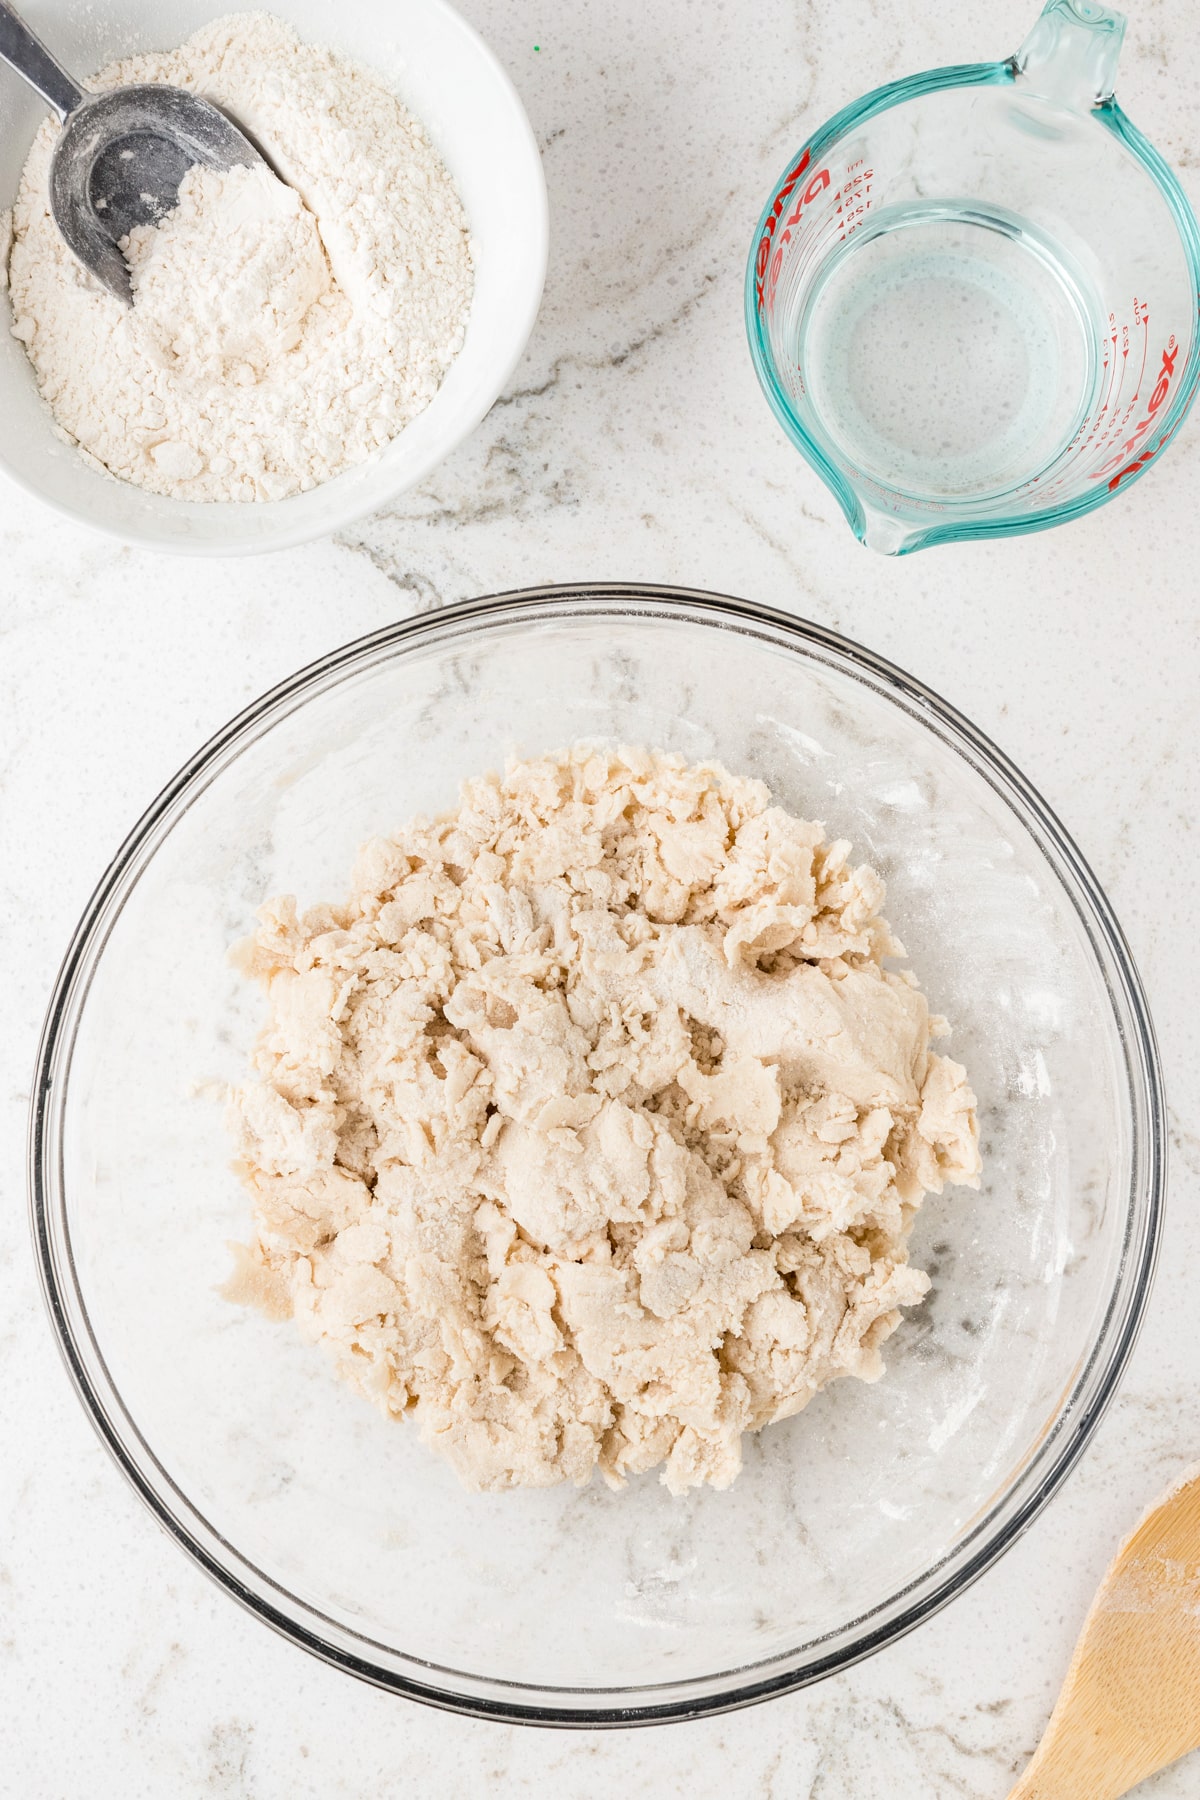
- Gradually add water to the dry ingredients, stirring continuously. Start with about ¾ cup of water, and add more if needed. You’ll want to make a dough that is smooth and pliable, not too wet.
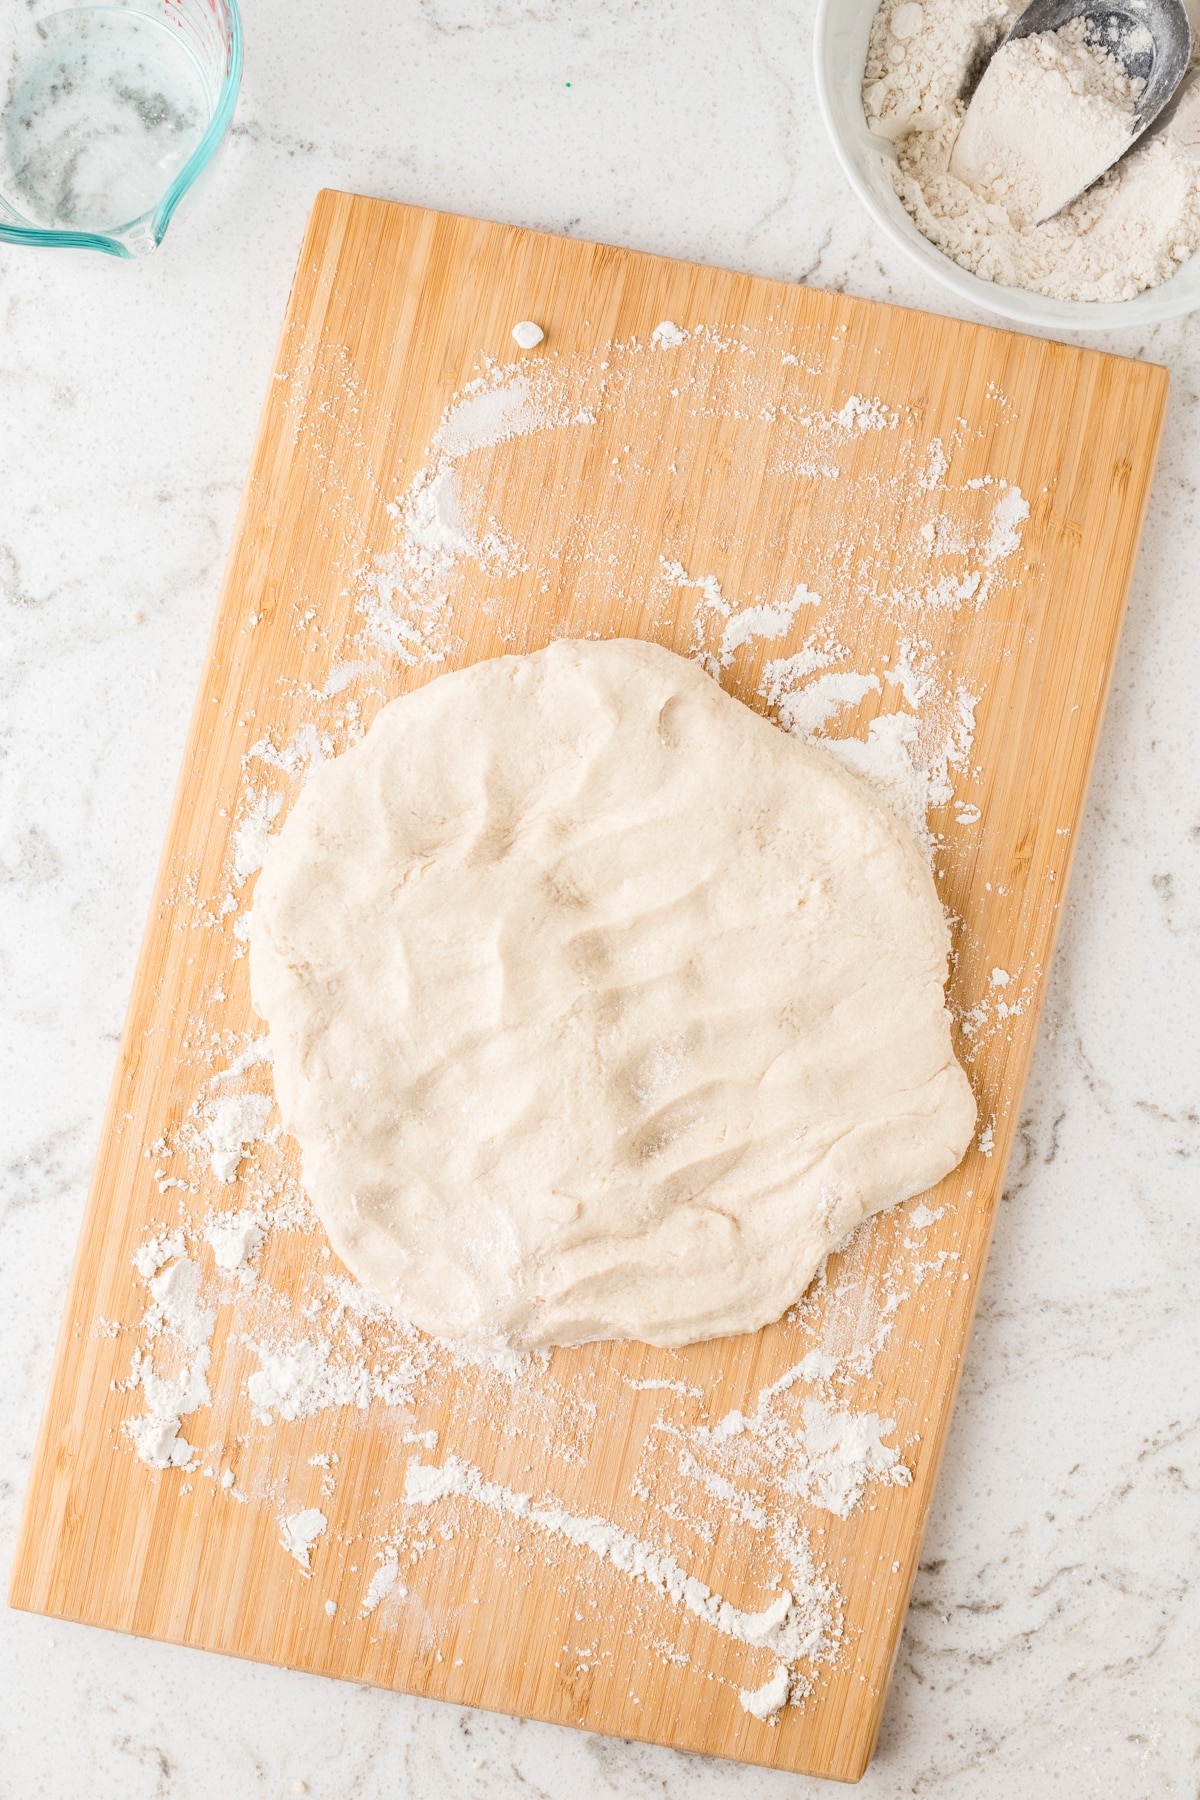
- Transfer the dough onto a lightly floured surface and knead until smooth and elastic. If it is sticky, just add a bit more flour.
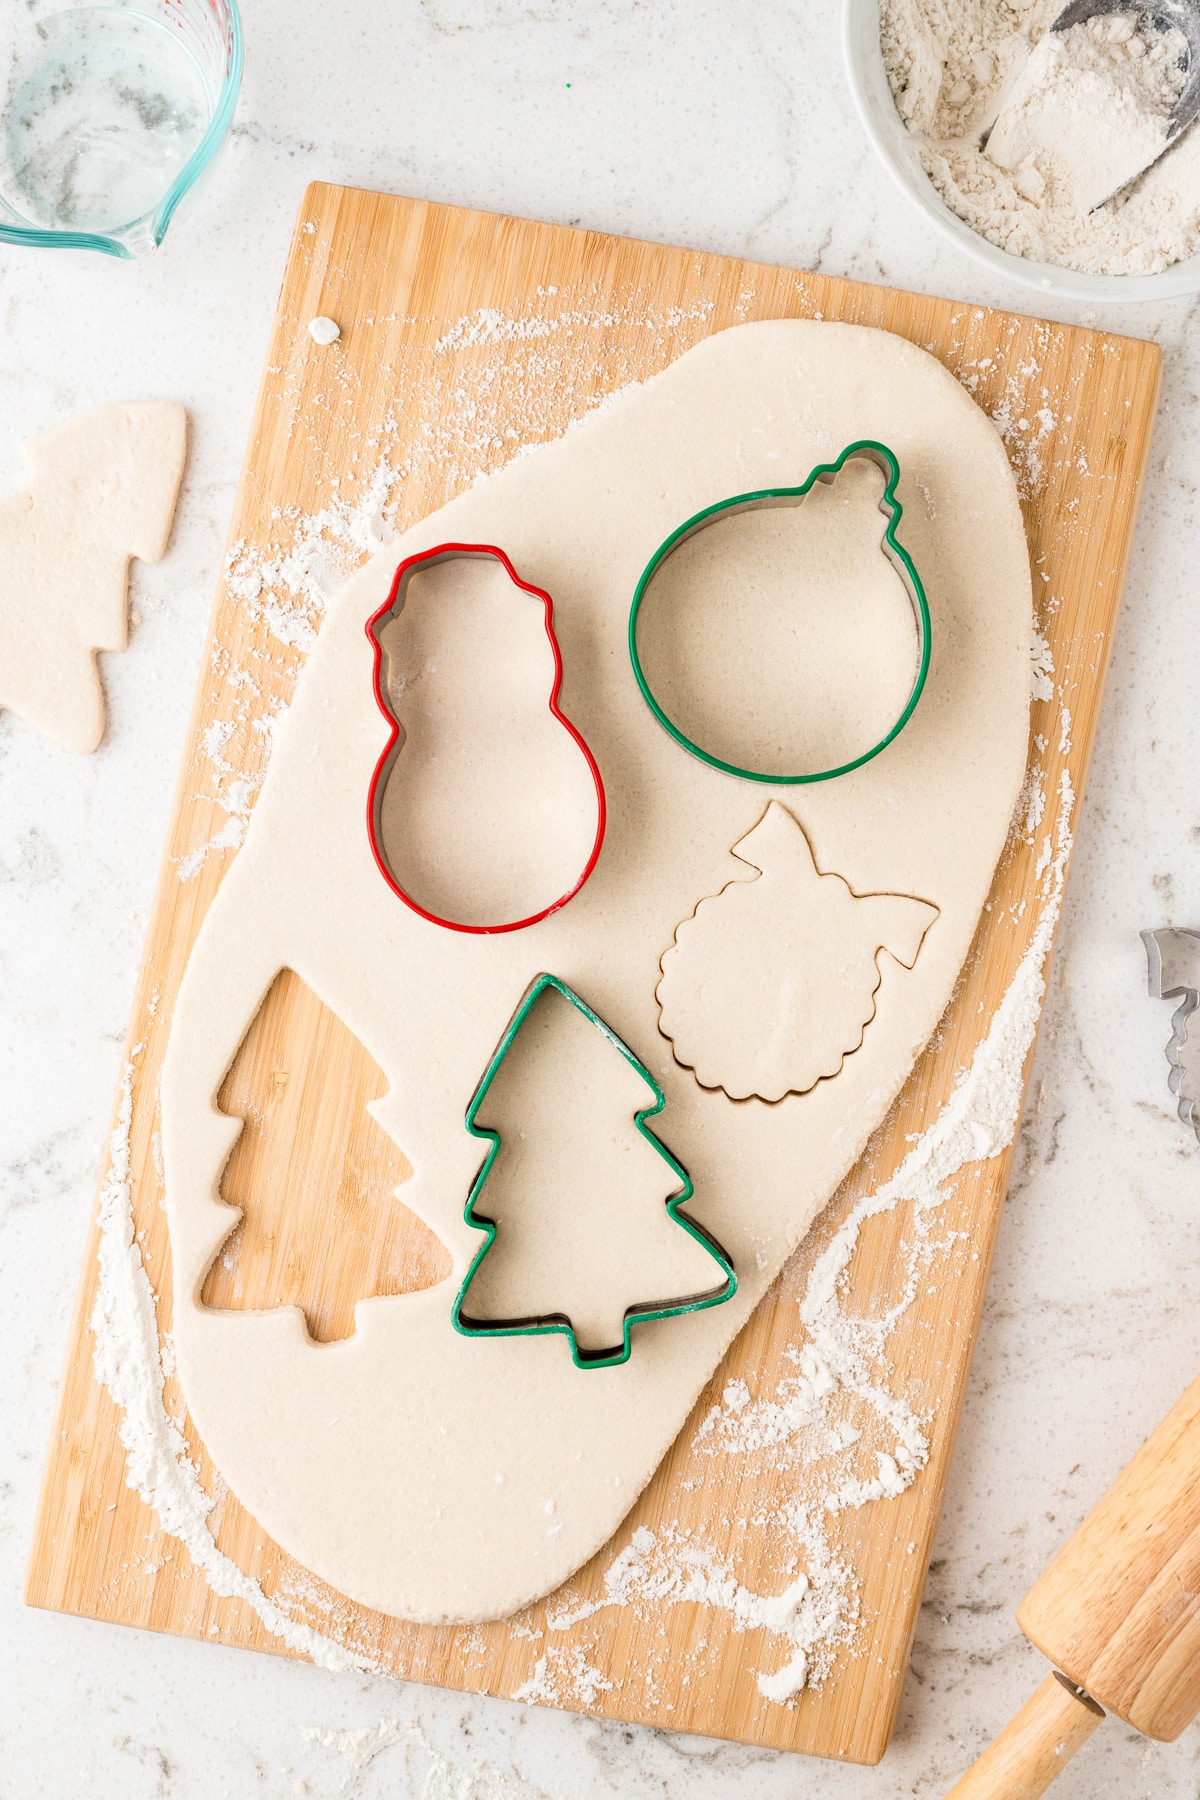
- Using a rolling pin, roll out the dough to your desired thickness. A ¼ inch thickness should work.
- Use Christmas cookie cutters, or a knife, and cut out desired shapes from the dough. You can create ornaments of any shape, handprint keepsakes, or anything else your creative muscle can come up with!
- If you are creating salt dough ornaments, use a straw and poke a hole at the top of each shape. Once dried, you’ll thread ribbon or string through that for hanging.
- Let the homemade salt dough ornaments dry for 24-48 hours, or bake in the oven at 250°F (120°C) for about 2 hours, or until dry.
- Once the shapes have completely hardened, you can paint them or decorate however you want! Feel free to seal them with a clear sealant or varnish too.
- Then they’re ready to go on your tree!


How to Store Completed Ornaments
Ensure that your easy salt dough ornaments are completely dry before storing them. If there’s any moisture left, they could mold or become deformed over time. If you need to stack your salt dough creations, place parchment paper between the layers to prevent them from sticking together or getting scratched.
What can I use to decorate my ornaments?
The possibilities are endless! Use craft paints to create colorful fun, or use glitter and glue to make something dazzling and sparkly. You can also use sharpies and permanent markers to draw more fine details onto each shape. Some people like to make handprint ornaments and then just write a name on them, you can do that too! Make whatever you want and get as creative as possible.
Is salt dough edible?
It is not recommended to eat raw flour, and the combination of salt, flour and water is not appetizing anyway! However, if your kids happen to sneak some it won’t hurt them. Except they’ll probably give you quite a funny face from the salty flavor!
Pro Tips for the Best Salt Dough Creations
- These salt dough crafts are not waterproof! So be sure to always keep them indoors or in a dry environment.
- It is very important to make sure that your creations are completely dry before painting them! They won’t dry well if you put paint over a damp ornament.
- Don’t bake the ornaments at too high of a heat or for too long of time or they could become damaged. Watch them closely if you decide to dry them via the oven.

Have fun creating memories and Christmas keepsakes that you’ll look forward to using every single year!
More DIY Christmas Ornament Ideas!
- Grab some peppermint candies and make this super cute Melted Peppermint Ornament craft!
- Cinnamon Ornaments are another Christmas classic that everyone should learn how to make.
- These Star Popsicle Stick Ornaments are great for any age and super easy to make.
- Christmas Stocking Ornaments are another really fun craft where kids can use their imaginations and make whatever they want!

Salt Dough Ornaments
Ingredients
- 2 cups all-purpose flour
- 1 cup salt
- 3/4 to 1 cup water
Instructions
- In a bowl, combine the flour and salt. Stir them together to ensure an even distribution.
- Gradually add water to the flour and salt mixture, stirring continuously. Start with 3/4 cup of water and add more if needed. The goal is to form a smooth, pliable dough.
- Transfer the mixture to a lightly floured surface once the mixture starts to come together. Knead the dough until it becomes smooth and elastic. If the dough is too sticky, add a bit more flour.
- Use a rolling pin to roll out the dough to your desired thickness. Typically, 1/4 inch is a suitable thickness for most projects.
- Use cookie cutters or a knife to cut out shapes from the rolled-out dough. You can create ornaments, handprints, or anything else you have in mind.
- If you’re creating ornaments, use a straw or a small round object to make a hole near the top of each shape. This hole will be used to thread a ribbon or string for hanging.
- You can either bake the shapes in the oven or let them air dry. If baking, preheat your oven to 250°F (120°C) and bake for about 2 hours or until the dough is hardened. If air drying, place the shapes on a flat surface and let them air dry for 24-48 hours, depending on the thickness.
- Once the shapes are fully dry and hardened, you can paint them using craft paints and decorate them as you like. Allow the paint to dry completely.
- (Optional): If you want to preserve your salt dough creations, you can seal them with a clear sealant or varnish.