Birthday Countdown Paper Chain
Making a DIY birthday countdown for your child’s birthday is a fun and easy way to get them excited for their special day. Learn how to make this paper chain birthday countdown with these simple steps and materials!
Do you kiddos constantly ask “is it my birthday yet?” on the days leading up to their special celebration? If so, then you’ll be glad to know that there is a fun and easy way to help them keep track of the days! This birthday countdown paper chain is easy to make and helps them keep a much better concept of time in the days before their birthday. Loop by loop, they’ll watch the days tick by until at last their birthday celebration is here!
This birthday countdown chain could become a fun new tradition to use every year! Then once their special day is finally here, you can make sweet treats together like mini funfetti cheesecakes and ice cream cone cupcakes!
You can actually use this paper chain countdown for other special occasions too. Make one for the countdown to the first day of school, a fun vacation, Christmas, or any other significant even that you child is looking forward too. It’s an adaptable craft that will help your kids patiently wait with excitement for the fun activities in the future!
Why You’ll Love this Birthday Countdown Craft
- Birthday countdown ideas like these are much more affordable than buying something that is premade. Once you buy these supplies, you can use the extras in various other crafts, or save them to make another countdown next year!
- Make this adorable craft in under a half hour. While the countdown itself will help teach patience, I definitely don’t expect kiddos to sit through crafts that last FOREVER! The shorter, the better!
- You only need seven basic supplies to make this craft. Three of which are tools that you likely already have! You may even have the crafting materials already too!
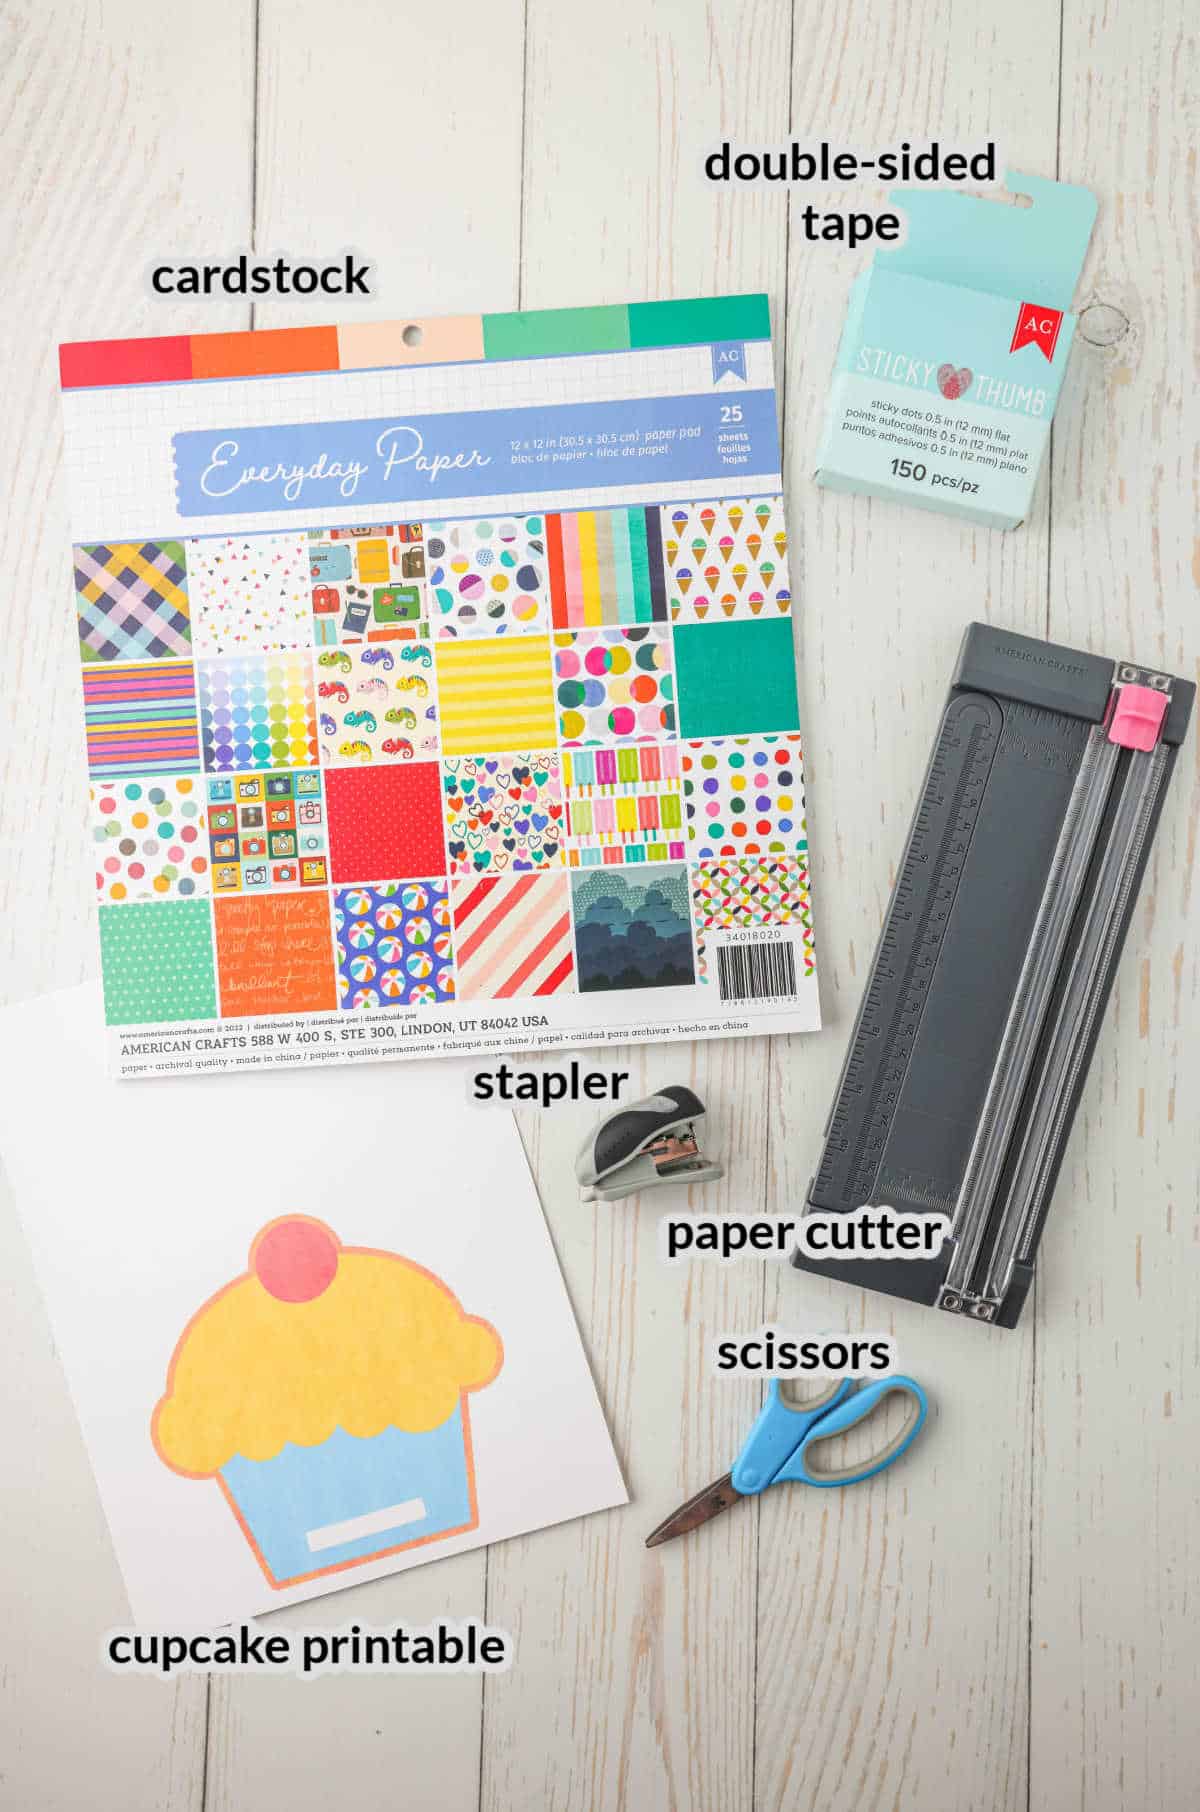
Supplies Needed to Make the Birthday Countdown
- Cardstock – If you want to use the cupcake printable, then make sure you’ve got a sheet of white cardstock to print it on. You’ll also colored or patterned cardstock for the chain. I do not recommend using plain white paper because the cupcake will easily tear if weight is added to it.
- Double-sided tape – Use double sided tape to attach the printable birthday countdown cupcake to a wall. Double sided tape does not usually damage paint, but if you’re concerned about that you can double over painters tape or masking tape to ensure there’s no damage.
- Stapler – Little hands may have more success using a small stapler. Otherwise, a regular sized stapler will work!
- Paper cutter – A paper cutter will make it really easy to cut straight lines for the paper strips that will make the loops.
- Scissors – If you are making this craft with littles, consider using safety scissors.
- Cupcake printable – Print out this adorable little cupcake to hold the paper rings. It’s really on of the best birthday countdown ideas!
How to Make a Birthday Countdown Paper Chain
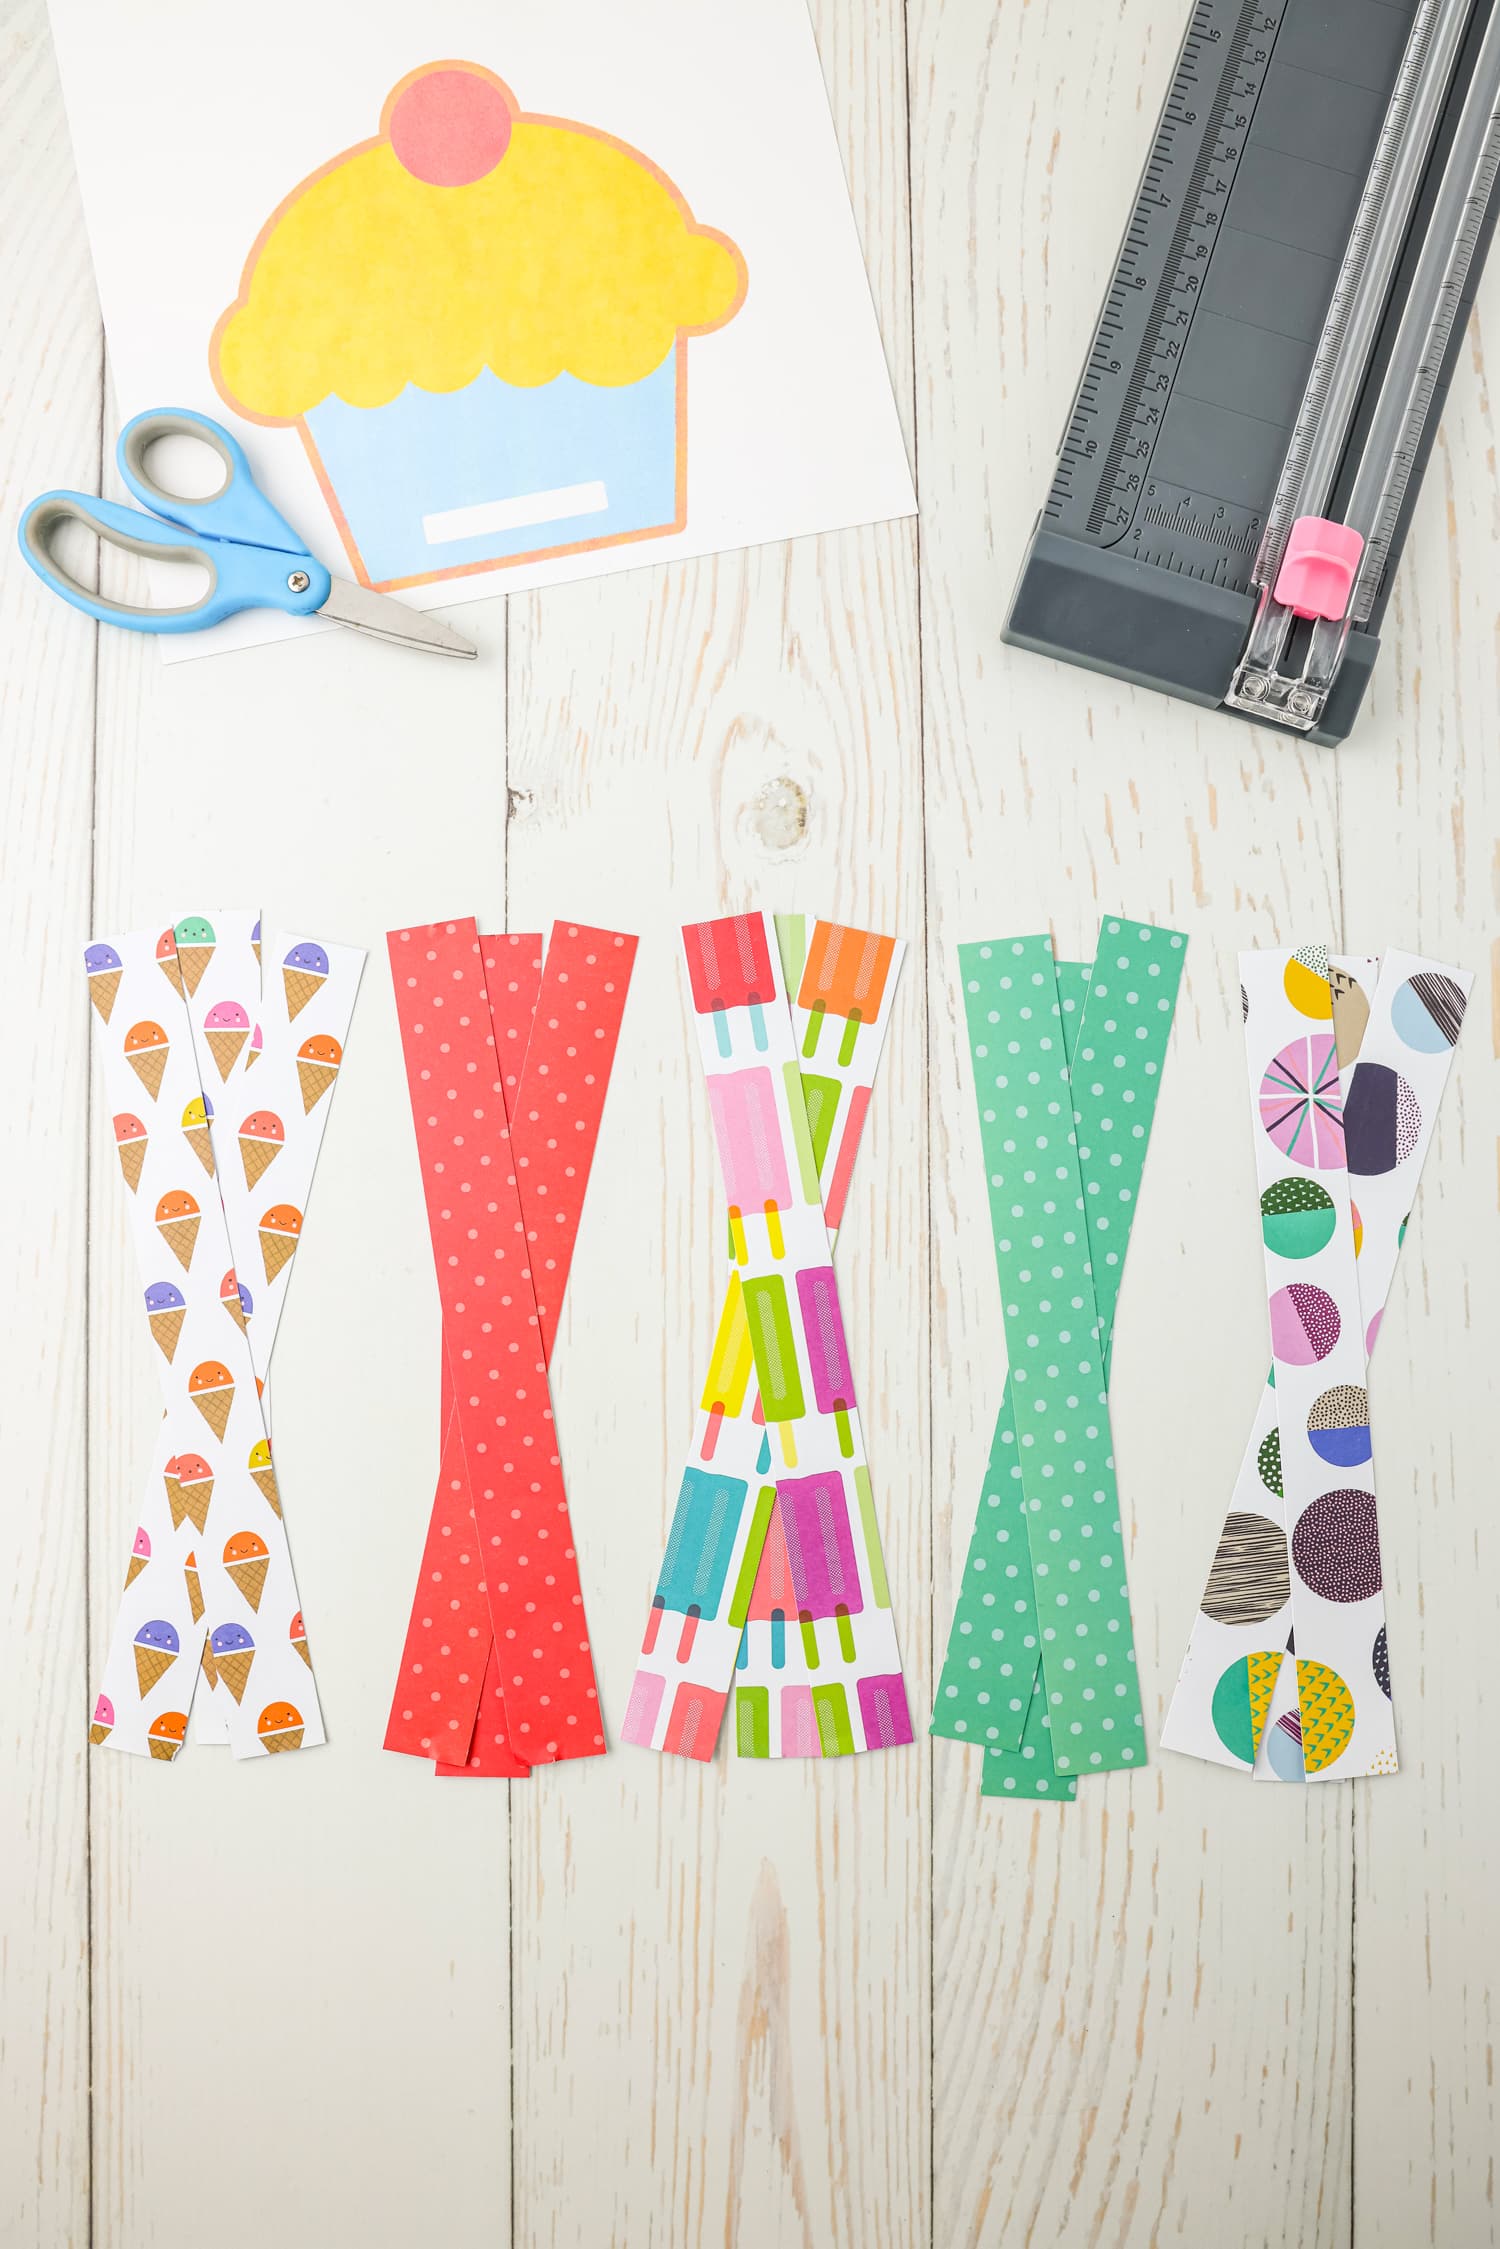
Download the cupcake printable pdf and print it out on white cardstock. Then choose a color or pattern of paper that you want to use for the chain.
Decide how many chains you will need according to the number of days that you are counting down.
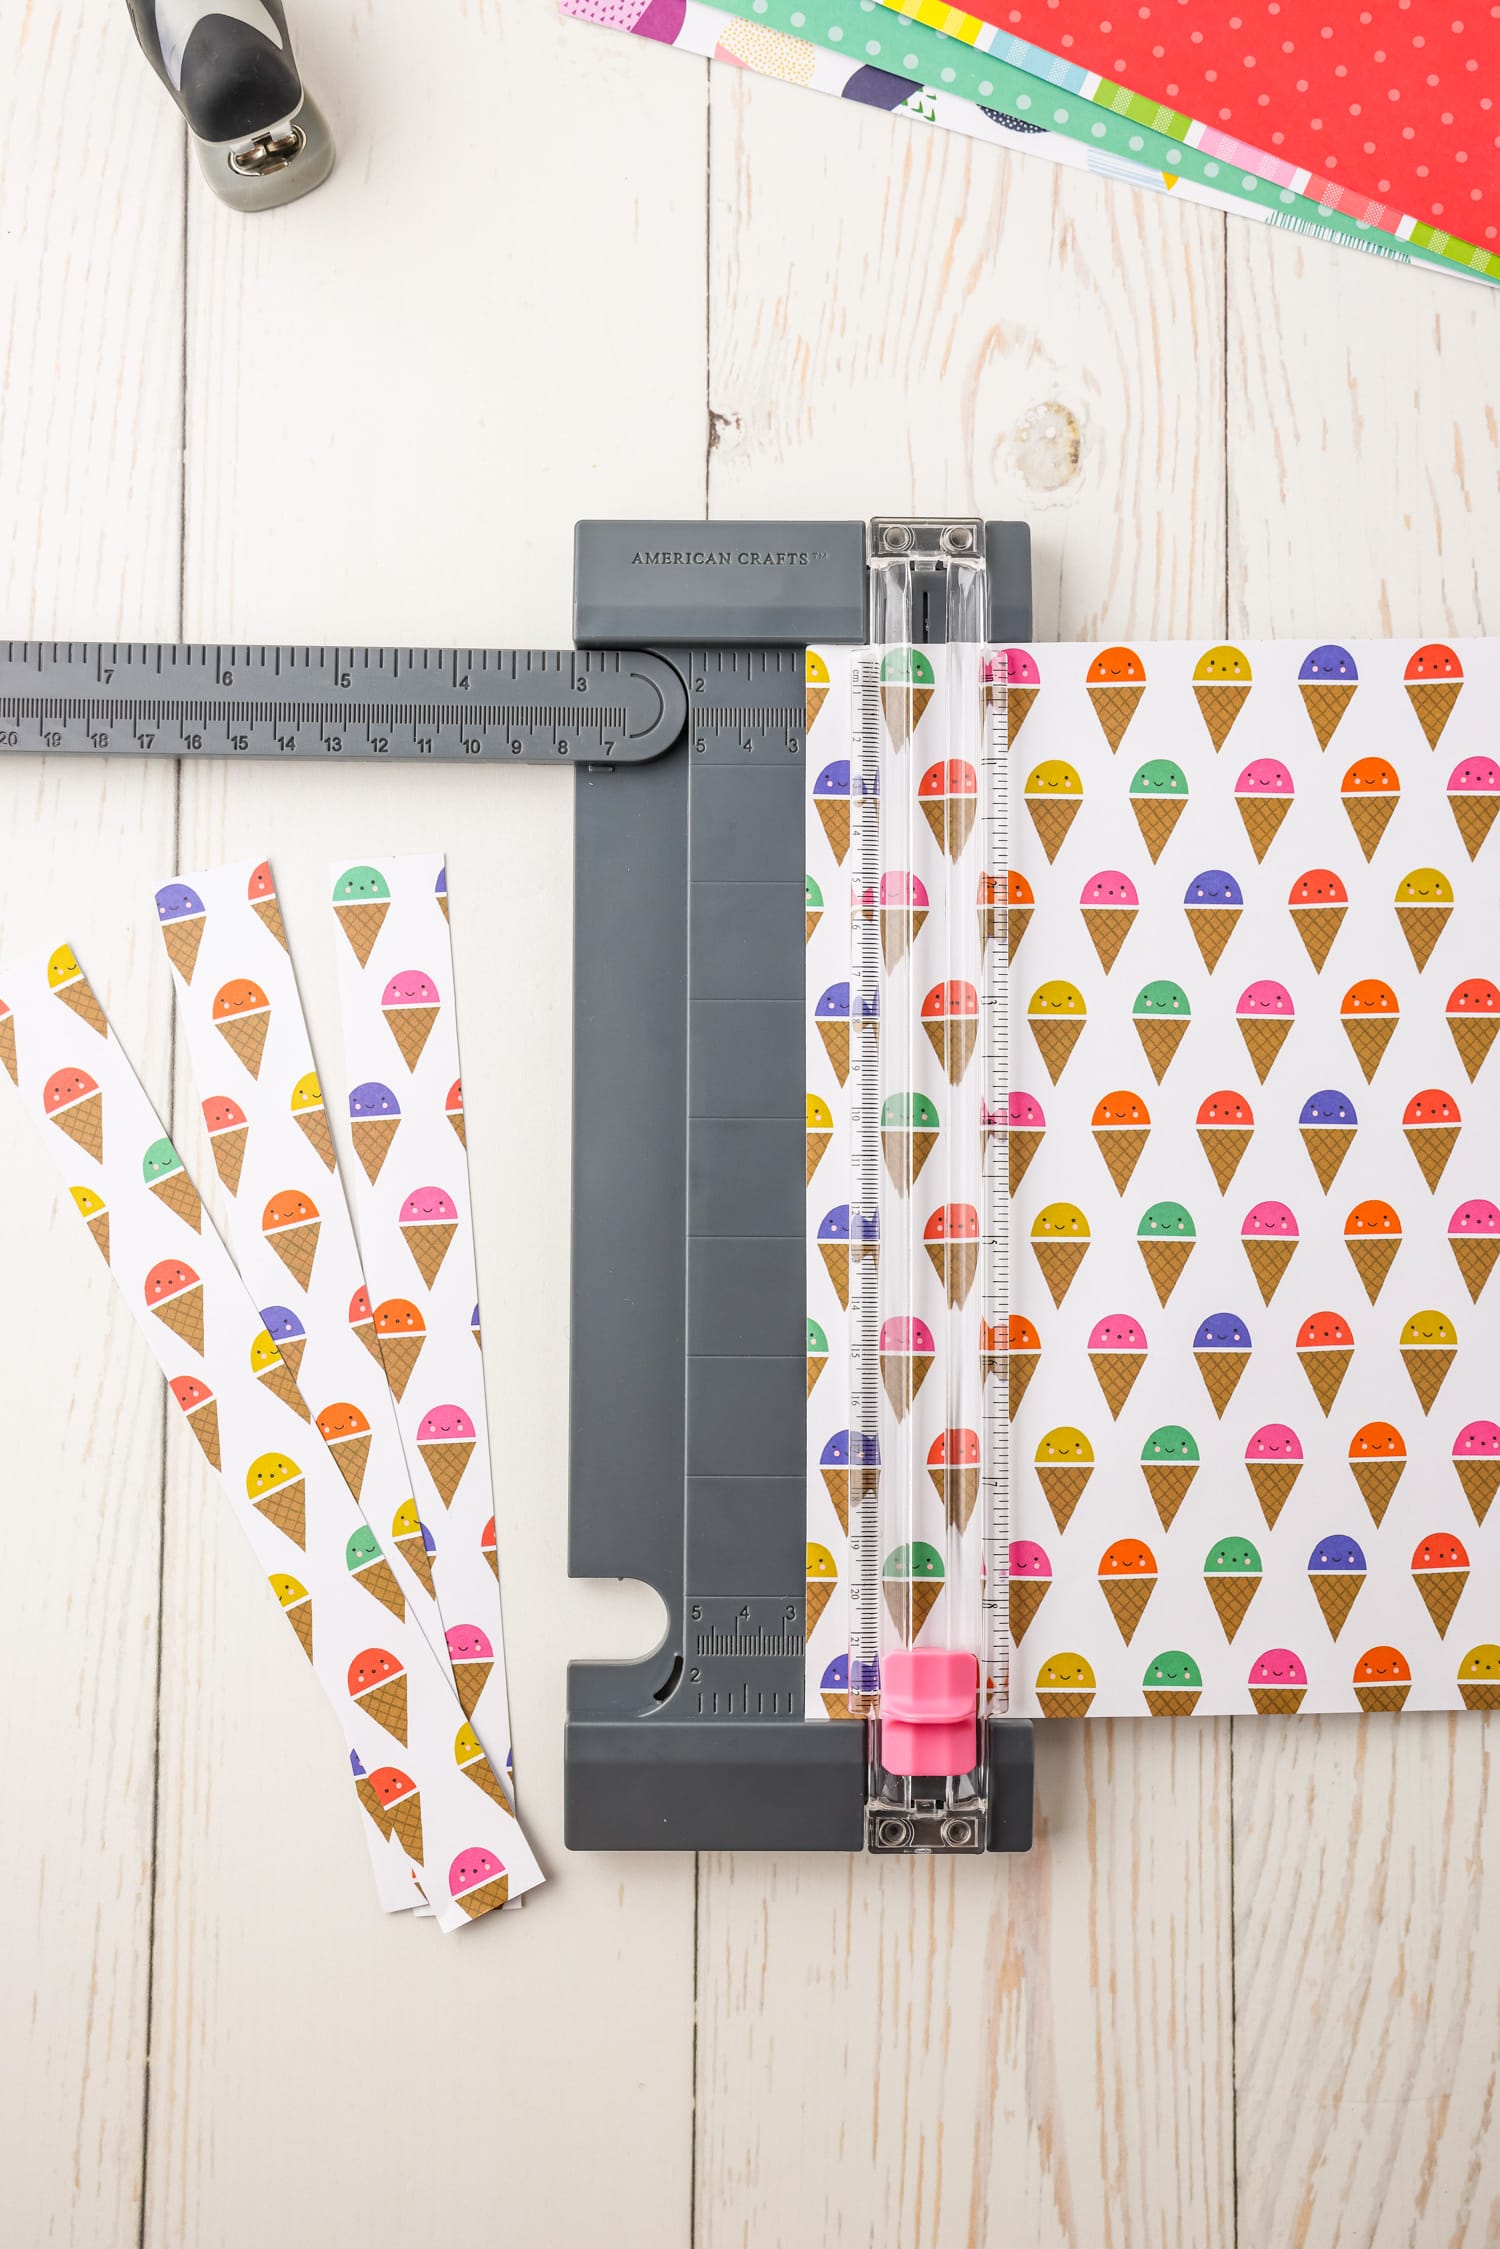
Then cut the colored cardstock or construction paper into 1-inch strips with the paper cutter or some scissors. Once you have all the paper strips cut, you’re ready to assemble the birthday countdown chain!
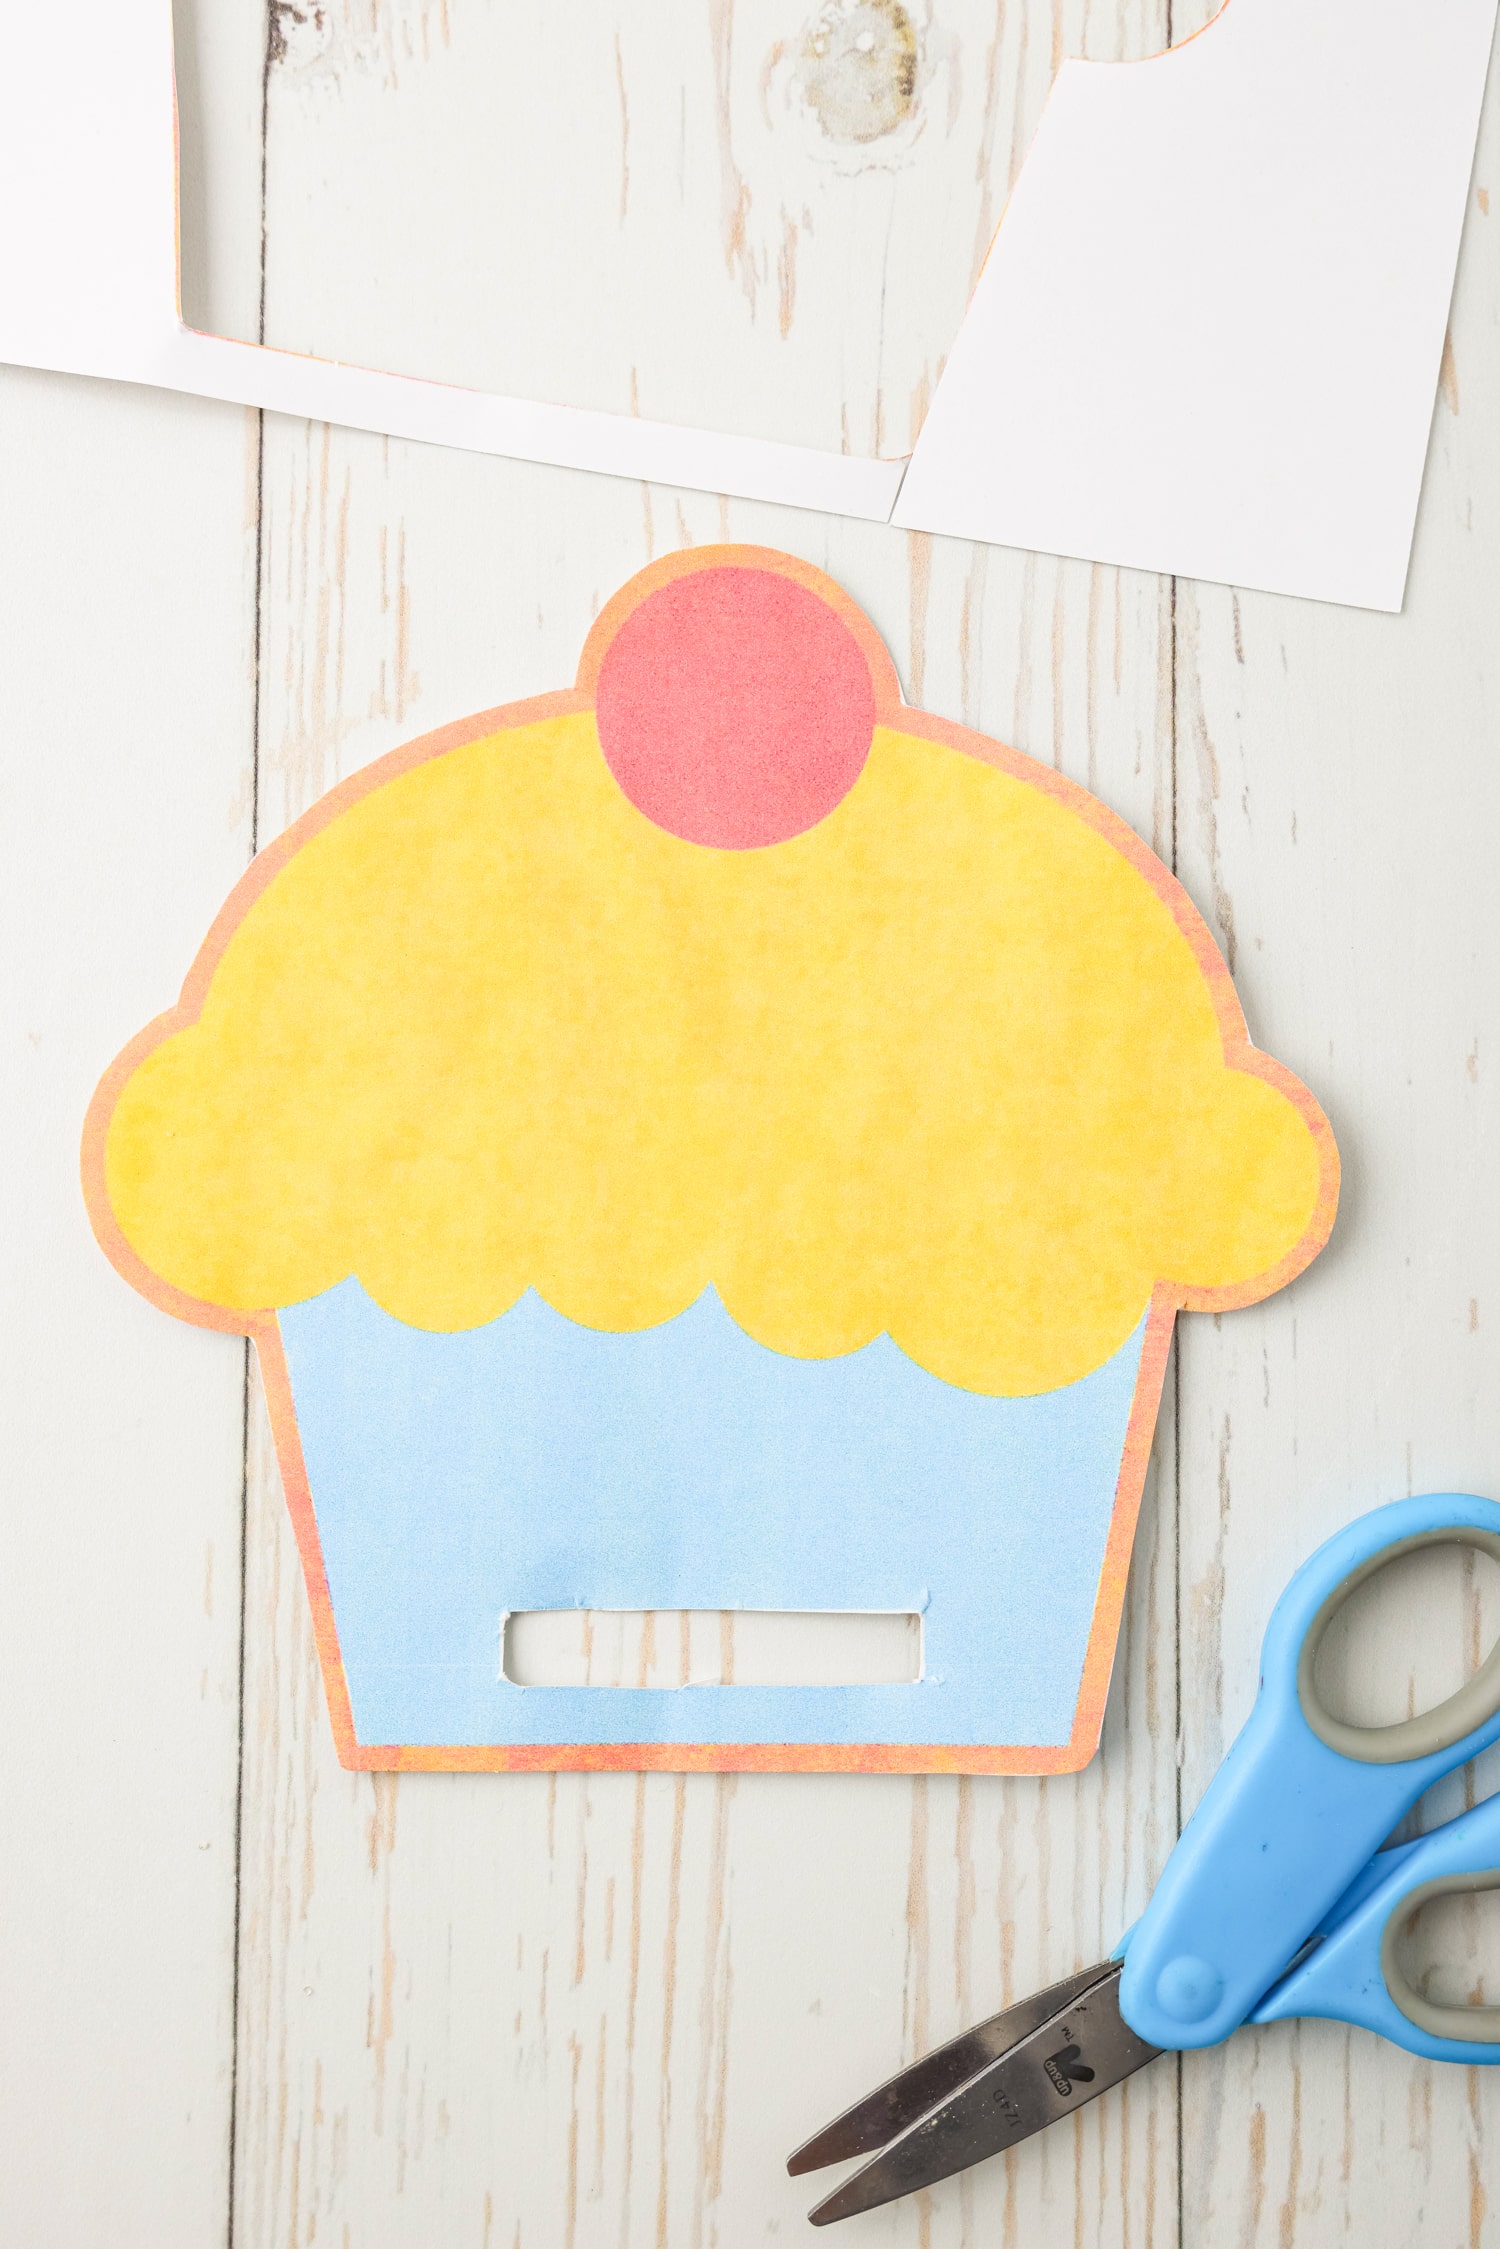
If you are using the printable cupcake, carefully cut it out and then cut out the rectangle that is in the bottom middle. Use your scissor to carefully poke a hole in the center of the rectangle, then cut around the edges to remove the paper in the rectangle.
Wanna decorate the cupcake? Go ahead and do that before adding the chain loops! You can decorate it with crayons, markers, pens, glitter, stickers — whatever you want!
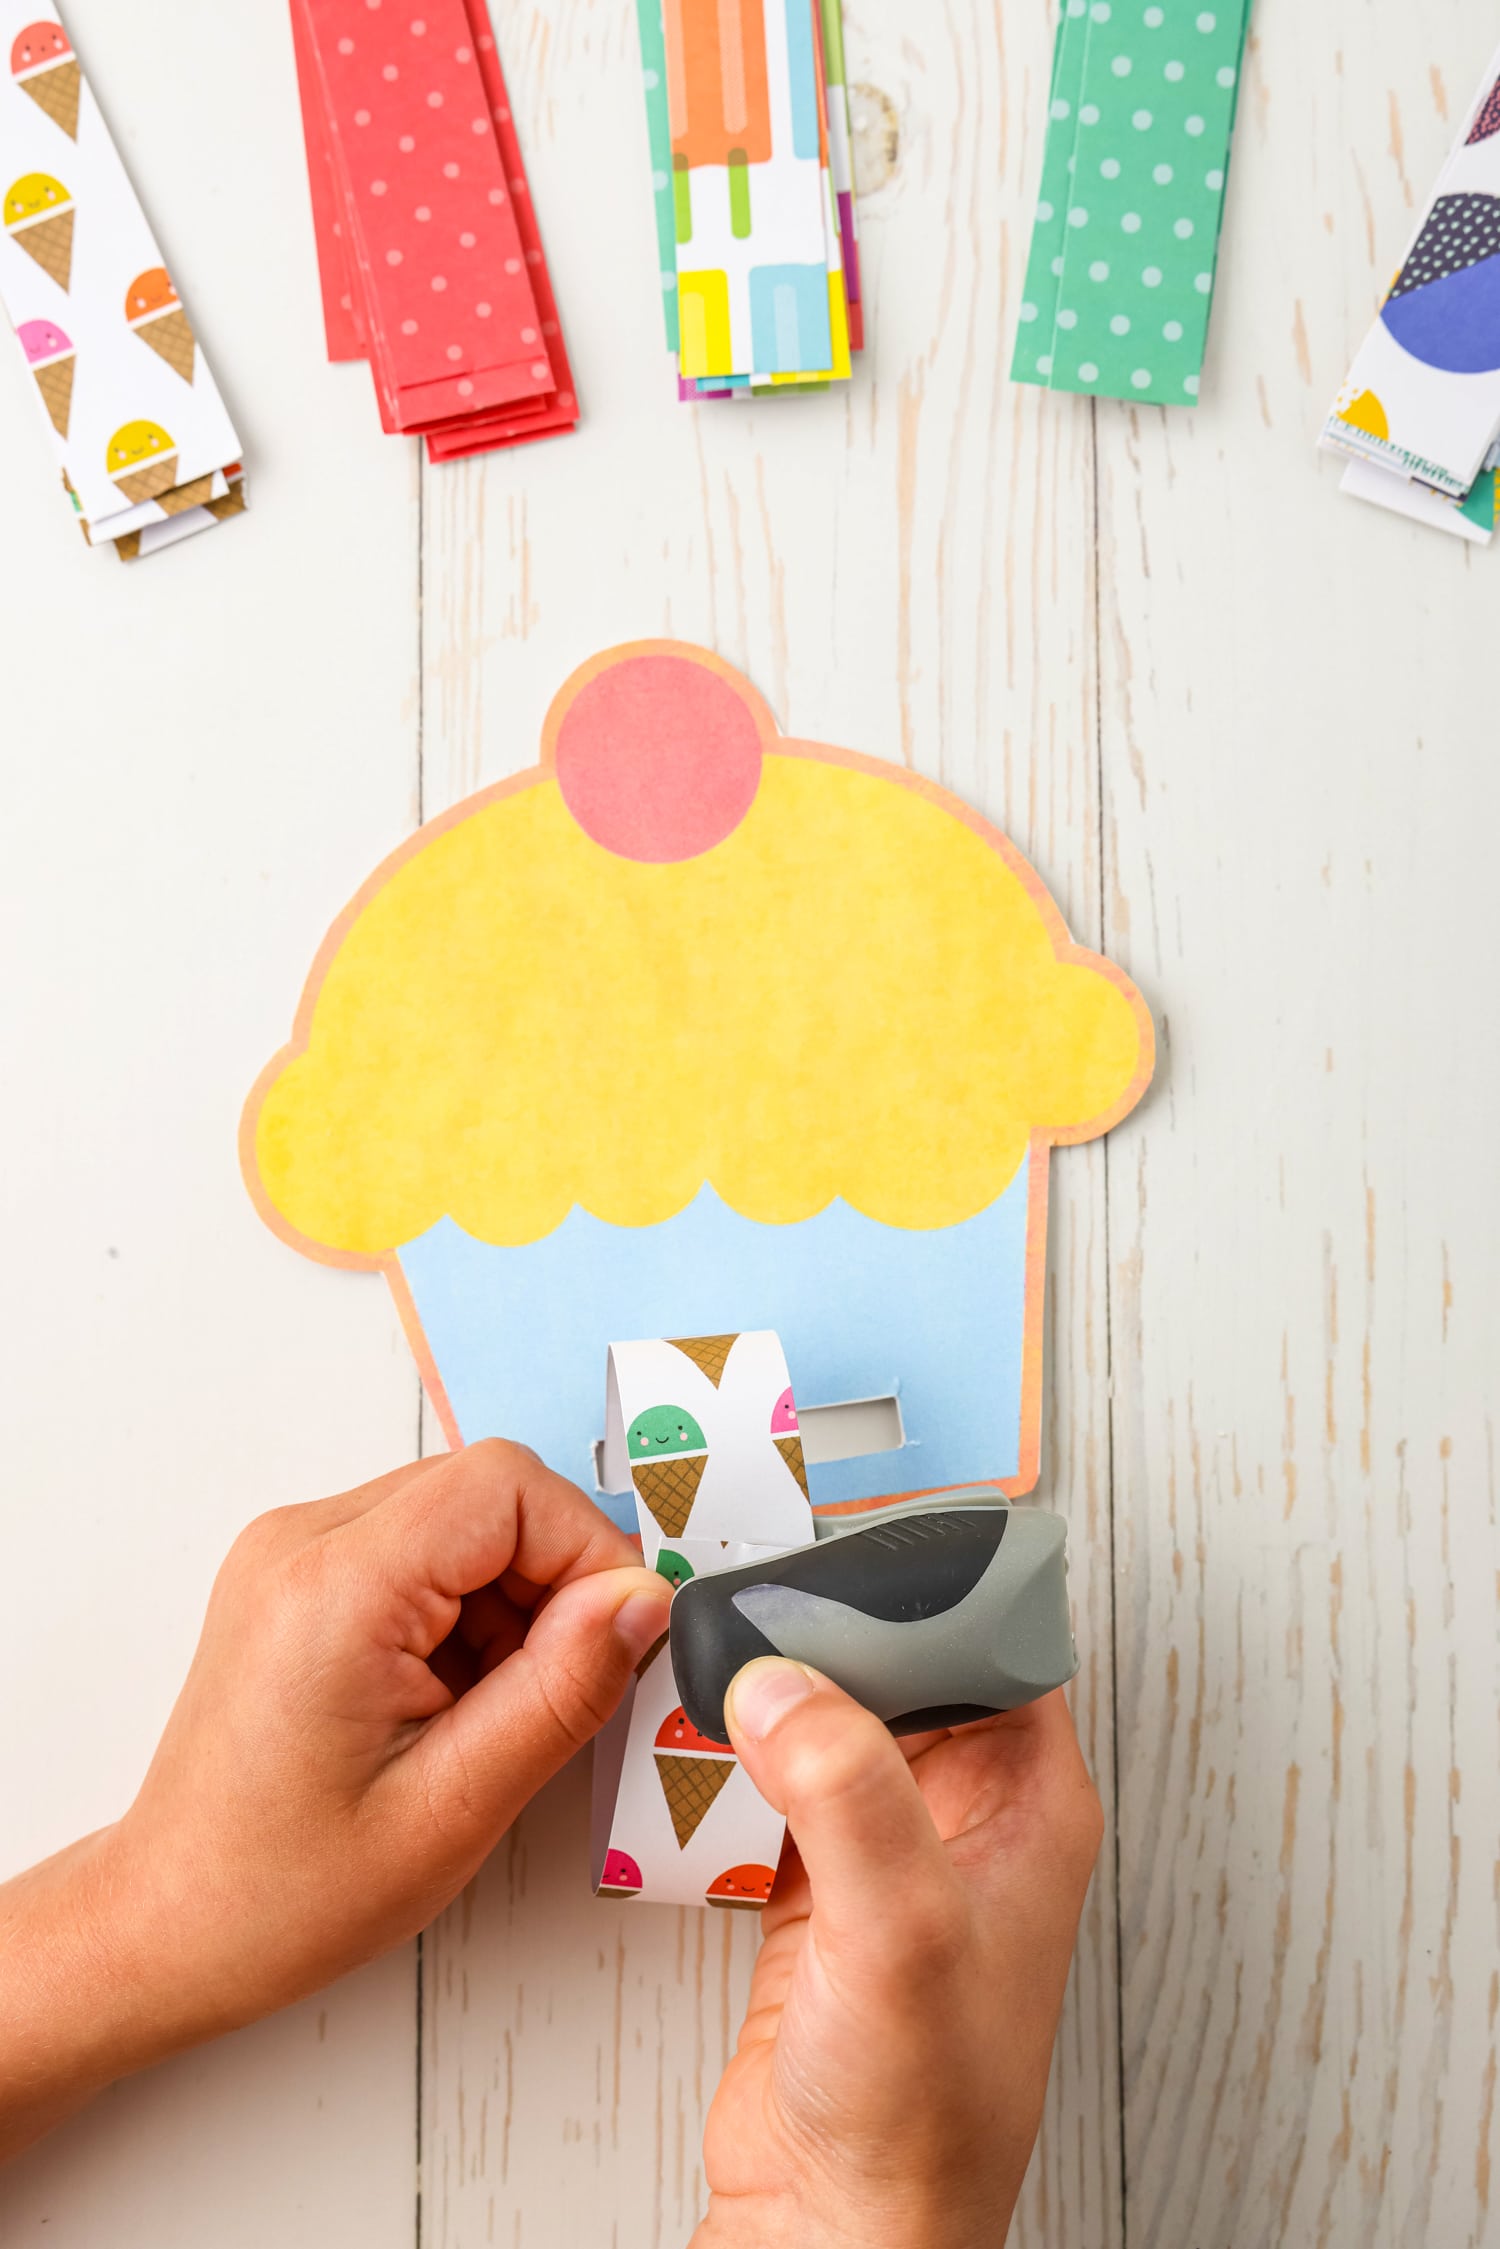
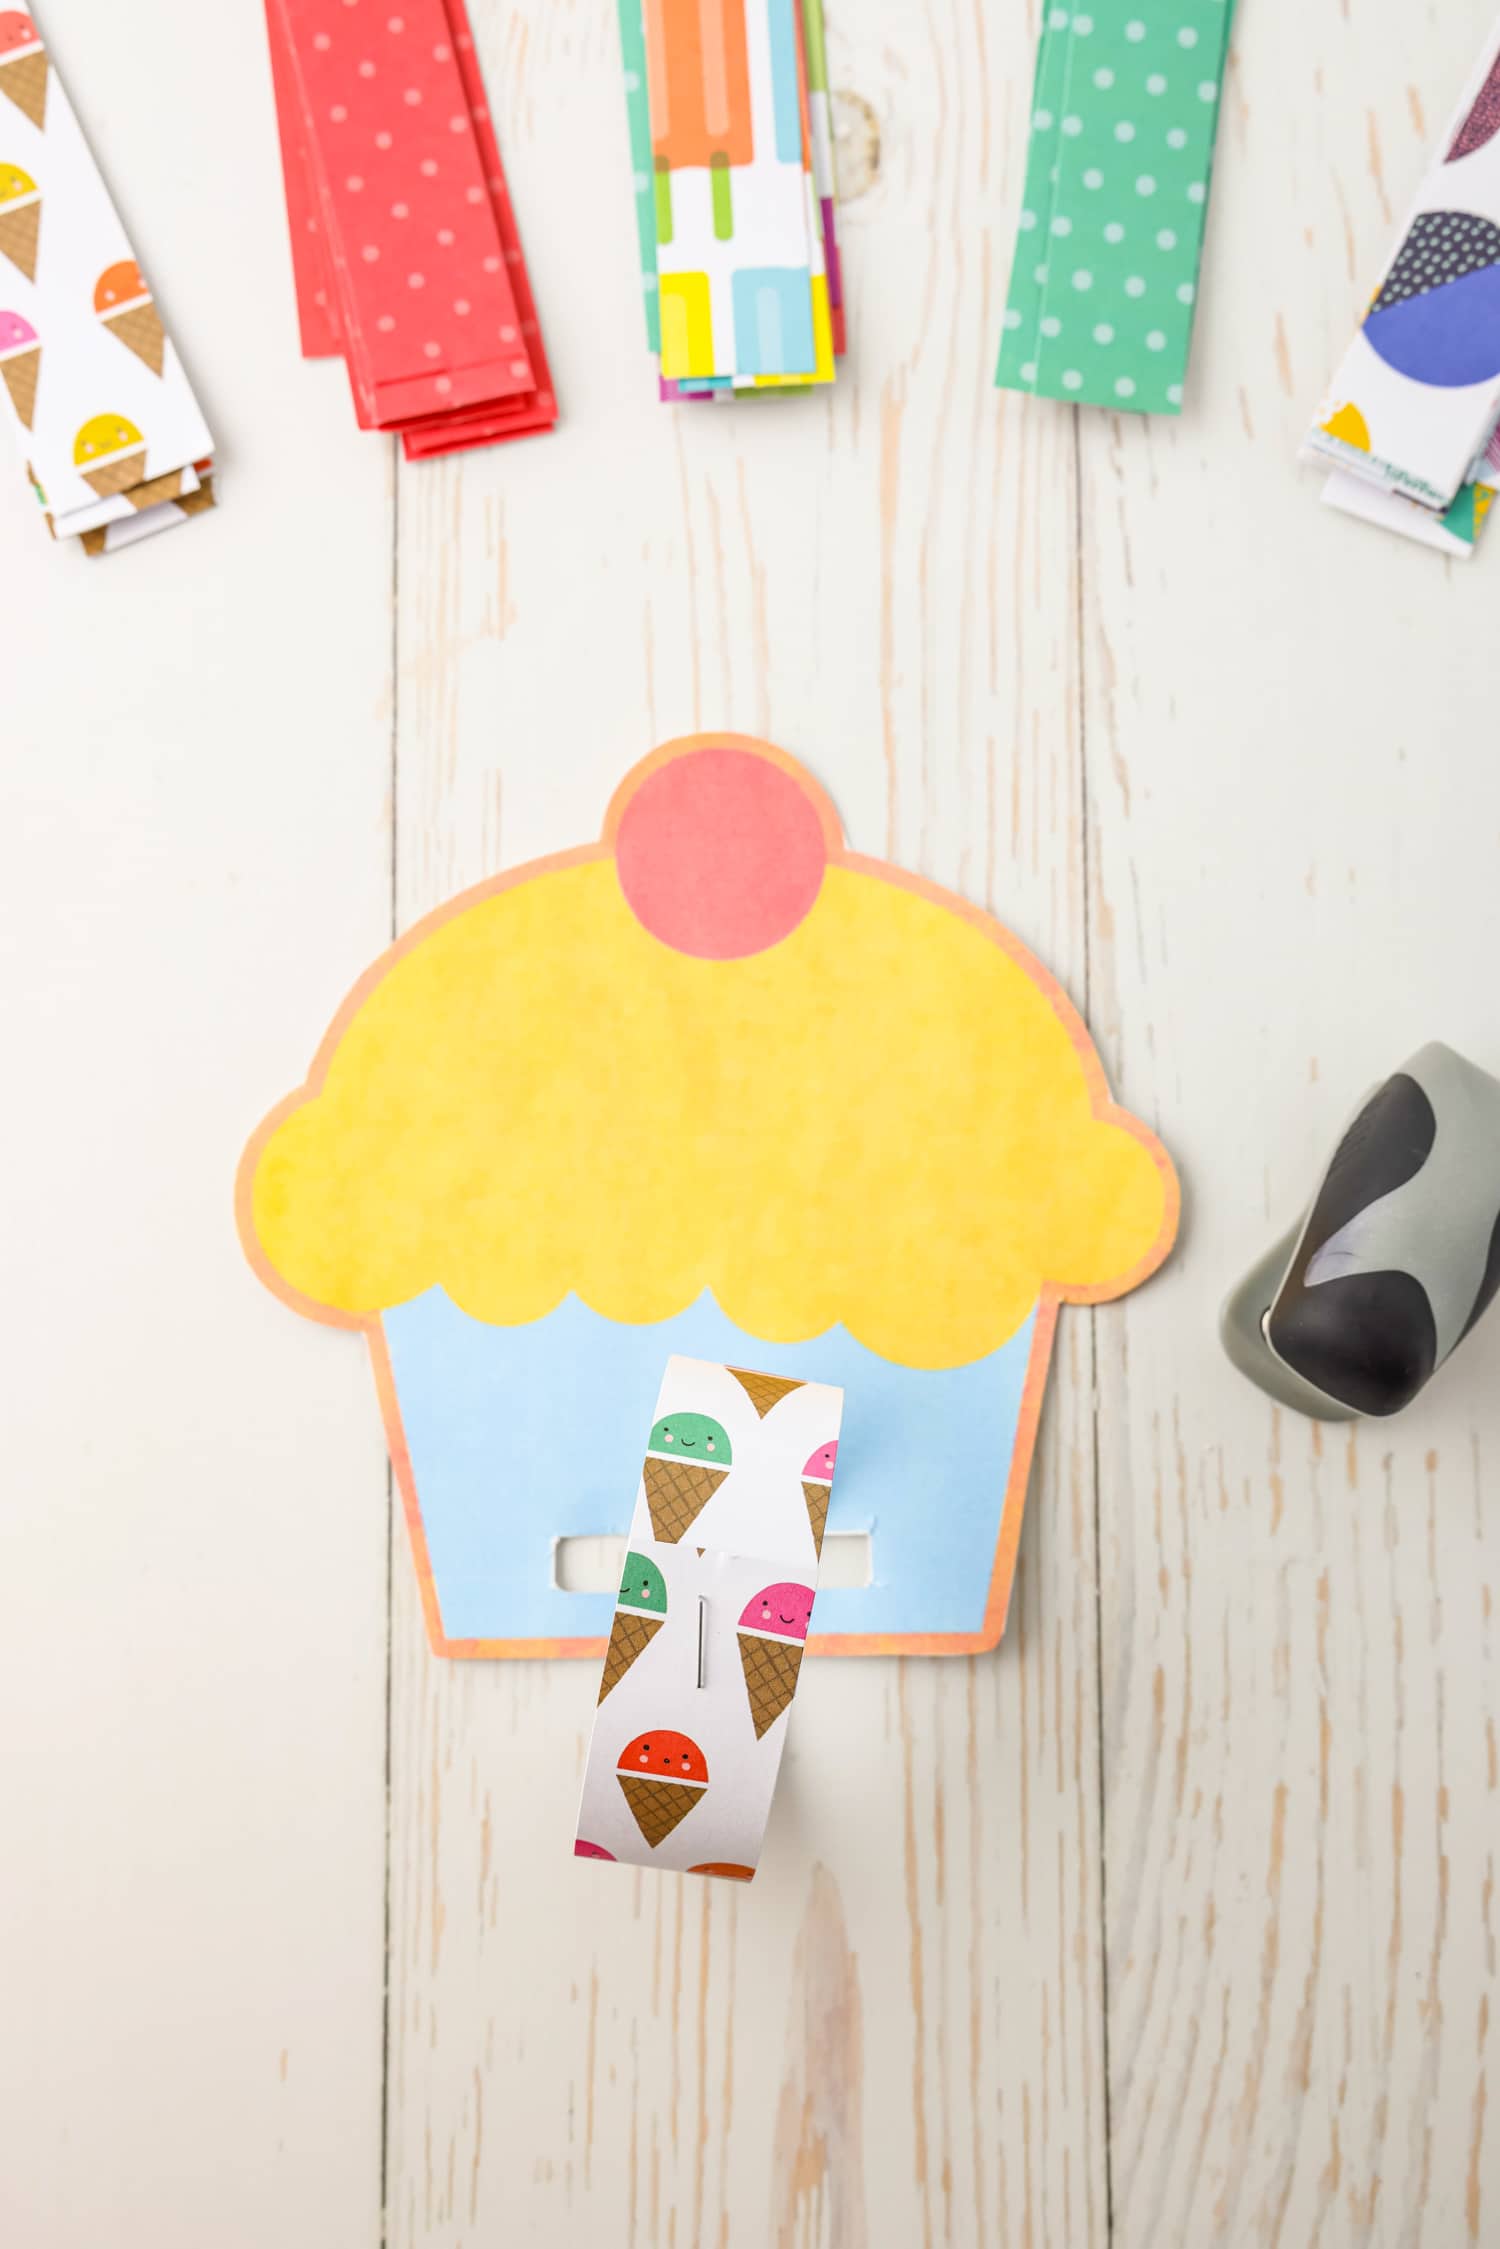
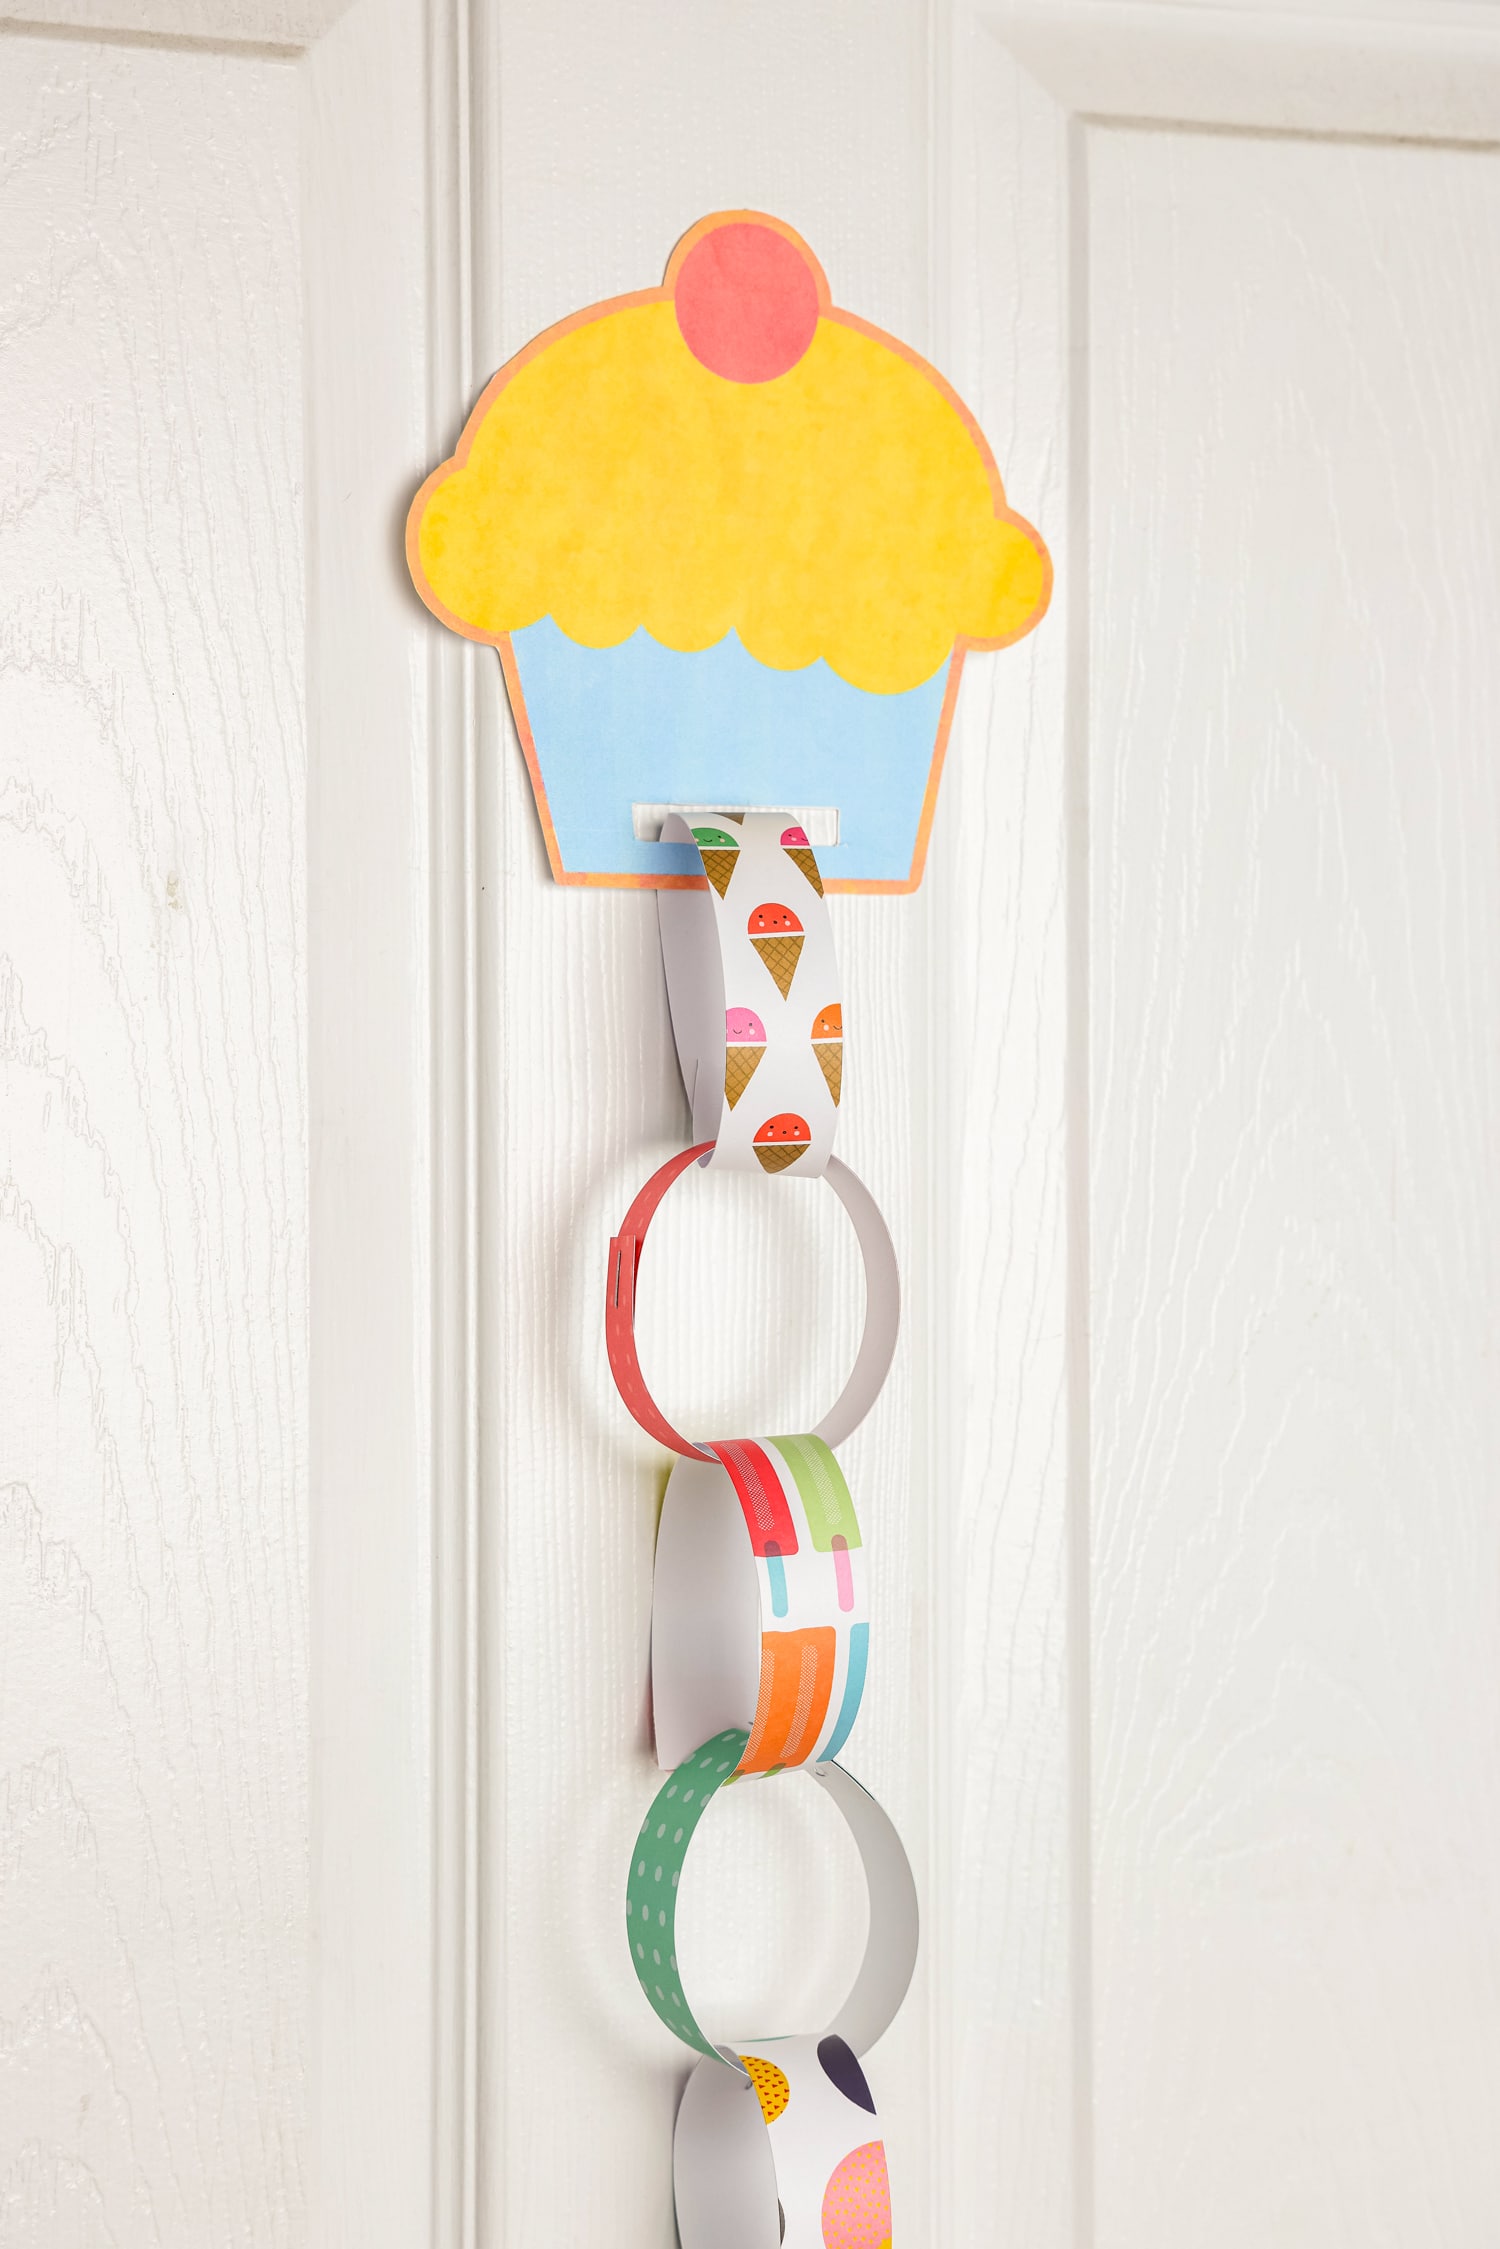
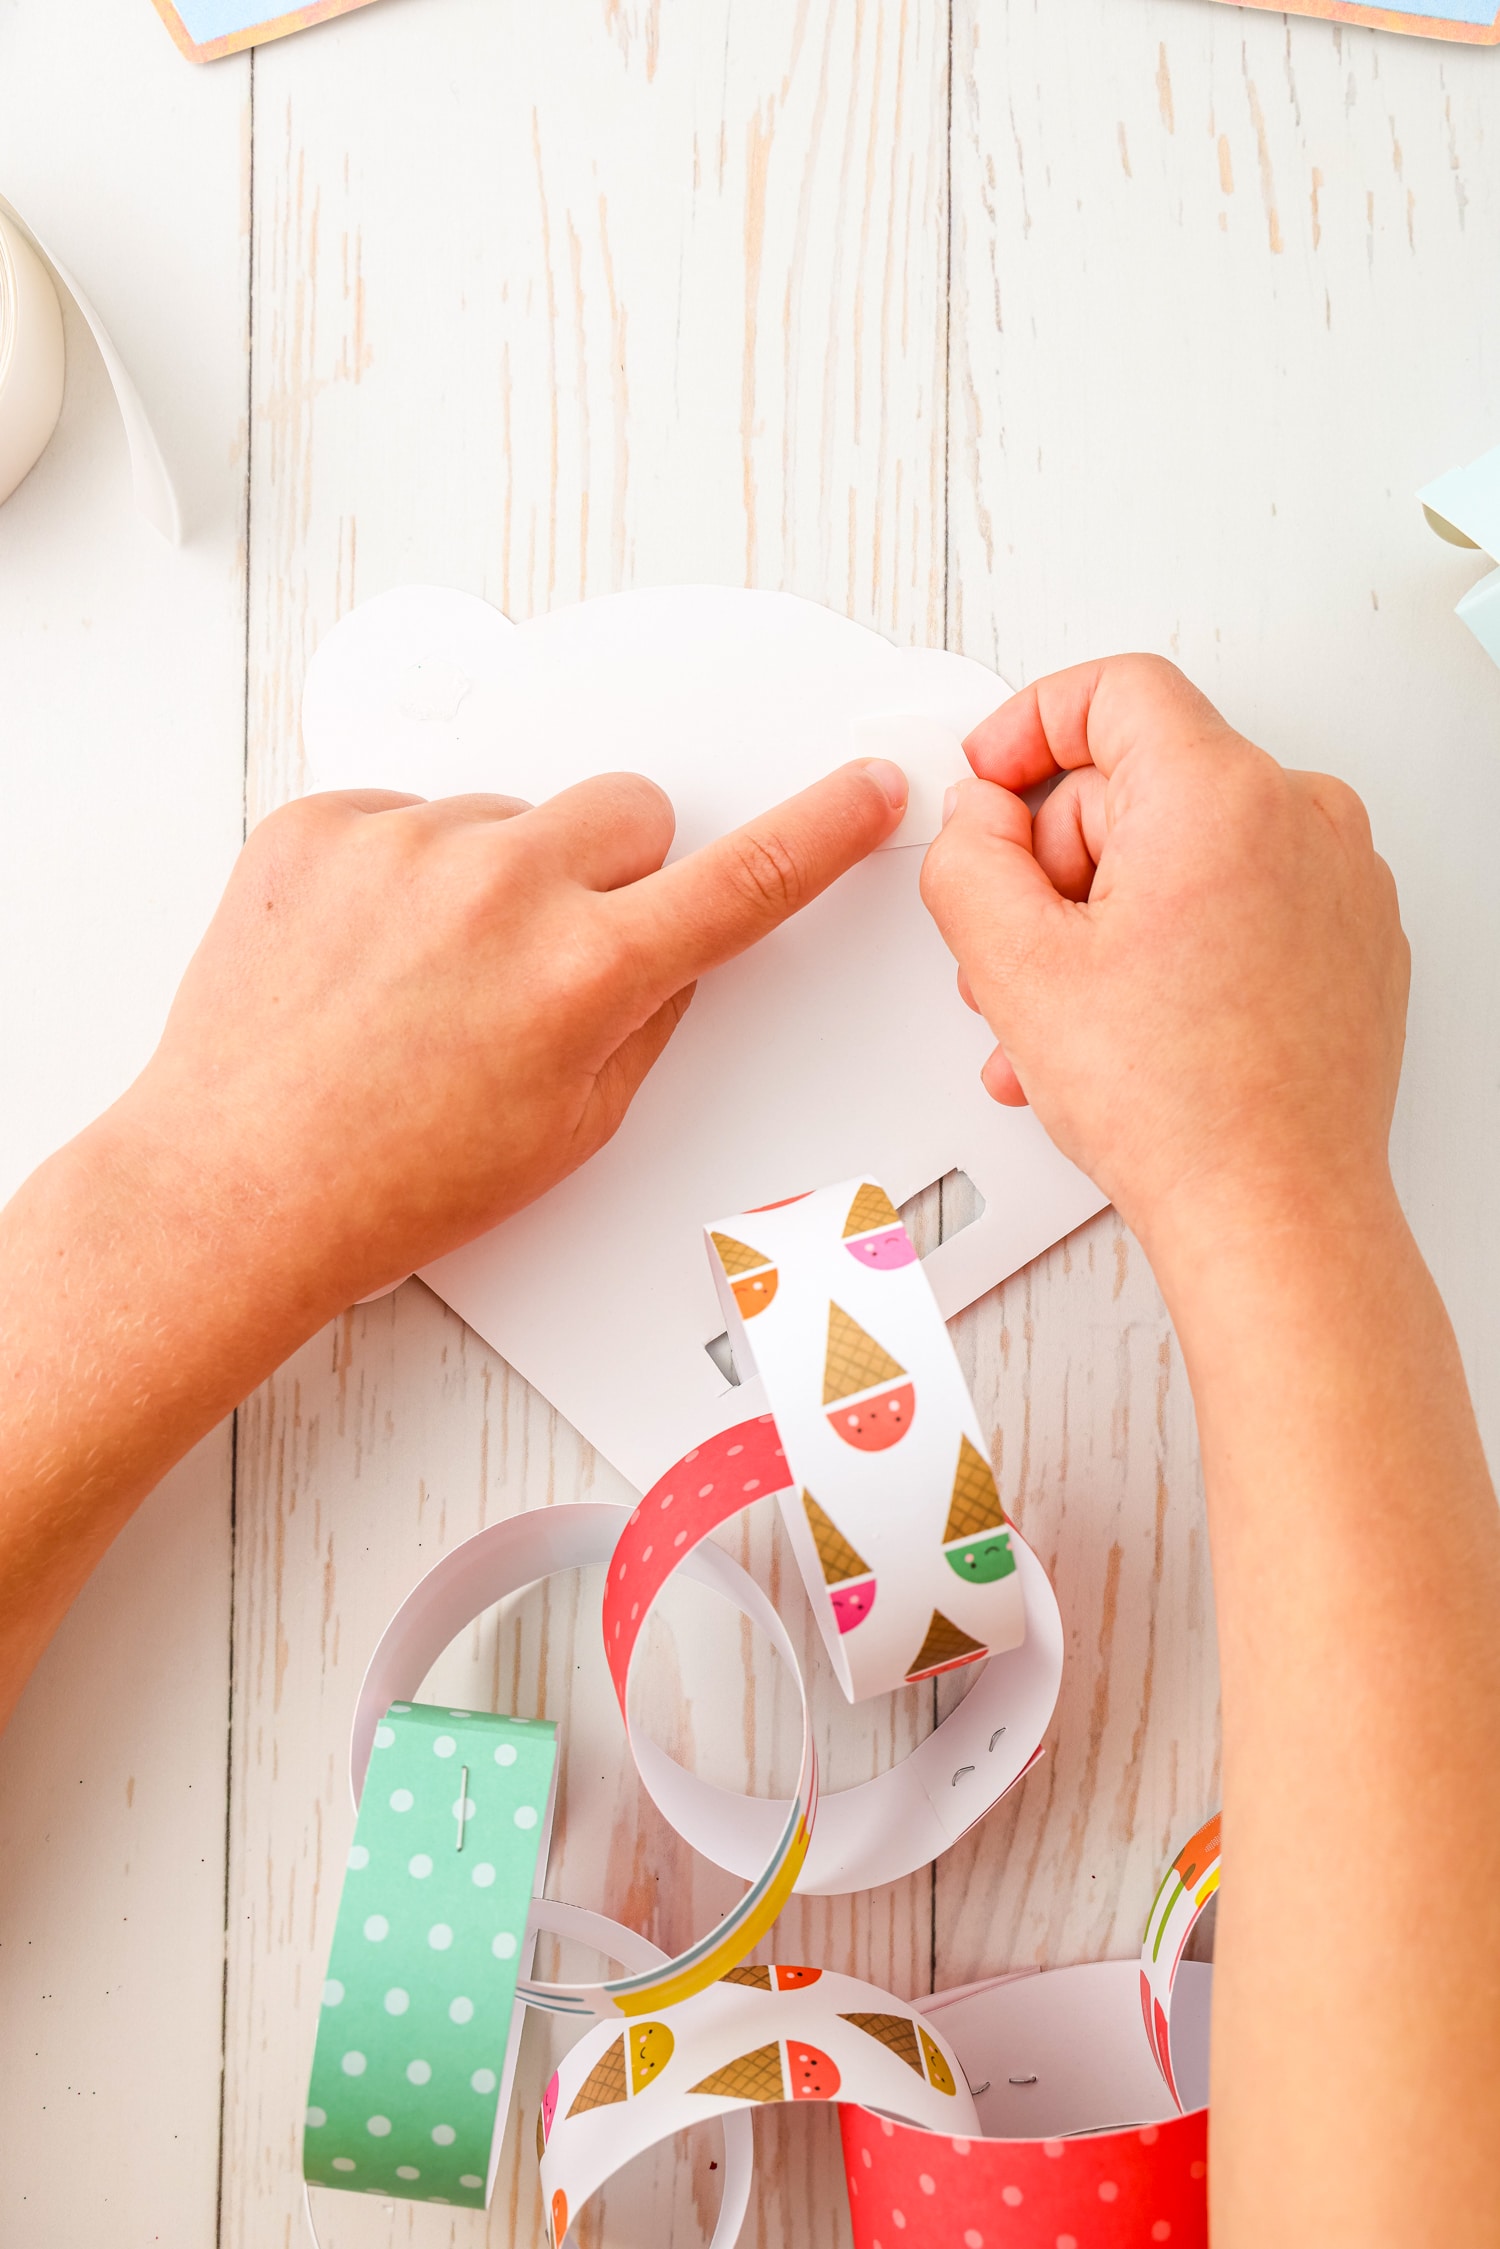
Once the cupcake is ready, take one paper strip and slide it through the rectangle opening. Form a circle by taking one end and overlapping it with the other by about a ½ inch. If you’re not using the cupcake, just form a circle with the same method.
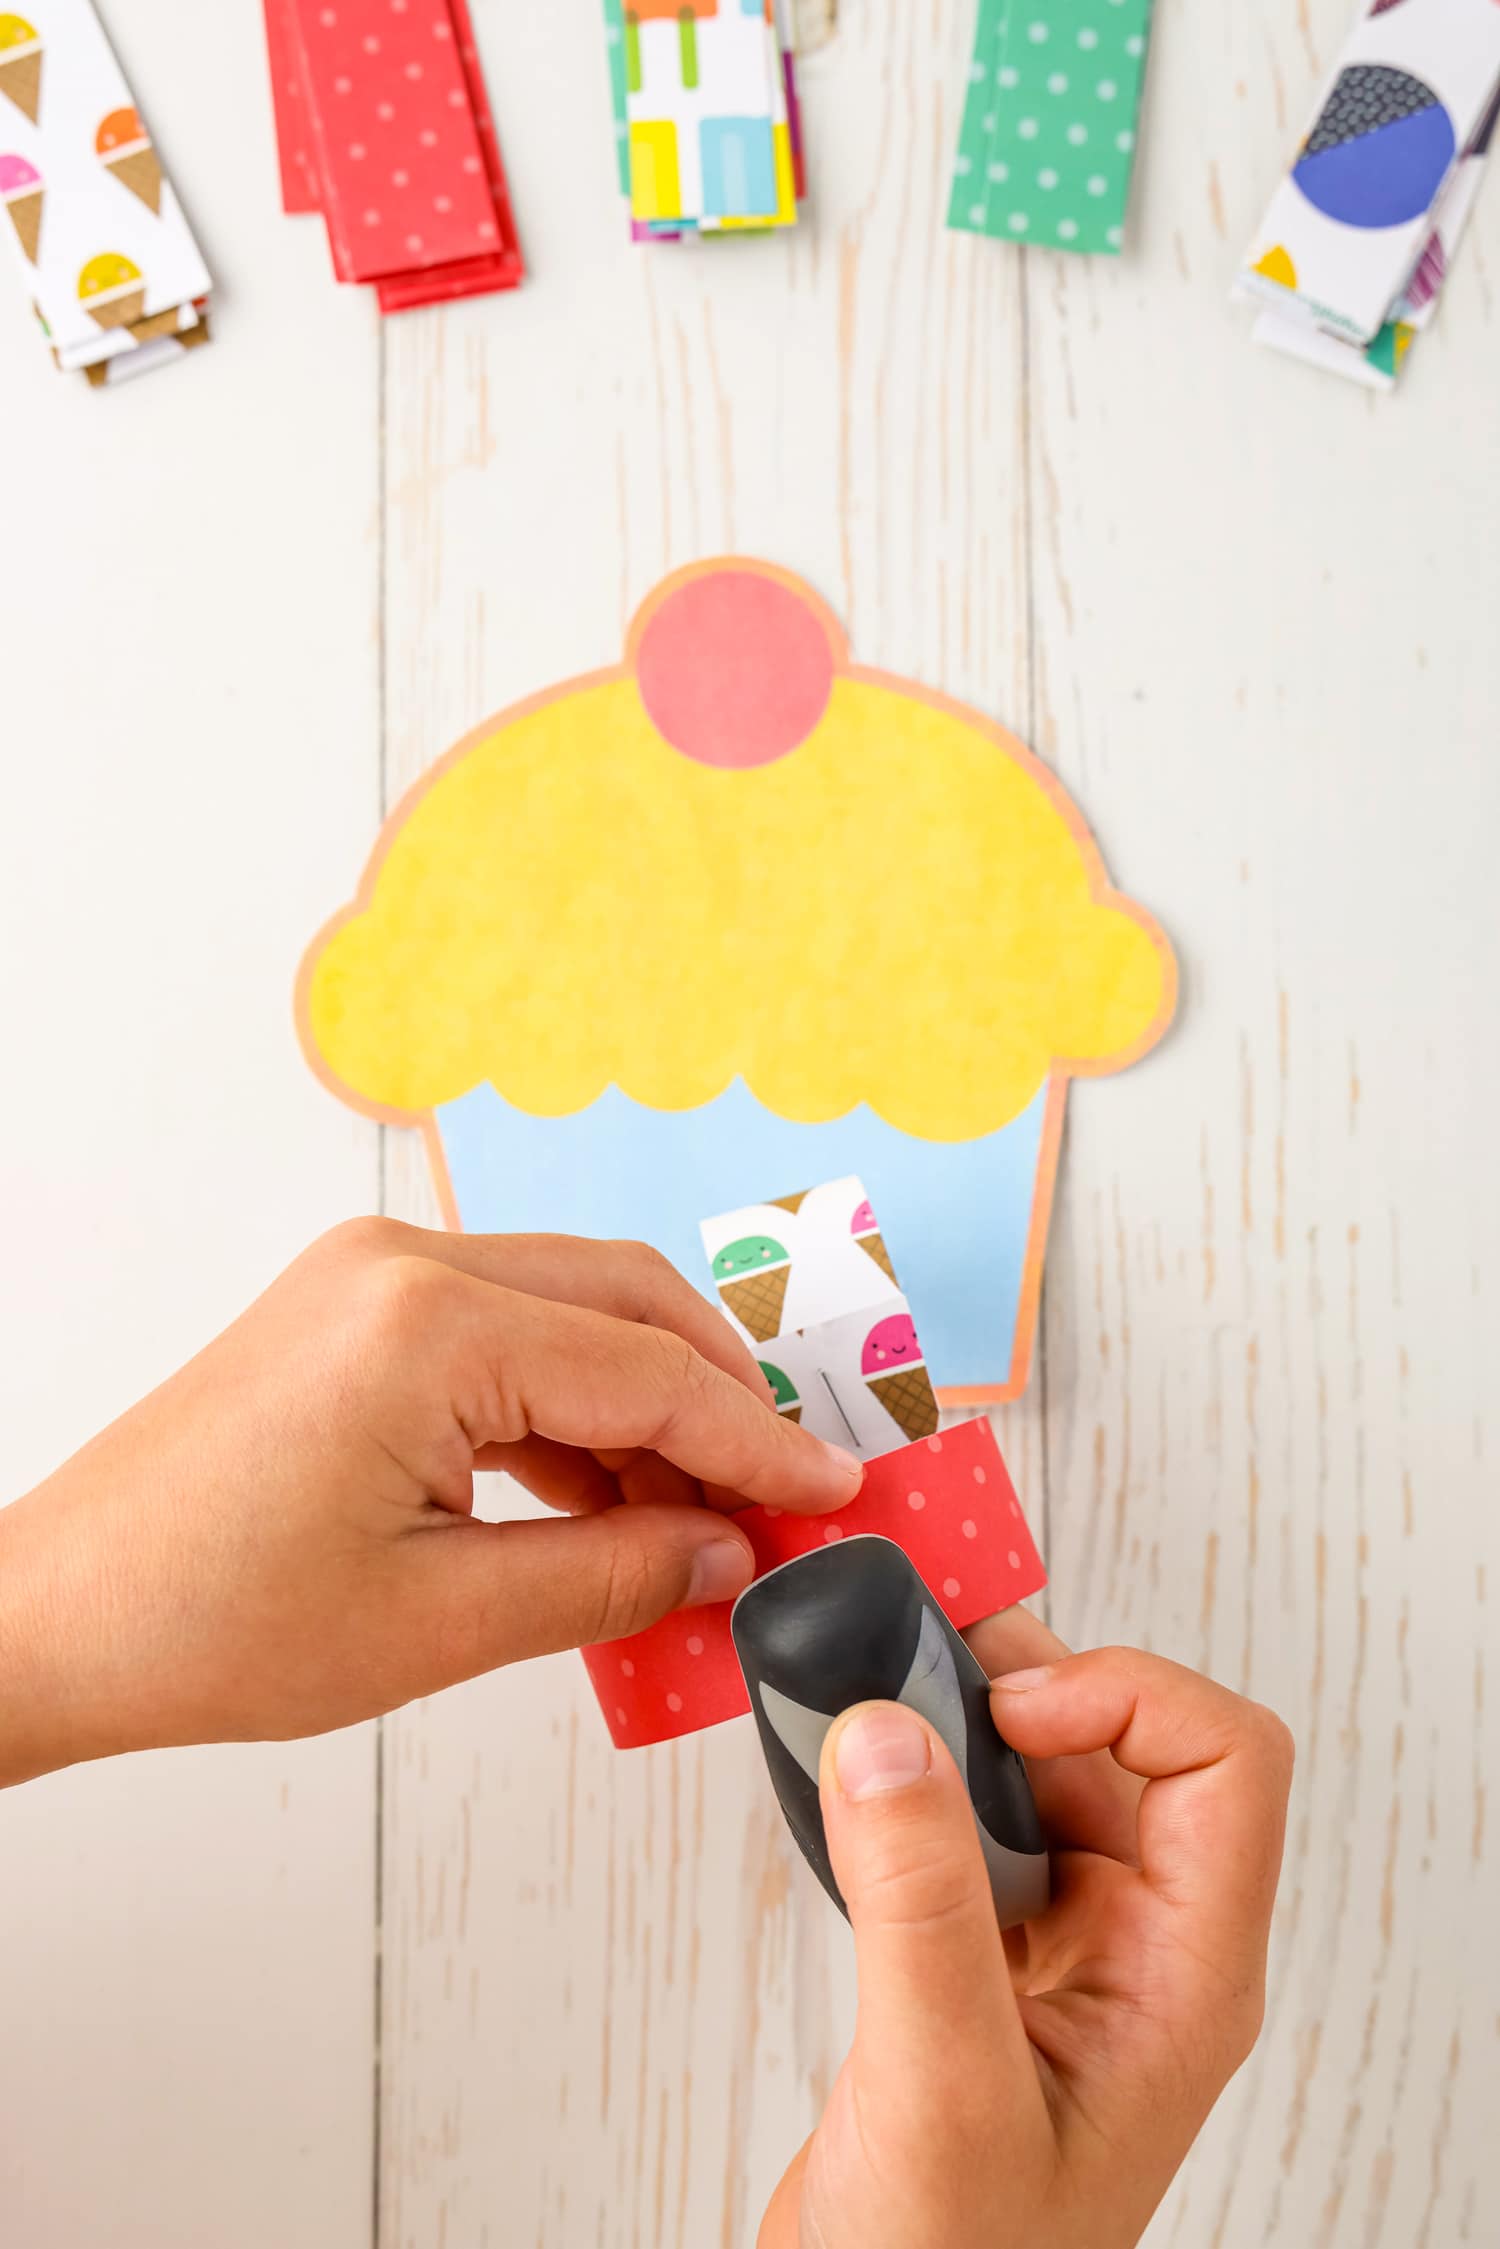
Staple the overlap and then take another strip and send it through the circle you just made. Then form another loop the same way you did with the first.
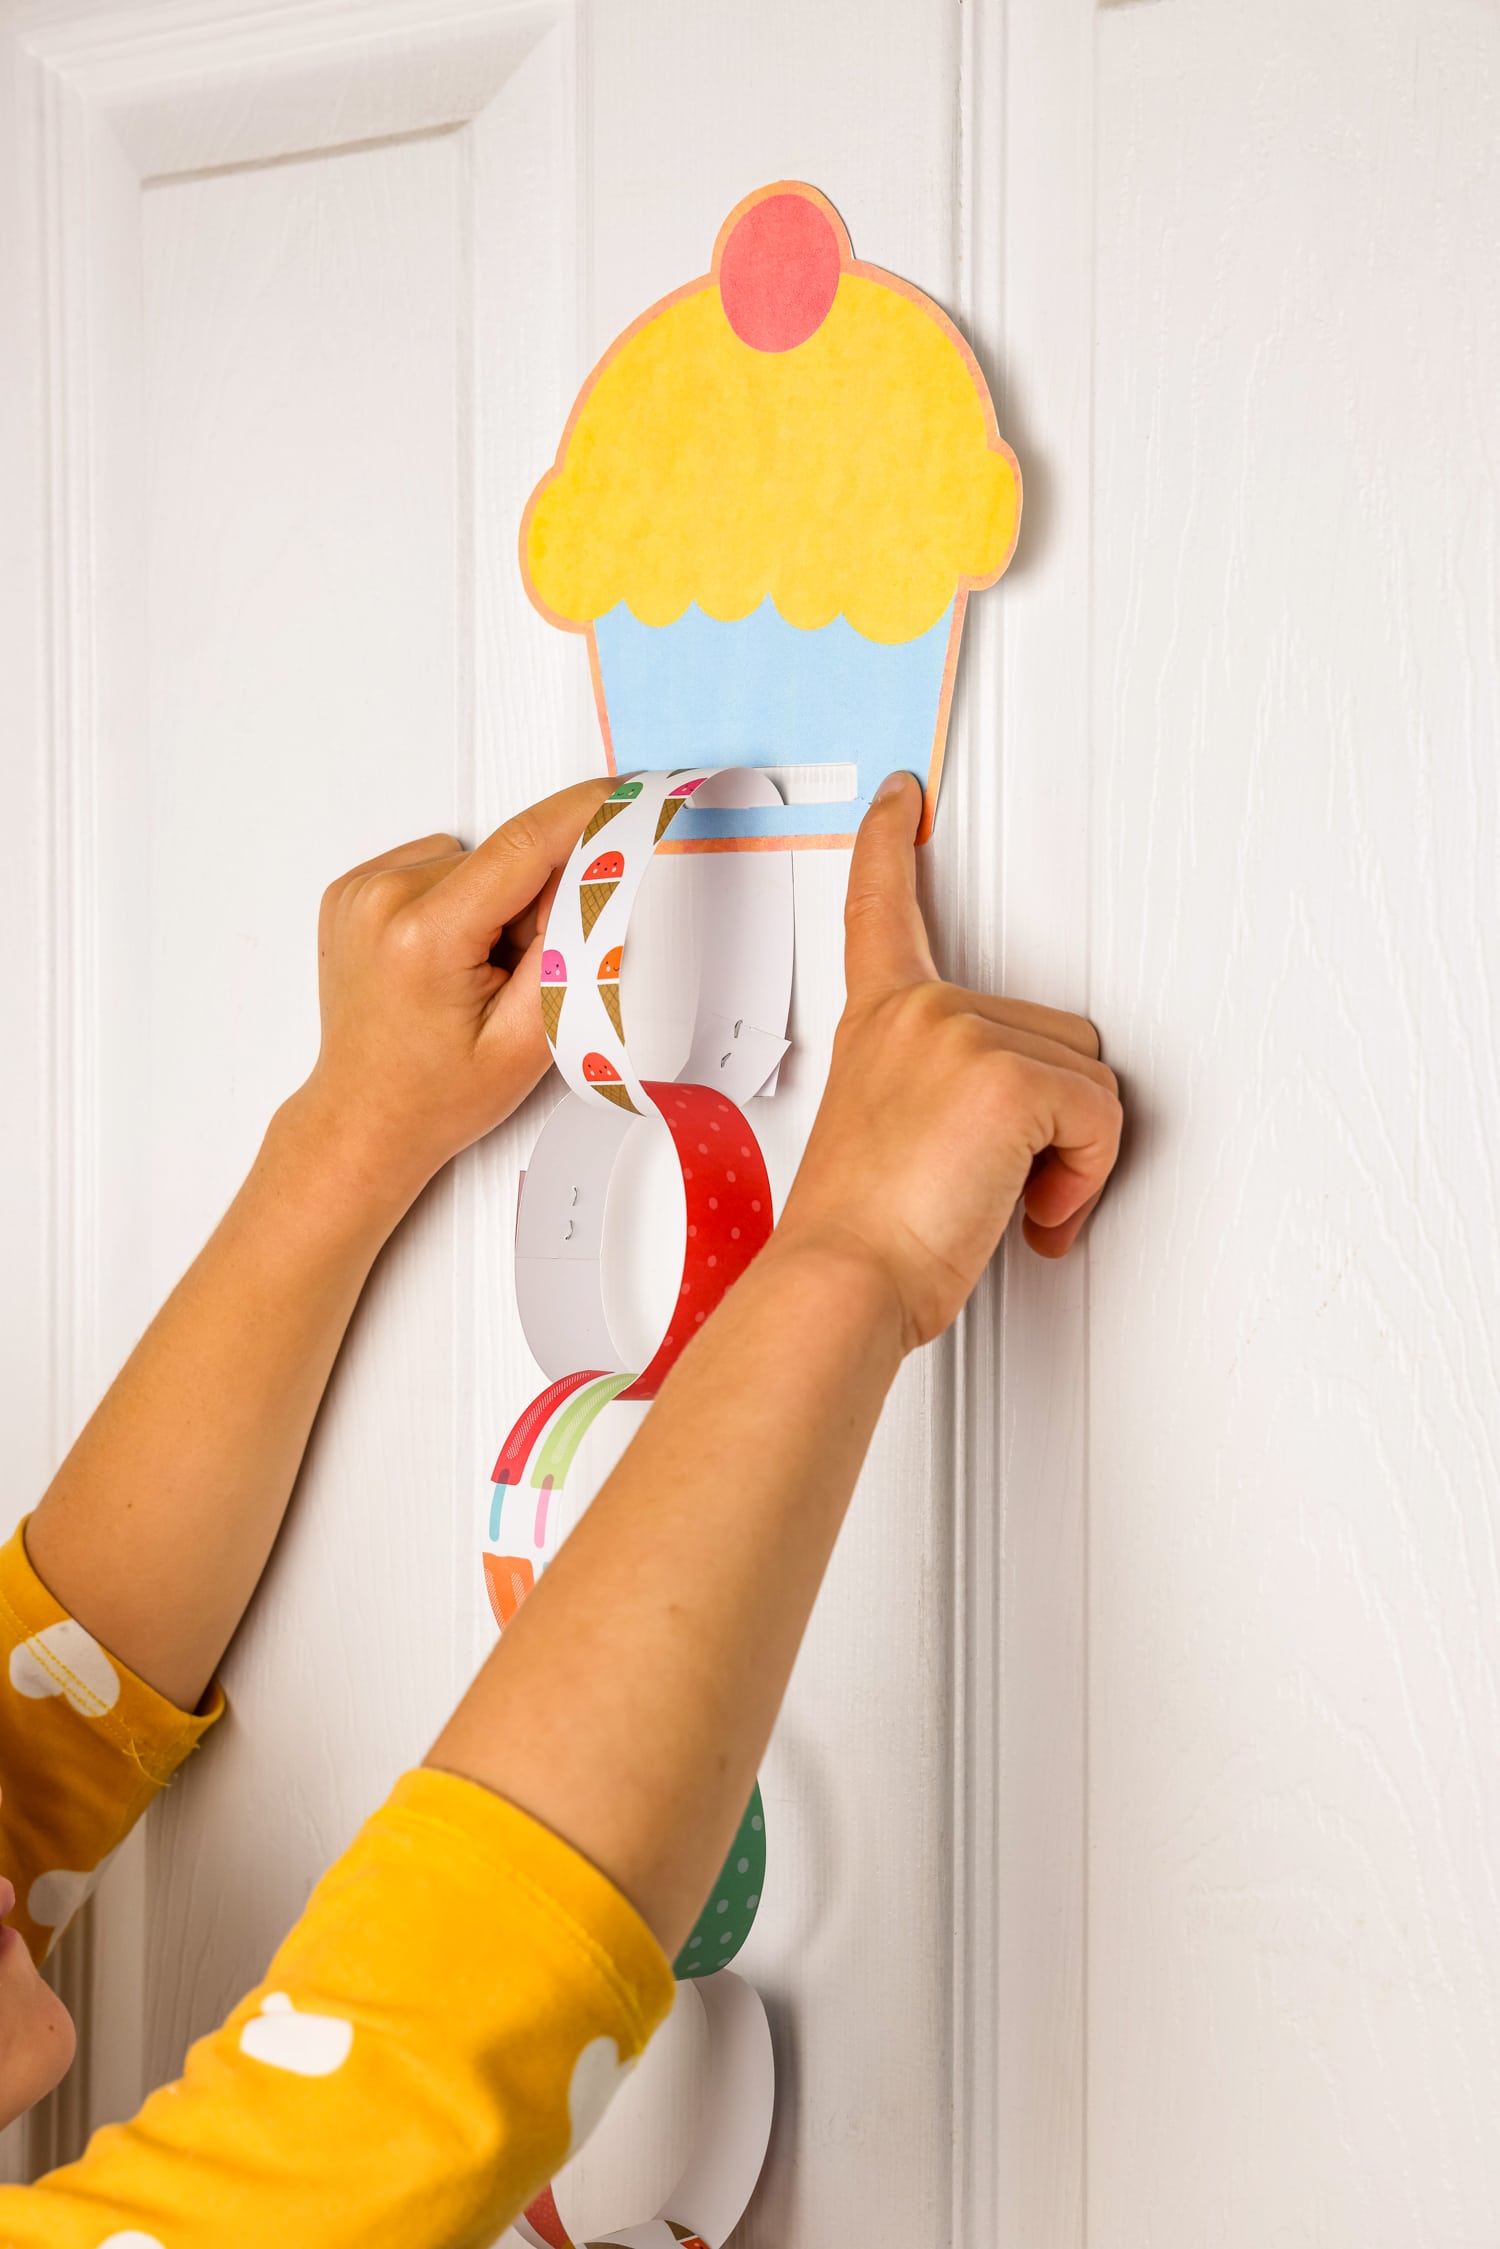
Continue this process until all of the loops are linked together. Add double sided tape to the back of the cupcake and then hang your paper countdown chain onto a wall or a door.
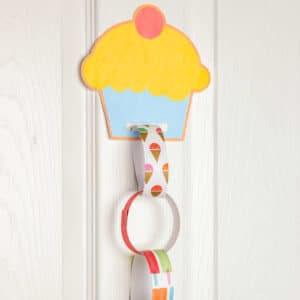
Then you can start tearing them off day by day until you reach that special event!
How long should a paper chain be?
Your birthday countdown paper chain can be however long you want it to be! If you want a short countdown, you can make 7 loops for a week. Or, you could make 31 loops for an entire month, or do whatever other amount you want! I just recommend that you don’t make a chain that’s so long that it hangs on the ground, because then it could get accidentally torn.
What paper do you use to make paper chains?
It is best to use a sturdy paper, like cardstock, to make paper chains. It will help keep the countdown from tearing too easily. You can also use construction paper, just keep in mind that it’s a little more easy to tear.
Pro Tips for the Best Birthday Countdown Paper Chain
- After the strips of paper are cut, and before they are attached together, write an encouraging message or fun phrase on the back of each one. Then, every day when your kids removes a ring, they can read a sweet message from you!
- If you want to add text to the cupcake before printing, upload it to Canva or another editing software and add a text box with whatever you want it to say! Then print.
- My paper cutter is conveniently marked with inches along the top. This makes it easy to form nice, straight lines every time! If you are using scissors, you could mark 1-inch sections lightly with a pencil, and then
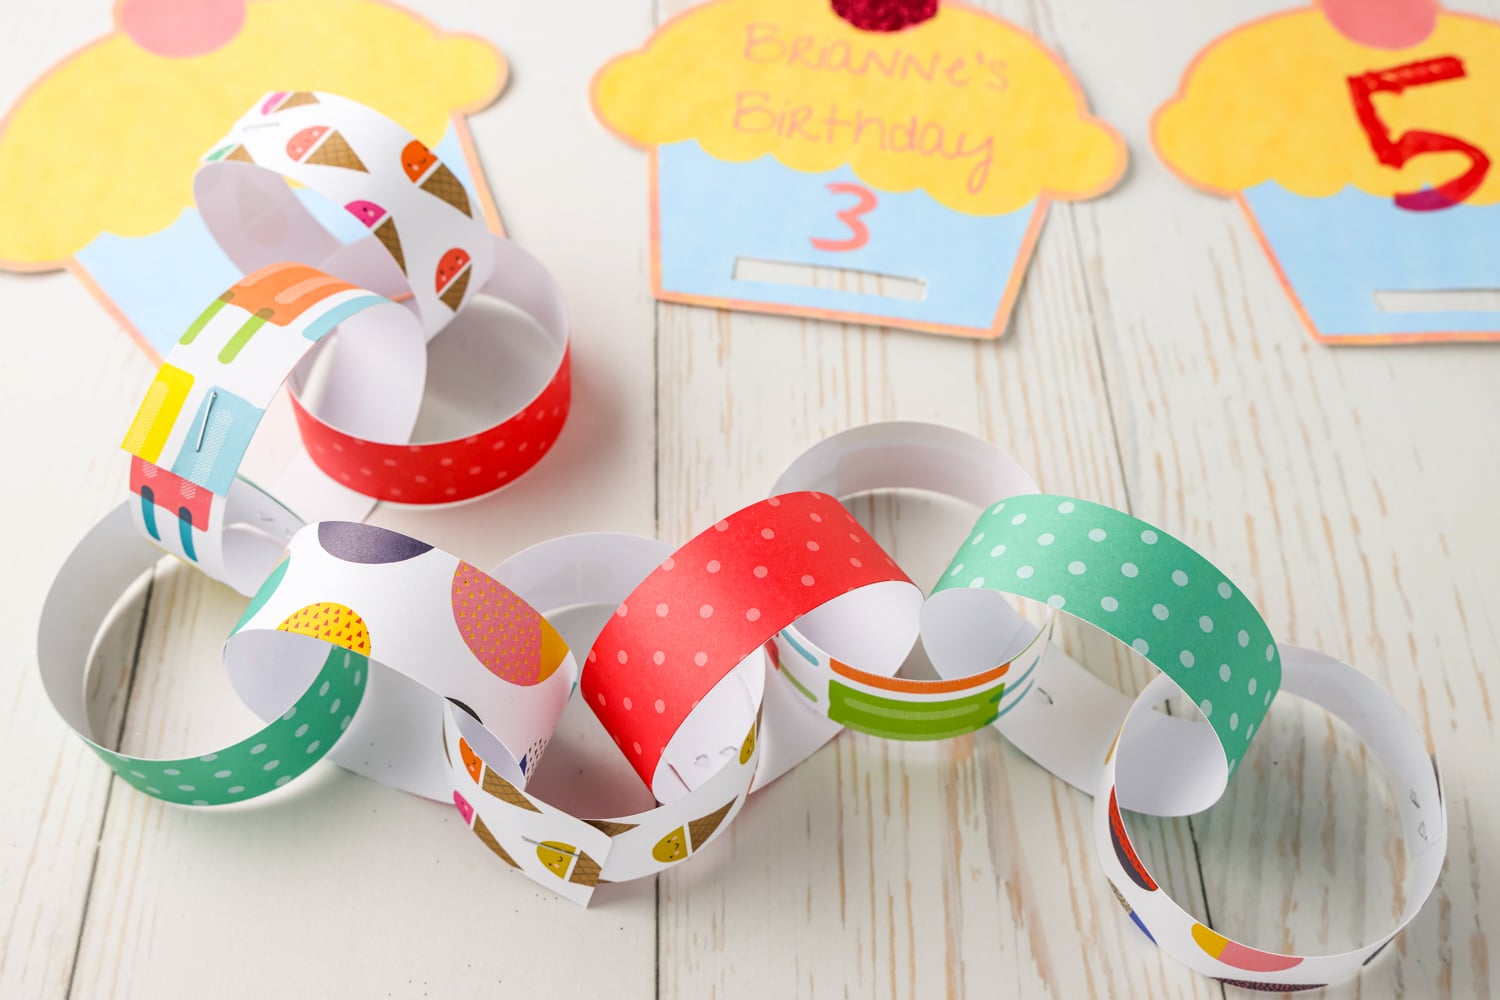
This is one of the coolest birthday countdown ideas! Cheers to your next special day!
More Super Cute Crafts You’ll Love!
- DIY Felt Envelopes have so many creative uses. They’re easy to make and great for imaginative play too!
- Got kiddos that are dying to see Santa and his reindeer? Then make these adorable Santa Binoculars!
- This Paper Plate Shark Craft is a fun craft to make when you’re learning about sea creatures.
- Make these precious Star Suncatchers for all of your favorite patriotic holidays!
Paper Chain Birthday Countdown
Ingredients
- Cardstock or construction paper in colors or patterns of your choice
- Paper cutter or scissors If you use scissors to cut your strips, a ruler will come in handy!
- Stapler
- Cupcake printable optional
- Sticky dots or double-sided tape optional
Instructions
- If you are going to use the printable cupcake, print it out on white cardstock. If you would like to edit the cupcake with text, I did this by uploading the picture in Canva and adding a text box!
- Choose a color or pattern of paper that you want to follow for your chain.
- Decide how many chains you will need for your countdown by counting the number of days until the birthday.
- Cut the colored cardstock or construction paper into 1-inch strips using your paper cutter or scissors. My paper cutter is conveniently marked with inches along the top. This makes it easy to form nice, straight lines every time! If you are using scissors, you could mark 1-inch sections lightly with a pencil, and then cut across.
- Once you have all of your paper strips cut, you can start to assemble the birthday chain!
- If you’re using the printable cupcake, cut it out. Cut out the rectangle in the bottom middle. Using your scissors, you will have to carefully poke a hole in the center of the rectangle, and then cut around the edges. This is where you will slide your first chain in! If you would like to decorate the cupcake, now would be the perfect time to do so! You can use crayons, markers, special pens, and glitter… The possibilities are endless! Make it unique!
- Take one paper strips and slide it through the opening in the cupcake. You will form a circle with the strip by taking one end and overlapping the other end by about ½ inch. If you are not using the cupcake printable, simply form a circle with the first strip of paper and staple it together. This is the start of your chain!
- Staple the two ends together where they overlap.
- Take another strip and send one end through the circle you formed in step 5.
- Form another circle using this strip of paper by attaching the ends the same way. The first chain will be connected, and you will simply staple the two ends of the second strip of paper together while leaving the first chain “linked” inside.
- Continue Step 8 until the number of chains matches the number of days that you need to complete your countdown!
- If you would like to tear one right away (like my kids always do!) add an extra chain to your countdown chain. 😊
- Tear one chain off each day until you have reached your special day!