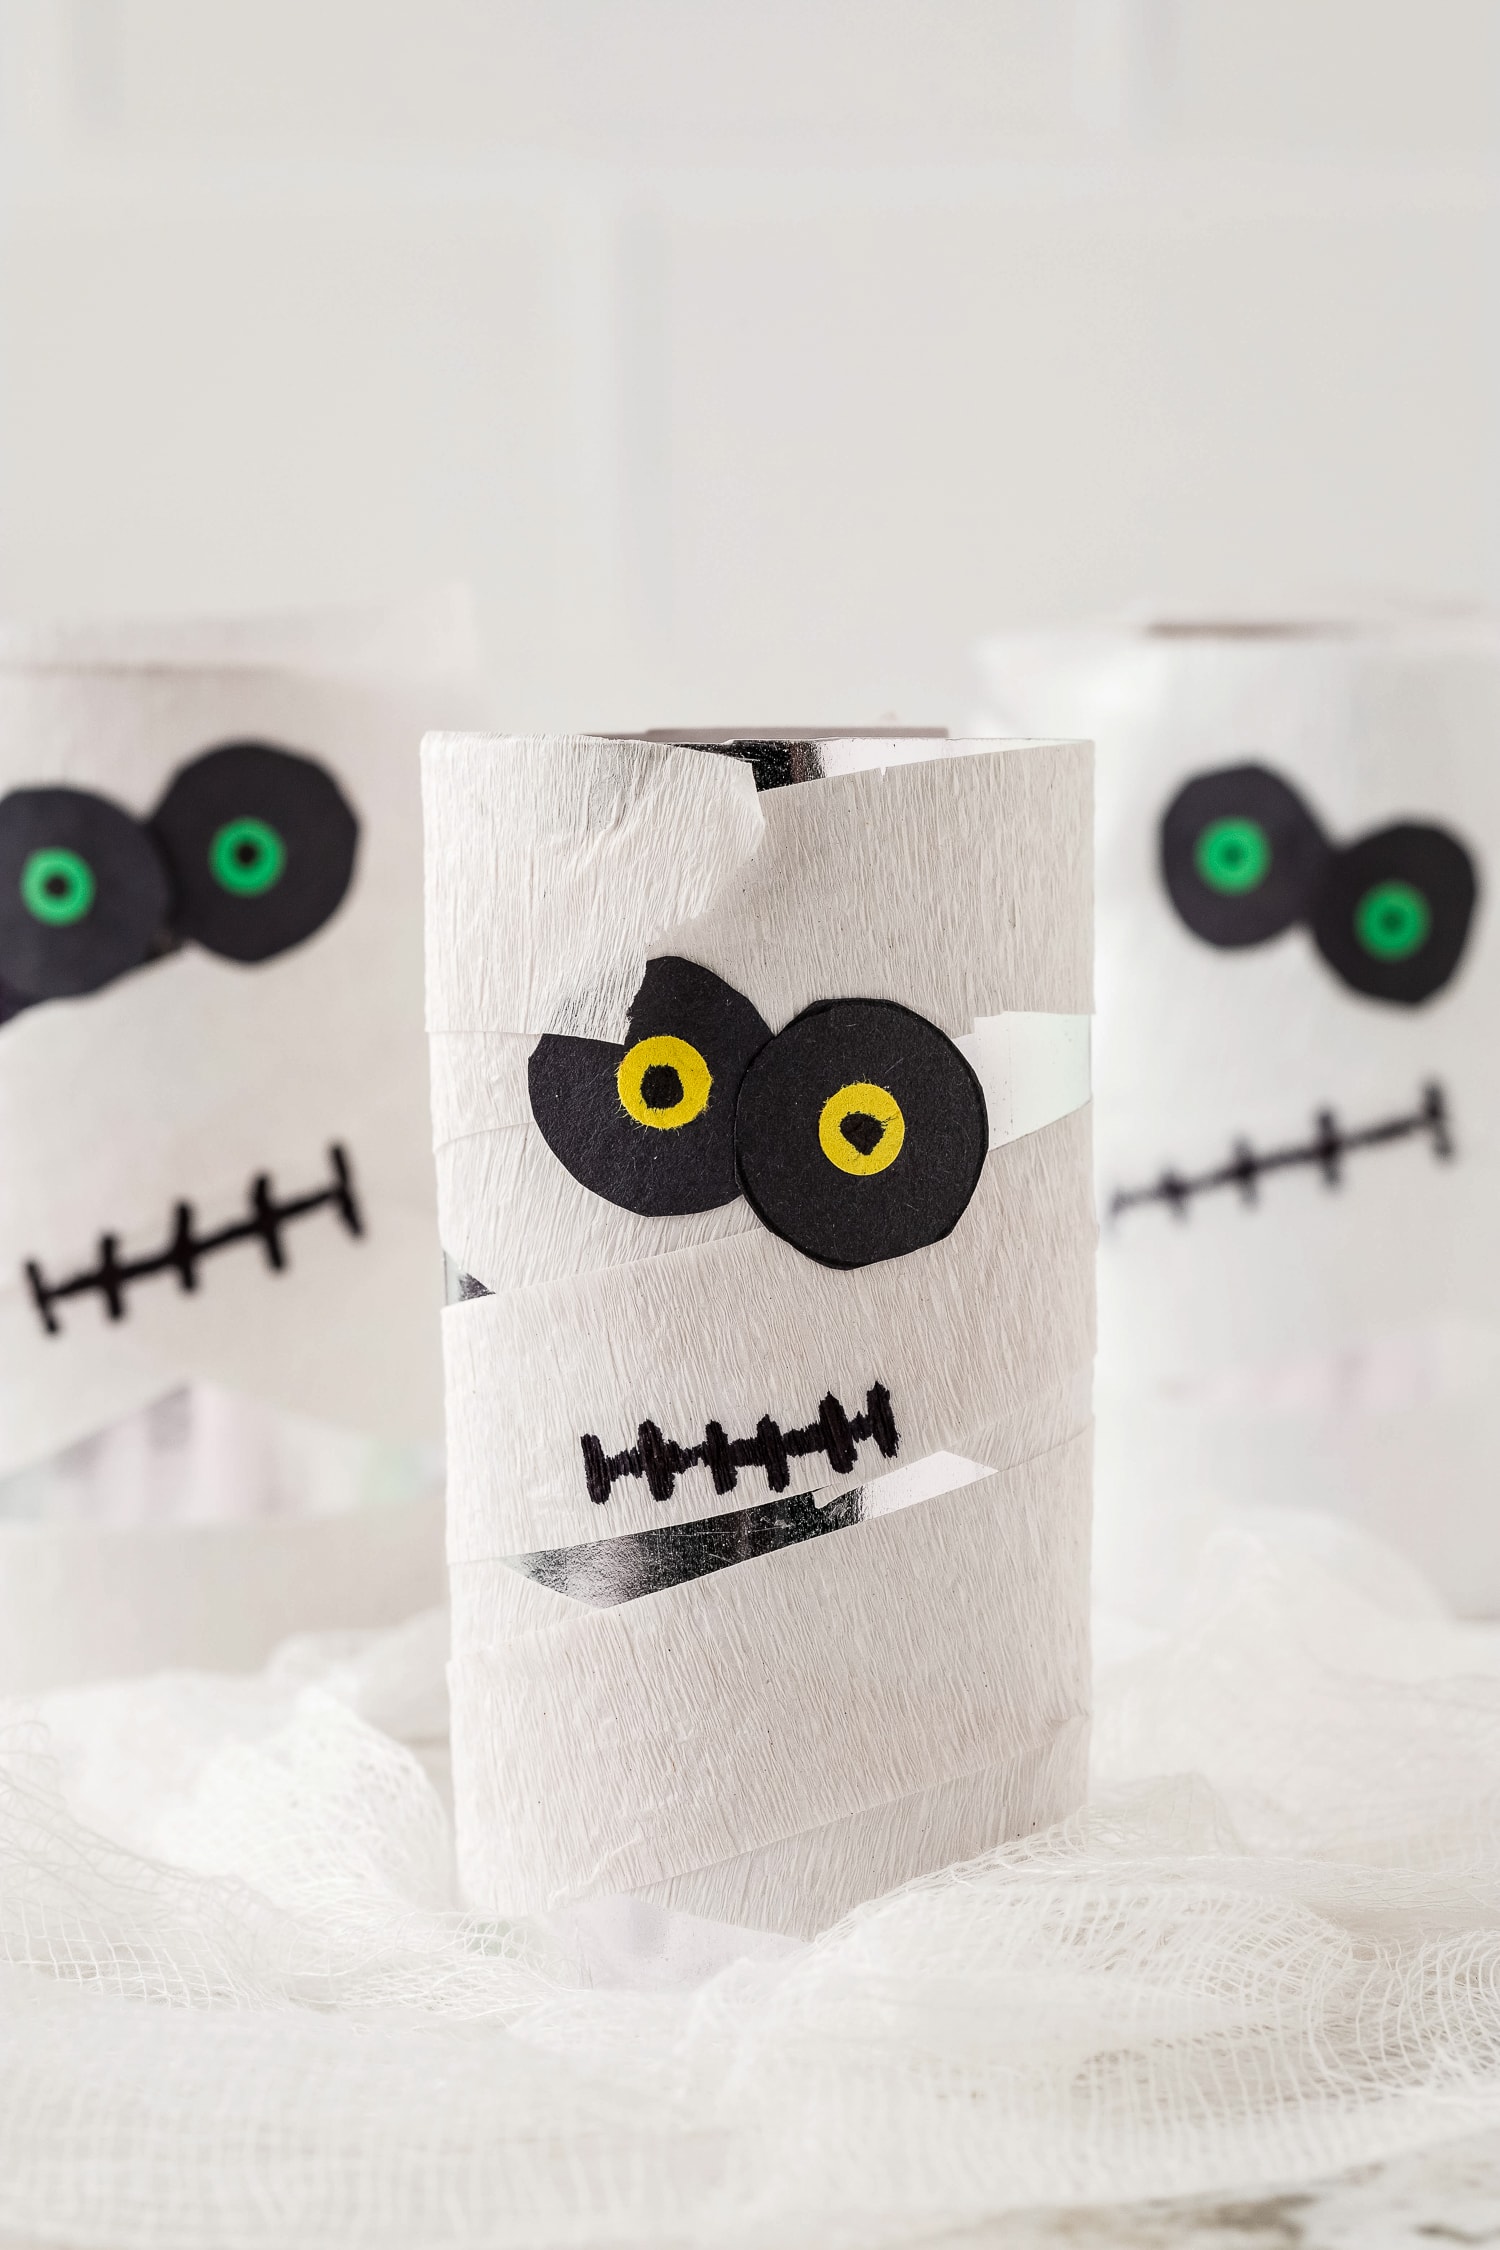
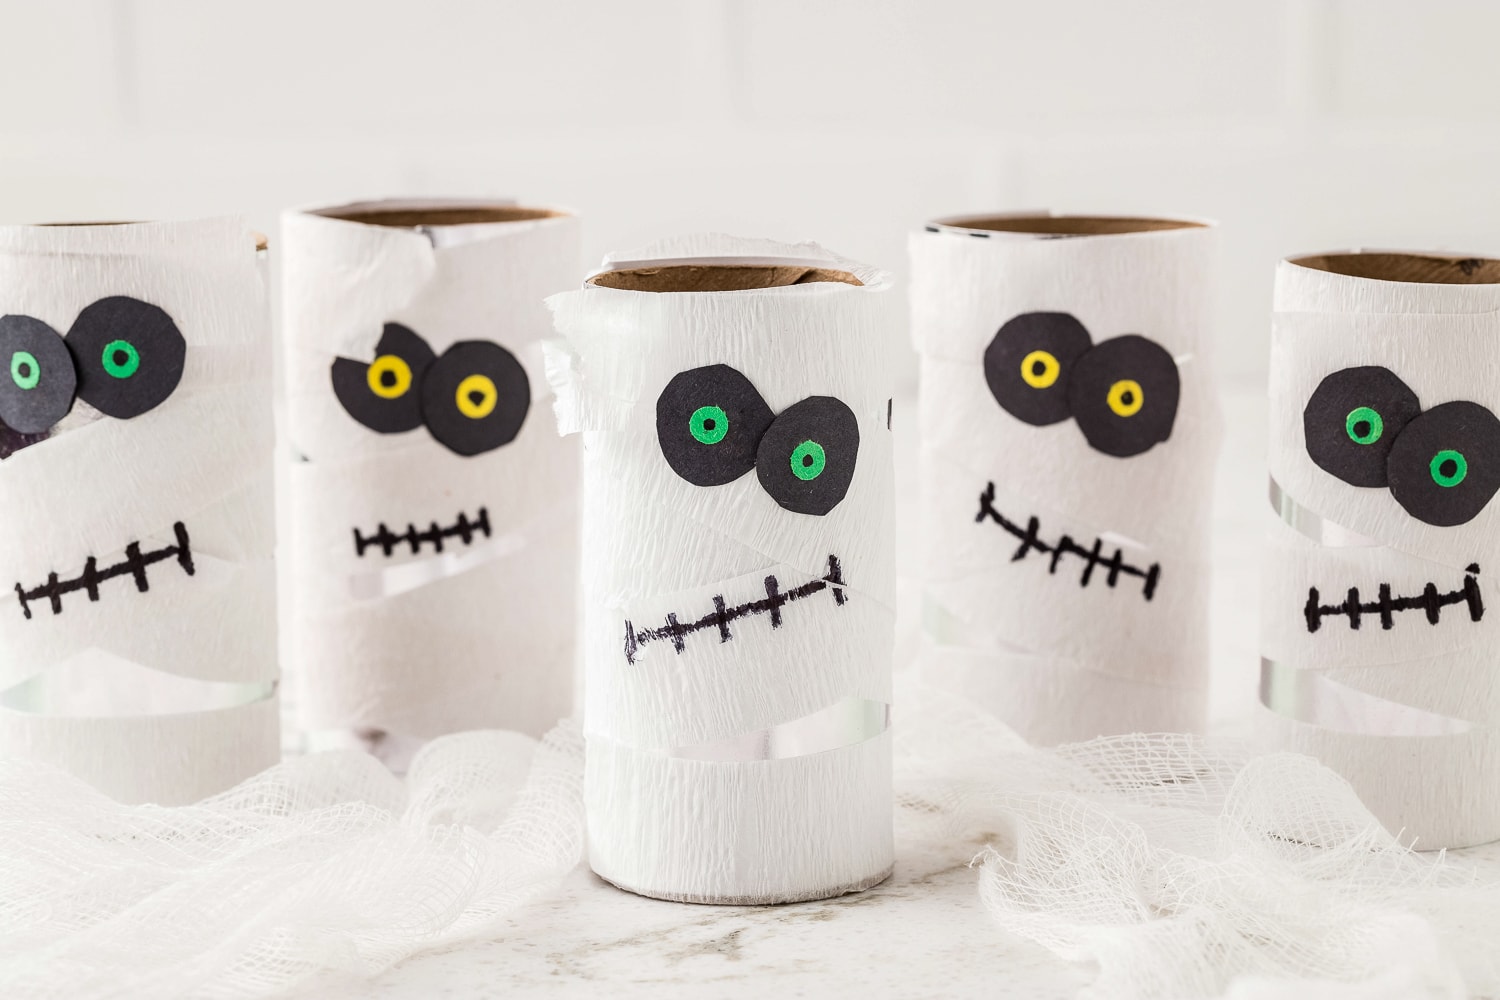
Toilet Paper Roll Mummy Craft
Fun Toilet Paper Roll Mummy Craft is so easy to put together and creepy for Halloween! Recycle a toilet paper roll into a scary mummy with a few household craft supplies!
At our house the kids are always looking for easy crafts to do and I’m always looking for easy ones that I have supplies for and don’t require a ton of work on my end or prep time. Plus, if they aren’t messy it’s another win!
That’s why we love this adorable Mummy Craft for Halloween that’s made with recycle toilet paper rolls.
It only takes about 15 minutes to make and it’s not messy or hard! Older kids can make it on their own easily and the younger kids will love helping you cut, trace and paste.
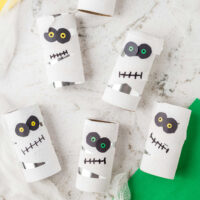
Make this for Halloween parties at school, during group activities or at home!
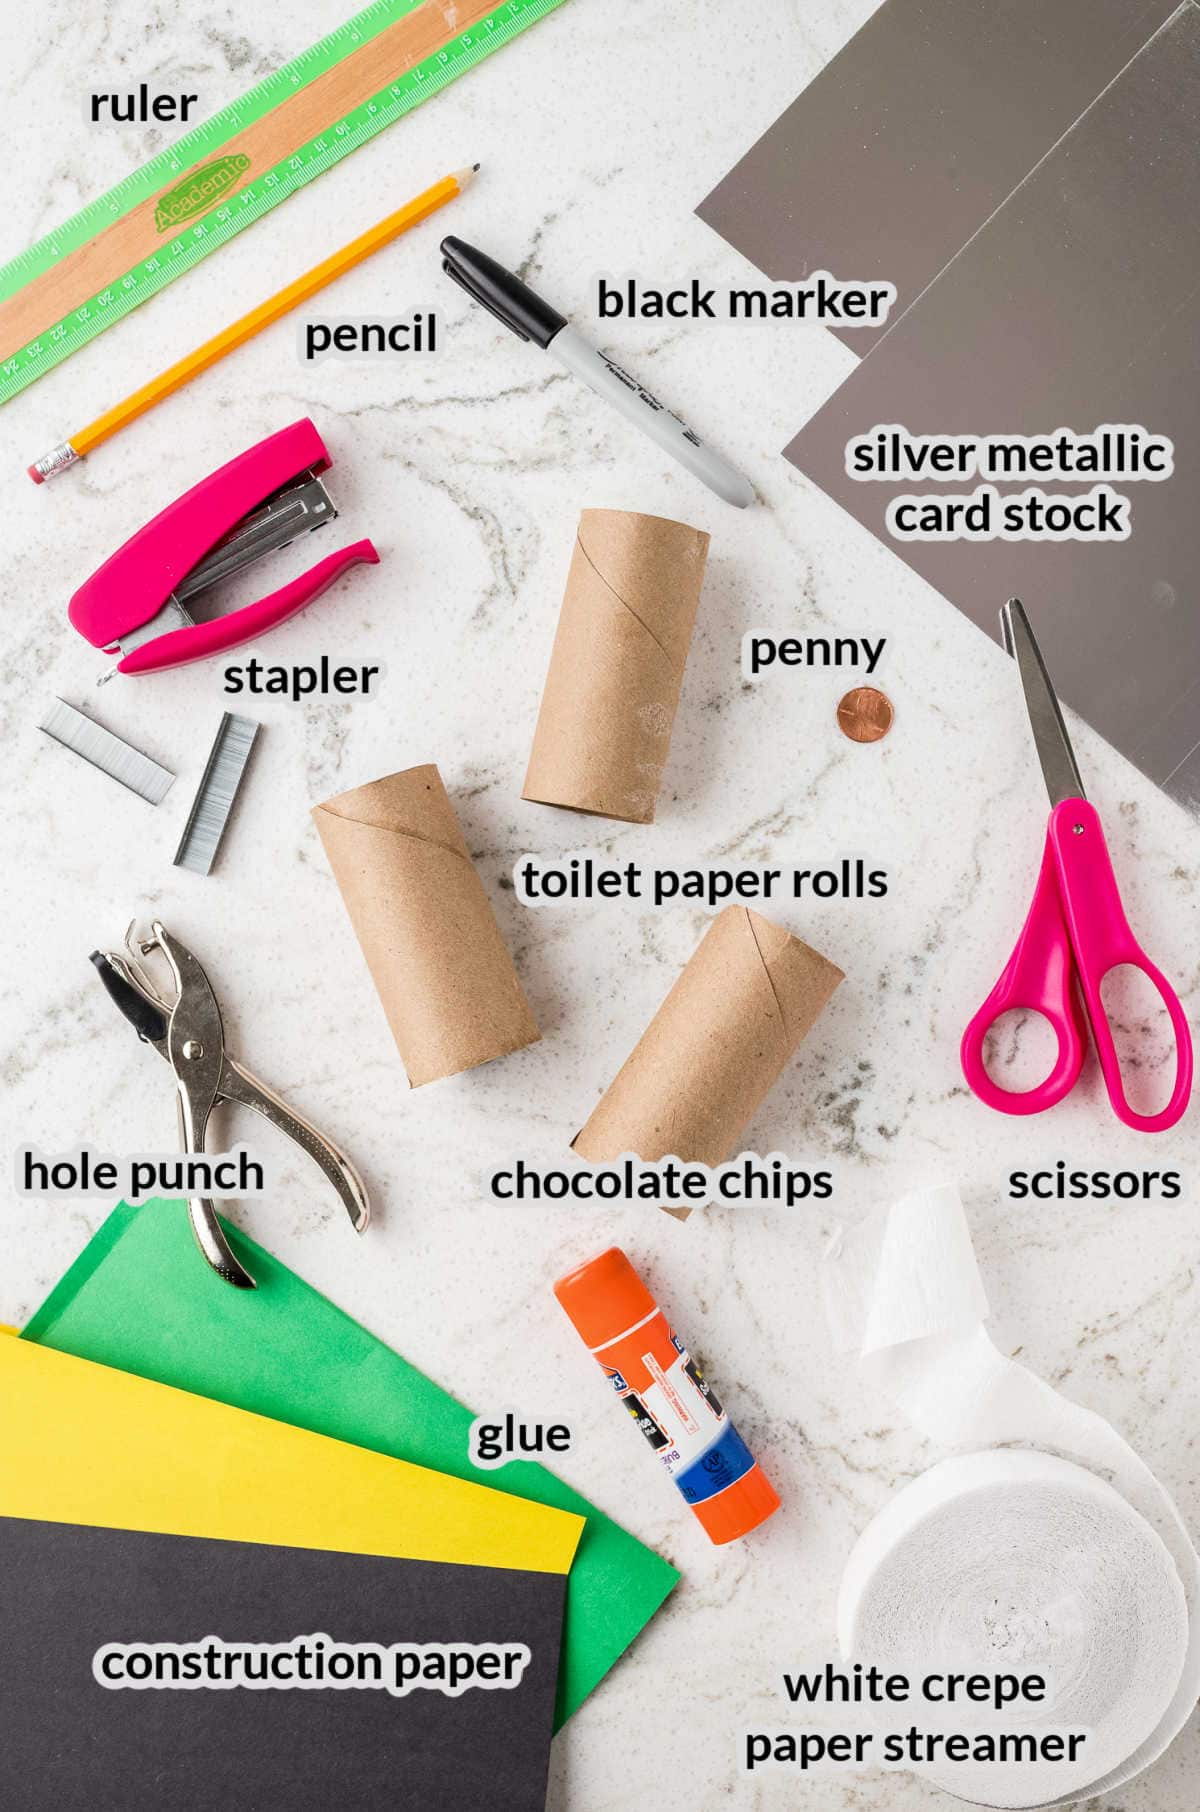
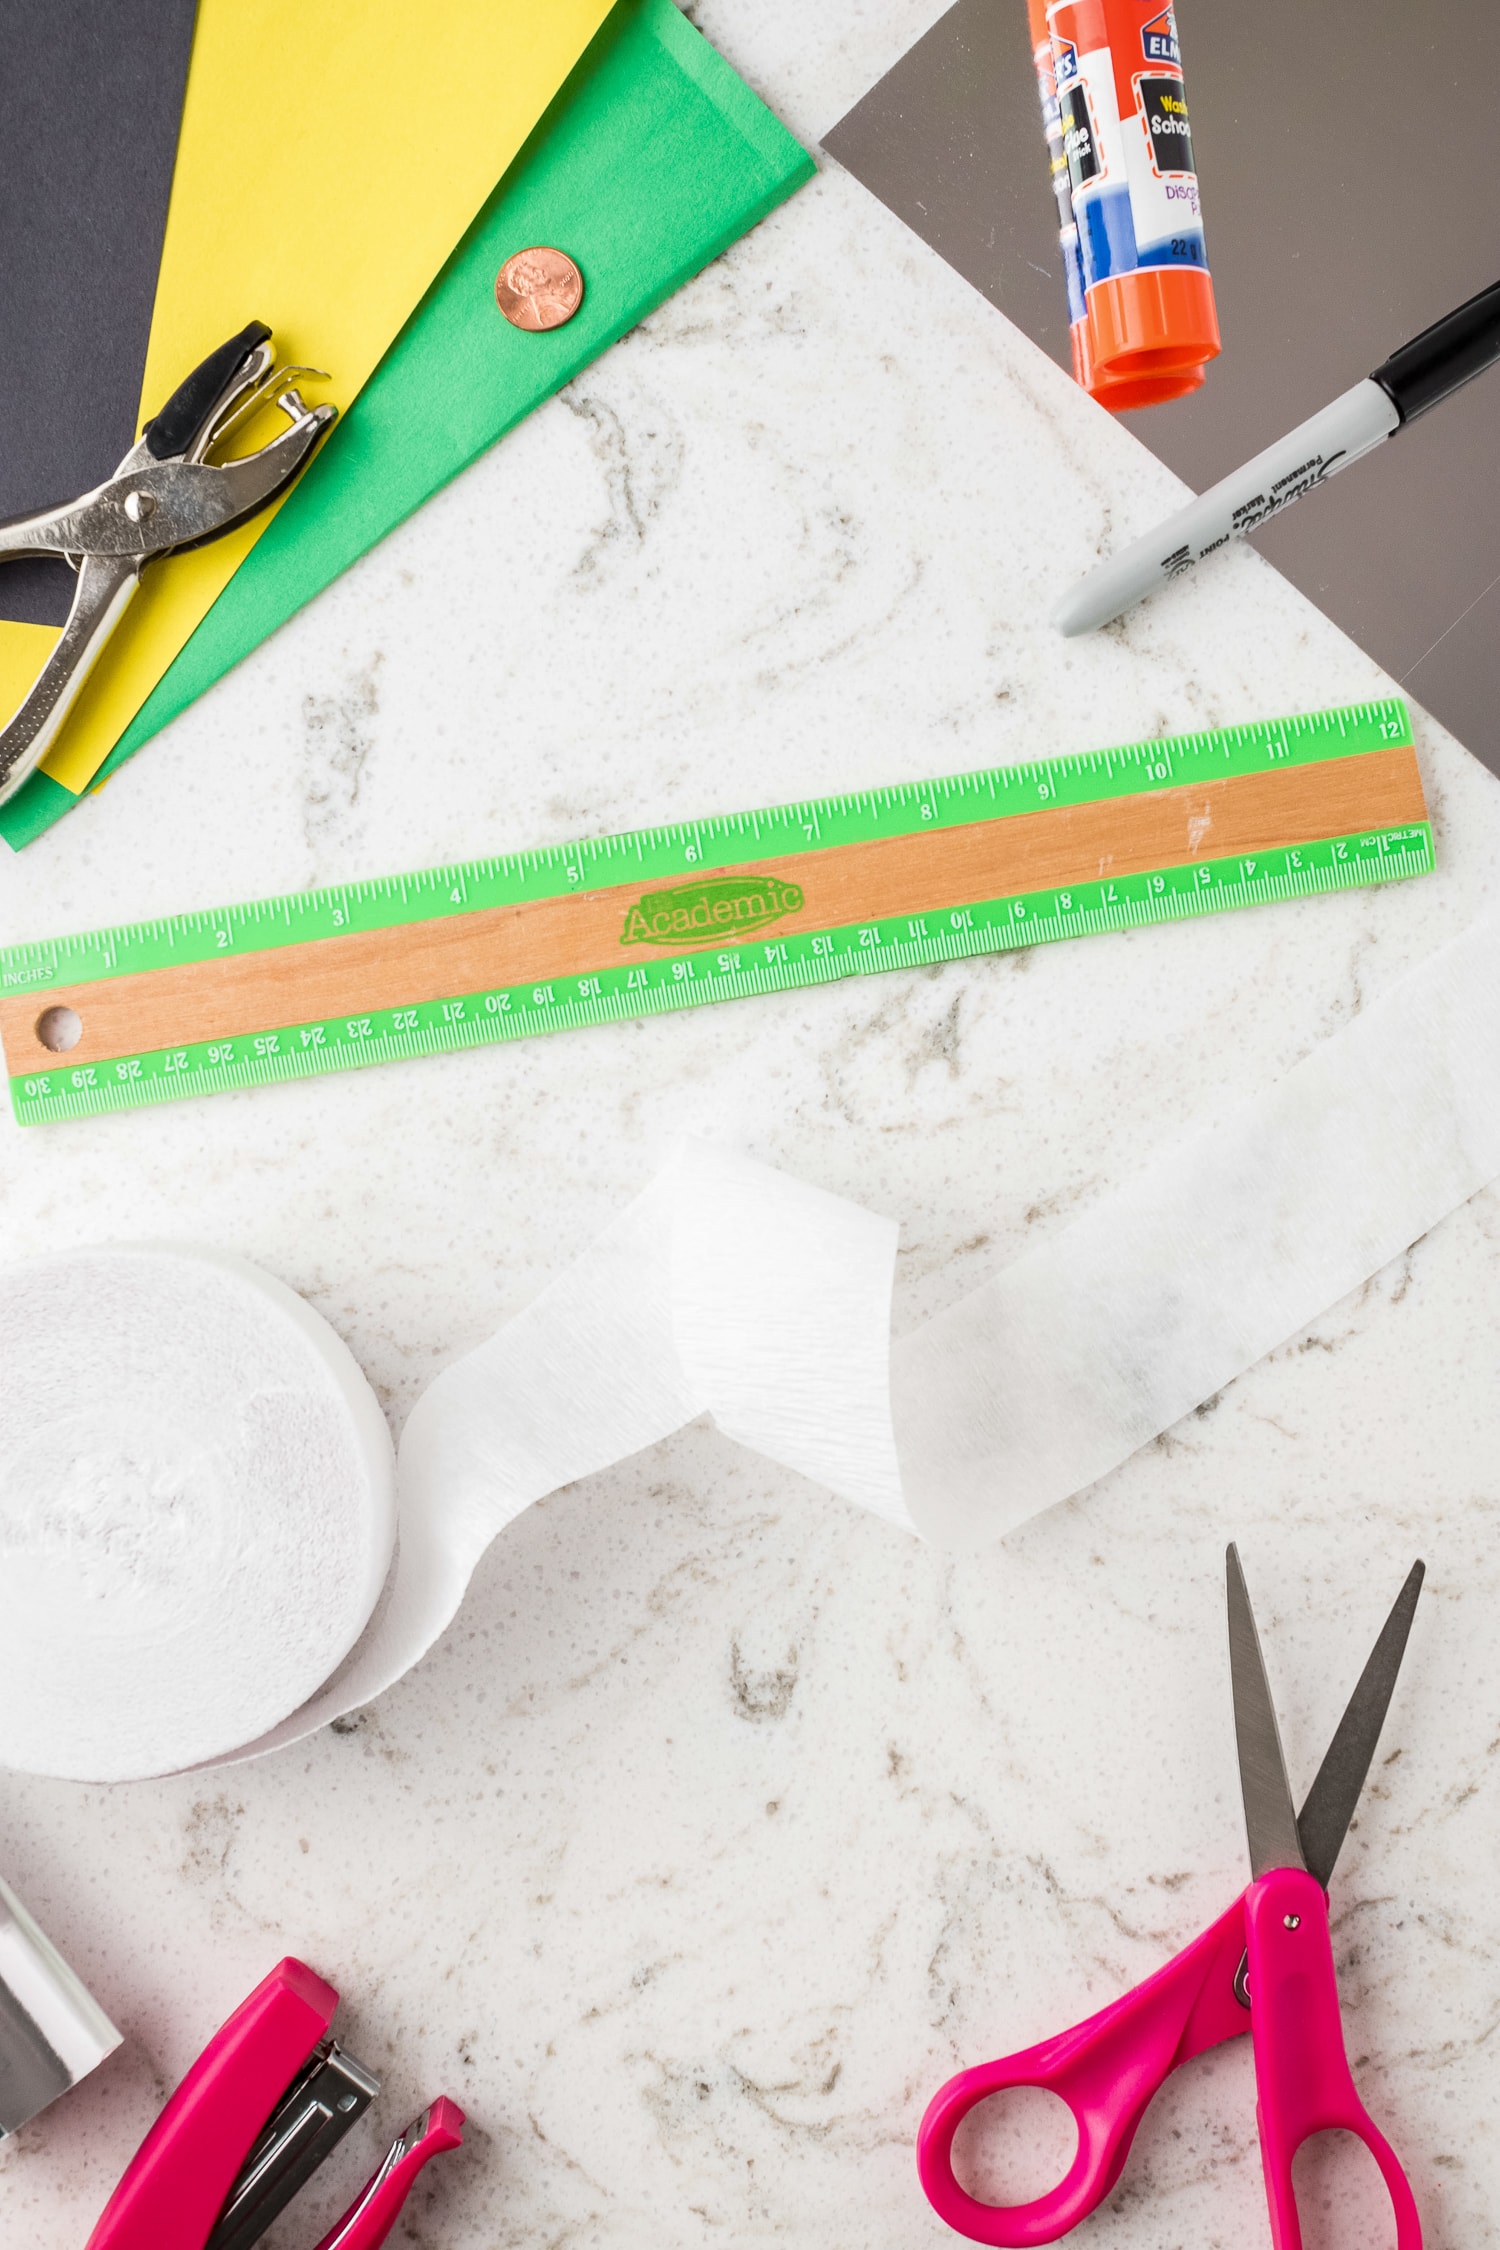
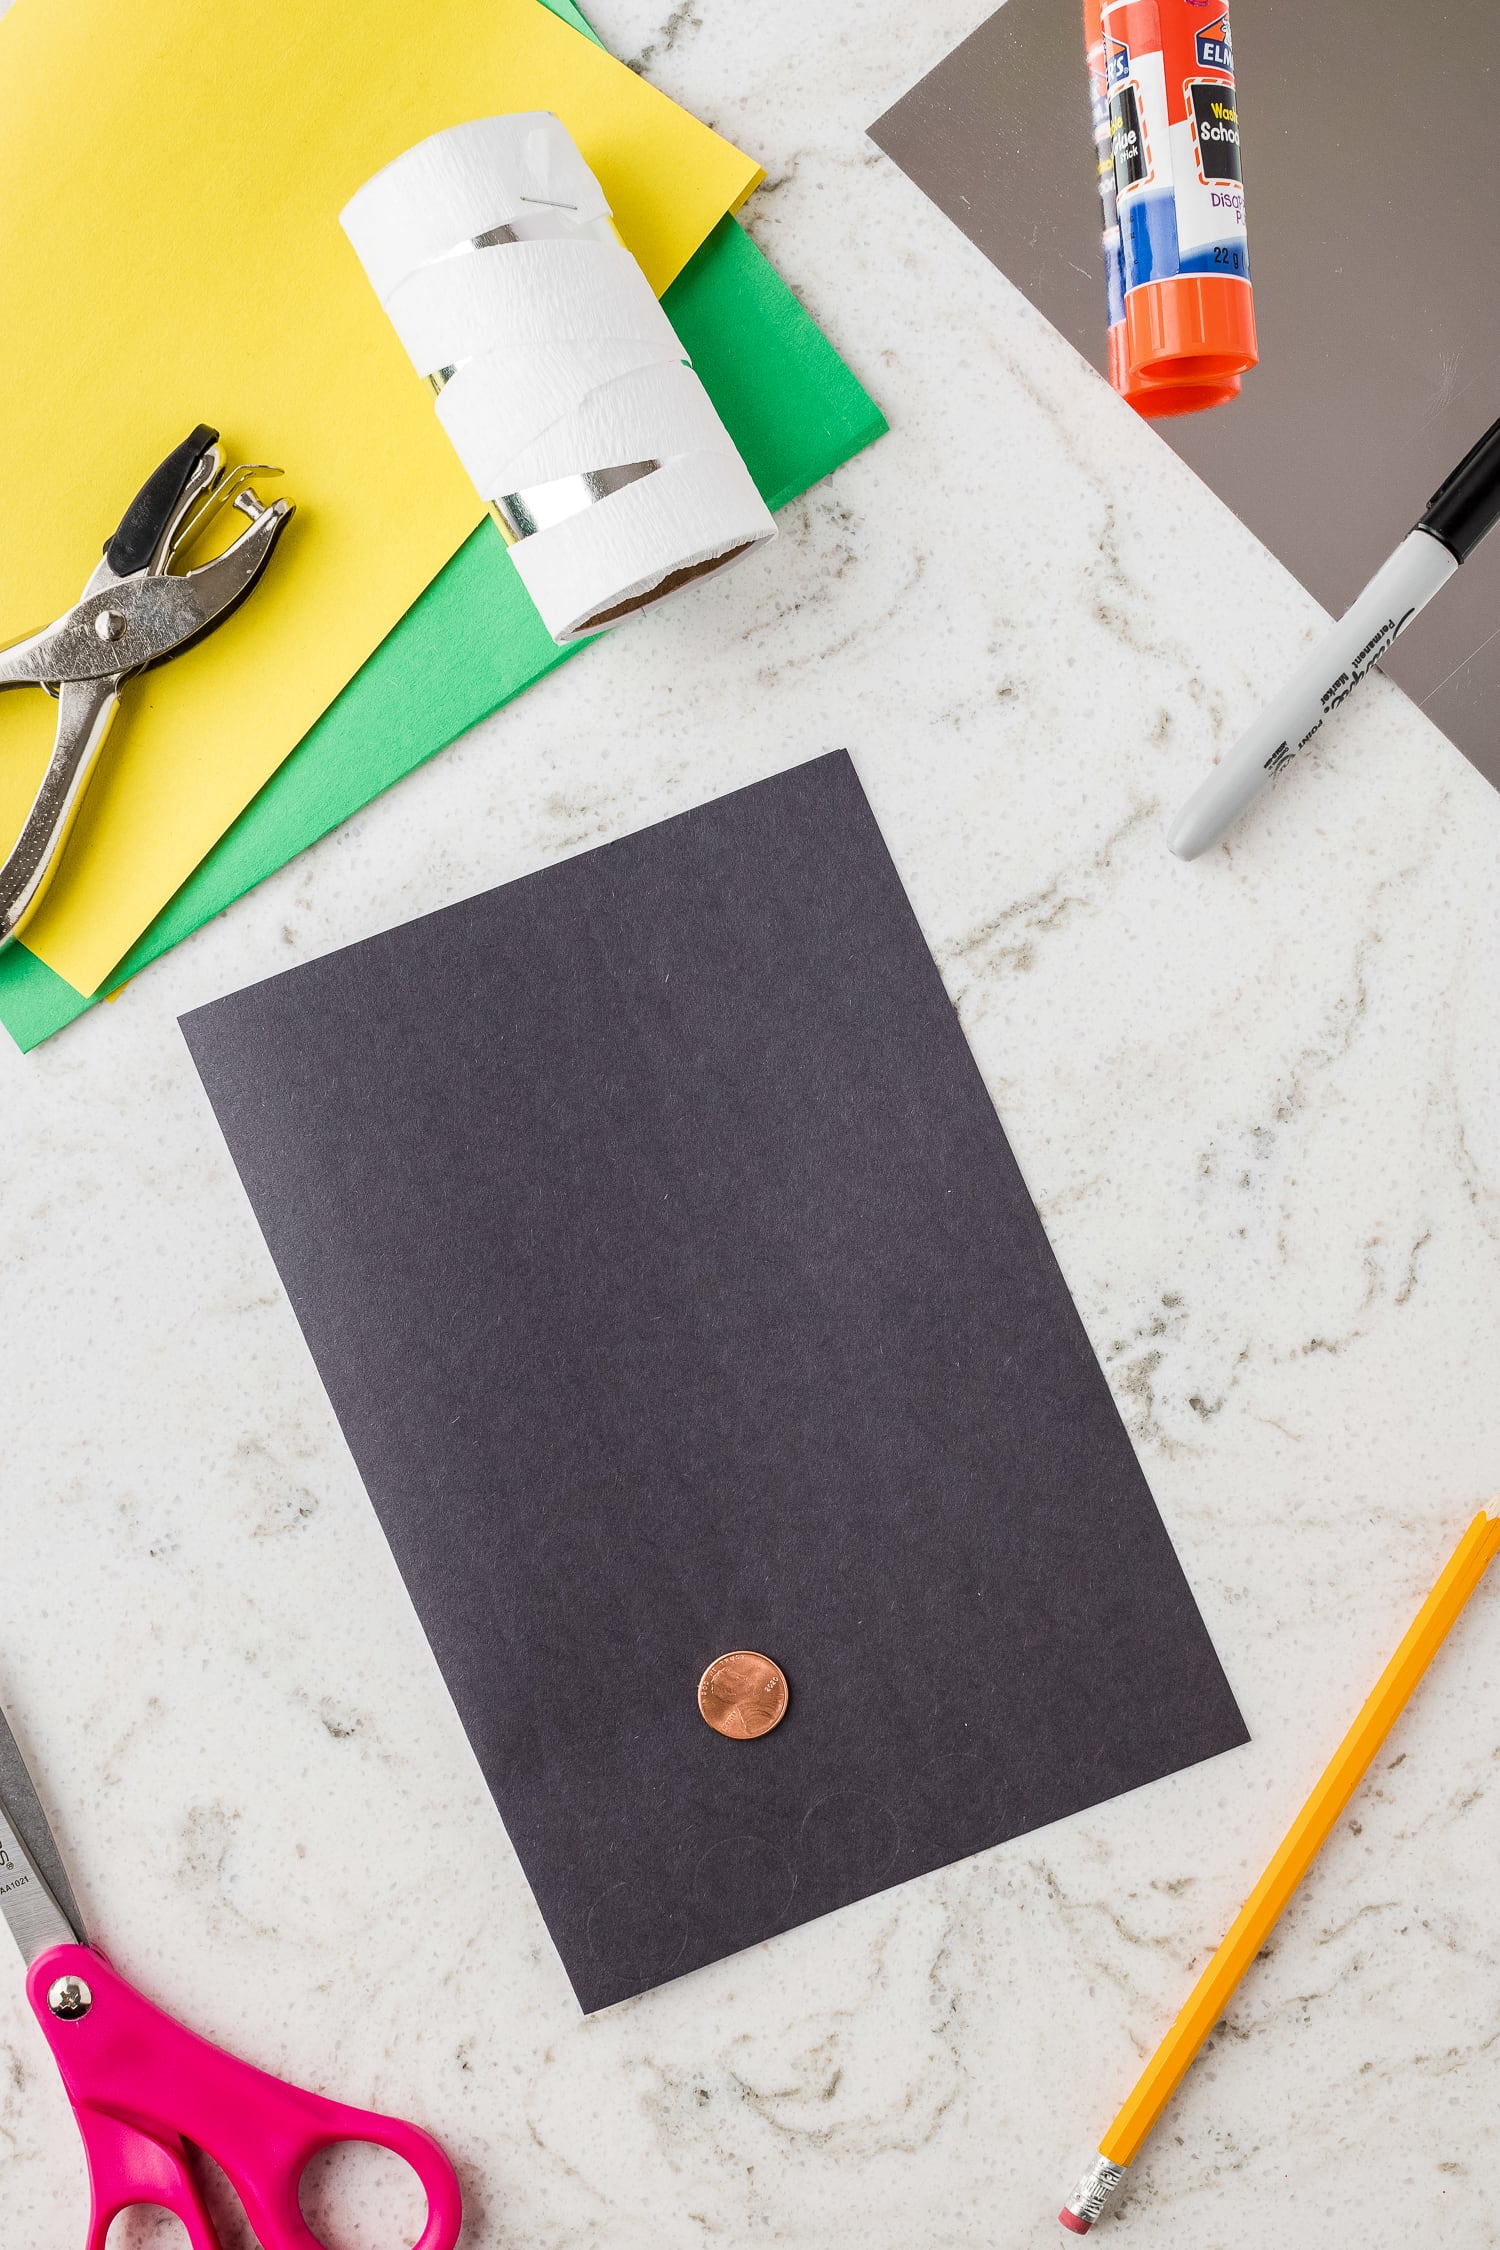
Supplies Needed for Mummy Craft
- Toilet paper roll – Reduce, reuse, and recycle! We used a recycled toilet paper roll for this activity, you could also cut a paper towel roll in half.
- Silver metallic card stock – we used silver metallic card stock, but you could use any card stock or construction paper of your choice.
- Ruler – we used a standard ruler for this craft.
- White crepe paper streamer – we used crepe paper streamers for this project, but you could also use tissue paper.
- Stapler – we used a small stapler for this activity.
- Construction paper – We used black, green, and yellow, but you could also use card stock.
- Single hole punch – we used a single hole punch for this craft, but you could also draw the small circles.
- Pencil – we used a pencil, but you could use a pen or another writing utensil.
- Penny – we used a penny to trace the circles for the eyes, but you could also use something similar or draw them freehand.
- Marker – we used a black marker, but you could also use a colored pencil or marker.
- Scissors – Make sure you use a sharp, clean scissors for the best cut.
- Glue Stick – we used a glue stick for this project, but you can use any craft glue.
How to Make Easy Mummy Craft for Halloween!
Now that you have your craft supplies gathered it times to make your mummy!
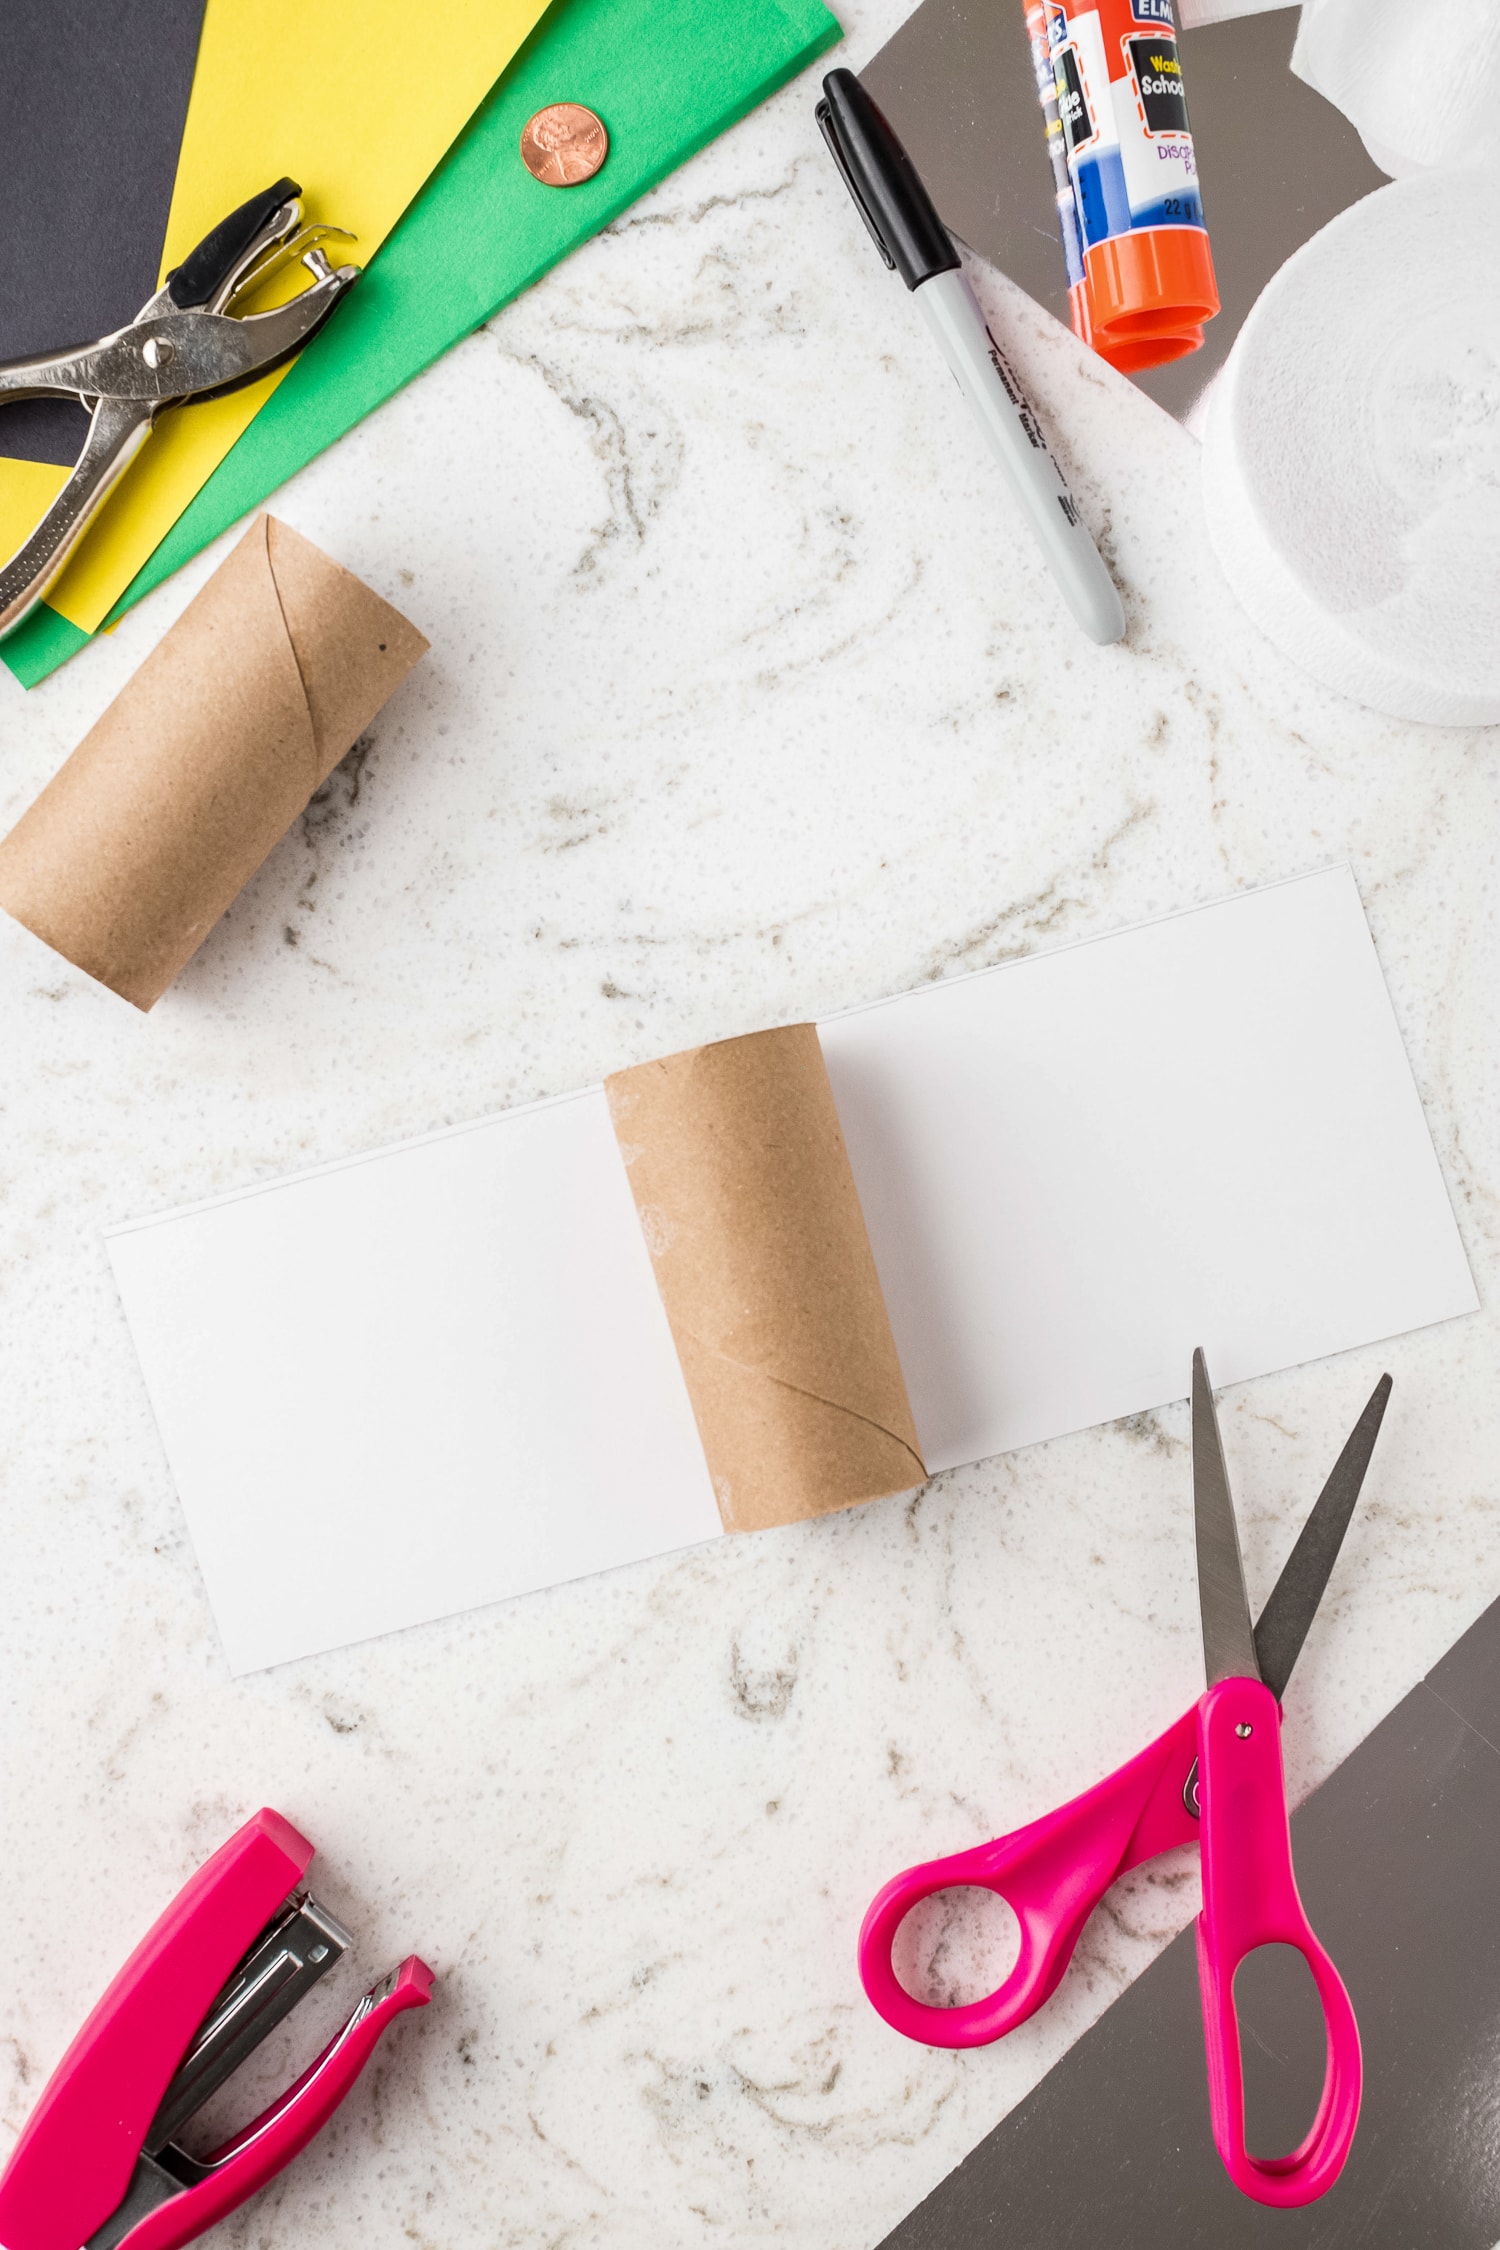
Make the body!
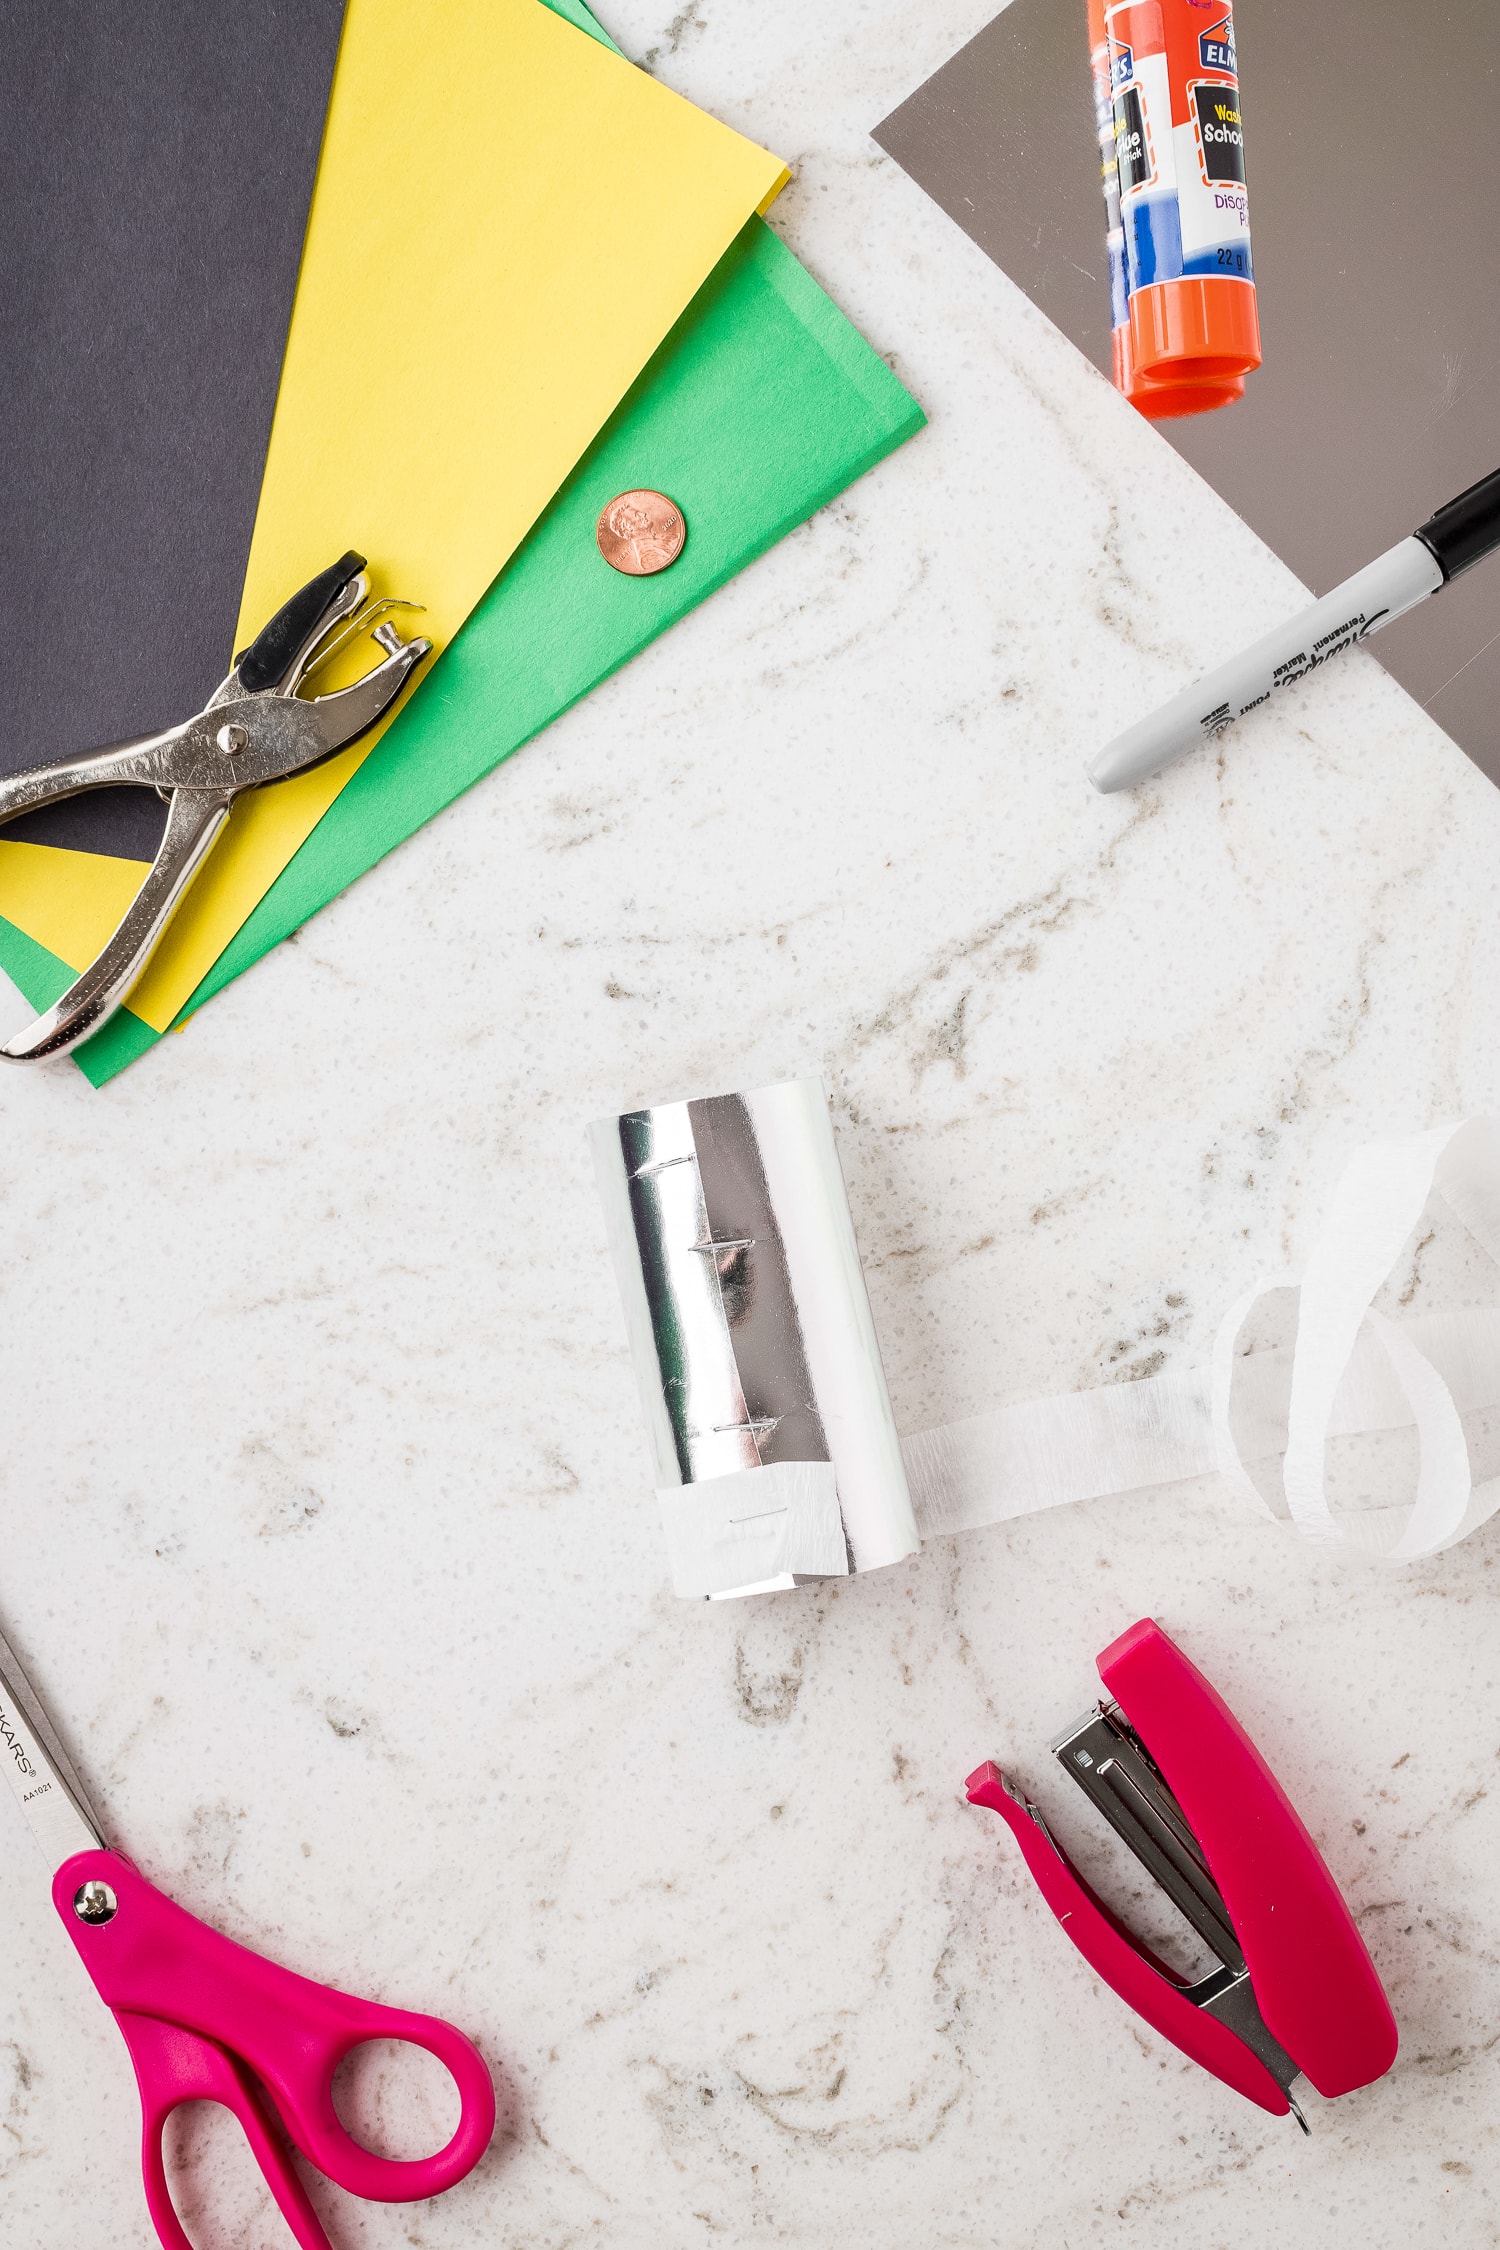
Start by cutting the silver metallic card stock to the size of a recycled toilet paper roll.
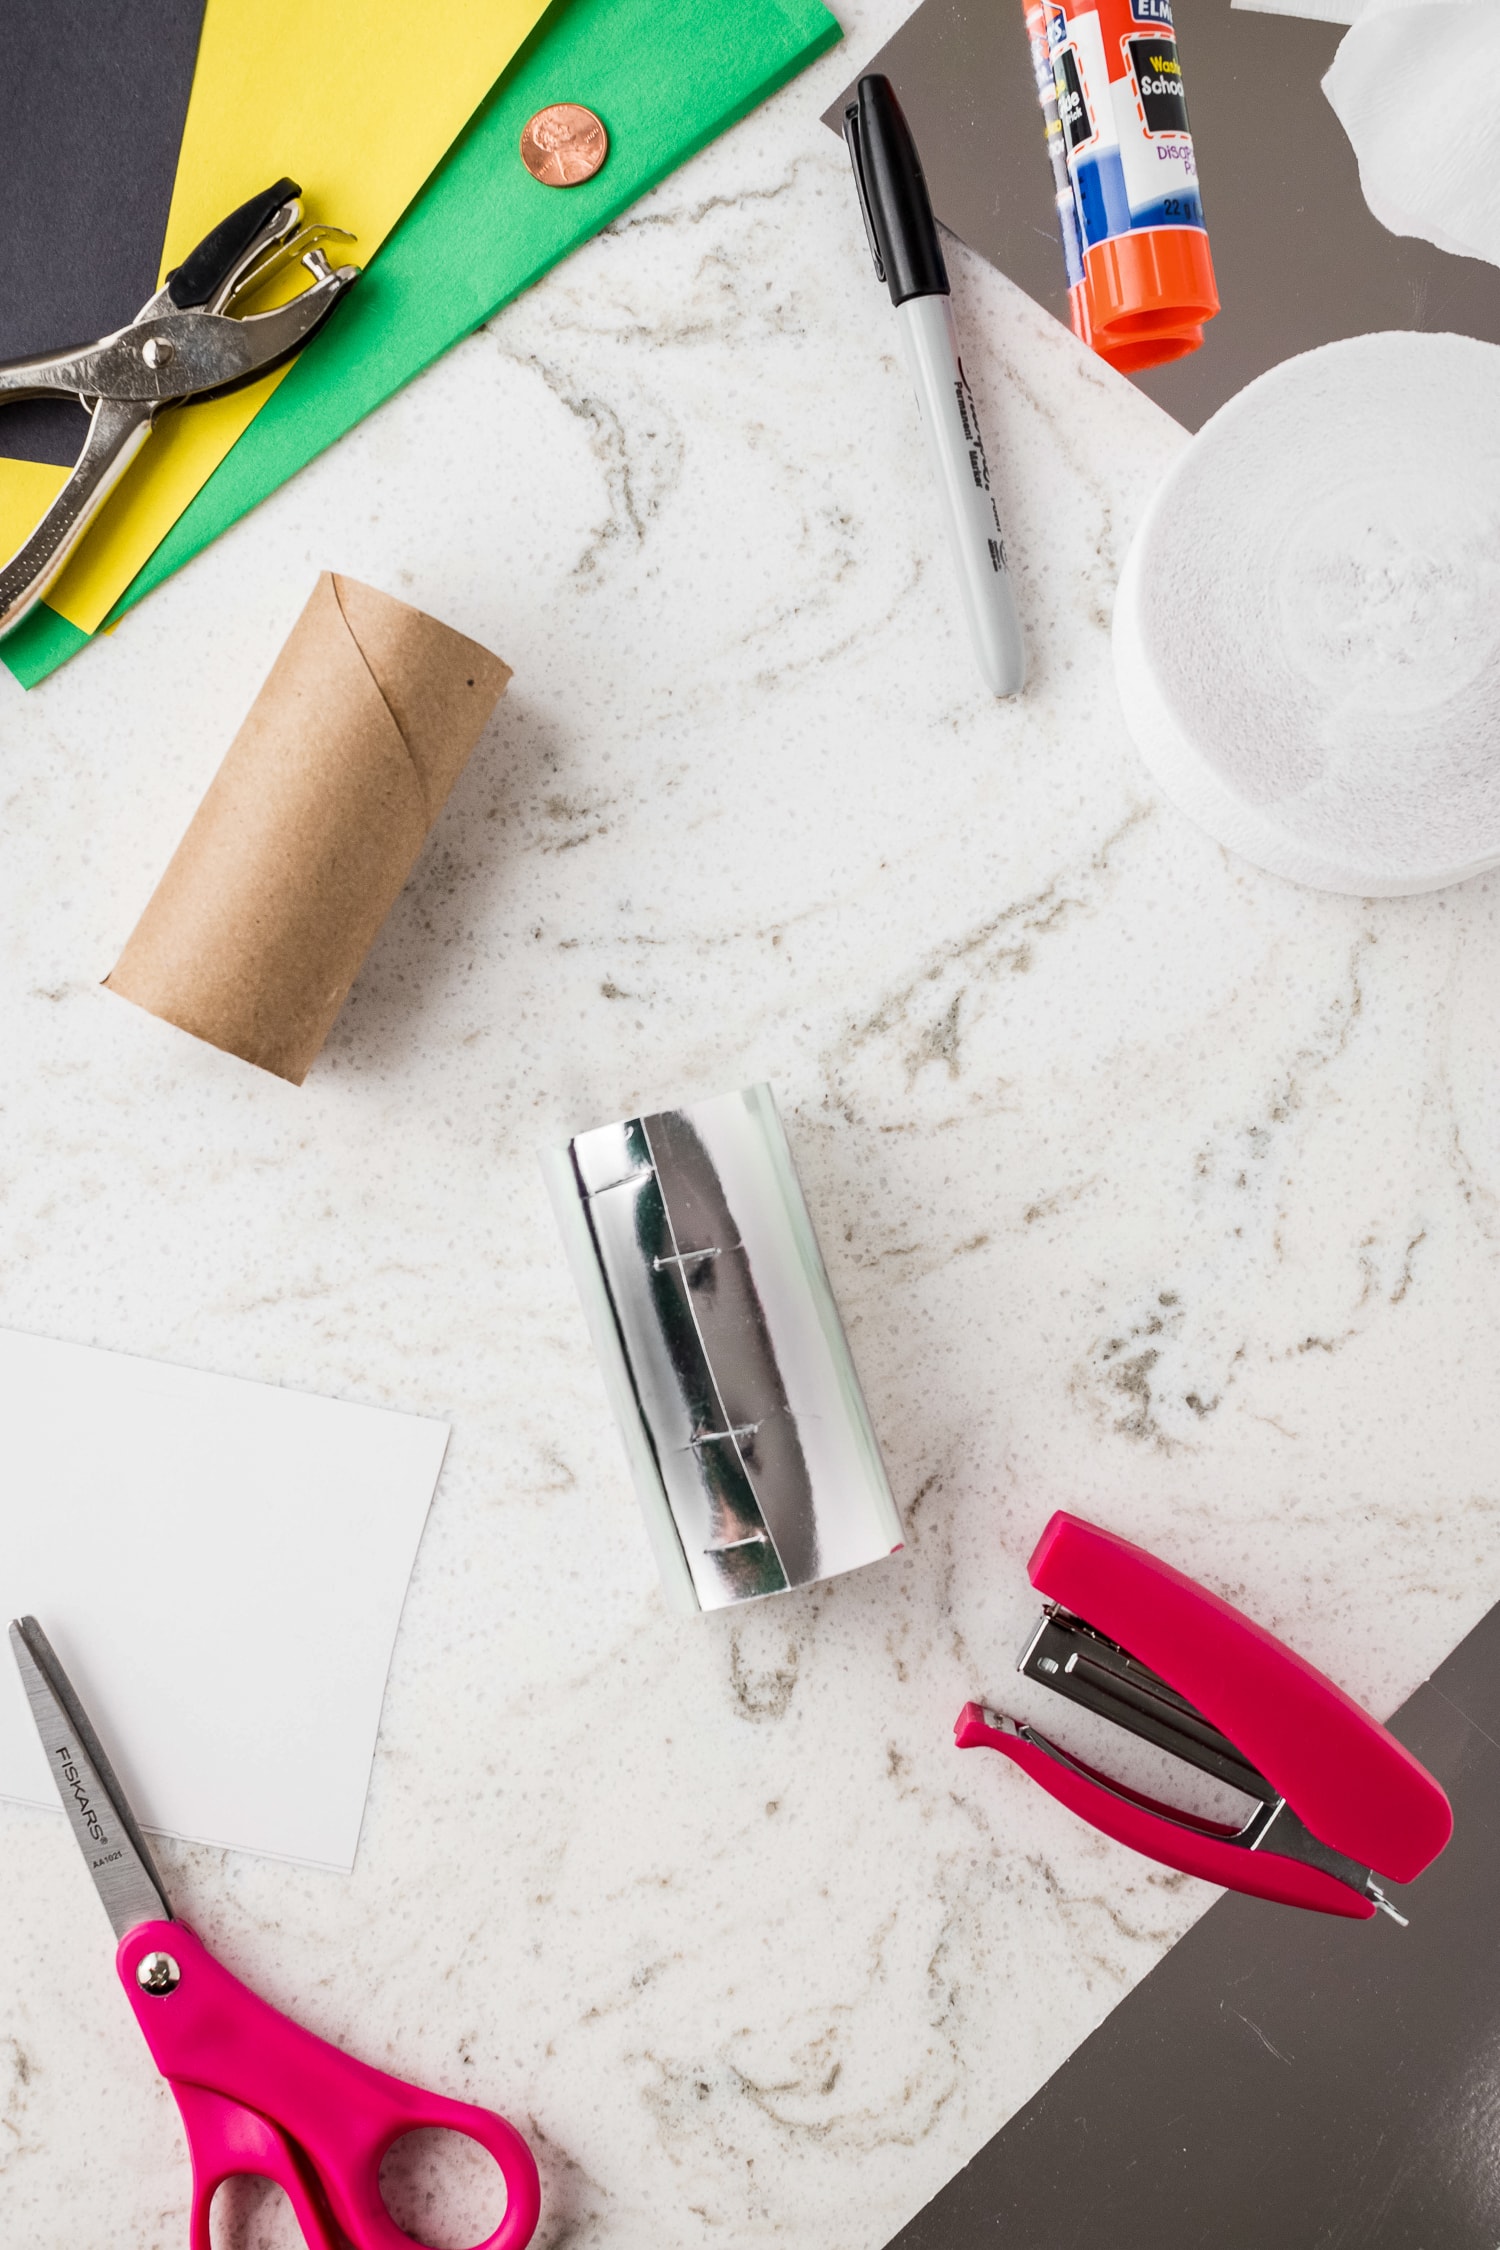
Next, secure the card stock by wrapping it around the roll and securing it in the back with staples.
You should now have a shiny, metallic toilet paper roll.
Wrap it up Mummy Style!
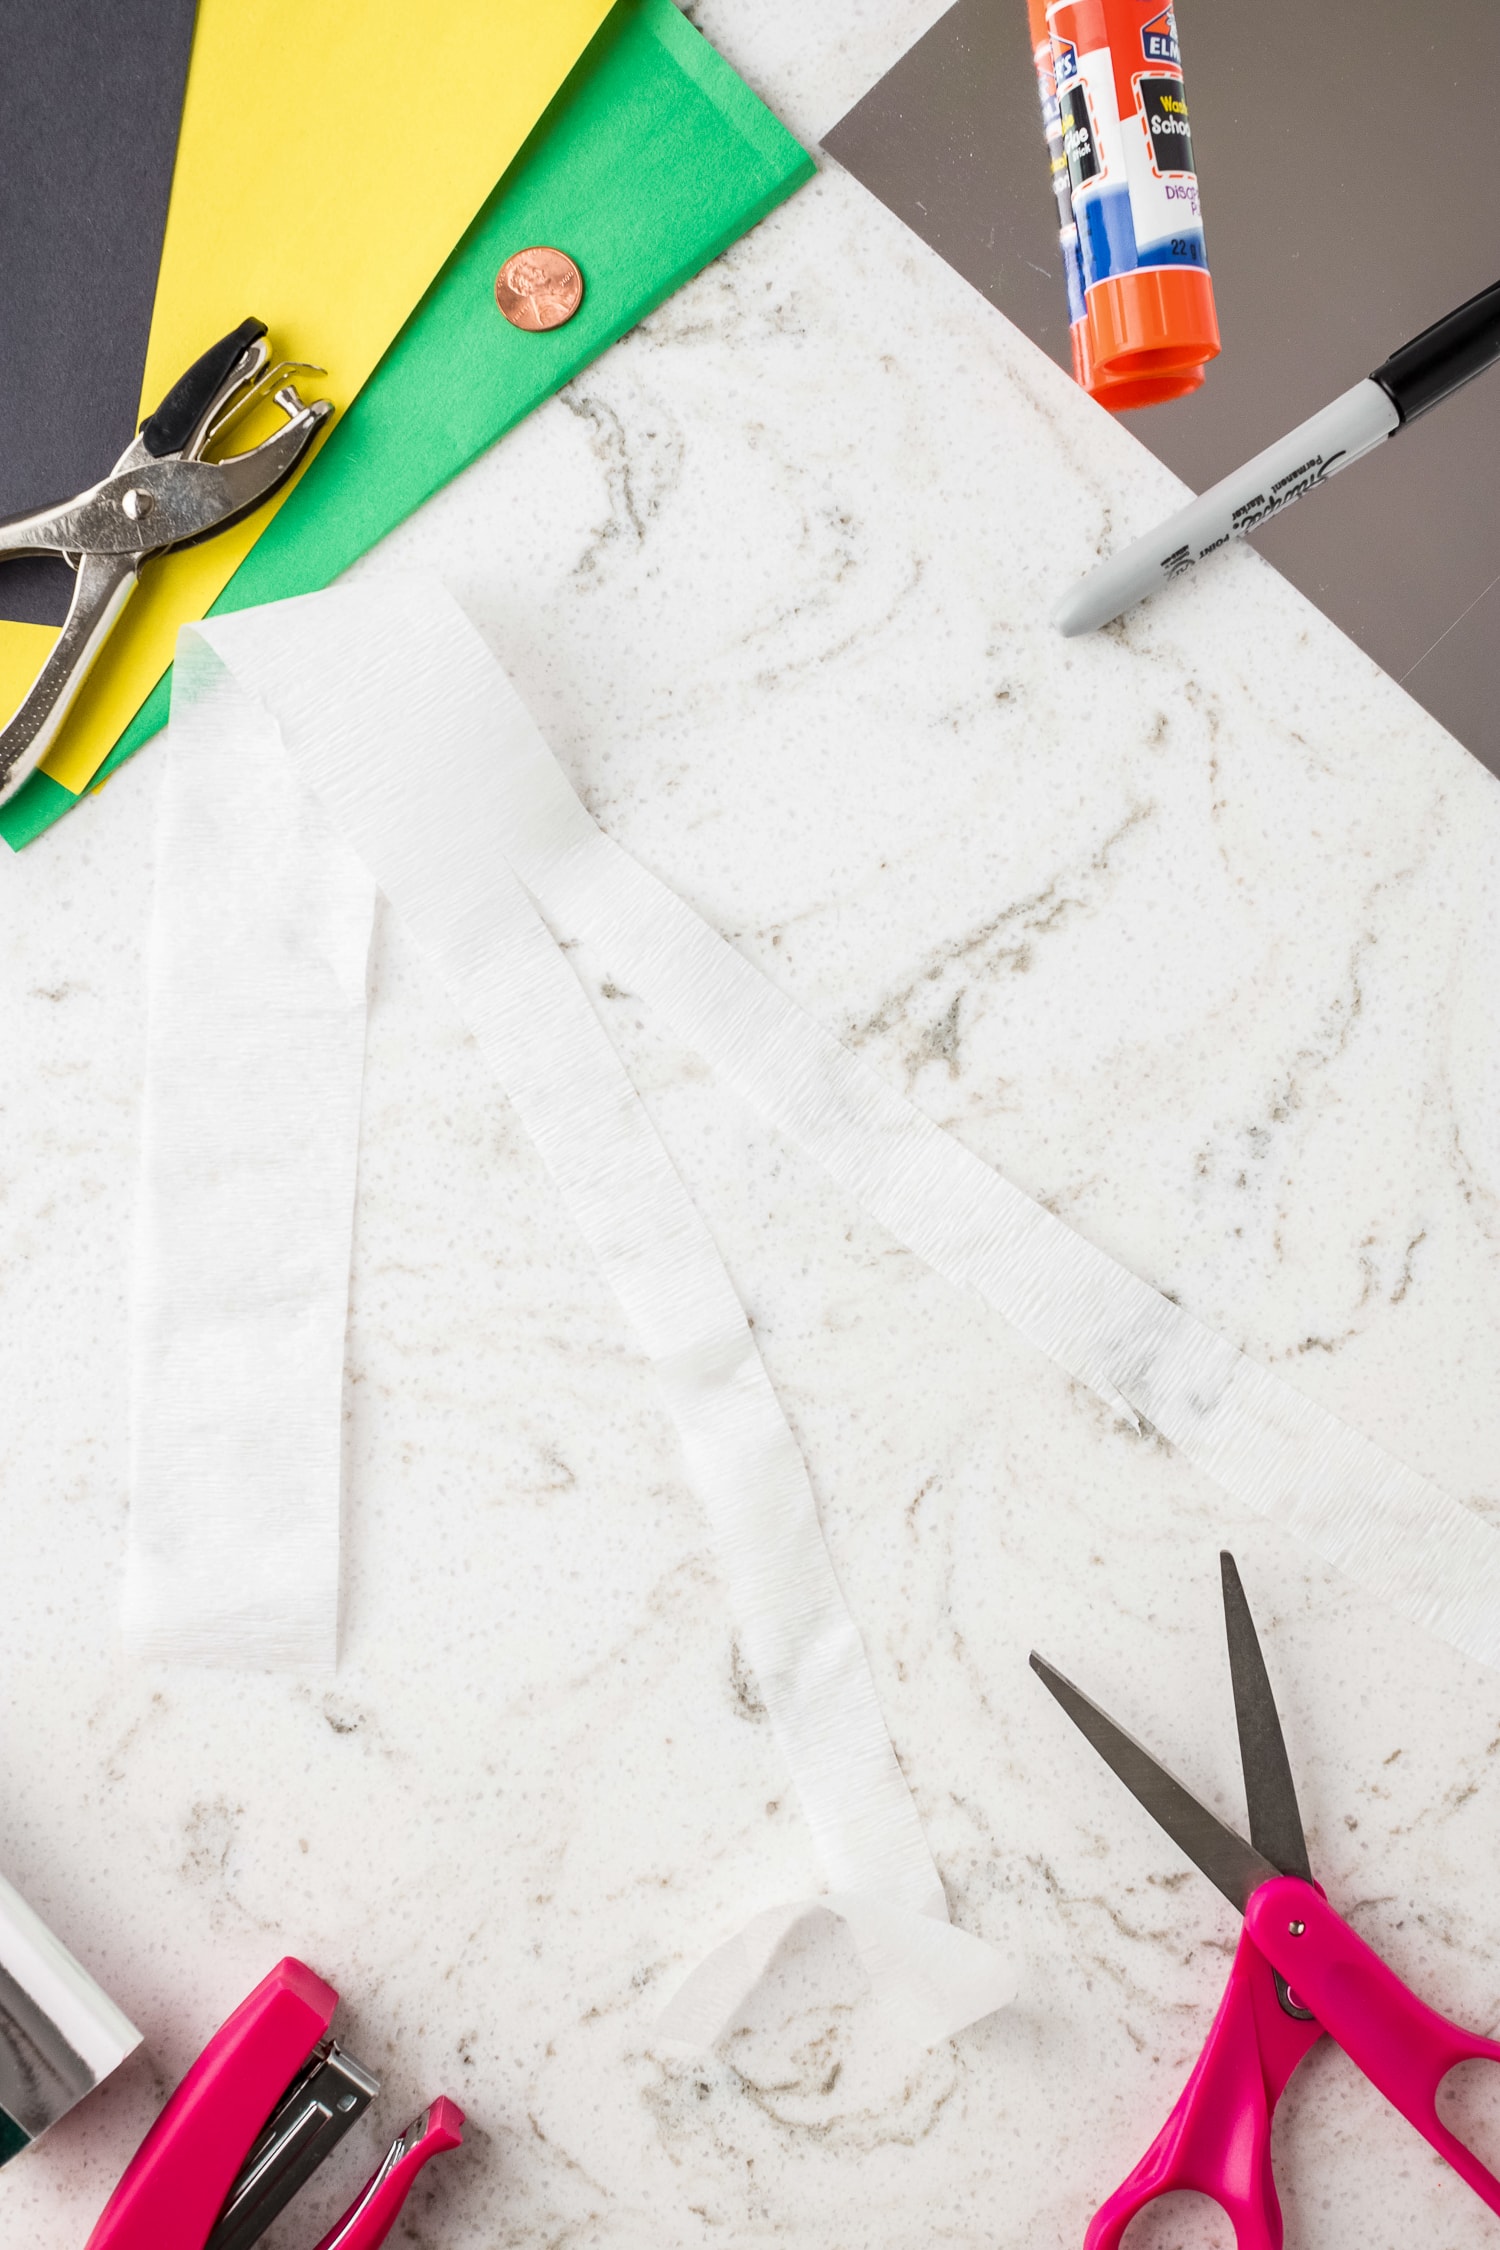
Next, cut a 24-inch long white crepe paper streamer strip and then cut that strip in half.
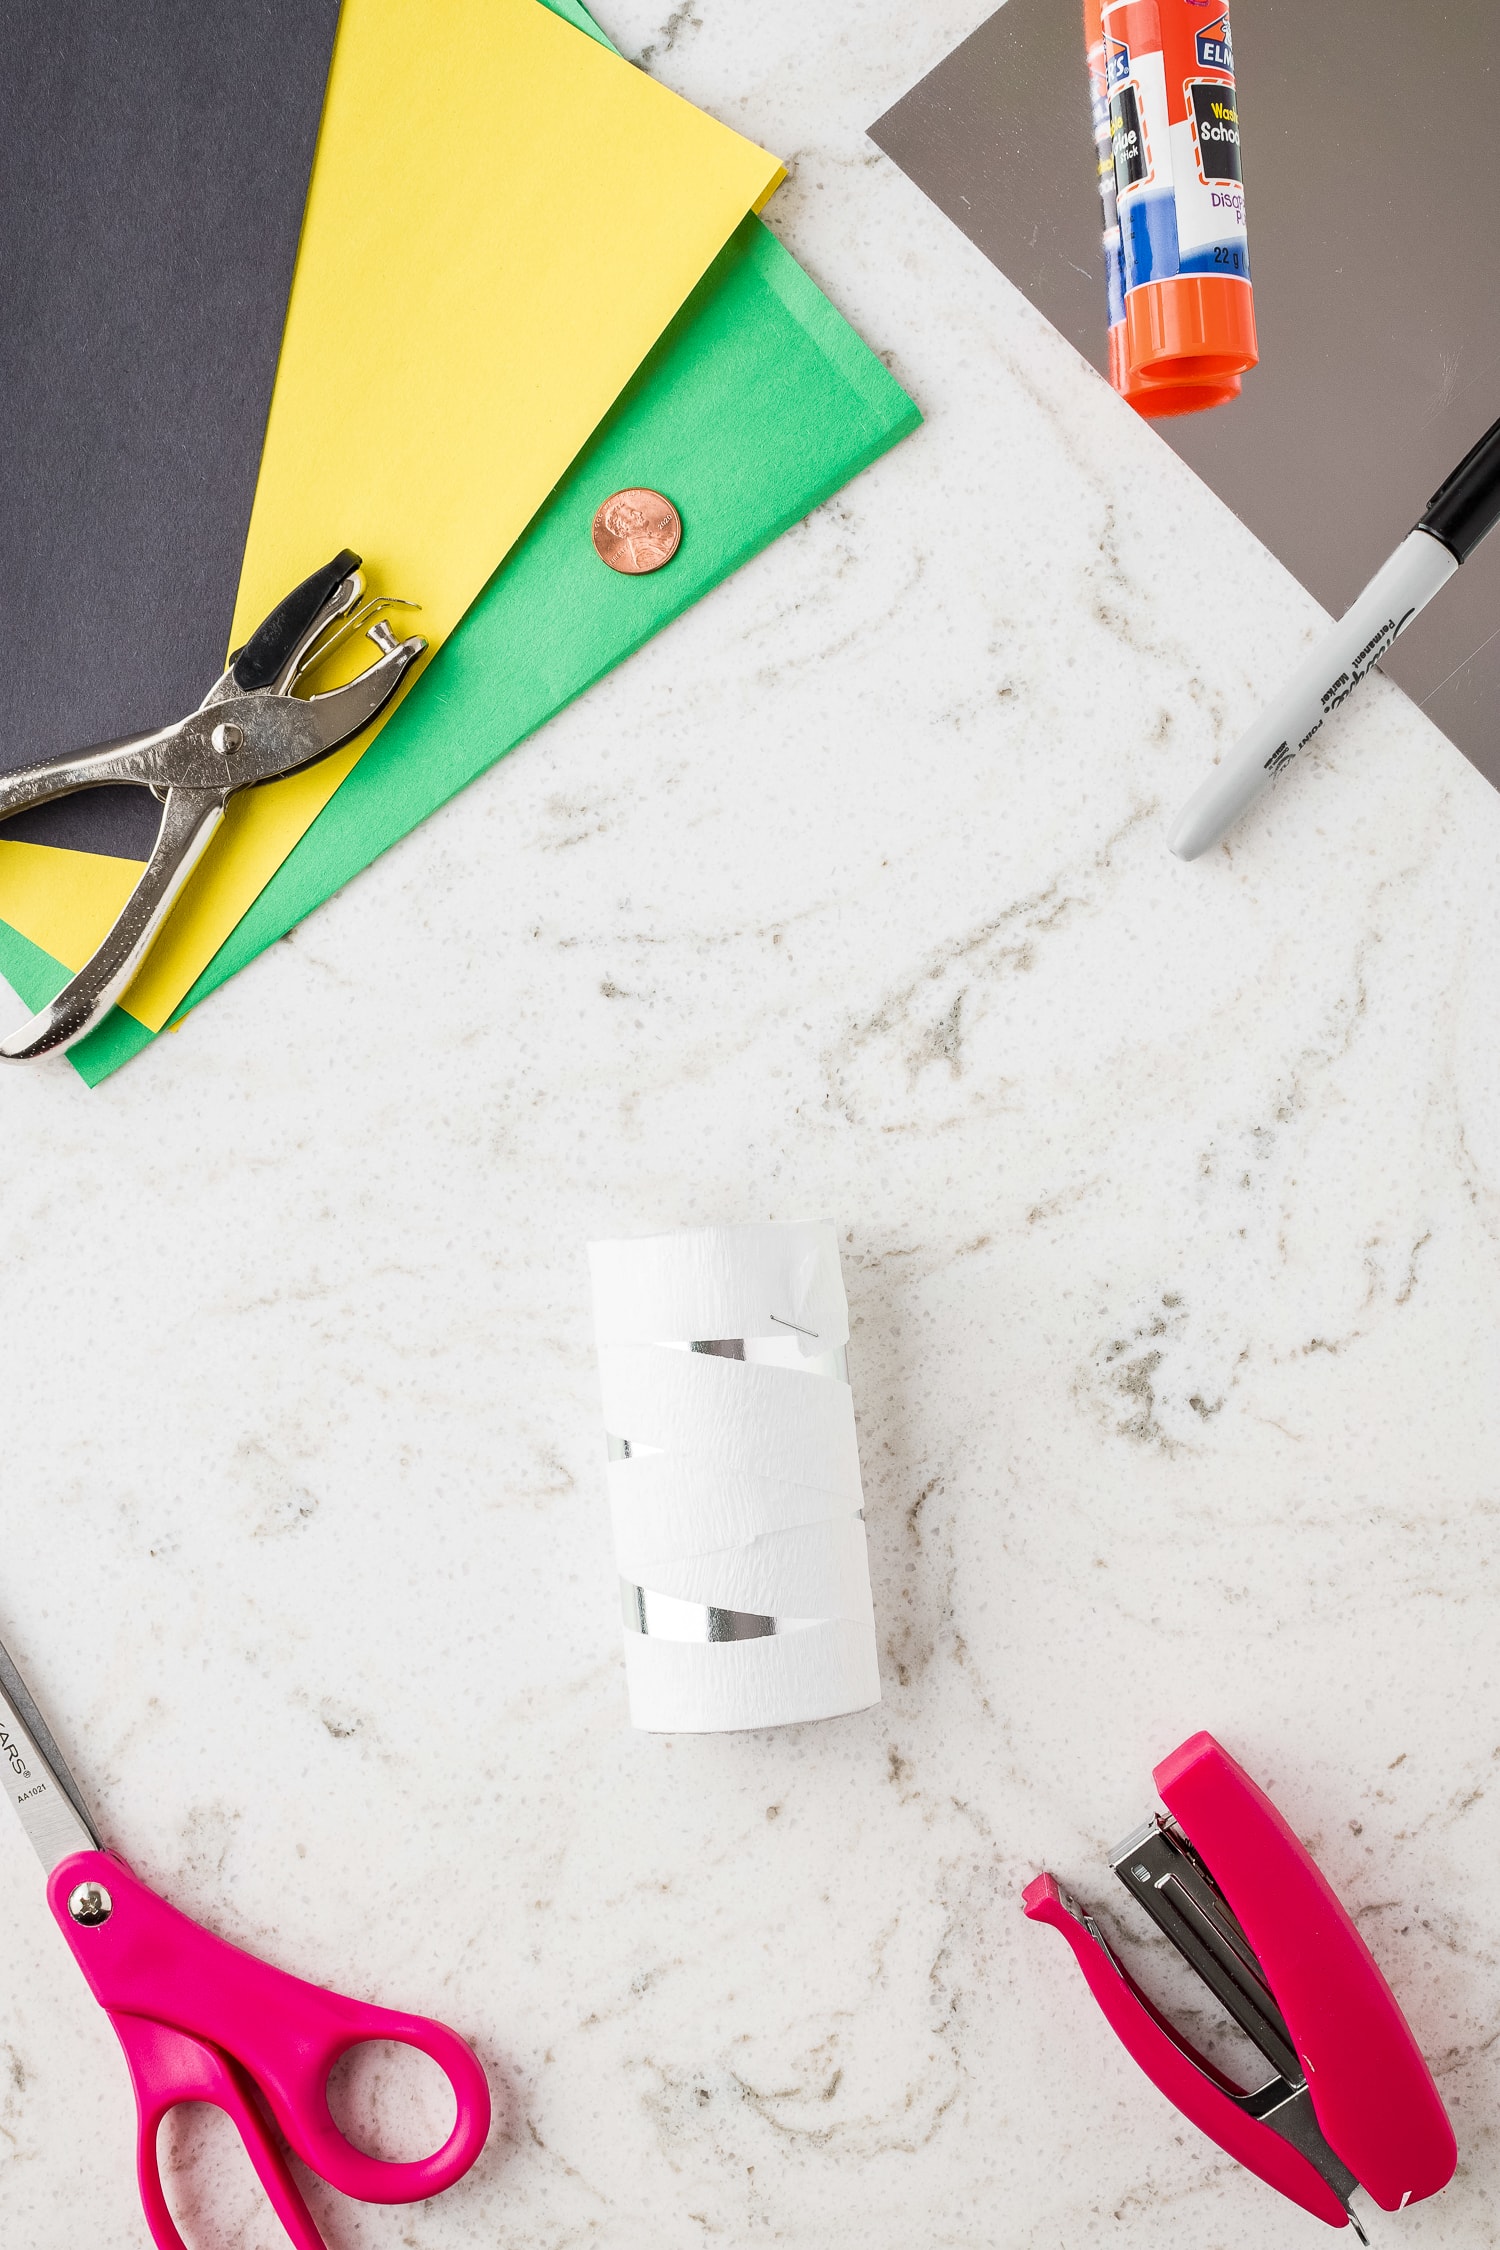
Staple the end of the strip to the bottom of the back of the roll.
Wrap the strip around the body of the mummy, leaving gaps for your metallic paper to shine through and give it that “mummy” look!
Once you reach the top of the roll, staple the end to secure.
Time for Eyes and Mouth!
Now let’s make the eyes for your mummy!
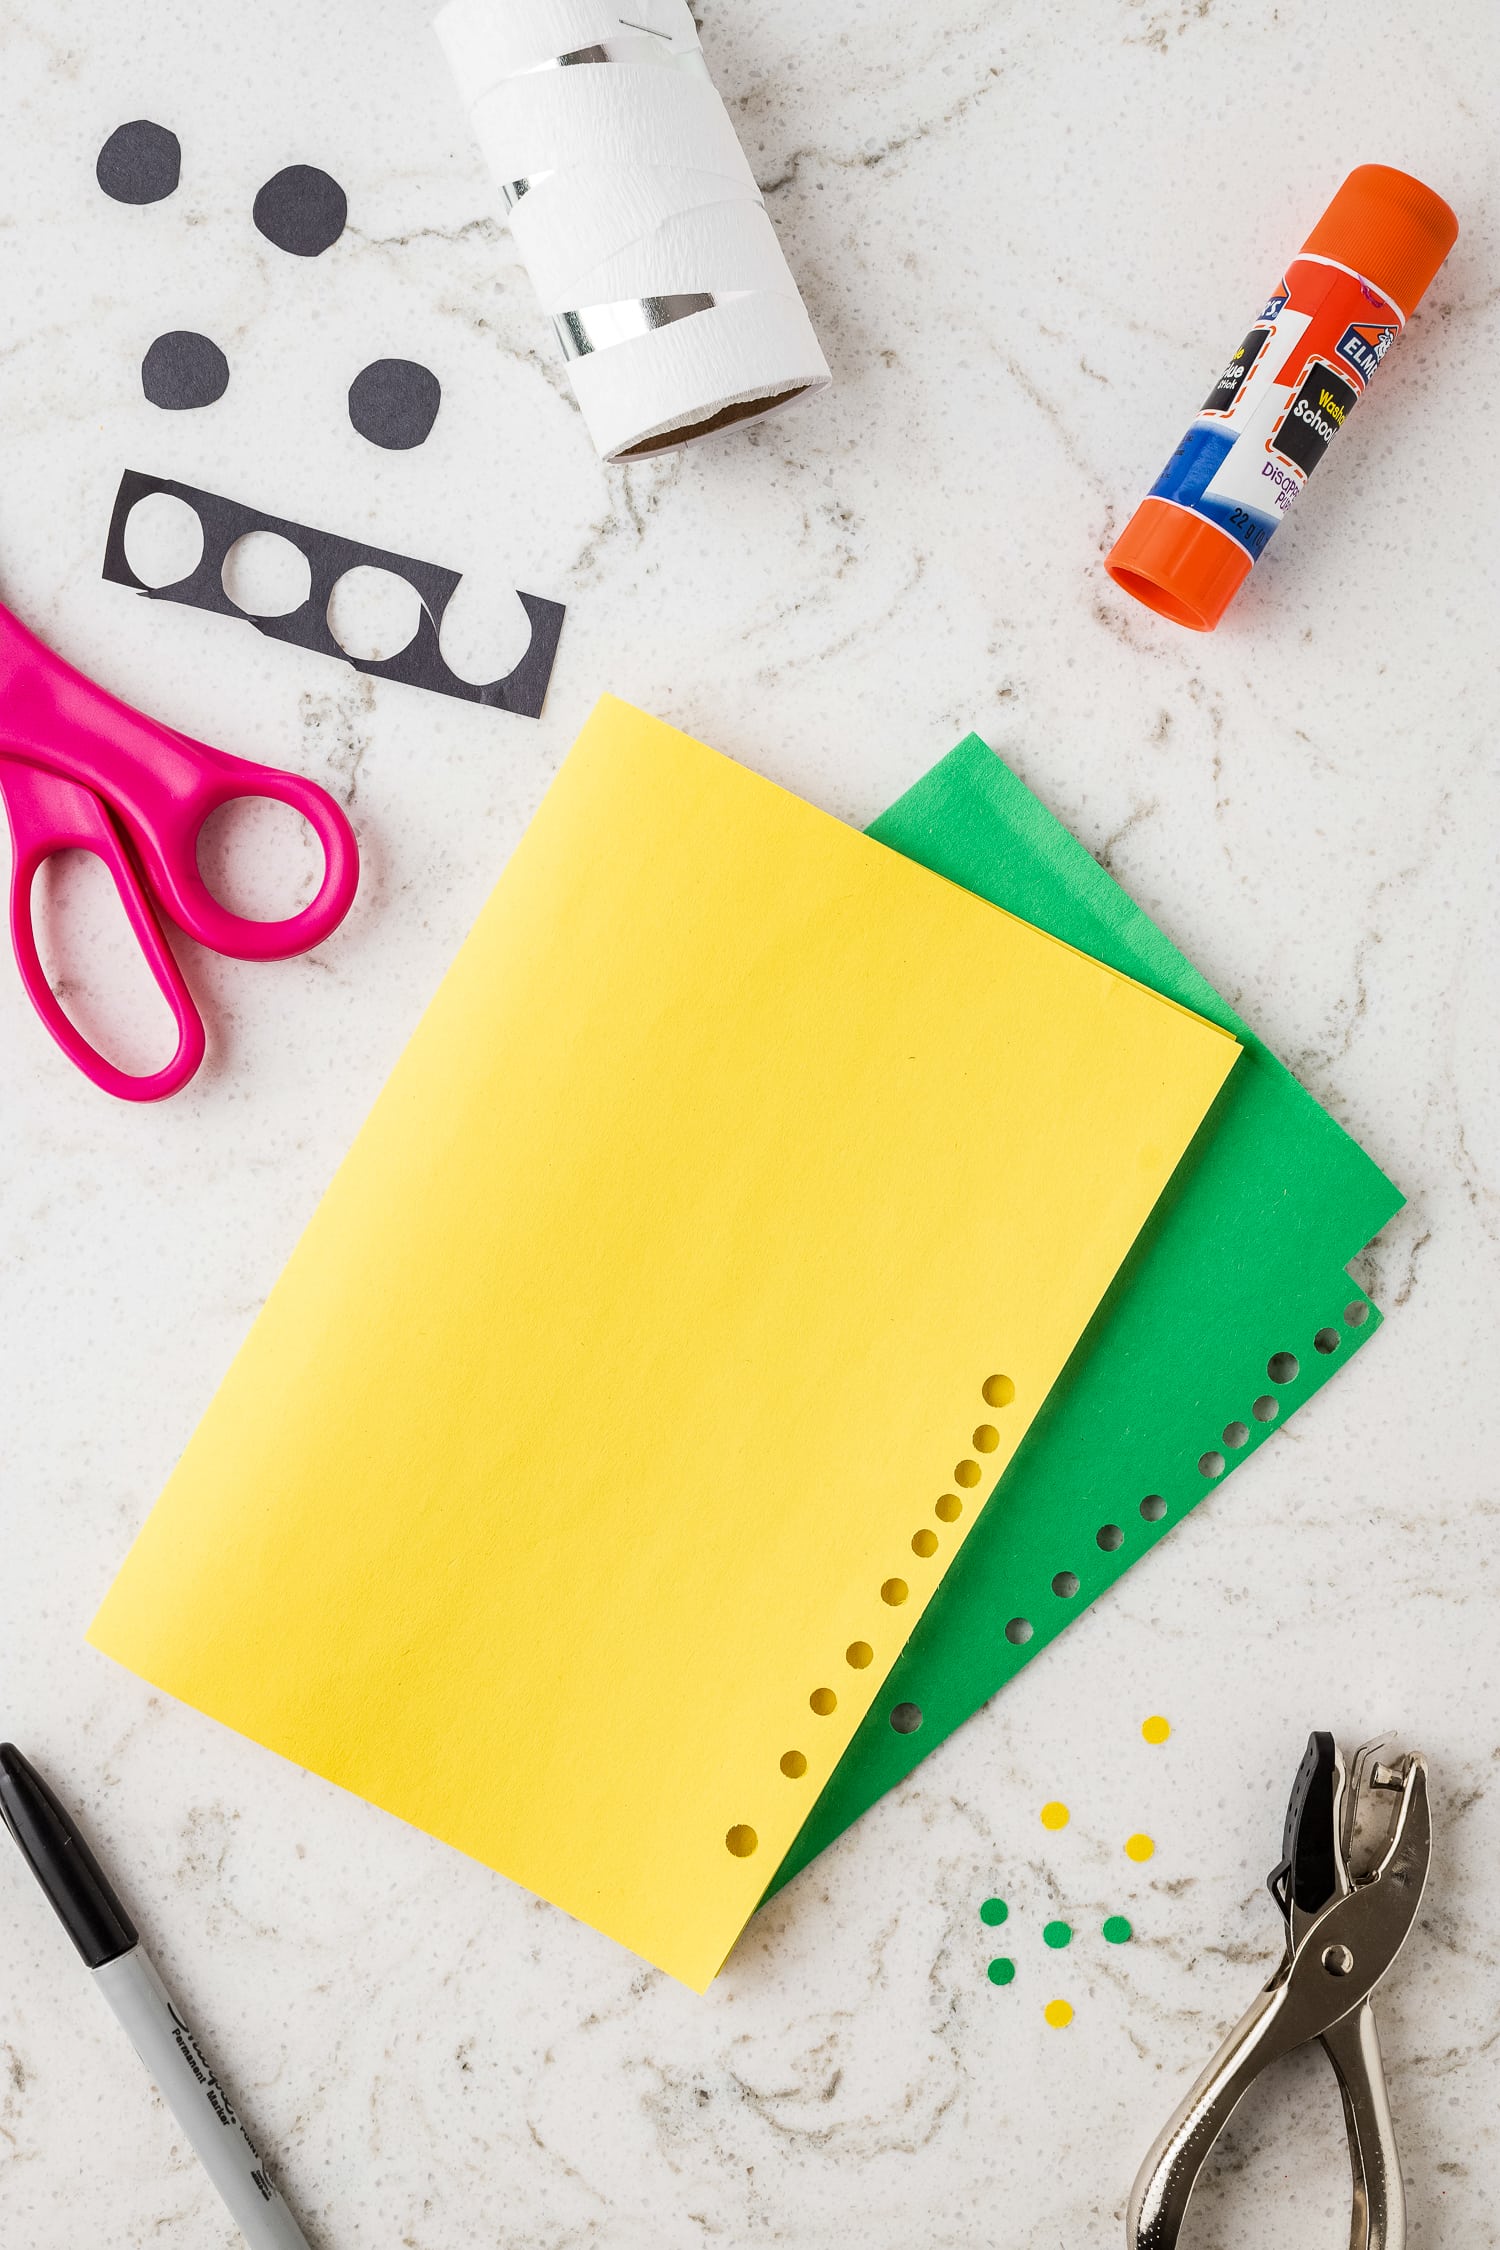
Grab your penny and trace it on the black construction paper. Cut out the eyes and set them aside.
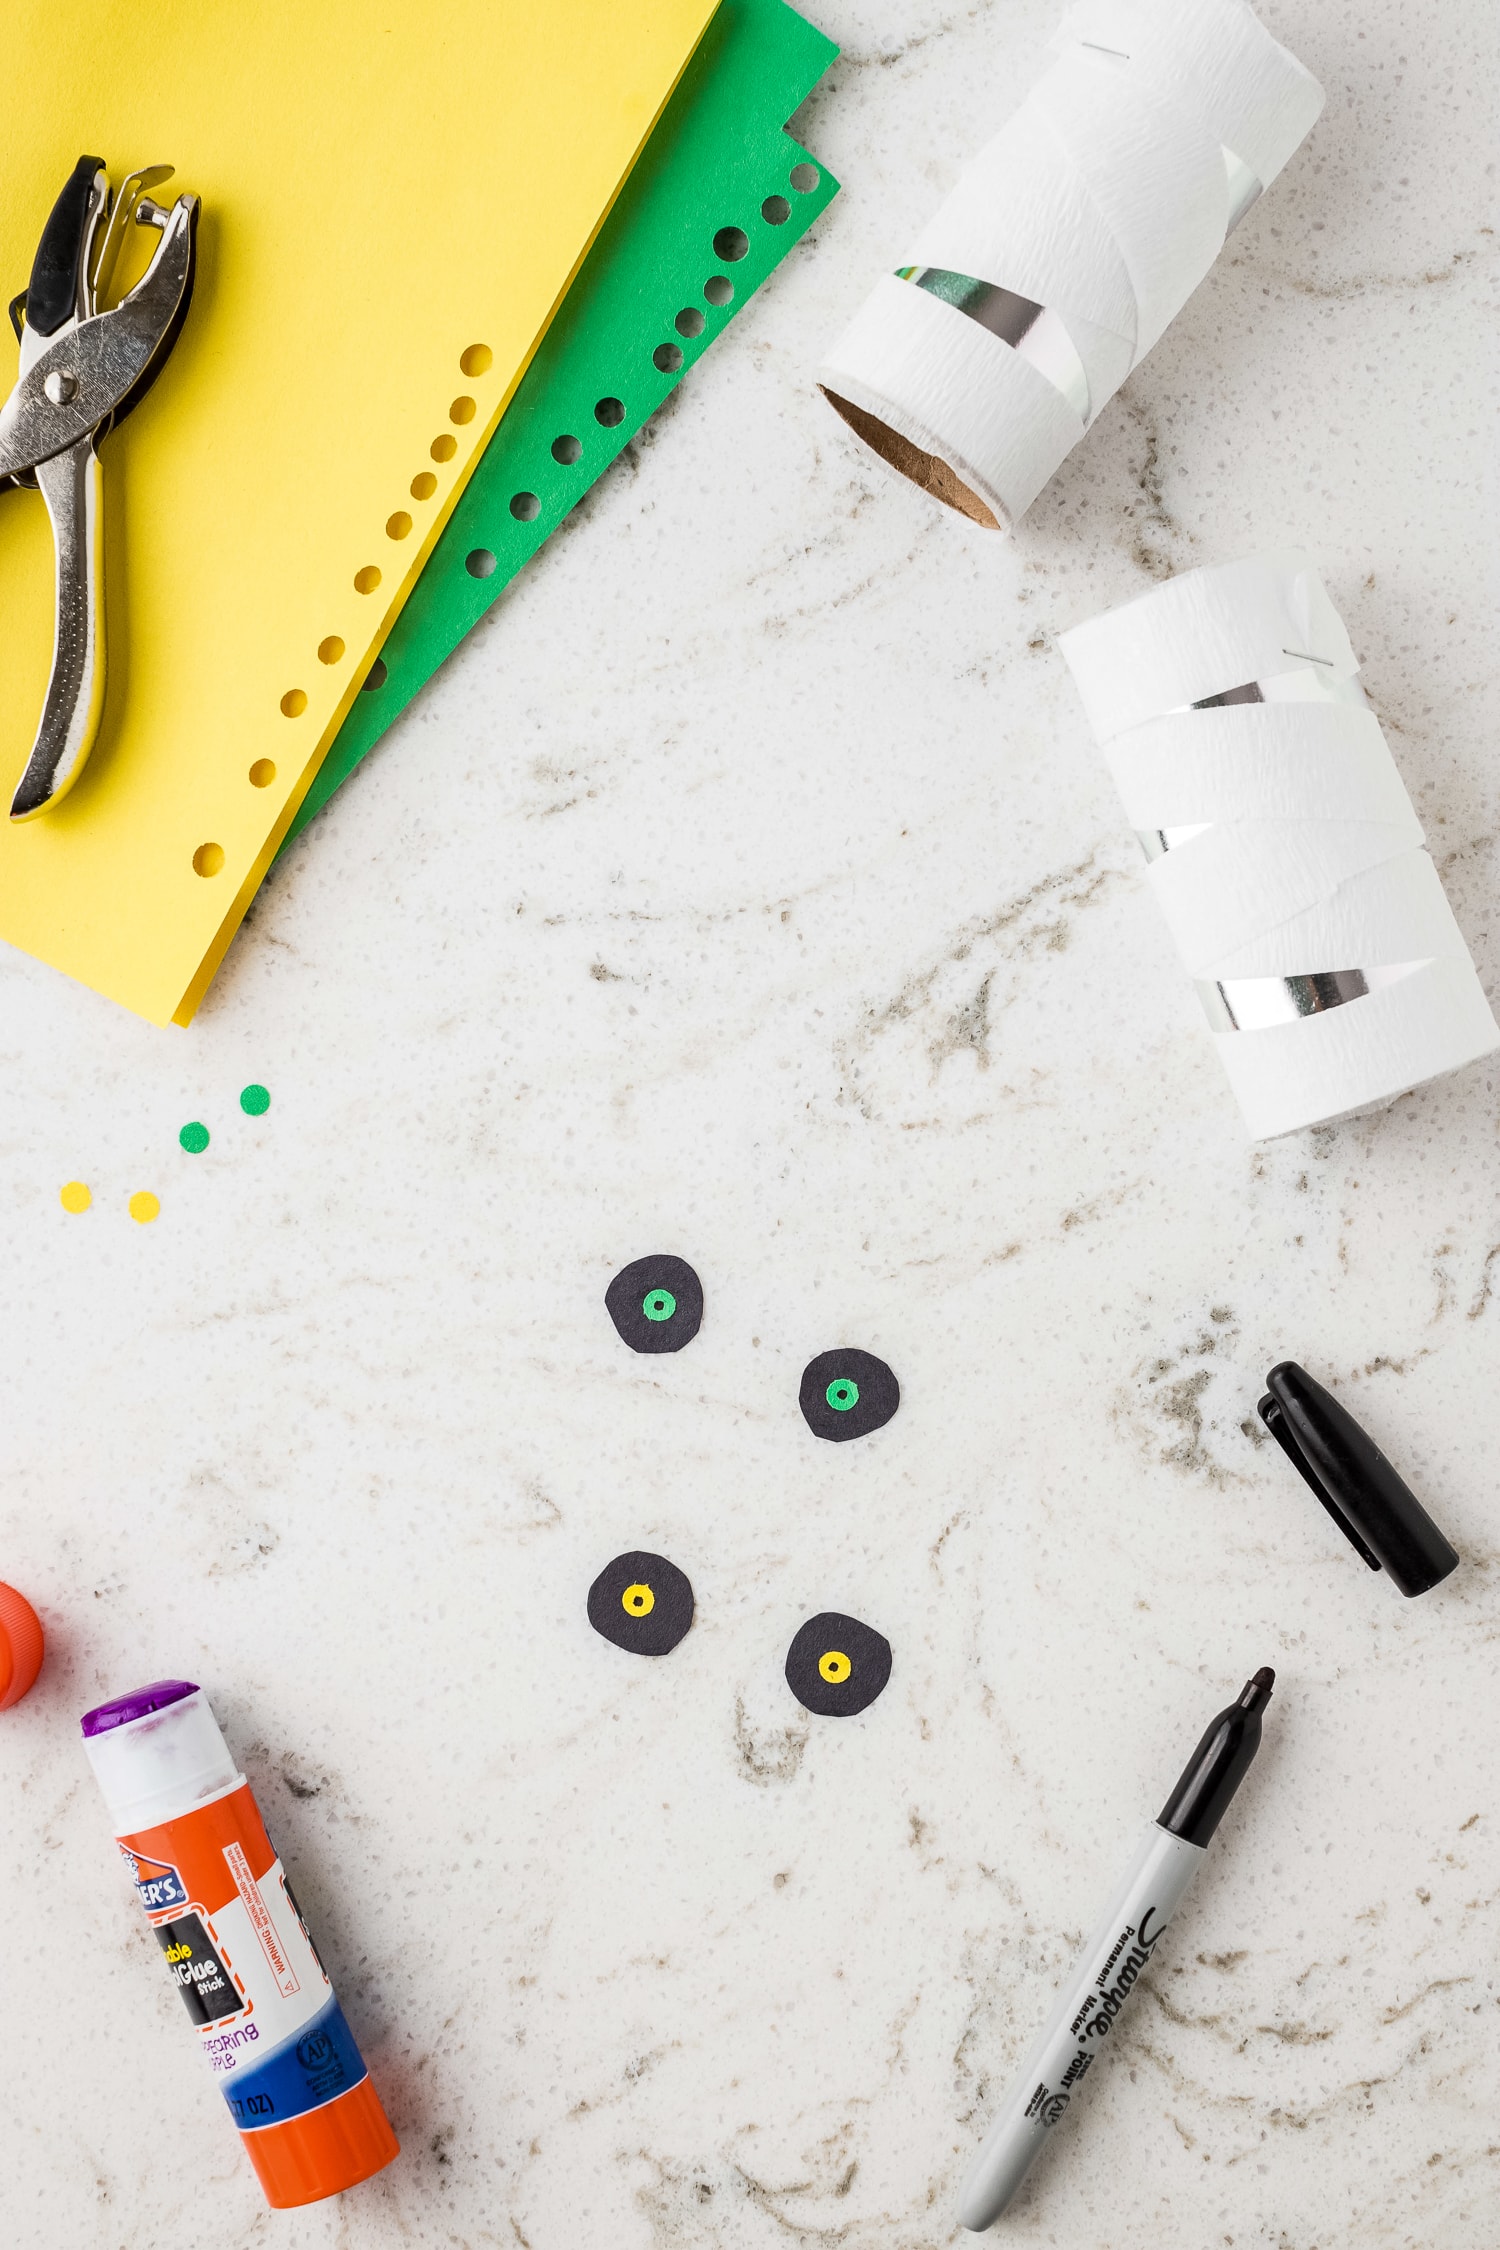
Next, take the green and yellow construction and, using a hole punch, make the pupils for the mummy.
Take the pupils and affix them to the center of the previously cut eyes with glue. Then, take a black marker and make a dot in the center of the pupil.
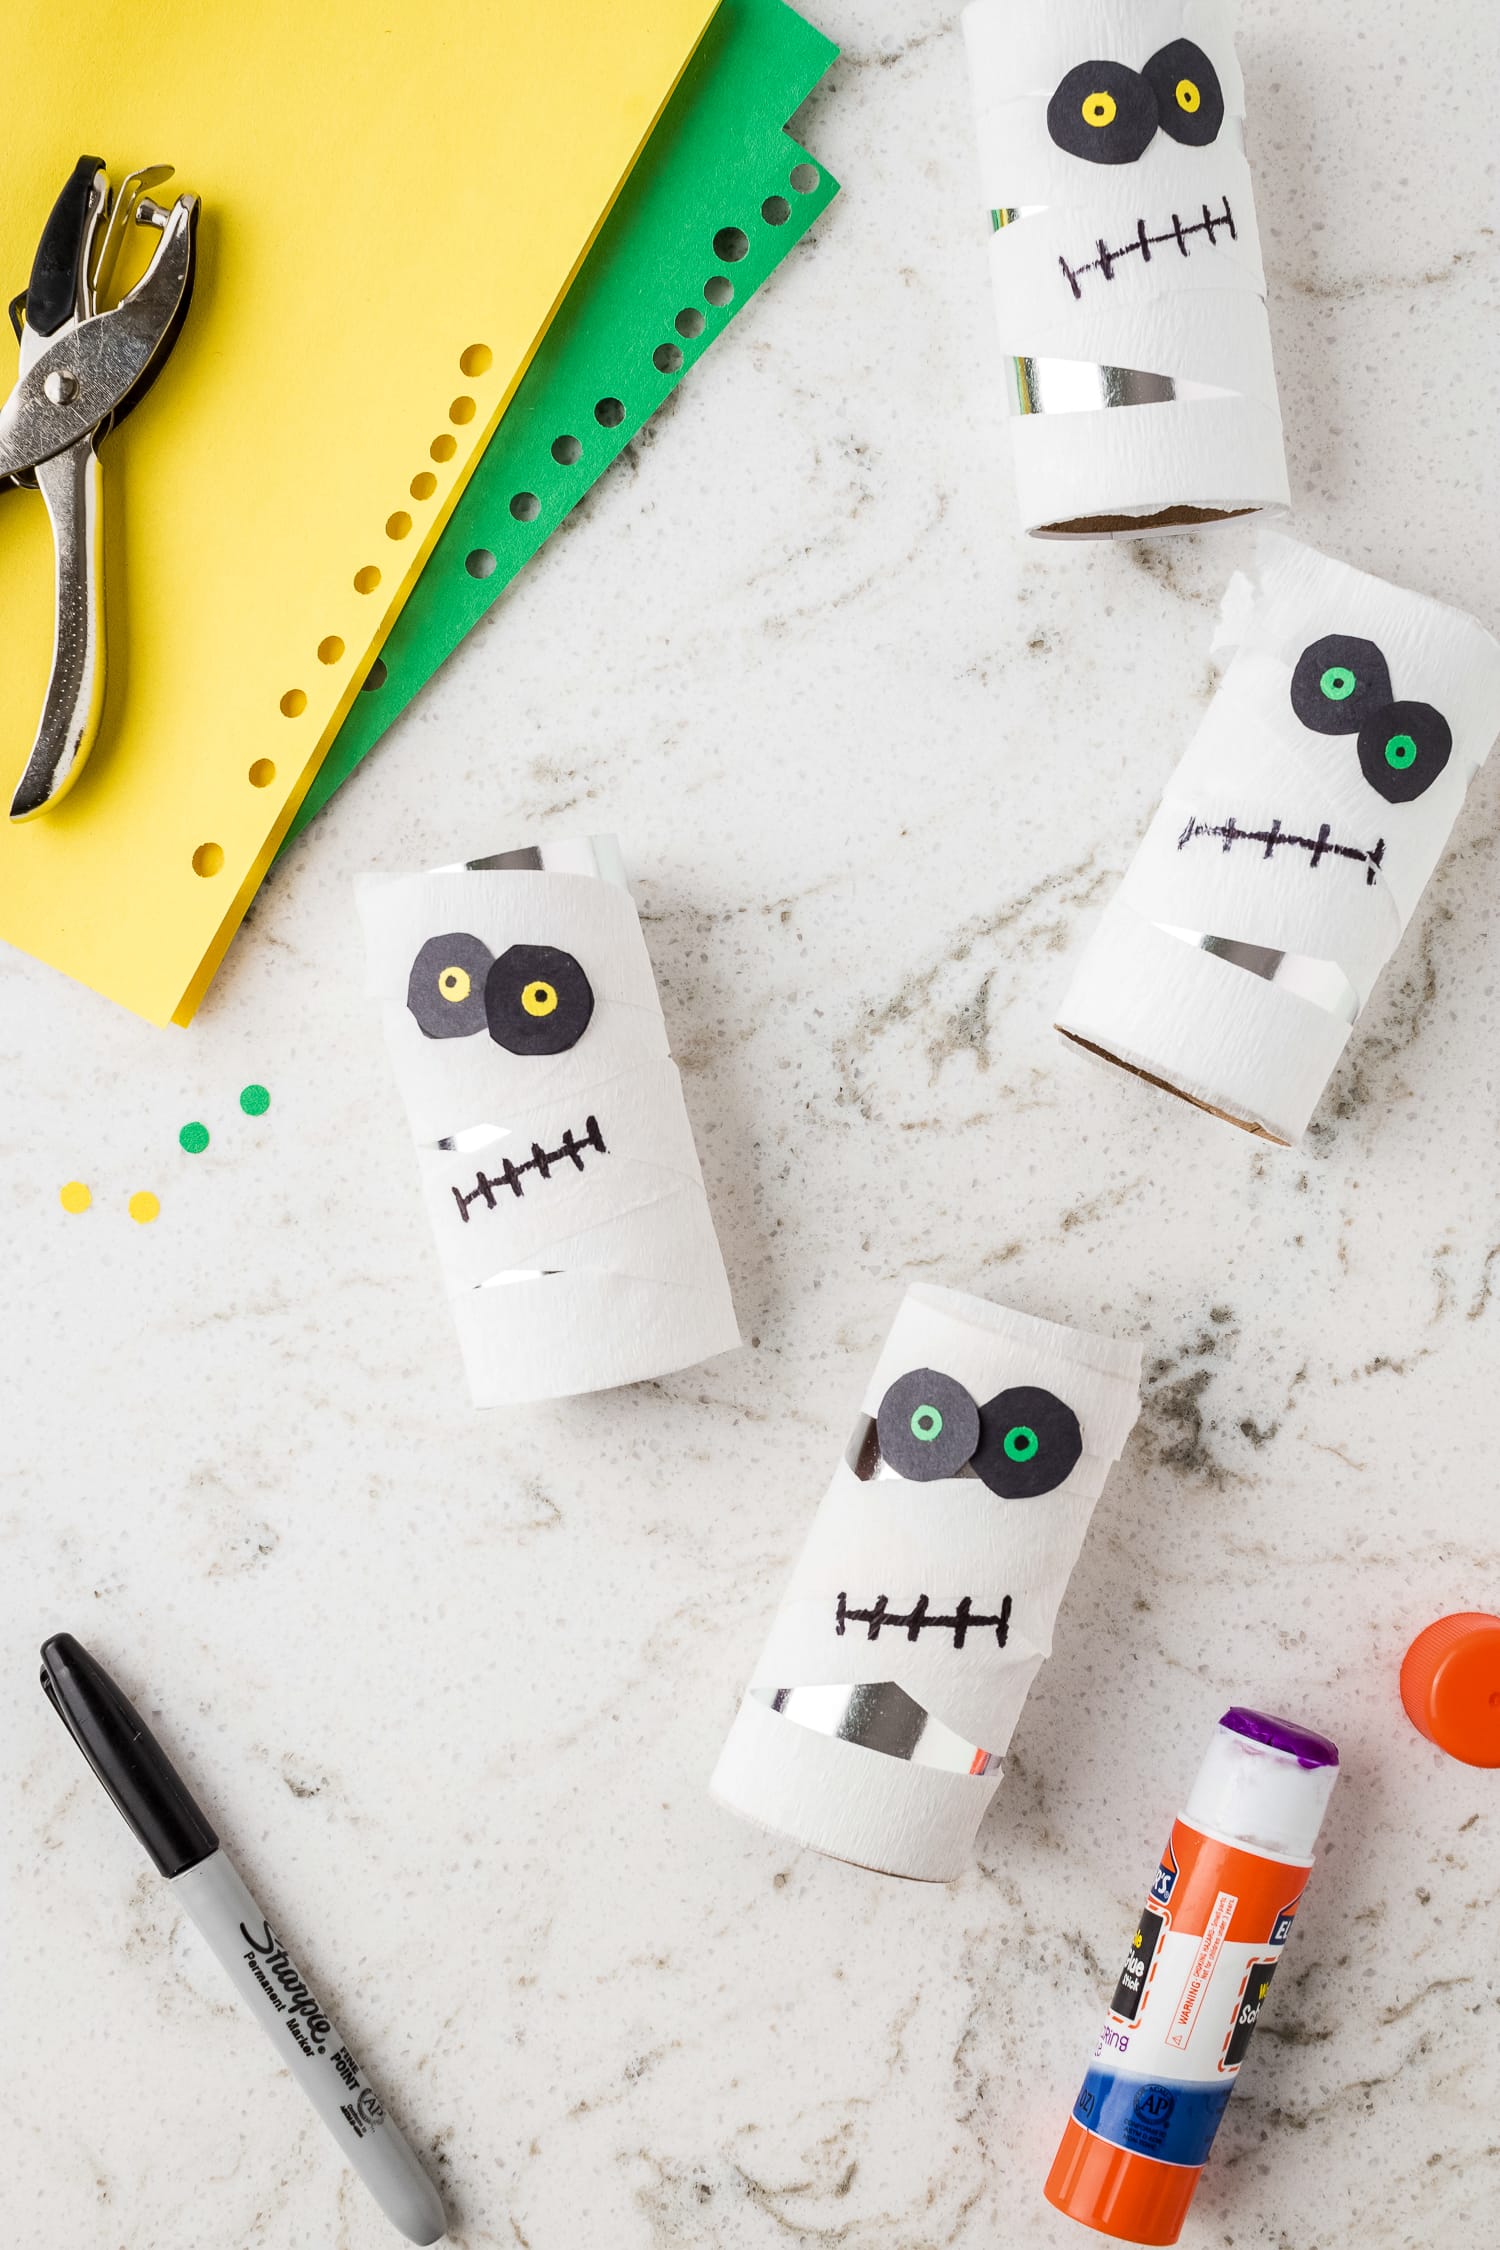
Finally, let’s make the mouth for the mummy! With the same black marker, draw a line with hash marks to make it look like the mummy’s mouth is sewn shut.
Your mummy is now complete and ready for play!
Pro Tips!
- Precutting the items for this project could help when working will small children.
- When preparing for this activity, save your empty toilet paper rolls.
- While crepe paper works well to create the “mummy look,” you could also use rolled gauze or tissue paper.
- If you don’t have any toilet paper rolls that are empty you can use paper towel rolls and cut them in half or thirds.
This craft is so quick and easy for Halloween. It’s make the perfect Halloween craft at school, home or for a party with minimal supplies, no prep and it’s inexpensive to make!
More Fun Halloween Activities!
- Make this creepy, crawl Spider Craft that only requires three supplies!
- The perfect Halloween dinner or party food is Mummy Hot Dogs! So quick and easy to make!
- Print off these FREE Halloween Activity Pages including Halloween Word Search, Word Scramble, Word Challenge, Maze and Coloring Pages!
- After trick or treating warm up with Witches Brew Hot Chocolate! Or sip on it while watching a scary movie for Halloween!
Toilet Paper Roll Mummy Craft
Ingredients
- Toilet paper roll
- Silver metallic card stock
- Ruler
- White crepe paper streamer
- Stapler
- Staples
- Construction paper black, green, and yellow
- Single hole punch
- Pencil
- Penny
- Marker black
- Scissors
- Glue stick
Instructions
- Start by cutting the silver metallic card stock to the size of a recycled toilet paper roll.
- Next, secure the card stock by wrapping it around the roll and securing it in the back with staples.
- Once secure, cut a 24-inch long white crepe paper streamer strip and then cut that strip in half.
- Staple the end of the strip to the bottom of the back of the roll. Wrap the strip around the body of the mummy, leaving gaps. Once you reach the top of the roll, staple the end to secure.
- Using your penny and trace it on the black construction paper. Cut out the eyes and set them aside.
- Next, take the green and yellow construction and, using a hole punch, make the pupils for the mummy. Take the pupils and affix them to the center of the previously cut eyes with glue. Then, take a black marker and make a dot in the center of the pupil.
- With the same black marker, draw a line with hash marks to make it look like the mummy’s mouth is sewn shut.
So beautifully made. I love them all! My students enjoy!
Thanks,
Agnes
So glad your students enjoyed these, Agnes!