Salt Dough Handprint Santa Ornament
Make a keepsake Salt Dough Handprint Santa Ornament with just flour, salt, and water—press tiny handprints into dough, bake (or air-dry), then paint Santa and decorate for years of Christmas memories. Kid-friendly, budget-friendly, and perfect for gifting to grandparents and teachers.
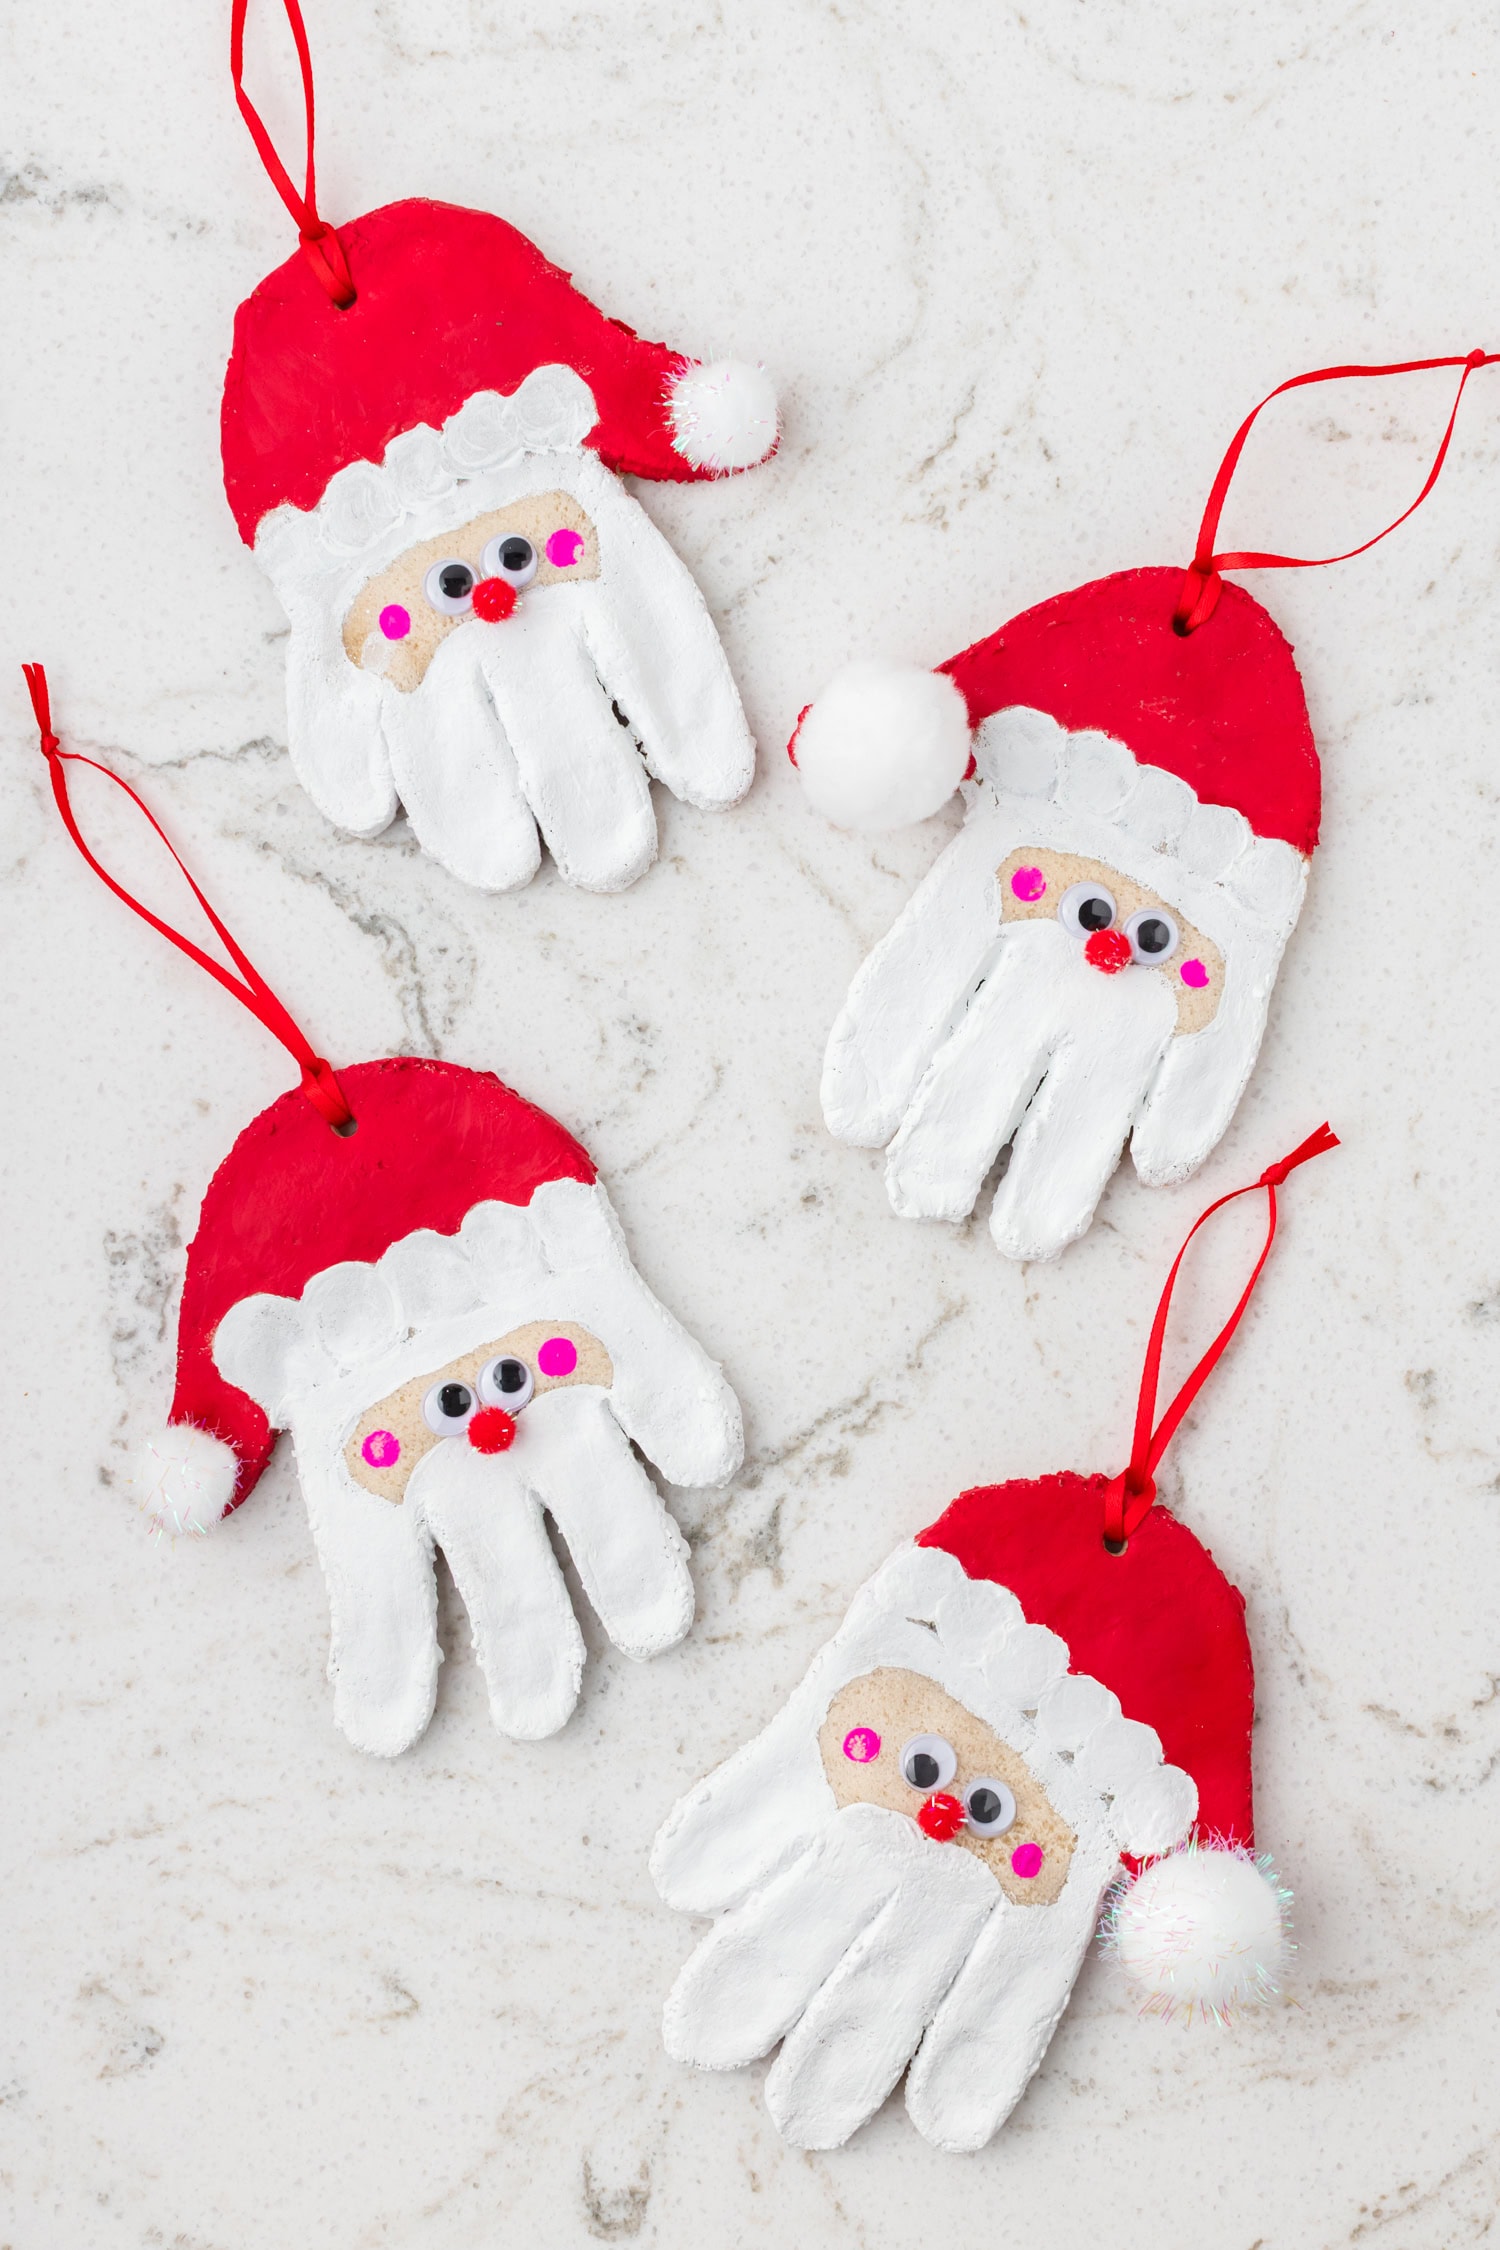
Salt dough ornaments are always so much fun to make and these Santa painted hand prints will be a hit in your house! Everyone will have a blast painting and decorating these adorable salt dough Santa handprint ornaments this year.
It is especially a great activity for teachers to include in the lead up to the Christmas break since you can leave the hand prints to dry at room temperature instead of baking them in the oven. If you are having a Christmas party with lots of kids, a great idea is to make the hand prints ahead of time using your own hands or your children’s, and have the guests paint and decorate when they arrive. The paint will be nice and dry by the time they head home with their new salt dough Christmas tree ornament.
Why You’ll Love This Craft
- Salt dought handprint Santa ornaments are a great hands on activity to keep kids engaged and to practice their fine motor skills.
- This Christmas handprint ornament is such a great keepsake. Print the year on the back of each hand print and make them year after year to to keep track of how much your kiddos grow.
- The salt dough recipe itself uses only 3 ingredients – flour, salt and water. I have a really good feeling you’ve already got everything you need at home to enjoy this craft.
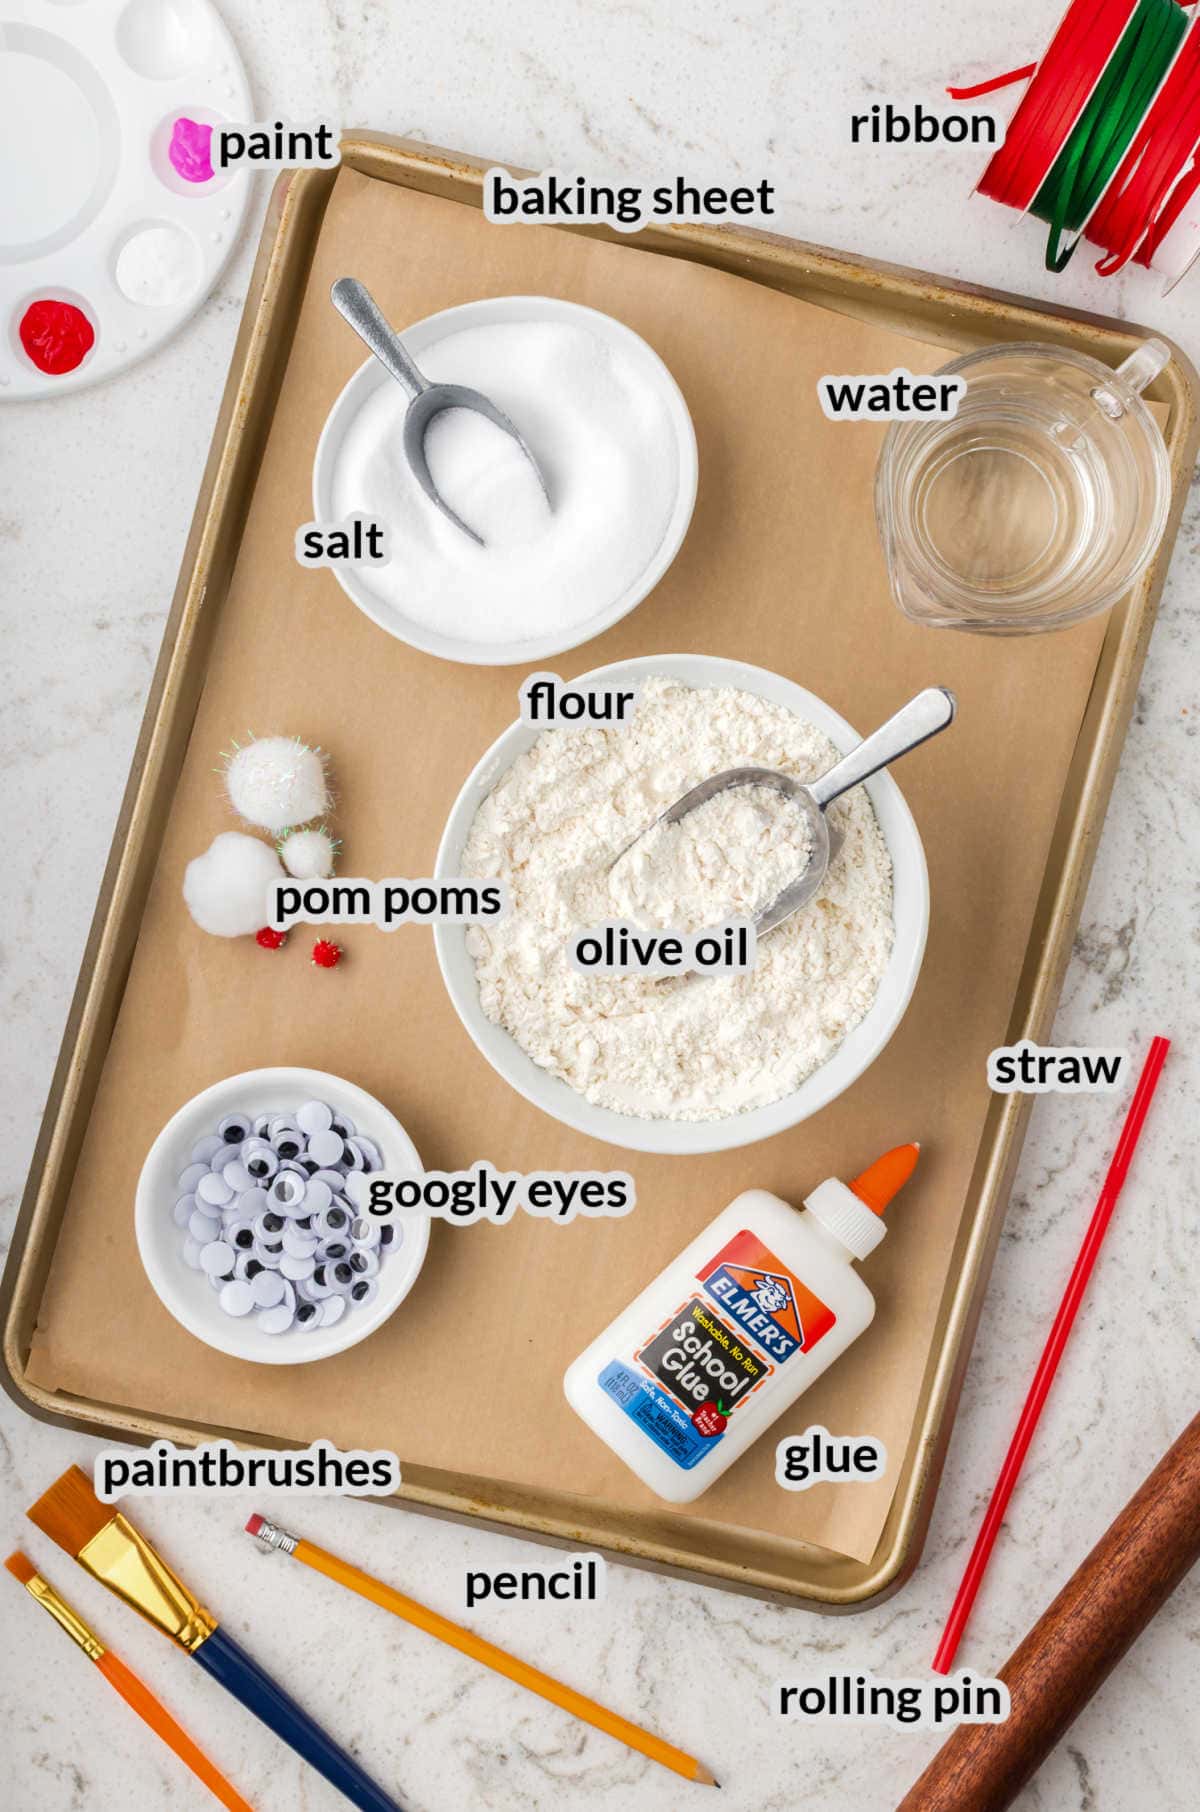
Supplies For Salt Dough Handprint Santa Ornaments
- All-purpose flour – This will provide structure to the salt dough for the handprint Santa Claus.
- Salt – This will help the salt dough ornament to harden when baked or air dried.
- Water – You need water to bring the flour and salt together to form the dough.
Helpful Tools
- Rolling pin – Flattens the dough evenly. A smooth glass can work as a substitute.
- Straw – Use a straw to poke a hole in the top of the ornament so that you can easily add a ribbon for hanging.
- Baking sheet – You will need a large baking sheet to bake your Santa handprint ornament. You can also let them air dry for 24 hours.
- Craft paint – White, red and pink paints add color and personality to Santa. Acrylic or washable paints both work well.
- Craft glue – Secures pom-poms, eyes, and a nose. A low-temp glue gun can also be used with adult supervision.
- Googly eyes and pom poms – Give Santa his fun, recognizable features.
- Ribbon or twine – Used to hang your finished ornament.
- Pencil – Use for sketching Santa’s face before painting, and also to add Santa’s rosy cheeks.
How To Make Salt Dough Handprint Santa Ornaments
- Stir flour and salt in a bowl and to ensure an even distribution.
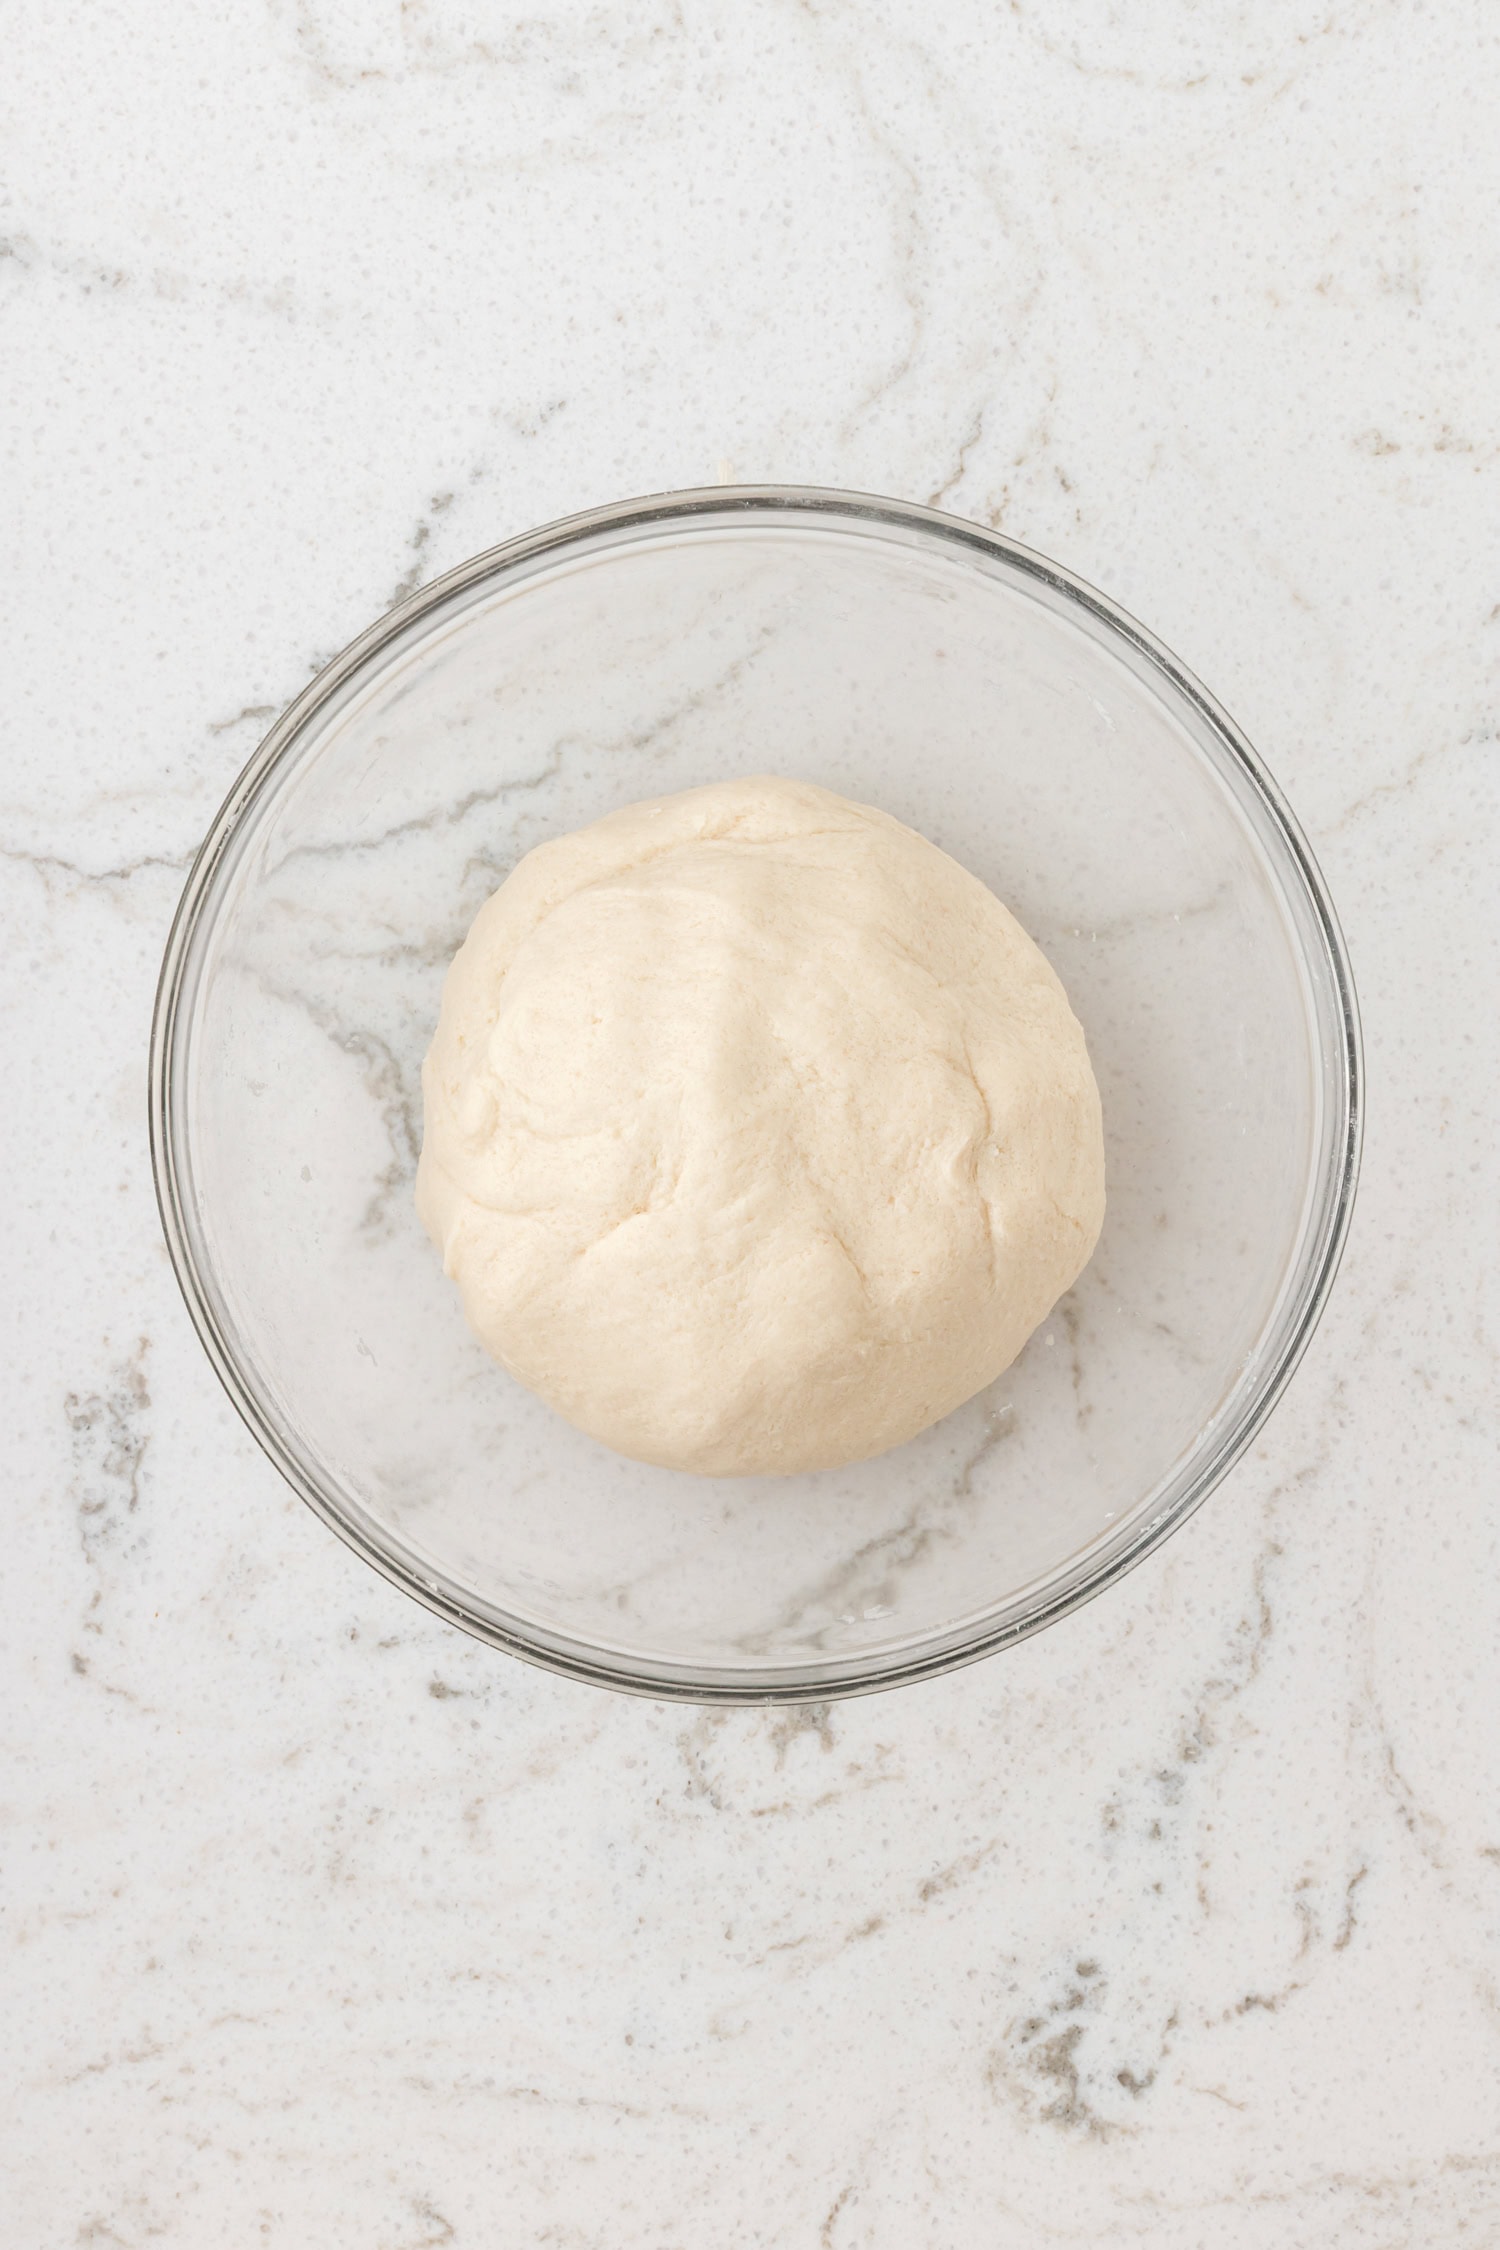
- Gradually add water to the flour and salt mixture, stirring continuously. Start with ¾ cup of water and add more if needed. The goal is to form a smooth, pliable dough.
- Once the mixture starts to come together, transfer the mixture to a lightly floured surface. Knead the dough until it becomes smooth and elastic. If the dough is too sticky, add a bit more flour.
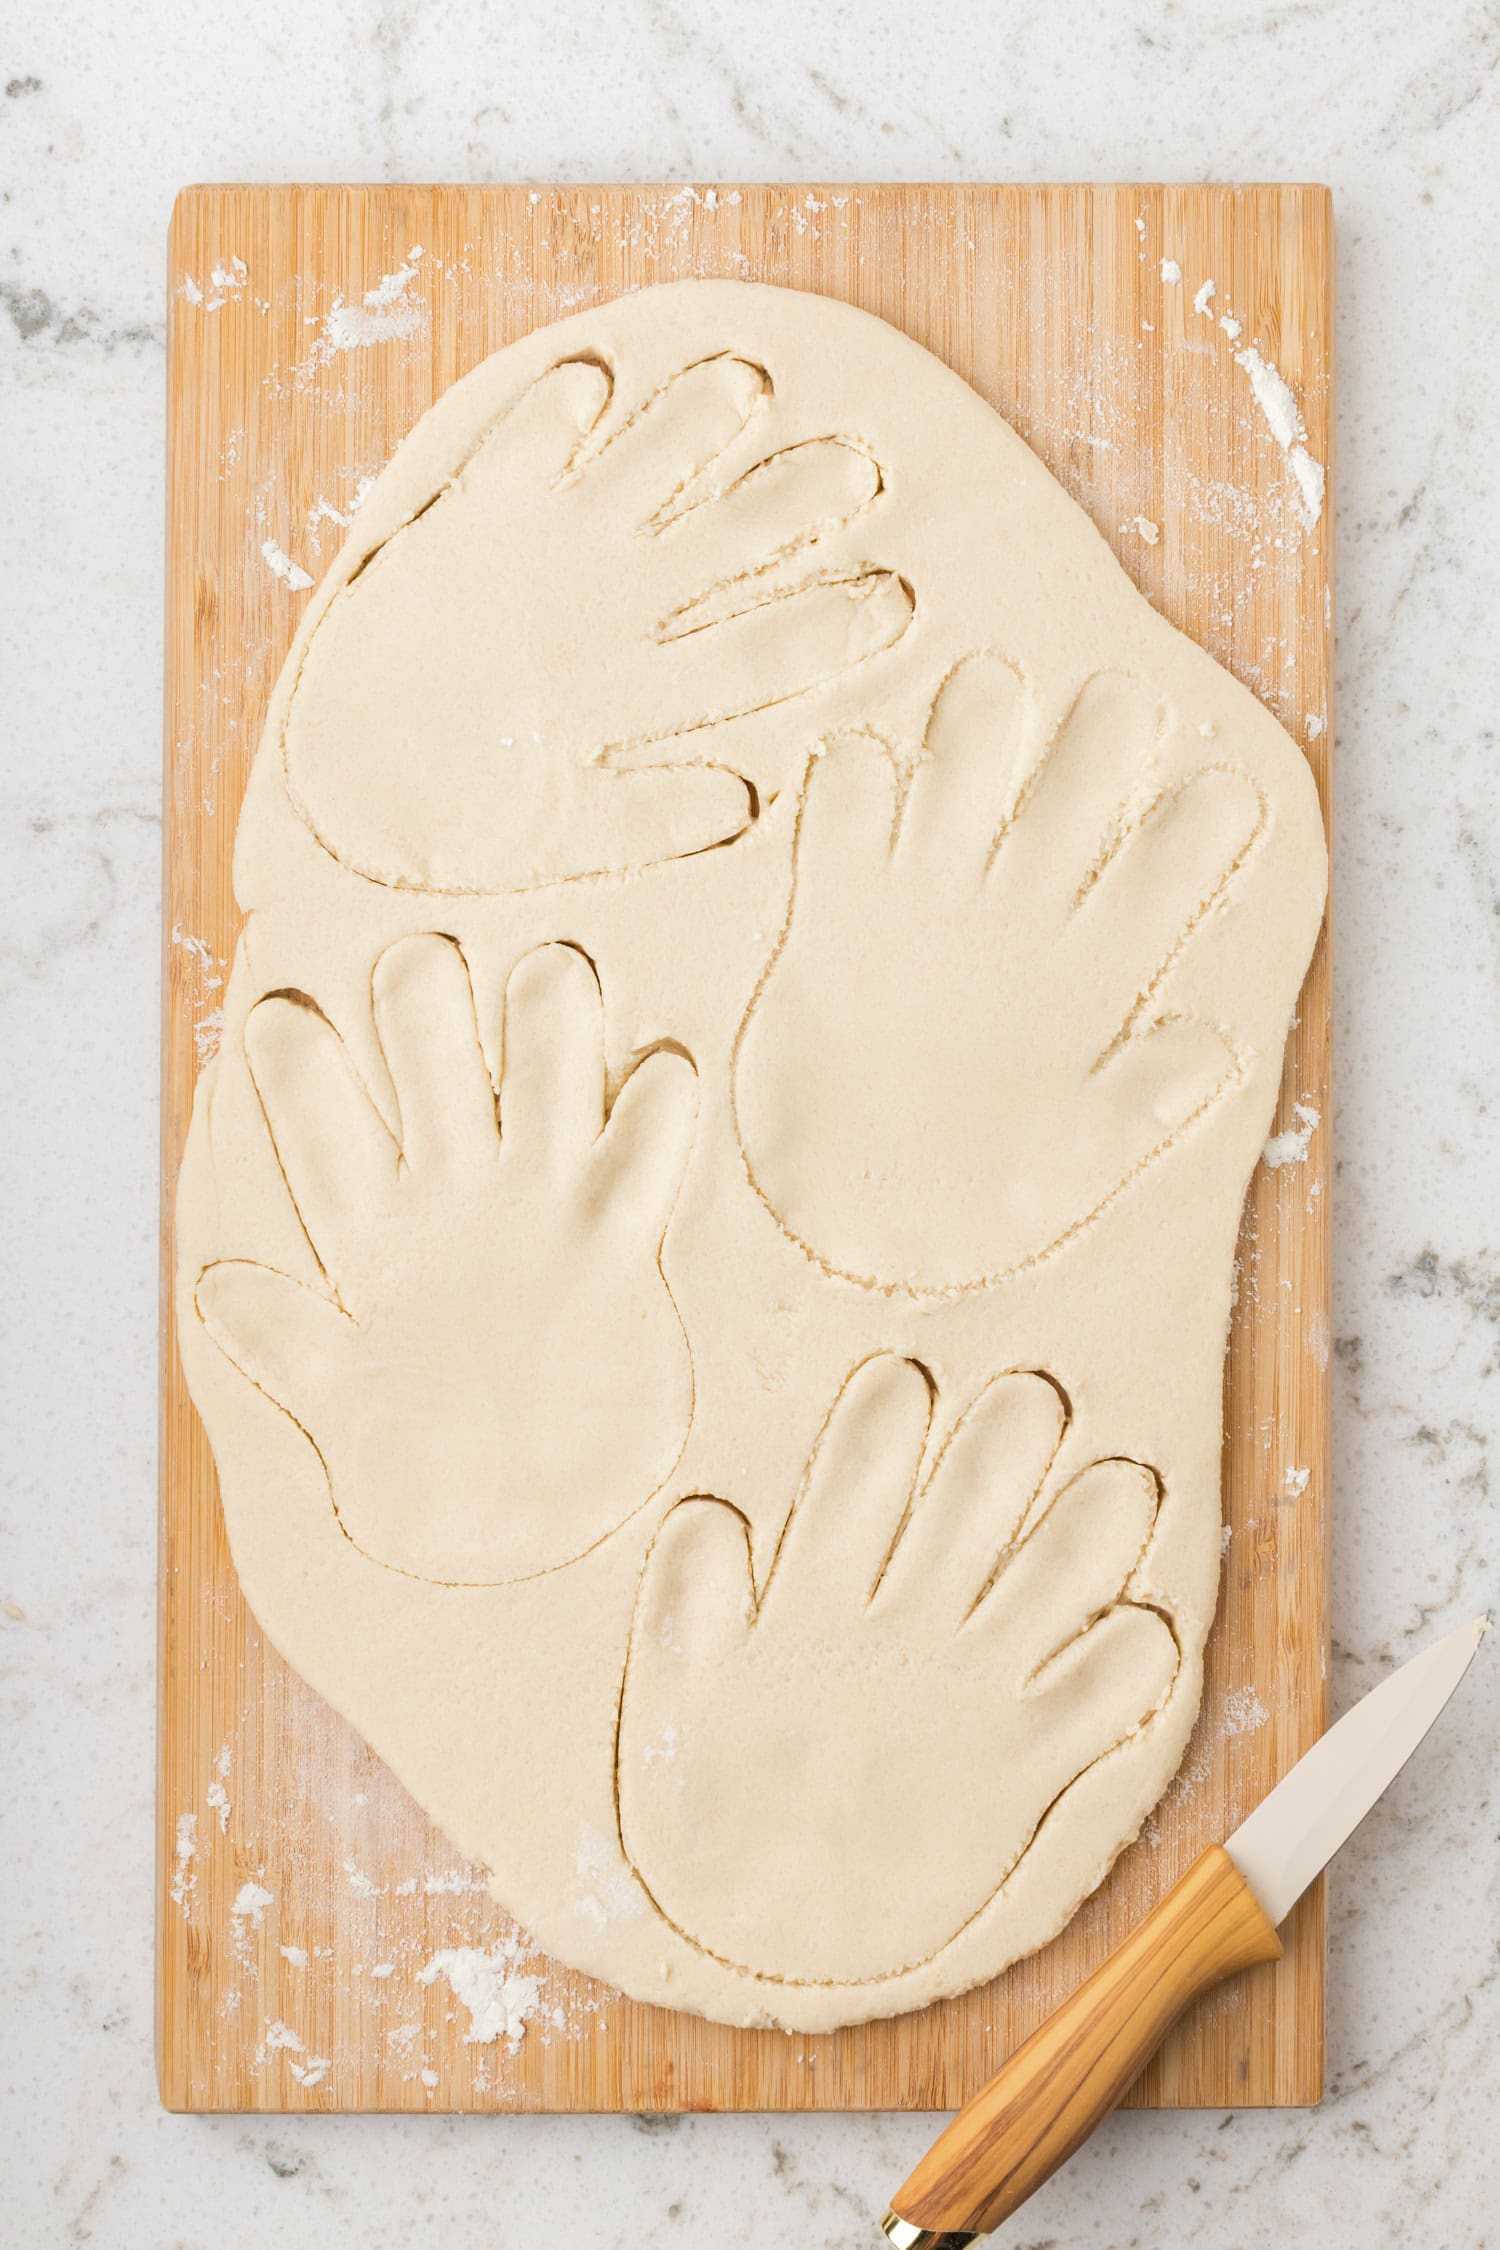
- Use a rolling pin to roll out the dough to your desired thickness.
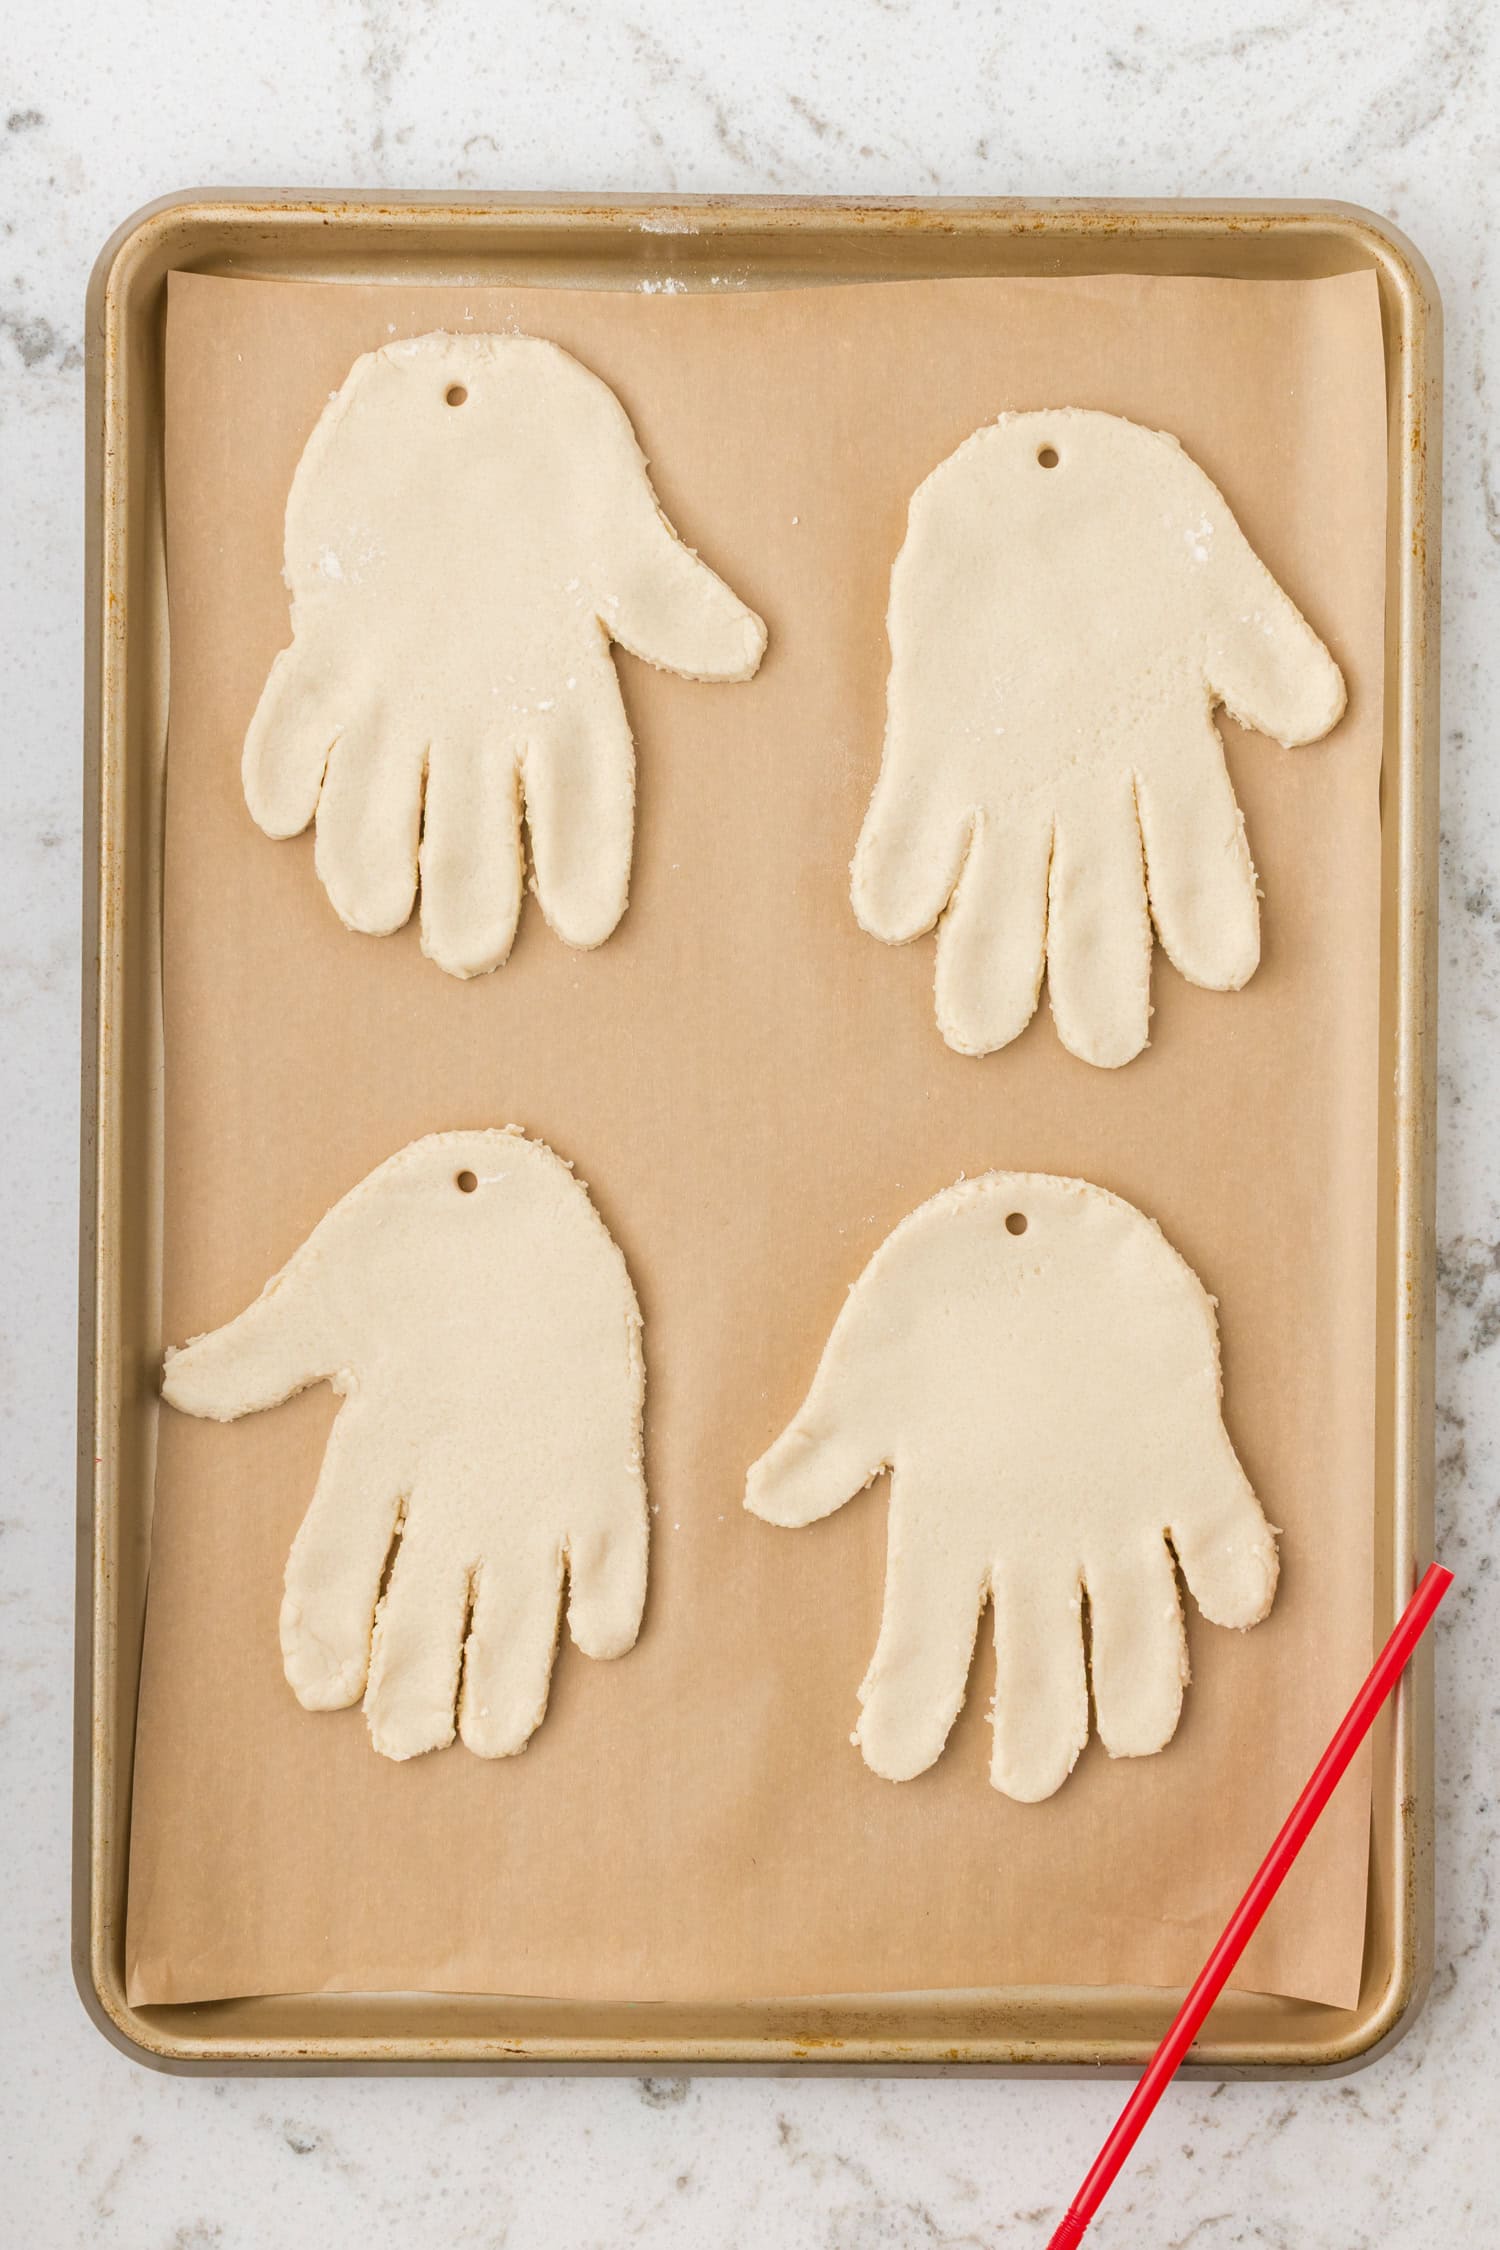
- Press your child’s hand firmly into the dough to create a clear handprint shape. This will form Santa’s beard and face. Carefully cut around the handprint, leaving a small border so it keeps its shape.
- Use a straw to poke a small hole near the top of the palm for hanging later.
- Place the handprints on a baking sheet lined with parchment paper. Bake at 250 degrees Fahrenheit for about 2 hours, or until hardened. Or let air-dry for 24–48 hours, flipping once to prevent curling.
- Allow the ornaments to cool completely on the baking sheet for at least 45–60 minutes before painting. Make sure they’re fully dry and cool before moving on.
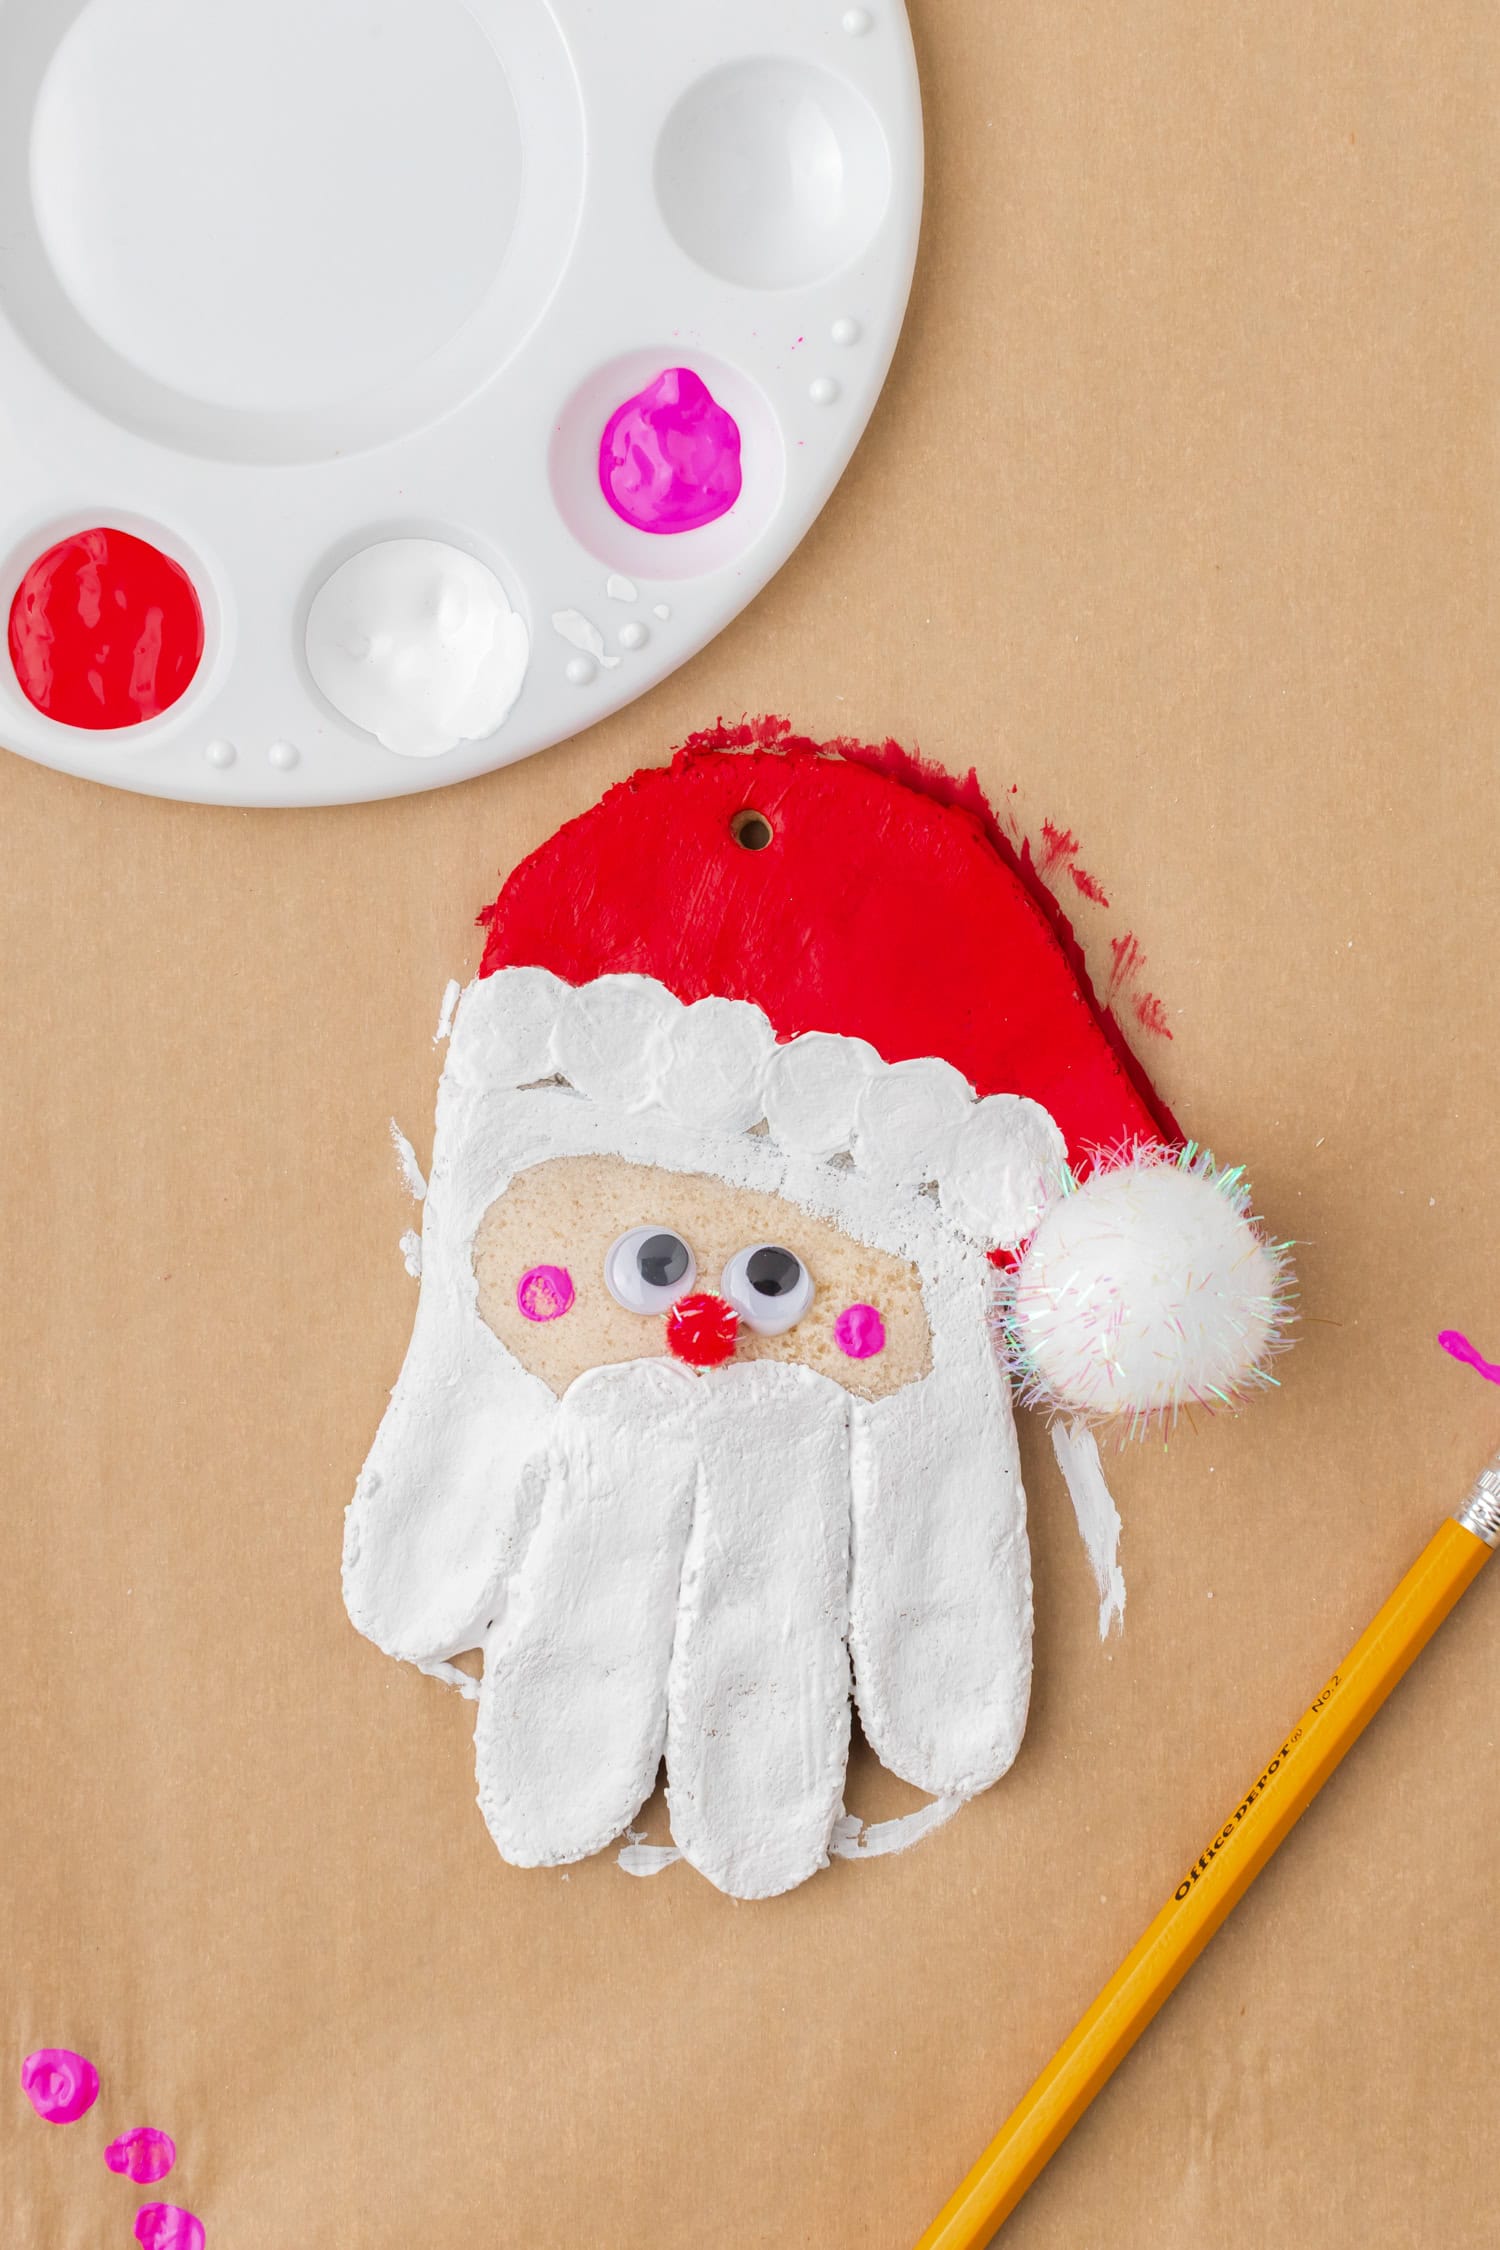
- Start with Santa’s beard by brushing the fingers with white paint to form the beard around his face, and add a white band for the hat’s brim. Leave the center area of the palm unpainted for Santa’s face.
- Paint the top portion of the hat red, and allow each section to dry completely before continuing with the next details.
- Glue on googly eyes and a red pom pom for Santa’s nose. Add a white pom pom to Santa’s hat.
- Dip the end of your pencil in pink paint and give Santa some rosy cheeks. Allow your Santa creation to dry for at least 1 hour.
- Once dry, thread ribbon through the hole and tie it into a loop, and your ornament is ready to hang or gift.
Pro Tips
- Roll the dough evenly to avoid cracks while drying or baking. Typically, ¼ inch is a suitable thickness for most salt dough projects.
- Add a sprinkle of cinnamon to the dough for a festive scent.
- For extra durability, you can spray the finished ornament with clear acrylic sealant like Mod Podge once the paint and glue have fully dried to protect the ornament from moisture and keep it looking new for years.
- Write your child’s name and the year on the back before sealing to make it a keepsake.
- Once completely dry, store the ornament in a cool, dry place wrapped in tissue paper or bubble wrap. Avoid damp areas. If you applied sealant, it will last beautifully for many more holidays to come.
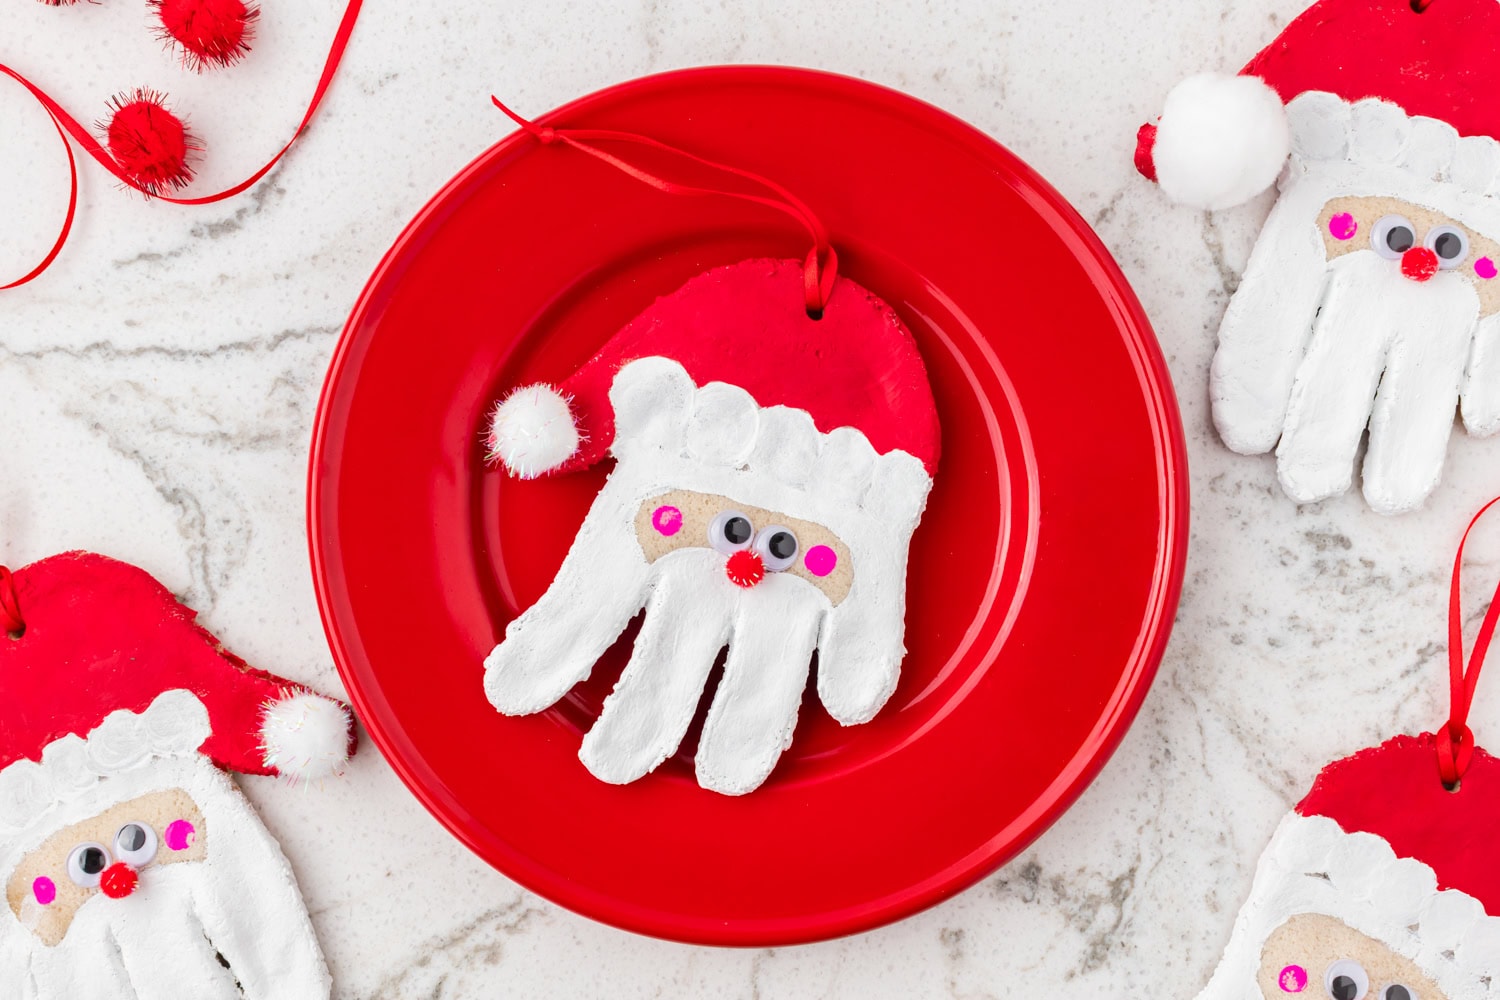
Salt dough crafts make the best memories and these Santa ornaments will be a hit this holiday season. Easy to coat so they last for years to come.

Salt Dough Handprint Santa Ornaments
Equipment
- craft paint
- Googly Eyes medium sized
- Pom Poms red and white
- Ribbon or twine for hanging
Ingredients
- 2 cups all-purpose flour
- 1 cup salt
- ¾ to 1 cup water
Instructions
- In a bowl, combine the flour and salt. Stir them together to ensure an even distribution.
- Gradually add water to the flour and salt mixture, stirring continuously. Start with ¾ cup of water and add more if needed. The goal is to form a smooth, pliable dough.
- Once the mixture starts to come together, transfer the mixture to a lightly floured surface. Knead the dough until it becomes smooth and elastic. If the dough is too sticky, add a bit more flour.
- Use a rolling pin to roll out the dough to your desired thickness. Typically, ¼ inch is a suitable thickness for most salt dough projects.
- Have your child press their hand firmly into the dough to create a clear handprint shape. This will form Santa’s beard and face. Carefully cut around the handprint, leaving a small border so it keeps its shape.
- Use a straw to poke a small hole near the top of the palm for hanging later.
- Place the handprints on a baking sheet lined with parchment paper. Bake at 250 degrees Fahrenheit for about 2 hours, or until hardened, or let air-dry for 24–48 hours, flipping once to prevent curling.
- Allow the ornaments to cool completely on the baking sheet for at least 45–60 minutes before painting. Make sure they’re fully dry and cool before moving on.
- Paint Santa’s beard by brushing the fingers white to form the beard around his face, and add a white band for the hat’s brim. Leave the center area of the palm unpainted for Santa’s face.
- Paint the top portion of the hat red, and allow each section to dry completely before continuing with the next details.
- Glue on googly eyes and a red pom pom for Santa’s nose. Add a white pom pom to Santa’s hat.
- Dip the end of your pencil in pink paint and give Santa some rosy cheeks. Allow your Santa creation to dry for at least 1 hour.
- Once dry, thread ribbon through the hole and tie it into a loop, and your ornament is ready to hang or gift.
More Great Christmas Activities
- First thing’s first – Letters To Santa! Check out this template for an easy way to write letters to Santa this Christmas season.
- I don’t know of any kids that don’t love to create and play with play-dough and I’ve got a great Peppermint Christmas version you have got to test out. This no-cook playdough is great for kids of all ages.
- Adorable as a place setting at the dinner table or on a string as garland, Yarn Wrapped Christmas Trees are a quick and easy craft that can be kept for years to come. I’m sure you’ve got all of the supplies on hand so you can make this any time!
- Whether you are trying to keep your class busy during the week before winter break or you’ve got a house full kids who need to keep busy before their big holiday meal, there are a ton of free Printable Christmas Activities for you to print out.
I’m a sucker for a handprint craft with the kids! Such a special keepsake…we enjoyed making them!
Glad you enjoyed making this craft!