Popsicle Stick Airplanes
Looking for an easy and fun airplane craft for kids? These Popsicle Stick Airplanes are simple to make with craft sticks, glue, and markers, making them perfect for classroom activities, rainy days, or summer boredom busters. Kids will love decorating their own colorful airplanes and playing with them once they’re dry!

Bust out the craft bins and create a fleet of popsicle stick airplanes! Kids and even adults will have so much fun creating their own easy popsicle stick airplane. The color options and combinations are pretty endless and you can decorate them with any of the craft supplies you have on hand. Craft stick airplanes may be simple, but they can lead to hours of fun.
Make these affordable crafts inside on a rainy day or take them out onto the patio if it’s sunny. No matter what, there is a lot of fun to be had with these DIY popsicle stick airplanes.
Why You’ll Love This Activity
- This is a great activity that kids can work on with little help from a grown up.
- Kids will practice their fine motor skills while glueing and coloring the popsicle sticks.
- After the airplanes are built and the glue is dried, the airplanes can be used in so many creative ways.
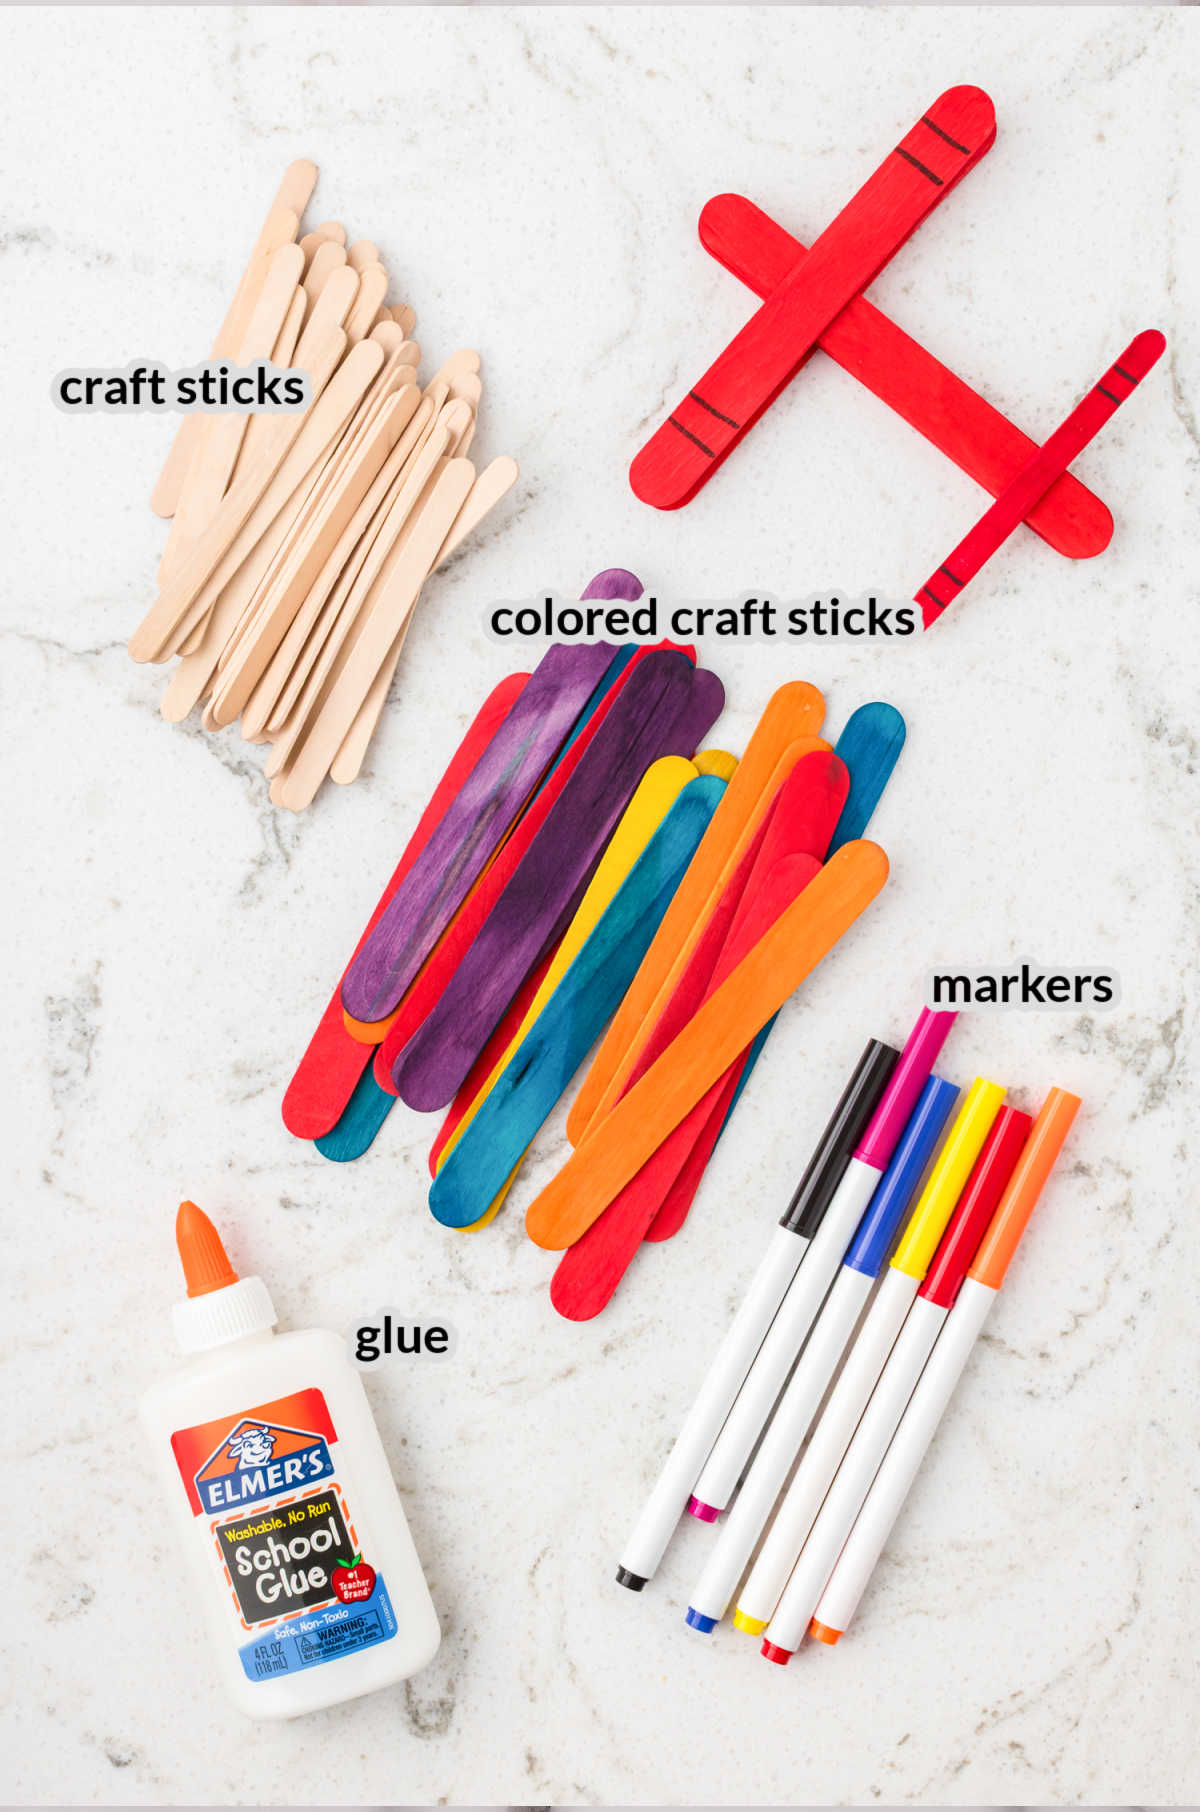
Supplies Needed For Popsicle Stick Airplanes
- Jumbo colored craft sticks – Jumbo sticks are used for the airplane body. If you have plain sticks, you can color them yourself.
- Regular craft sticks – The regular size sticks become the tail of the airplane, which you will color.
- Craft glue – White glue will hold the popsicle sticks together better than a glue stick. With supervision, kids can also use hot glue guns.
- Markers – Use whatever markers you have on hand. If you have older, more patient kids, you can also paint the popsicle sticks if you’ve got time to let them dry.
How To Make Popsicle Stick Airplanes
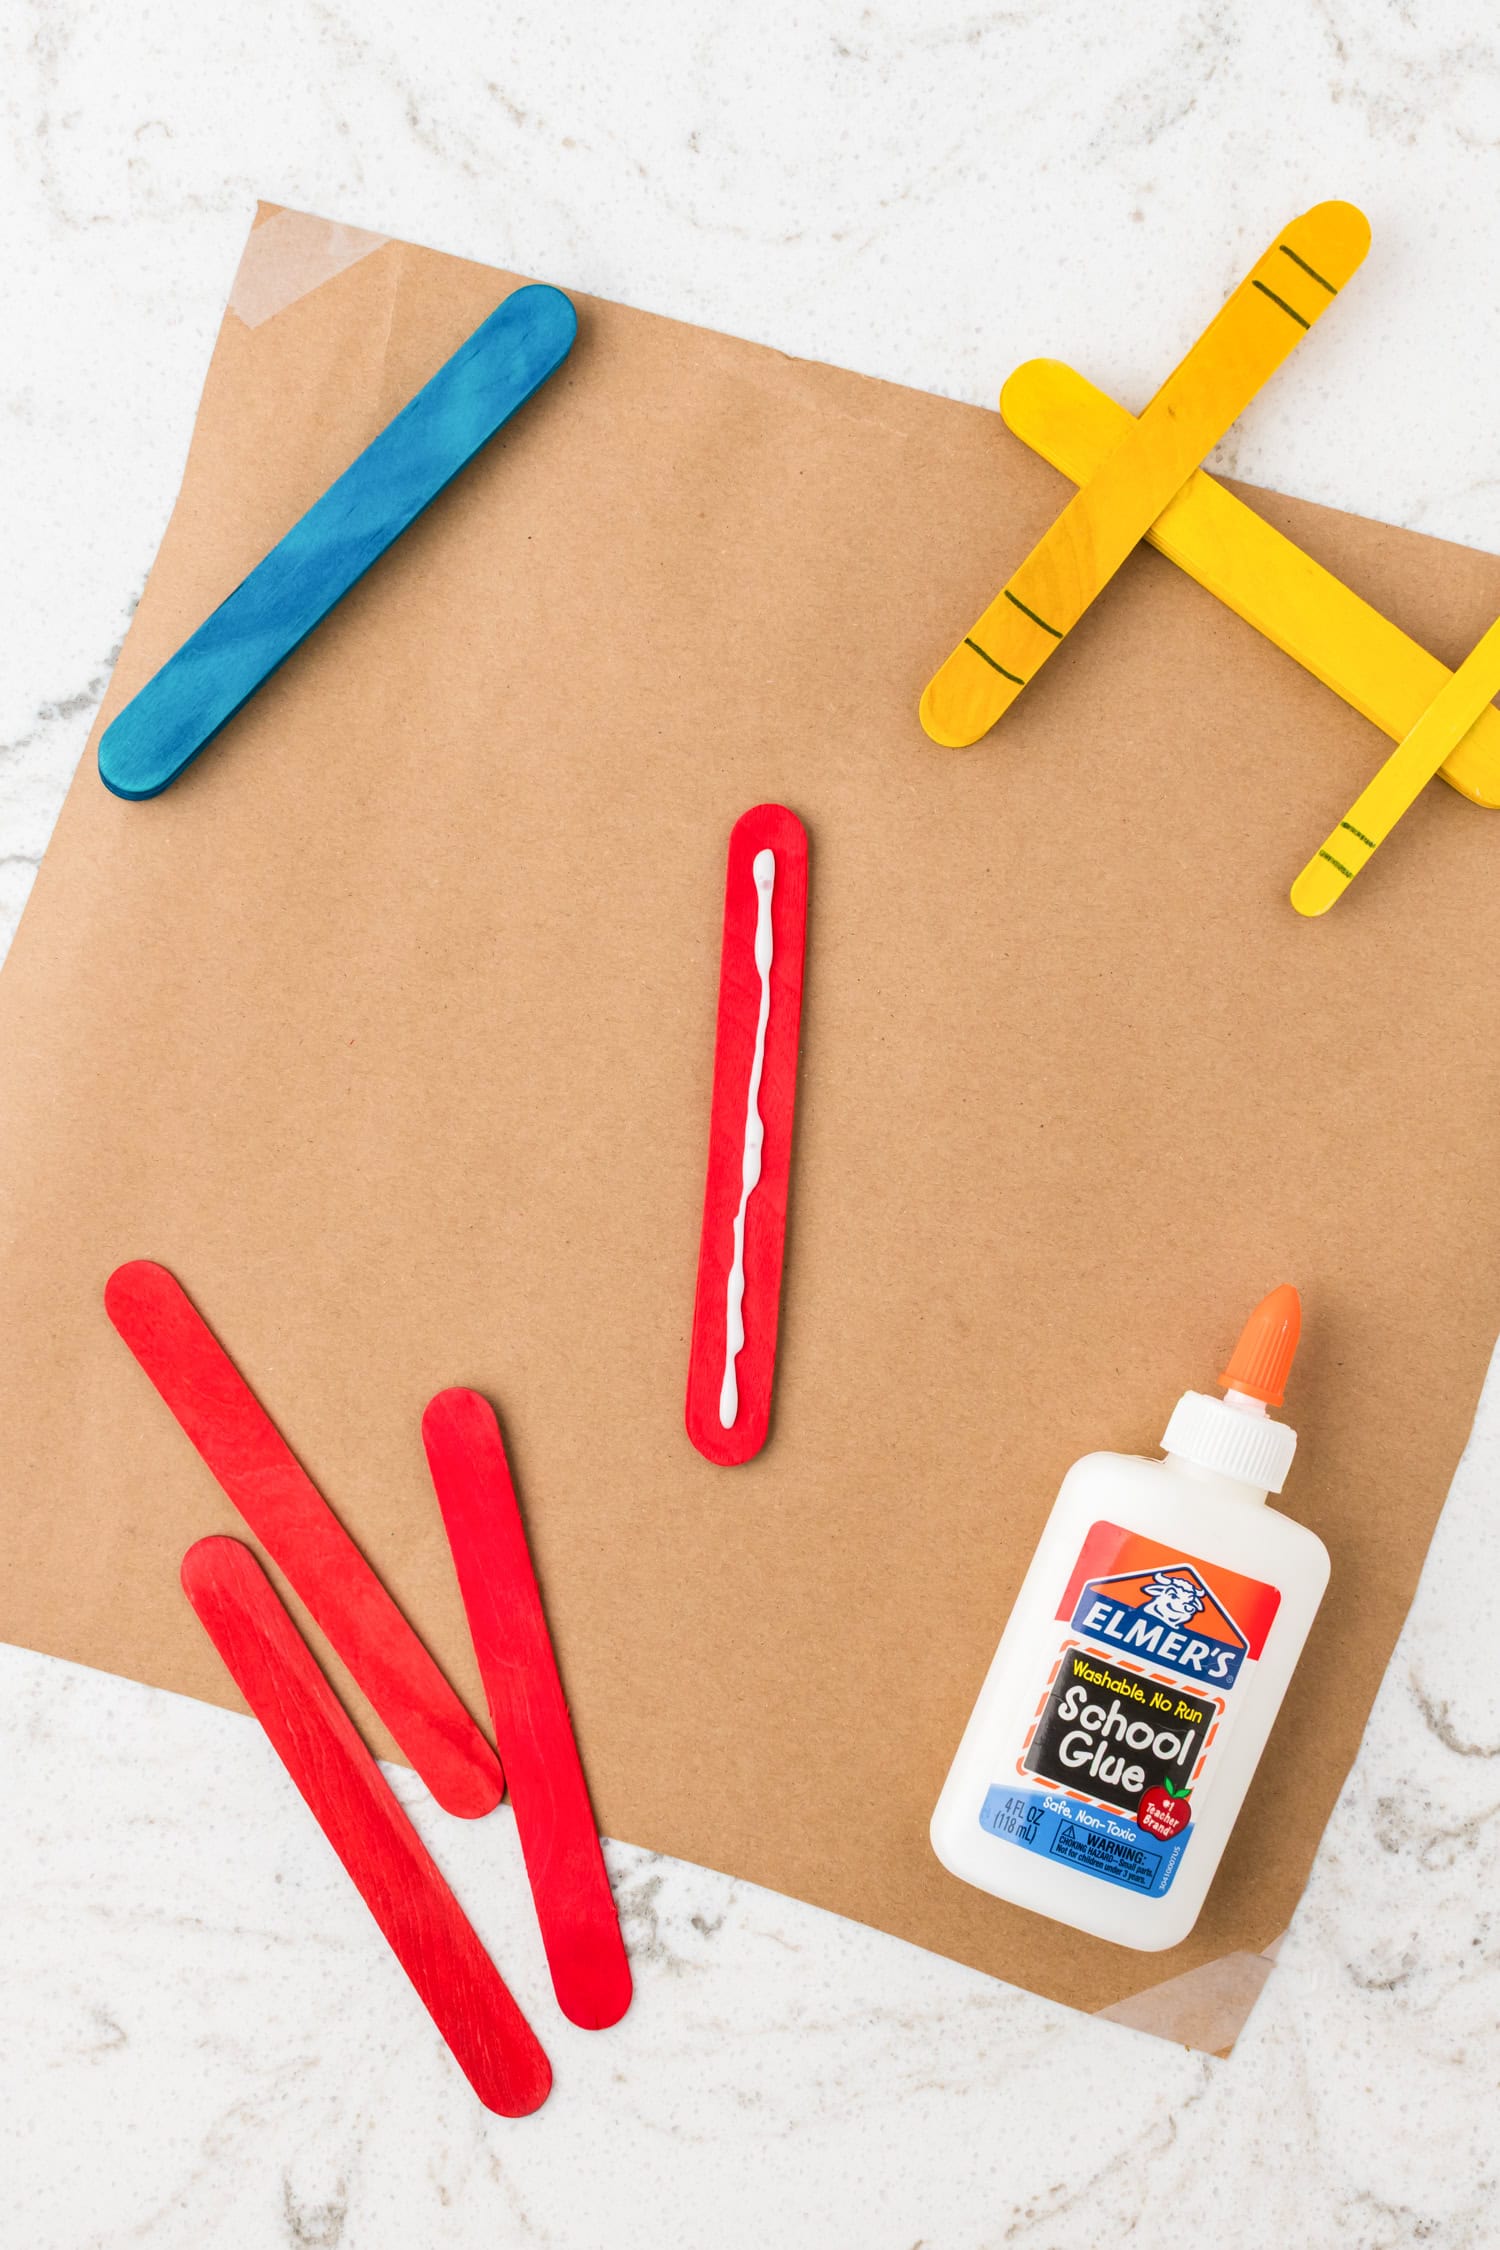
- Stack 5 jumbo colored craft sticks, adding a thin layer of craft glue between each stick to build the airplane body. Set it aside to dry for at least 20 minutes.
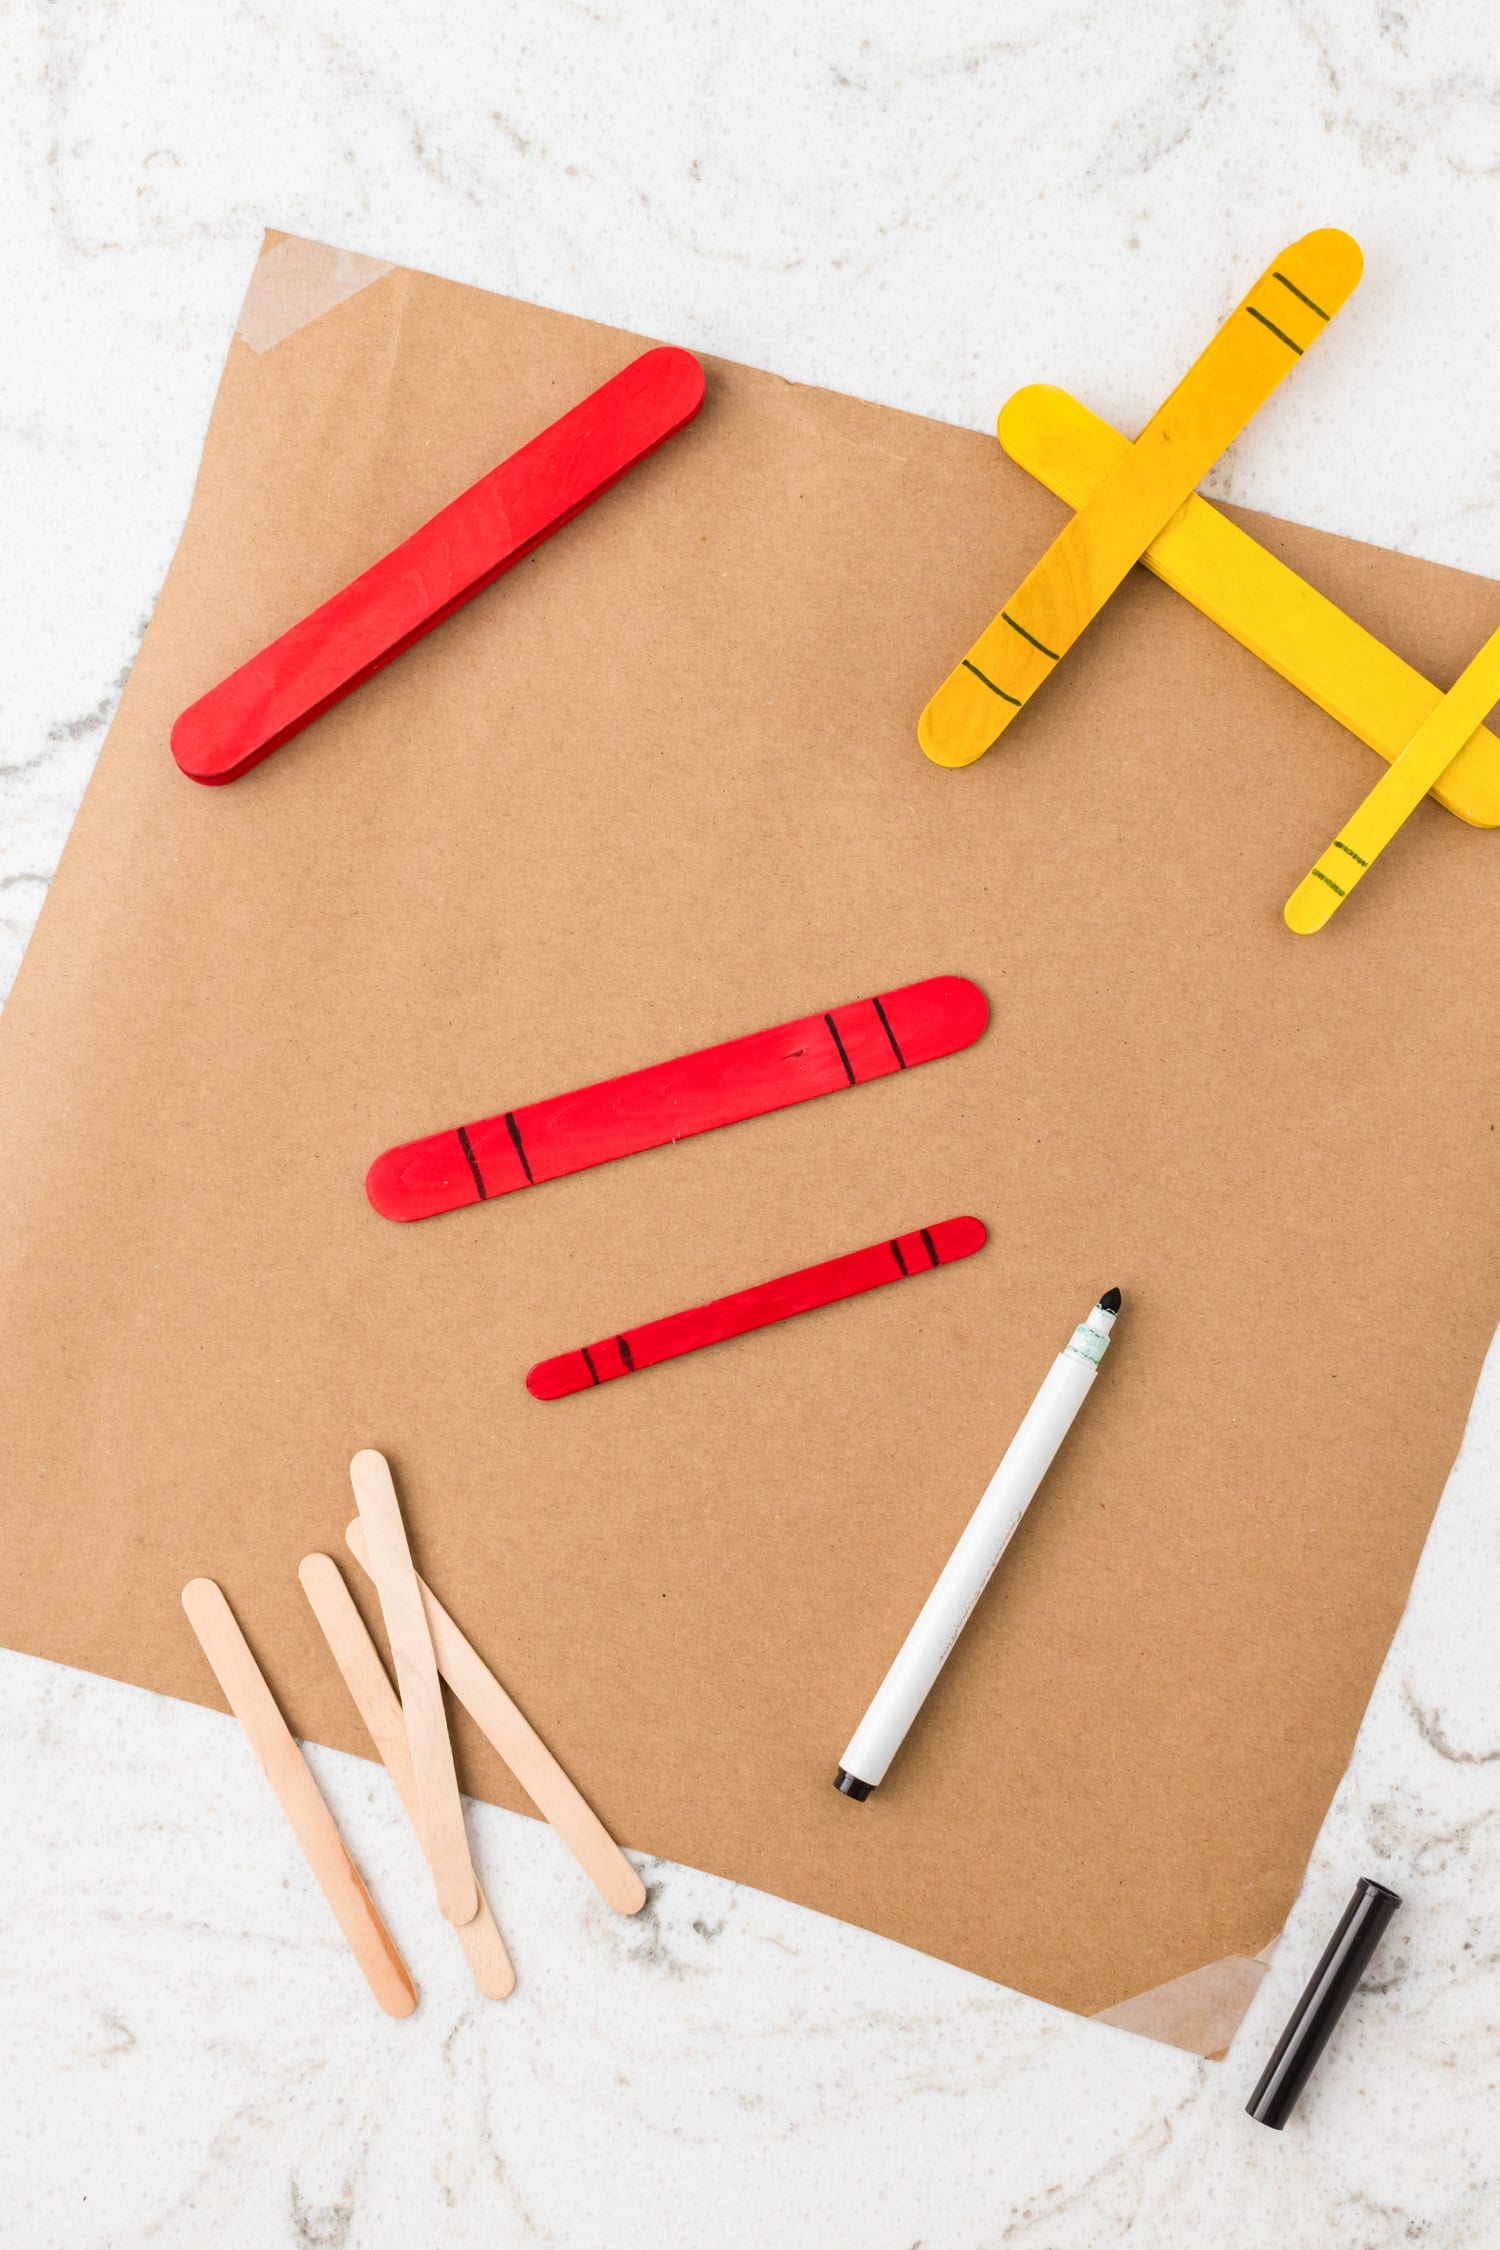
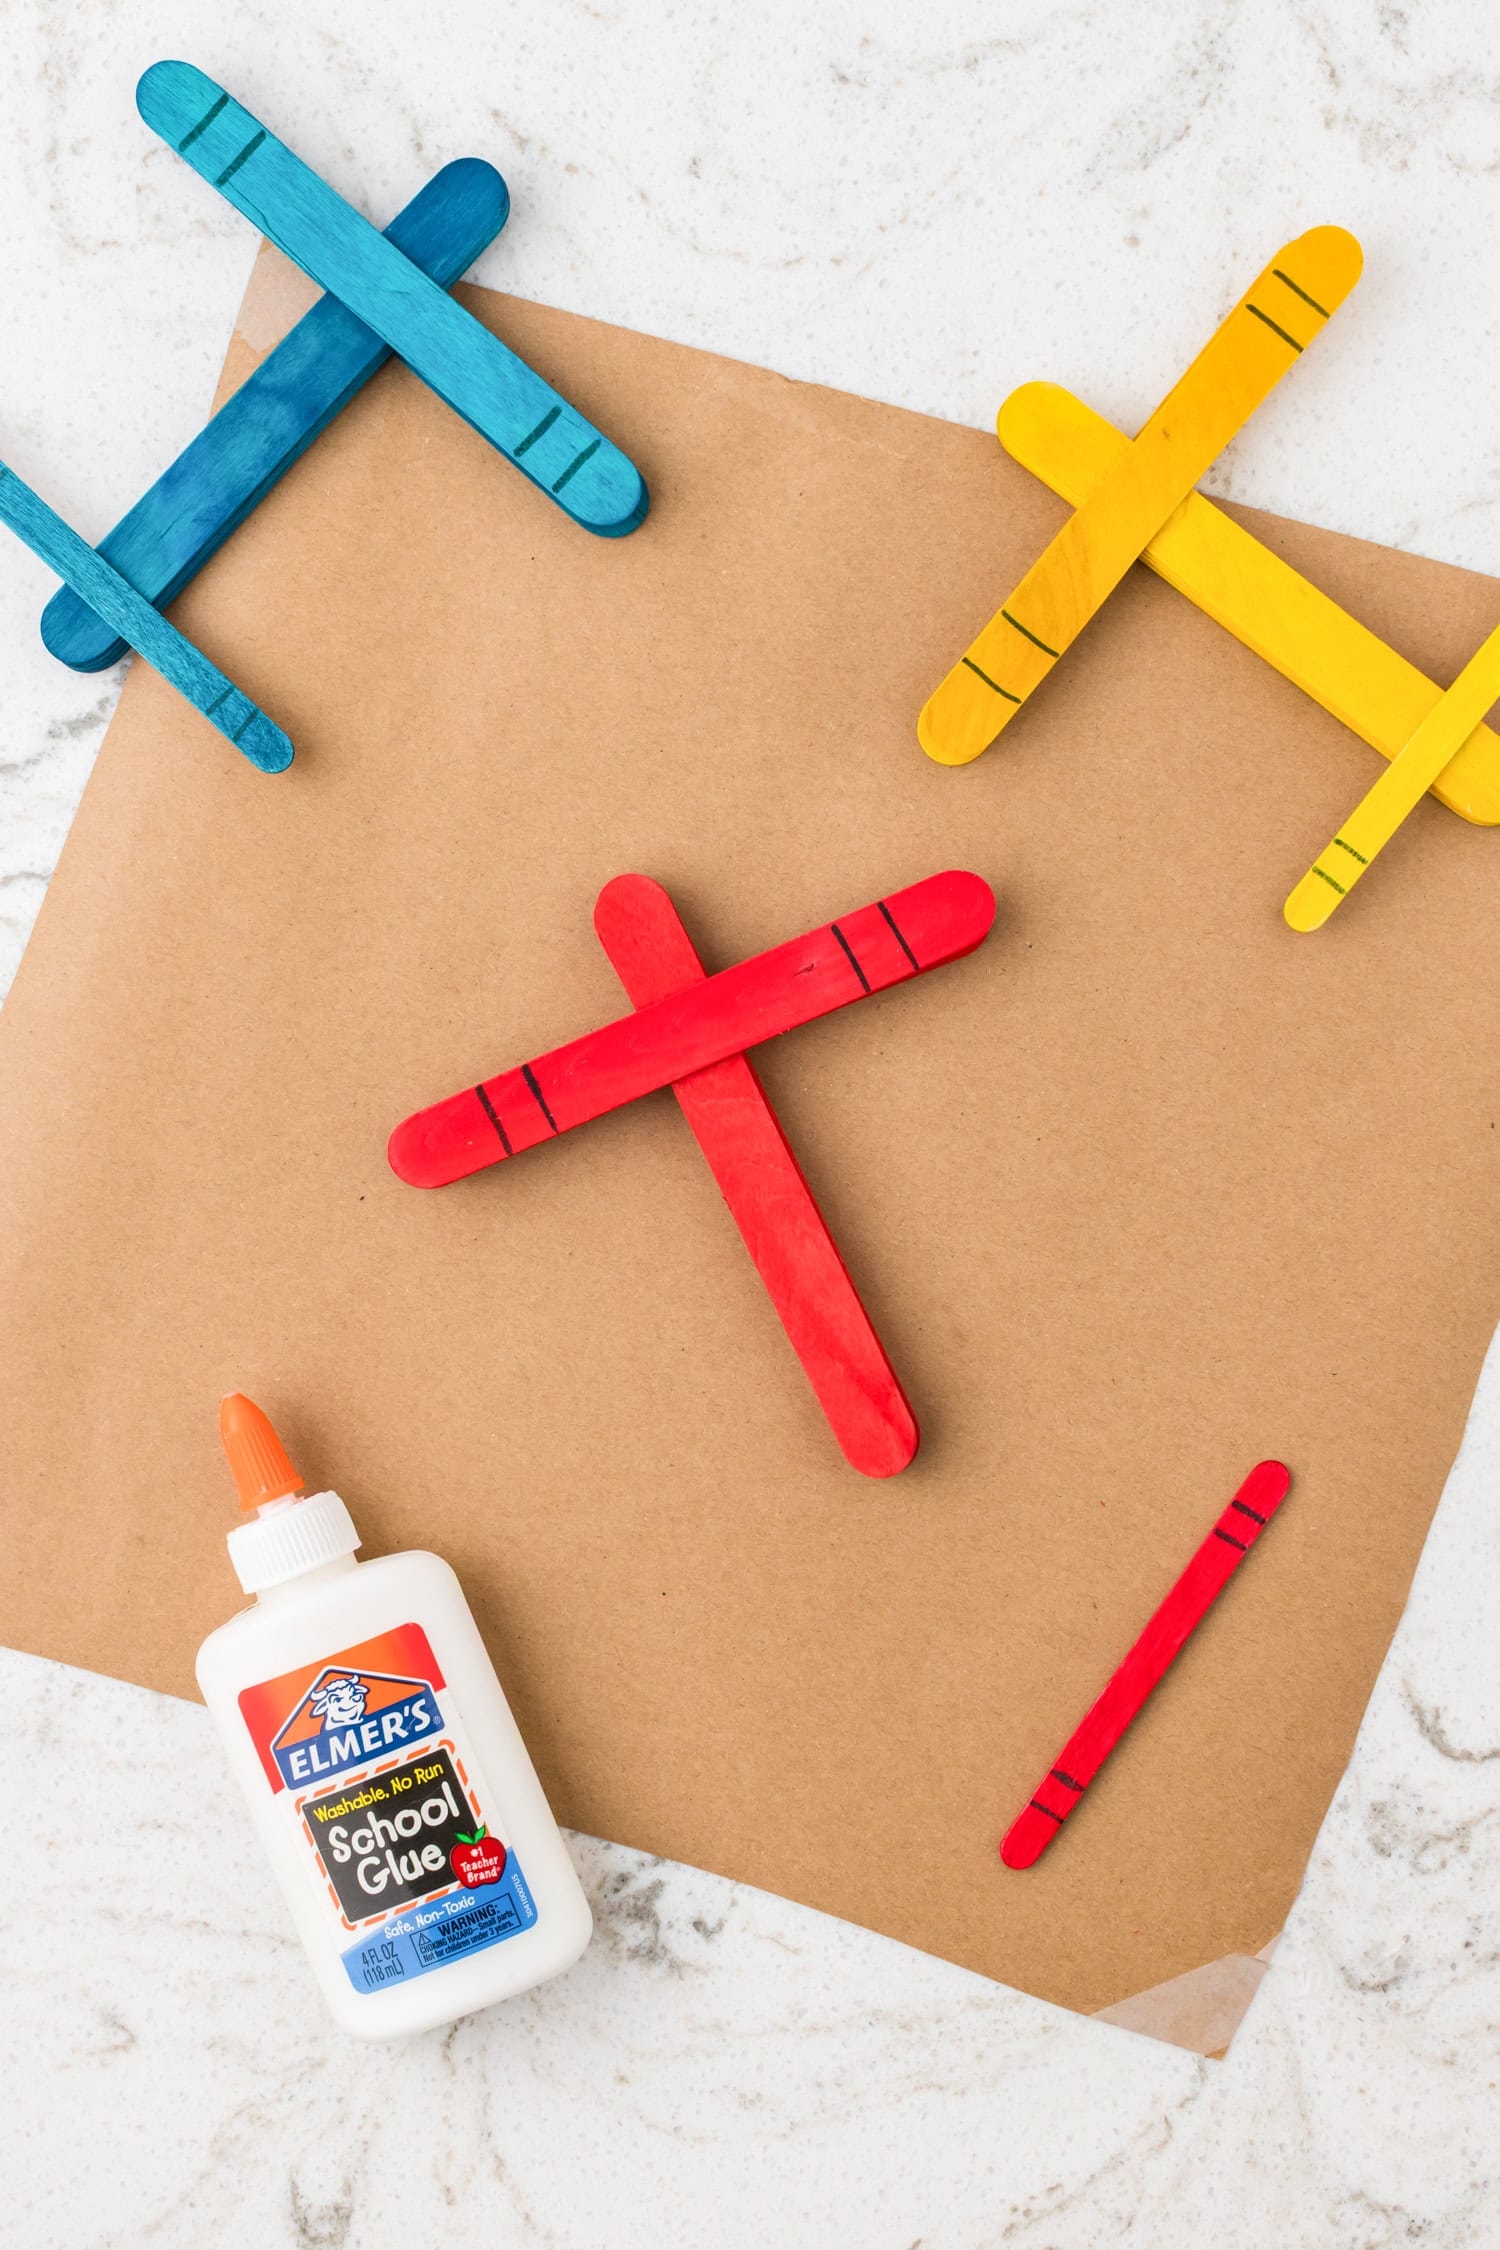
- While the body is drying, grab 1 regular craft stick and color it with markers. This piece will be the airplane tail.
- Take 2 jumbo craft sticks for the airplane wings. Decorate them with markers if desired.
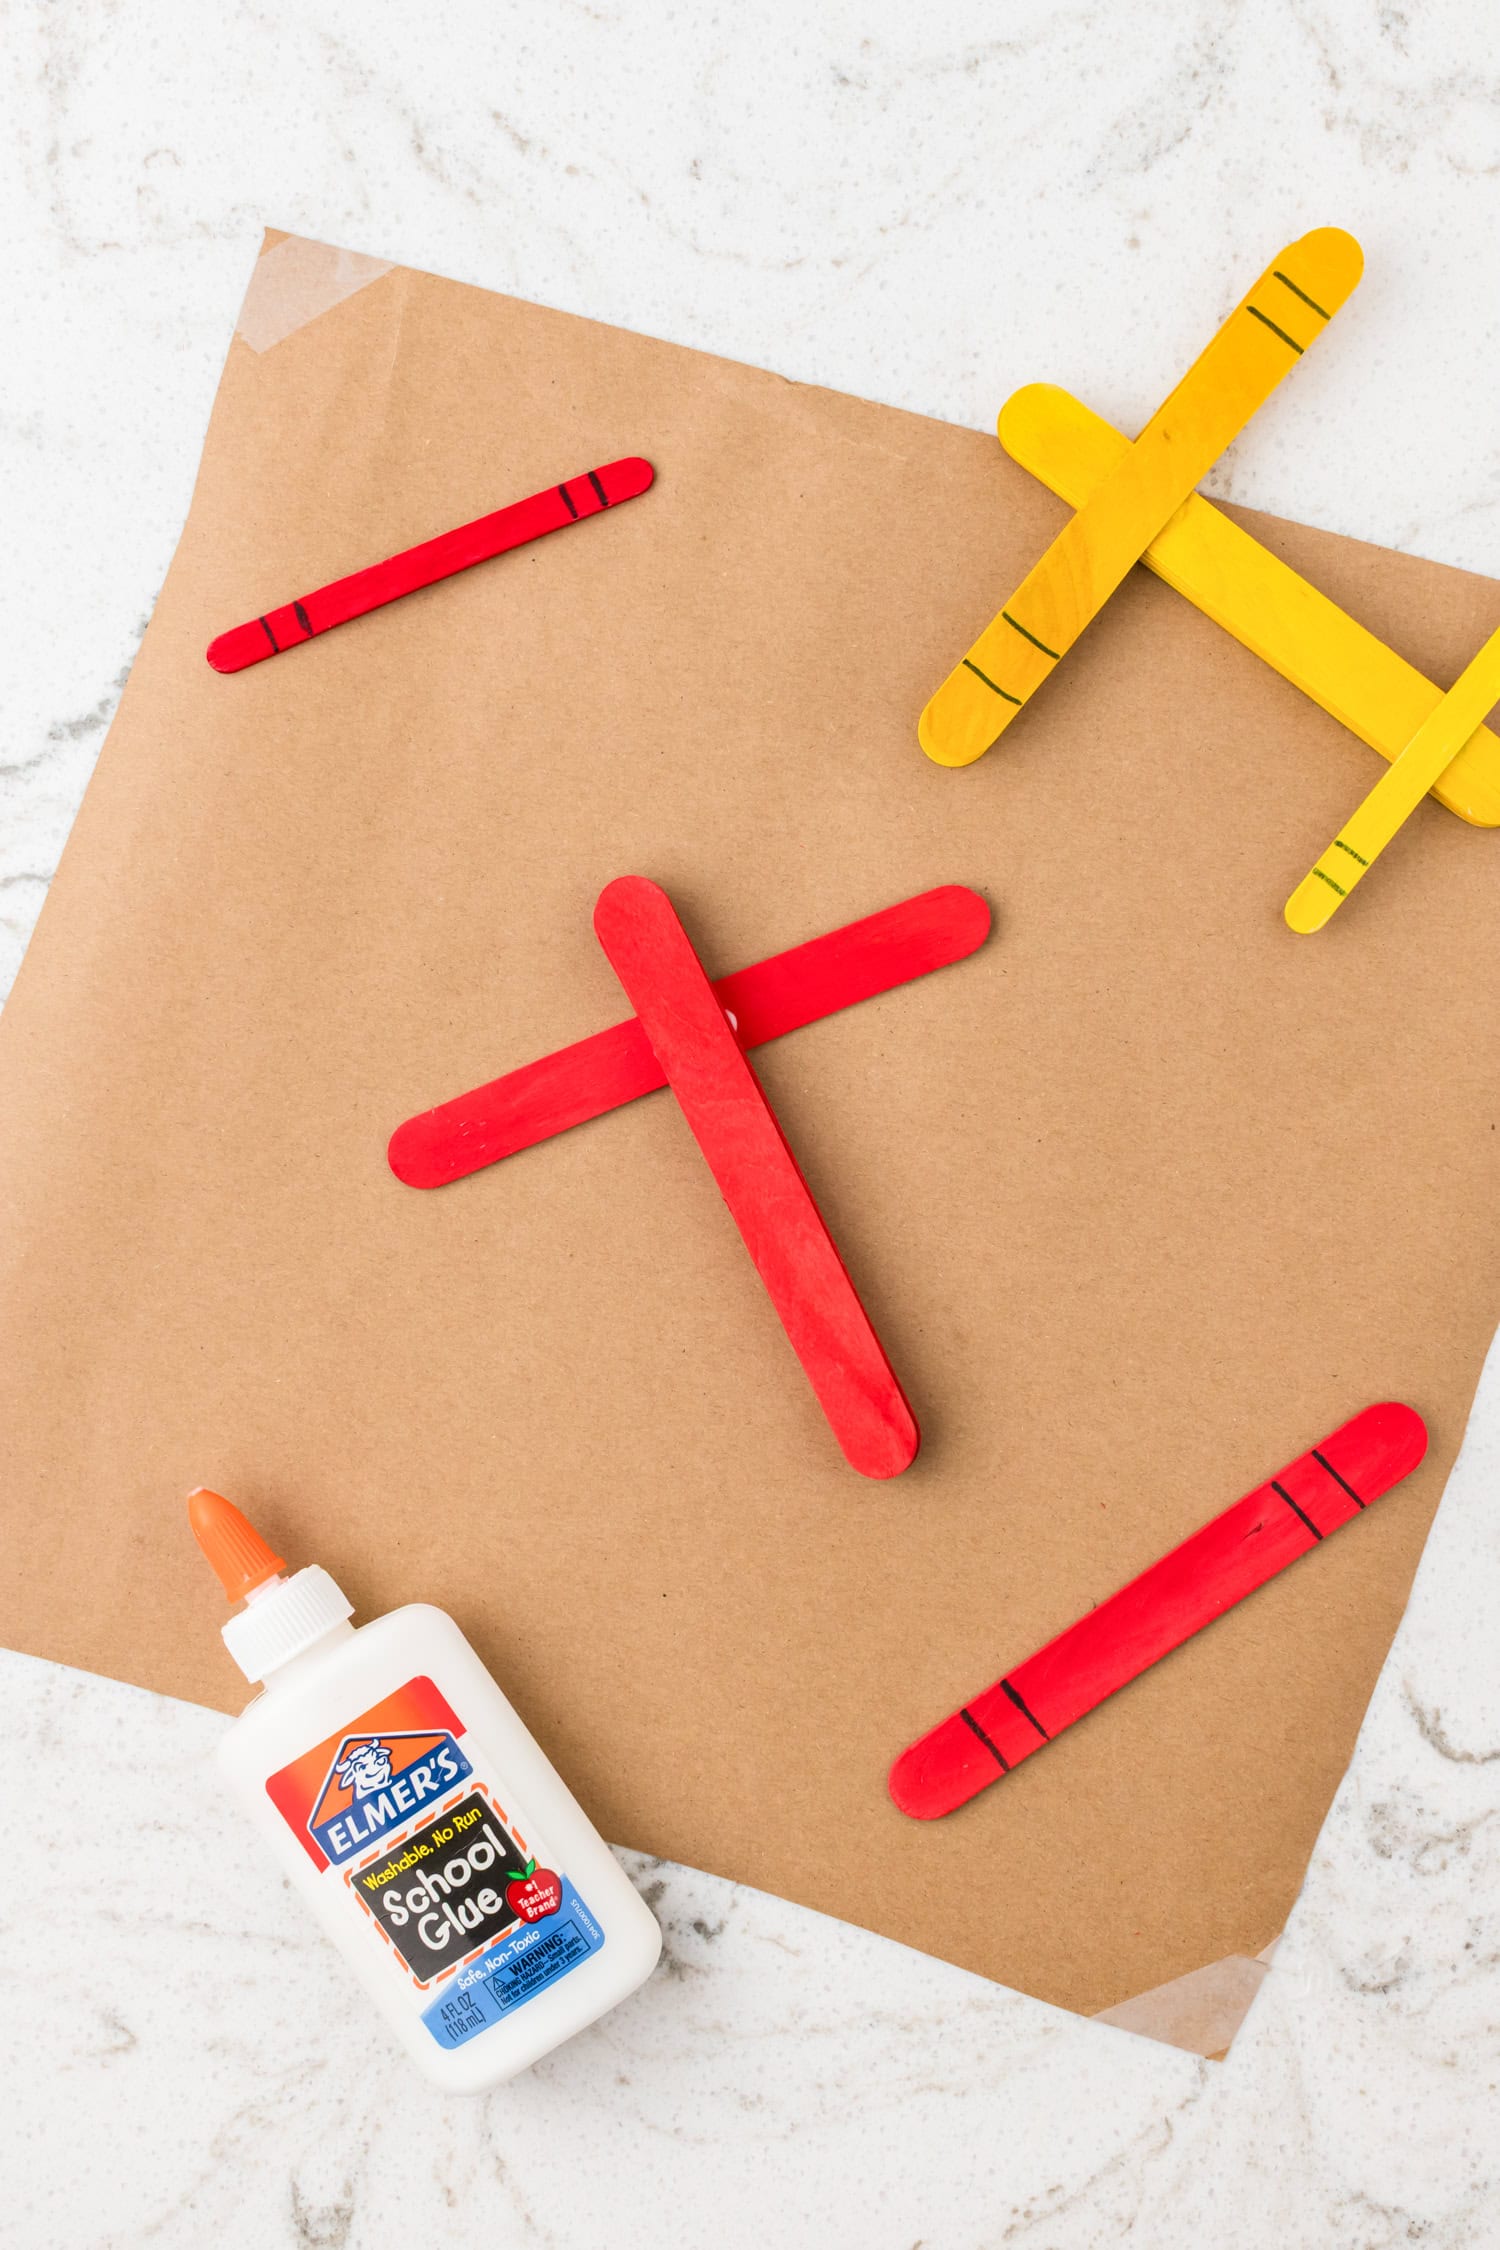
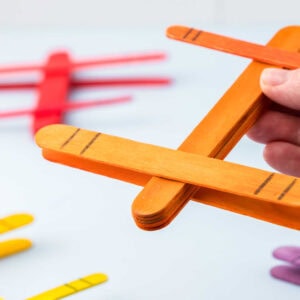
- Once ready, glue one jumbo stick to the top of the airplane body and one to the bottom to create the wings.
- Glue the decorated regular craft stick to the back of the body to form the tail. Allow the airplane to dry for at least 30 minutes before playing with it.
Pro Tips
- Decorate the plane’s tail and wings with any other fun craft supplies you may have like stickers and glitter!
- Feeling a little extra creative? Cut up a regular popsicle stick and glue it to the front of the airplane to make a propeller.
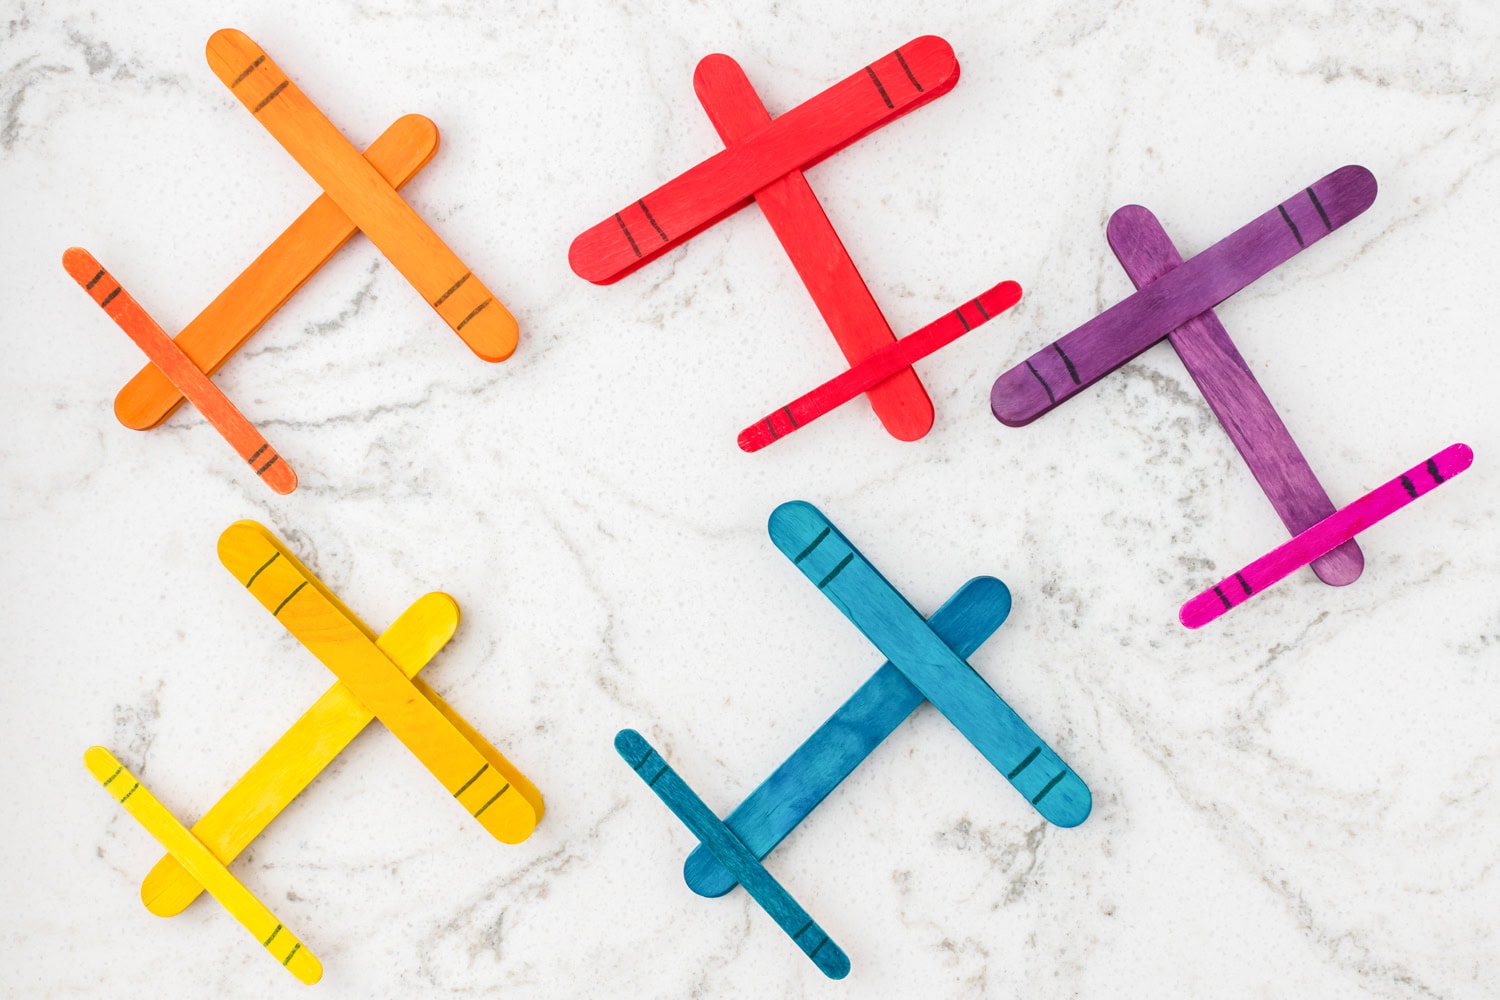
The kids are going to have a blast creating their very own airplanes with the smallest supply list ever. Create your own runways and hangar and travel the world!
Popsicle Stick Airplanes
Instructions
- Cover your work surface with craft paper, newspaper, or an old tablecloth to protect it from glue and marker stains.
- Take 5 jumbo colored craft sticks, lay them horizontally, and stack them up, adding a thin layer of craft glue between each stick. This stacked section will become the airplane body. Set it aside to dry for at least 20 minutes.
- While the body is drying, grab 1 regular craft stick and color it with markers. This piece will be the airplane tail. Decorate as you wish.
- Take 2 jumbo craft sticks for the airplane wings. Decorate them with markers if desired.
- Once ready, glue one jumbo stick to the top of the airplane body and one to the bottom to create the wings.
- Glue the decorated regular craft stick to the back of the body to form the tail. Allow the airplane to dry for at least 30 minutes before playing with it.
More Craft Stick Ideas
- Great for winter holidays, or for the kids who just love our green friend all year round, Grinch Popsicle Stick Craft will grow your heart three sizes. With just a few simple supplies you can make a fun Grinch in less than an hour.
- Inexpensive and fun Frankensteins are always at the top of the to-do list when spooky season rolls around. This is a great pre-Halloween family activity!
- When it’s time to go back to school, there will be lots of Pencil crafts to do and this craft stick activity is simple and fun. Teachers can decorate the classroom or even have each student make their own to go with a name tag.
- There is nothing as cute as a Gnome! Typically more of a Christmassy decoration but you can totally dress them up and decorate them for any season or party.
I have to tell you…my hubby loved this craft! he is an aviation enthusiast and he loved making these with the kids! So fun!