Pencil Craft
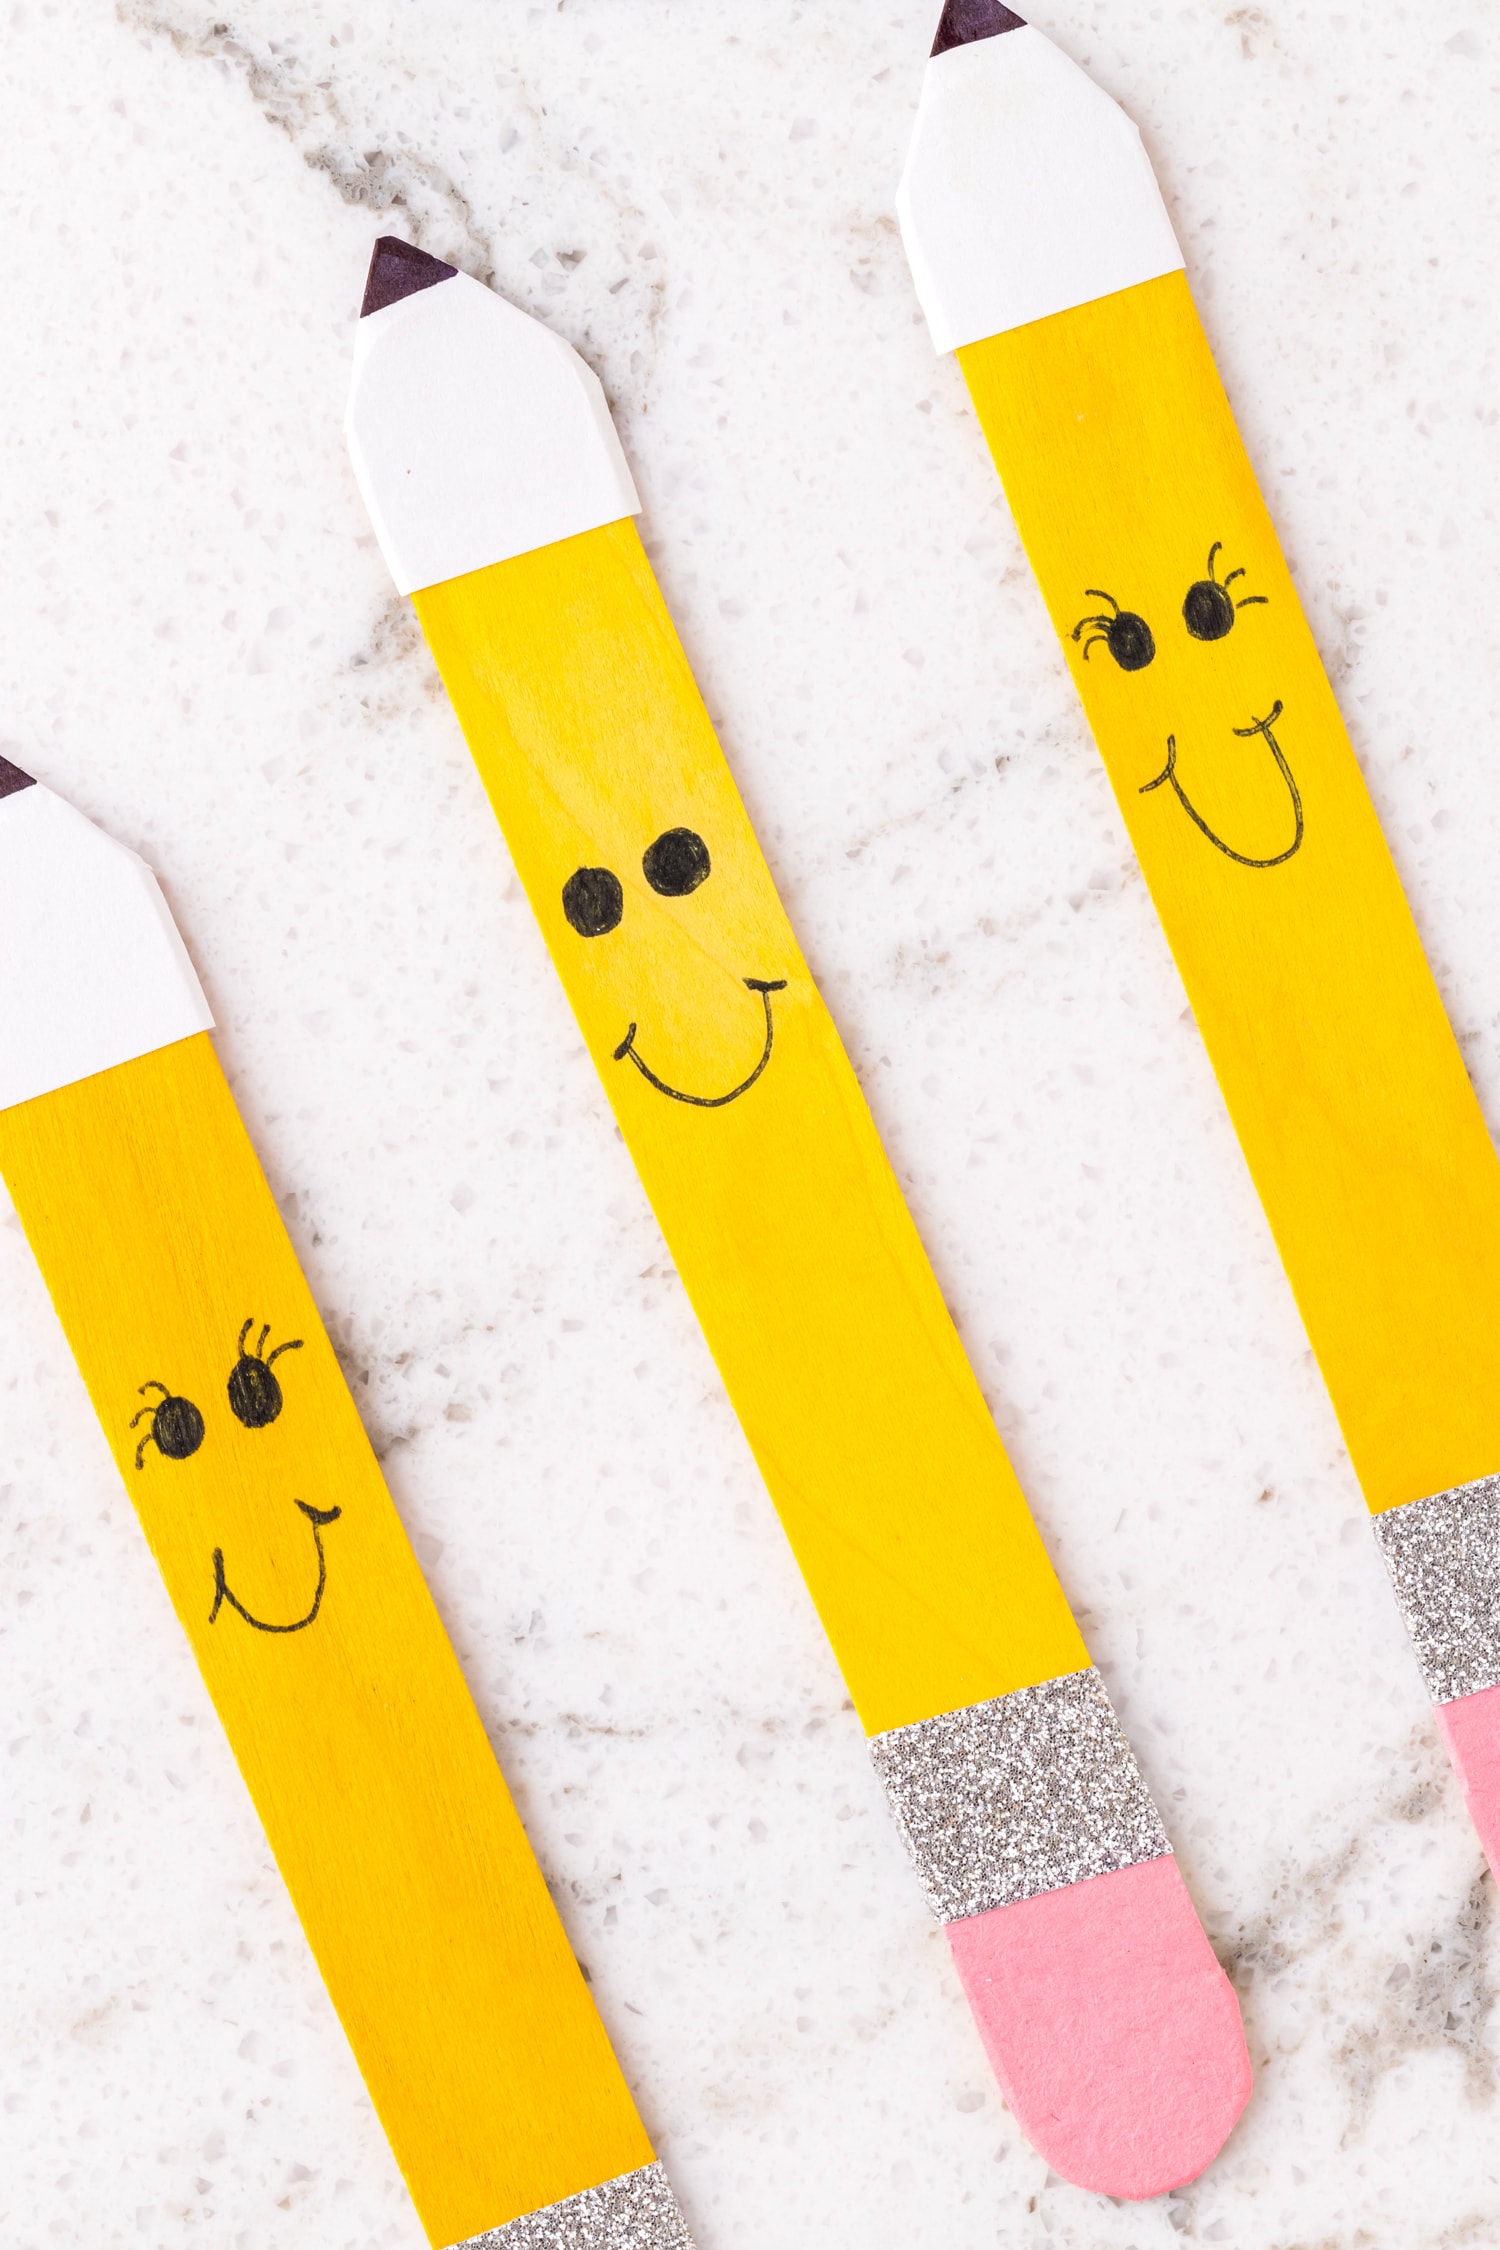
It’s back to school time and this adorable, fun and easy Pencil Craft is the perfect activity for kids to make. It’s also great for gifting to teachers or decorating your classroom.
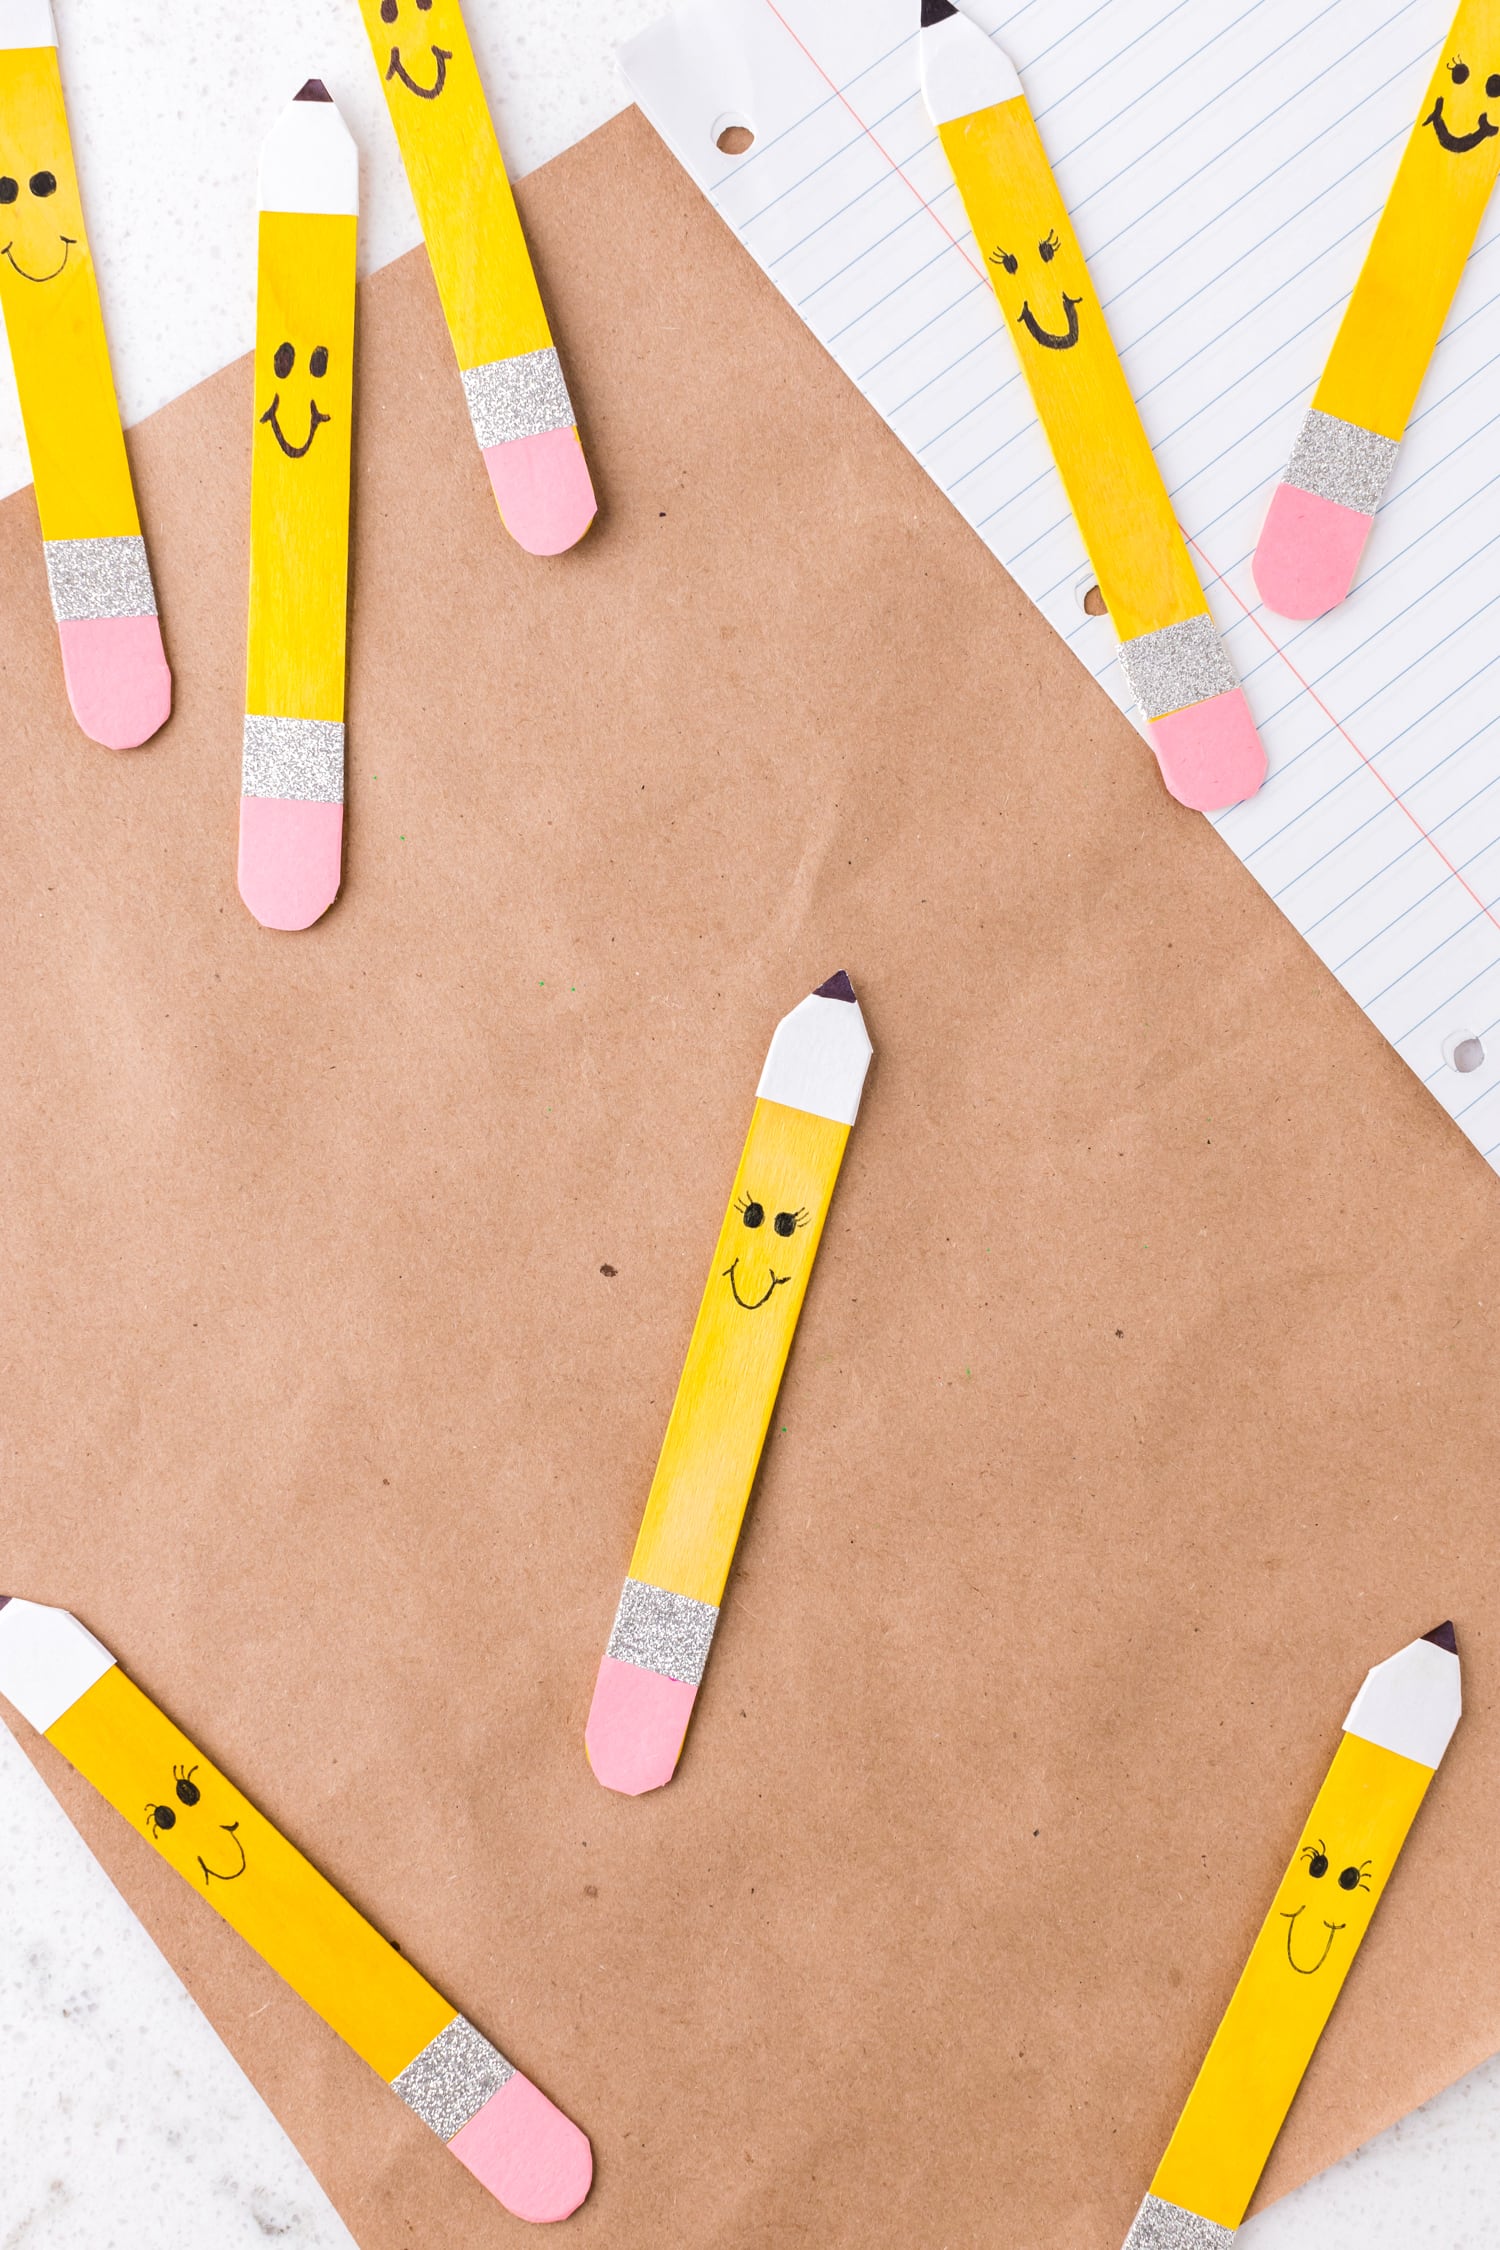
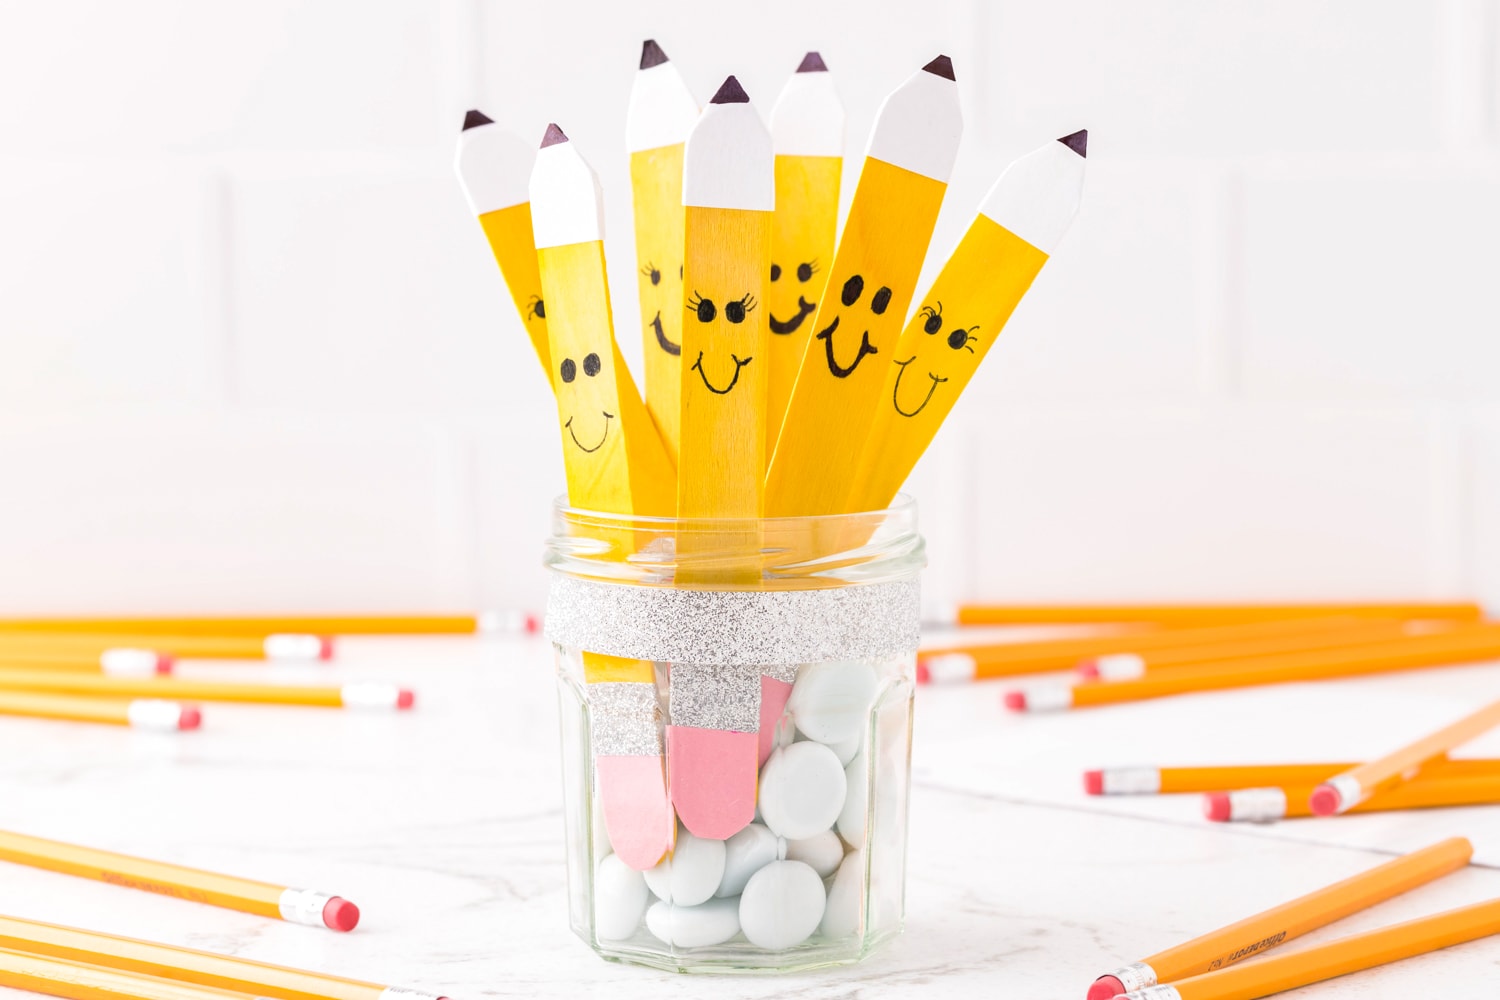
A few supplies turn into cute adorable Pencil with a face that’s the perfect back to school craft idea!
It’s time to go back to school and this fun and easy back to school craft it’s the perfect way to celebrate. Learn how to create these adorable pencils out of jumbo yellow craft sticks. And while you’re at it, make some flower pencils too!
They are so easy to make with step by step photos along with pictures. If you are making them with smaller children a great idea is to do some of the prep and cutting before you do that craft.
Then they can glue and draw faces on the pencils!
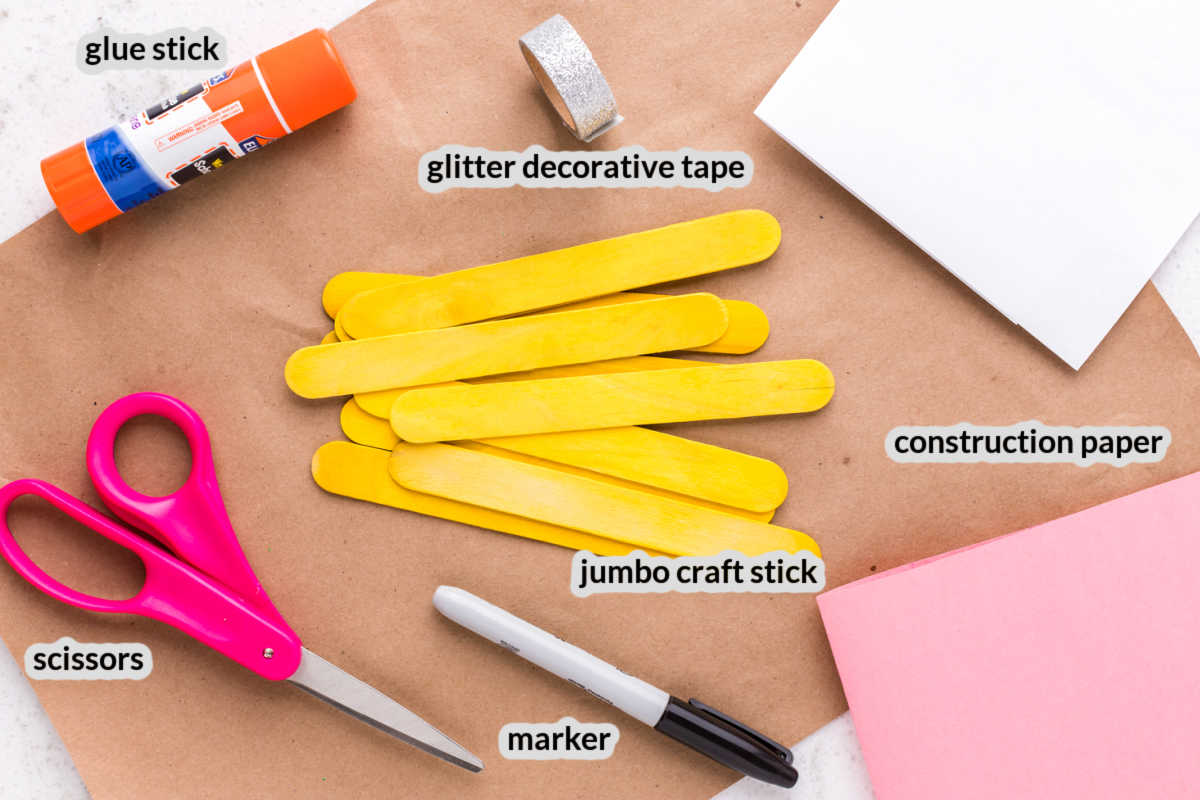
Supplies Needed for Pencil Crafts
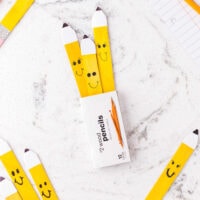
- Yellow jumbo craft stick – We used pre-colored craft sticks, but you could also use non-painted sticks and paint yourself.
- Glue stick – We used a glue stick, but you could use any craft glue.
- Construction paper, pink and white – We used regular construction paper, but you could also use cardstock.
- Decorative tape – We used silver decorative tape for this project. Mix and match different colors for fun!
- Marker, black – We used a standard black marker, but you could use a black pen or paint marker.
- Scissors – We used standard household scissors but be sure to use blunt-tipped scissors if working with small children.
How to Make Craft Stick Pencil Craft
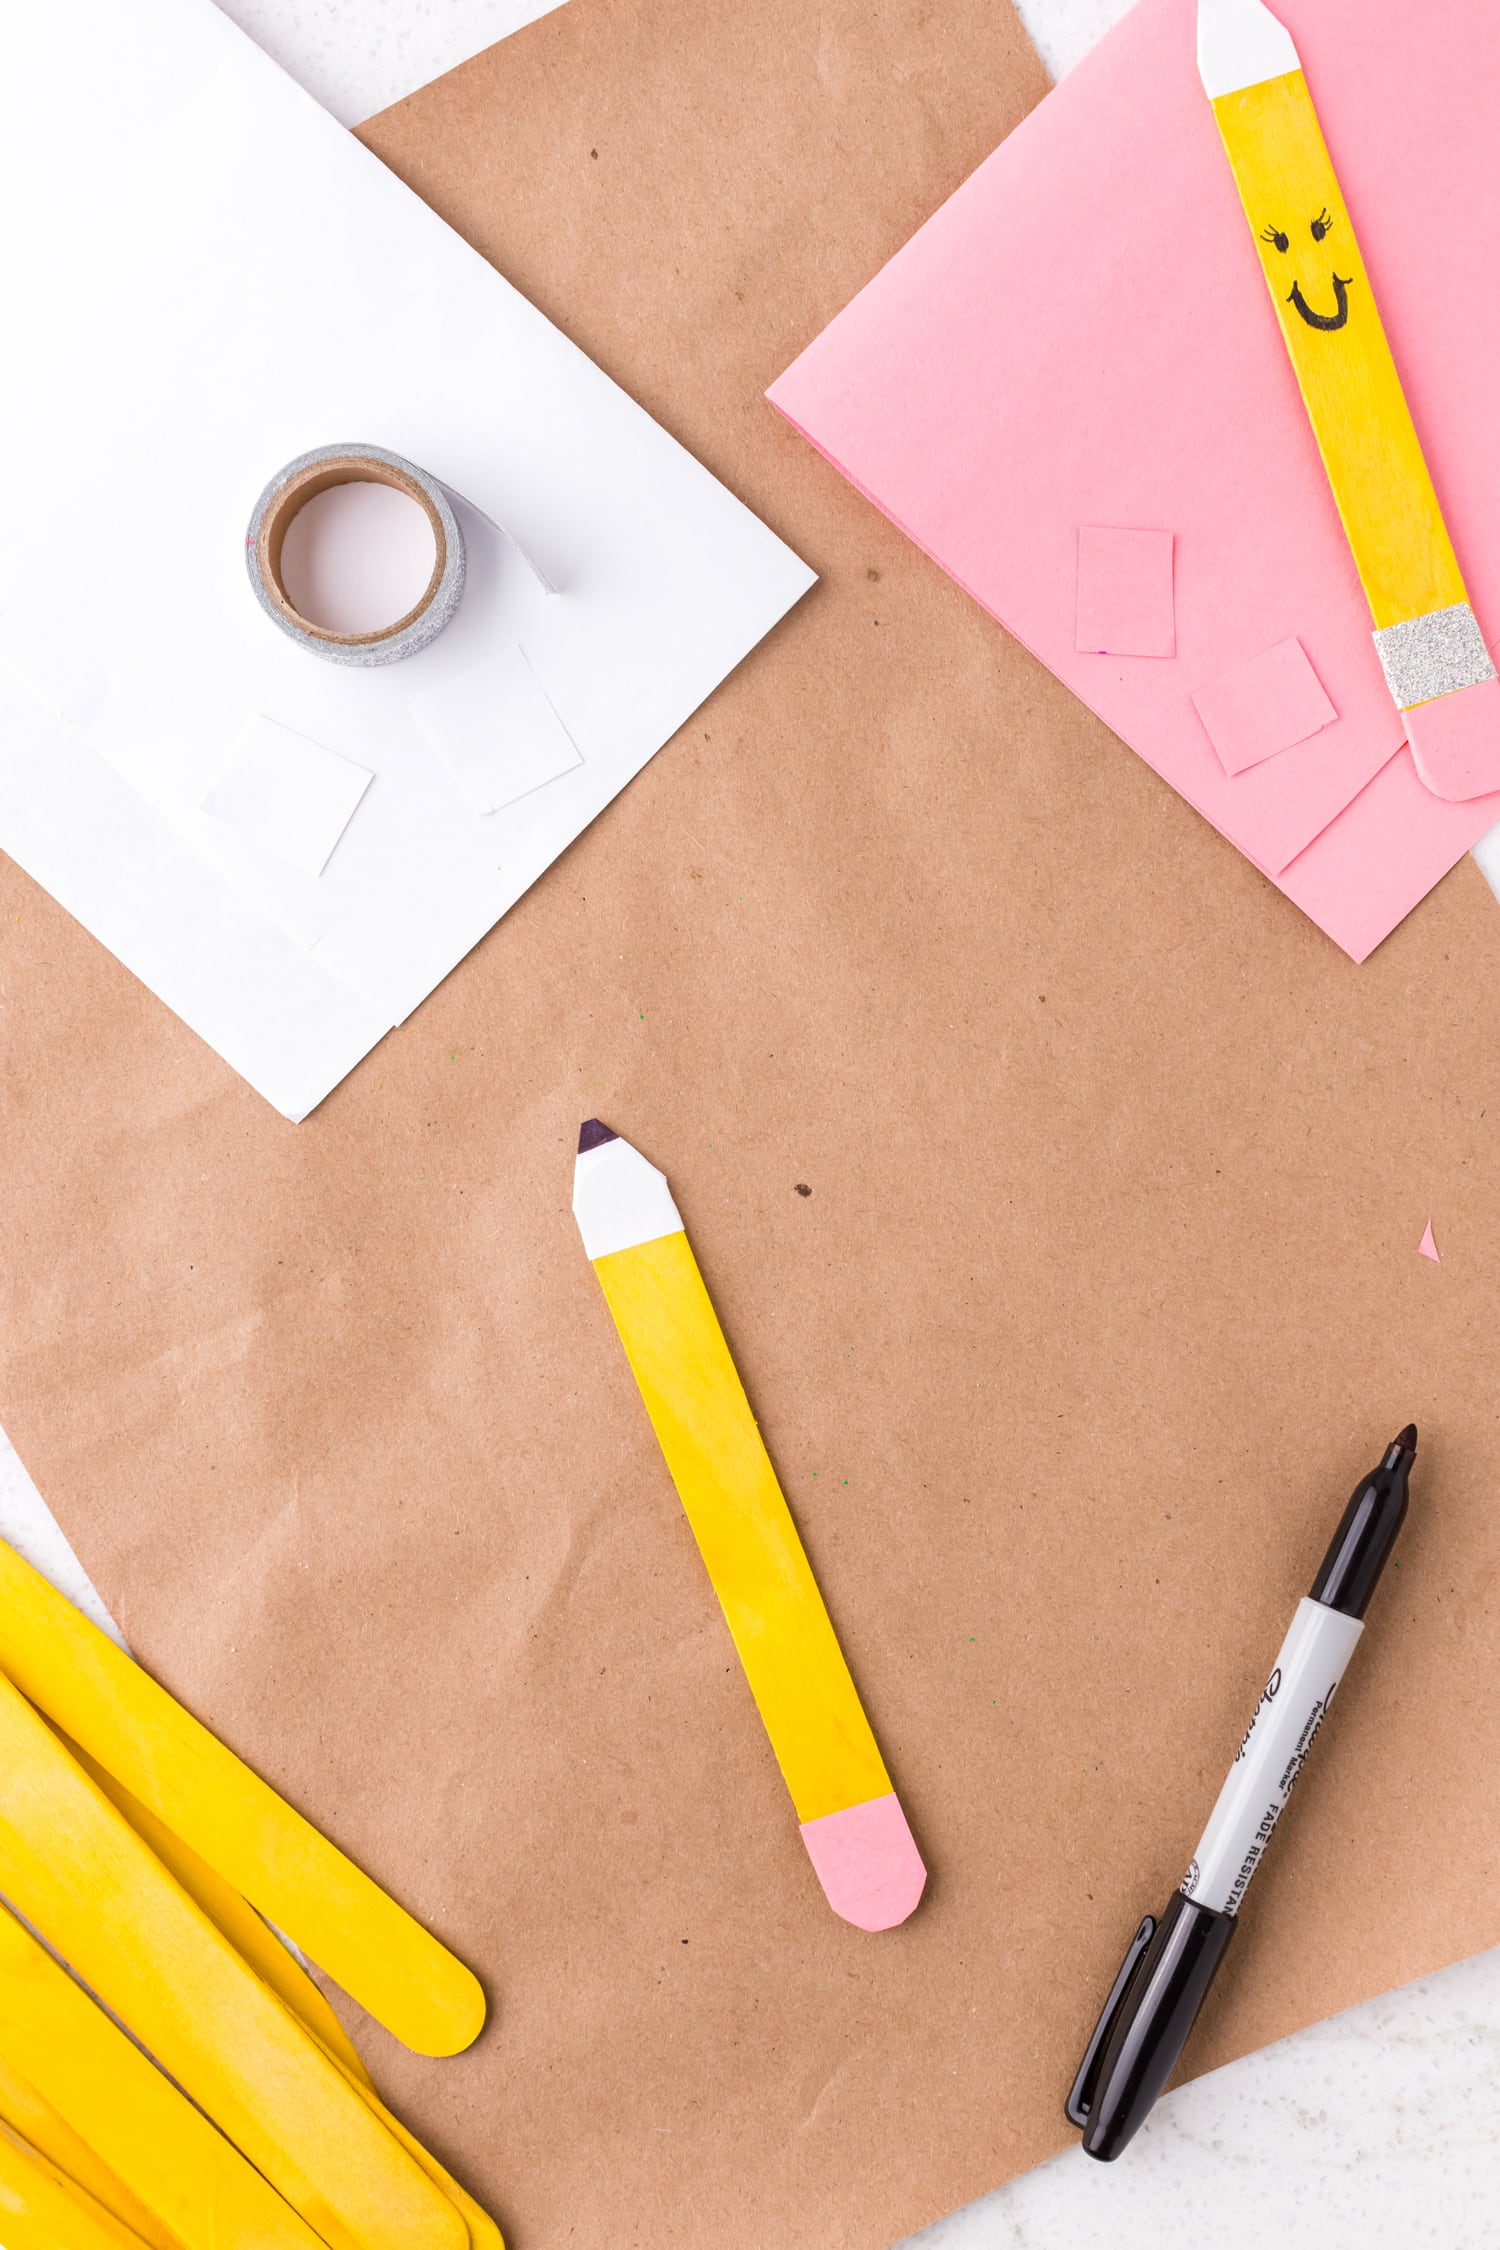
Gather all of your supplies for this pencil craft made out of jumbo crafts sticks!
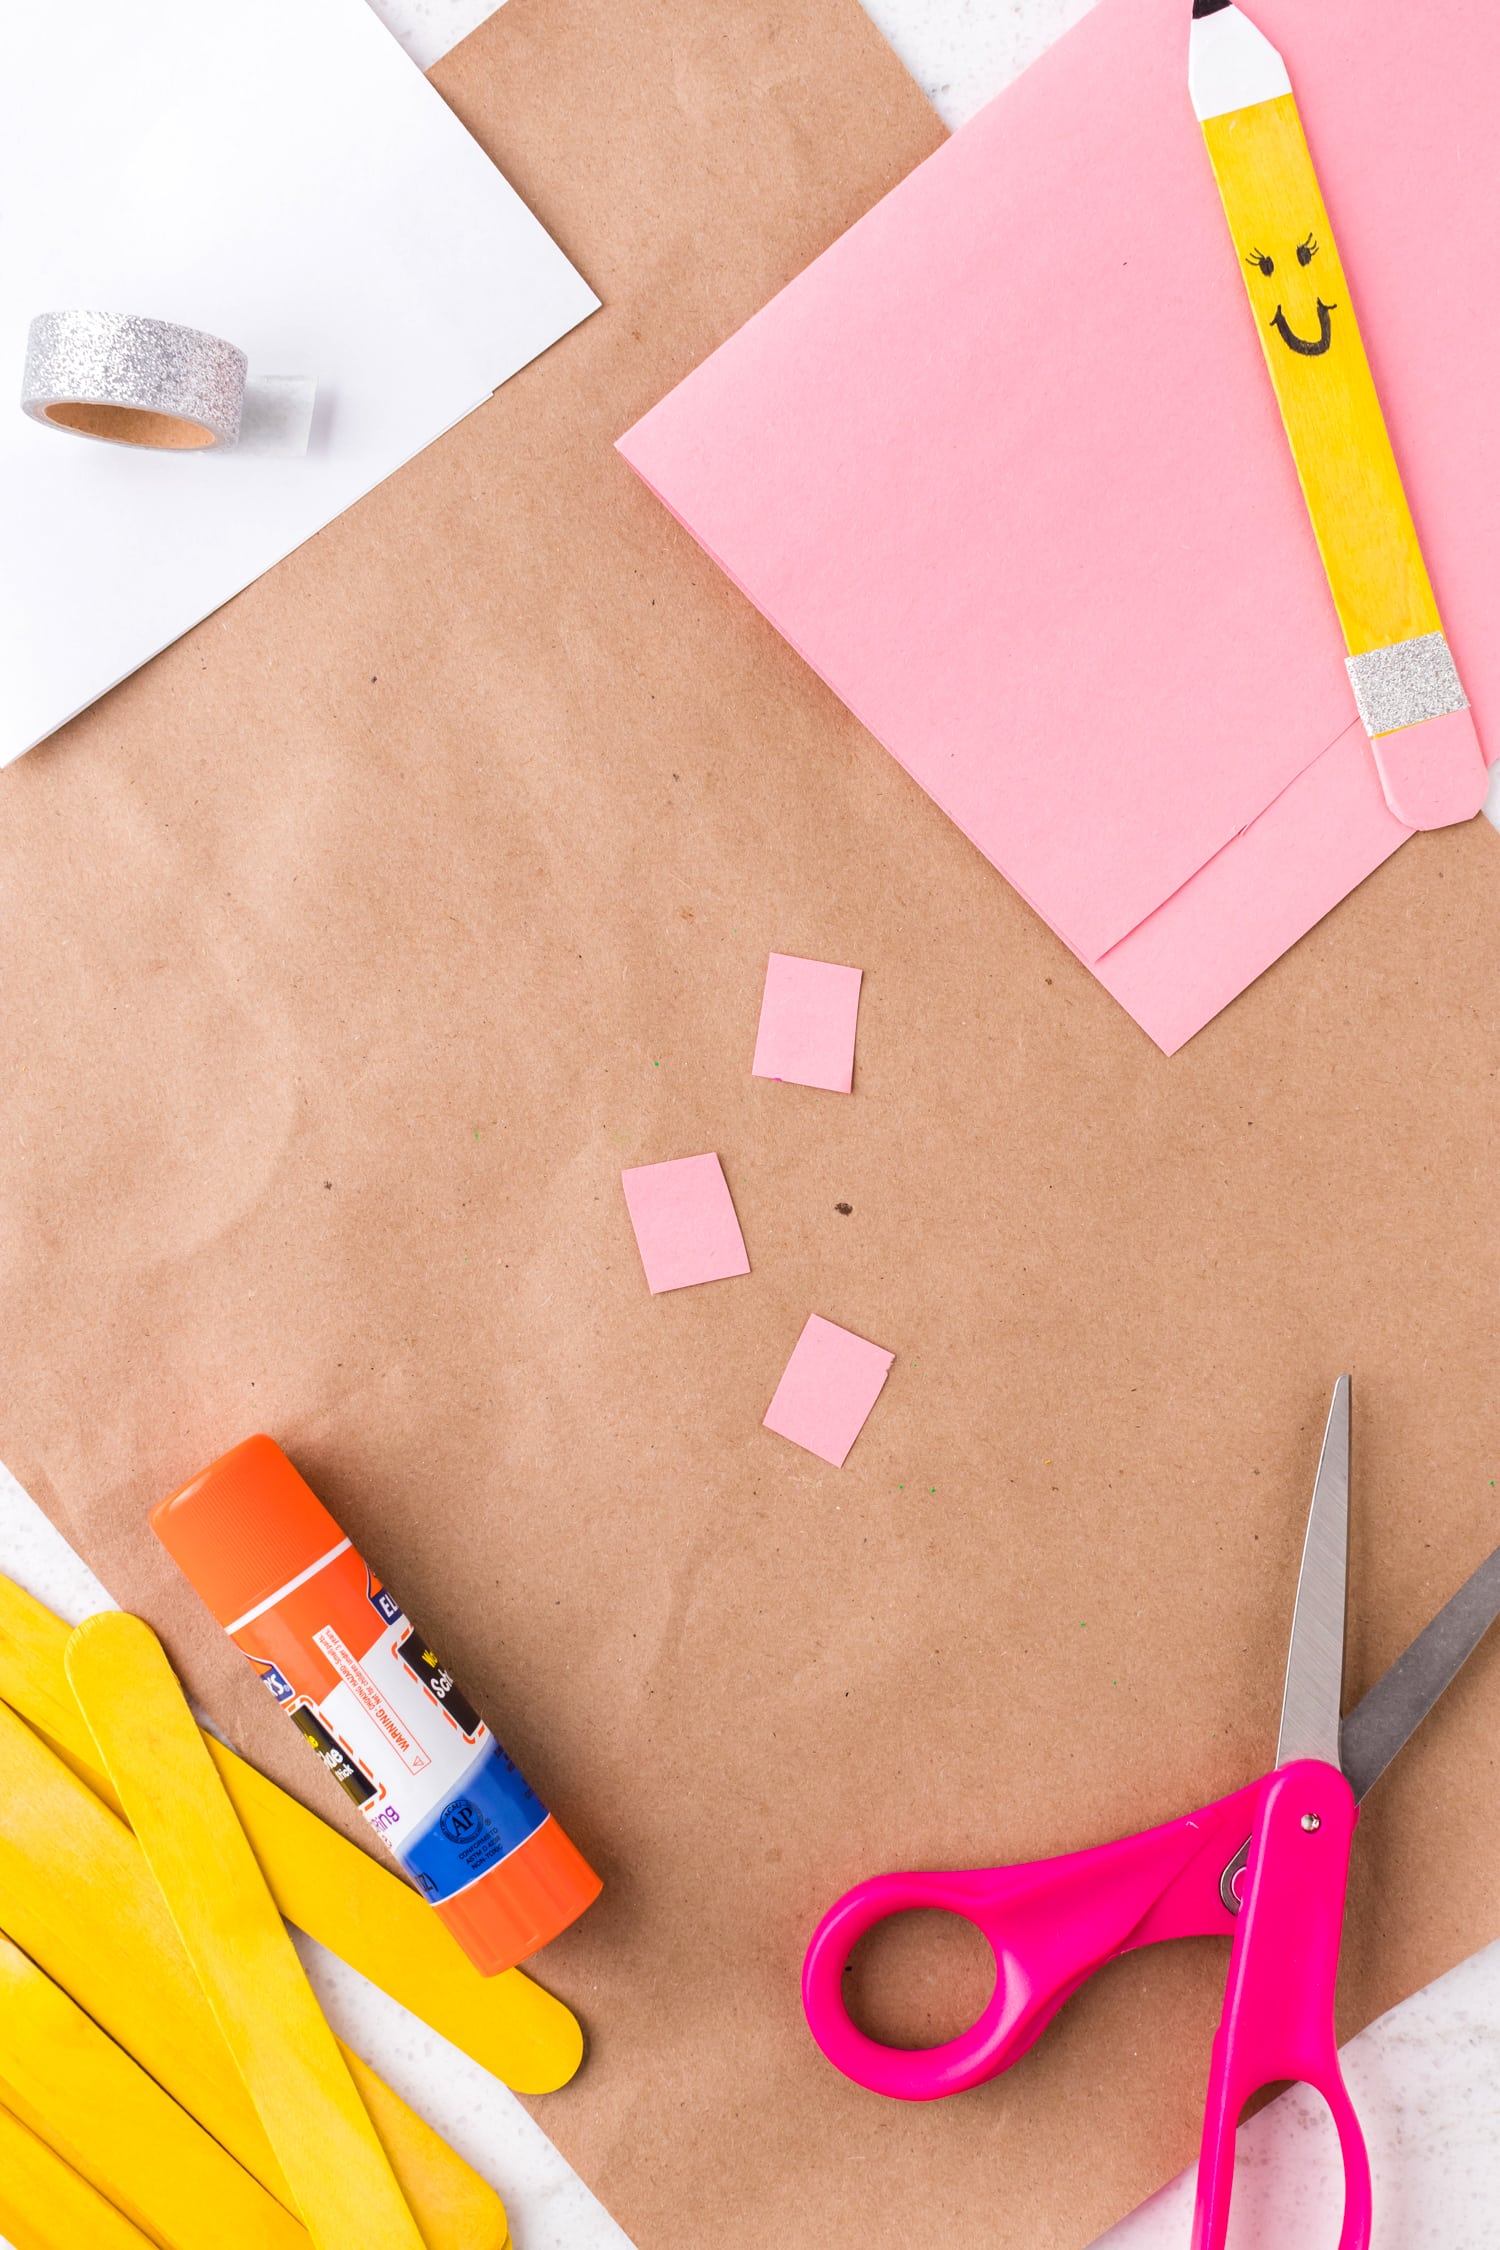
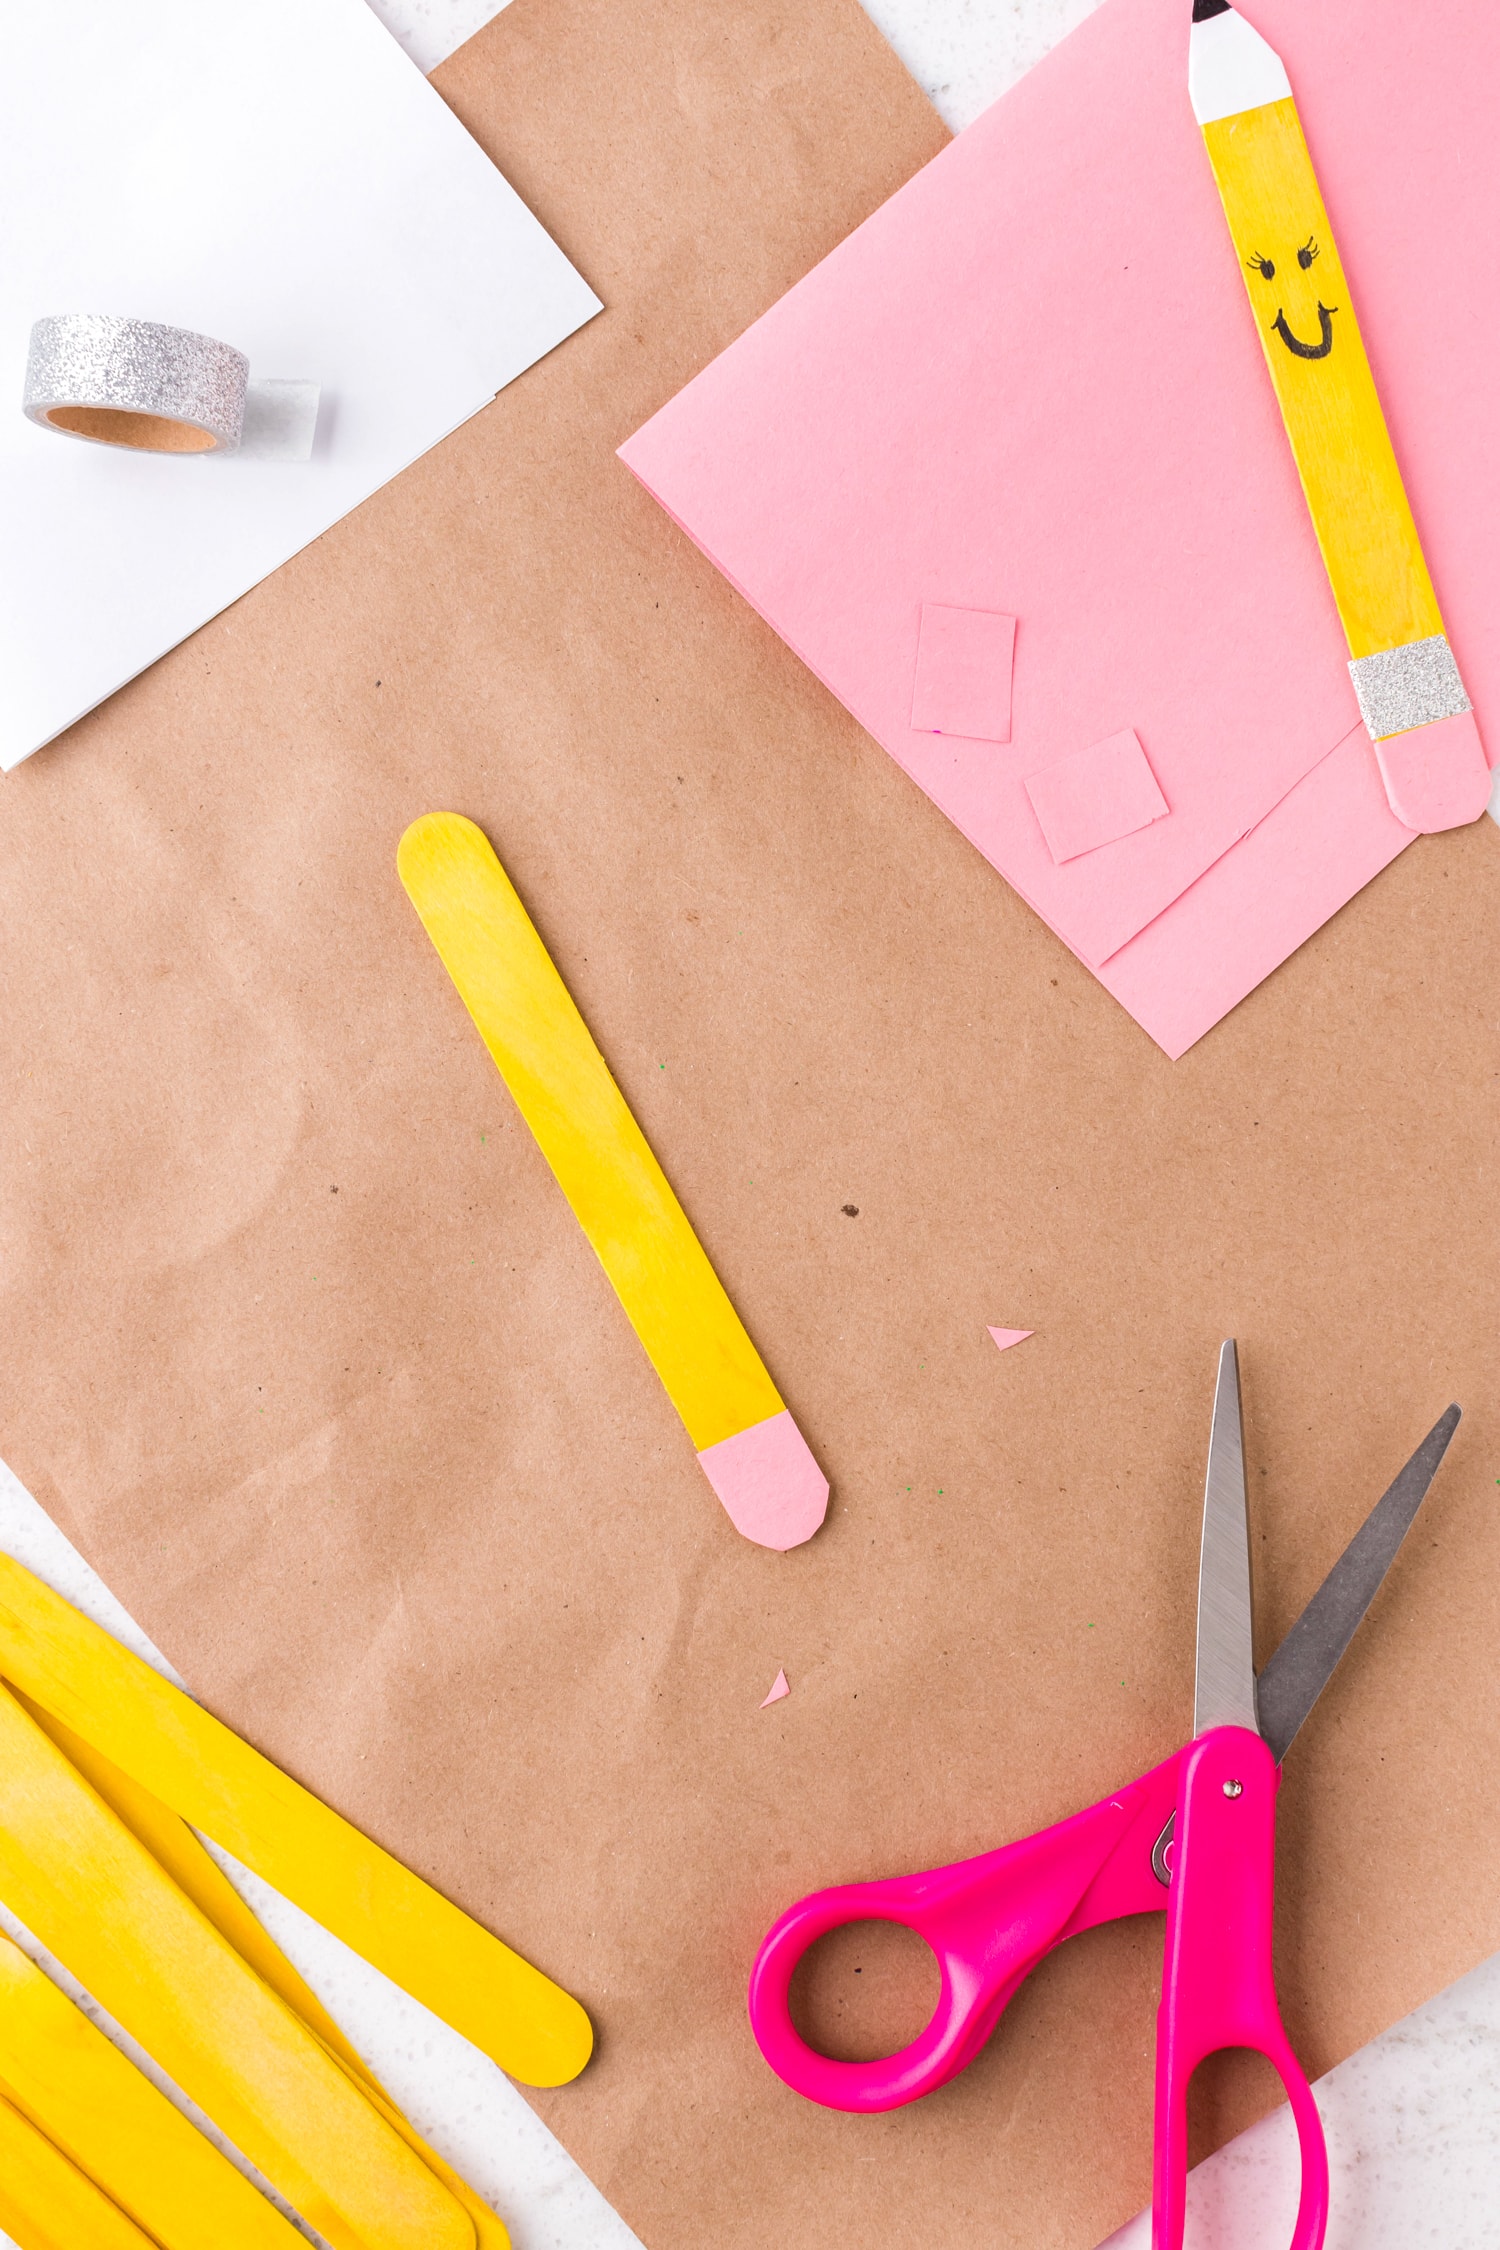
Make eraser
First, let’s make the eraser. Cut a small square of pink construction paper the width of the craft stick and glue it to the end of the stick. Trim the edges with scissors.
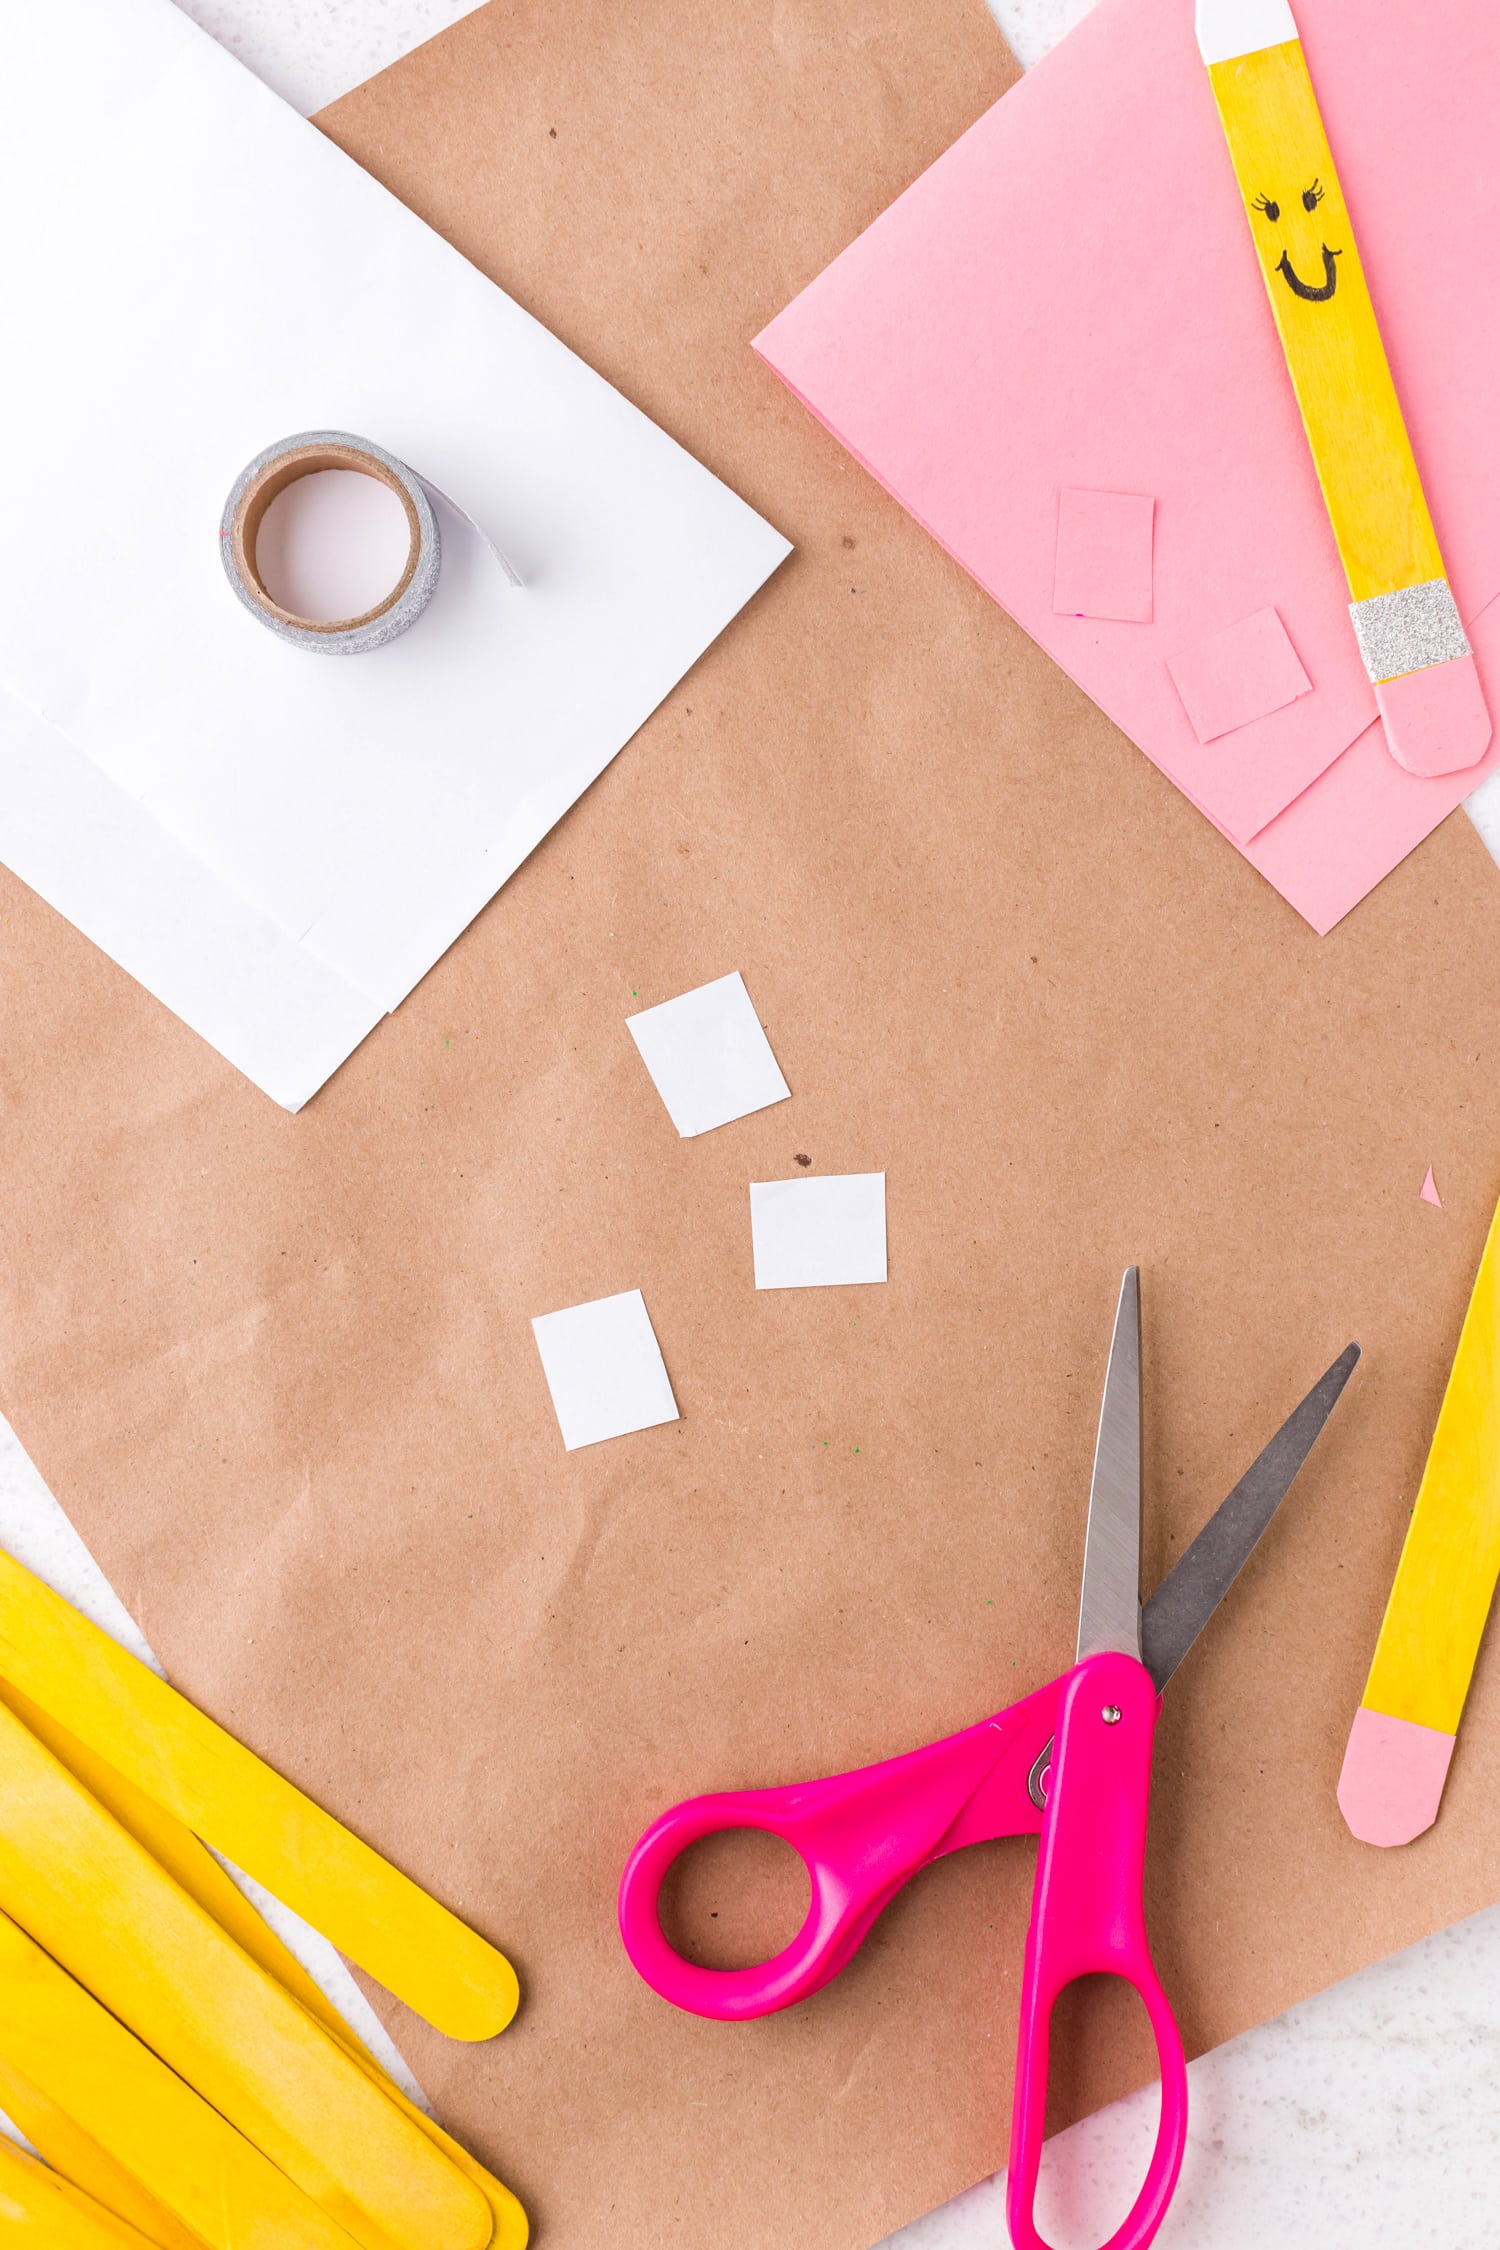

Create Pencil Tip
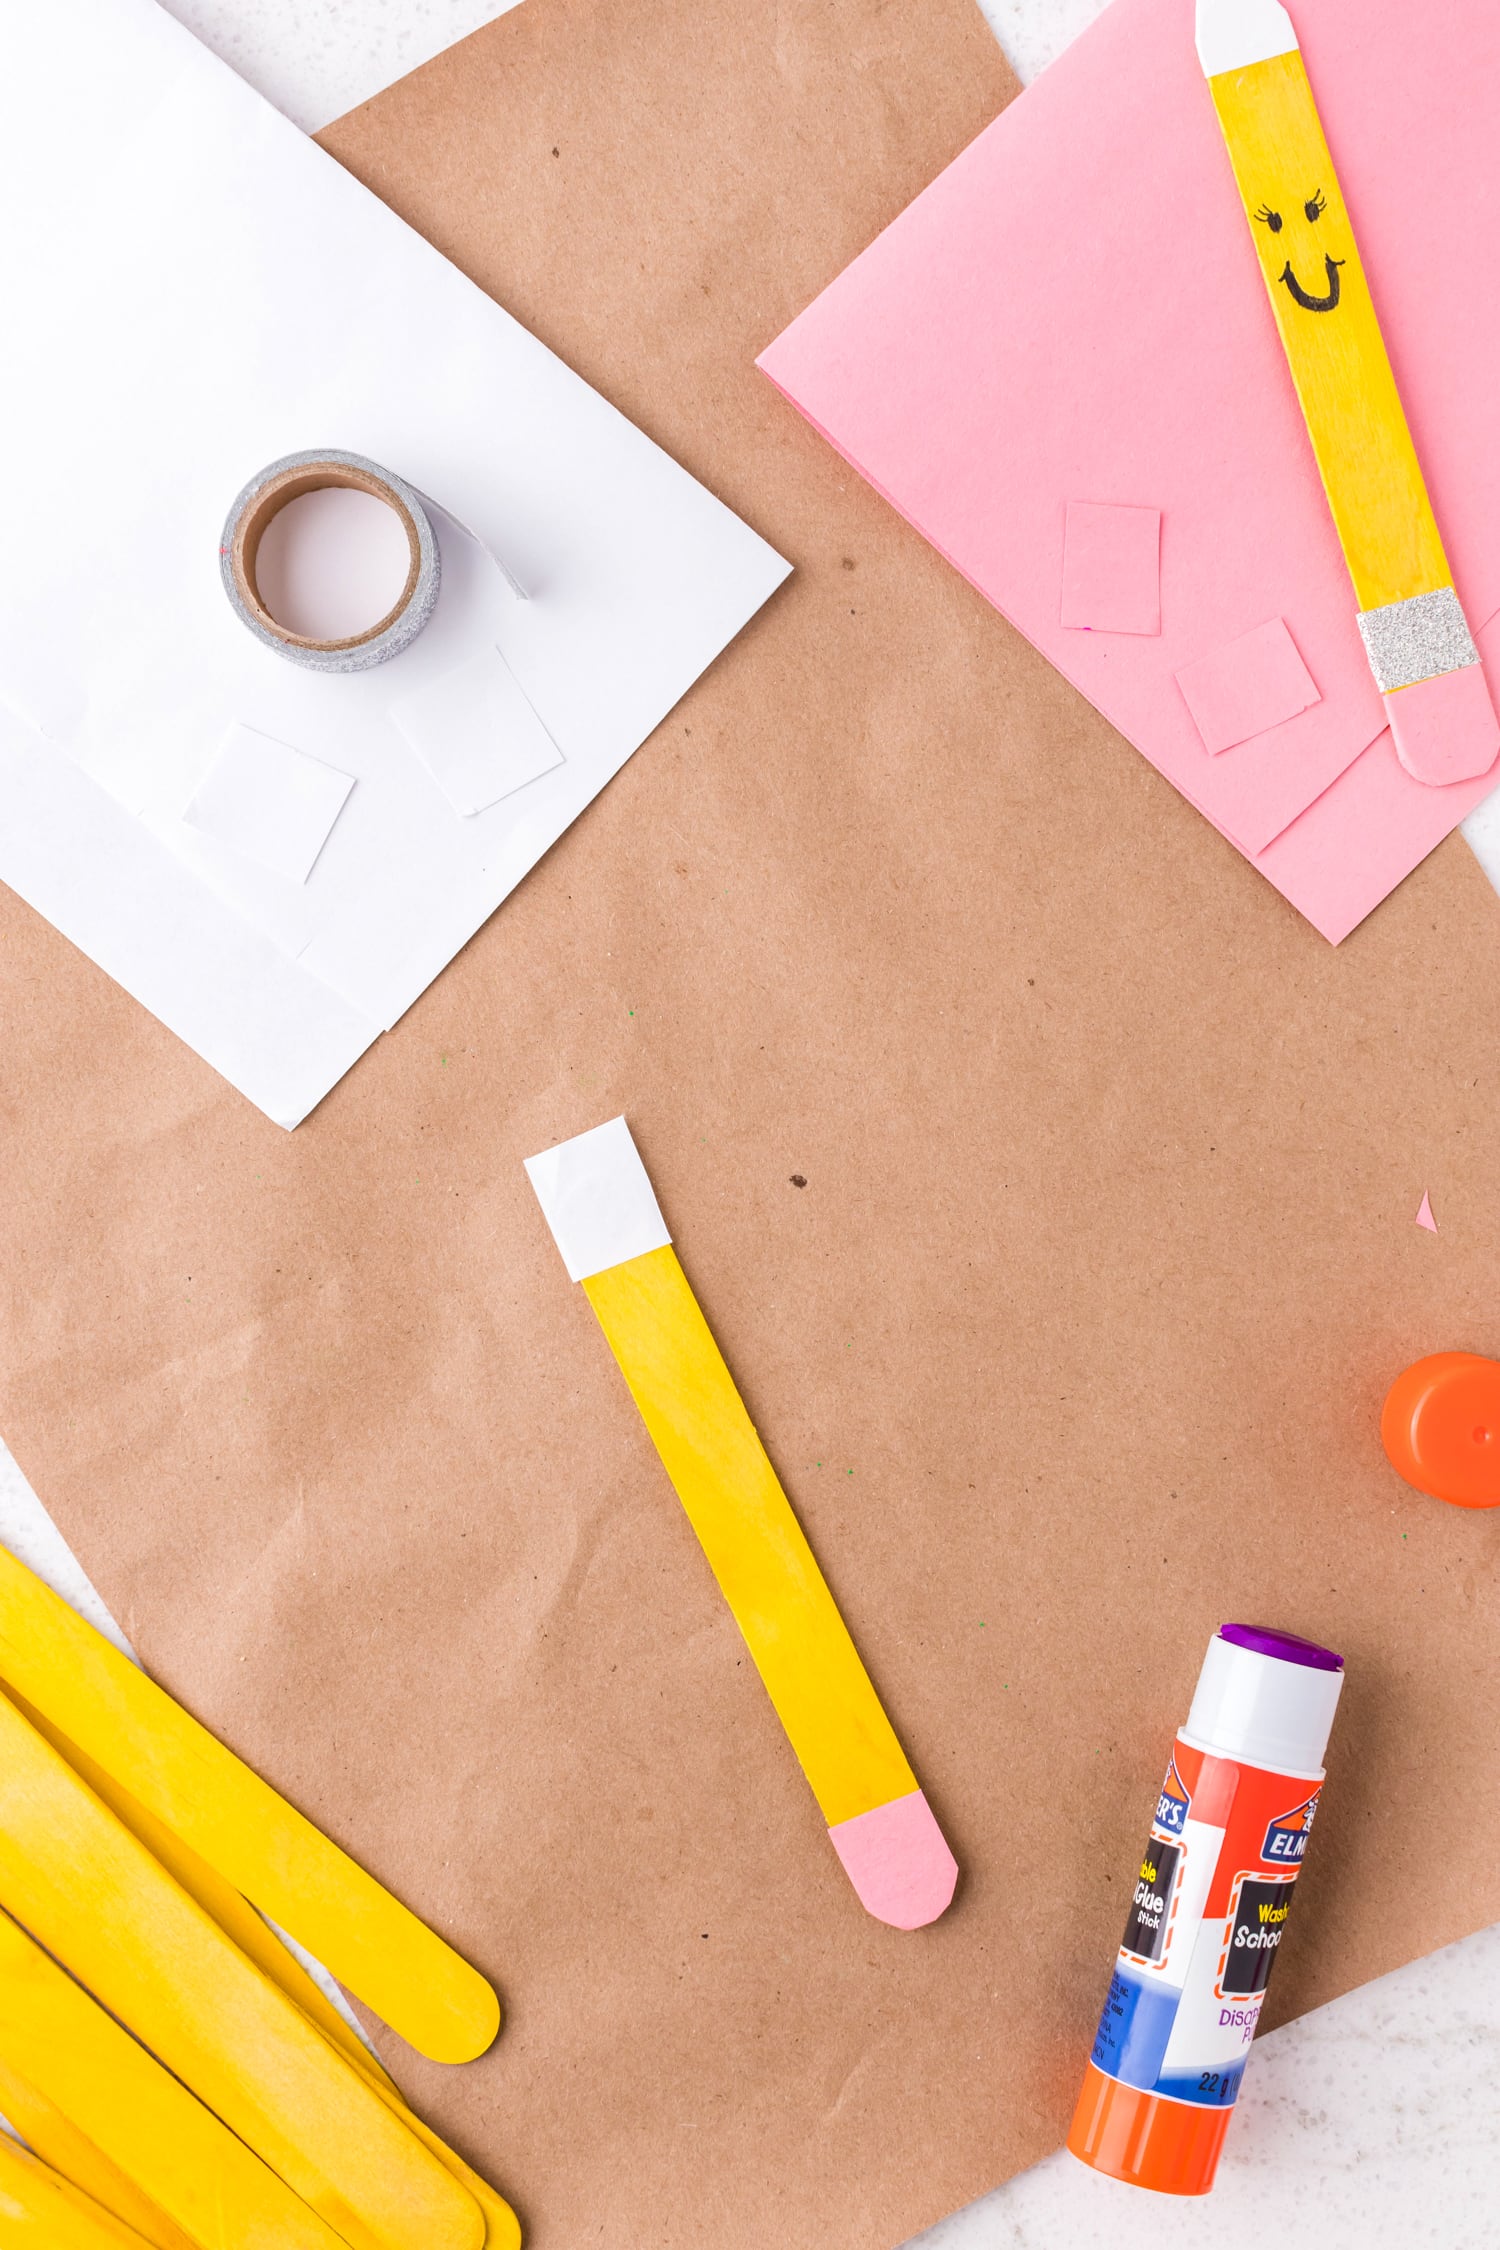
Using white construction paper, cut a small square. Attach the white square with glue to the top of the yellow jumbo craft stick. Once secure, fold the top two corners of the paper to a point.
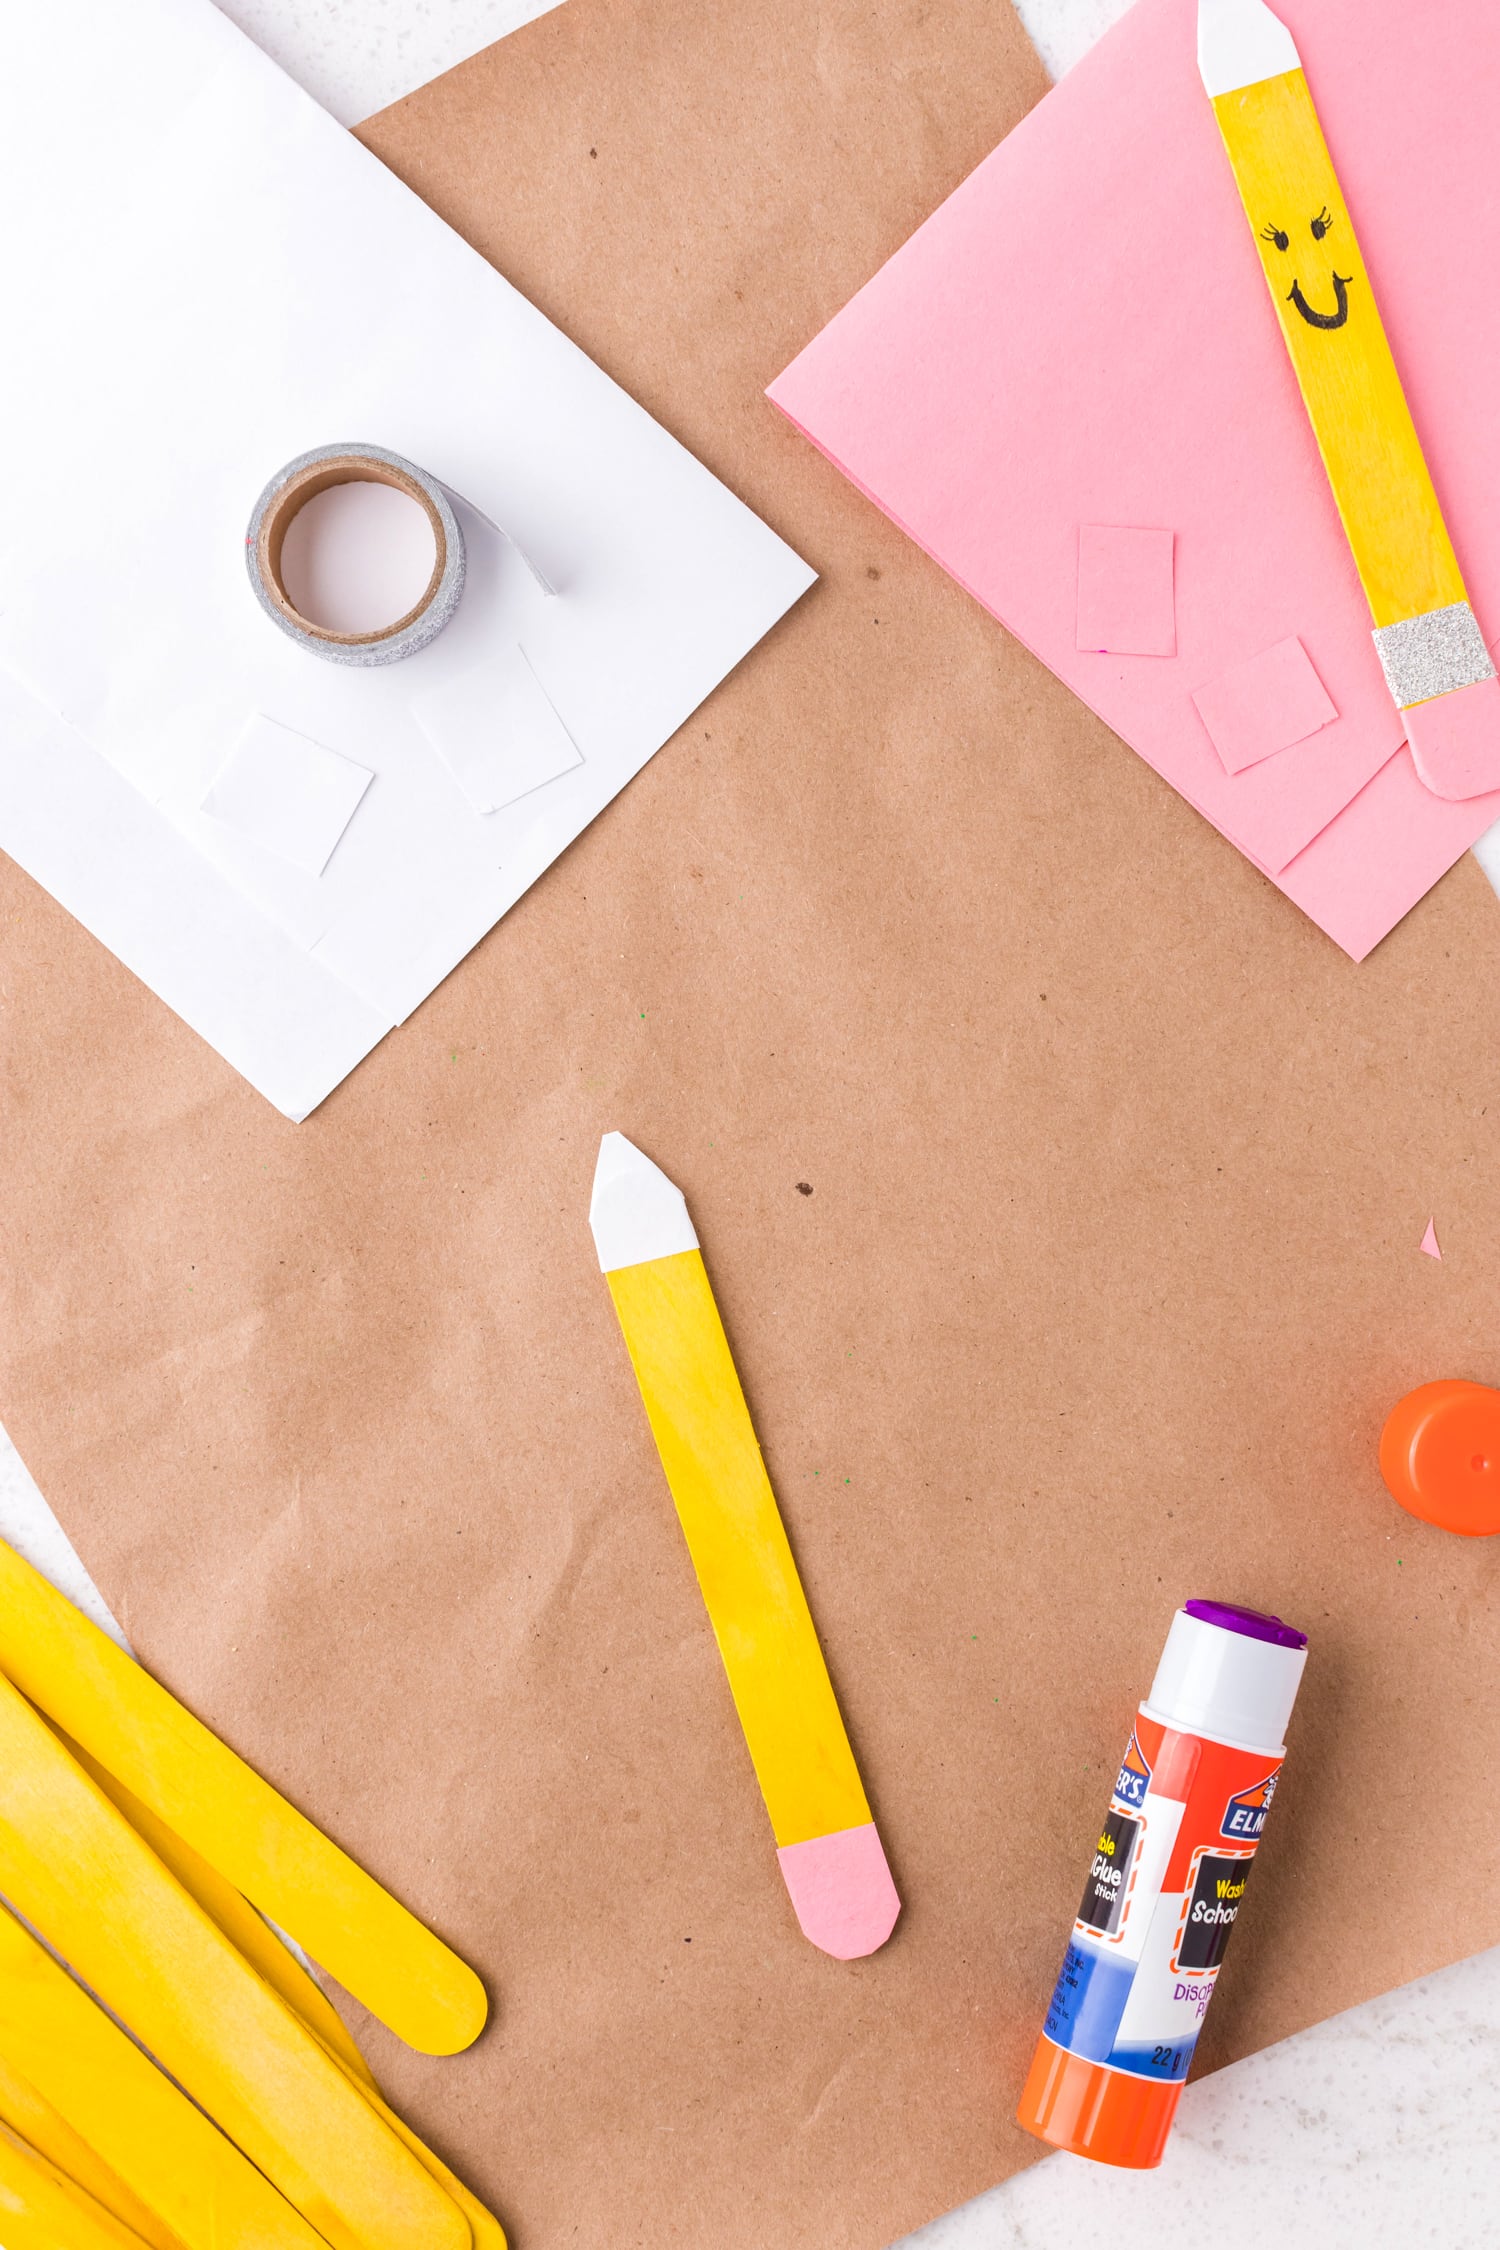
Fill in the top triangle of the point with a black marker to make the illusion of lead for your pencil.
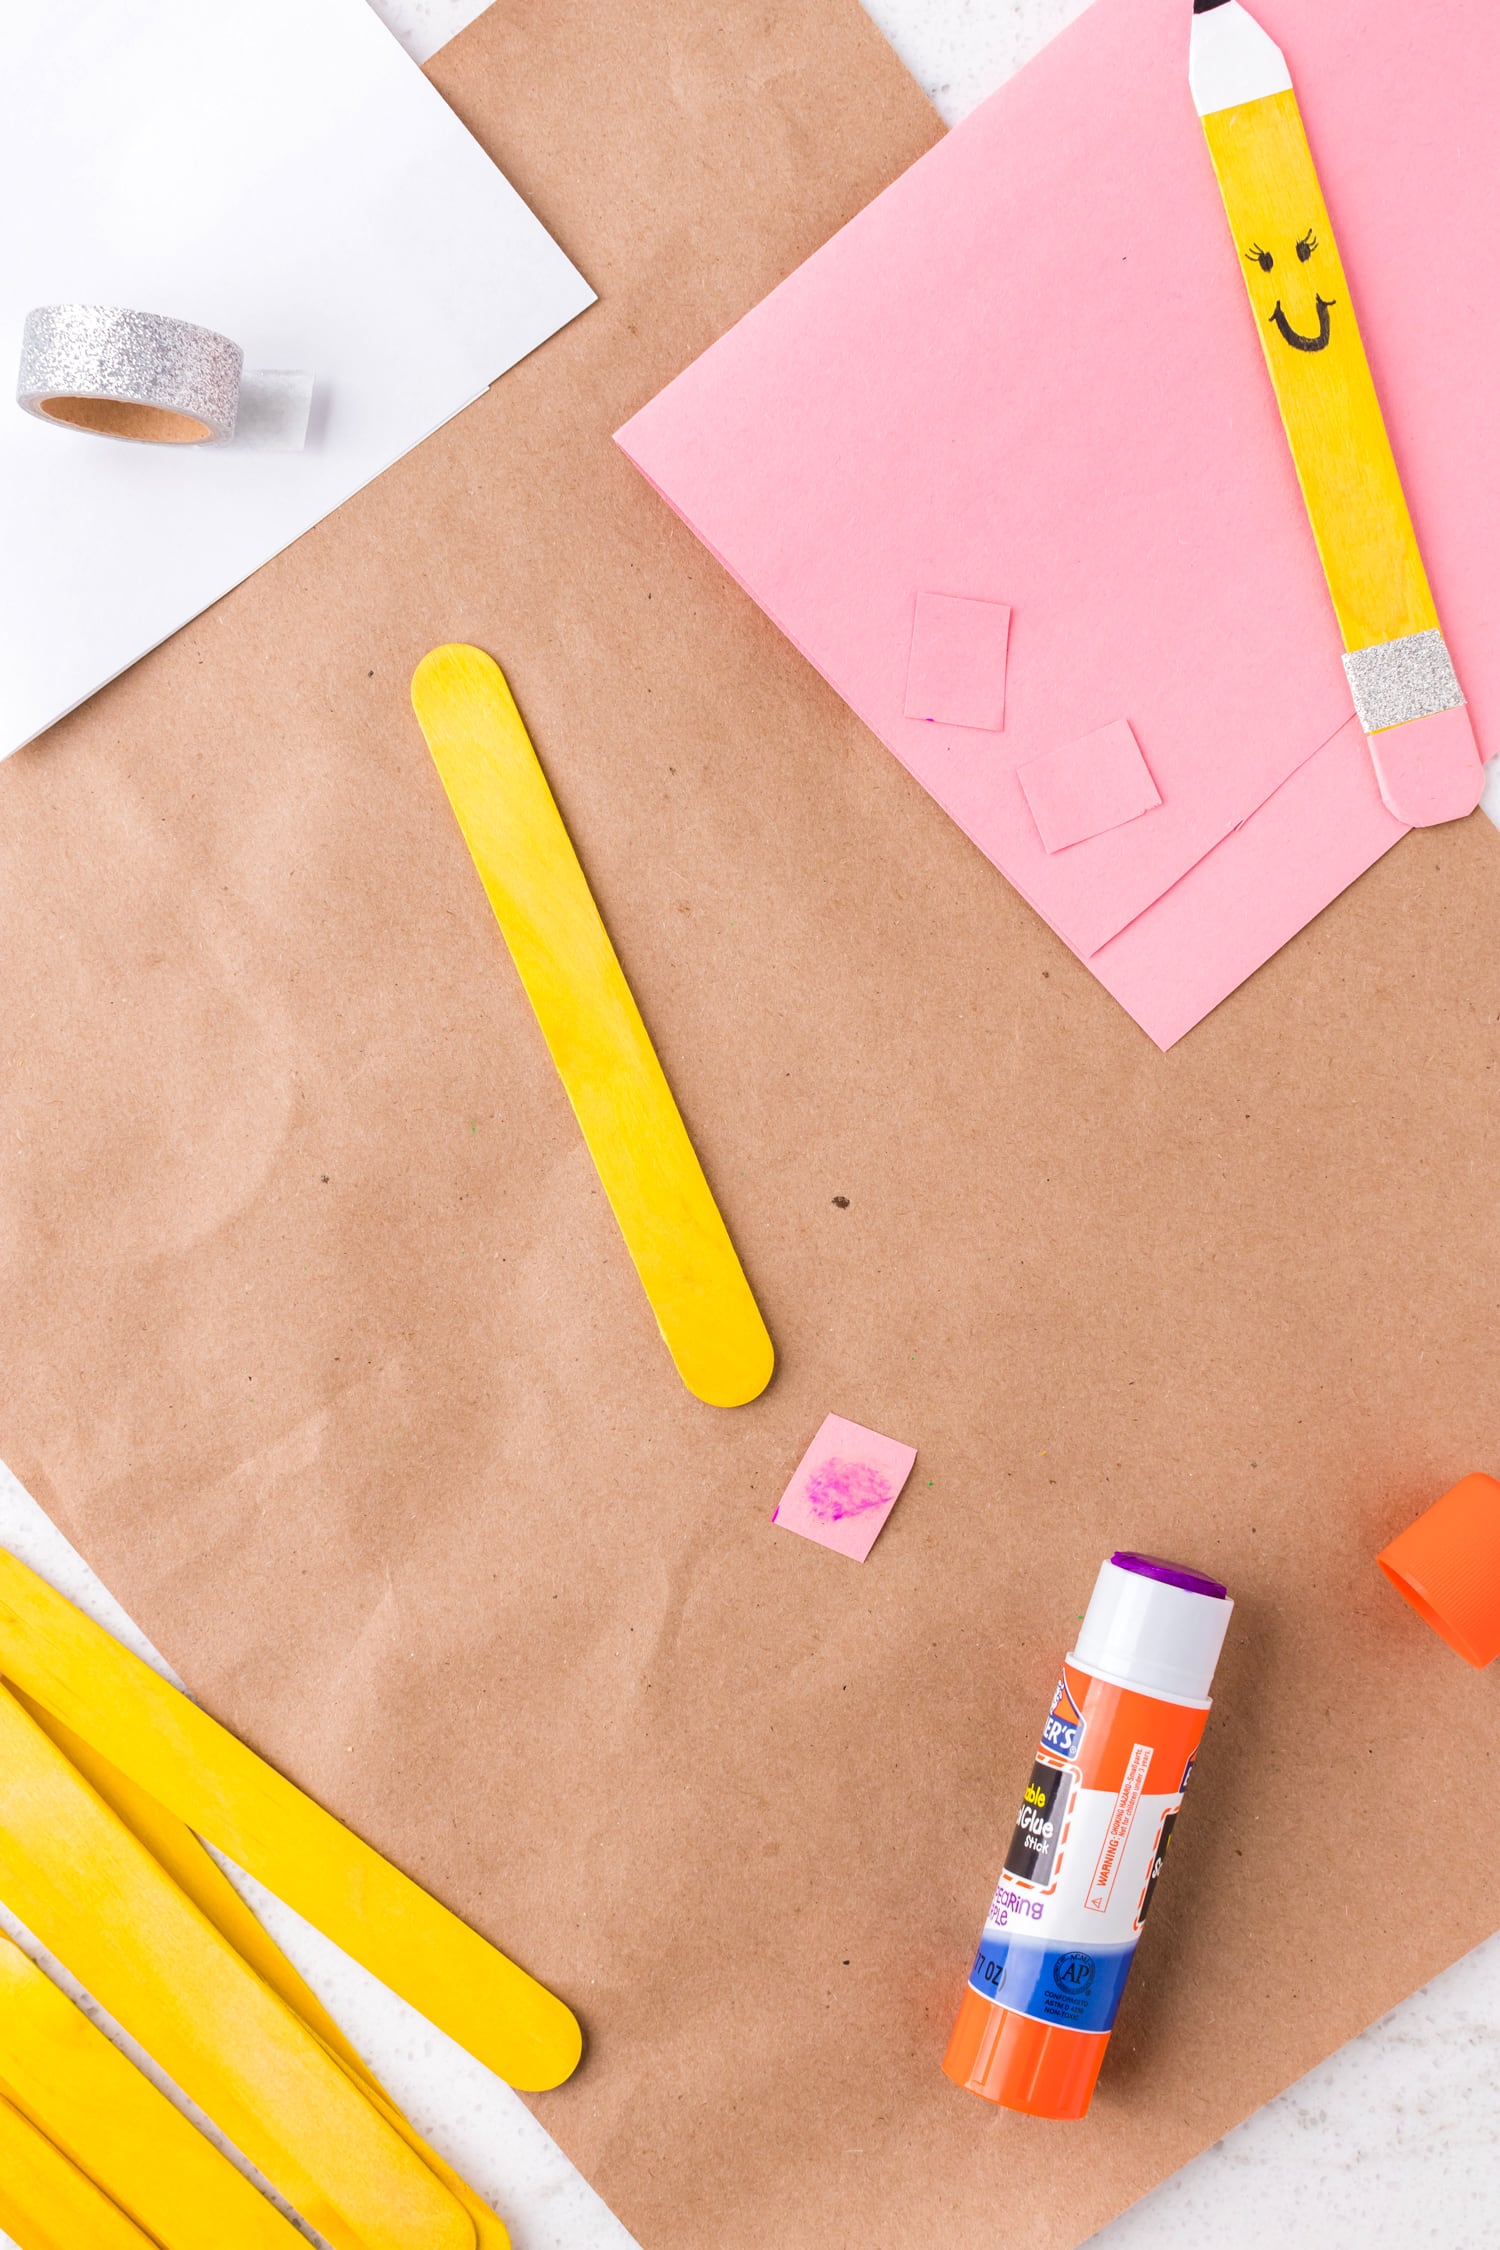
Finishing Touches
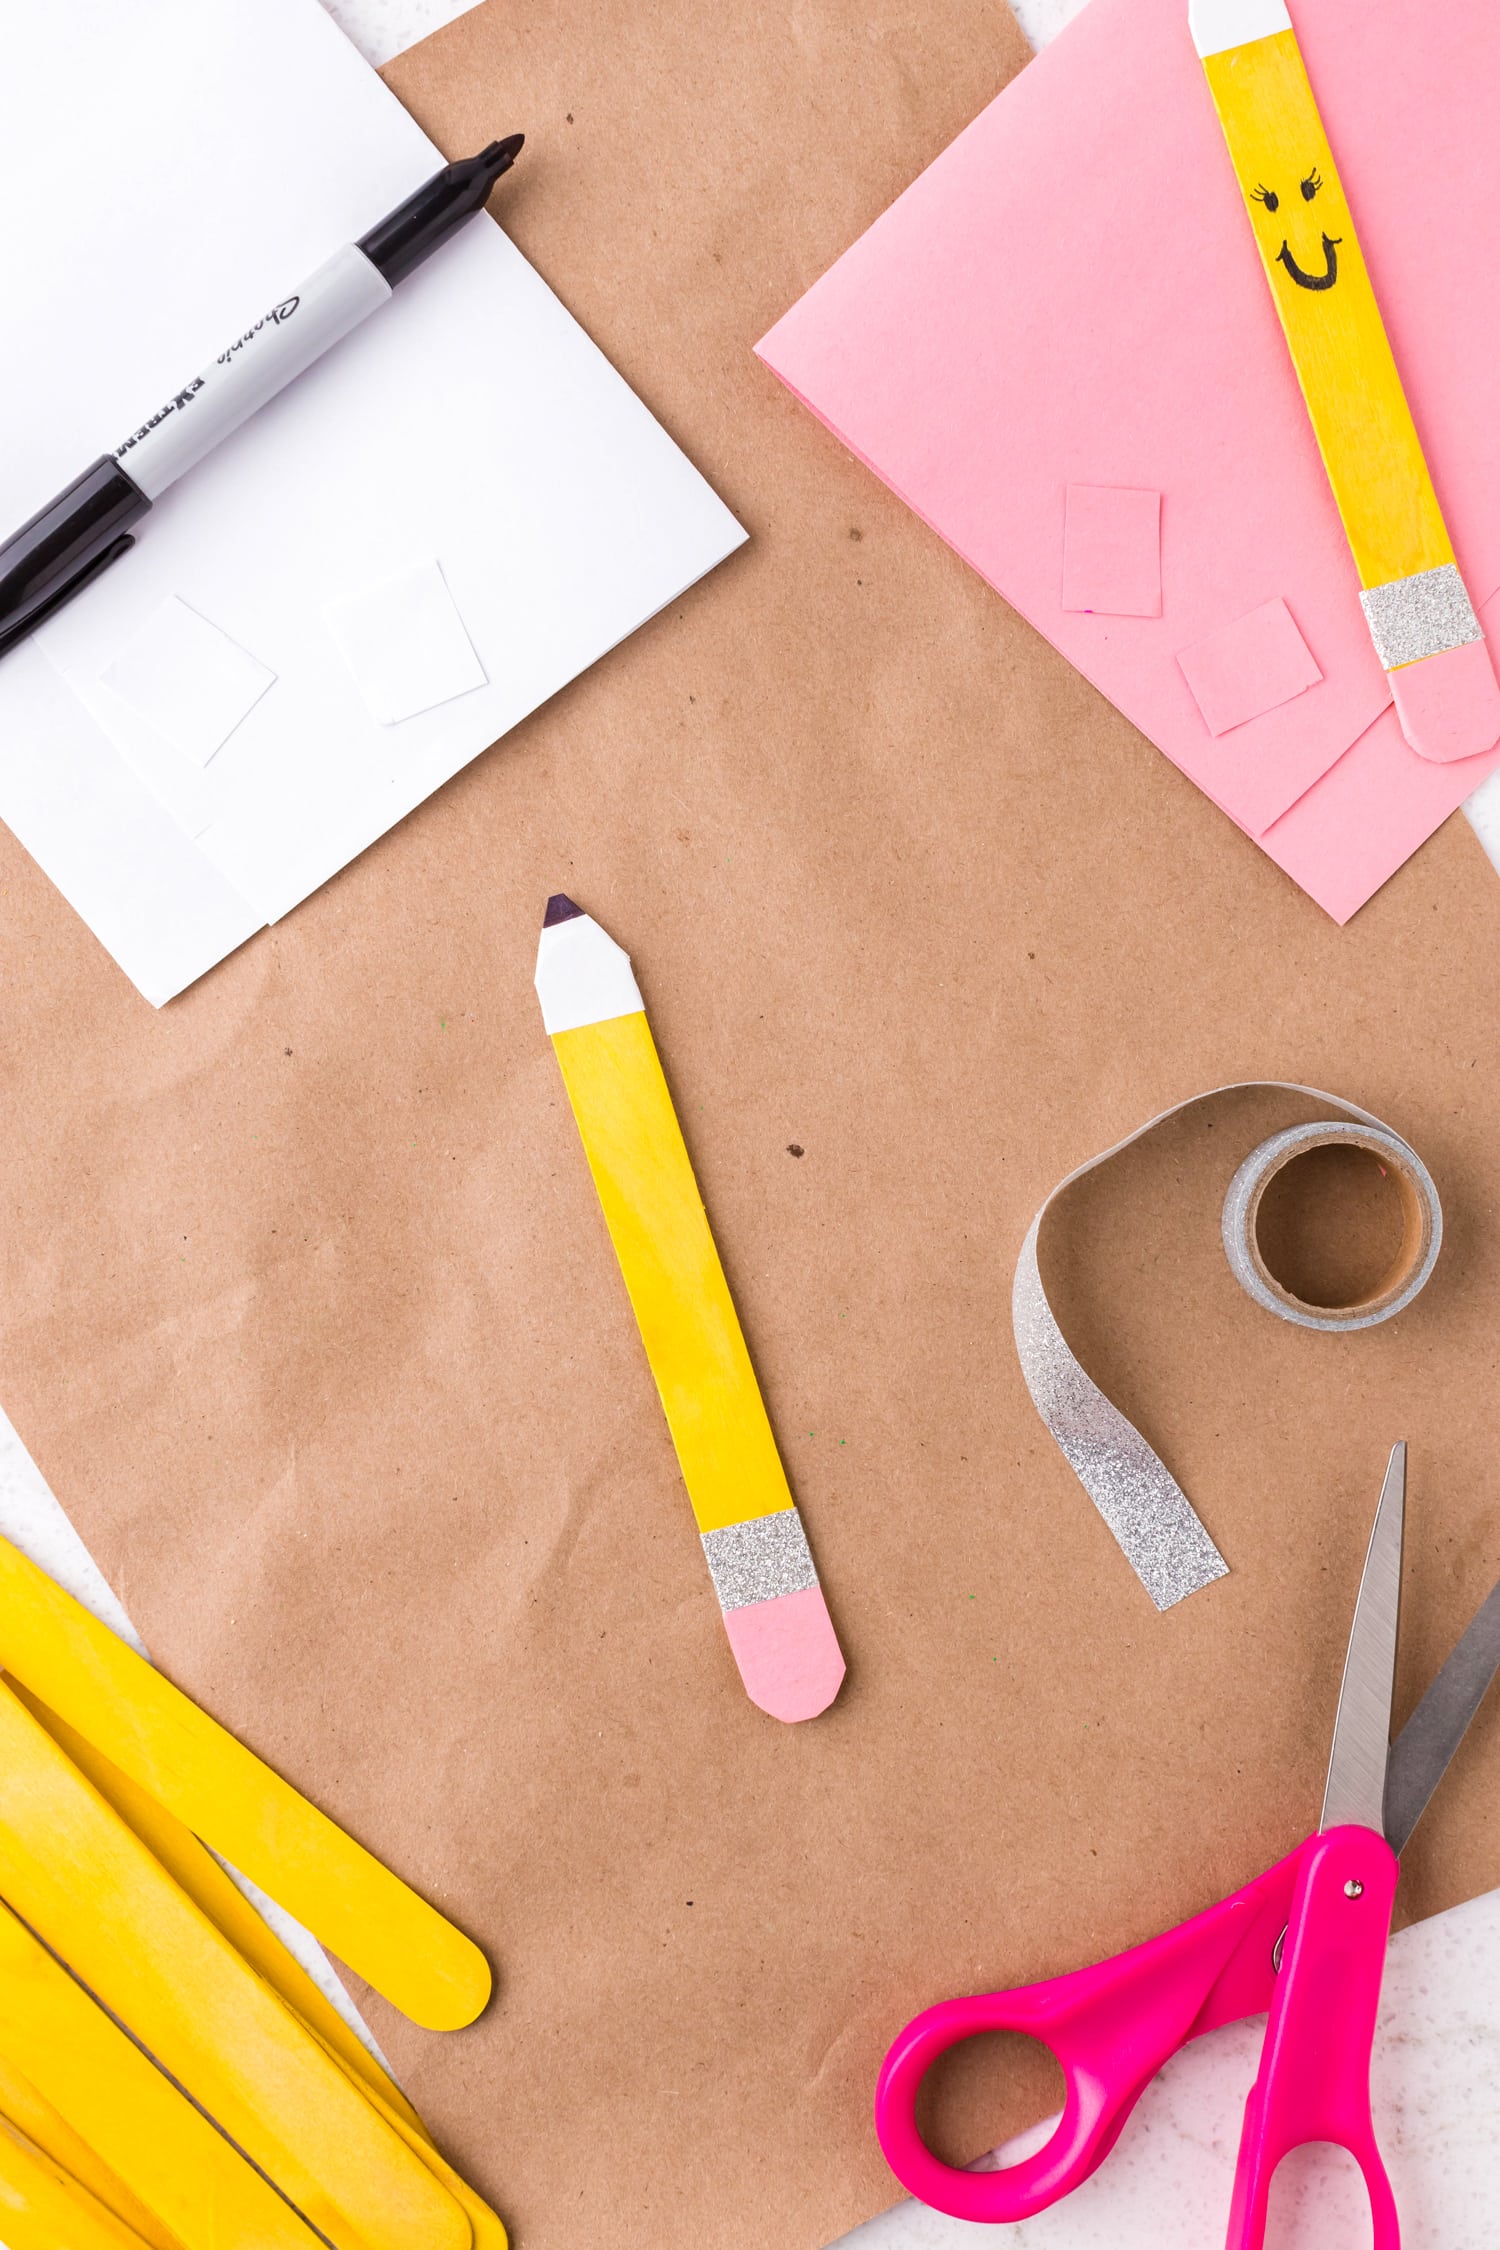
Next, cut a small square of the decorative glitter tape and place it above the “eraser.”
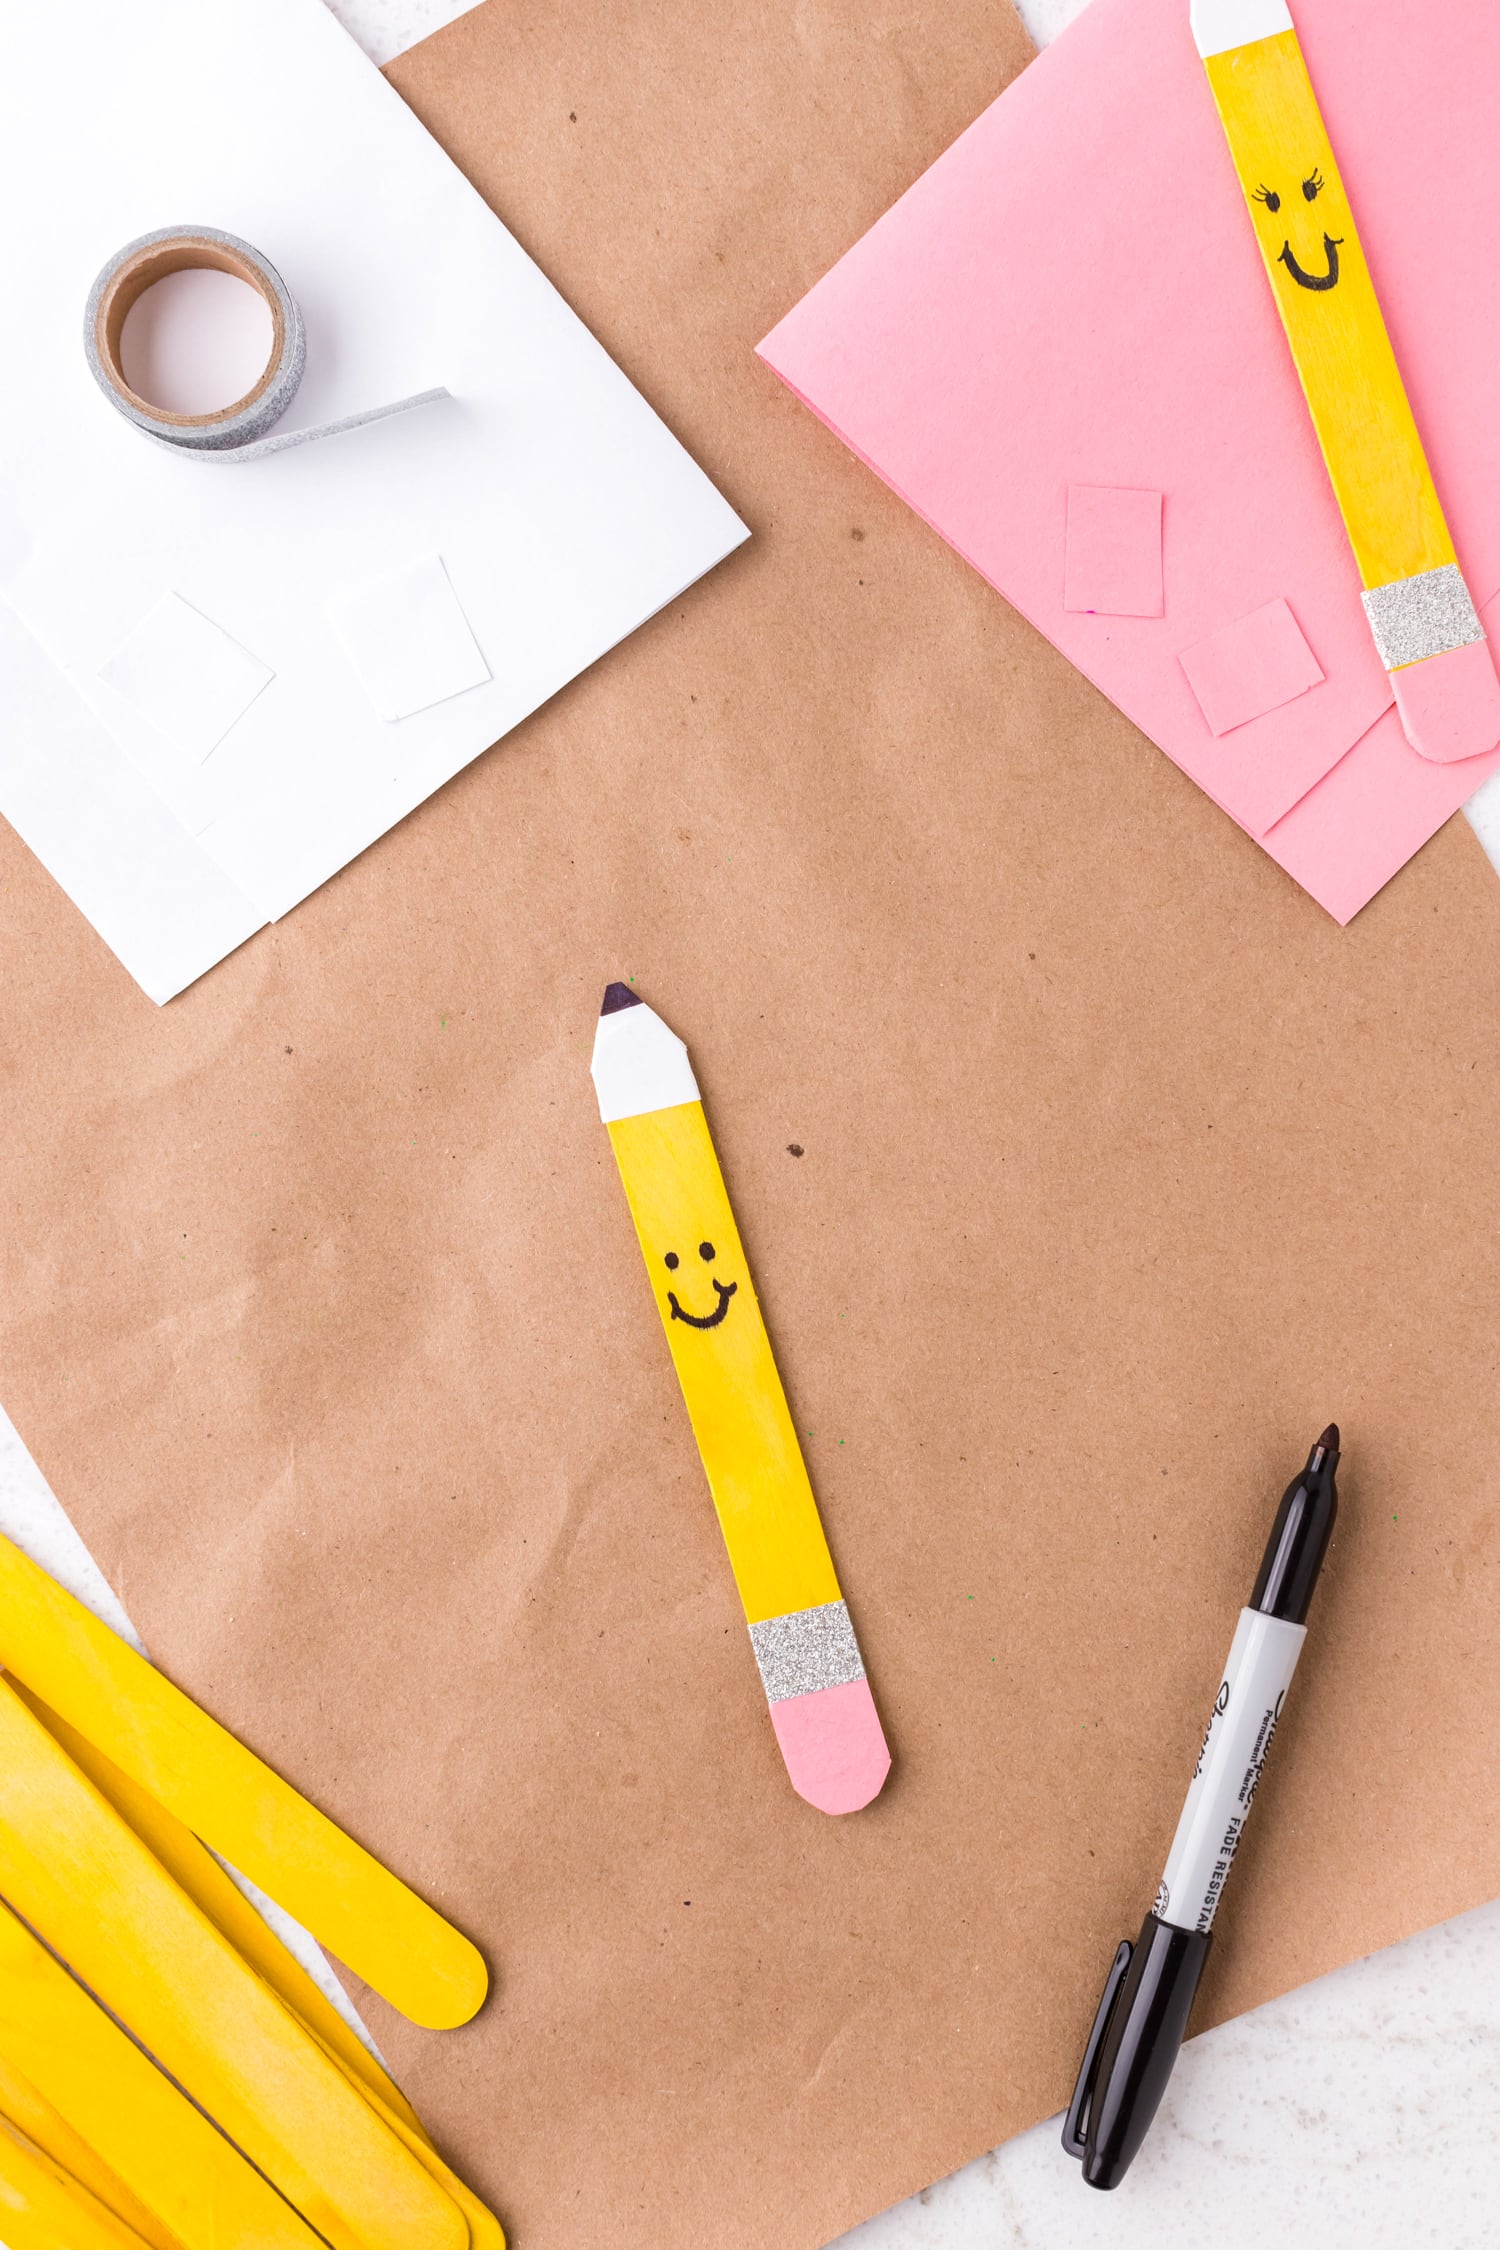
Finally, add some eyes and a smile to give your pencil some character!
Quick Tips for Young Children
Precut the items needed to help small children with this craft.
Use washable markers to draw the pencil tips and faces on the pencils for easy clean up.
More Easy Kids Crafts!
- Paper plate crafts are so easy to make. With a few craft supplies you create this Paper Plate Dinosaur with the kids. It’s a fun kids activity that’s inexpensive and cute.
- This quick and easy Apple Paper Plate Craft is the perfect activity for preschoolers. It uses supplies that are typically found in your house and turns them into a fun and easy apple craft perfect for fall!
- Bright, cute Jellyfish created out of a paper plate are an easy kids craft that they will love making. Grab your craft supplies and create this easy paper plate craft.
If you take a picture and share it Instagram make sure to #kidsactivityzone or tag us @kidsactivityzoneblog so we can see them!
Pencil Craft
Ingredients
- Yellow jumbo craft stick
- Glue stick
- Construction paper pink and white
- Decorative tape glitter
- Marker black
- Scissors
Instructions
- Gather all of your supplies for this craft.
- First, let’s make the eraser. Cut a small square of pink construction paper the width of the craft stick and glue it to the end of the stick. Trim the edges with scissors.
- Using white construction paper, cut a small square. Attach the white square with glue to the top of the yellow jumbo craft stick.
- Once secure, fold the top two corners of the paper to a point. Fill in the top triangle of the point with a black marker to make the illusion of lead for your pencil.
- Next, cut a small square of the decorative glitter tape and place it above the “eraser.”
- Finally, add some eyes and a smile to give your pencil some character!