Apple Paper Plate Craft
This quick and easy Apple Paper Plate Craft is the perfect activity for preschoolers. It uses supplies that are typically found in your house and turns them into a fun and easy apple craft perfect for fall!
There’s nothing better than a craft that’s quick, easy and you already have everything to make it with at home in your cabinets! This easy Apple Paper Plate craft is that perfect craft.
It’s the perfect craft for preschoolers this fall especially if they are learning about apples. It doesn’t take a lot of time other than letting the paint glue. You can prep the activity by having the stem and leaves cut out if you are doing it in the classroom.
Plus, help them glue them on with a hot glue gun to cut down on time.
All they will have to do is patiently wait for that paint to dry!
Grab your supplies listed below and create this cute and fun Apple Craft today. And if you love this craft, then check out this paper plate apple tree craft too!
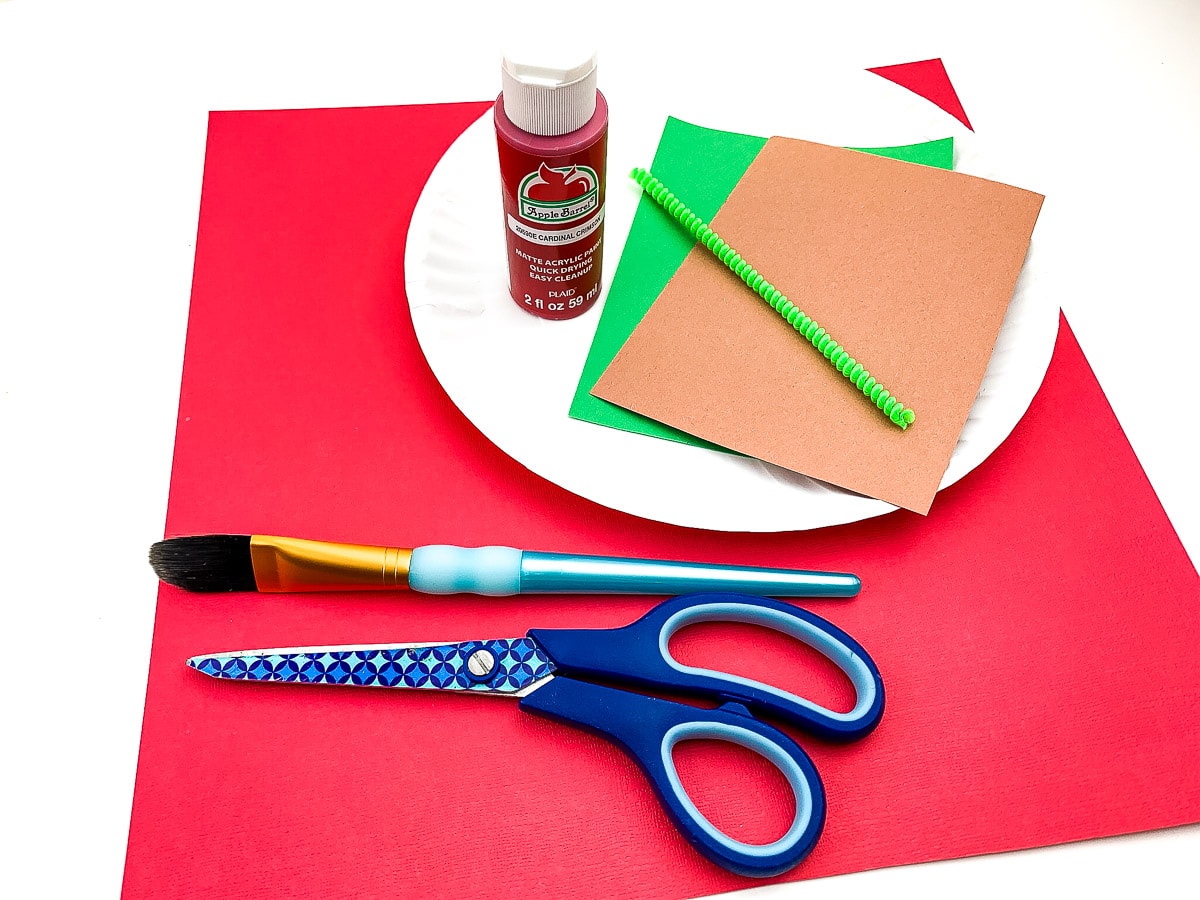
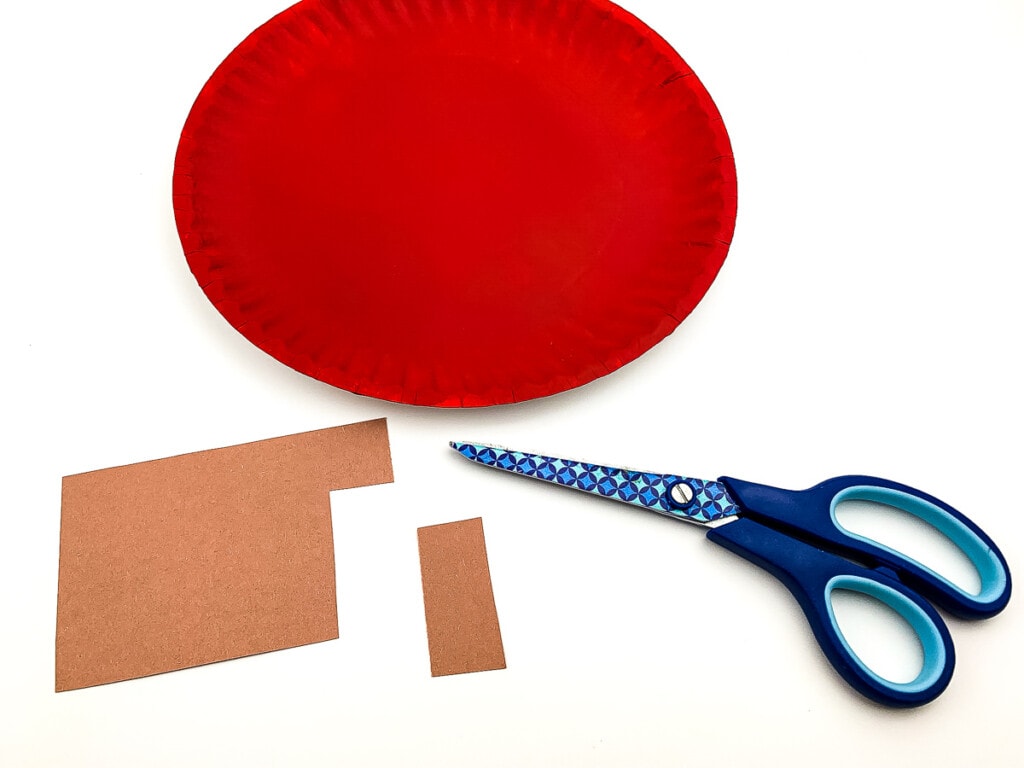
Supplies Needed for Apple Craft!
- Large white paper plate
- Red craft paint
- Brown construction paper
- Green construction paper
- Green pipe cleaner
- Glue (or hot glue gun)
- Paint brush
- Scissors
- Optional: strong tape
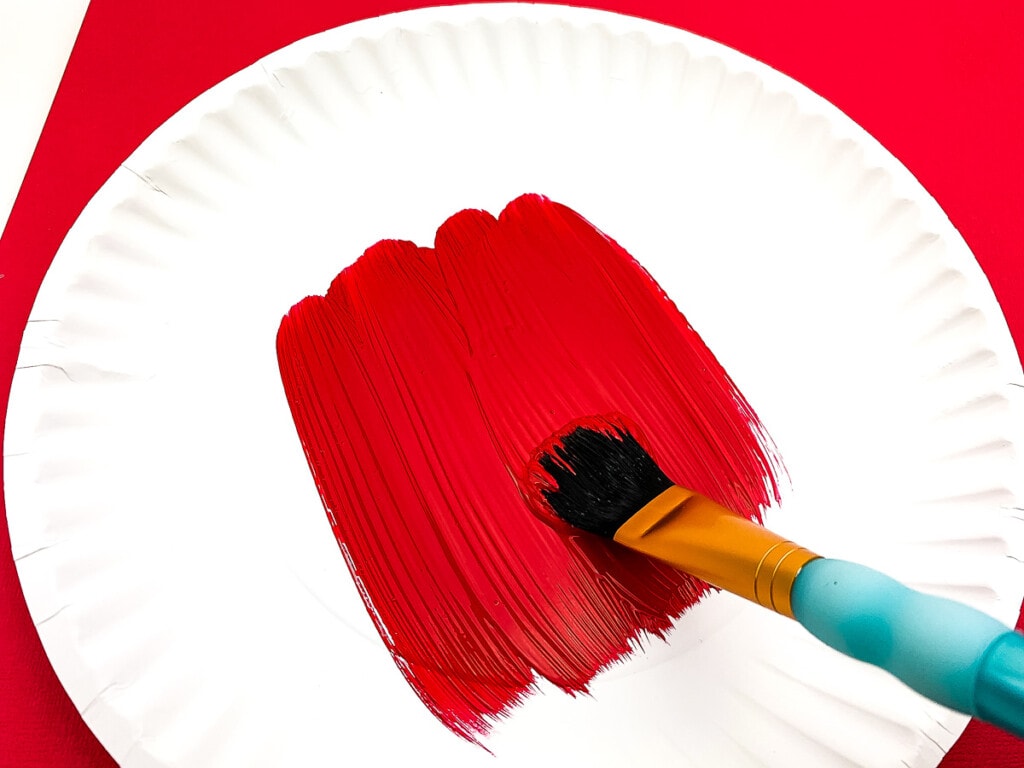
Paint the Paper Plate
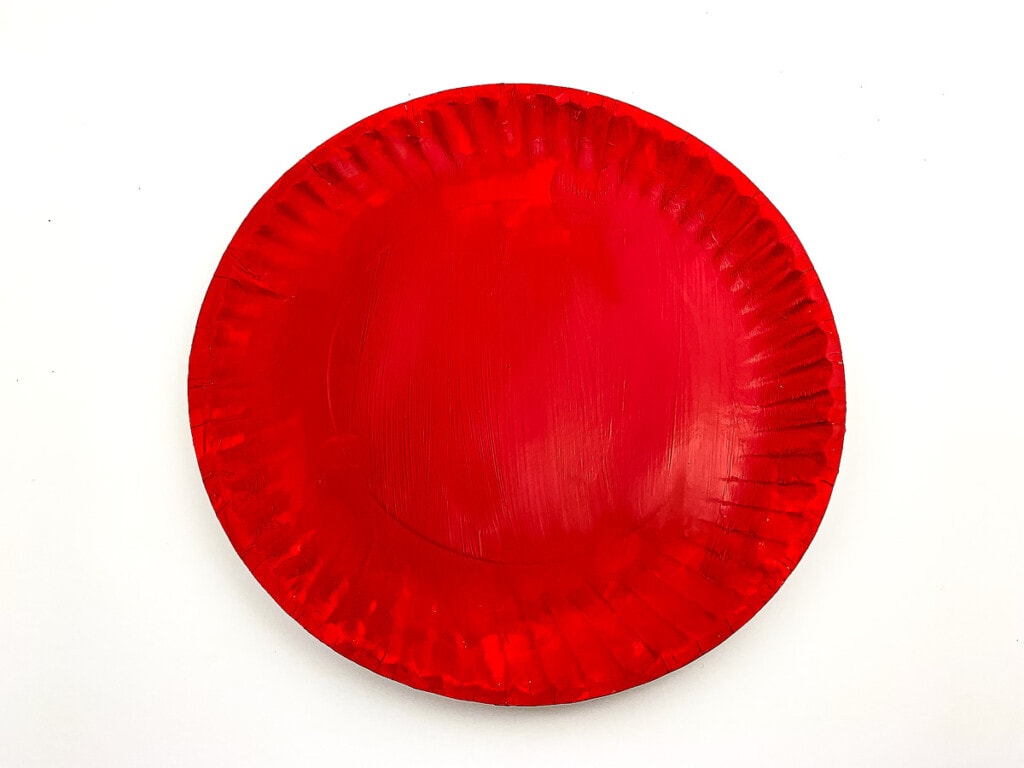
The first step to create your apple craft is to paint one side of the plate red using craft paint.
Let it dry. Then apply another coat if it is needed and let the paint dry again.
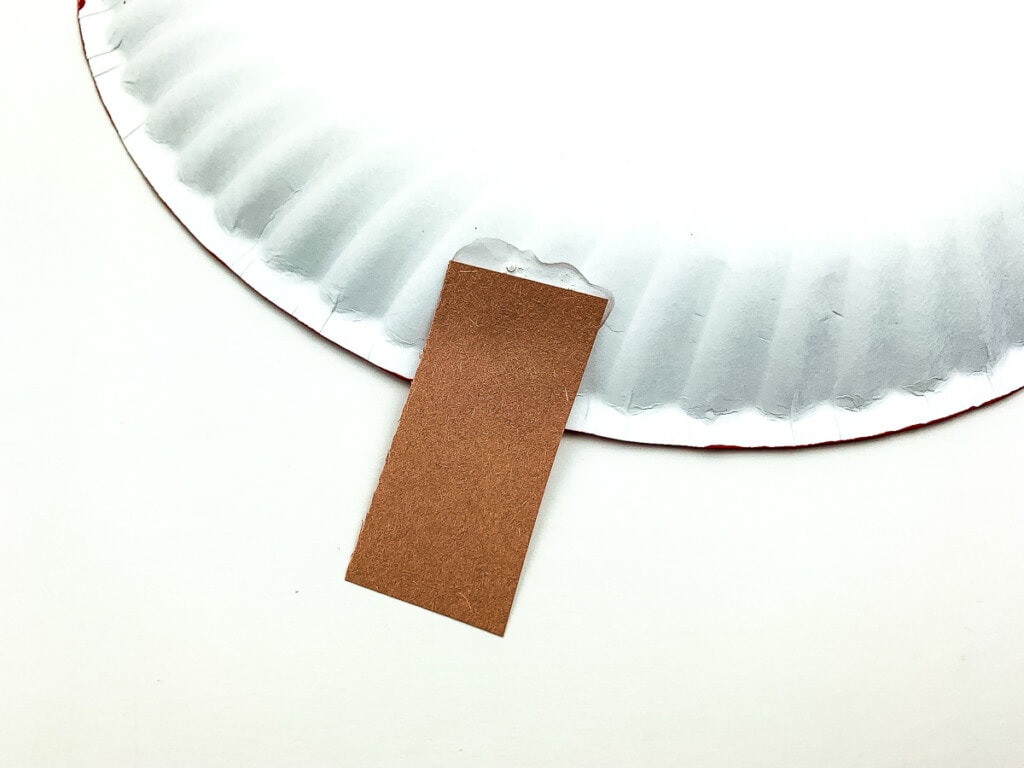
Attach the Stem
Next you need to create the apple stem!
Take a piece of brown construction paper and cut out a small rectangle from it.
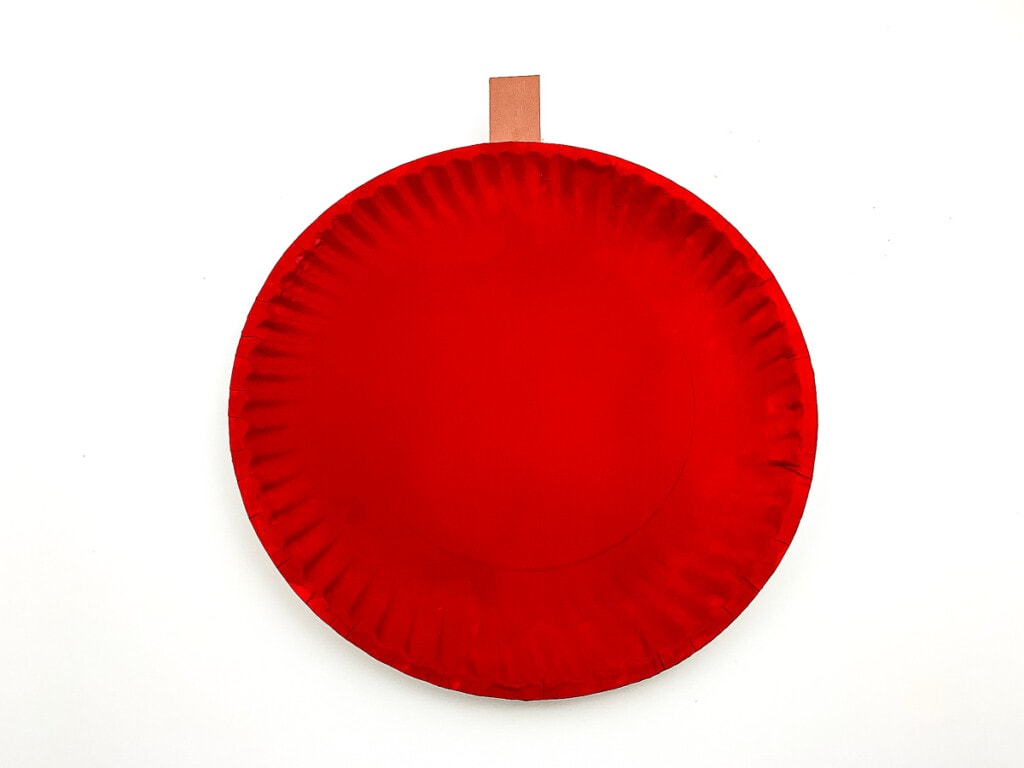
Then flip your paper plate over so the white side is up and painted side is facing down.
Glue the stem to the top middle of the plate. Let the glue dry completely. It will dry faster if you assist your child with a hot glue gun.
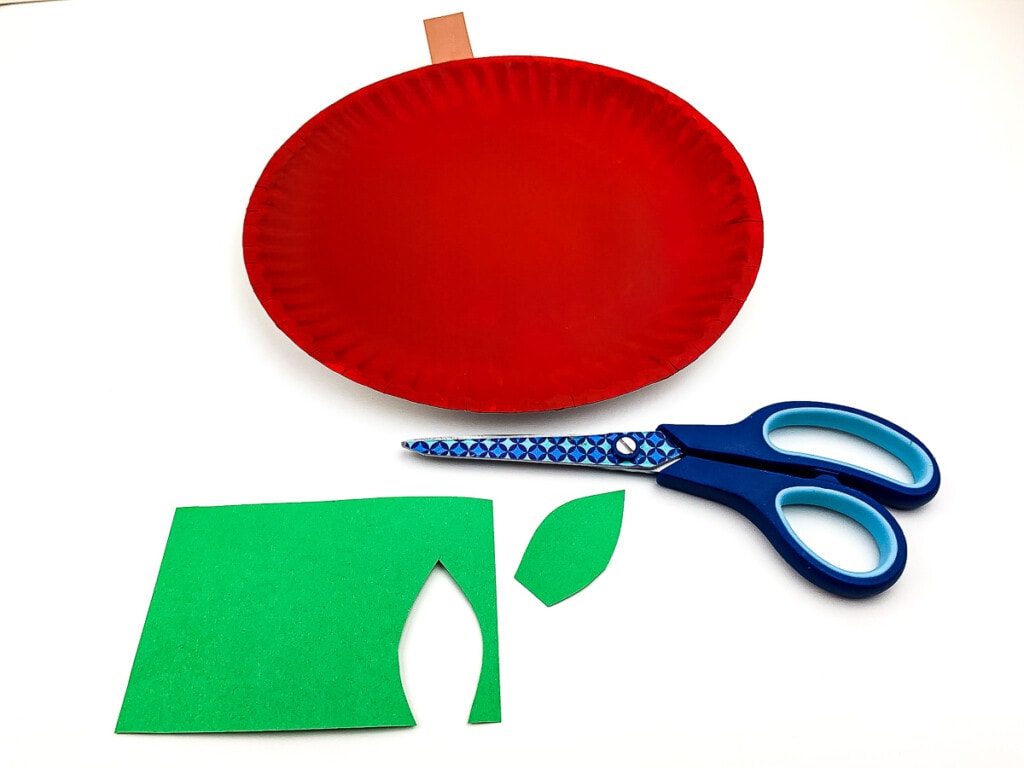
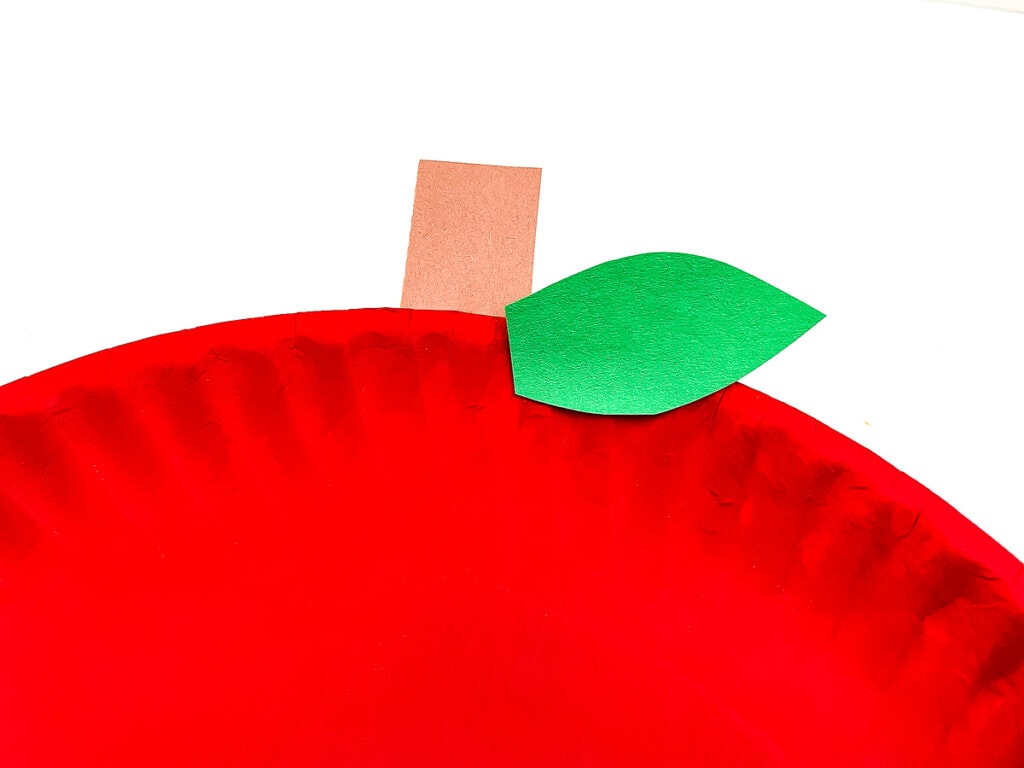
Attach a Leaf
Next, take a piece of green construction paper and cut out a small green leaf from it.
Glue the leaf either to the front of the plate by the stem or the back, whichever you prefer.
Let the glue dry before continuing to the next step.
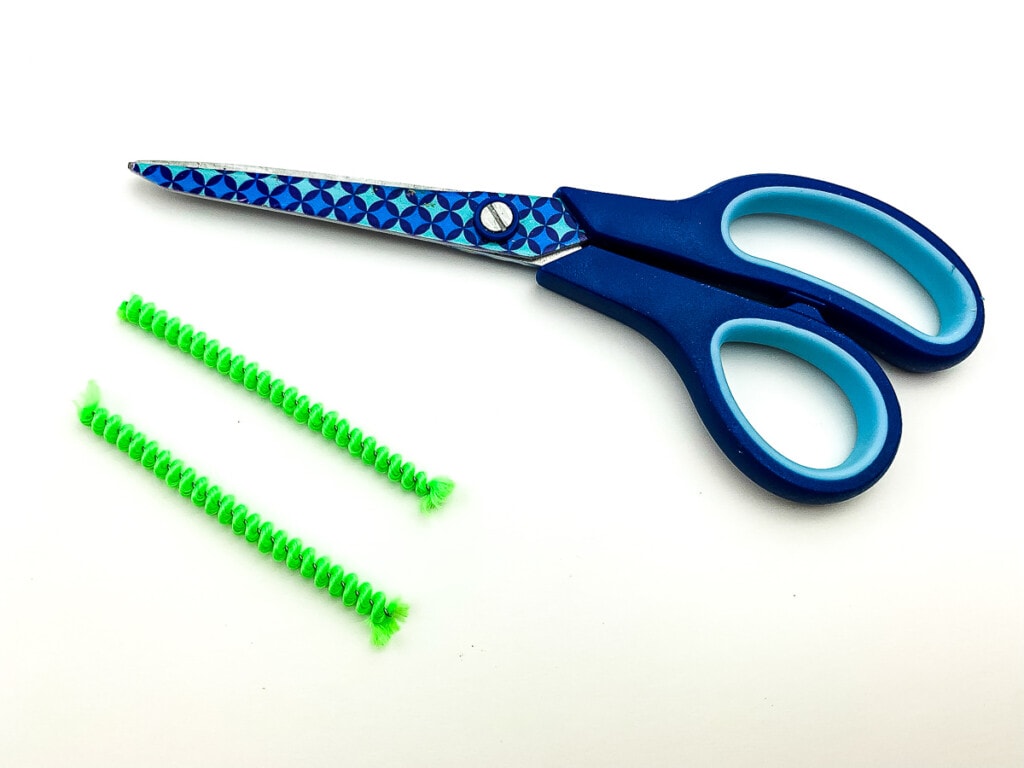
Create Green Curly Stem
After the glue is dry cut a 4 inch section of green pipe cleaner.
Help your child curl it around their finger to make a curly green stem.
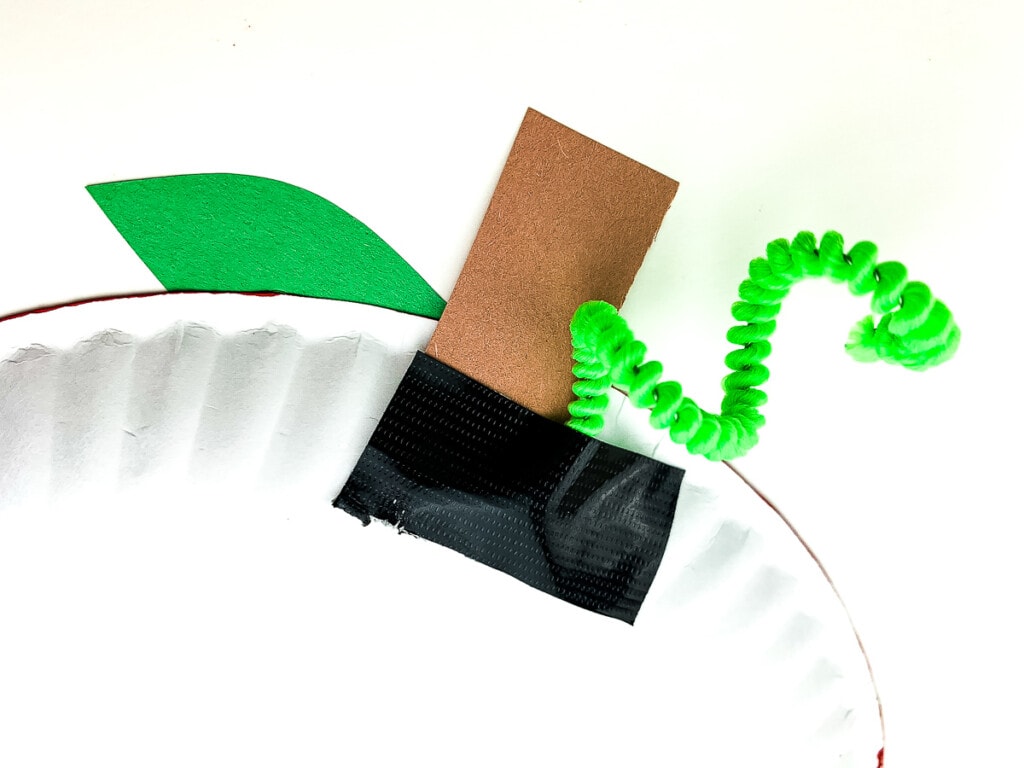
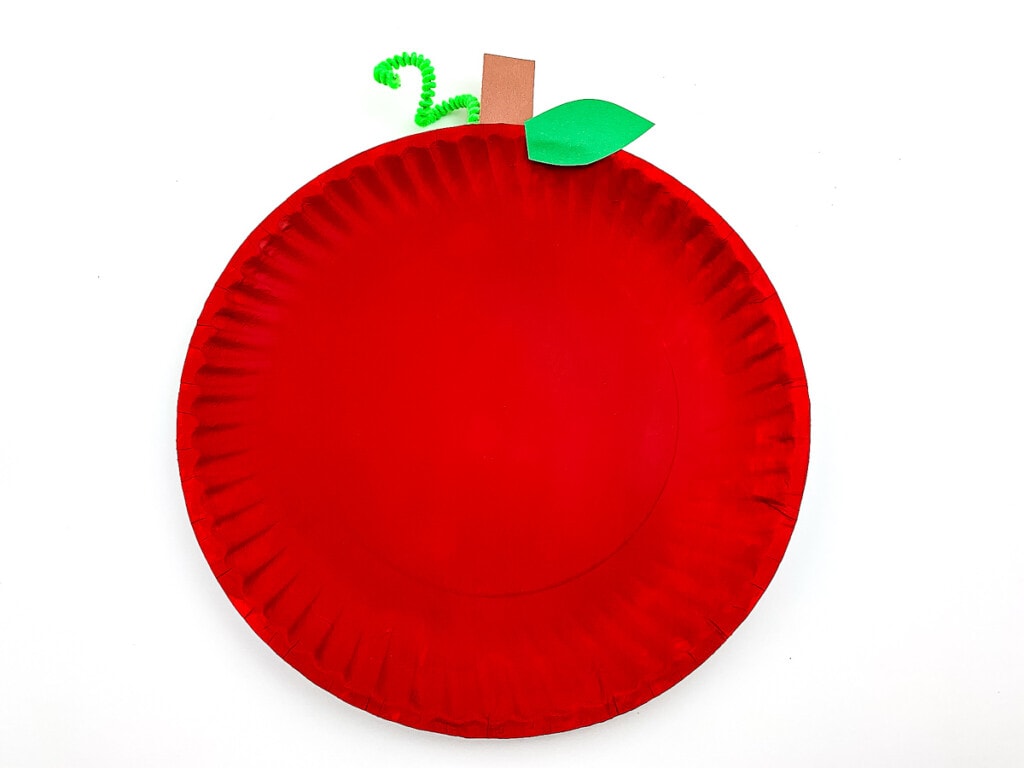
Then glue it to the back to the plate next to the stem, but on the opposite side of the green leaf.
You can use heavy duty tape to help it stick better.
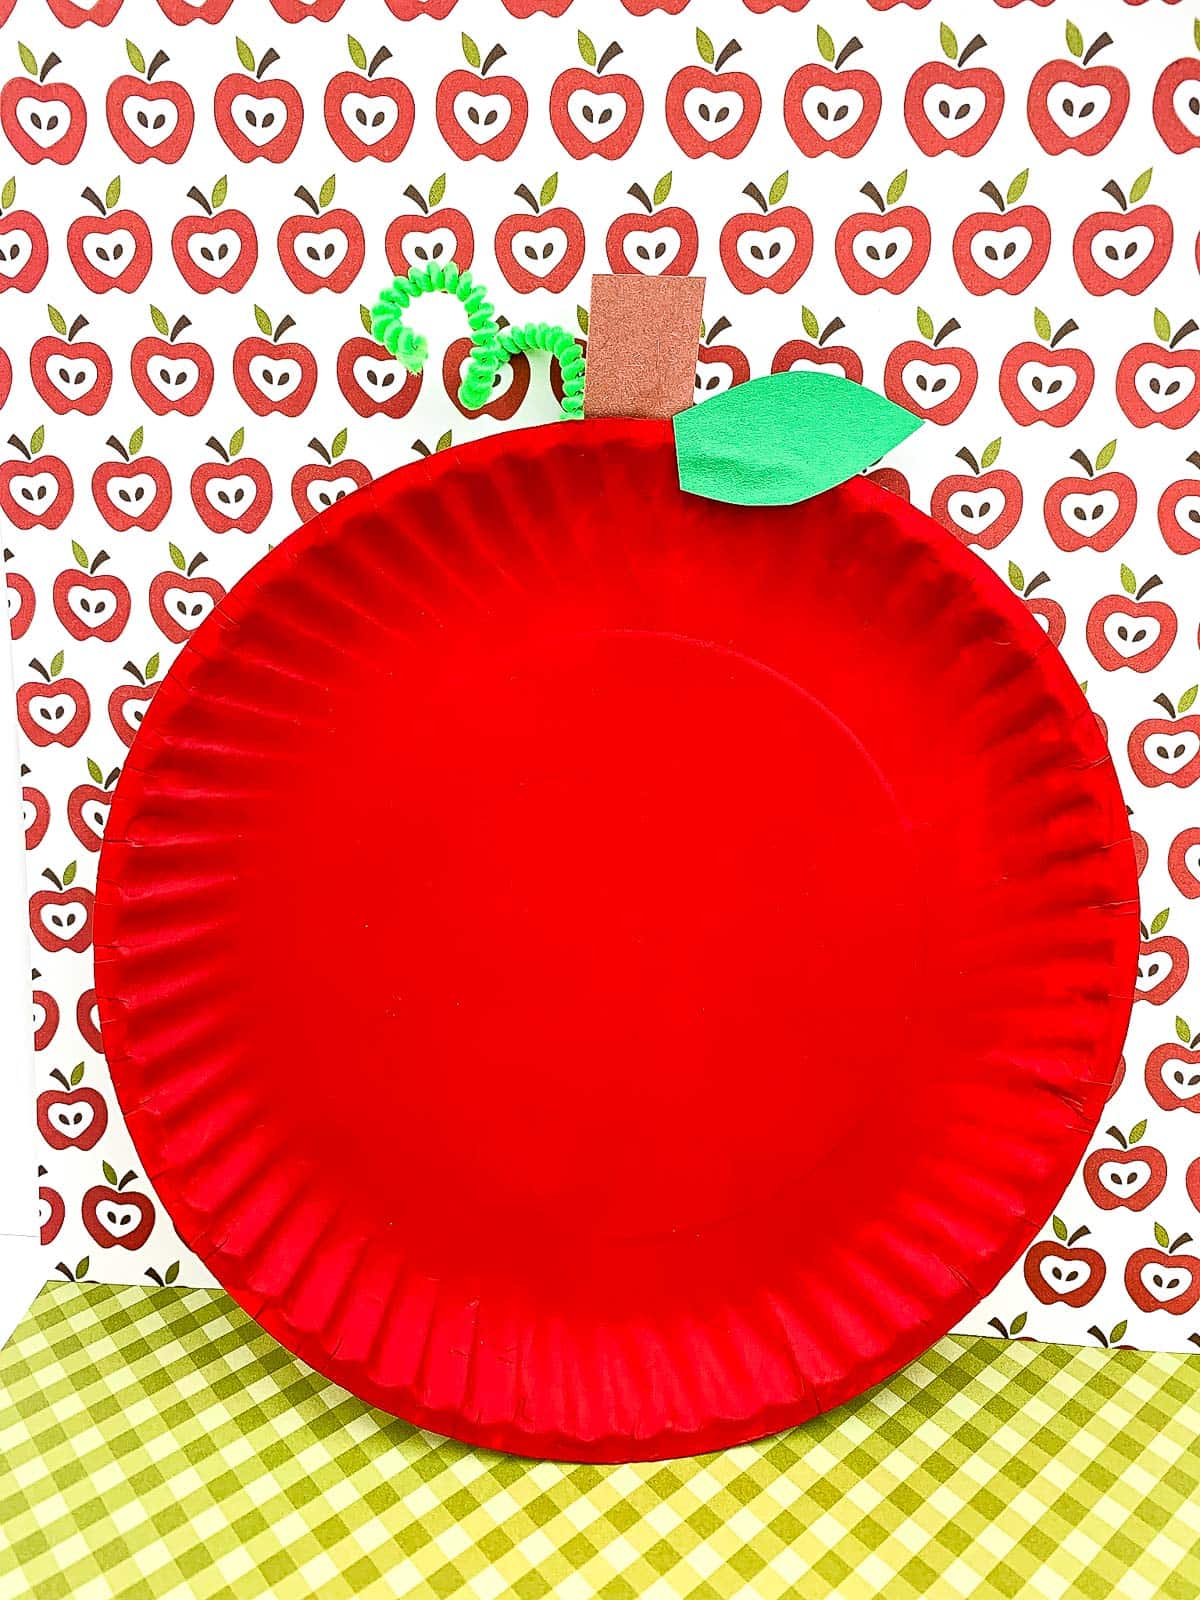
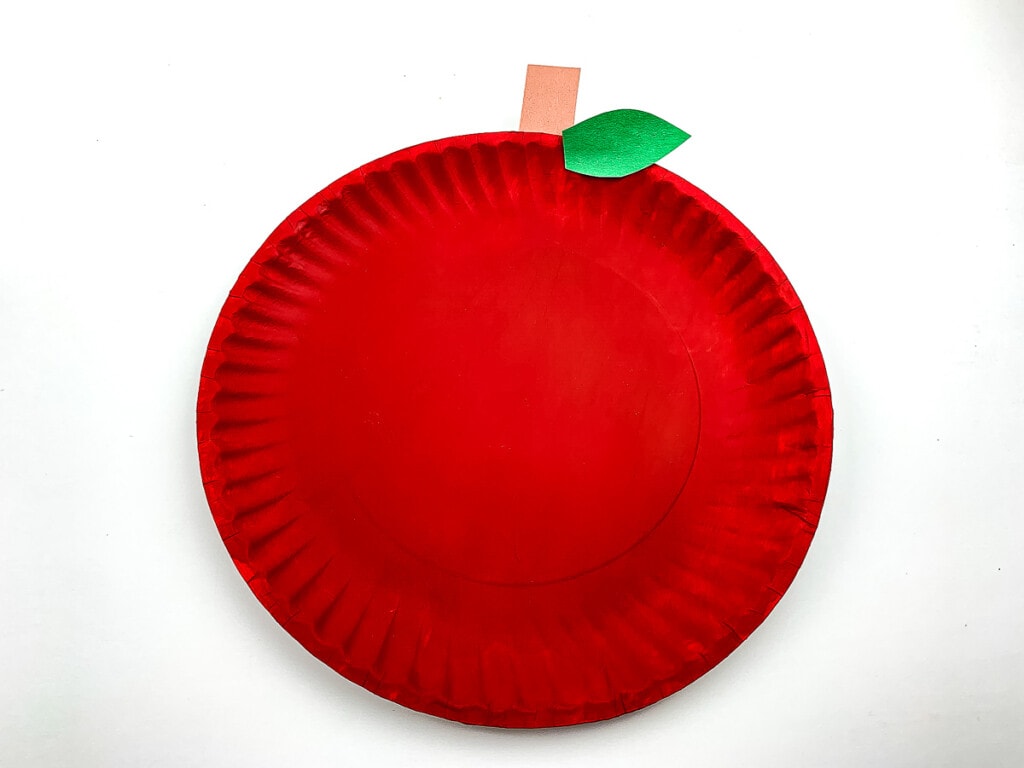
Then flip over your plate and you have an adorable Apple made out of a paper plate. The perfect easy, fall themed preschool craft for little hands!
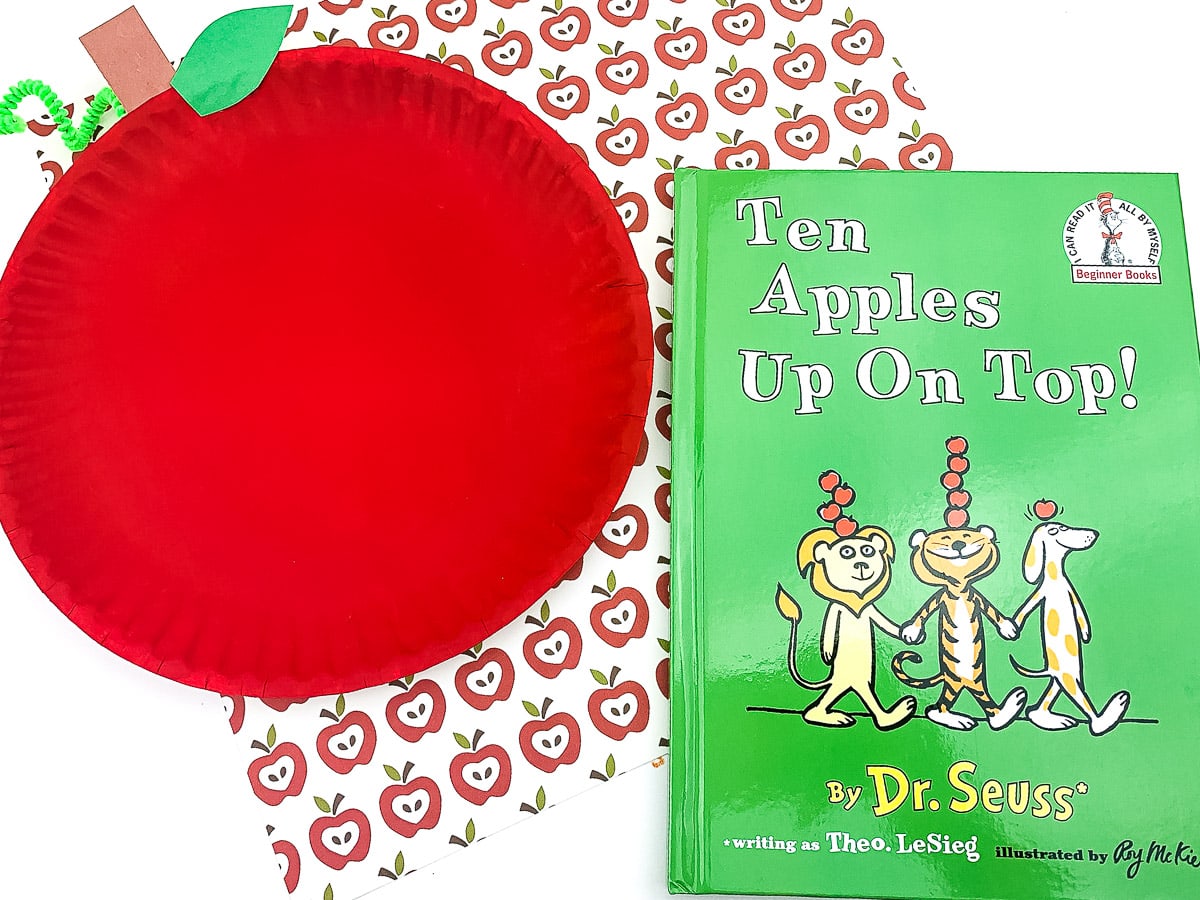
If you are doing a unit study in your classroom pair it with the famous Dr. Seuss book “Ten Apples Up on Top”.
It’s a great book to have at home, too!
More Easy Kid Crafts!
- Grab your Pom Poms and a few leaves to create an easy Fall Leaf Pom Pom Painting!
- Got leftover toilet paper rolls? Turn them into this adorable Toilet Paper Roll Turkey Craft!
- There’s nothing cuter than this Turkey Paper Bag Craft!
- This Paper Plate Penguin Craft is another great way to utilize a paper plate during craft time!
Have fun making your Apple Craft!
If you take a picture and share them Instagram make sure to #kidsactivityzone or tag us @kidsactivityzoneblog so we can see them!
Apple Paper Plate Craft
Equipment
- Glue (or hot glue gun)
- Optional: strong tape
Ingredients
Instructions
- Paint the paper plate red on one side. Set aside to dry. Once dry, apply an additional coat if needed. Set aside to dry completely.
- Cut a brown stem out of the brown construction paper. Turn the plate over and glue the stem to the top middle of plate. Allow glue to dry.
- When glue is dry cut a green leaf out of the green construction paper. Glue the green leaf either on the front or back of the plate next to the brown stem. Allow to dry.
- When the glue is dry cut a green pipe cleaner into a 4 inch piece. Twirl the pipe cleaner around your finger to shape it into a spiral.
- Turn the paper plate over and glue the pipe clean to the back on the opposite side of the green leaf. You can also use tape to help this stick. Allow to dry completely.