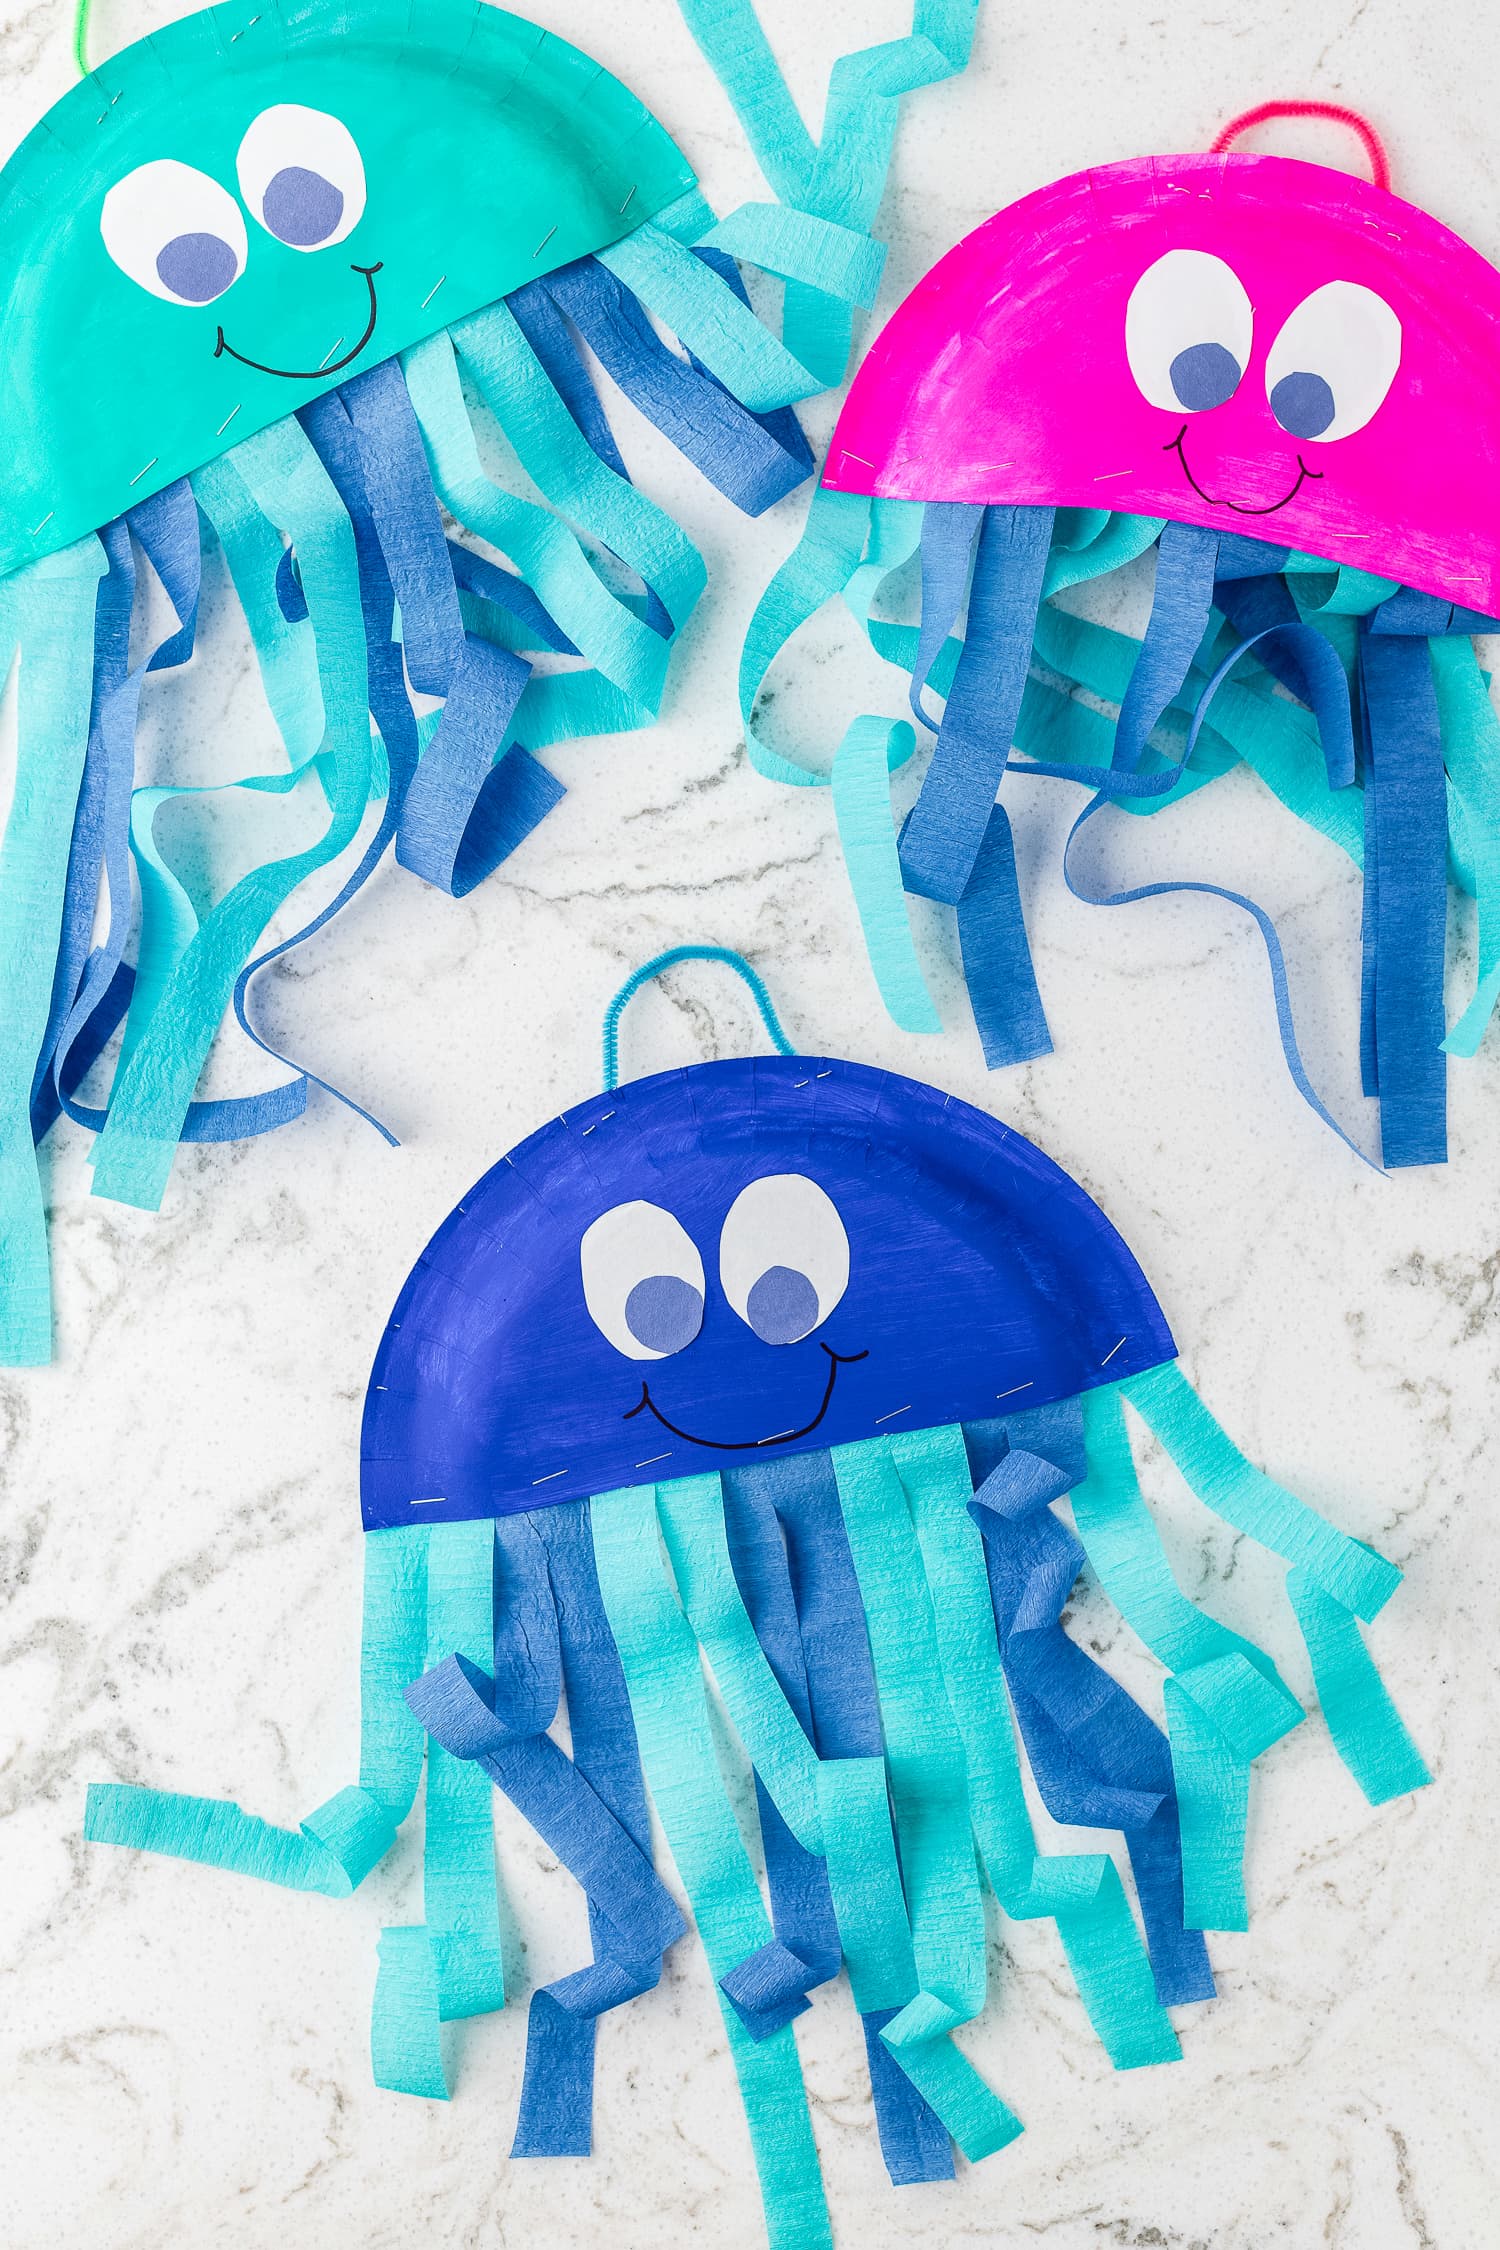
Paper Plate Jellyfish Craft
This fun and colorful Paper Plate Jellyfish craft is an easy project kids will love making with everyday supplies, perfect for ocean-themed activities or brightening up your home with handmade art!
Paper plate crafts are always so much fun to make and the possibilities are endless. This time creating a jellyfish with a paper plate!
You all loved our other paper plate crafts including sun flowers and dinosaurs we know you’ll love this jellyfish too!
The kids will have so much fun doing this easy craft that takes a simple plate and turns into a vibrant, fun jellyfish with flowy tentacles made from paper streamers.
Why You’ll Love This Craft
- The color options are endless and it’s so much fun to see what each kid picks for their color scheme.
- You most likely already have everything you need for this activity at home in your craft cupboard.
- This is a great activity to go with an under the water unit in school or an easy craft at home.
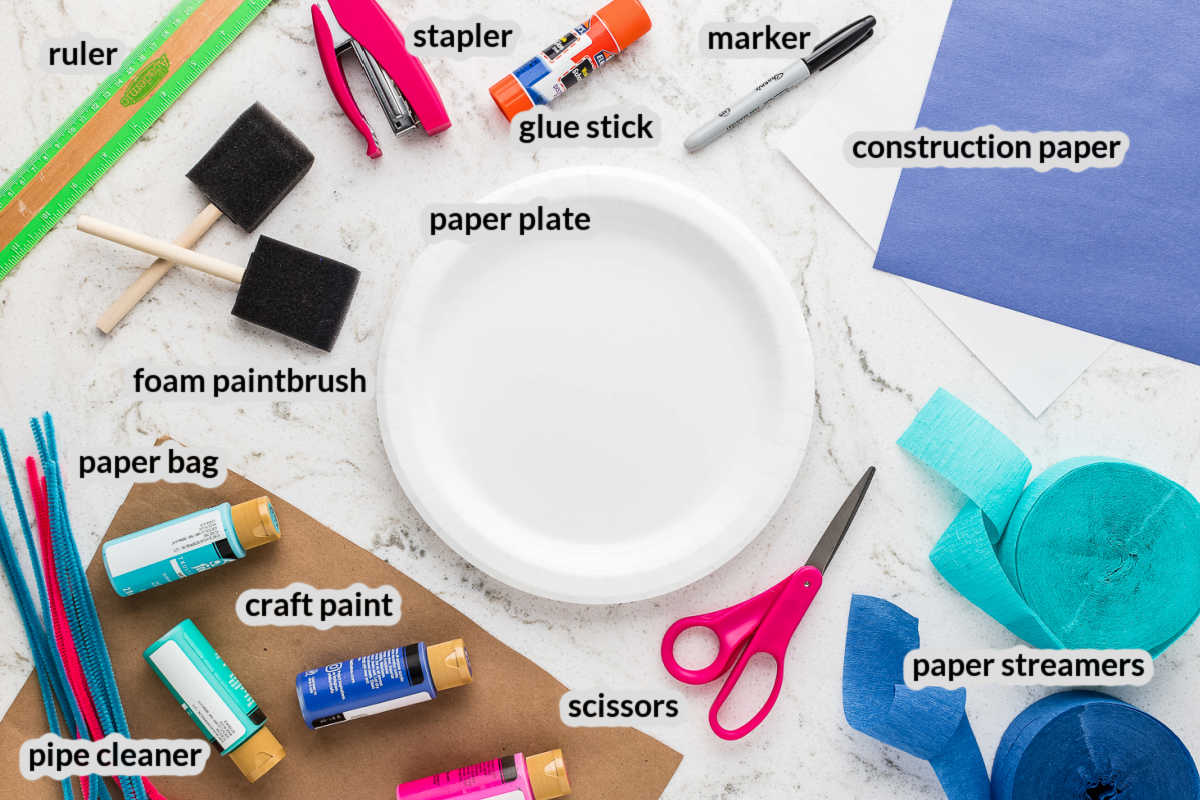
Supplies Needed for Paper Plate Jellyfish
- Paper plate – We used a 10-inch paper plate but you could use a foam plate as well. A white plate is recommended because you will paint it and you want it to reflect that color.
- Scissors – Make sure your scissors are clean and sharp!
- Craft paper or trash bag – Make life easier by covering your surface before painting!
- Craft paint – We used craft paint but you can use any non-toxic paint.
- Foam paintbrush – Foam paintbrushes are easy for kids to use but if unavailable you can use a regular small paintbrush or sponge.
- Blue and white construction paper – We used construction paper for the jellyfish but card stock could also be used. For an extra fun idea, you can also glue on big googly eyes!
- Marker or pencil – To draw the eyes and mouth of the jellyfish.
- Glue stick – A glue stick was used for this craft but you can use any craft glue.
- Crepe paper streamers – Crepe paper streamers are an excellent choice for the flowy tentacles but tissue paper or ribbon can be used instead.
- Ruler – We used a classroom ruler, but you could also use a measuring tape.
- Stapler – We used a small stapler for this craft.
- Pipe cleaners – Pipe cleaners are great for a sturdy hanger! Twine or heavy yarn could also be used to create the hanger.
How to Make Jellyfish with a Paper Plate
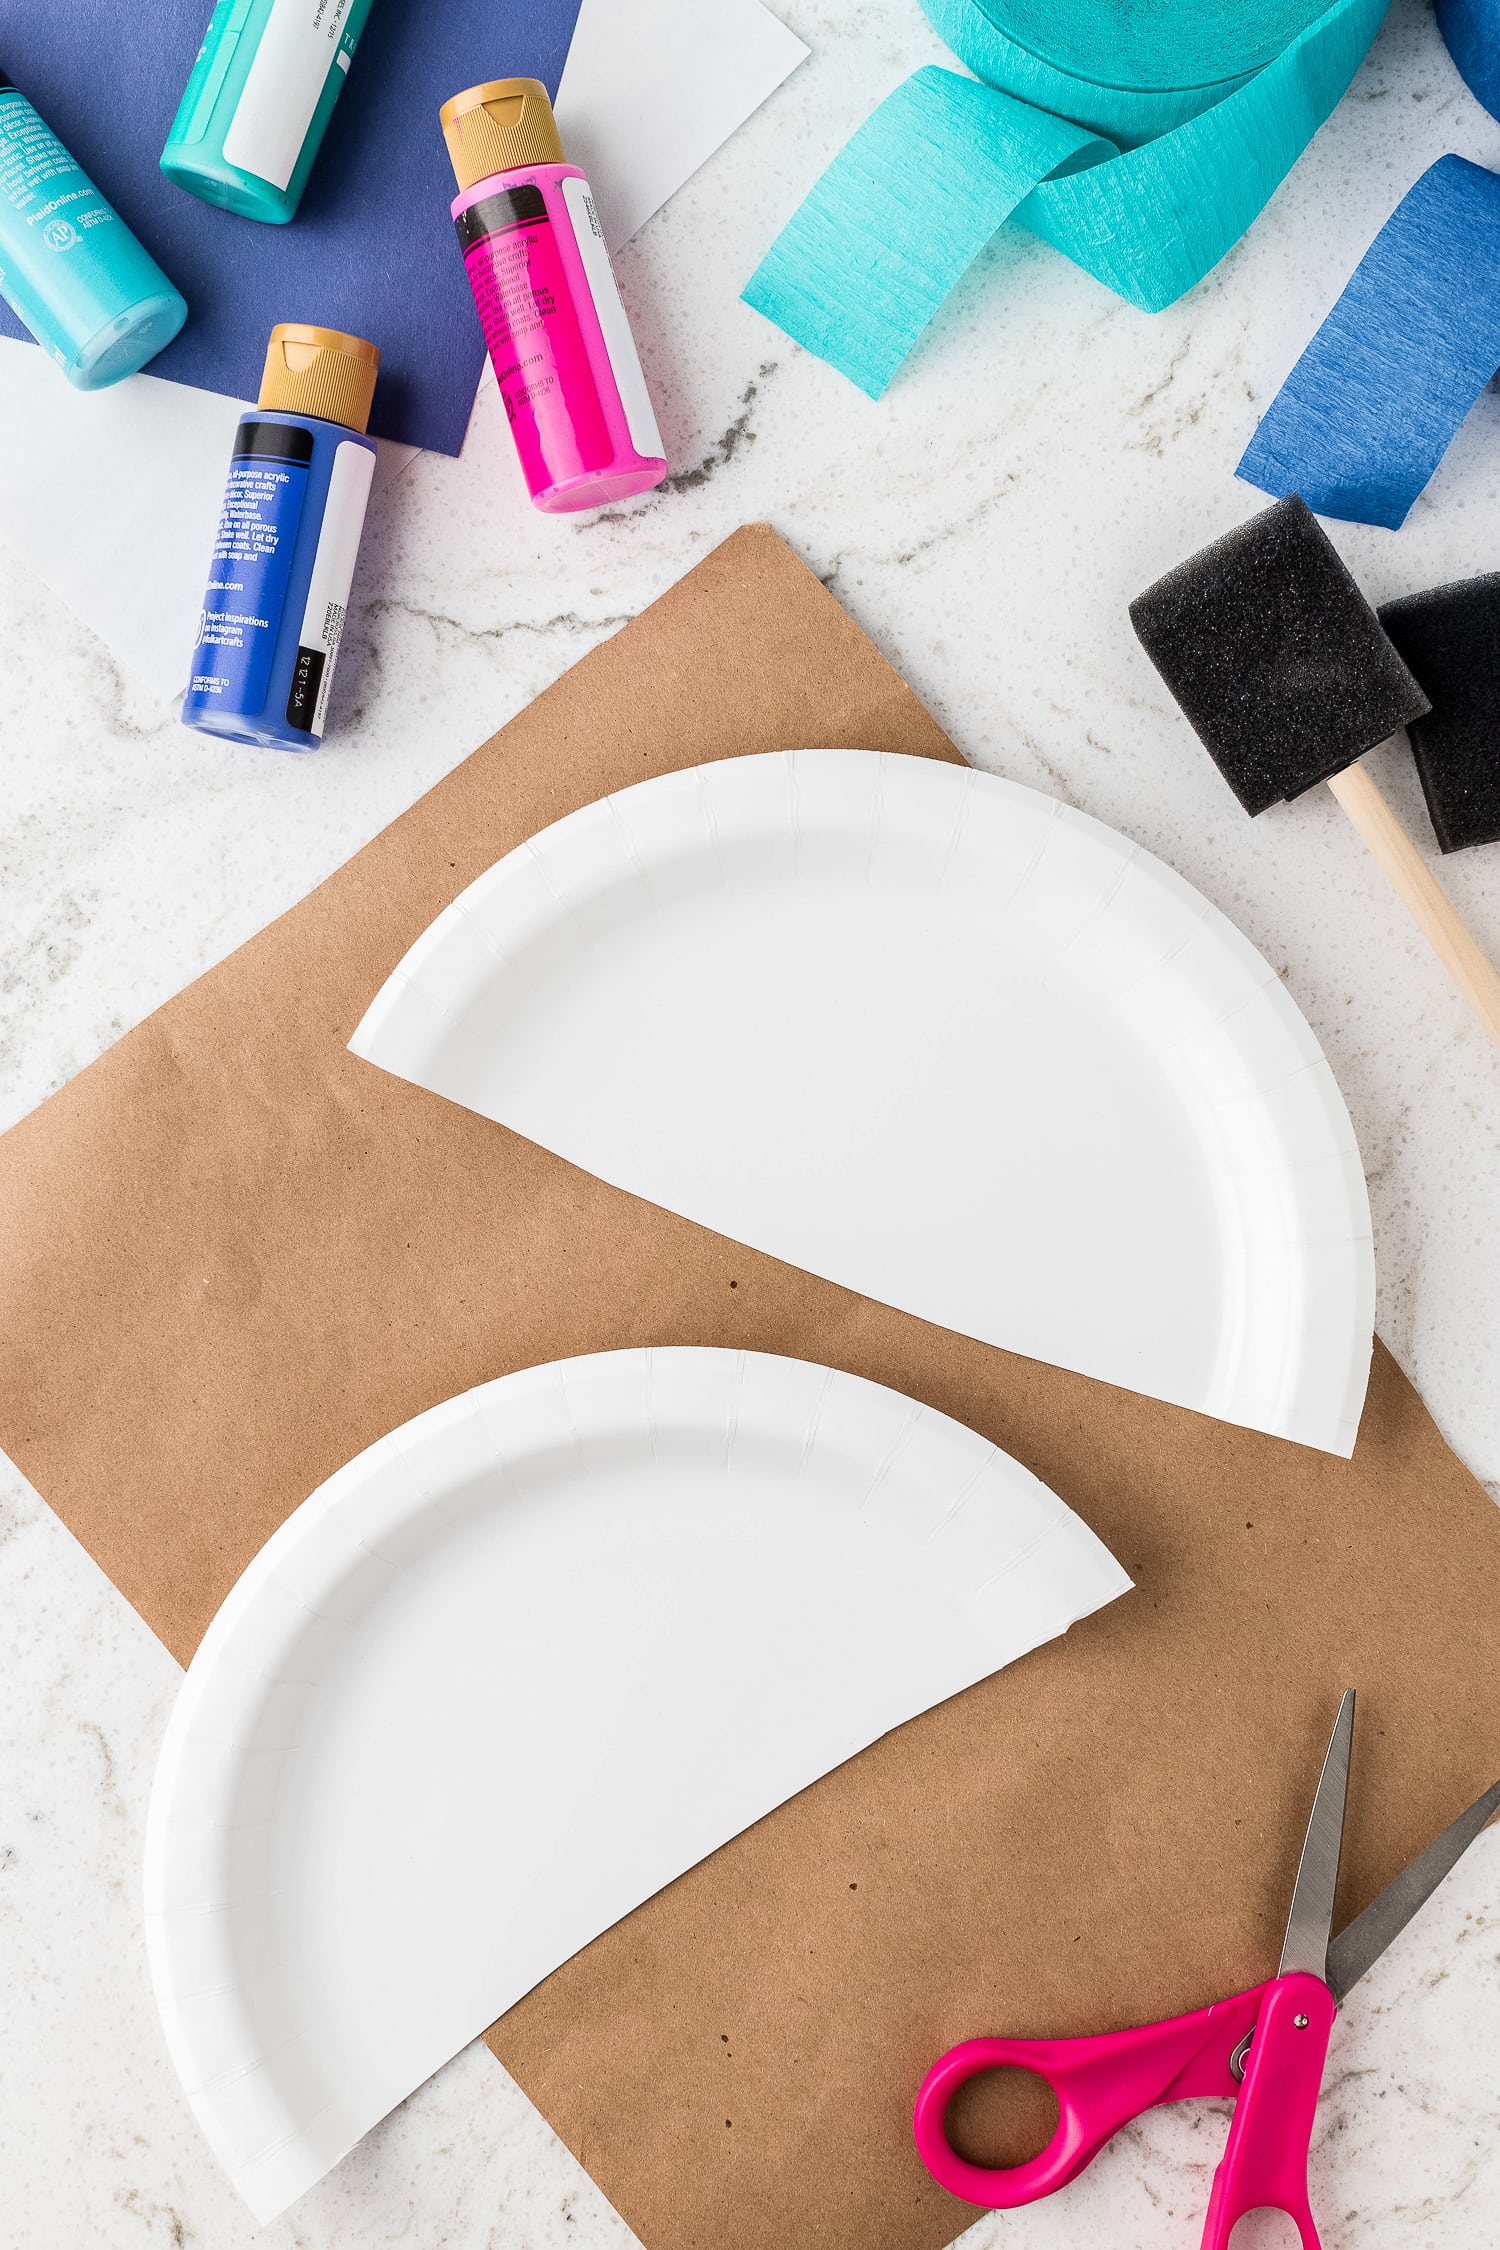
Cut and paint the paper plate
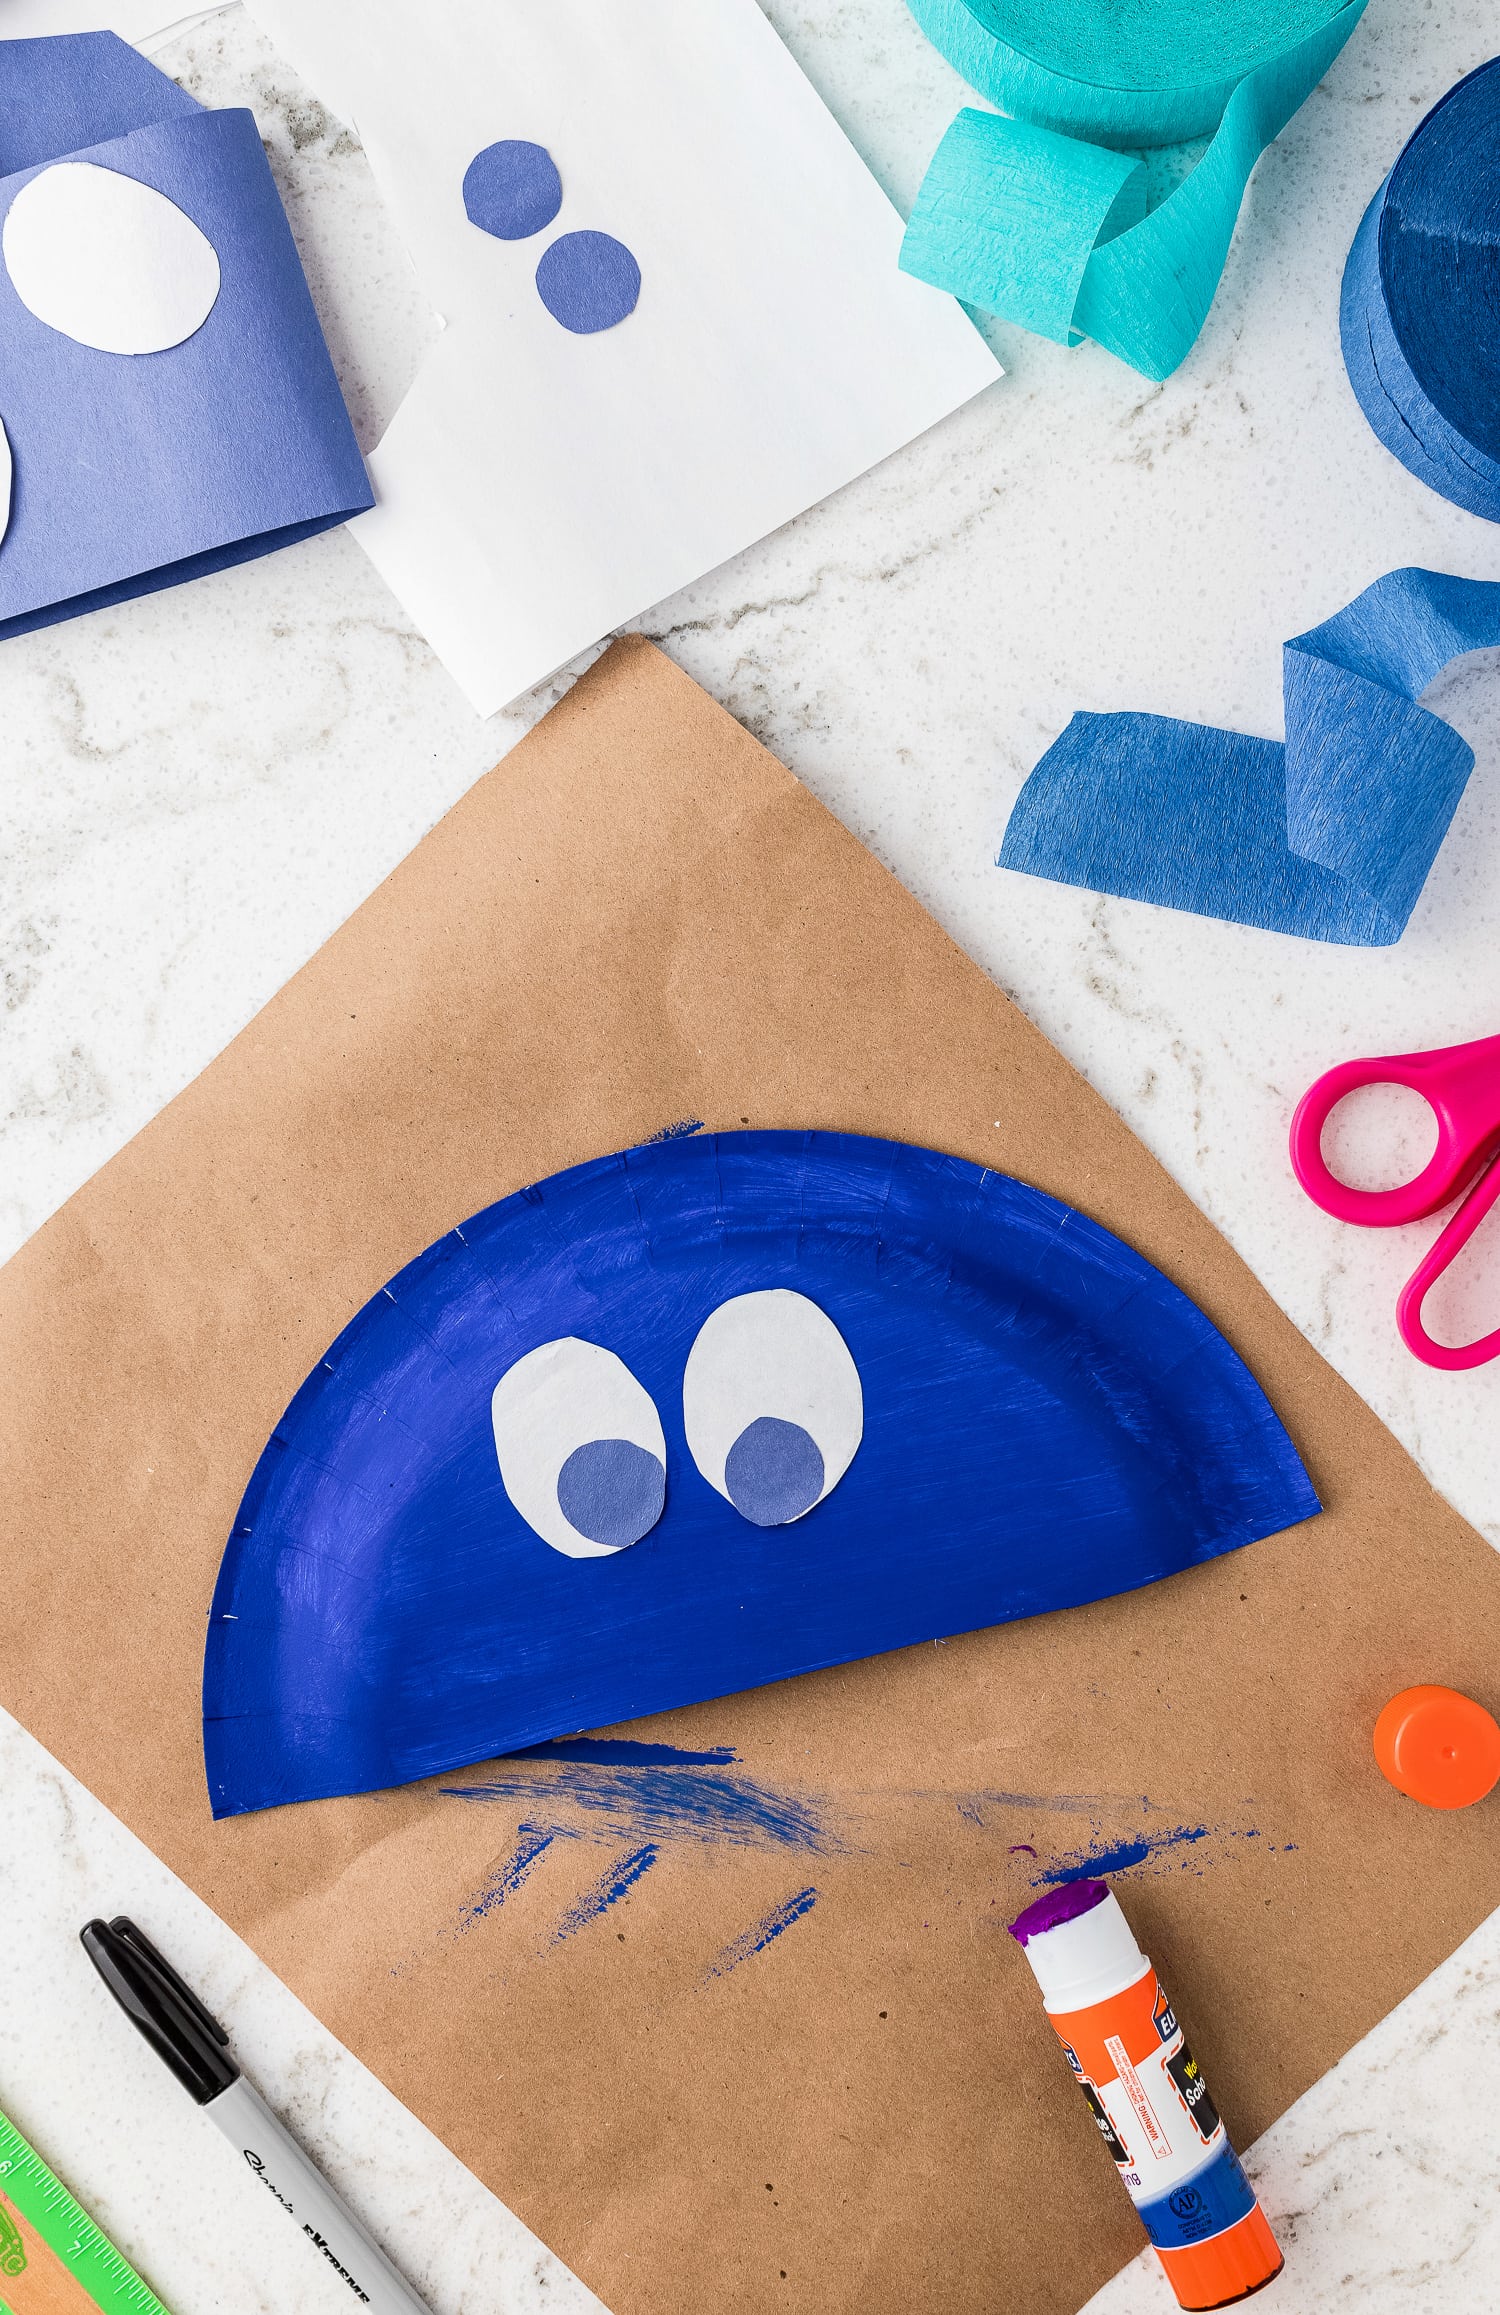
To make the body of the jellyfish start by cutting a 10 inch paper plate in half.
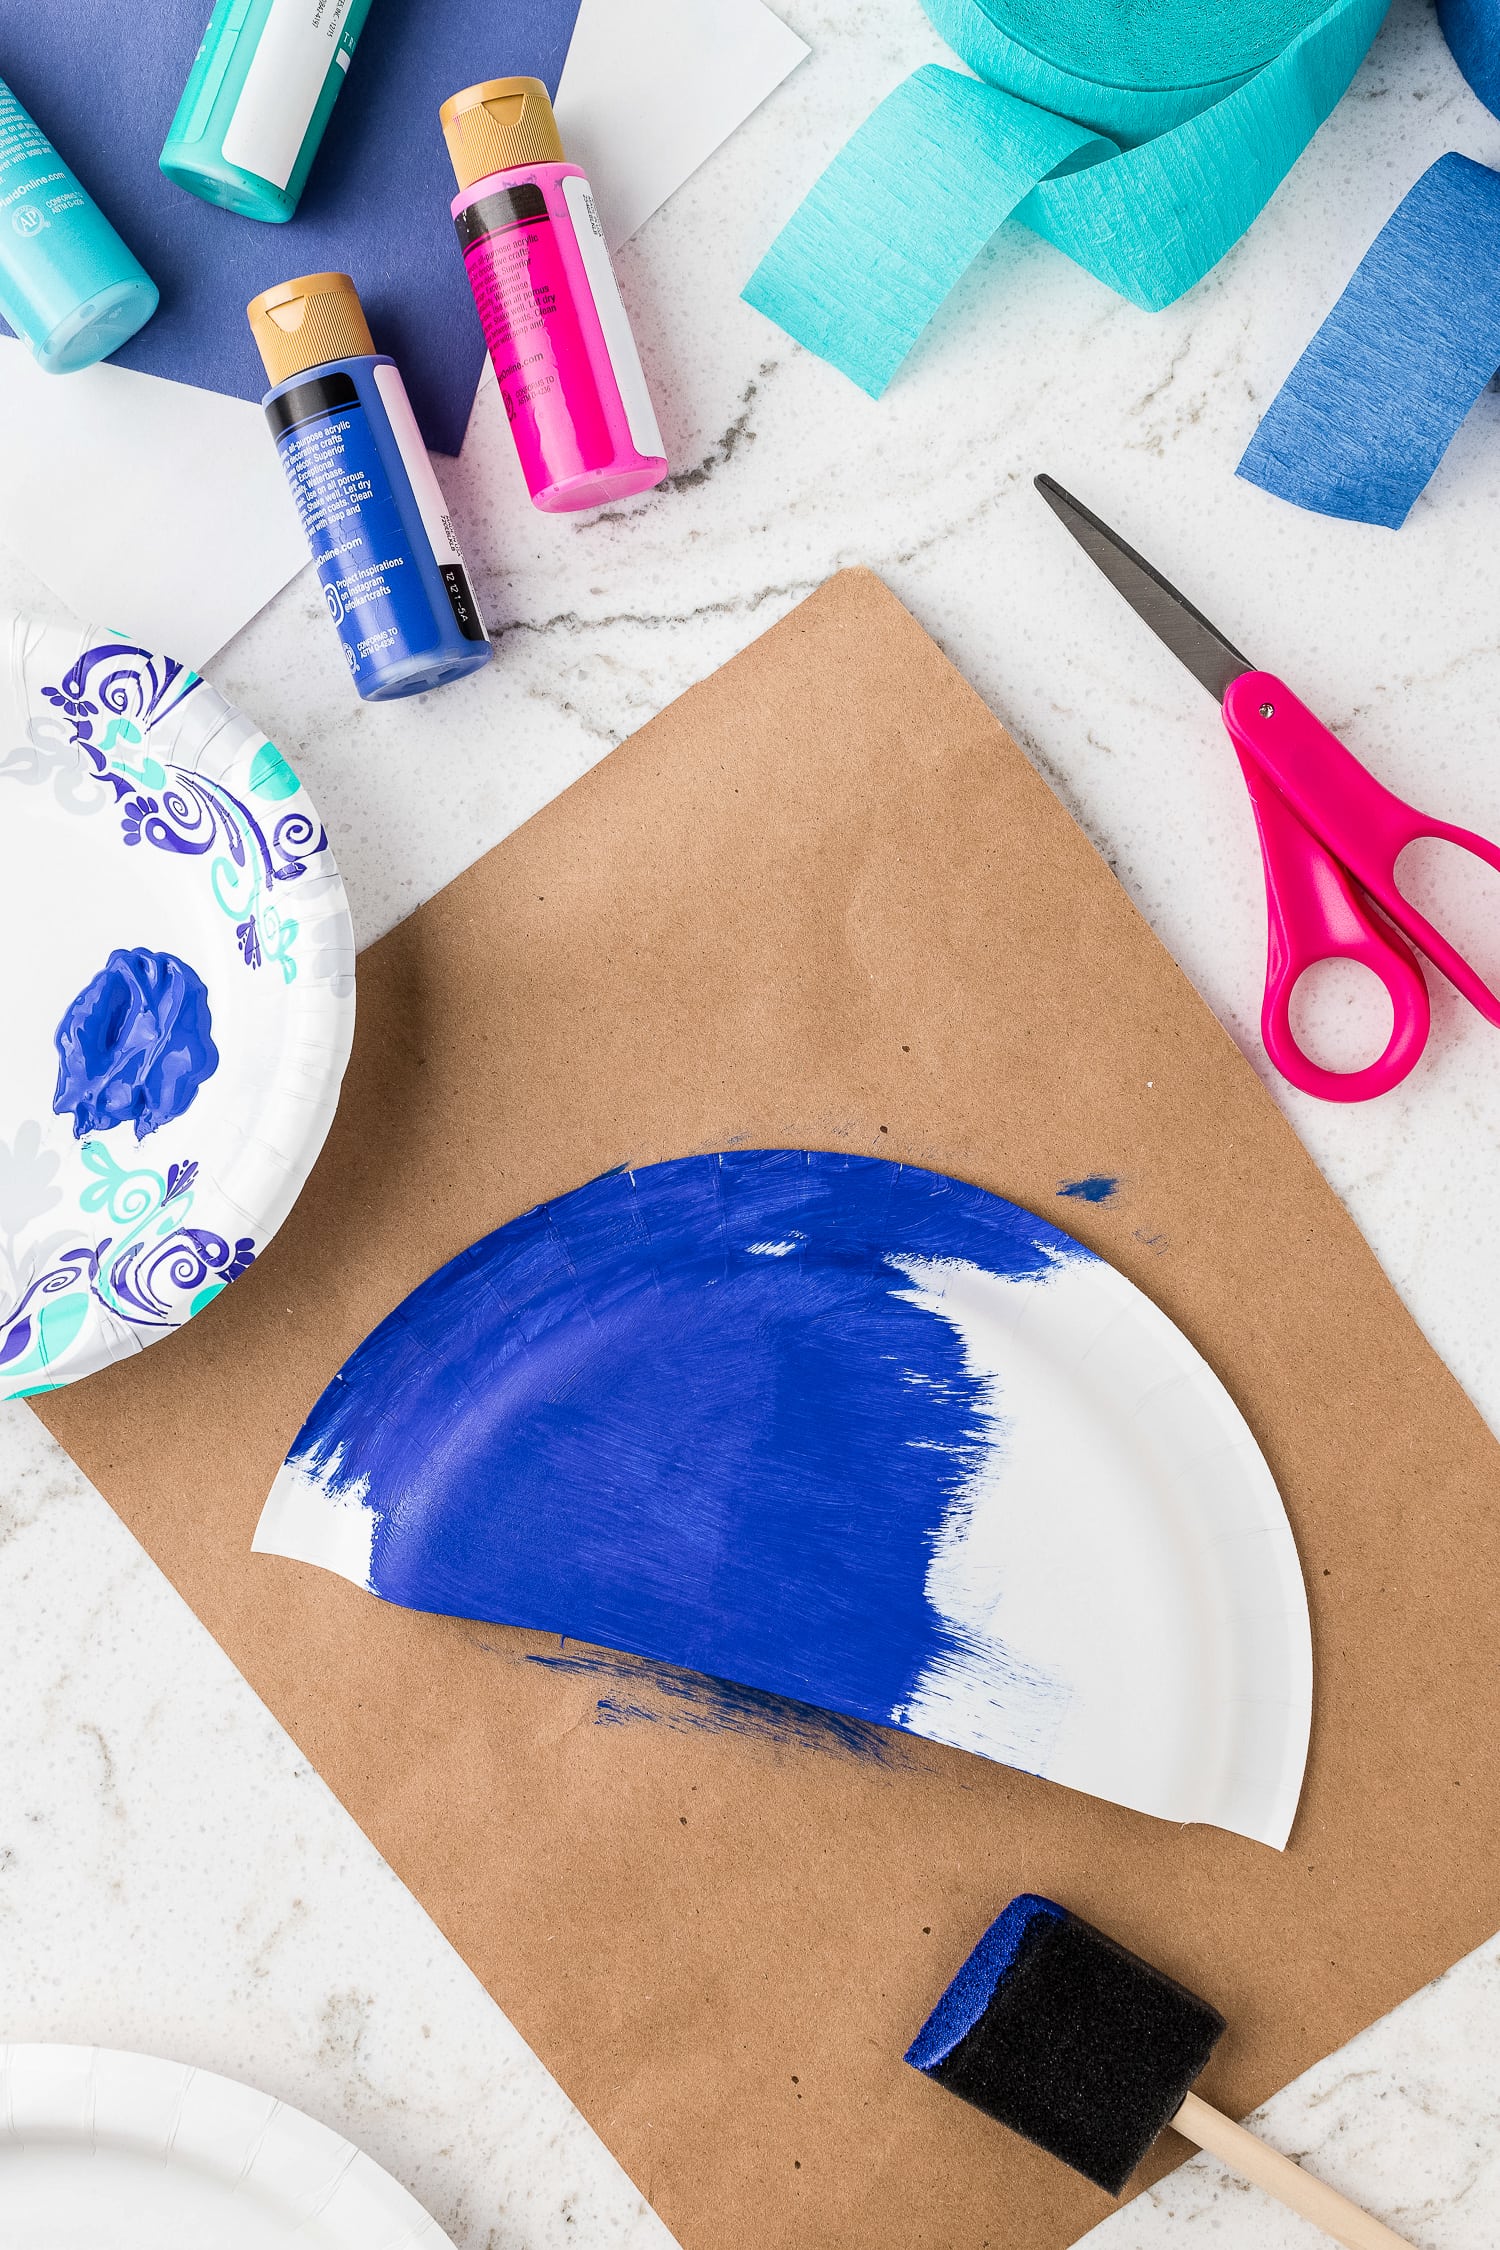
Then paint the back of each plate with your choice of craft paint. We picked blue to coordinate with our blue and aqua crepe party streamers.
Allow the plate to dry for 10 minutes.

Cut out paper eyes
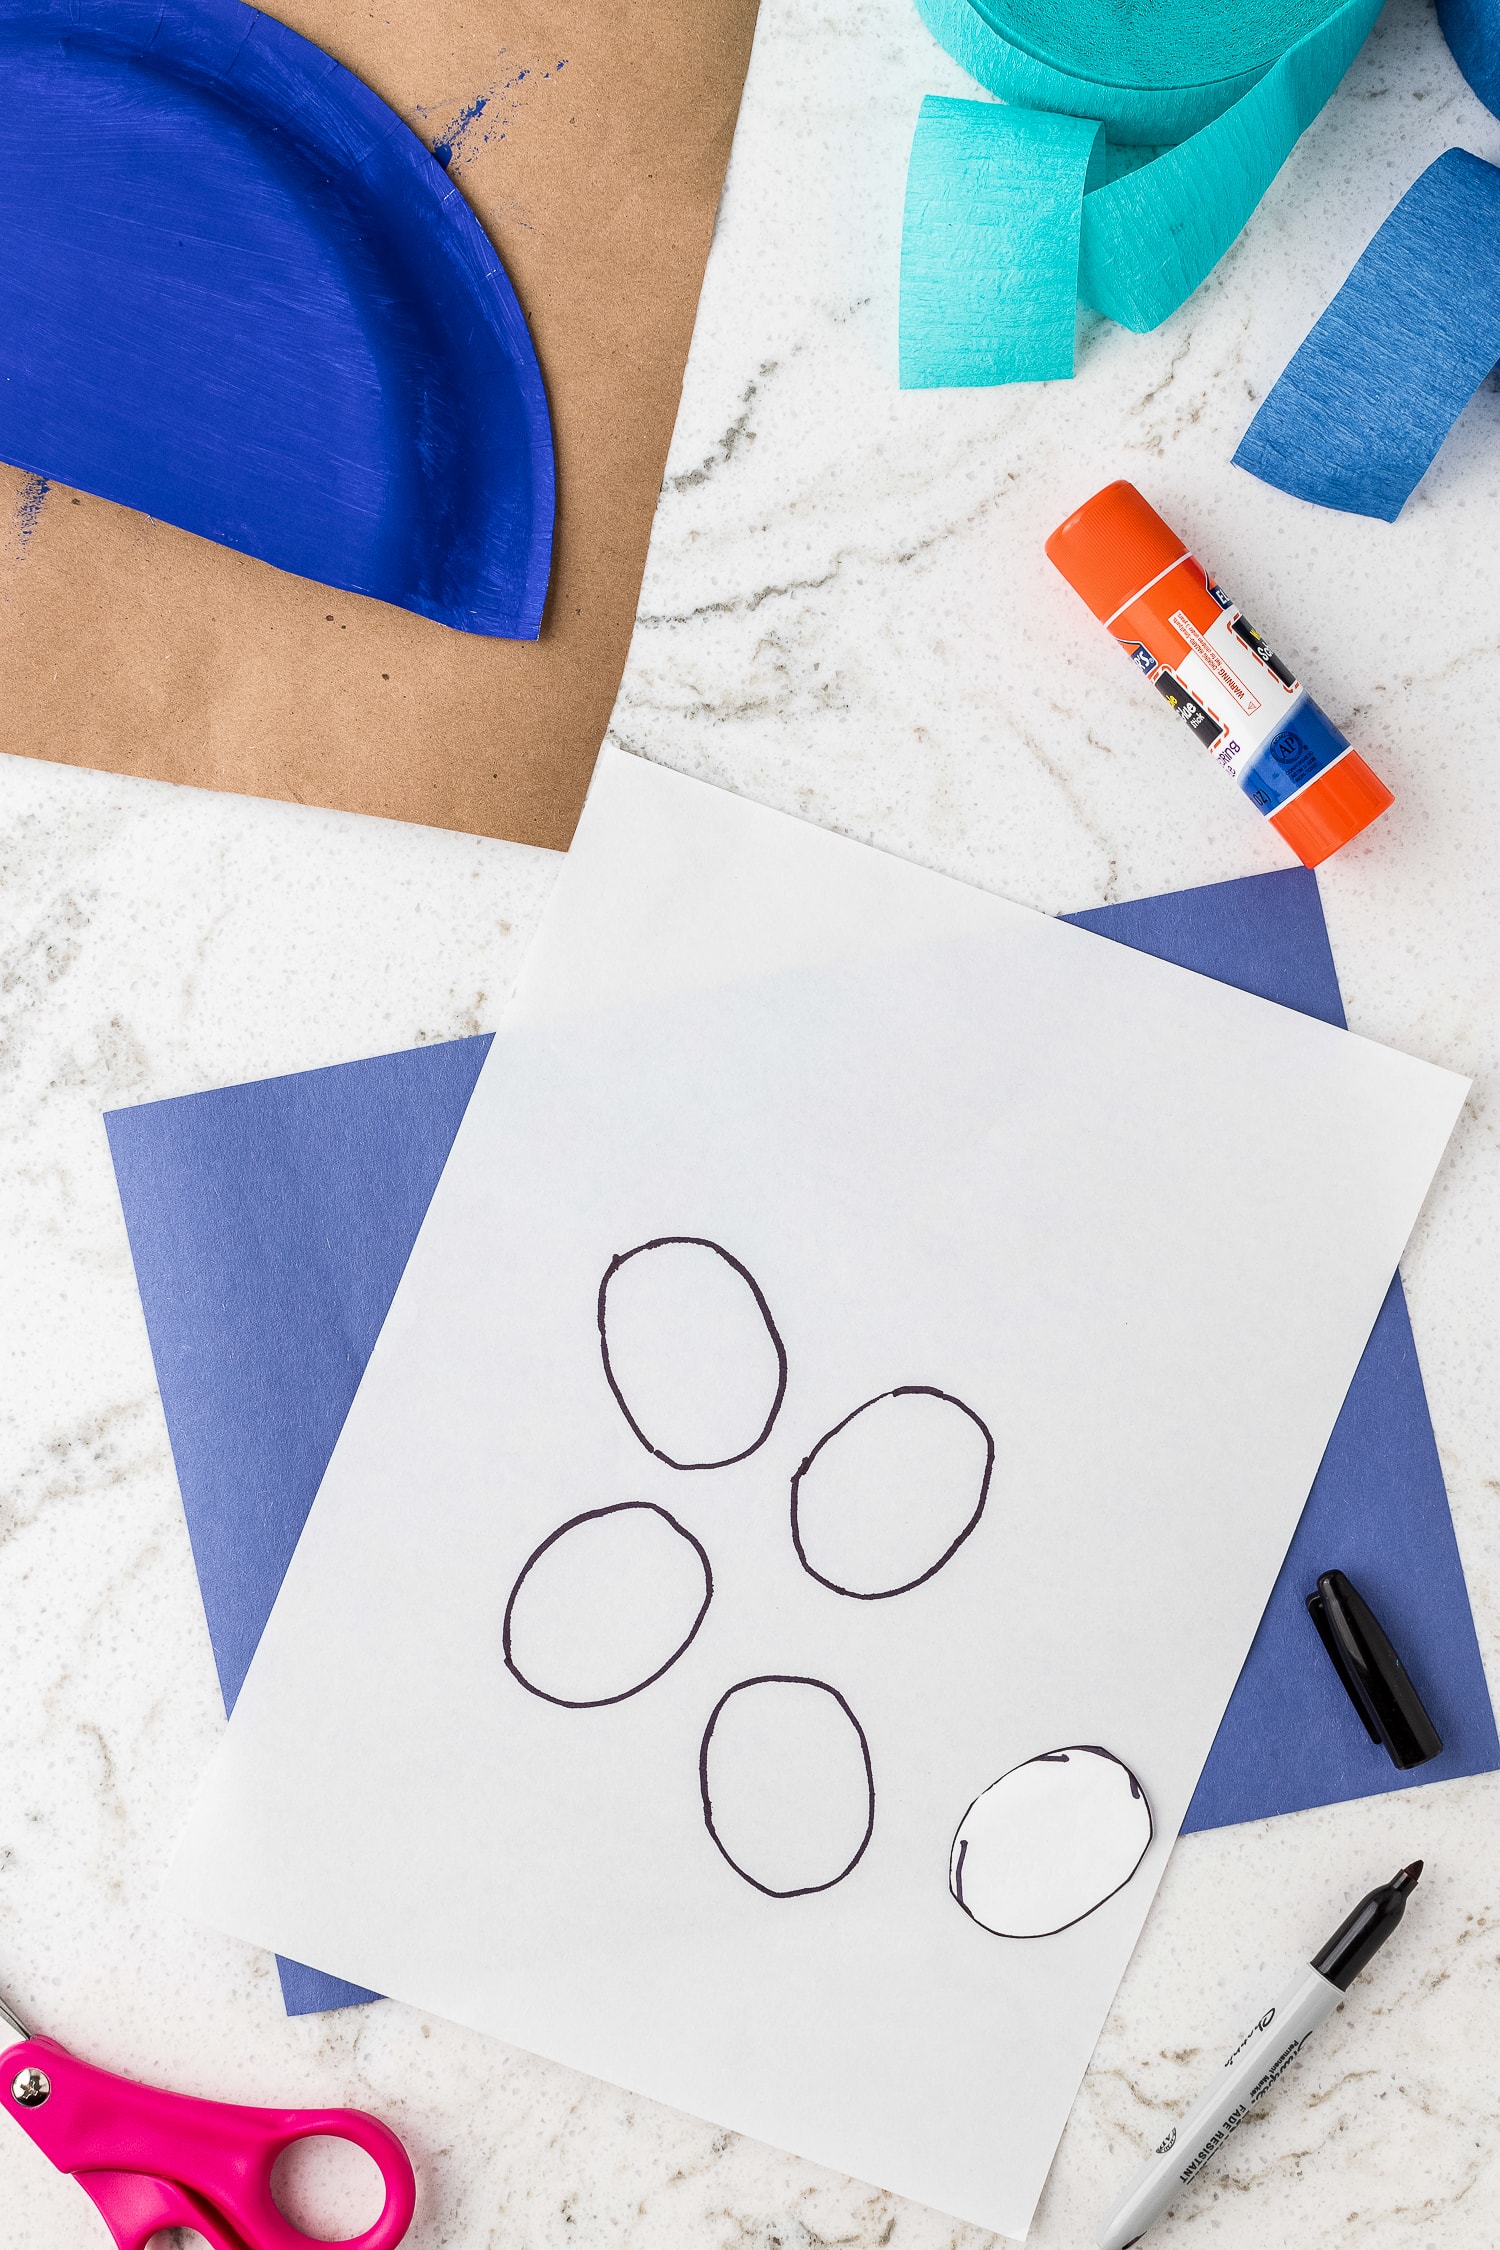
Trace a 1 ½ inch oval onto the white construction paper. Repeat this step to create 4 eyes.
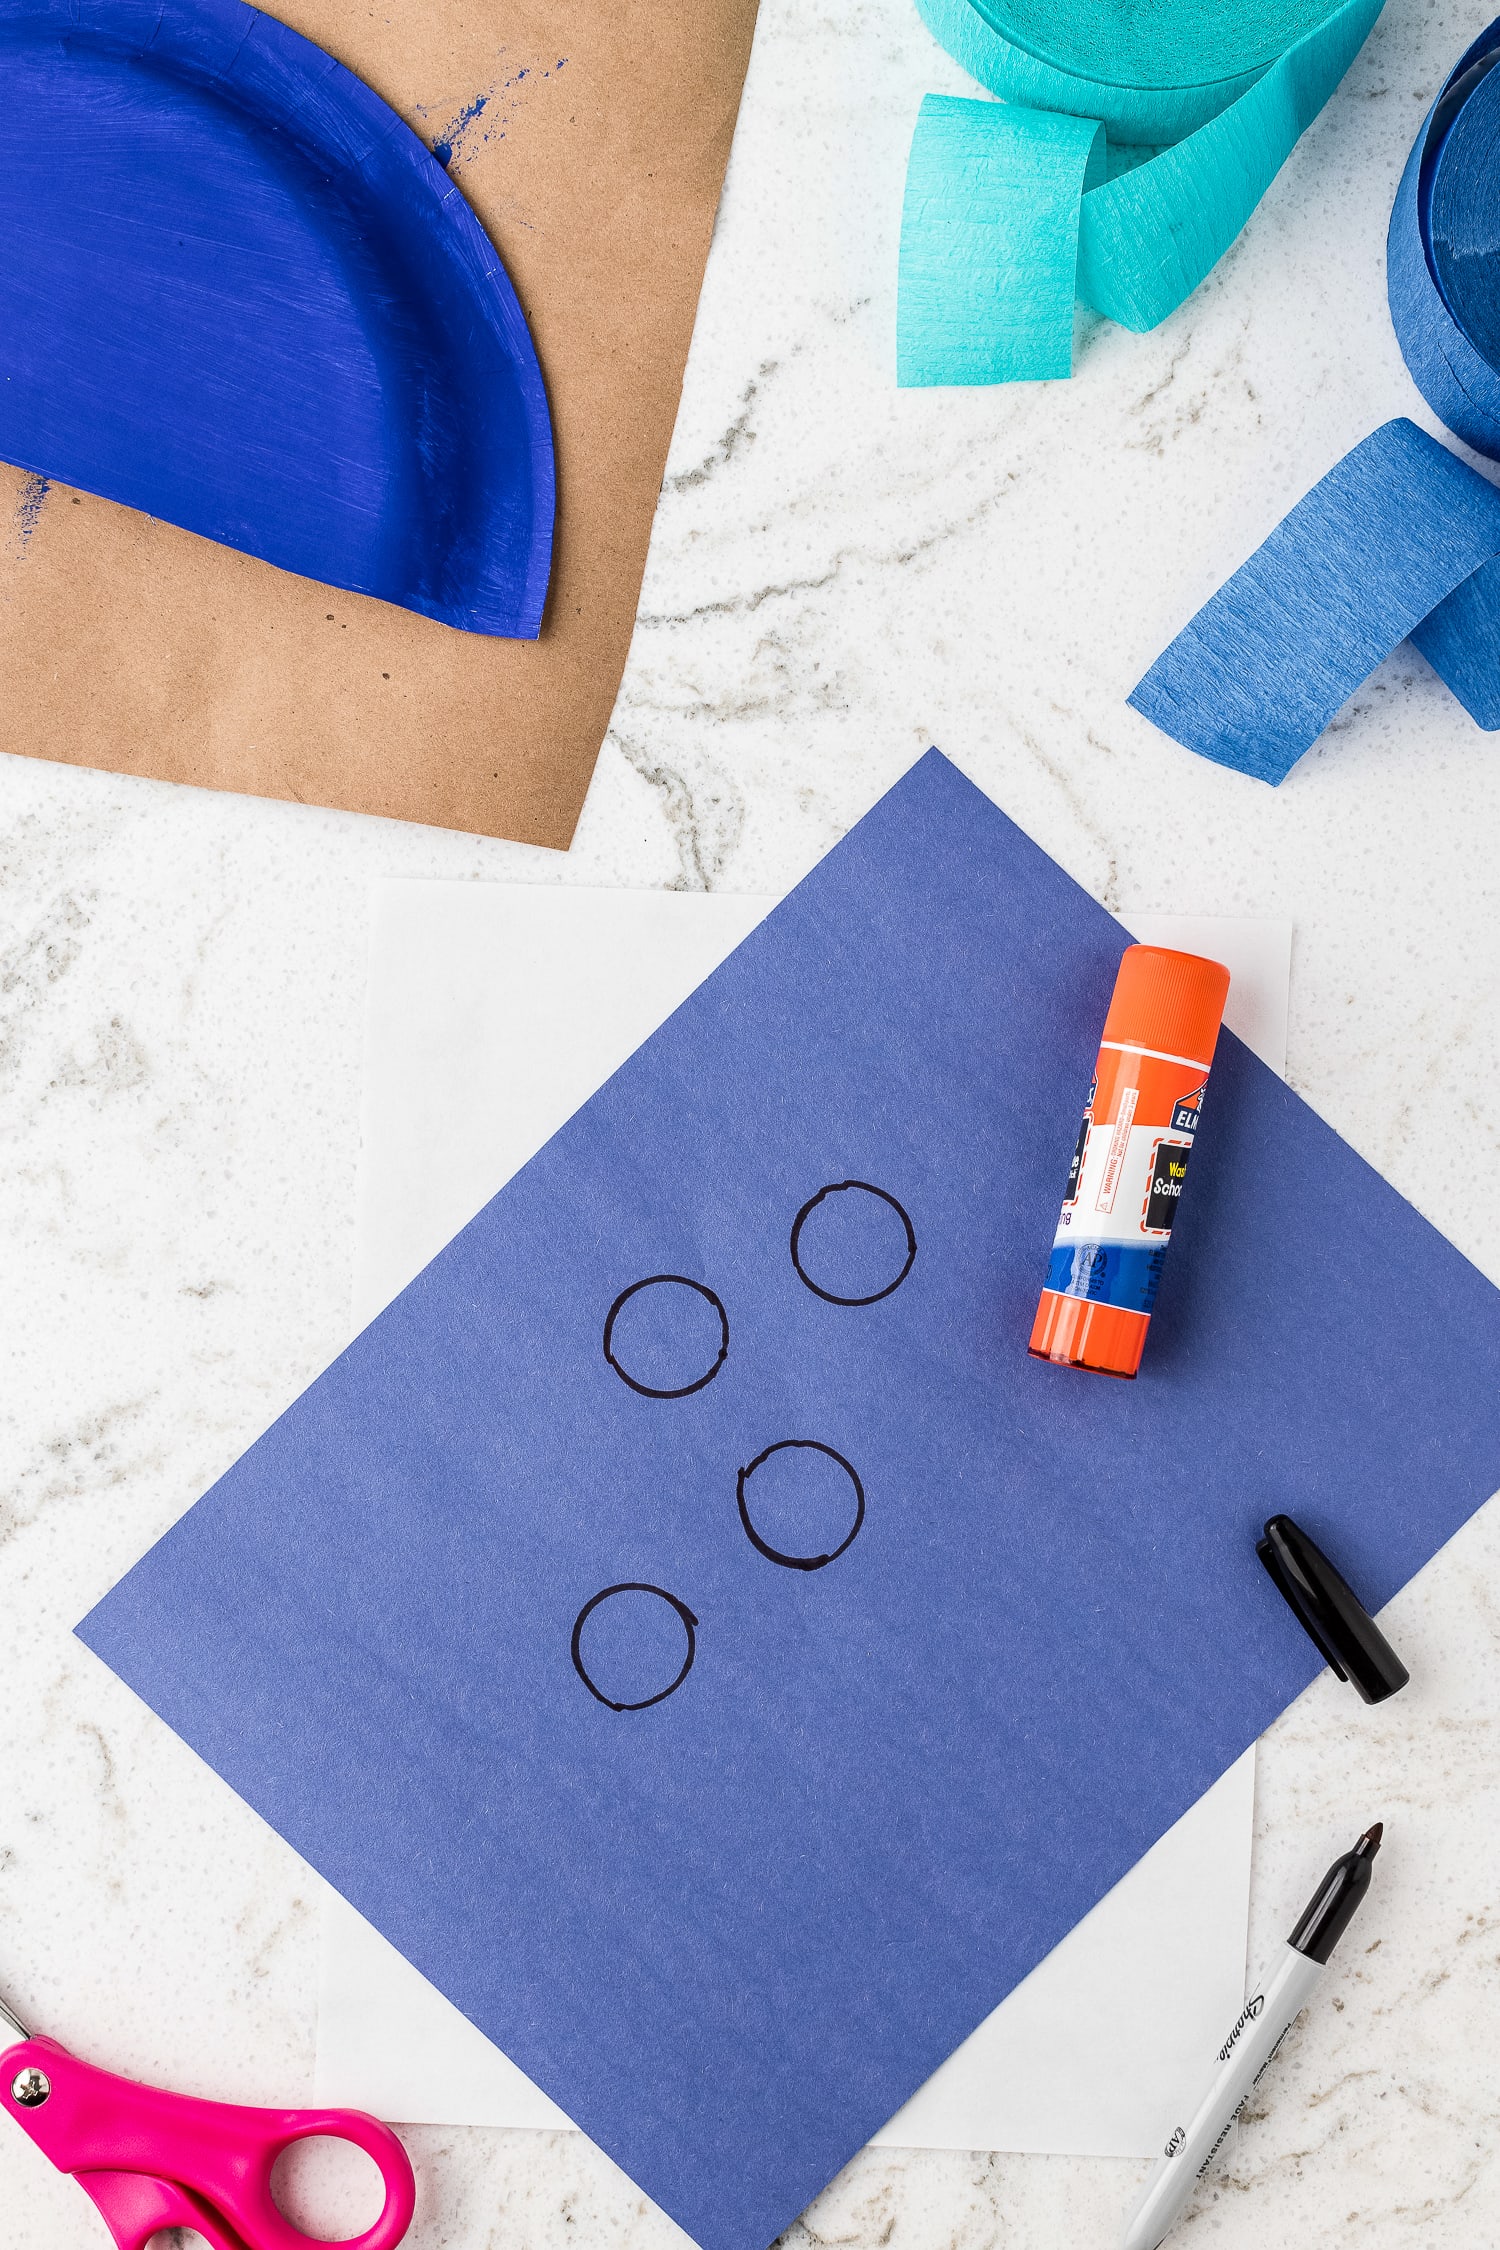
Using the bottom of the glue stick, trace 4 circles on the blue construction paper to create the pupils.
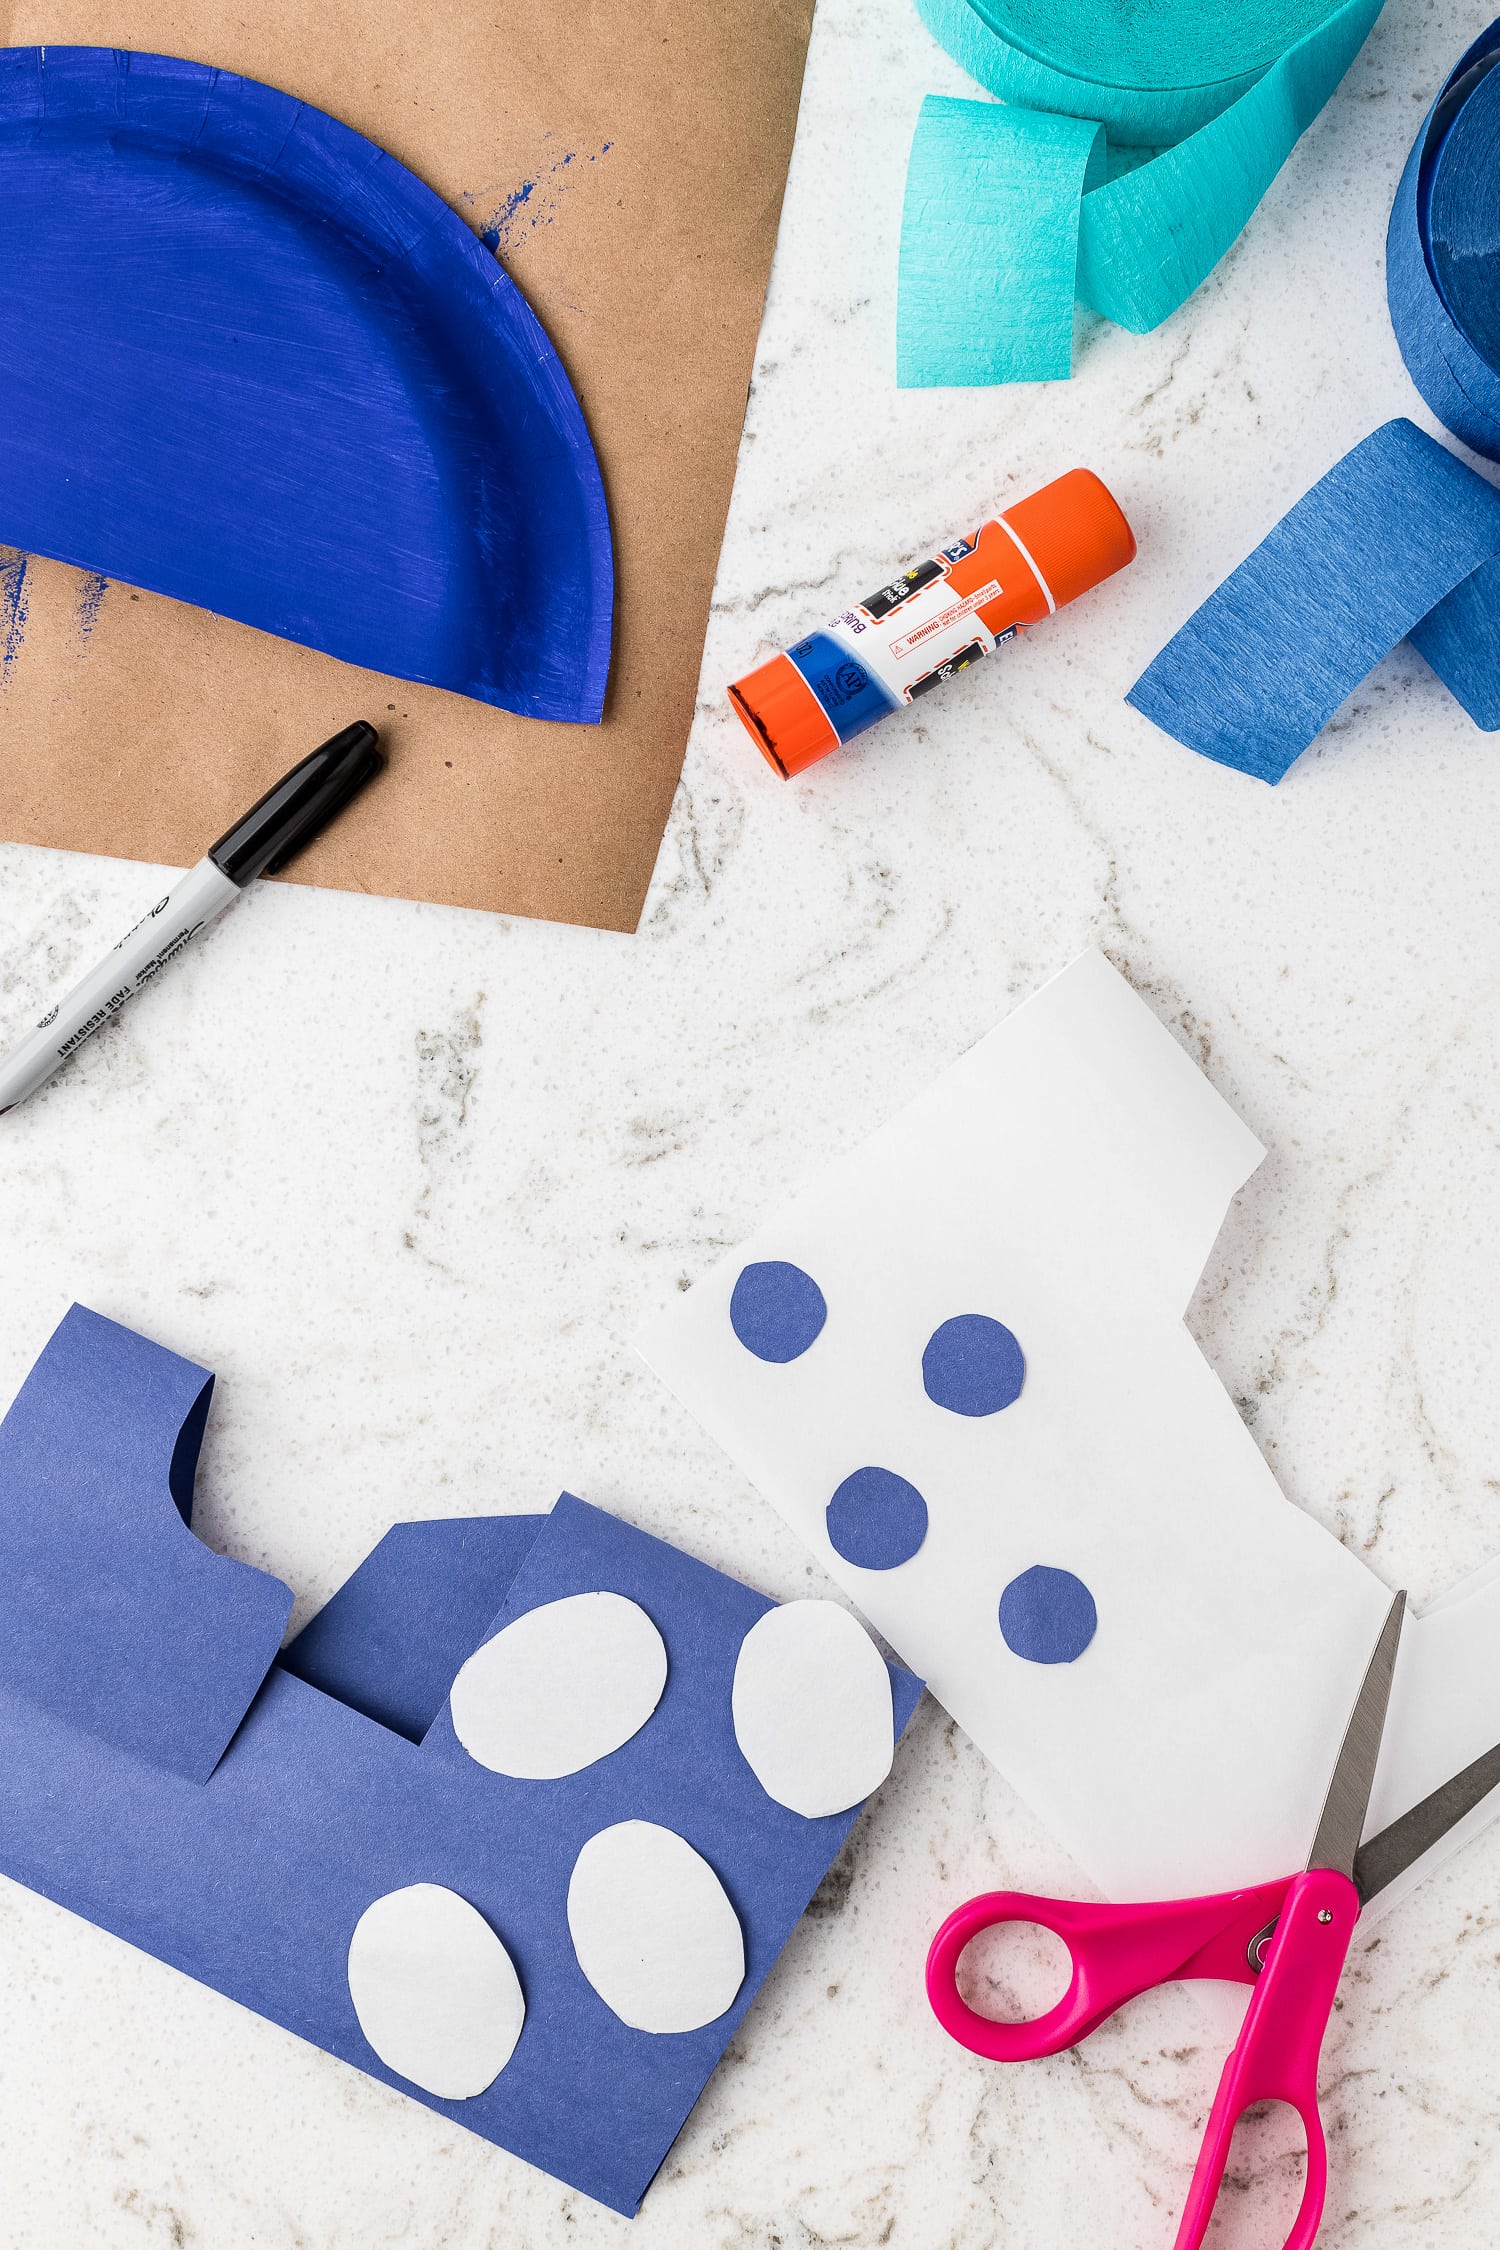
Cut all of the tracings out and set your cuttings aside.
Glue on eyes and make smile
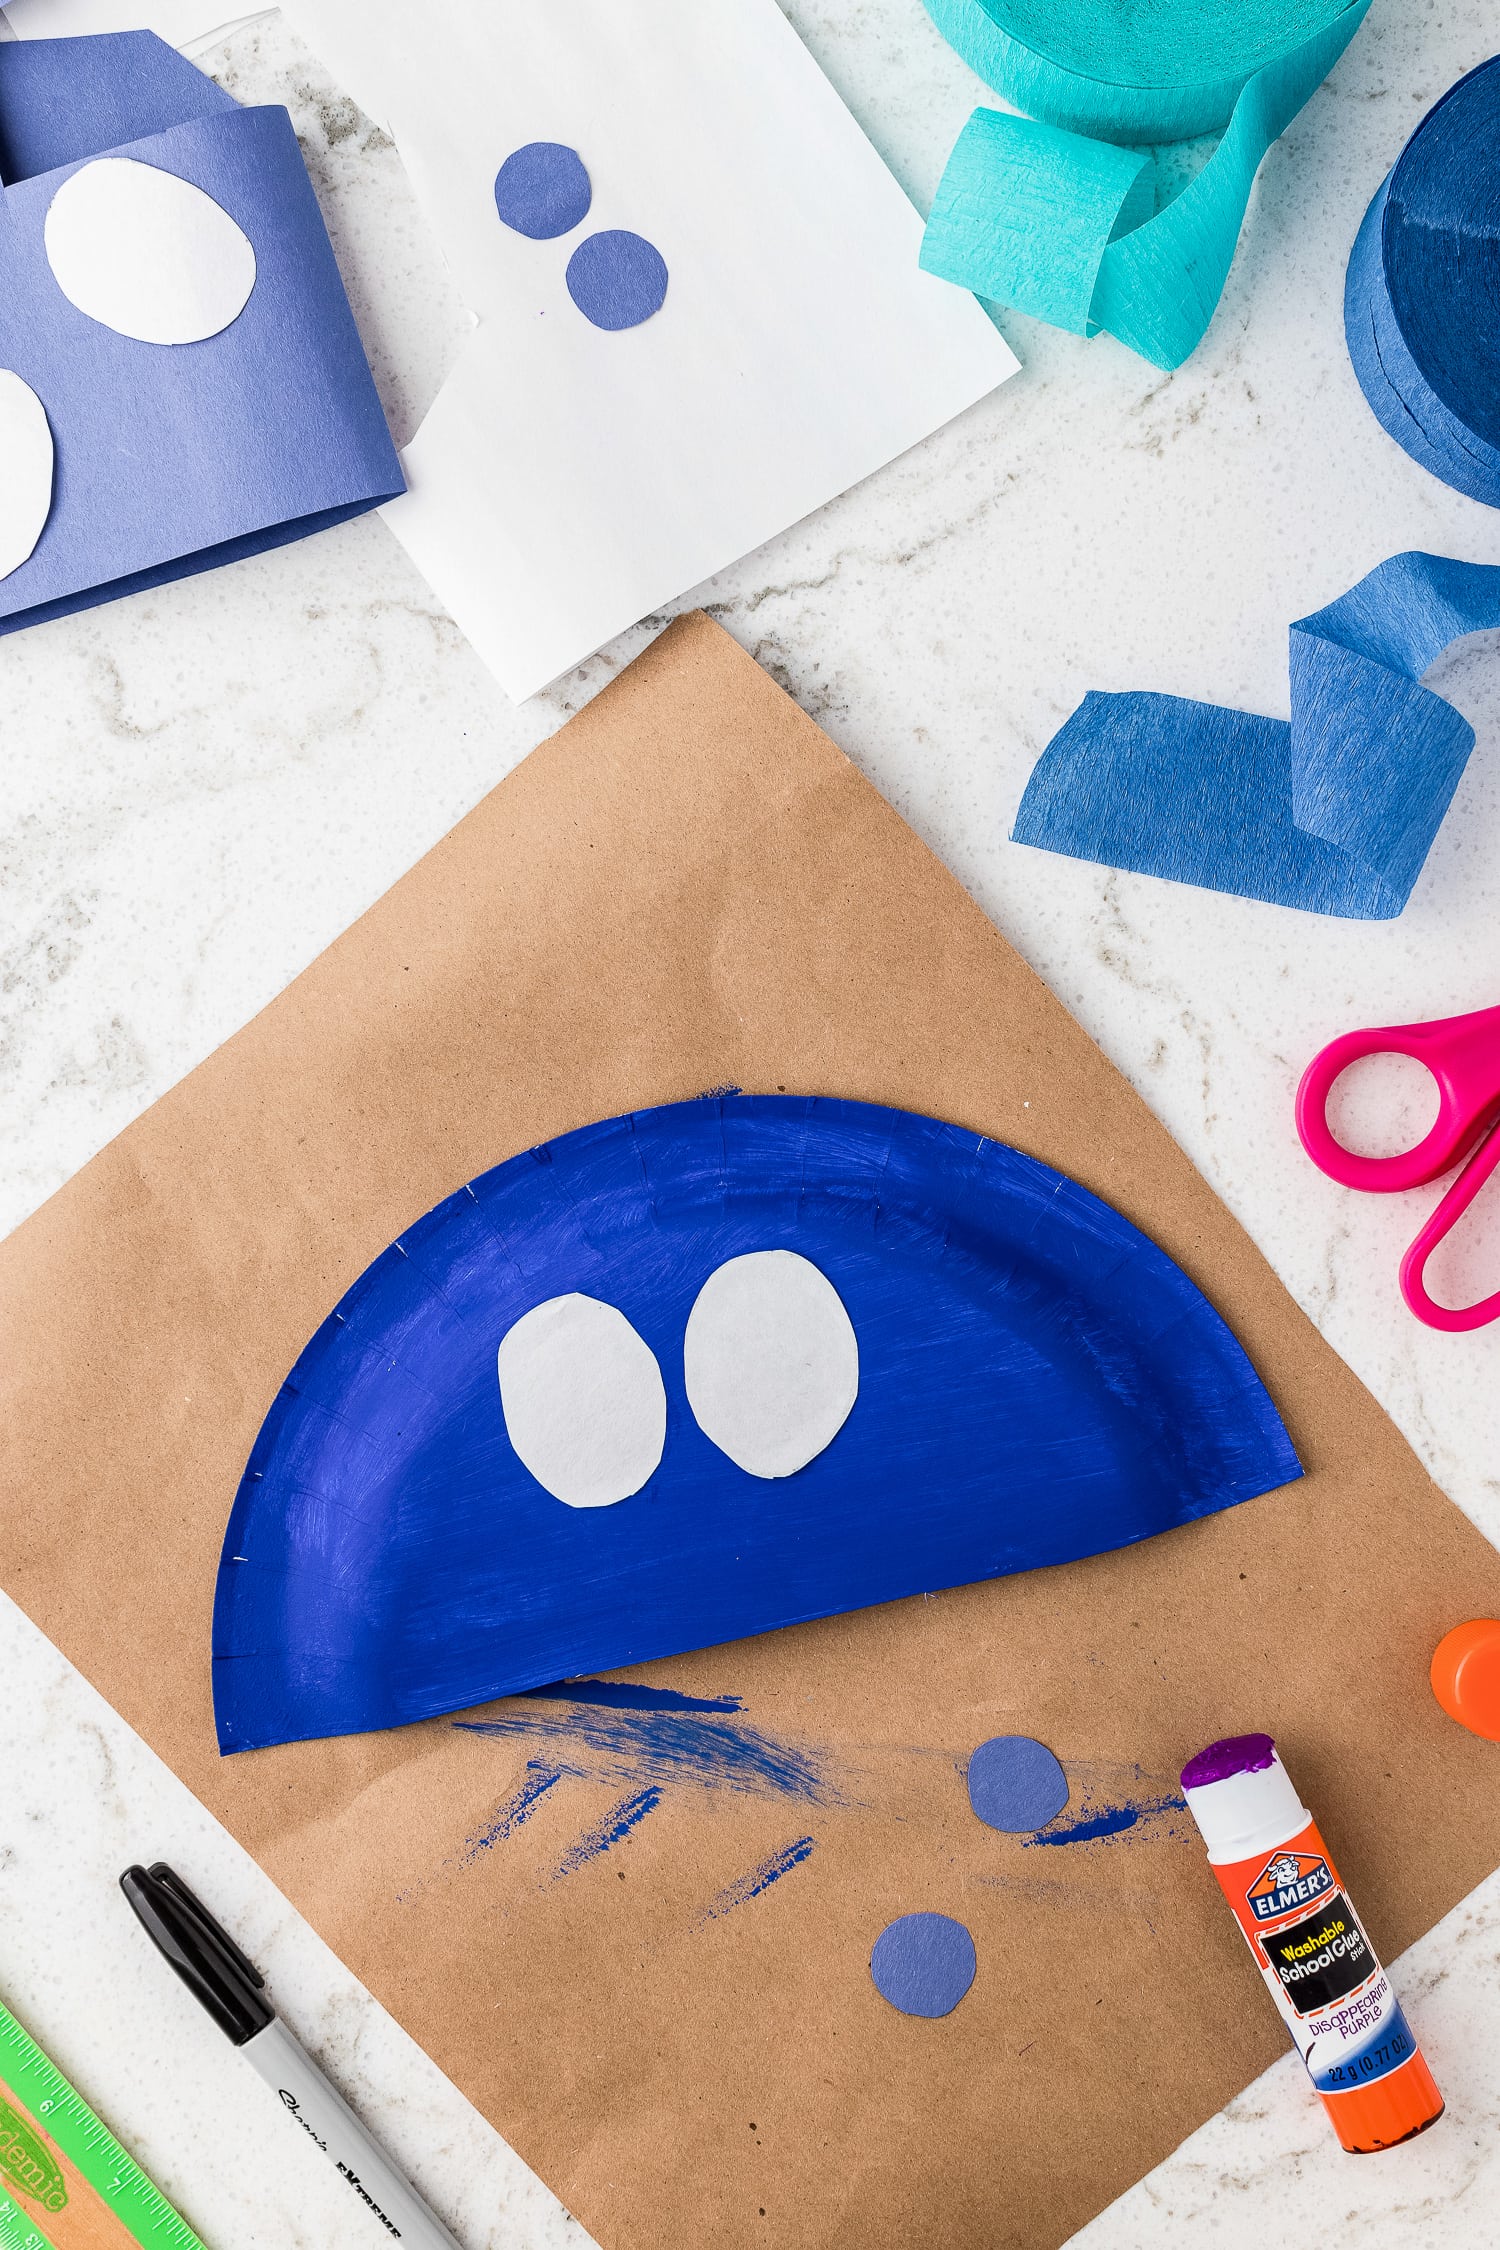
Now that the jellyfish are dry, let’s assemble them!
Start by using a glue stick to adhere your precut white ovals to the center of your jellyfish for the eyes. Glue the precut blue pupils to the white ovals to complete the eyes.
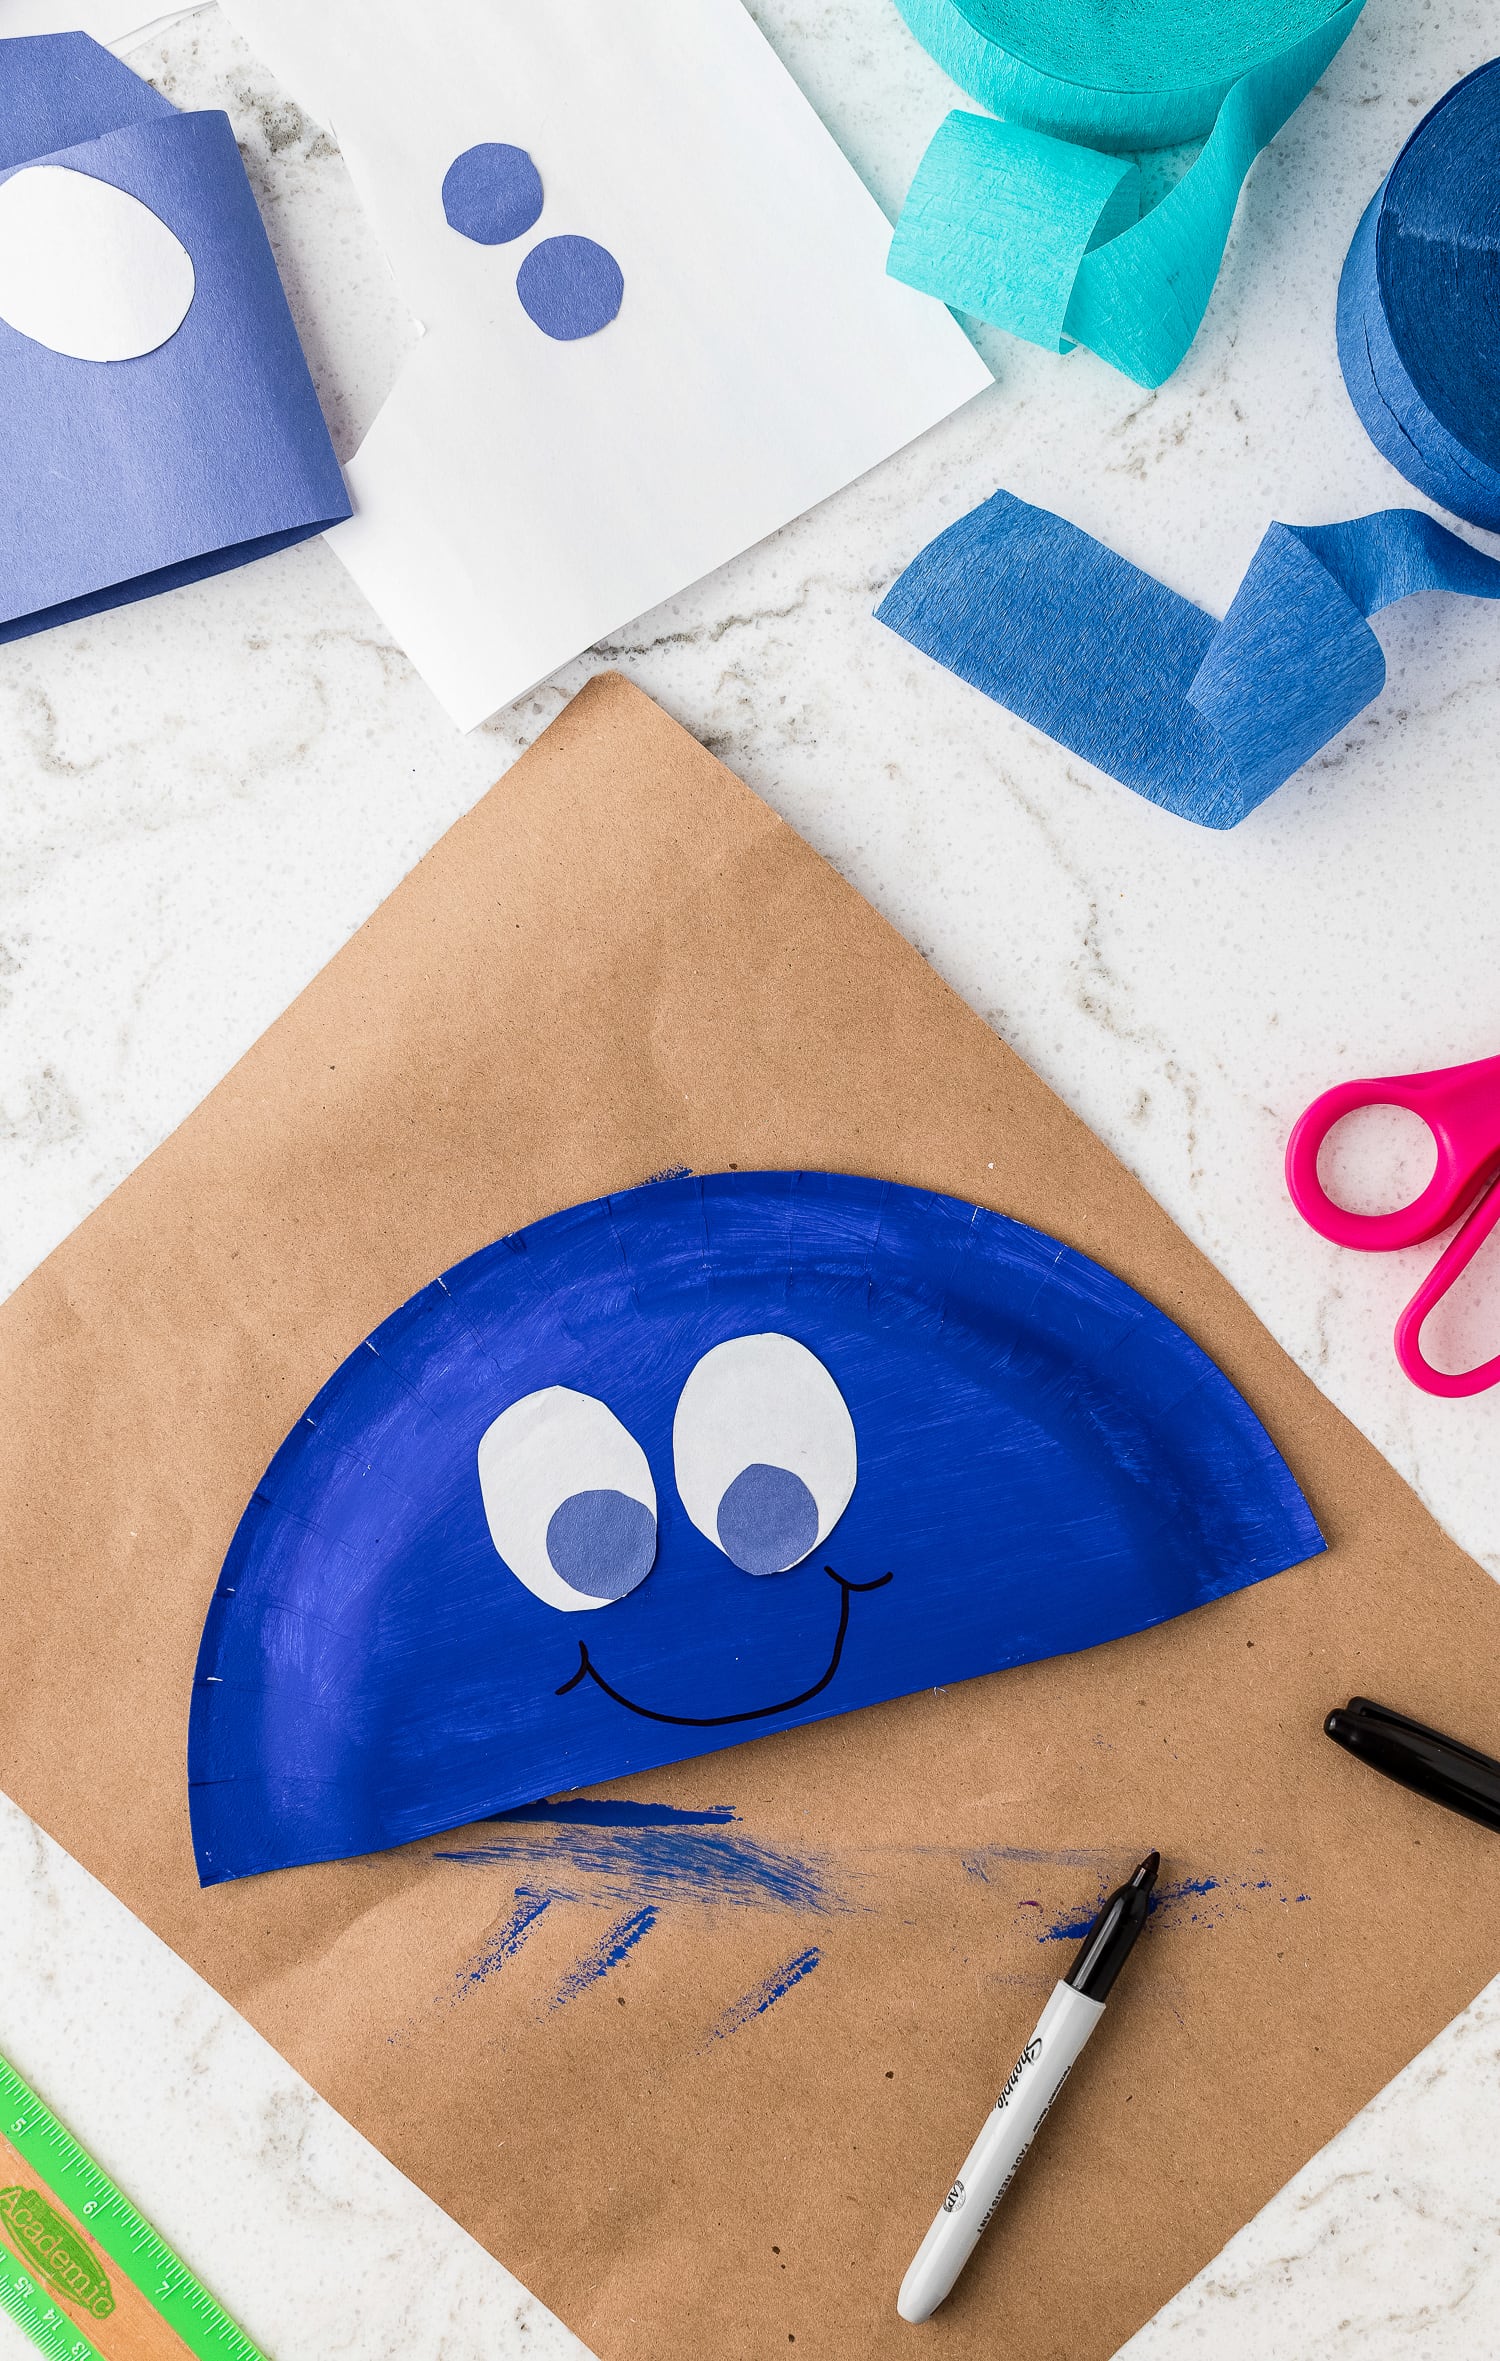
Next, take a black marker and add a jellyfish smile!
Create Tentacles
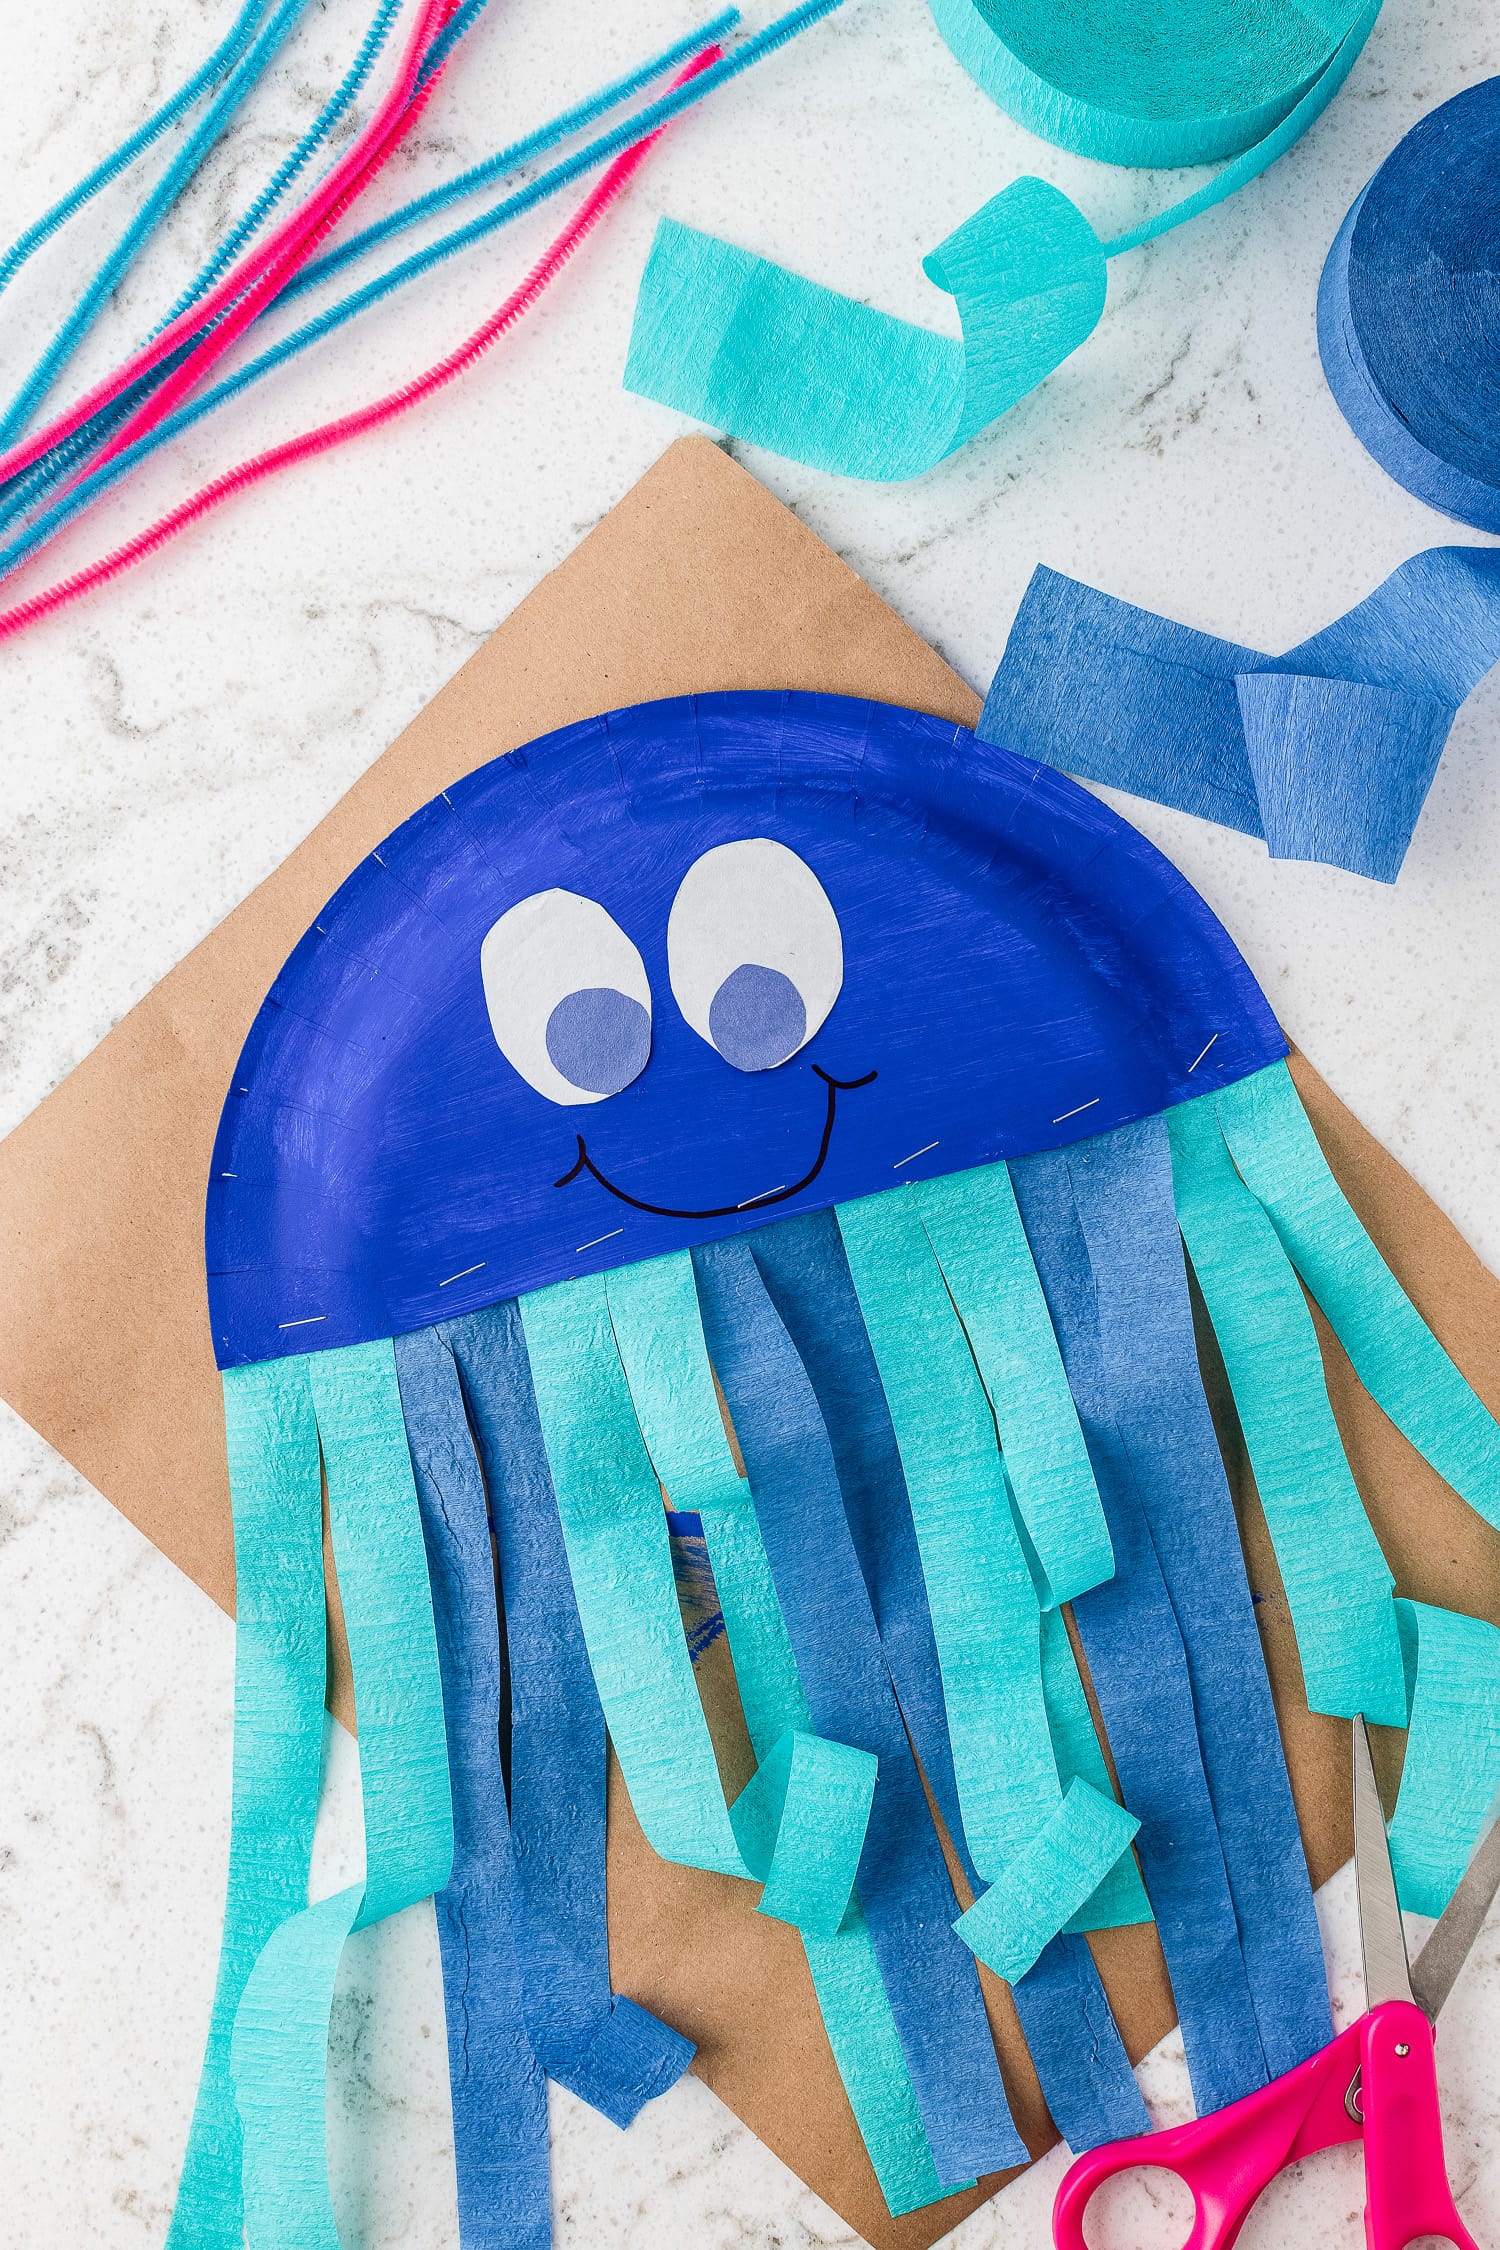
For the tentacles, we will use crepe paper streamers.
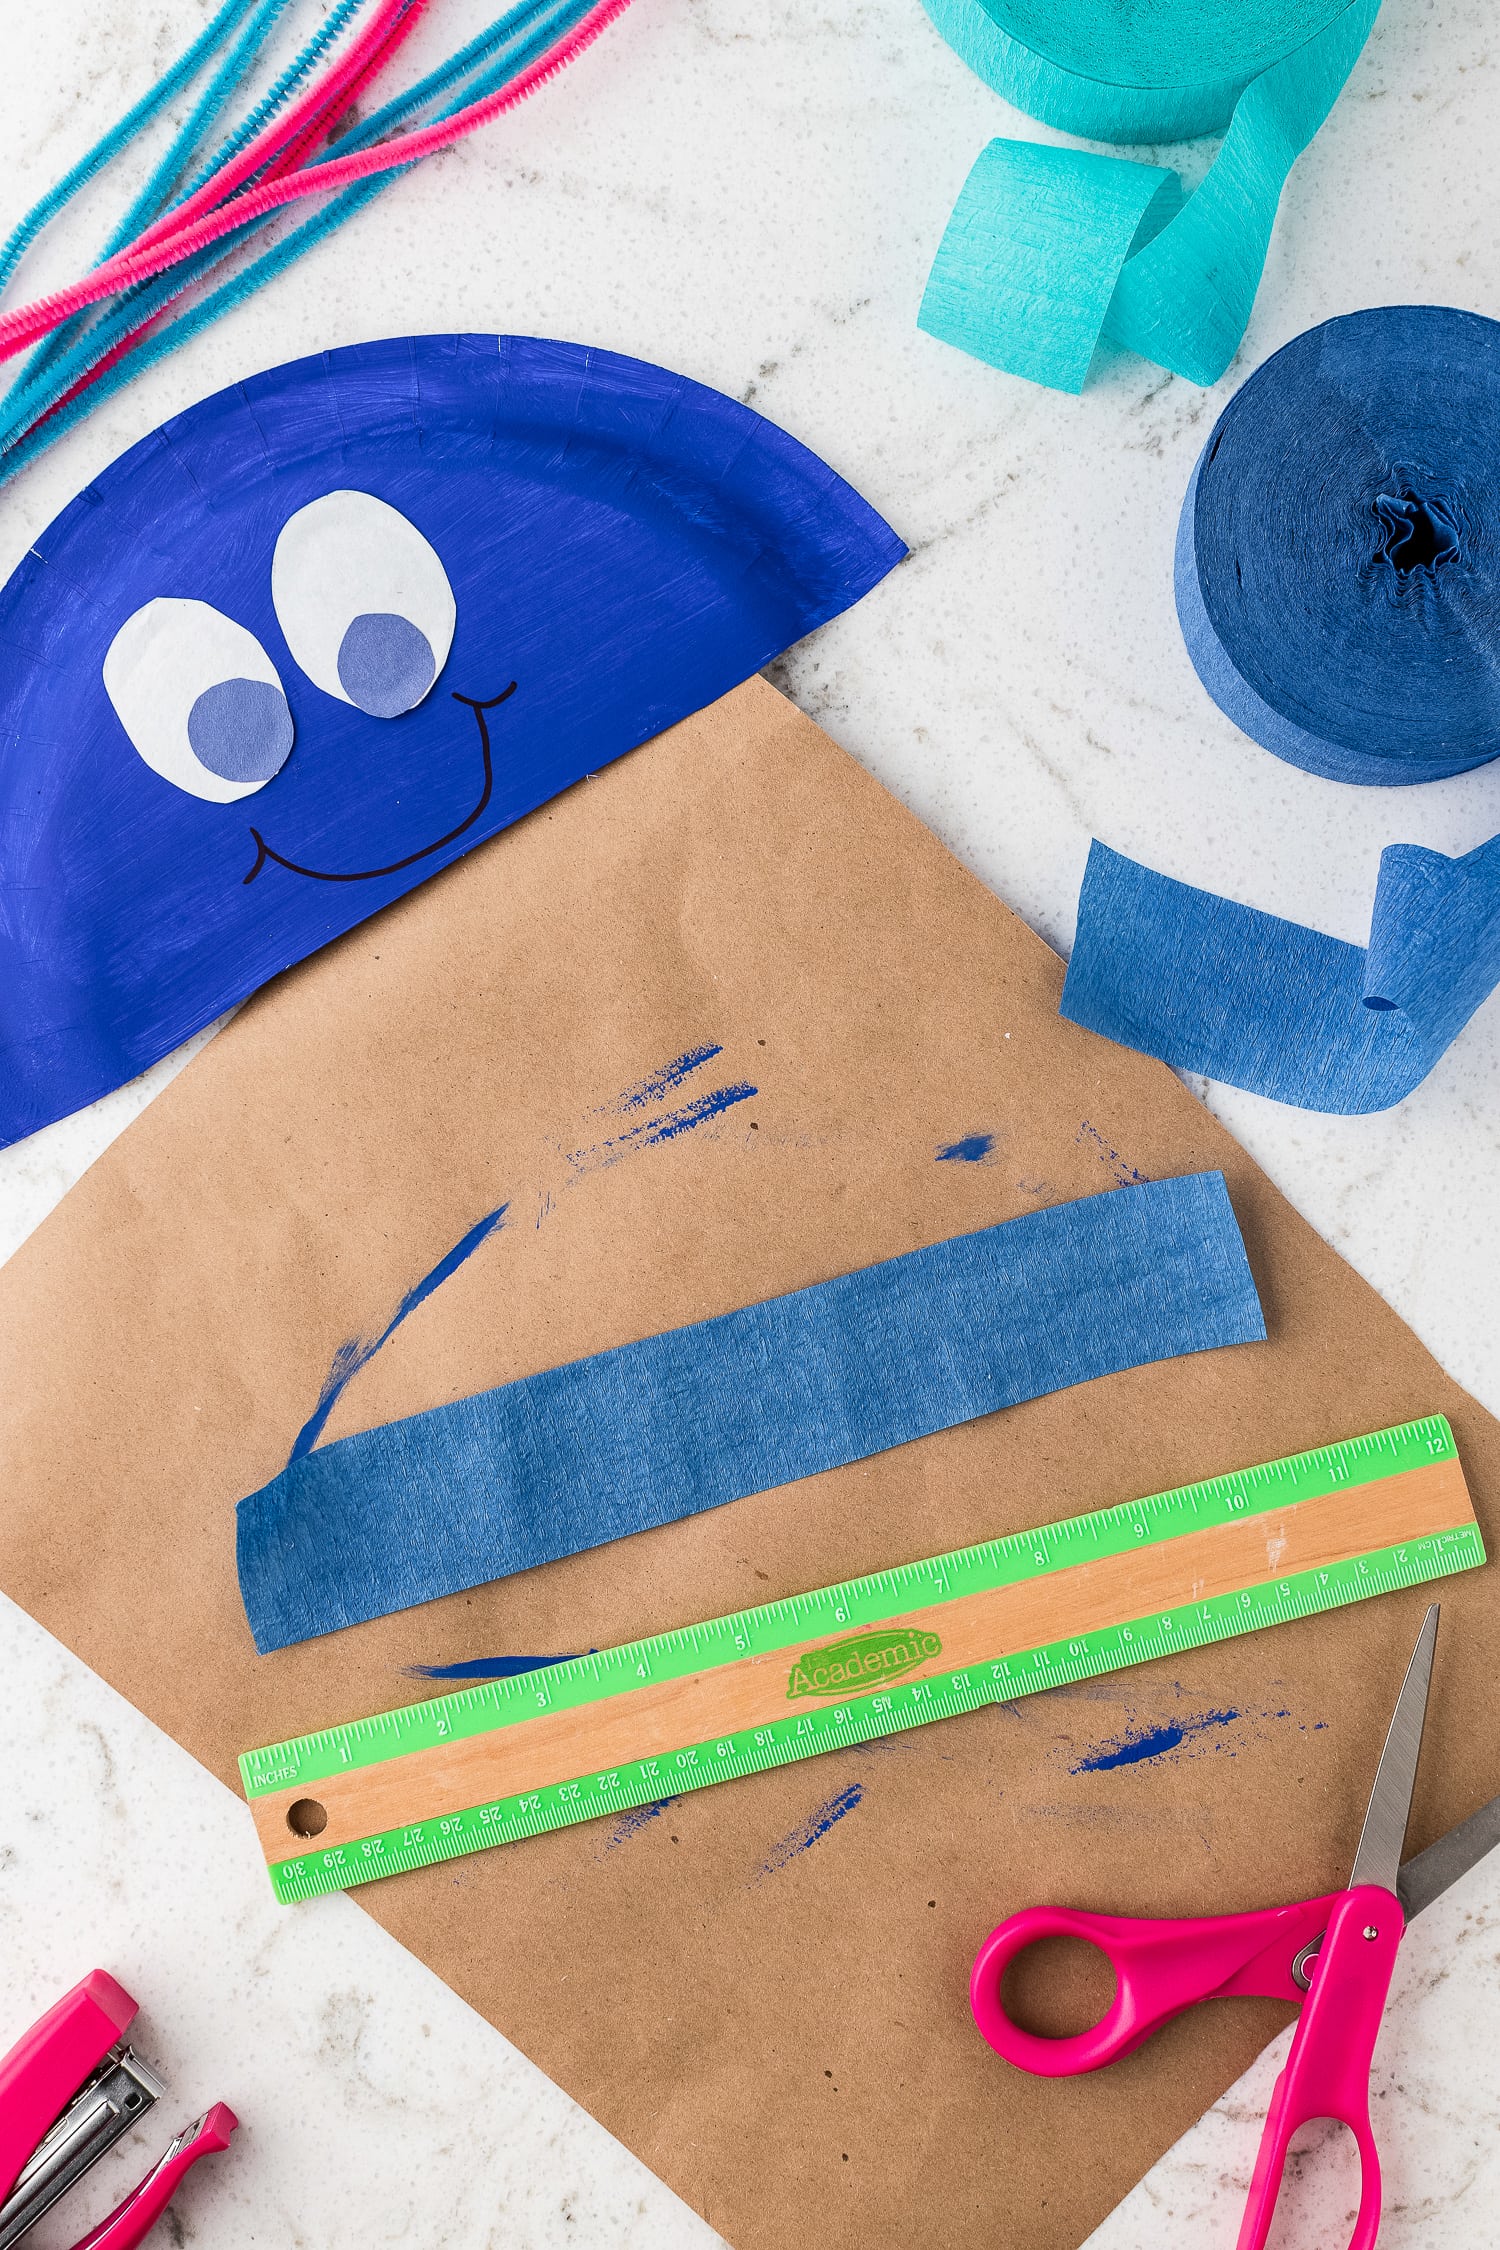
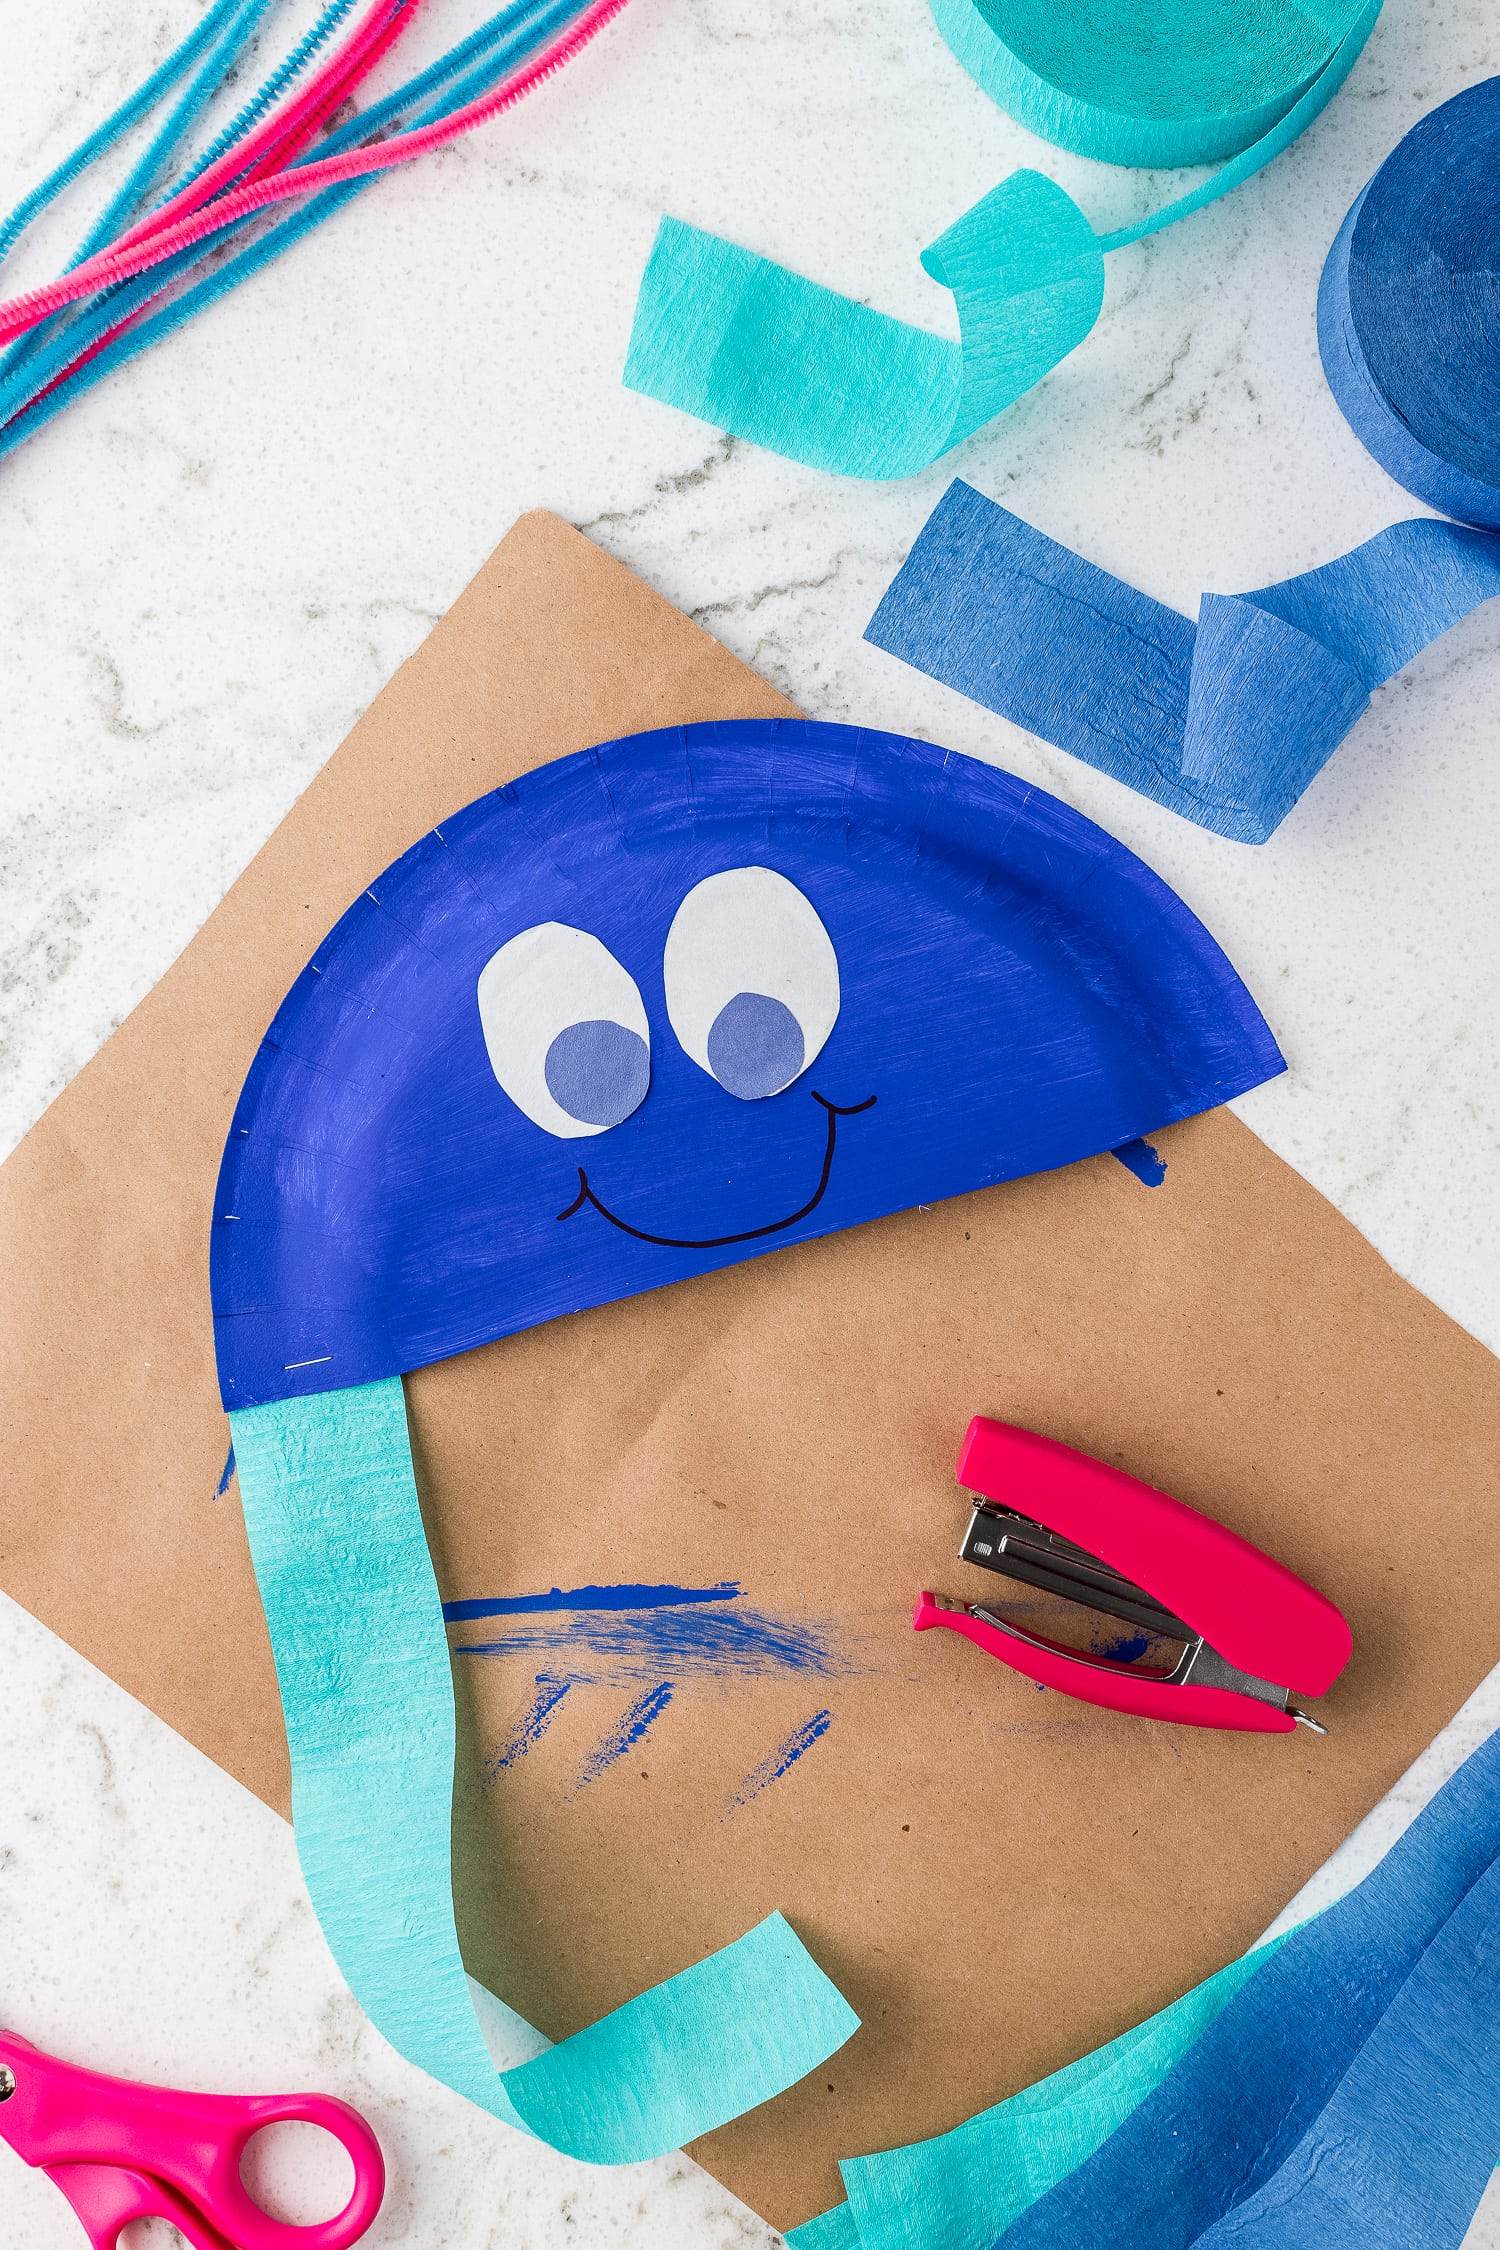
Cut the streamers into seven strips 10 inches in length, and attach them horizontally across the bottom of the plate with a stapler.
Once the streamers are secure, cut each one up the center to create movement.

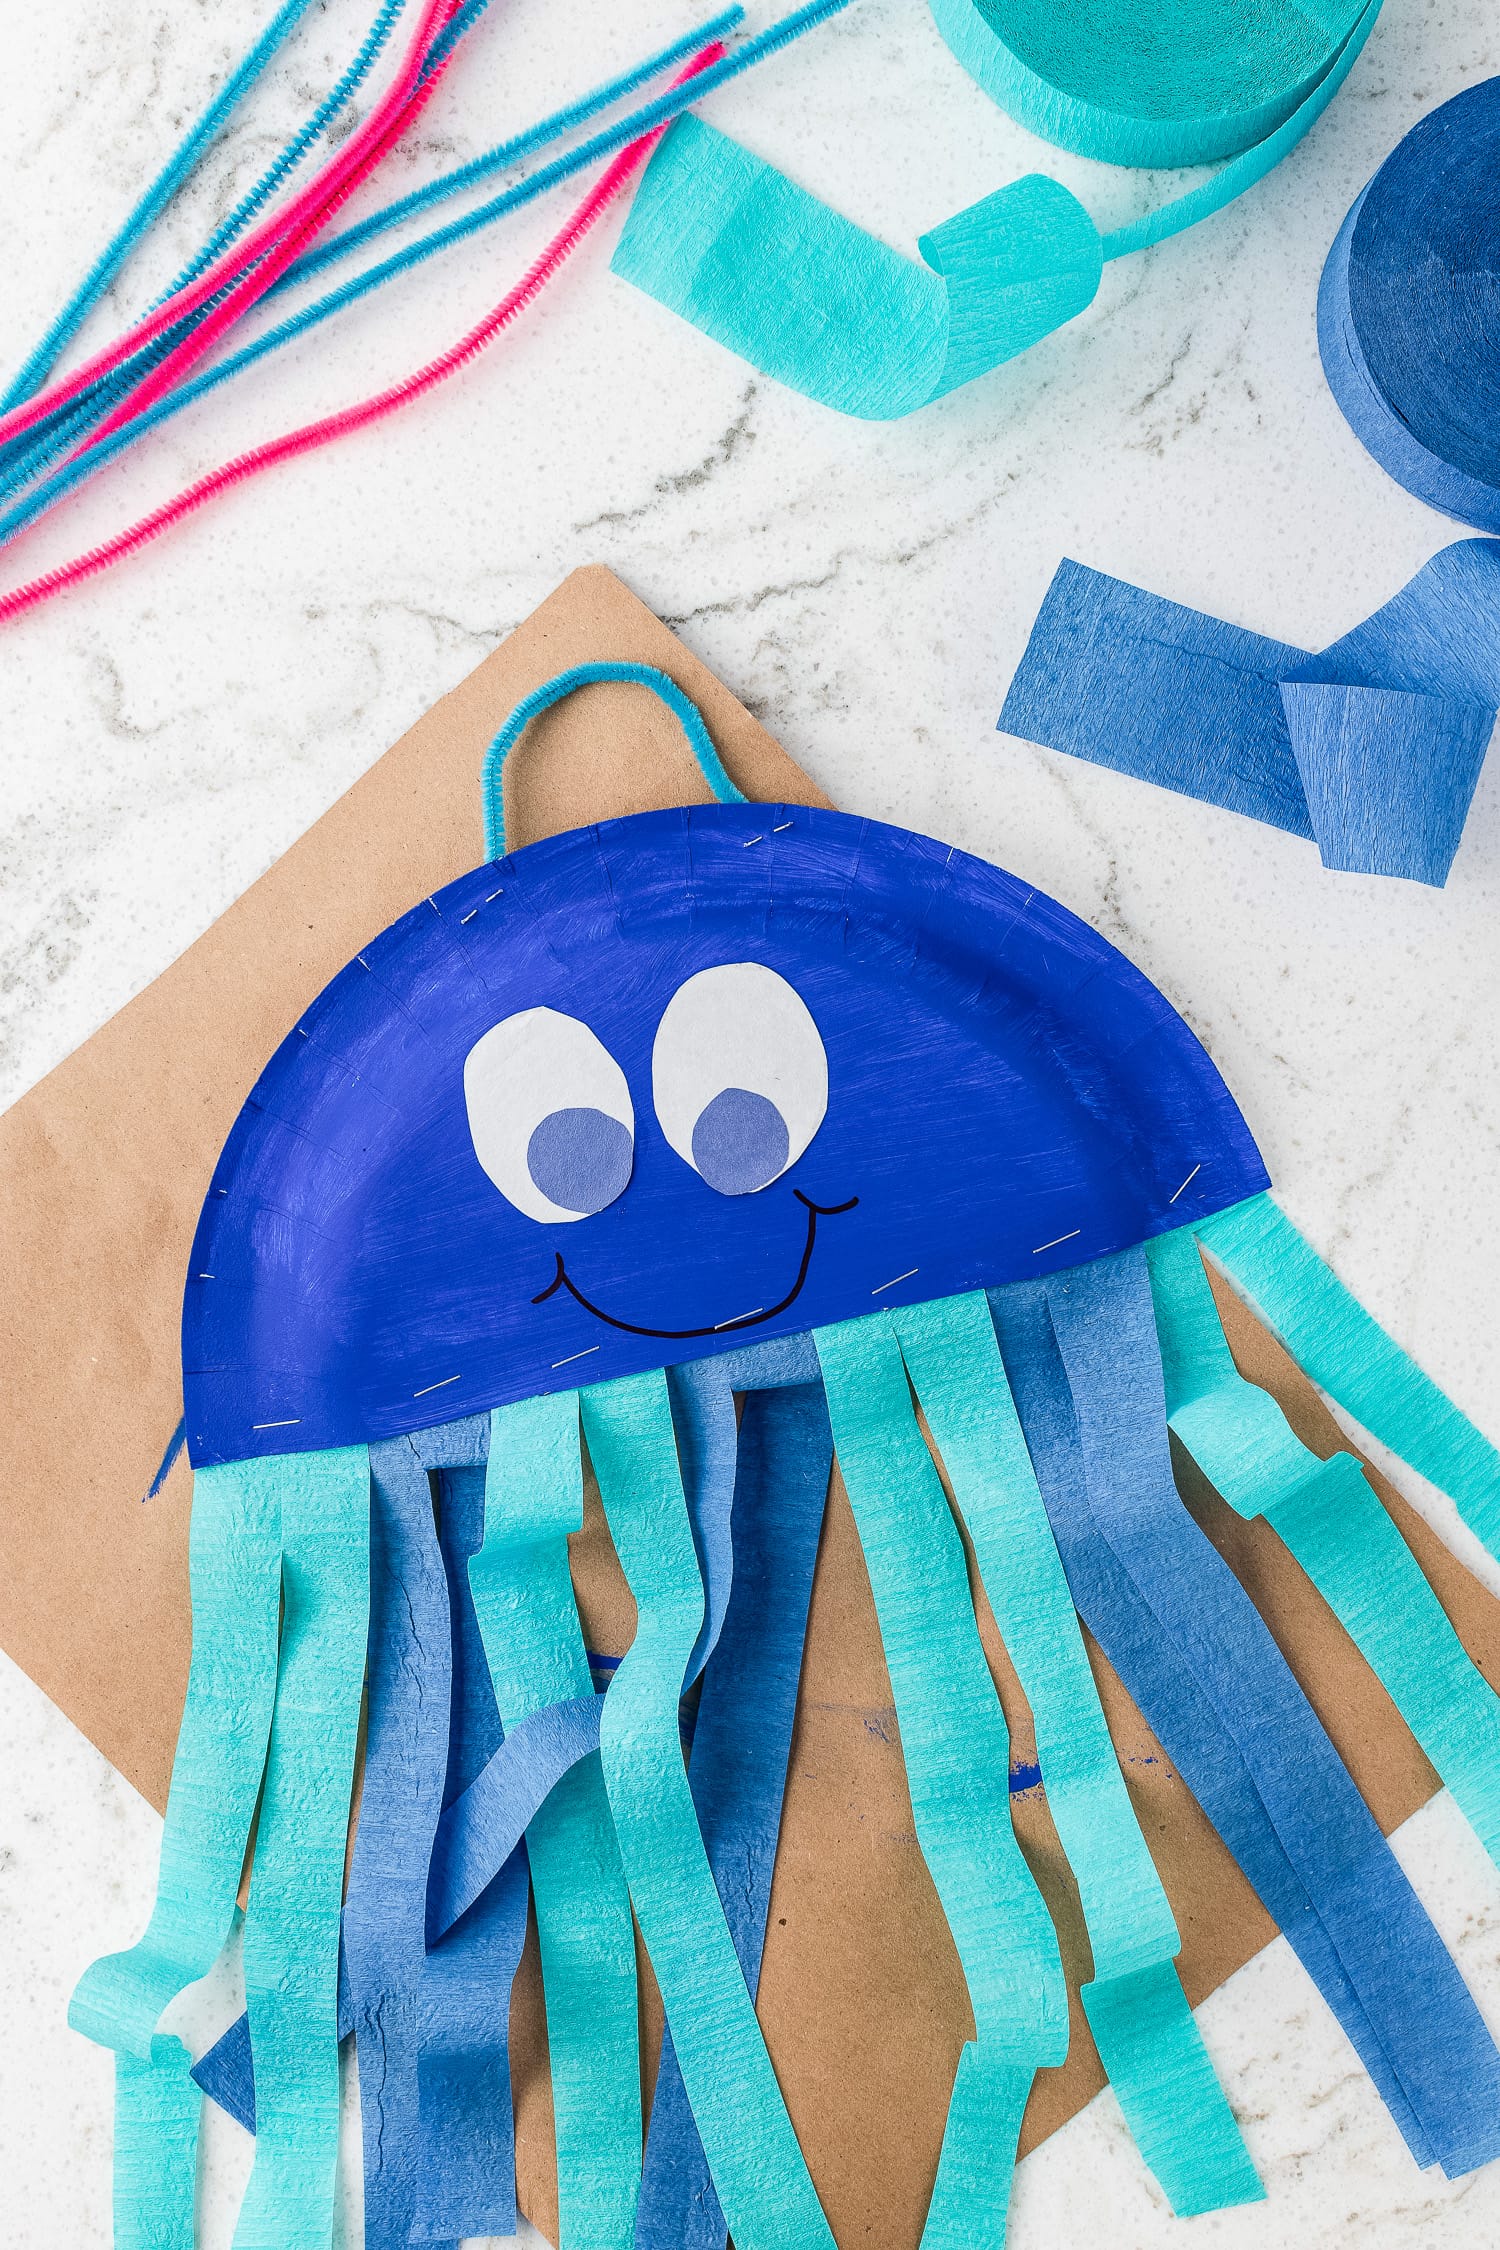
Attach Pipe Cleaner Hanger
Finally, cut a pipe cleaner in half and staple each end to the top of the paper plate, creating an arch. Now it’s time to hang your jellyfish creation!

Pro Tips
- Although we used water-based craft paint, using craft paper or a trash bag to protect your countertop or other surface is recommended and makes for easy cleanup!
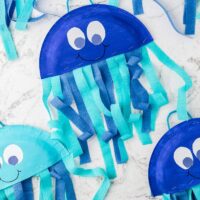
- Hang the jellyfish by fishing line from the ceiling or in the window so they look like they really are floating in the sea!
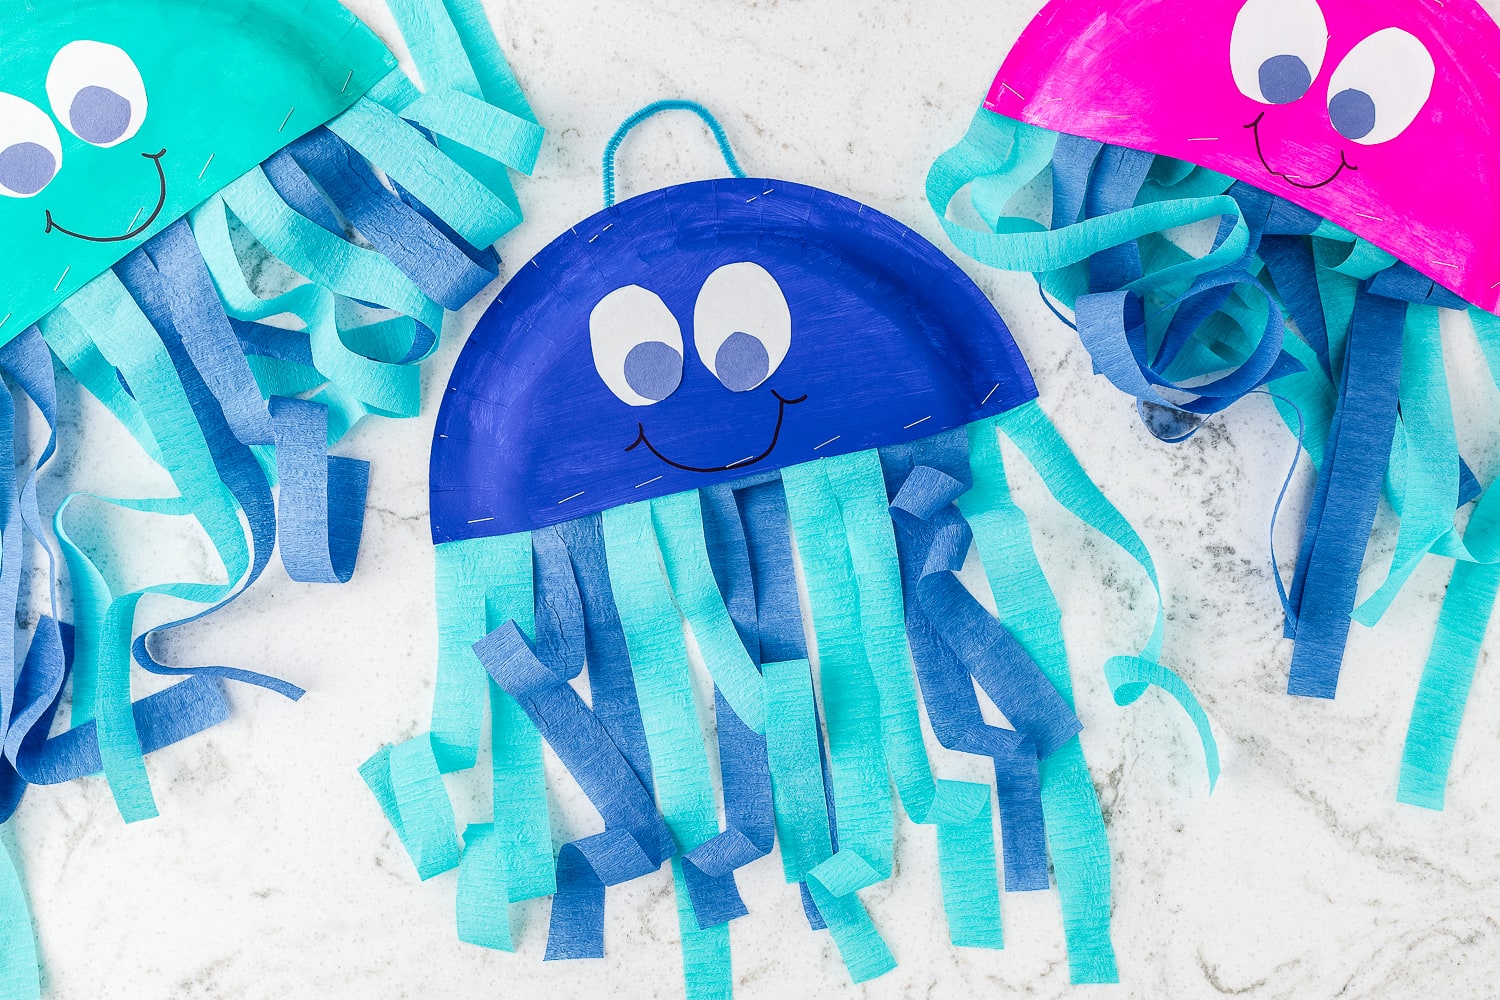
These fun jelly fish are sure to be a hit with the kids during craft time. Their wavy tentacles and silly smiles will provide the kids with so much fun!
If you take a picture and share it on Instagram make sure to #kidsactivityzone or tag us @kidsactivityzoneblog so we can see them!
Paper Plate Jellyfish Craft
Ingredients
Instructions
- Let’s make the body of our jellyfish! Grab a 10-inch paper plate and cut it in half. Using a foam paintbrush, paint the back of each plate with your choice of craft paint. Set aside to dry for at least 10 minutes.
- While the body of your jellyfish is drying, make the eyes! Trace a 1 ½ inch oval onto the white construction paper. Repeat this step to create 4 eyes altogether. Using the bottom of the glue stick, trace 4 smaller circles on the blue construction paper to create the pupils. Cut all of the circles out and set your cuttings aside.
- Now that the jellyfish are dry, let’s assemble them! Start by using a glue stick to adhere your precut white ovals to the center of your jellyfish for the eyes. Glue the precut blue pupils to the white ovals to complete the eyes. Next, take a black marker and add a jellyfish smile.
- For the tentacles, cut the streamers into seven strips, 10 inches in length, and attach them horizontally across the bottom of the plate with a stapler. Once the streamers are secure, cut each one up the center to create movement.
- Finally, cut a pipe cleaner in half and staple each end to the top of the paper plate, creating an arch. Now it’s time to hang your jellyfish creation.
More Under The Sea Paper Plate Crafts
- Create a unique and colorful Octopus in only 25 minutes. Kids can practice their fine motor skills while cutting and painting this underwater creature.
- I’m sorry in advance that your children are totally going to want a pet turtle after putting together this Turtle Craft! Created with green paper, let the kids get creative and switch it up.
- Brightly colored Rainbow Fish will be the stars of the underwater show with their technicolor scales. Really go through the craft closet and get creative decorating their scales.
- It’s not under the sea without a toothy Shark! This adorable paper plate craft will round out all of the seas creatures your kids can create.
These are soooo fun! The kids loved hanging them outside and watching the jiggle in the wind!!