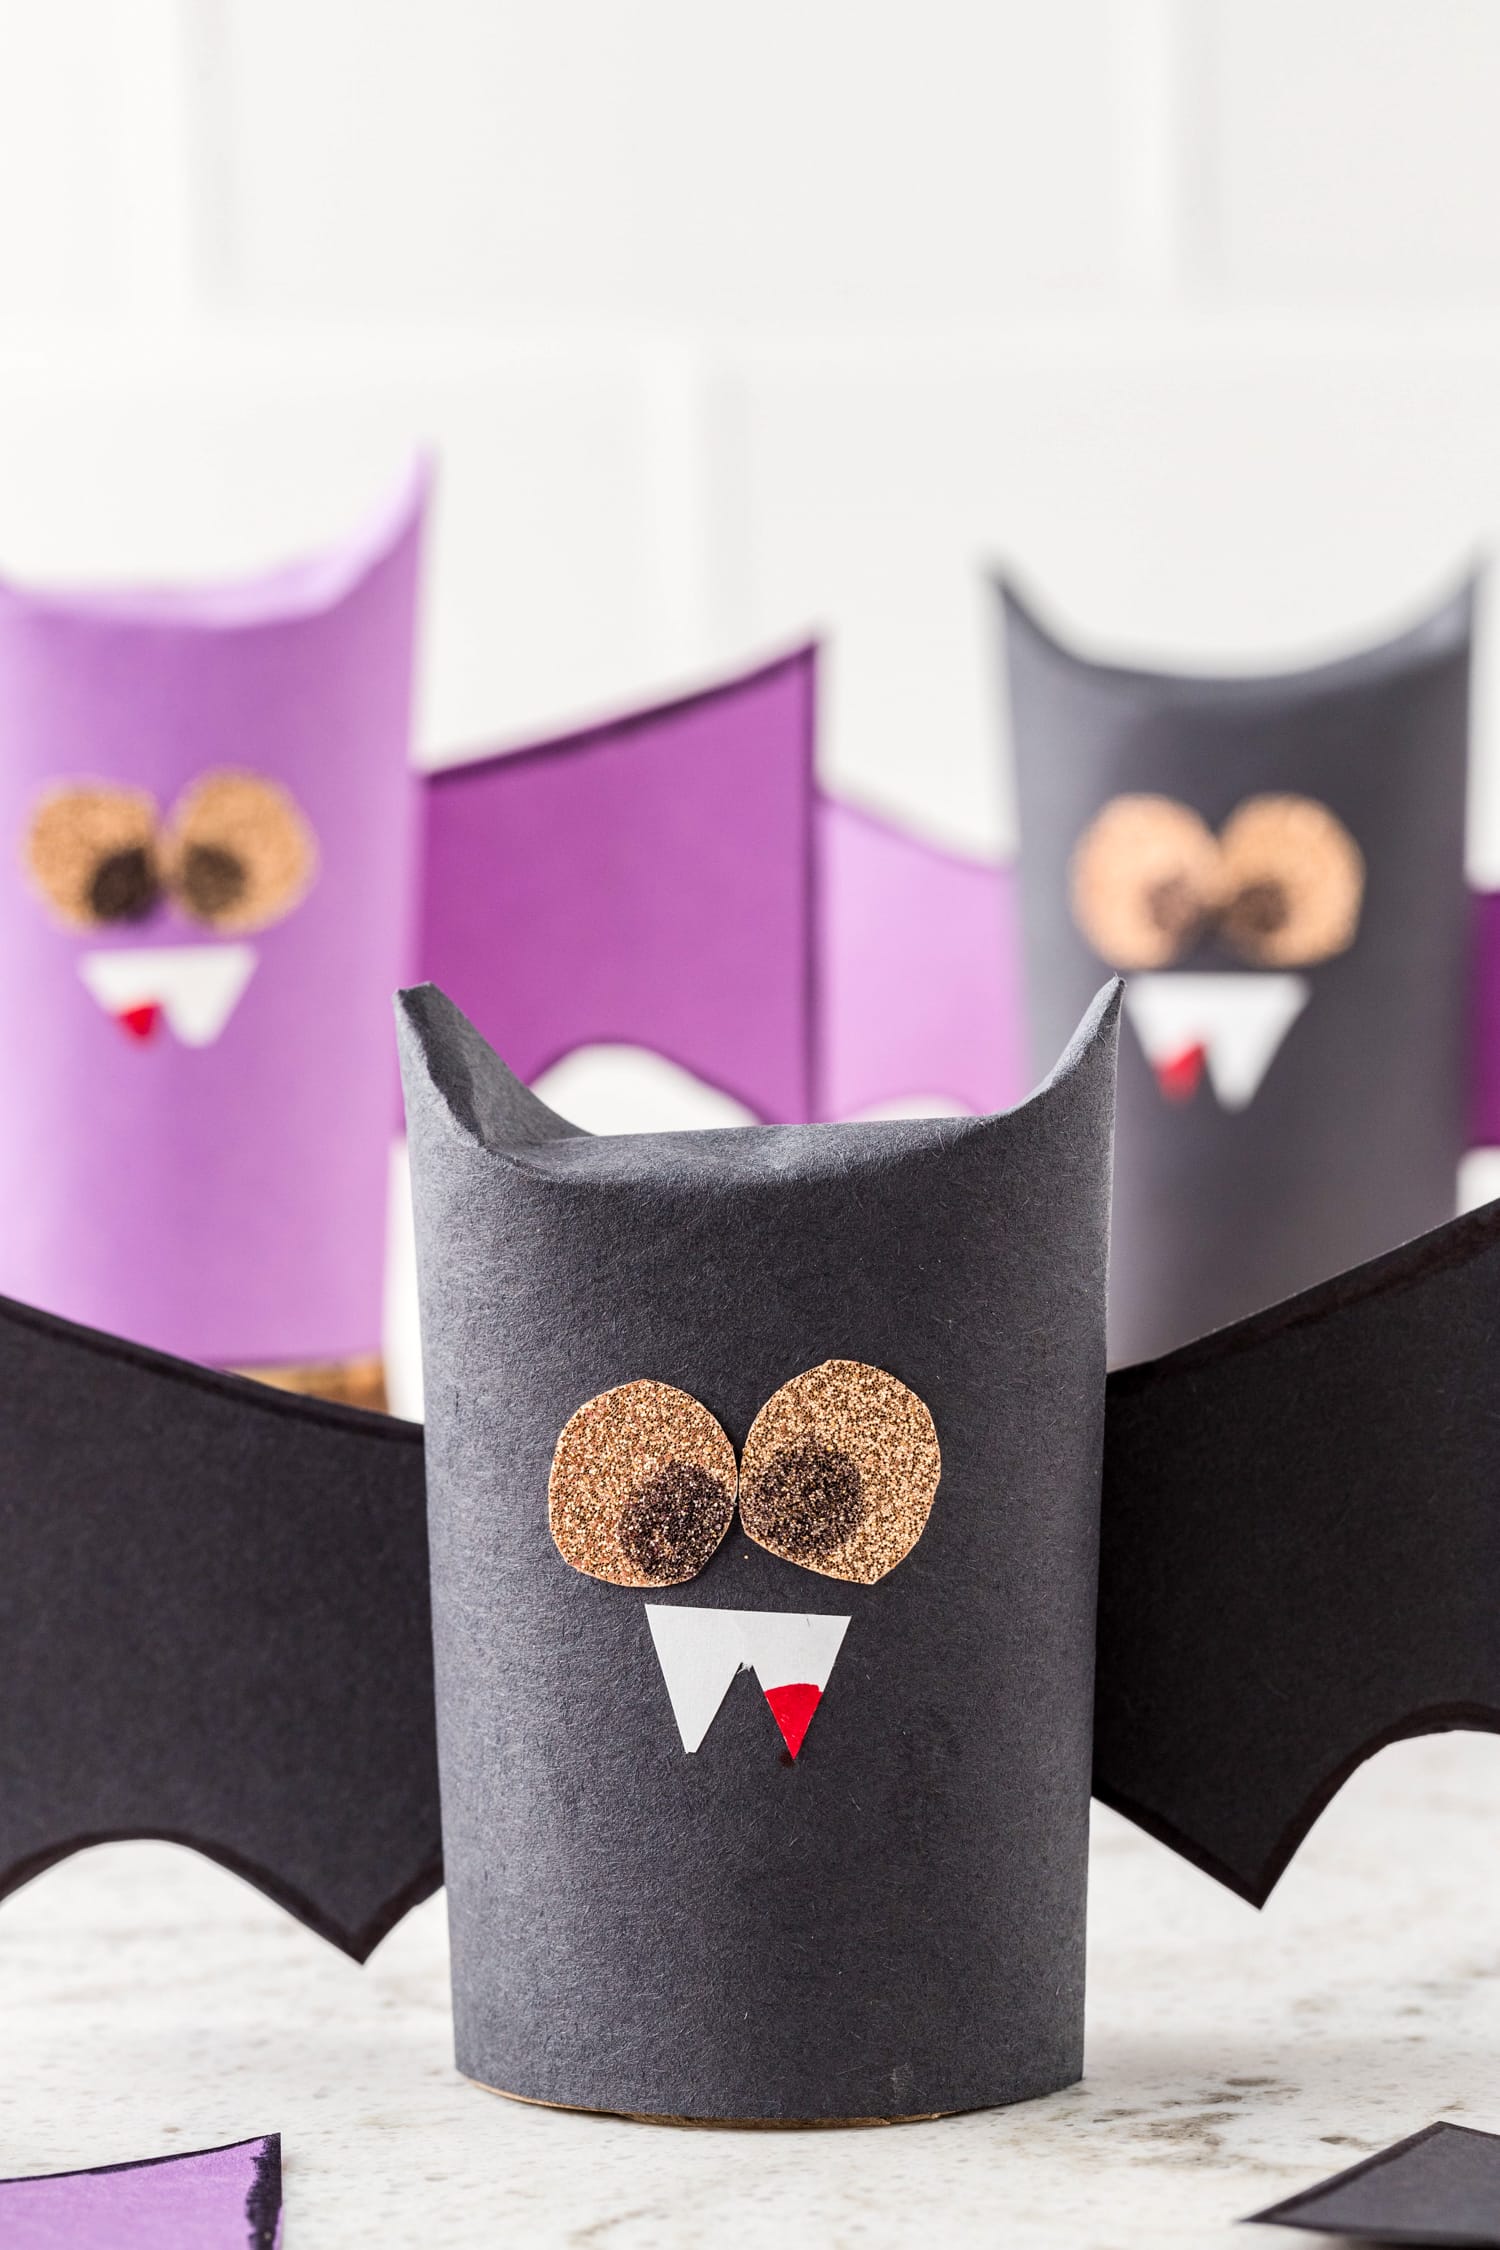
Paper Towel Roll Bat Craft
Turn a paper towel roll into a cute and fun Halloween craft! This Paper Towel Roll Bat Craft is a fun and easy kids craft that’s perfect for Halloween. Make them at school, home or during a Halloween Party. With easy to find craft supplies it couldn’t get easier!
Halloween is here and it’s time for some fun! This easy Halloween craft is great for young kids at home, school or to make during Halloween parties.
If you need an easy Halloween craft that is kid friendly without many supplies this Bat Craft if exactly what you want to make.
Make sure to pair it with quick and easy Mummy Brownies and Witches Brew Hot Chocolate for a fun snack and craft combination.
Why We Love this Easy Bat Craft for Halloween!
- It only takes 15 minutes! That’s right it’s quick and easy which is perfect young children.
- We use supplies that can be found in your house already! Save that old paper towel roll to make it into the body of the bat or use toilet paper rolls. Both are great options.
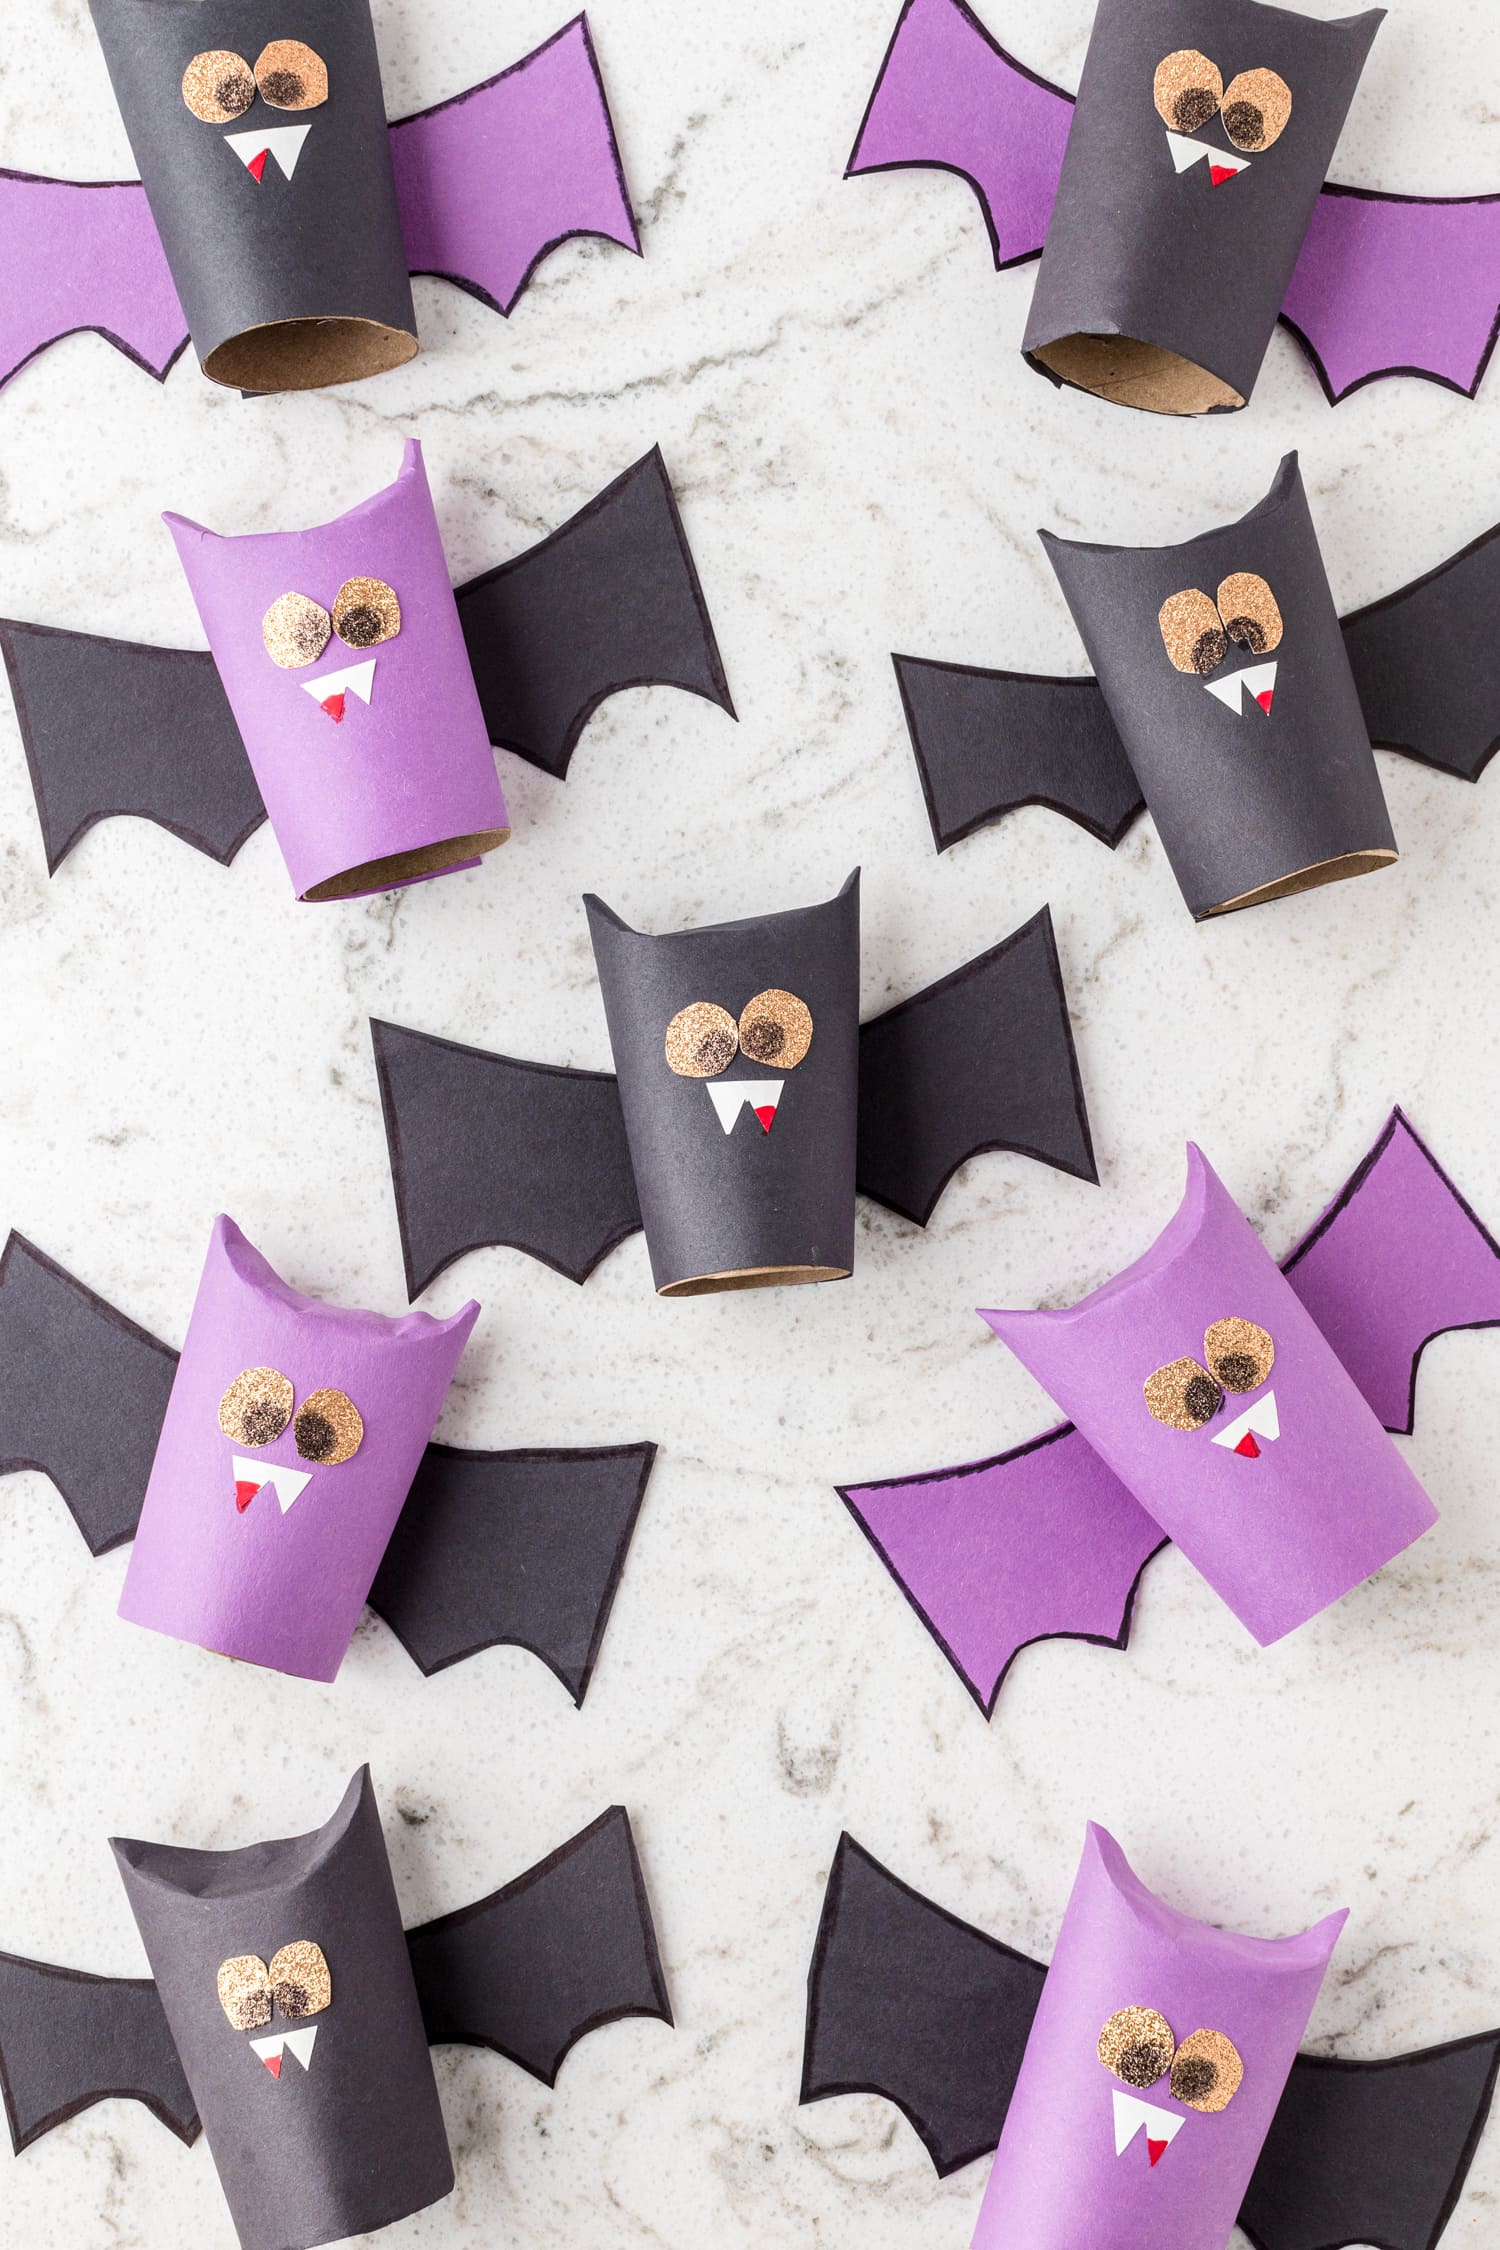
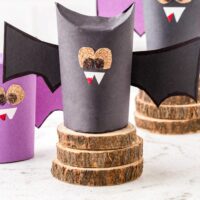
- They are cute! Have your kids make several and display them along with your holiday decor. They will love seeing them around the house.
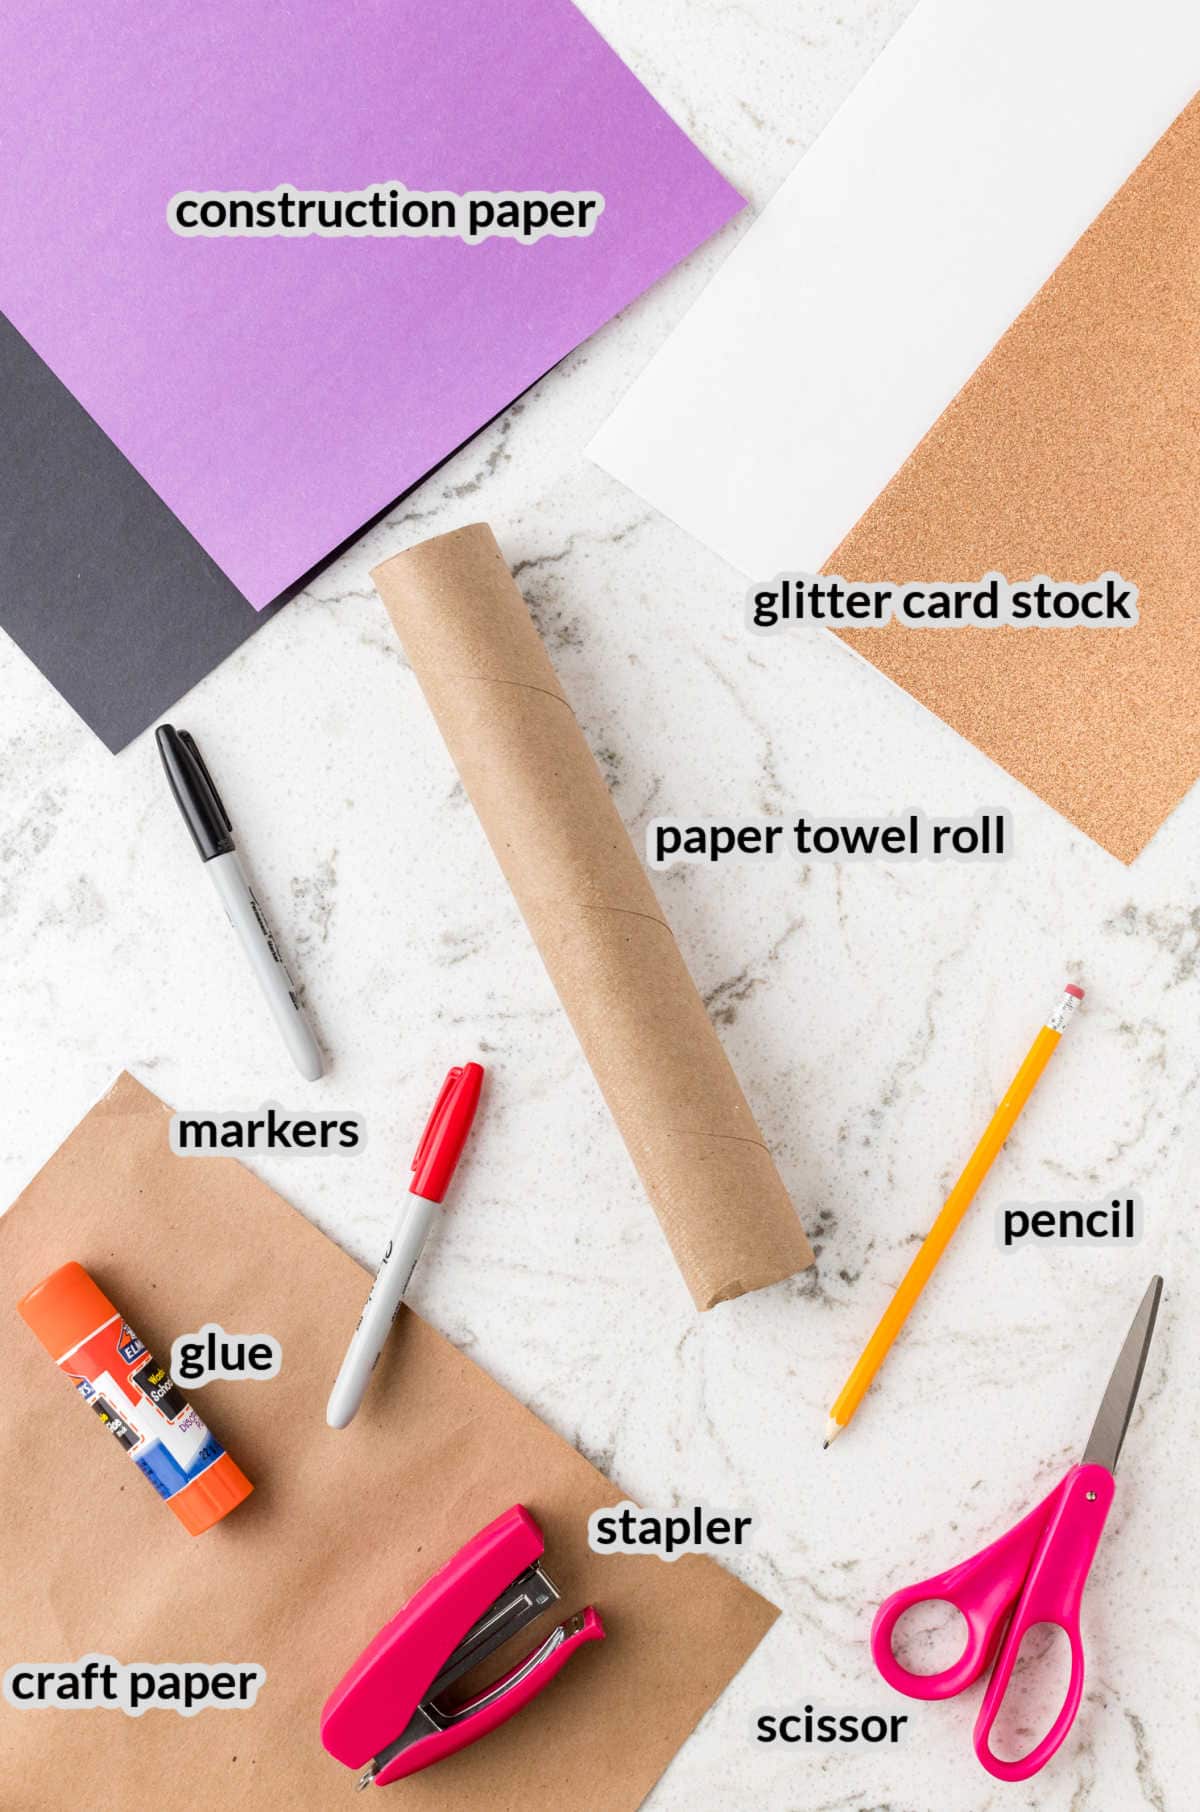
Supplies Needed
- Craft paper – Used to protect our surface, but you could also use an old table cloth or drop cloth.
- Paper towel roll – We cut a recycled paper towel roll into 3 pieces for this project, but you could also use 3 toilet paper rolls.
- Scissors – we used standard scissors for this activity. You may consider kid-safe scissors if you are working with younger children.
- Construction paper – Regular construction paper in black, purple, and white is what we used, but you could also use flexible card stock.
- Pencil – Used for tracing, but you could use any writing utensil available.
- Stapler – A mini stapler and staples is a great option for this activity.
- Glitter card stock – We used a glitter card stock, but you could use any metallic or glitter paper.
- Glue stick – A glue stick is manageable for young kids, but you could also use craft glue.
- Marker, black and red – We used a black and red marker. You could also use colored pencils or crayons.

How to Make a Bat out of Paper Towel Rolls
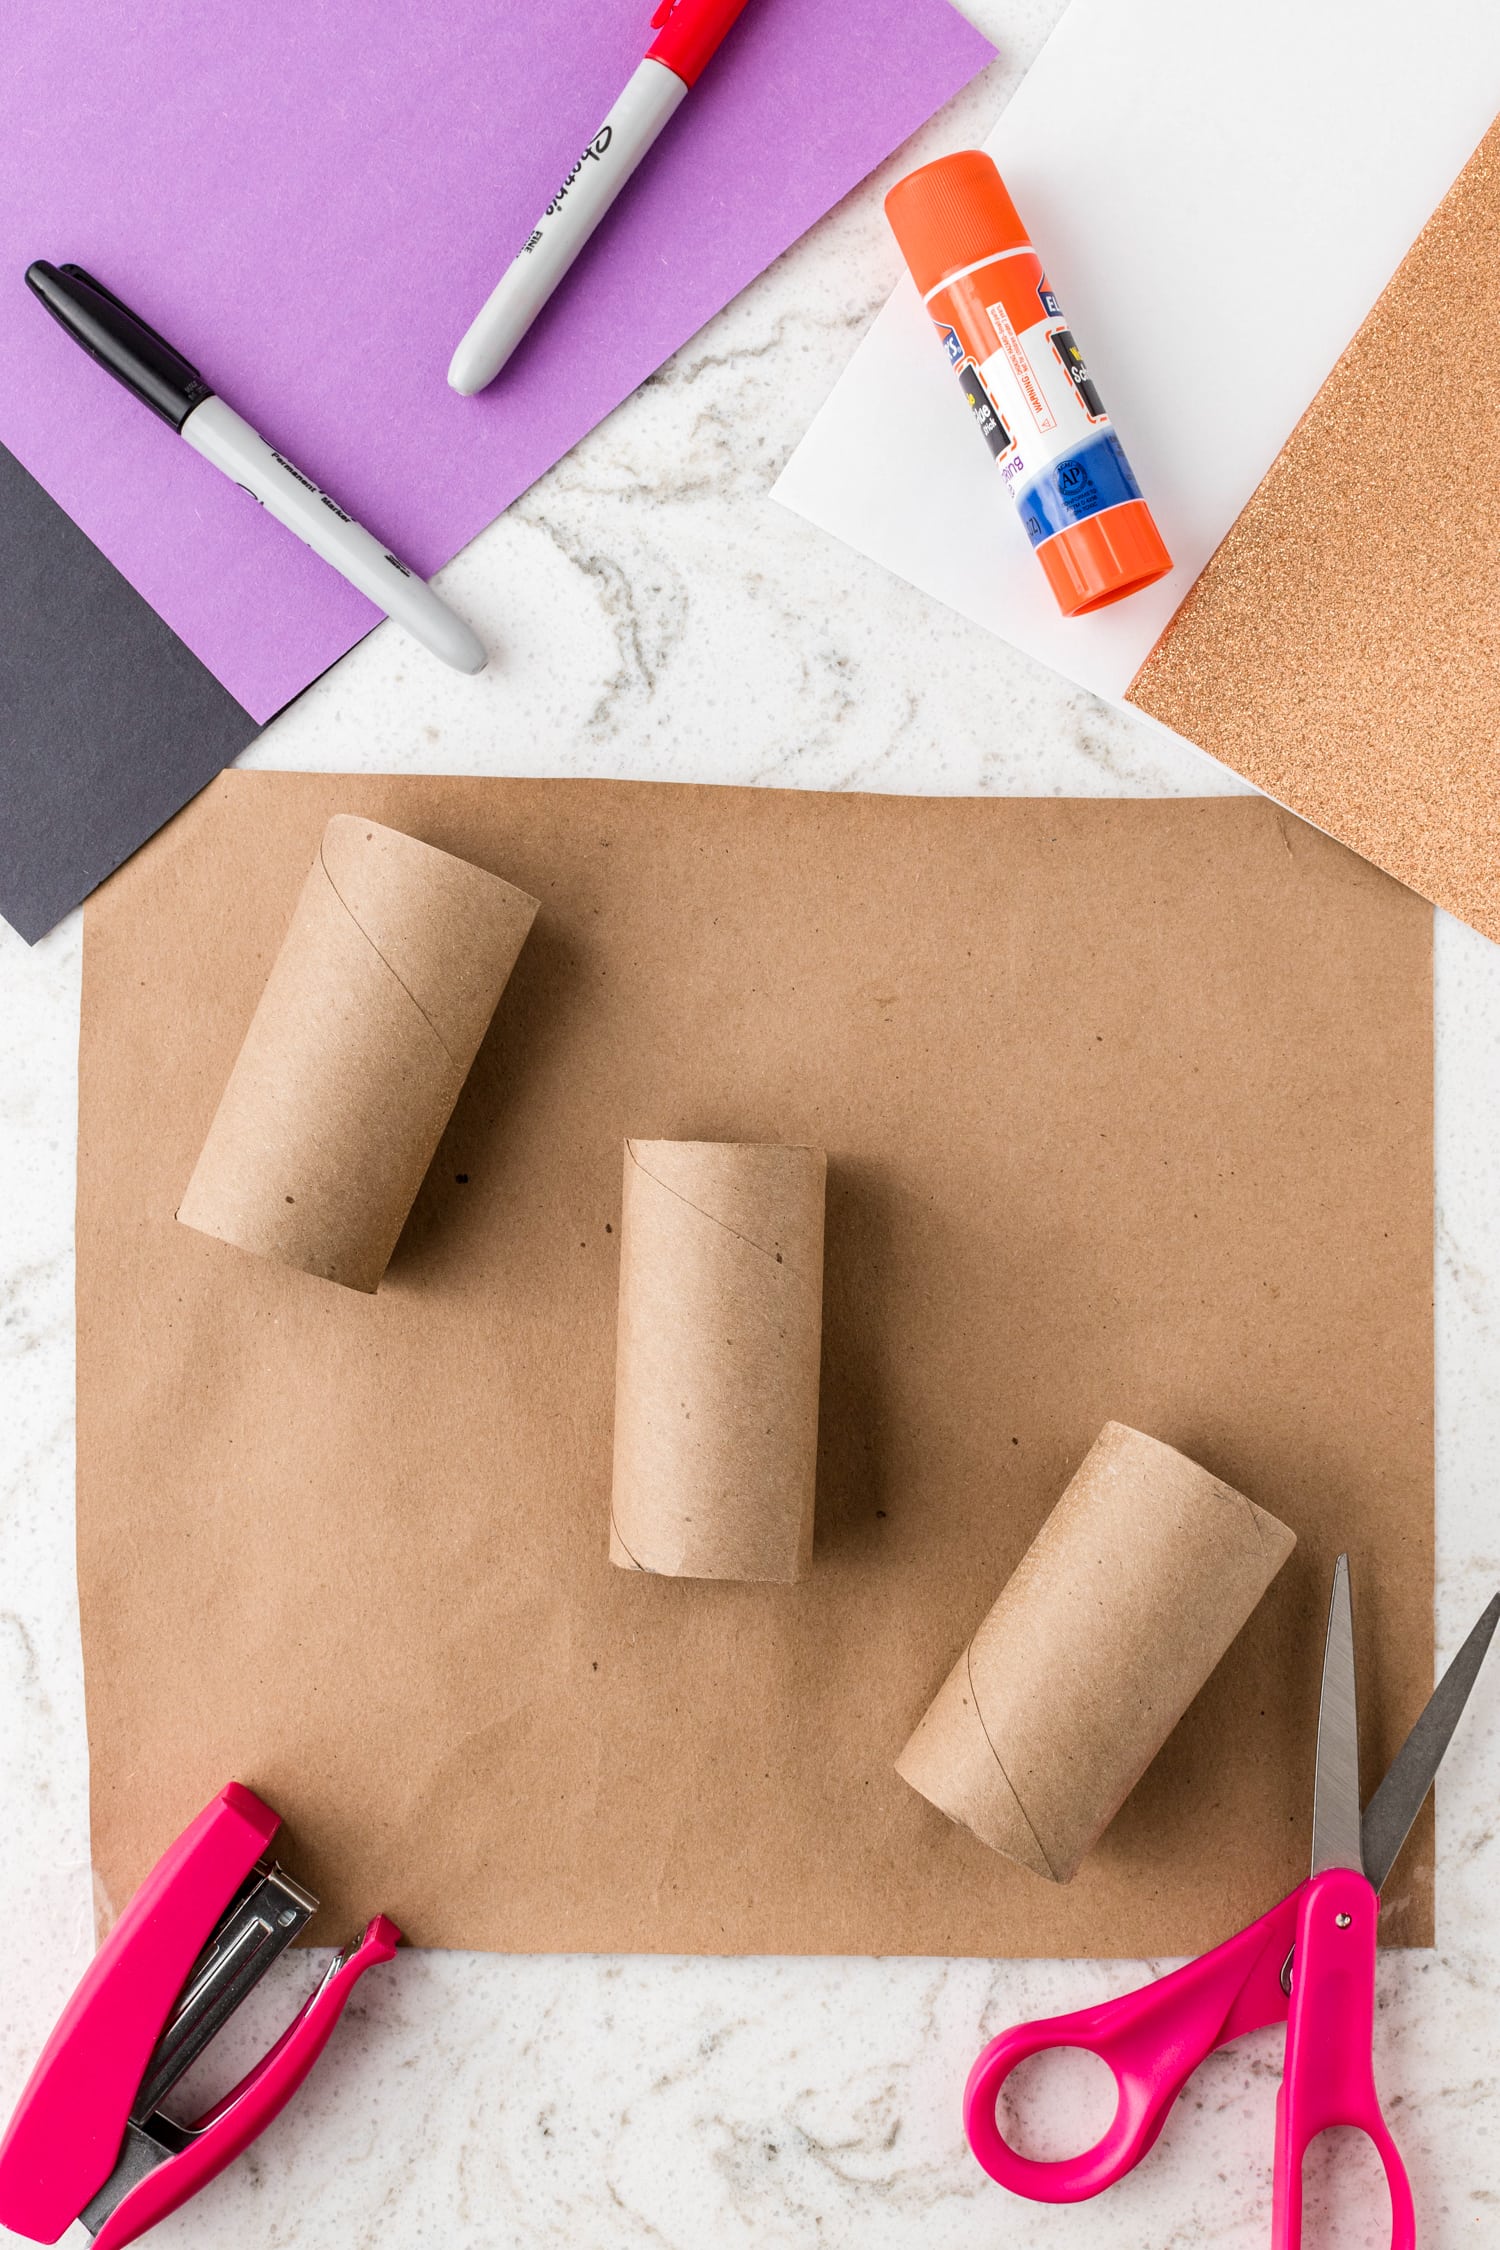
Start by placing a protective layer of craft paper or a tablecloth on your activity surface.
Now let’s prepare the bodies for our bats!
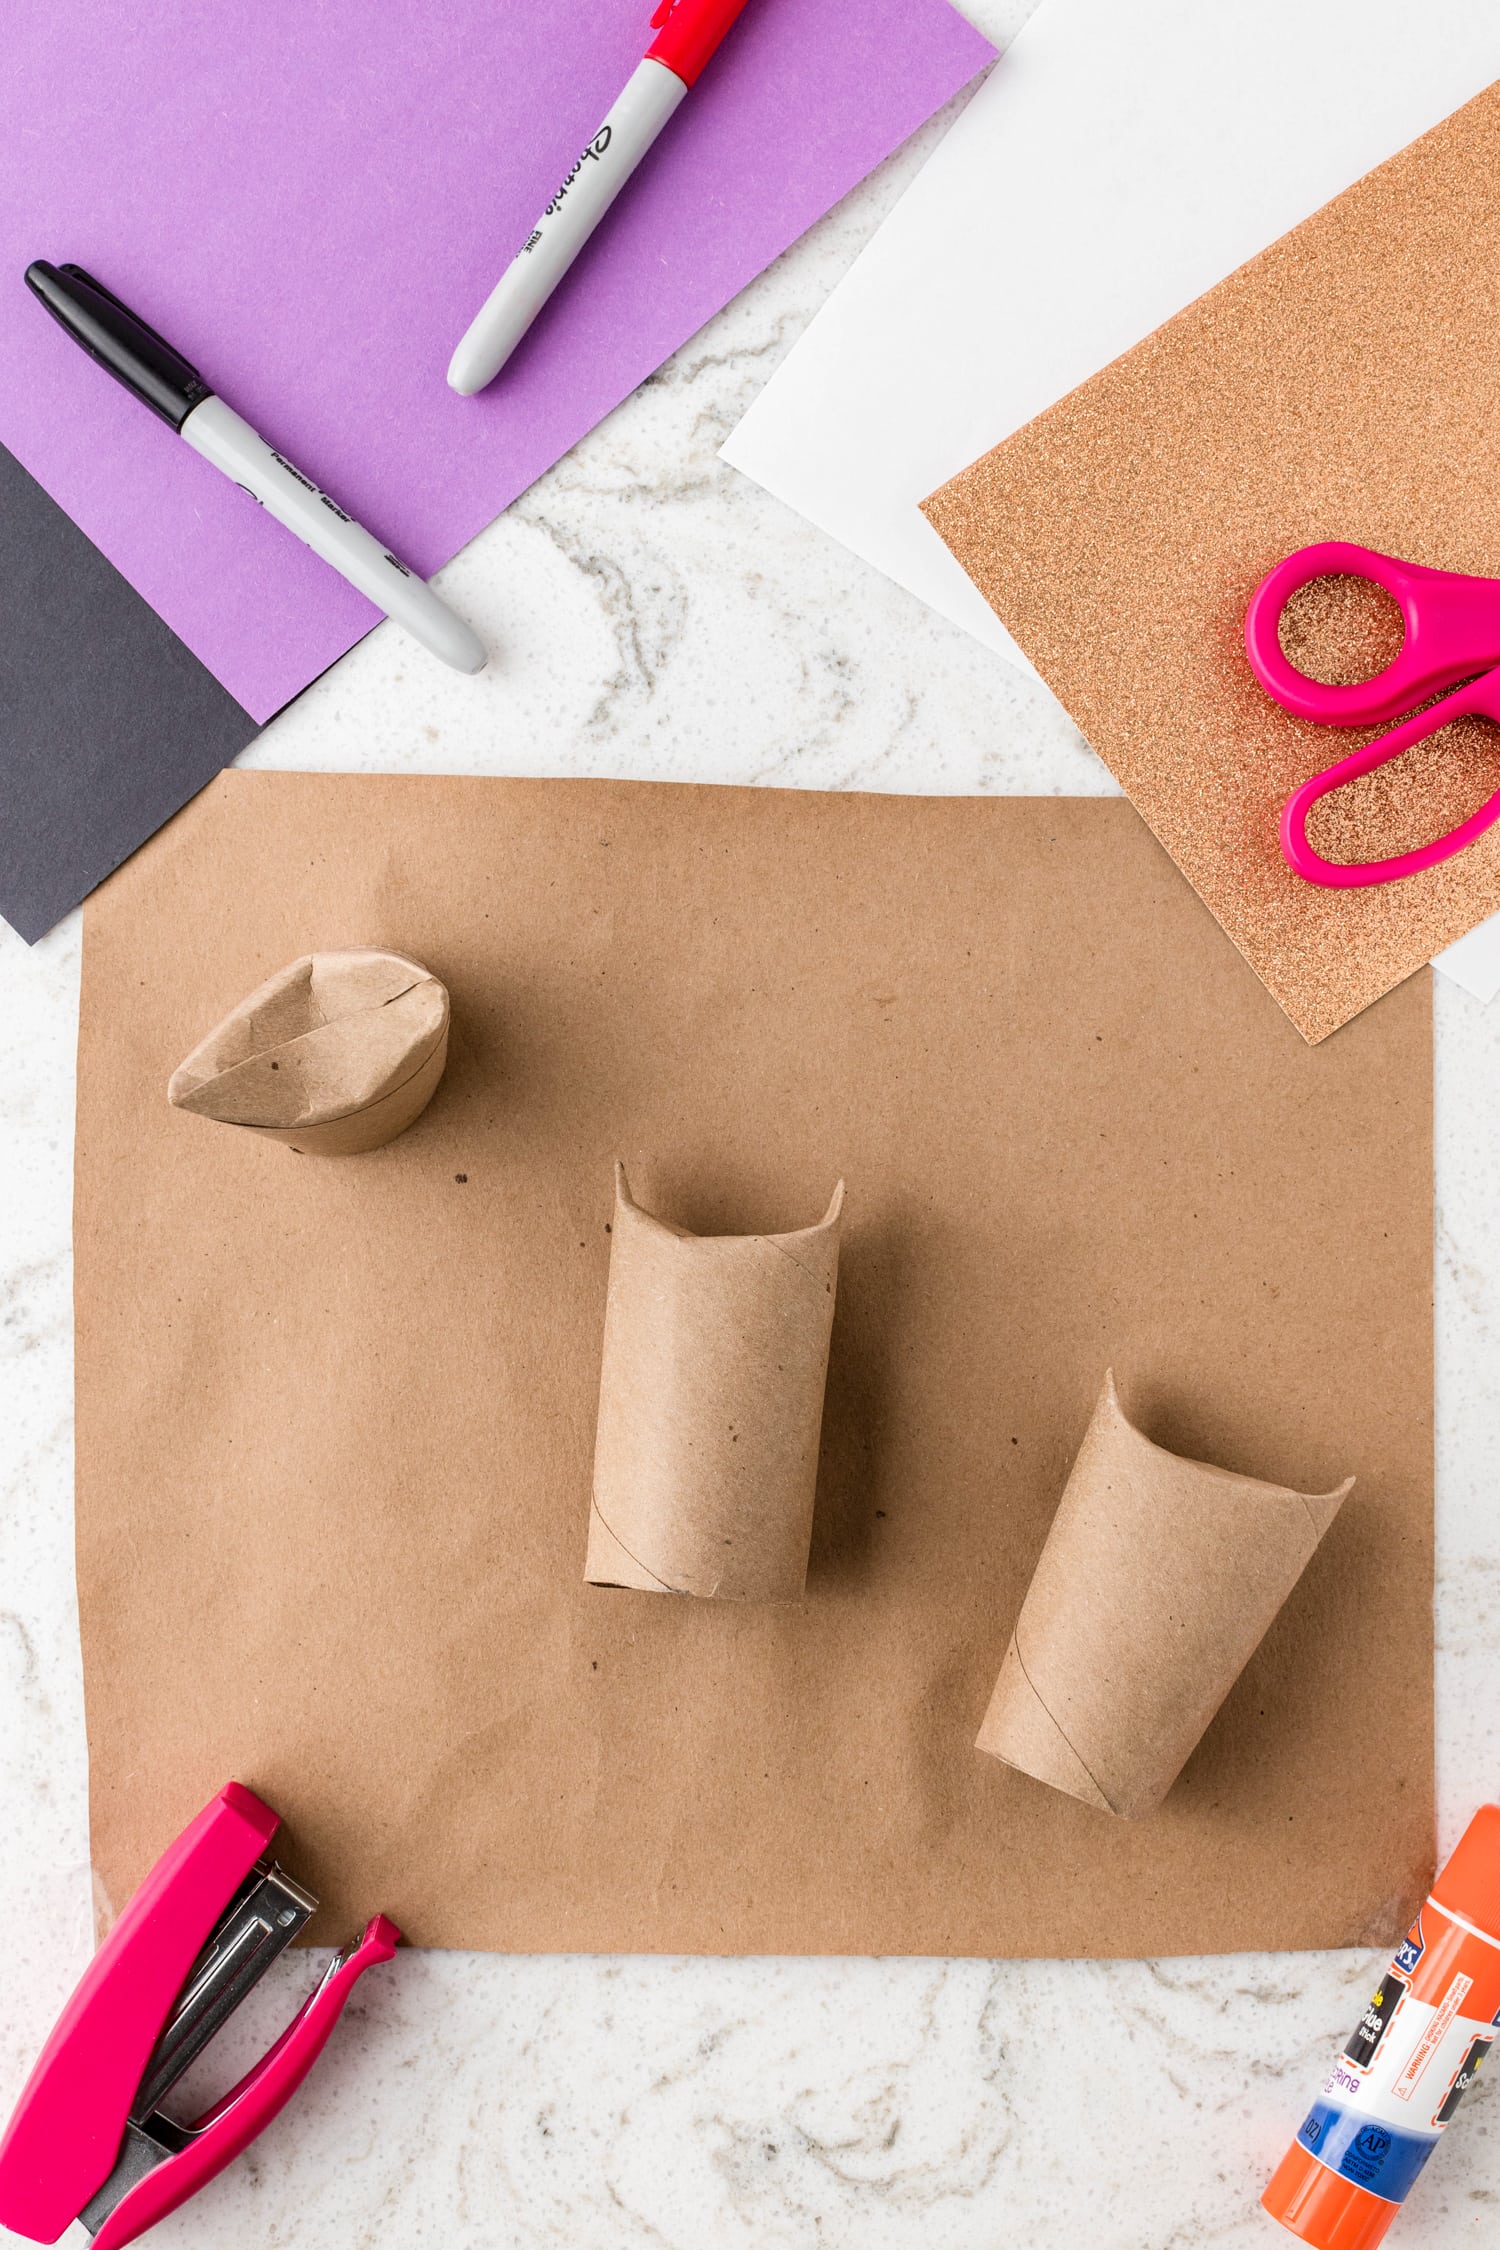
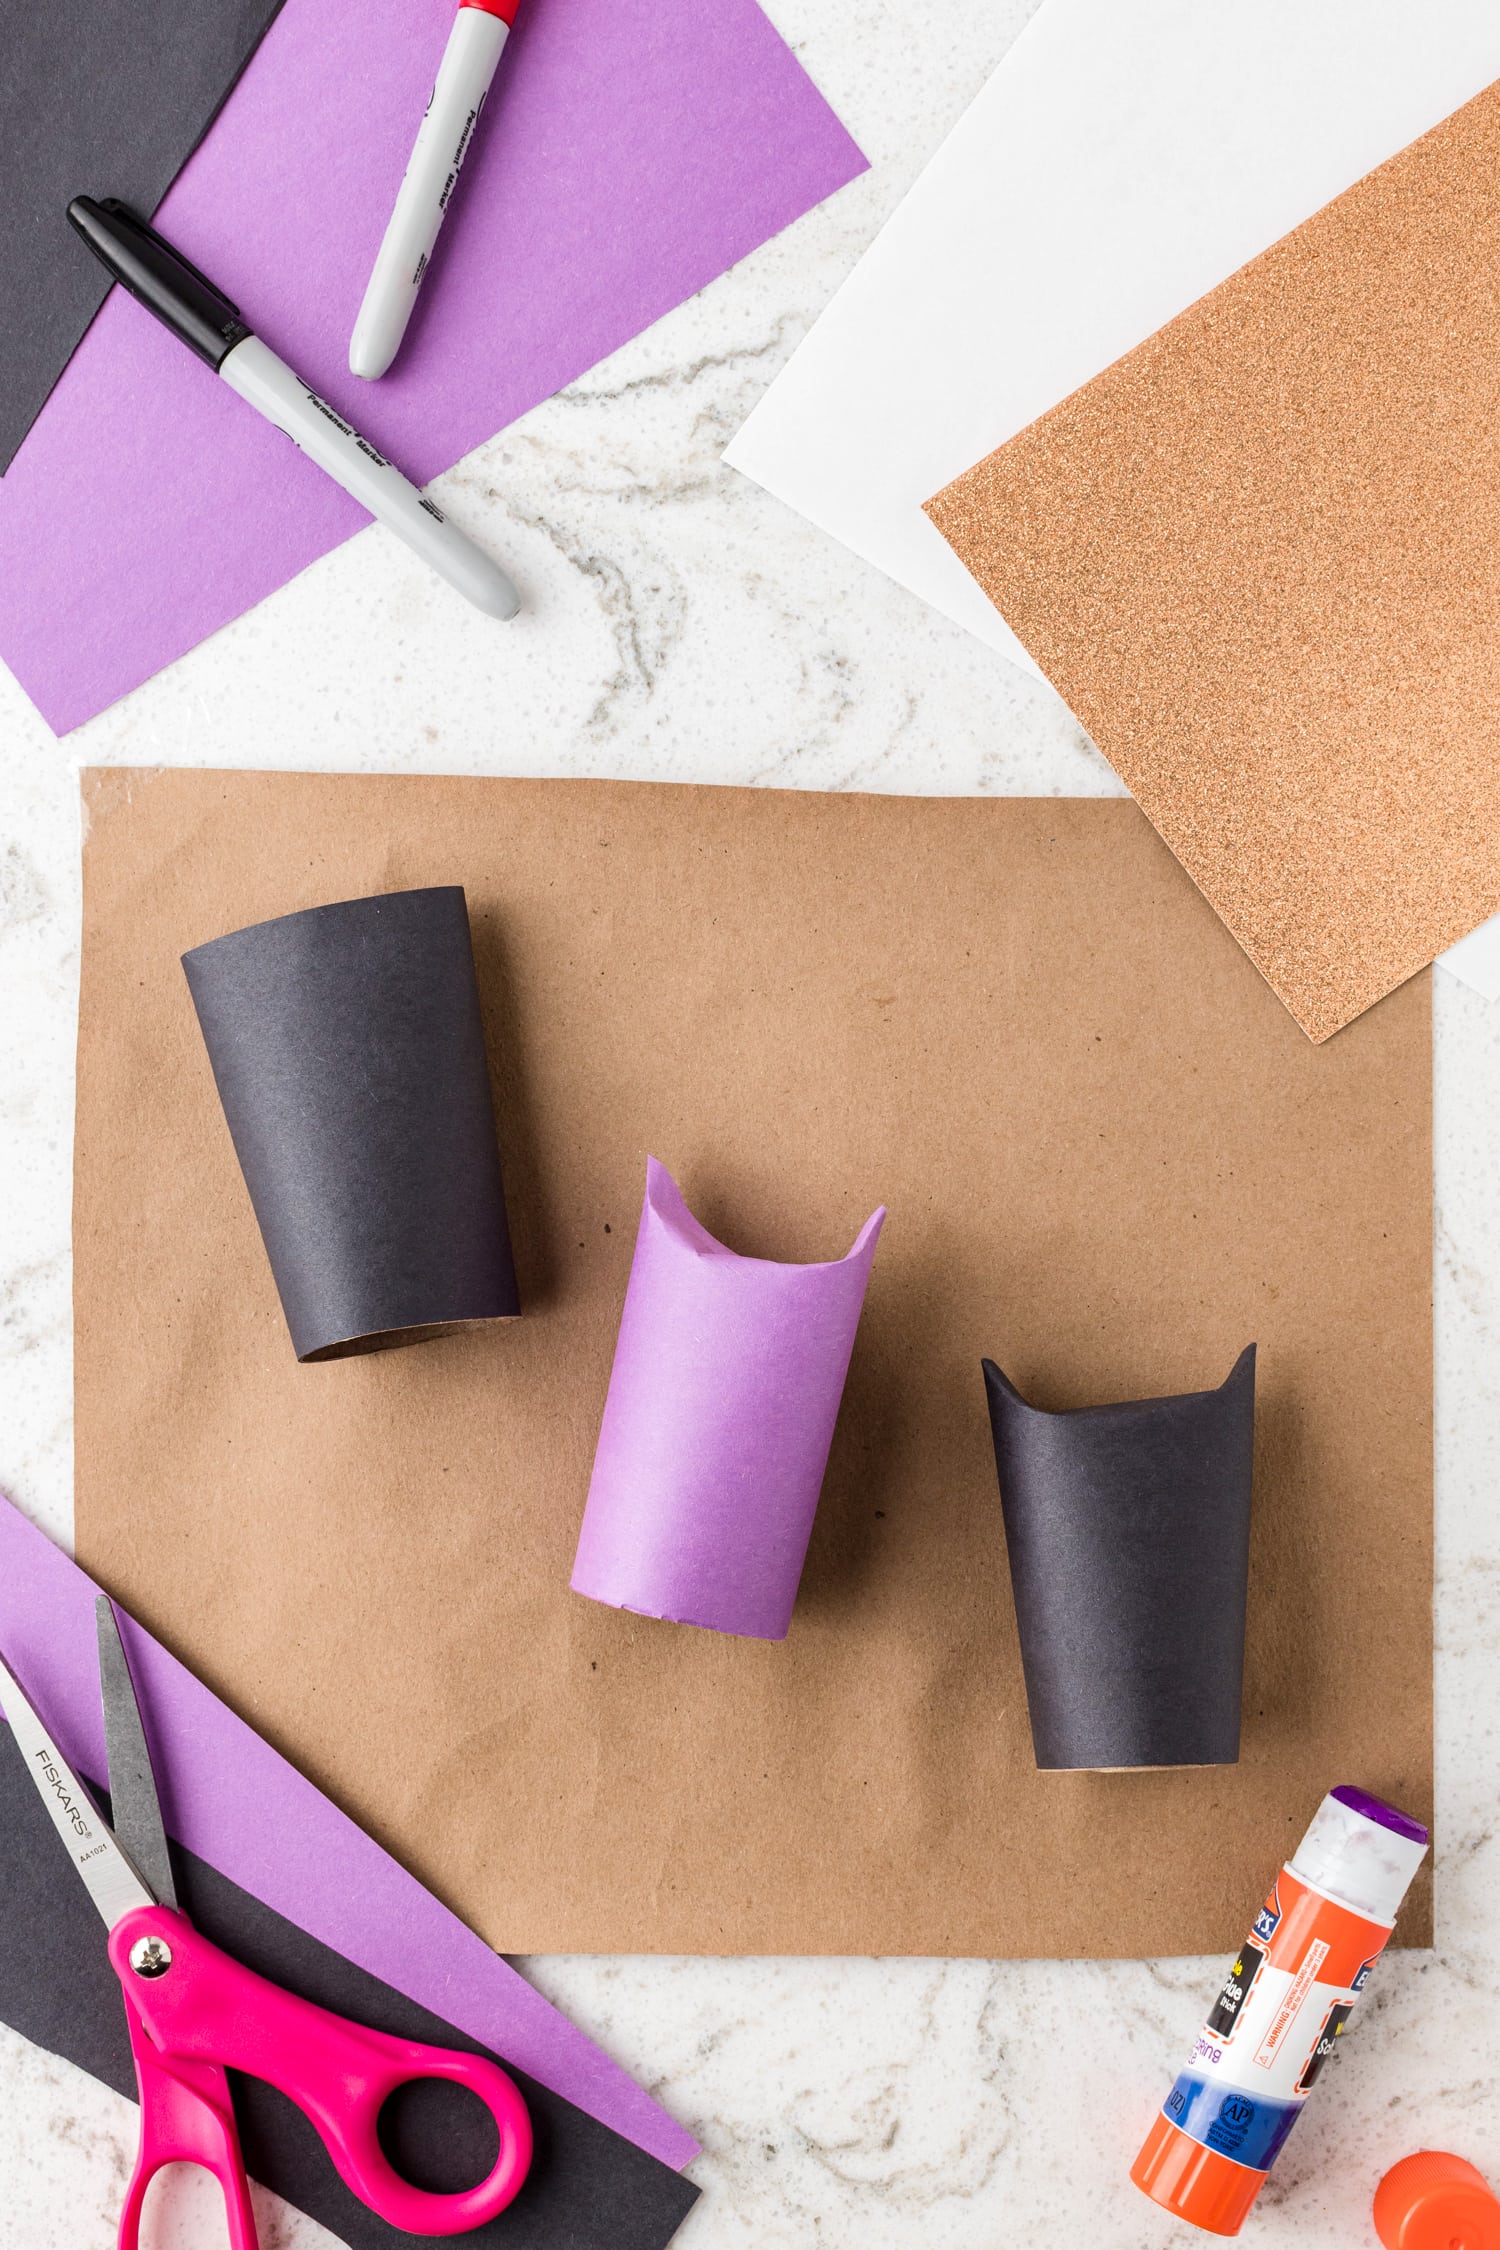
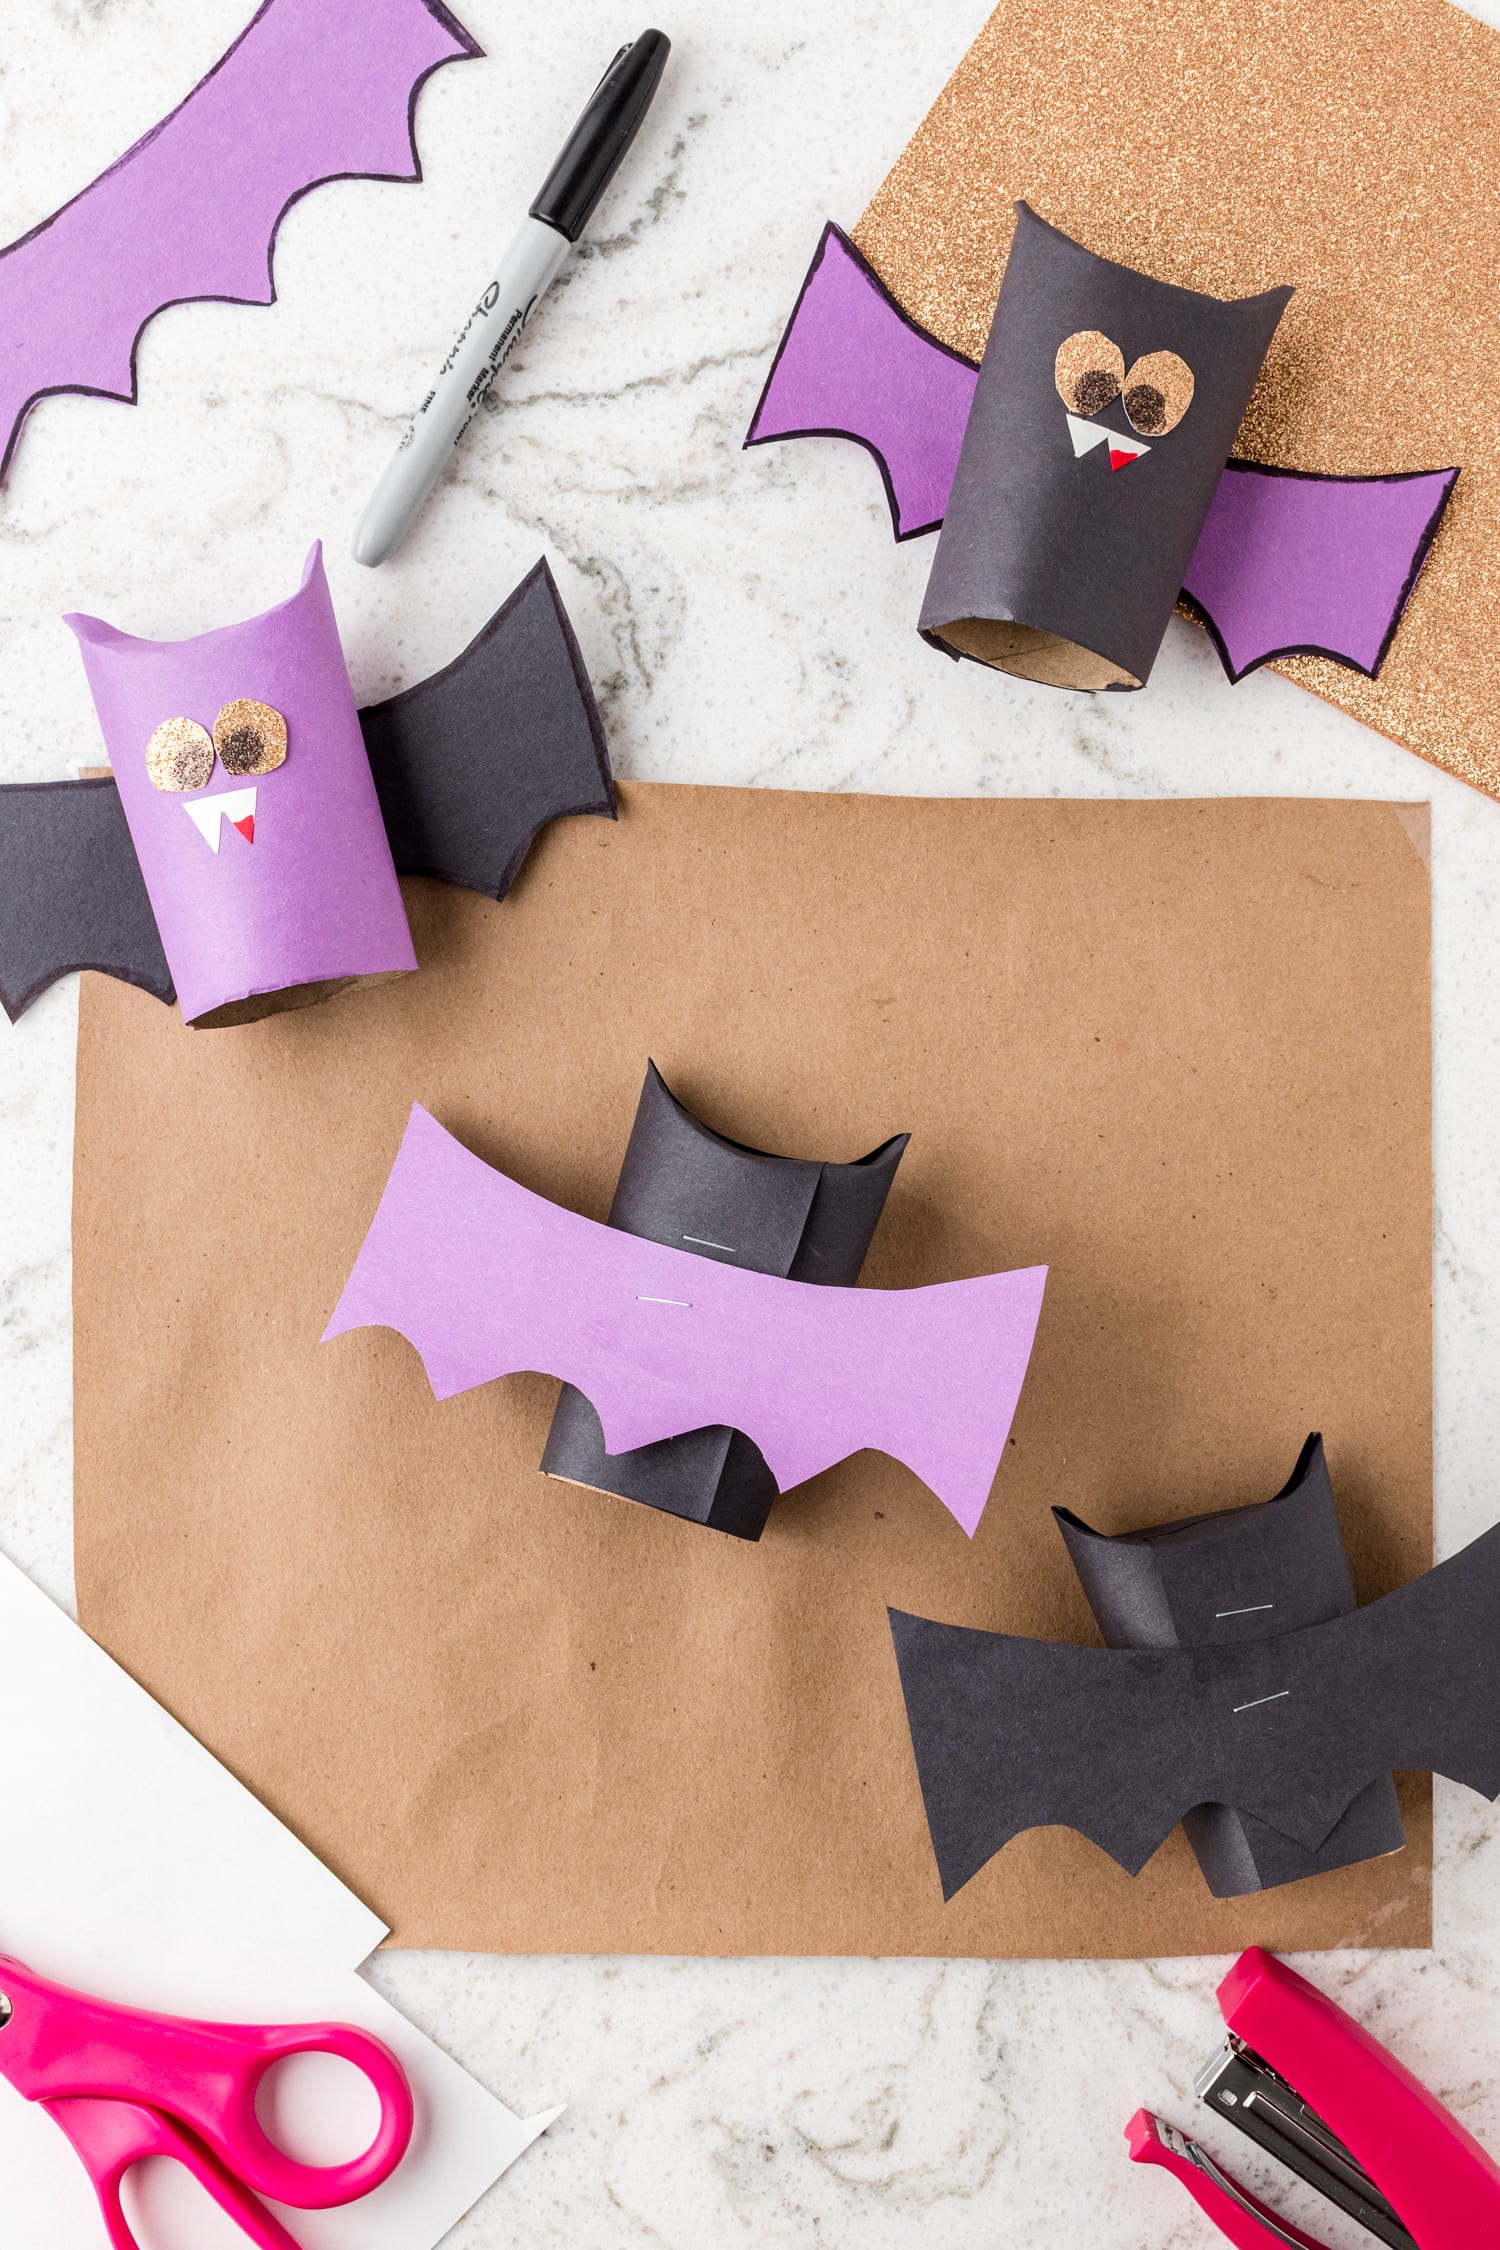
Take a recycled paper towel roll and cut it into 3 equal pieces. Fold each of the tops of the previously cut rolls pinching the corners to make ears.
Then take your choice of black or purple construction paper and cut it to the length and width of the paper towel roll.
Wrap the construction paper around the paper towel roll, securing it in the back with a few staples.
Once secure, fold the top of the construction paper to match your previous fold and attach it to the cardboard with a dab of glue.
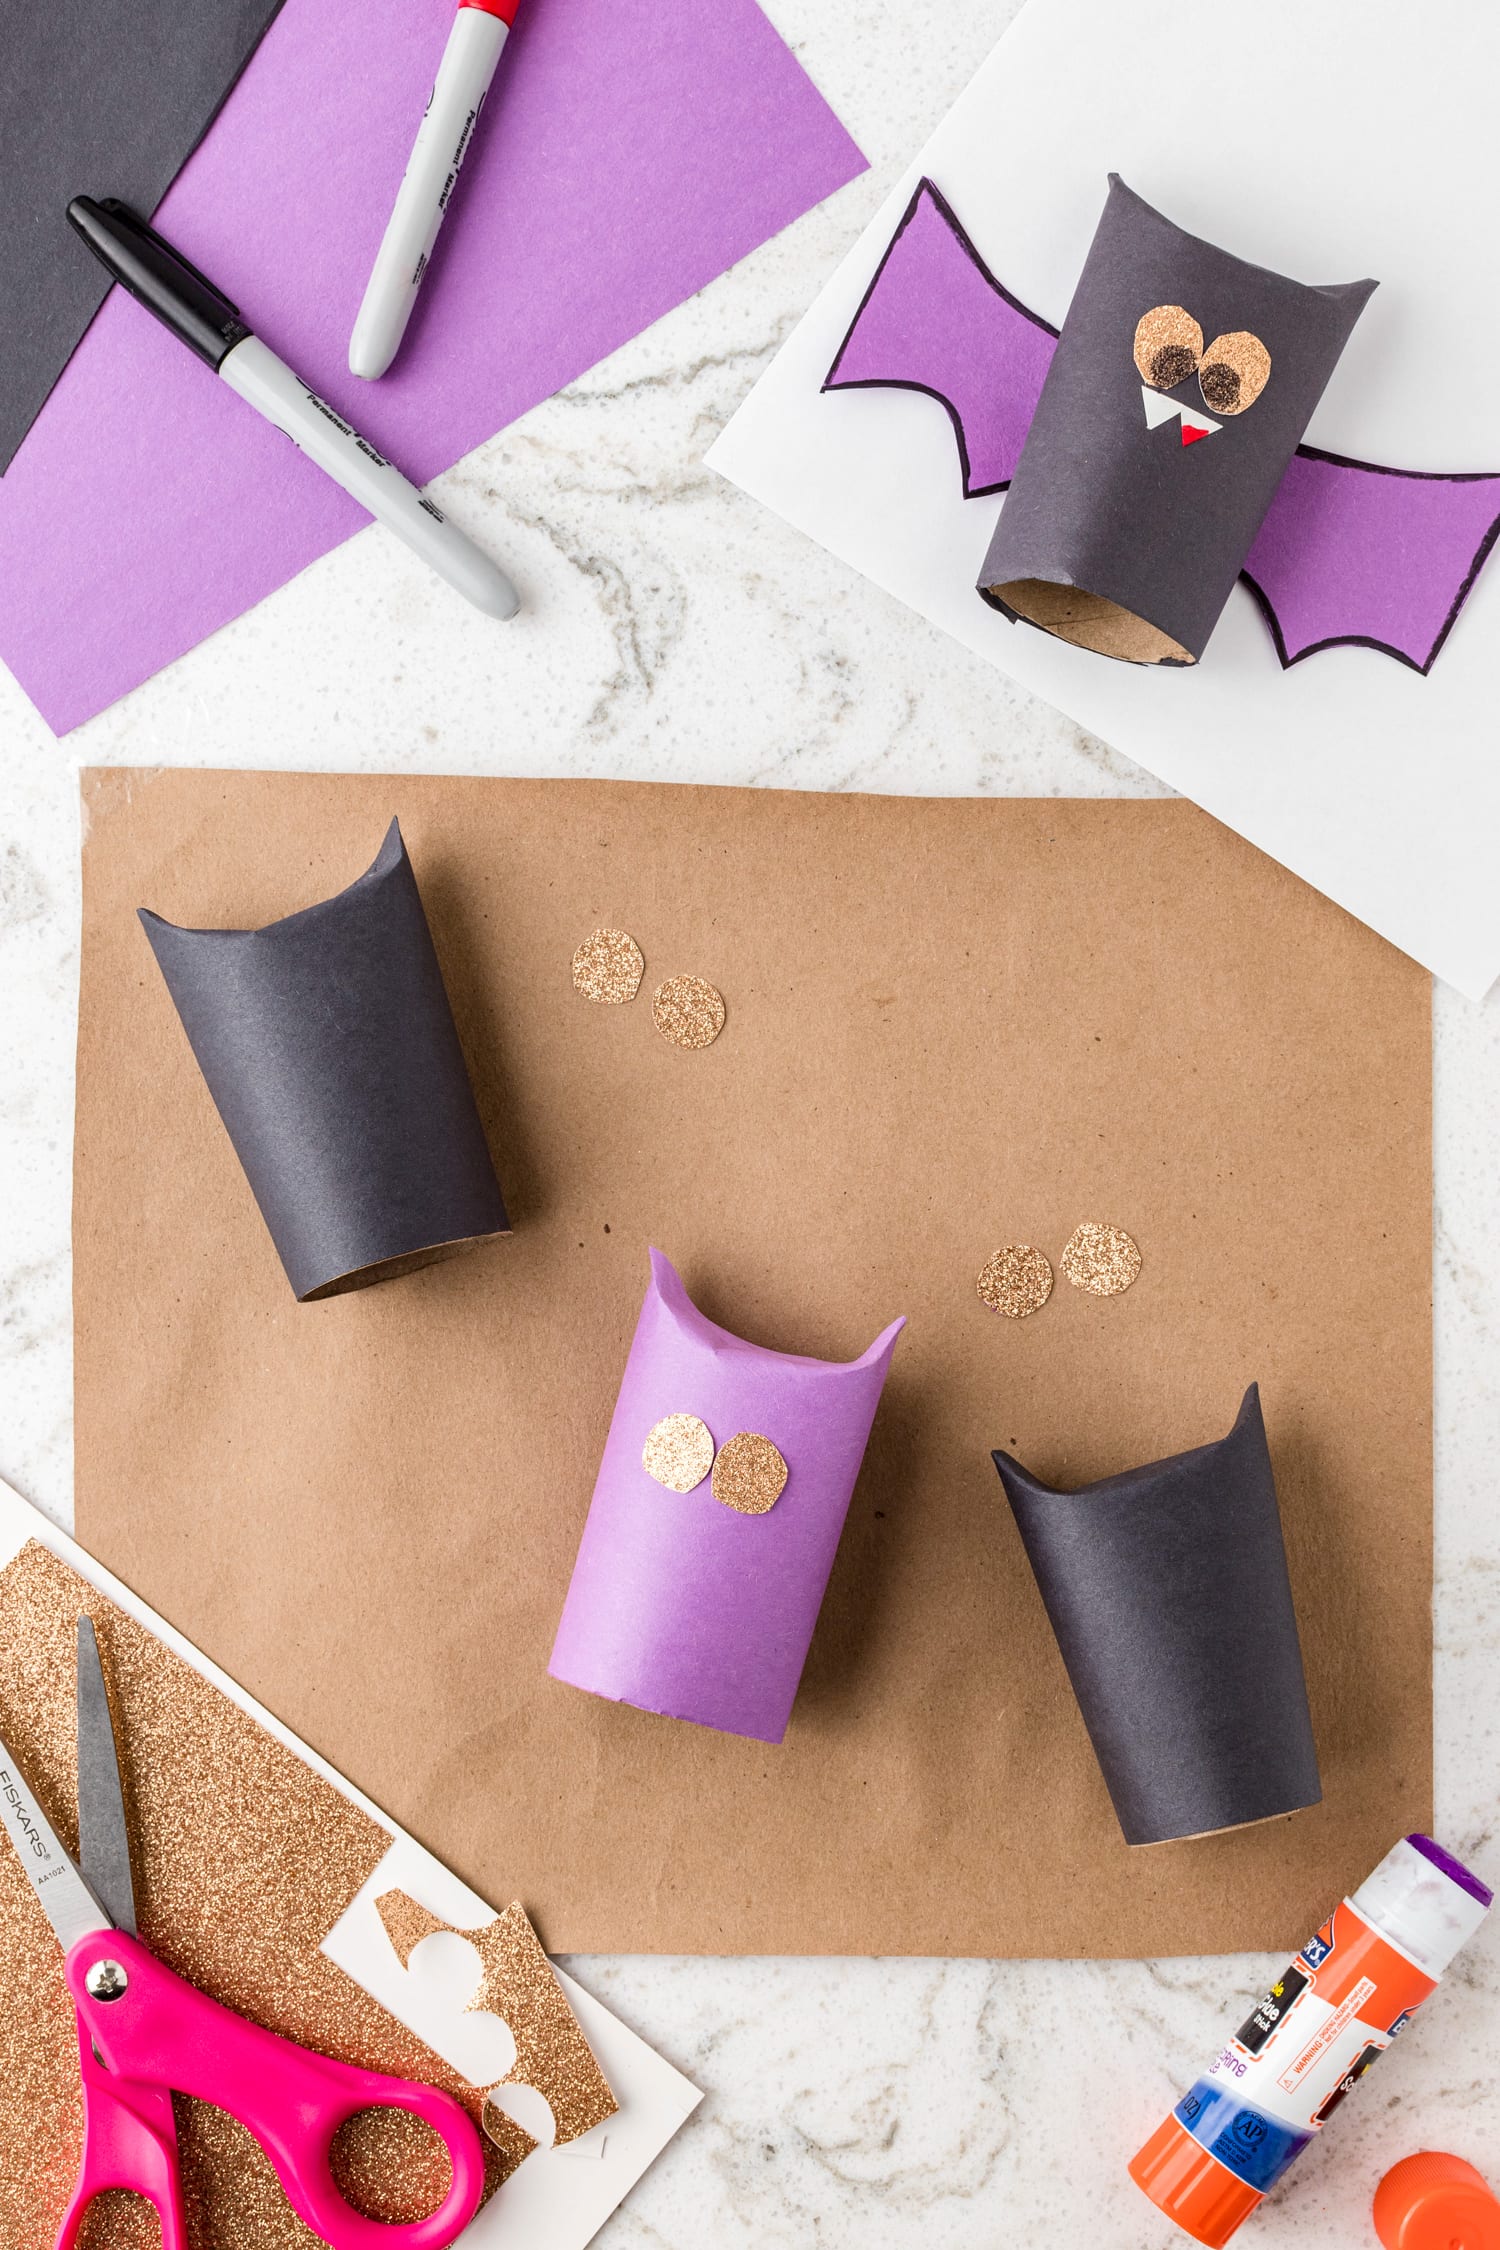

Now let’s add some eyes and fangs!
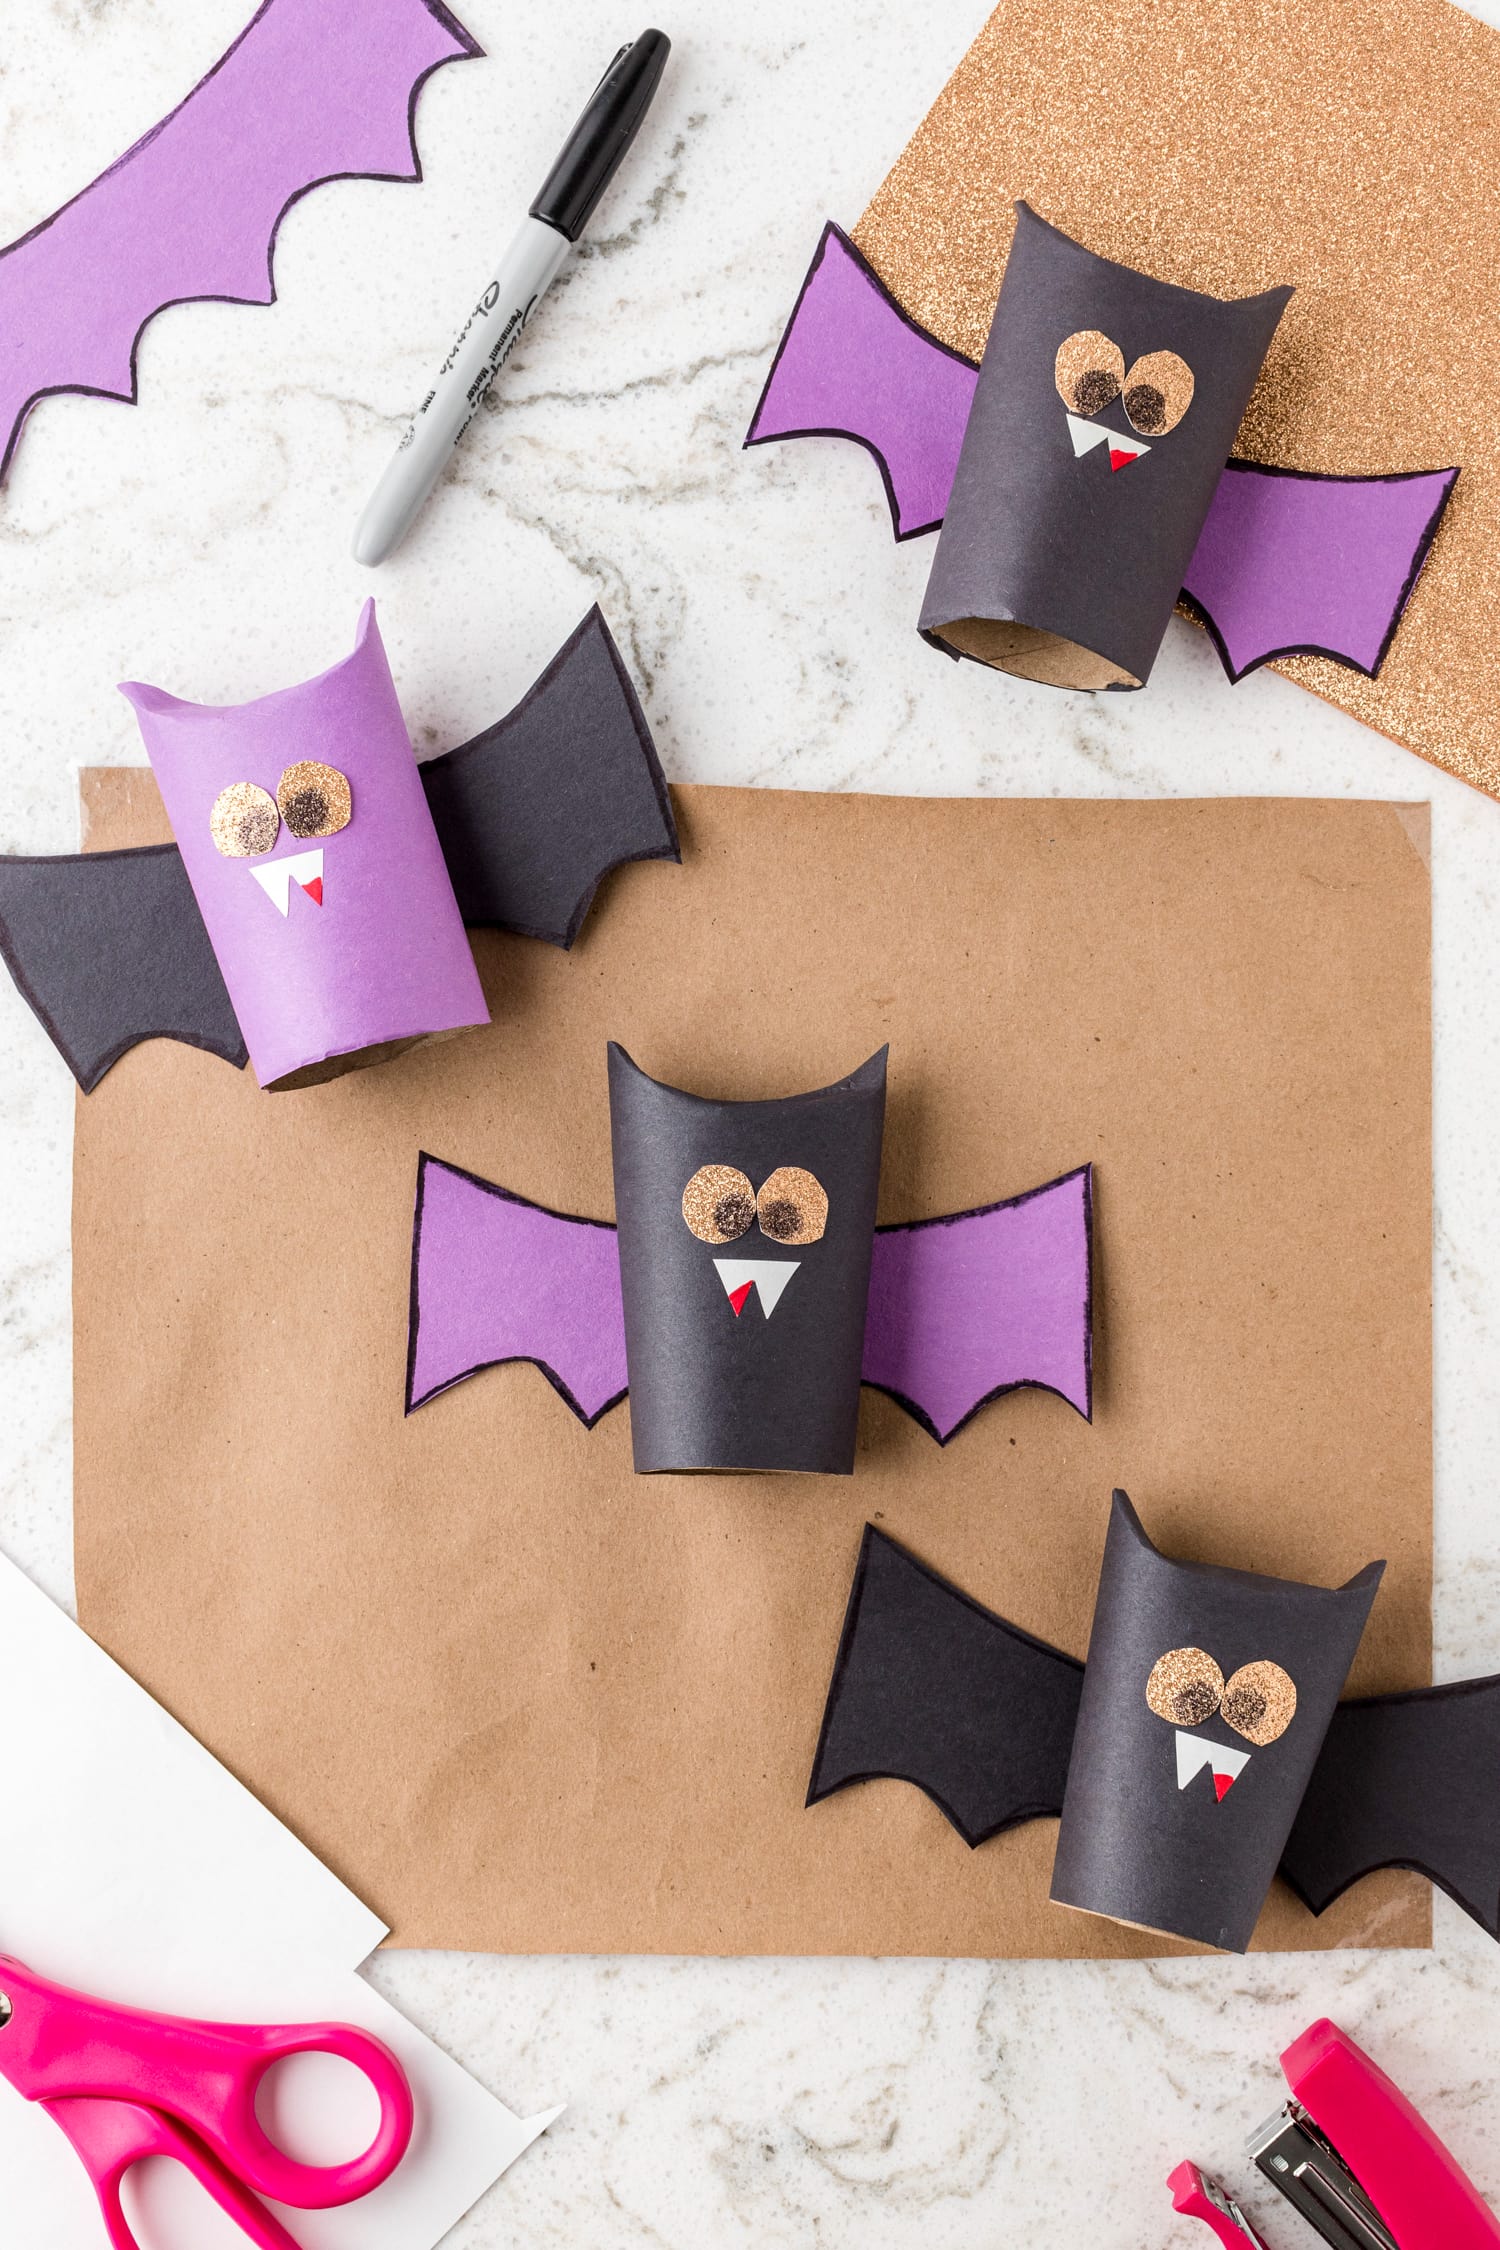
Cut some small circles out of the glitter card stock for the eyes. Glue your eyes onto the construction paper-covered roll.
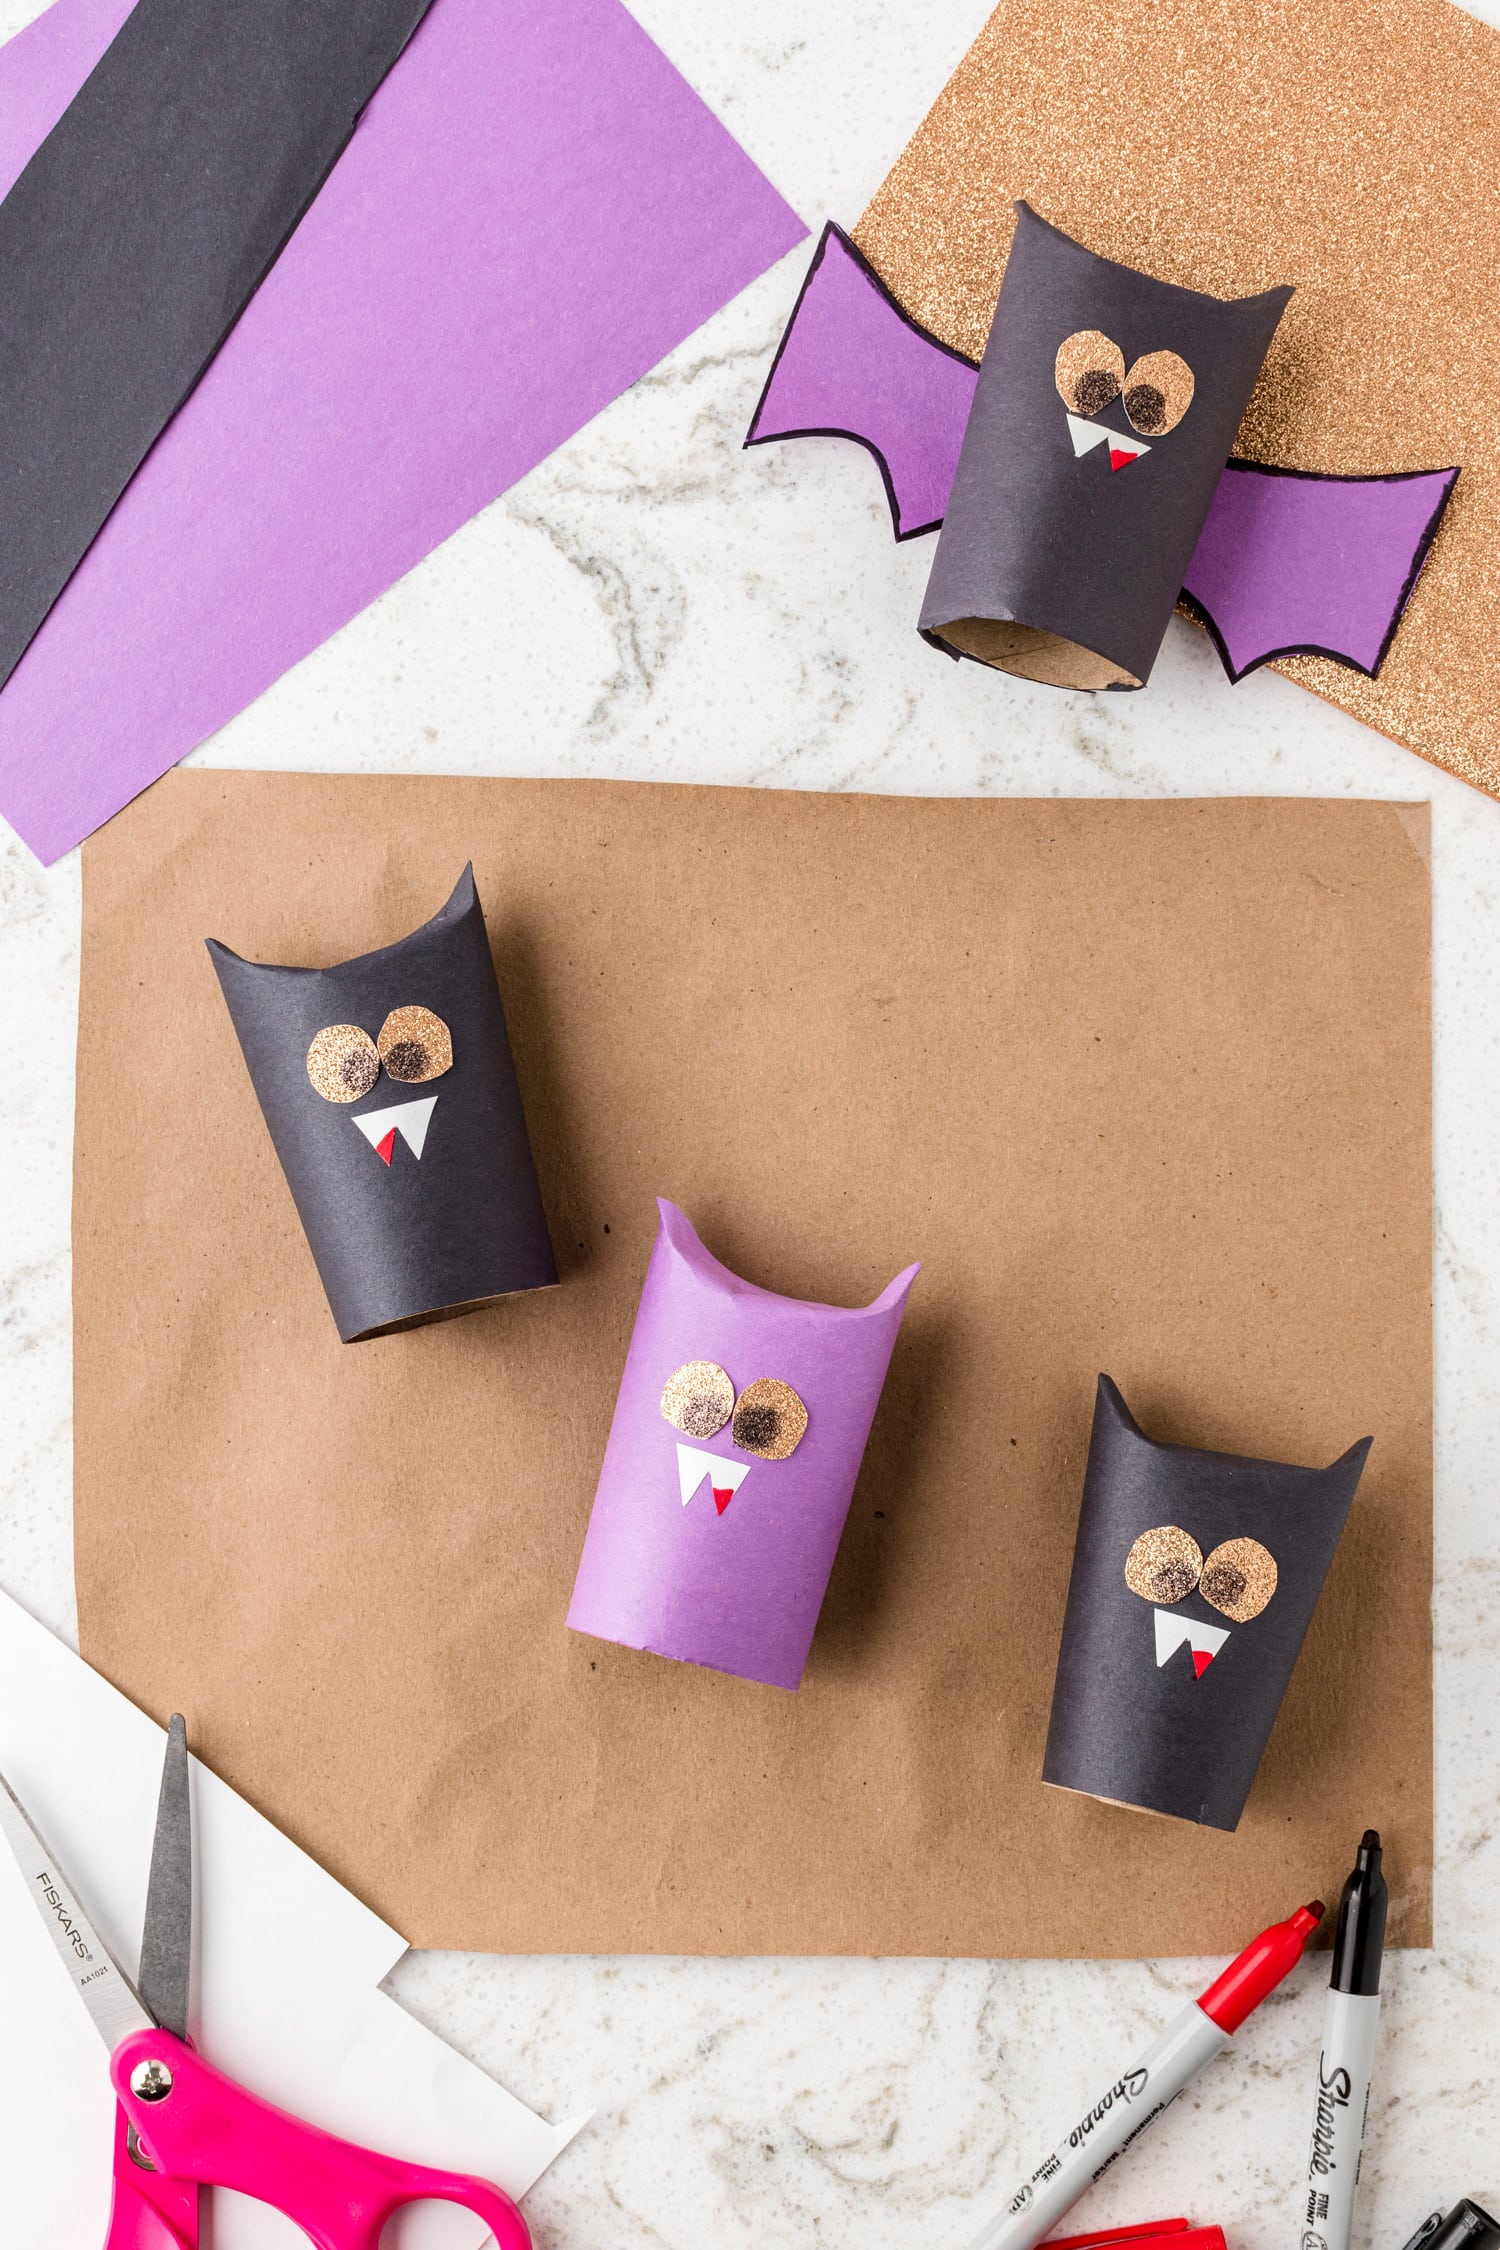
Take the white construction paper and cut small triangles for the “fangs.” Affix the fangs with glue and press to secure.
Once both are secure, take your red marker and make a little “blood” on one of the fangs and the black marker to fill in some pupils on the eyes.
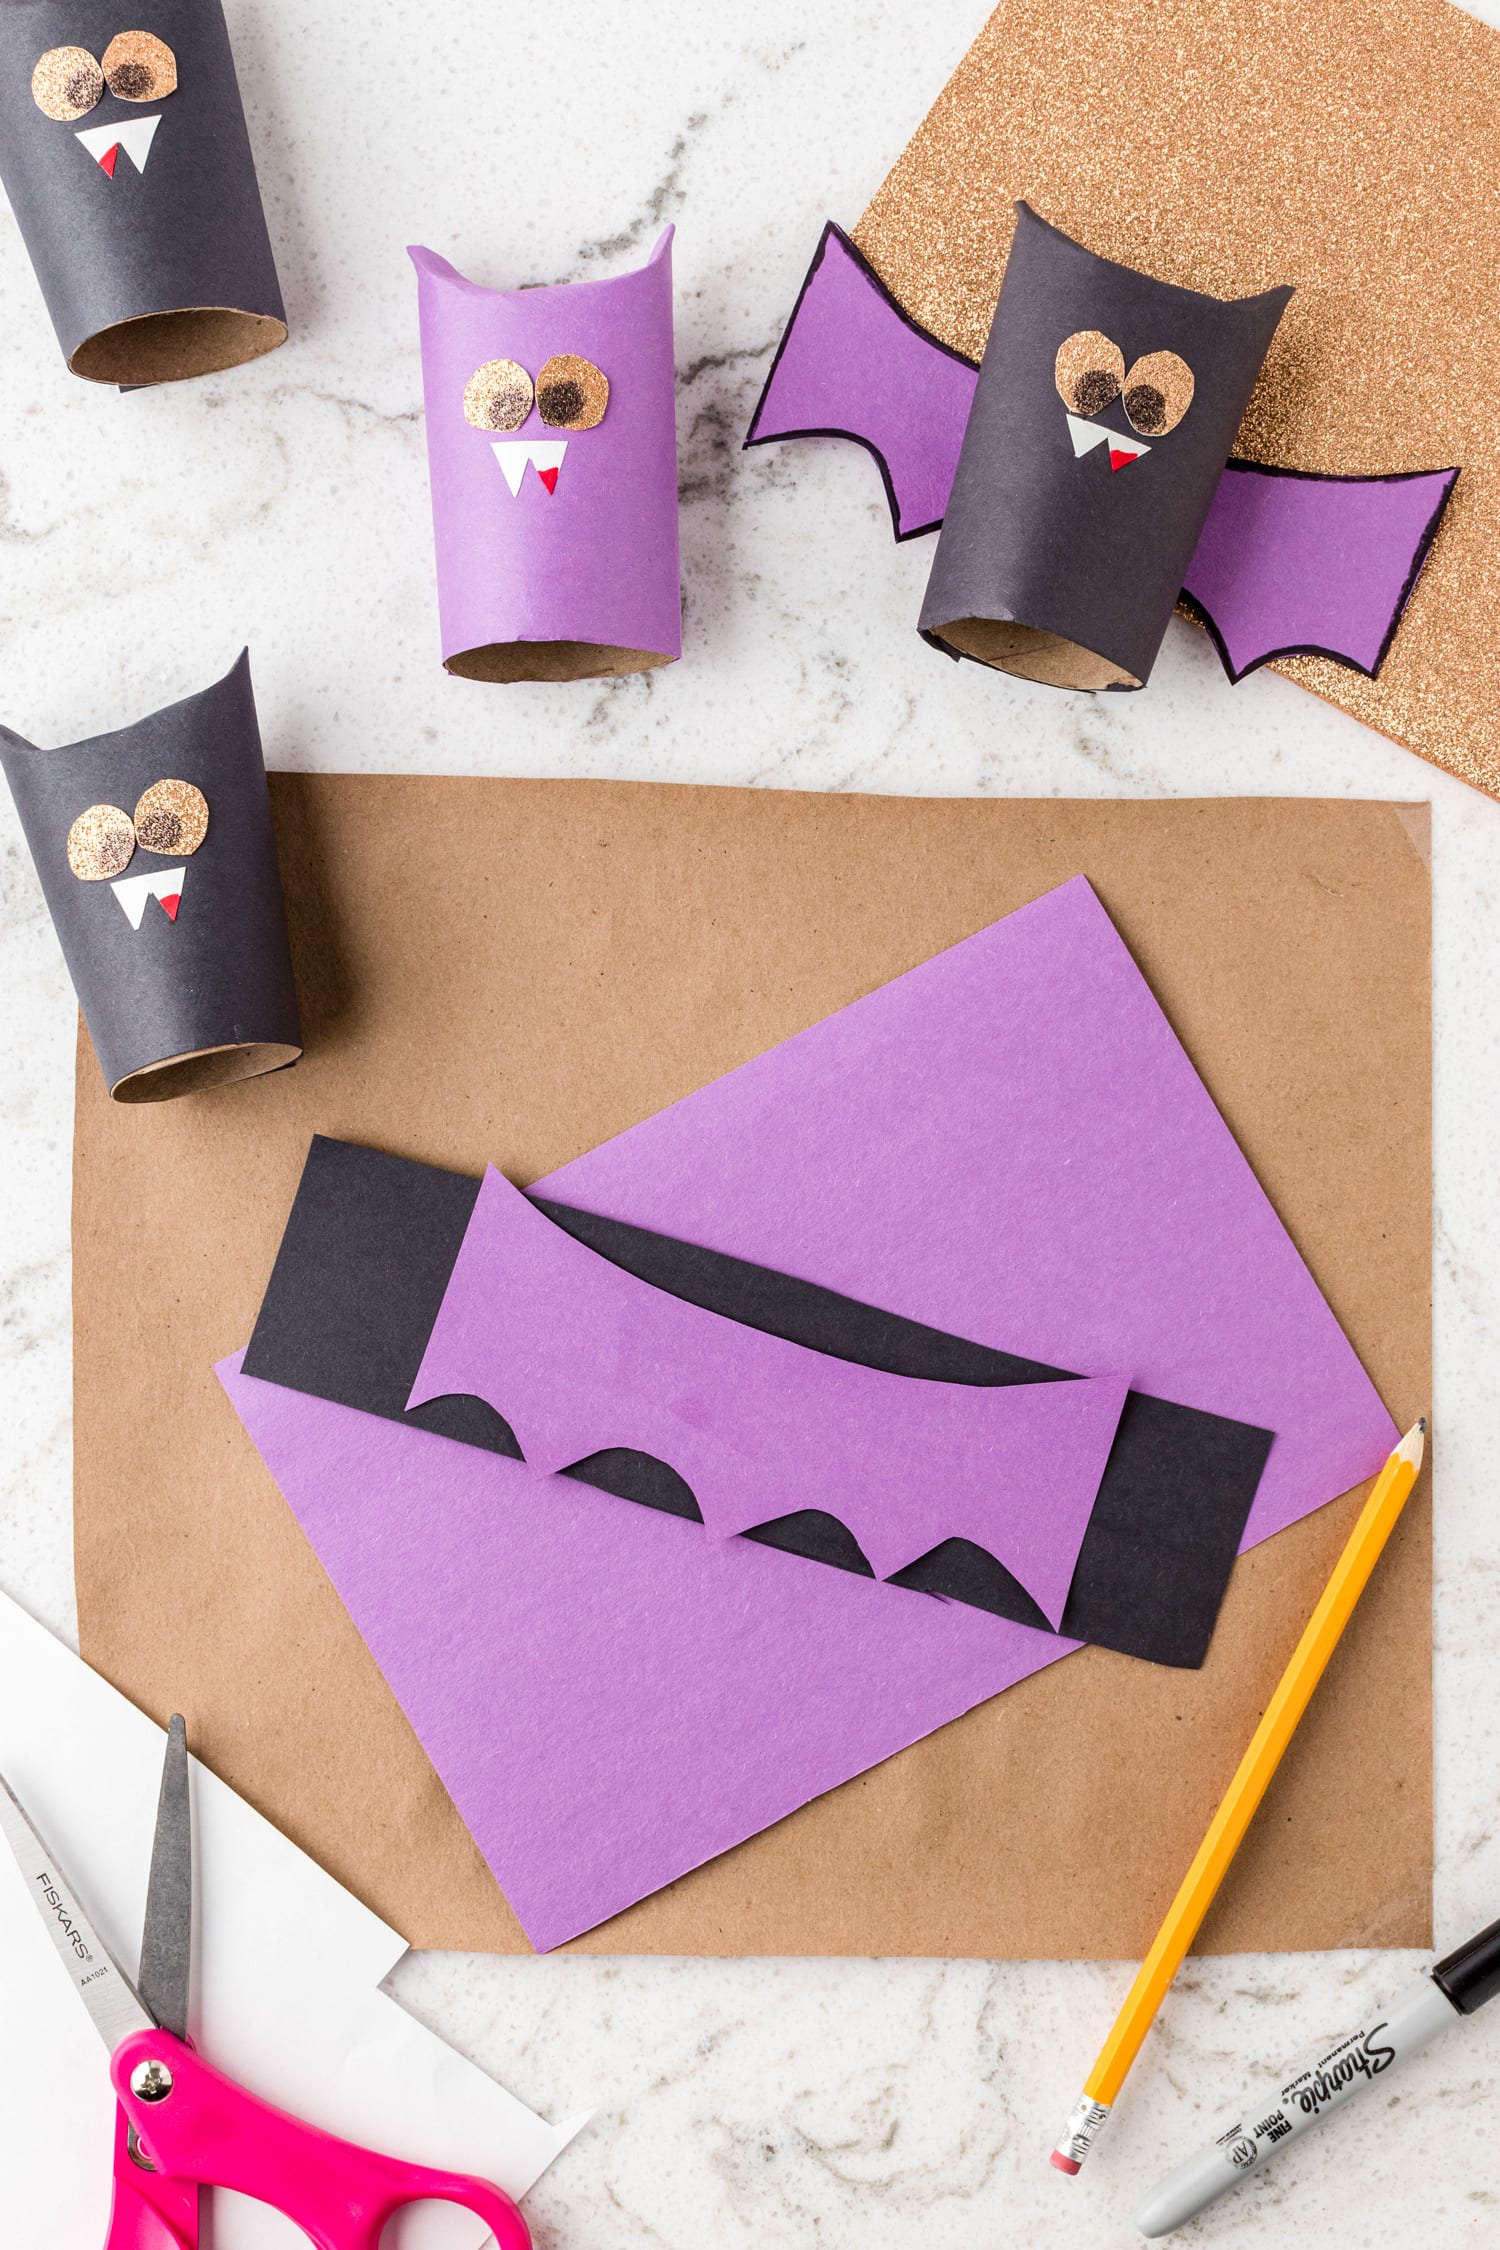

Finally, it’s time to make our bat wings!
Choose black or purple construction paper and sketch some wings to use as a template.
Use this template to make the additional wings needed. Trace the edge of the wings with a black marker for a border.
Using scissors, cut the wings and secure them to the back of the bats with a few staples.
Now, your bat is complete, and it’s time to fly!

More Halloween Fun!
- Turn a box of chocolate cake mix into fun, cute and delicious Ghost Cupcakes!
- Having a Halloween party? Candy Corn Pudding Cups are festive and delicious.
- The kids will love these Halloween Activity Pages with coloring pages, mazes and more!
- No Bake Halloween Bark is a fun treat the kids can help make!
Paper Towel Roll Bat Craft
Equipment
Ingredients
- Craft paper
- Paper towel roll
- Scissors
- Construction paper black, purple, and white
- Pencil
- Stapler
- Staples
- Glitter card stock
- Glue stick
- Marker black and red
Instructions
- Start by placing a protective layer of craft paper or a tablecloth on your activity surface.
- Take a recycled paper towel roll and cut it into 3 equal pieces. Fold each of the tops of the previously cut rolls pinching the corners to make ears.
- Then take your choice of black or purple construction paper and cut it to the length and width of the paper towel roll. Wrap the construction paper around the paper towel roll, securing it in the back with a few staples.
- Once secure, fold the top of the construction paper to match your previous fold and attach it to the cardboard with a dab of glue.
- Cut some small circles out of the glitter card stock for the eyes. Glue your eyes onto the construction paper-covered roll.
- Take the white construction paper and cut small triangles for the “fangs.” Affix the fangs with glue and press to secure.
- Once both are secure, take your red marker and make a little “blood” on one of the fangs and the black marker to fill in some pupils on the eyes.
- Choose black or purple construction paper and sketch some wings to use as a template. Use this template to make the additional wings needed. Trace the edge of the wings with a black marker for a border. Using scissors, cut the wings and secure them to the back of the bats with a few staples.
Notes
- To save time with this activity, you may precut the construction paper for the body of the bat and the wings. Precutting may help when working with small children.
- If you do not have a stapler available, you could use glue or tape to secure this project.