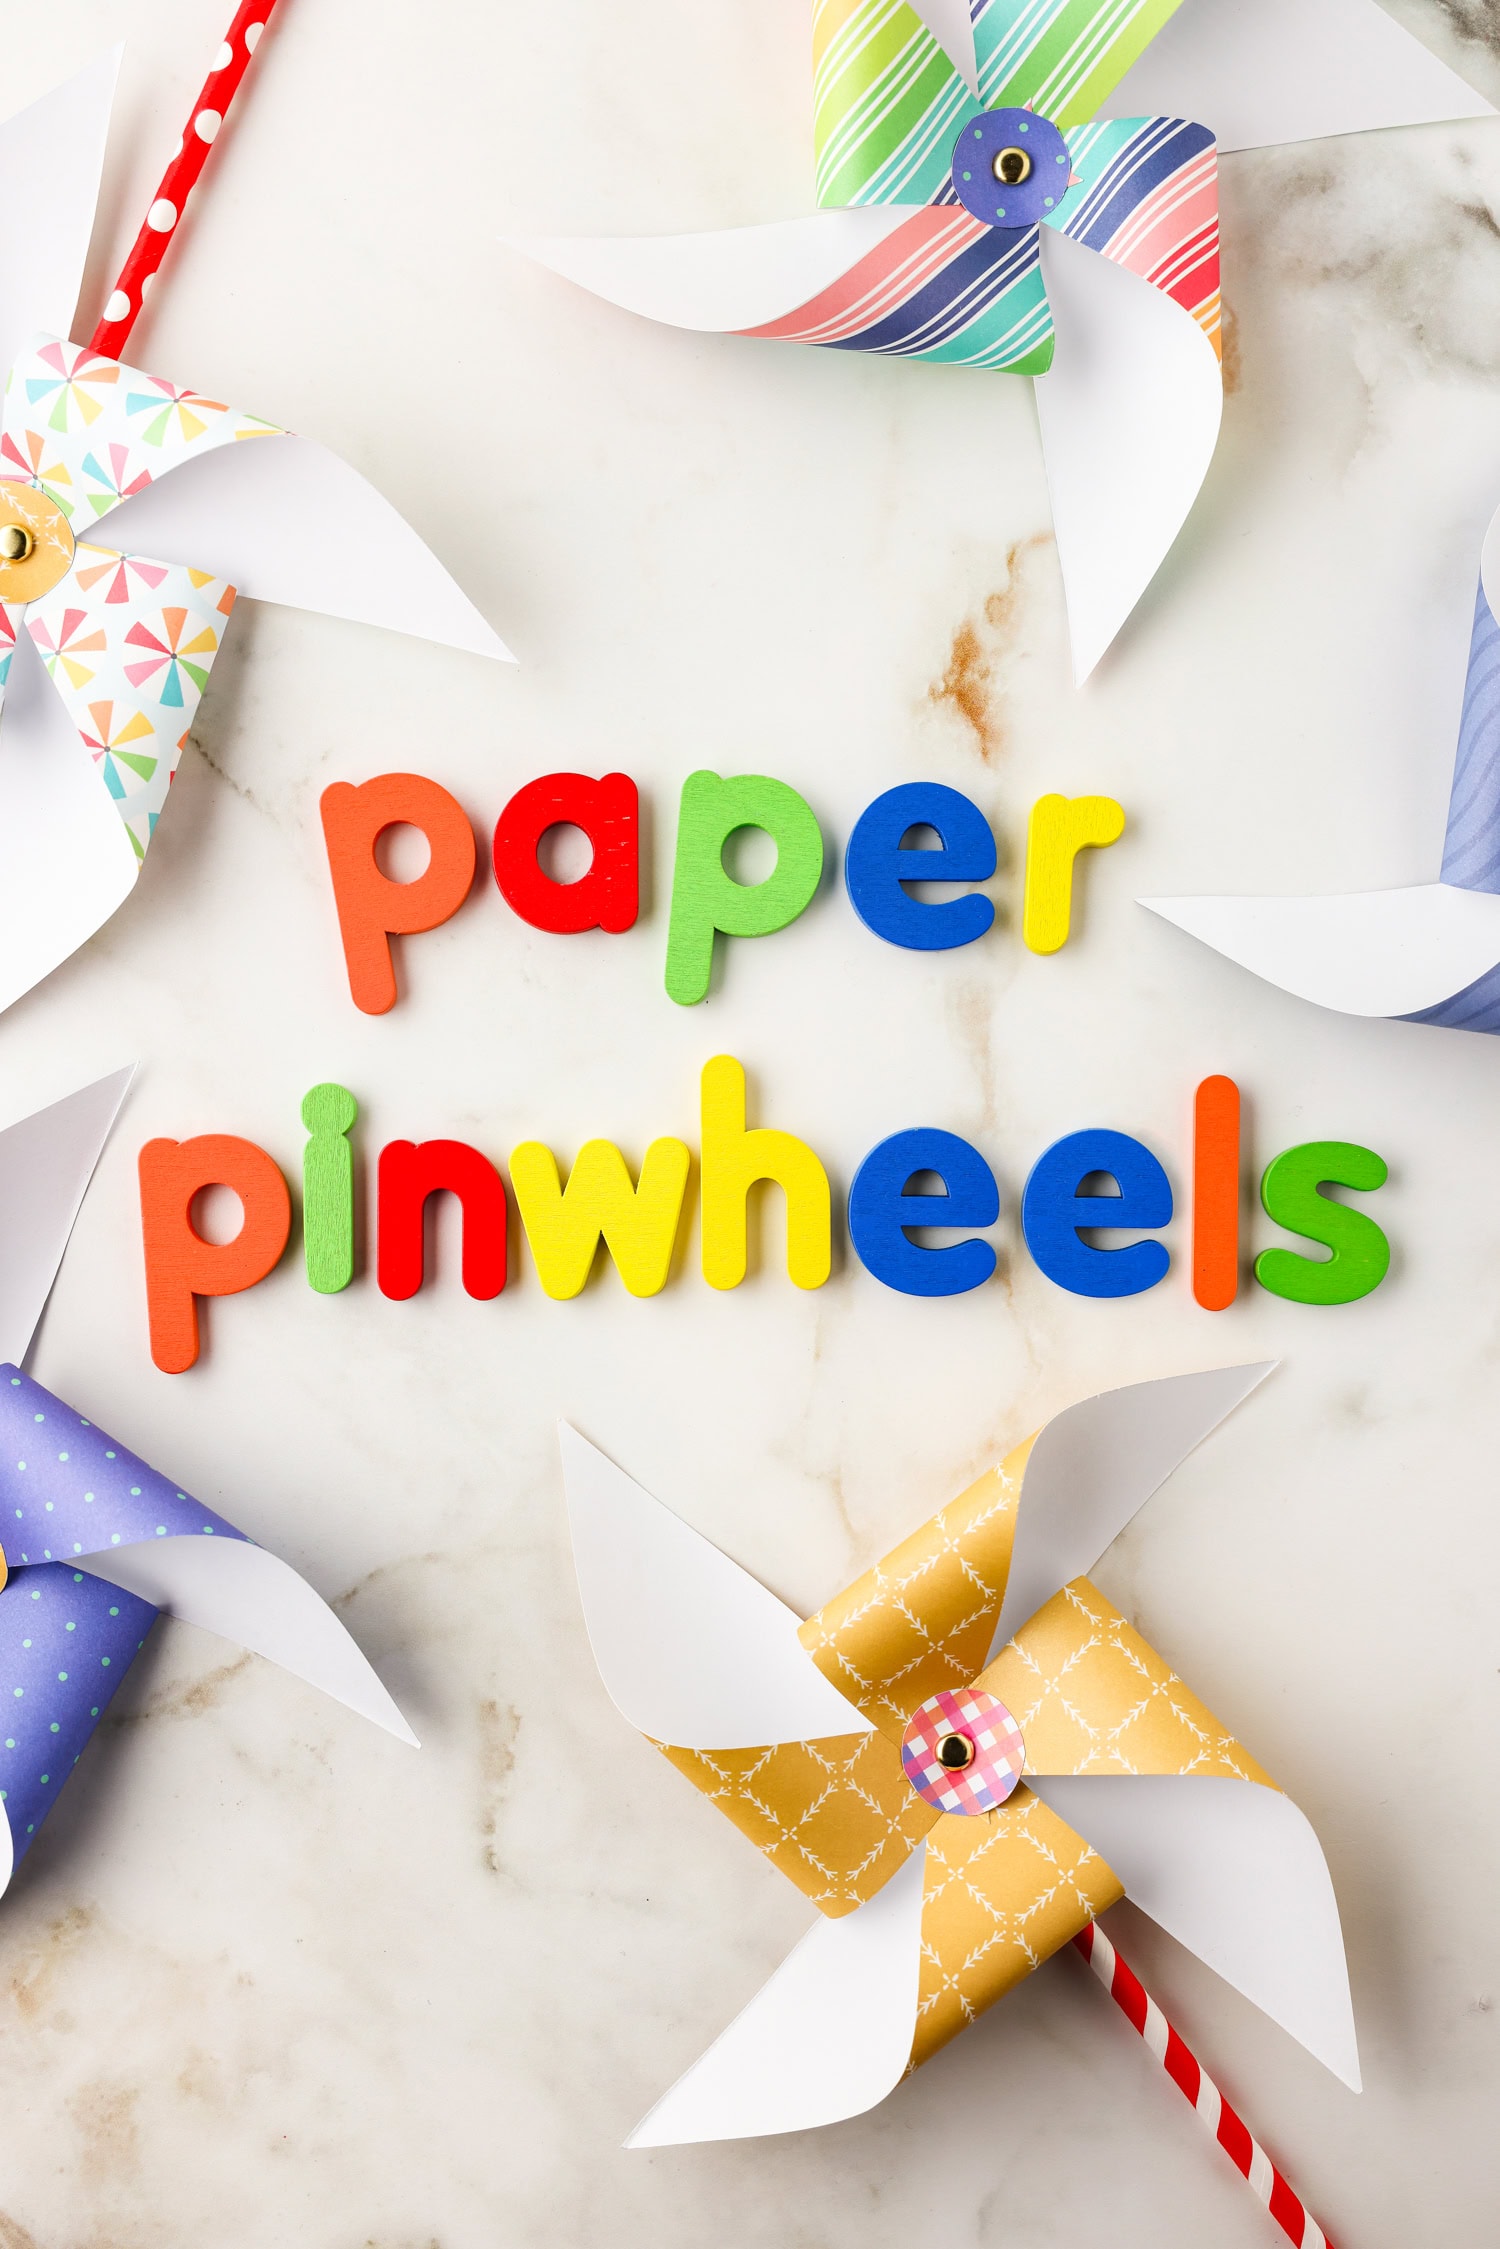
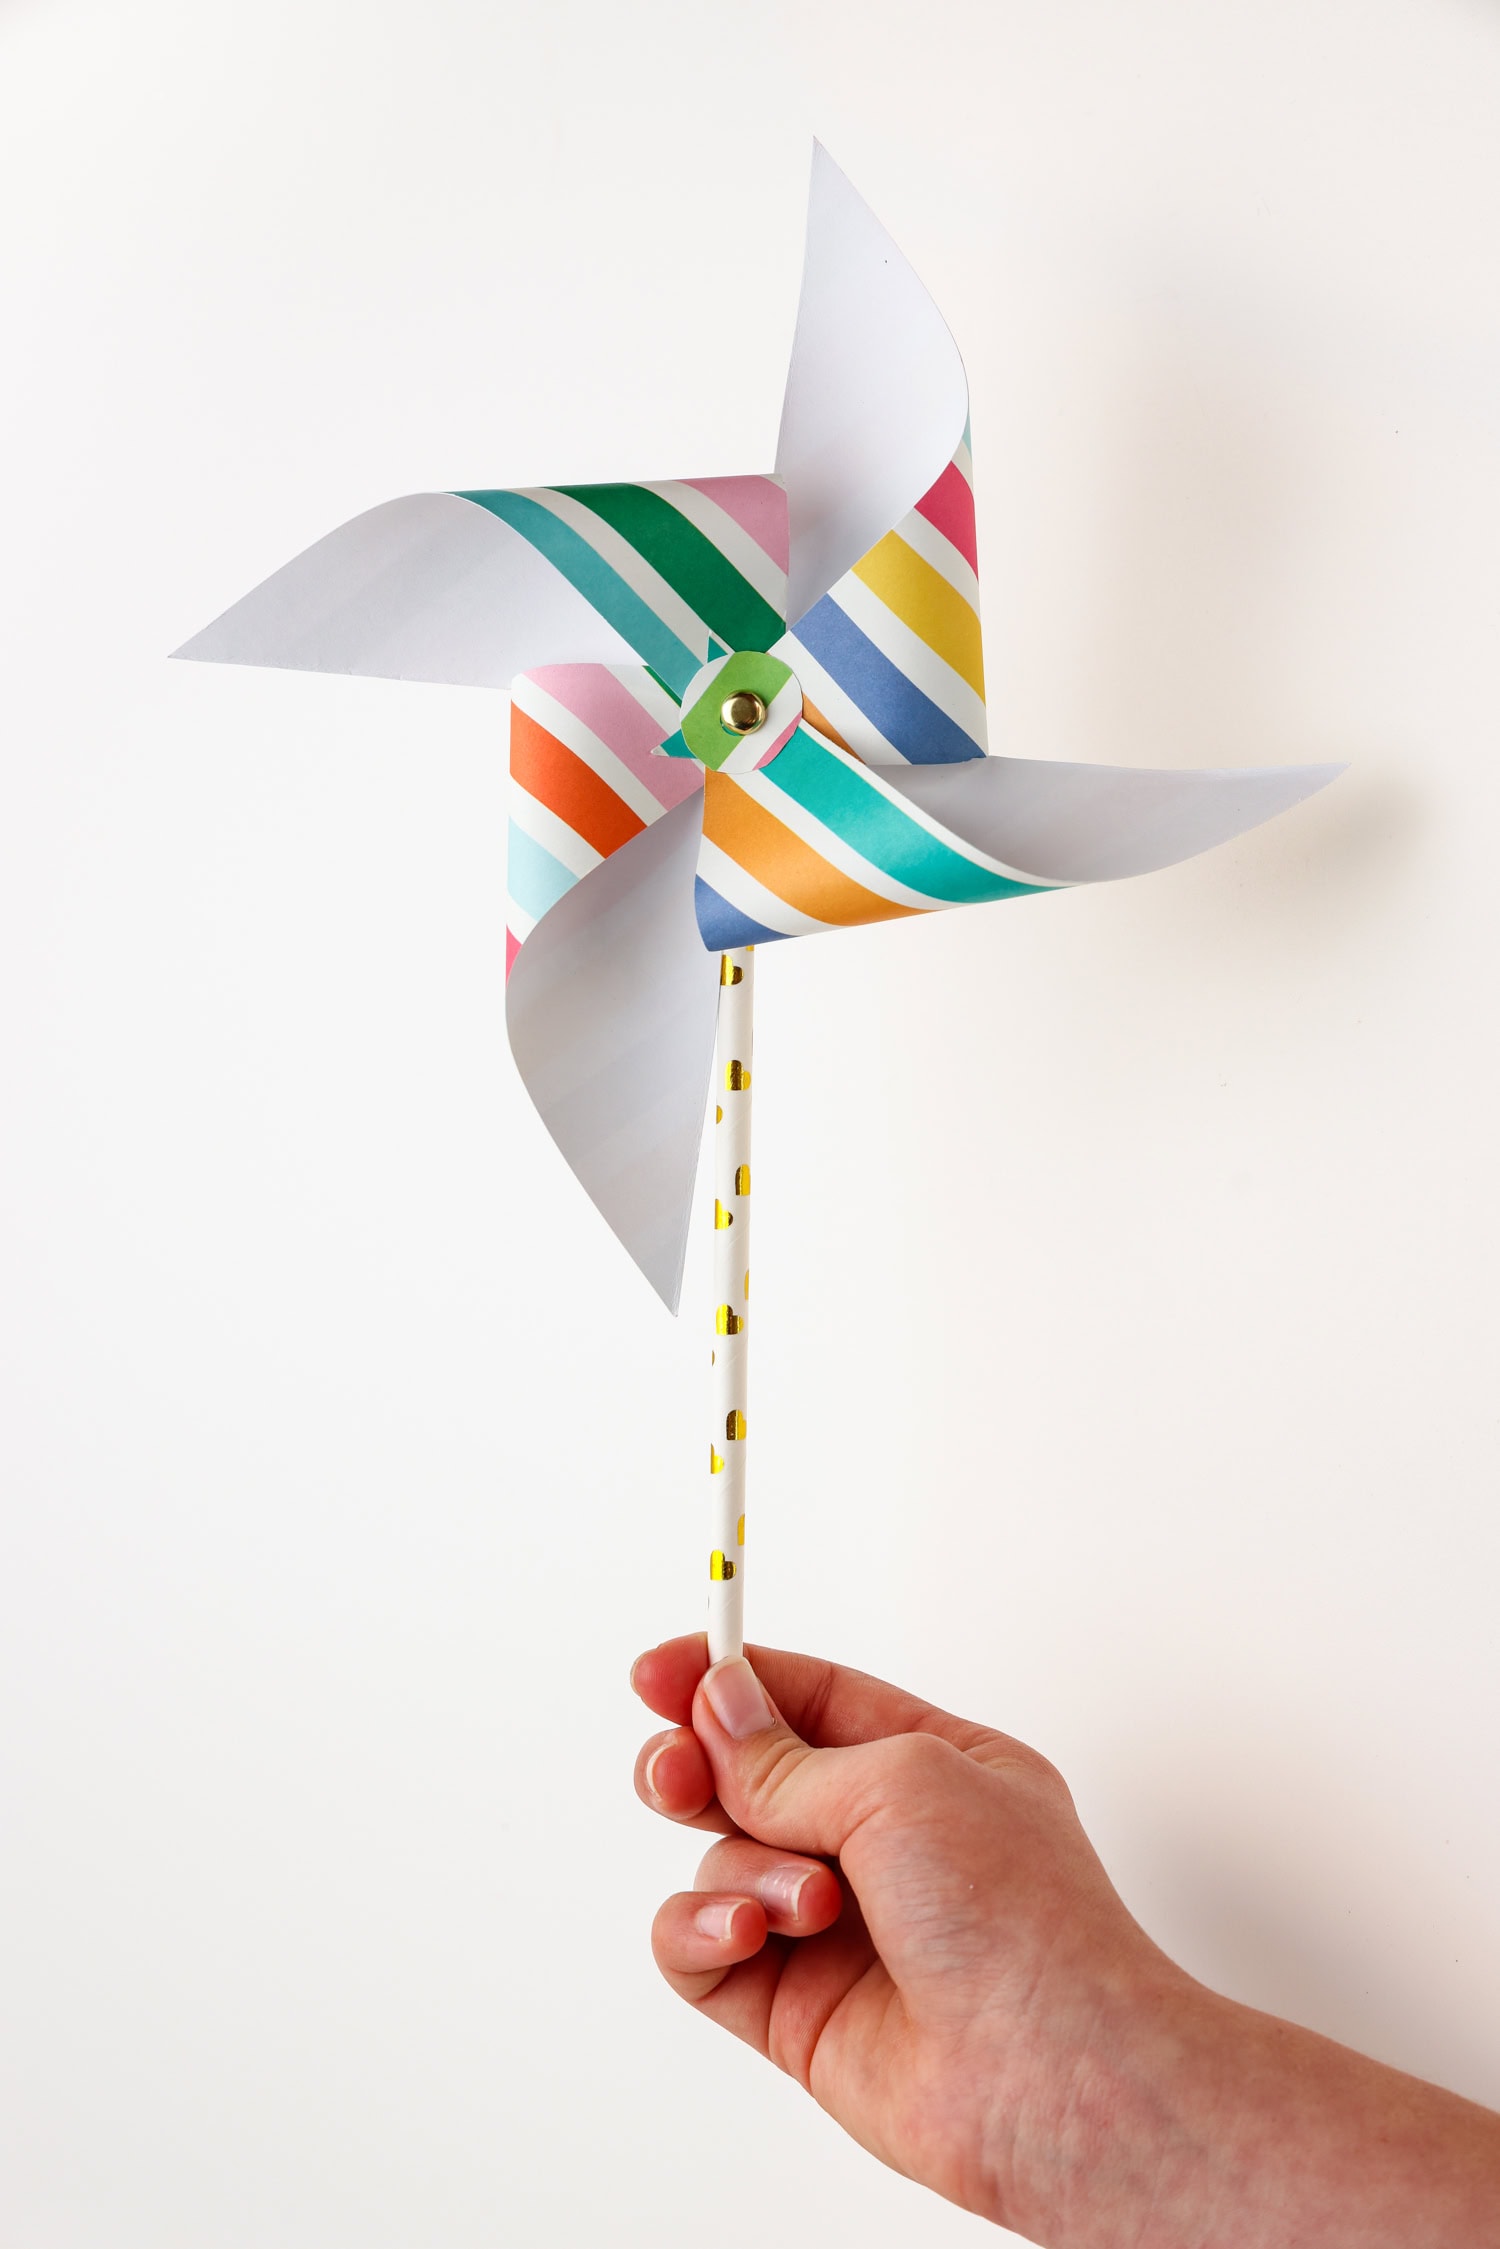
Paper Pinwheels
Learn how to make fun and colorful paper pinwheels with this easy craft! Using just a few simple supplies like paper, scissors, and a pin, kids can create spinning pinwheels perfect for play or decoration. It’s a quick and creative activity that’s great for kids of all ages!
This DIY pinwheel is a great craft to do with a group of kids on any afternoon. With so many different options for patterned and colored card stock, this is a wonderful creative outlet for some. The activity doesn’t take too long but has enough steps to make it a fun challenge.
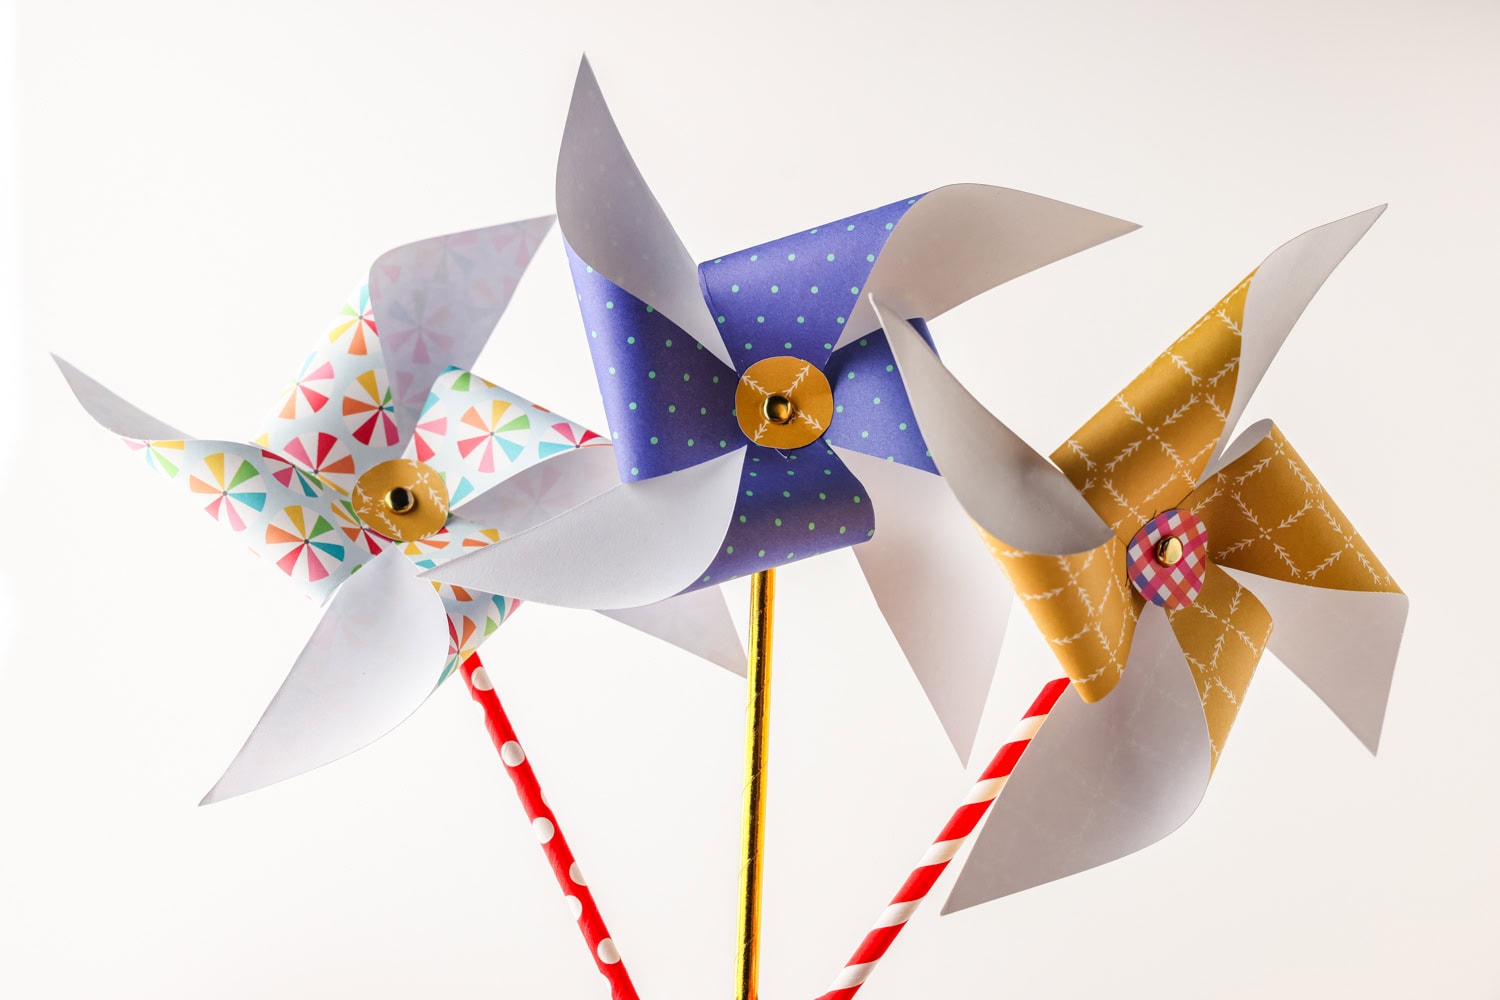
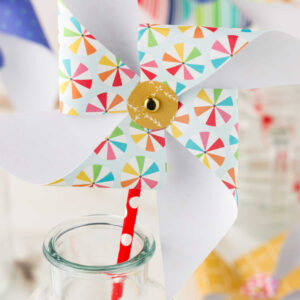
On a windy day, set the pinwheels outside and watch them spin! But until then, they look great inside in a vase or even as a fun window garland. Play around with different sizes, too!
Why You’ll Love This Activity
- Kids can work on cutting, if they are big enough, and folding. Their fine motor skills will also be put to the test when lining up the holes with the paintbrush.
- This craft only takes 30 minutes and the fun with the pinwheels themselves can last for hours!
- You only need a few supplies for this activity and you probably already have them at home.
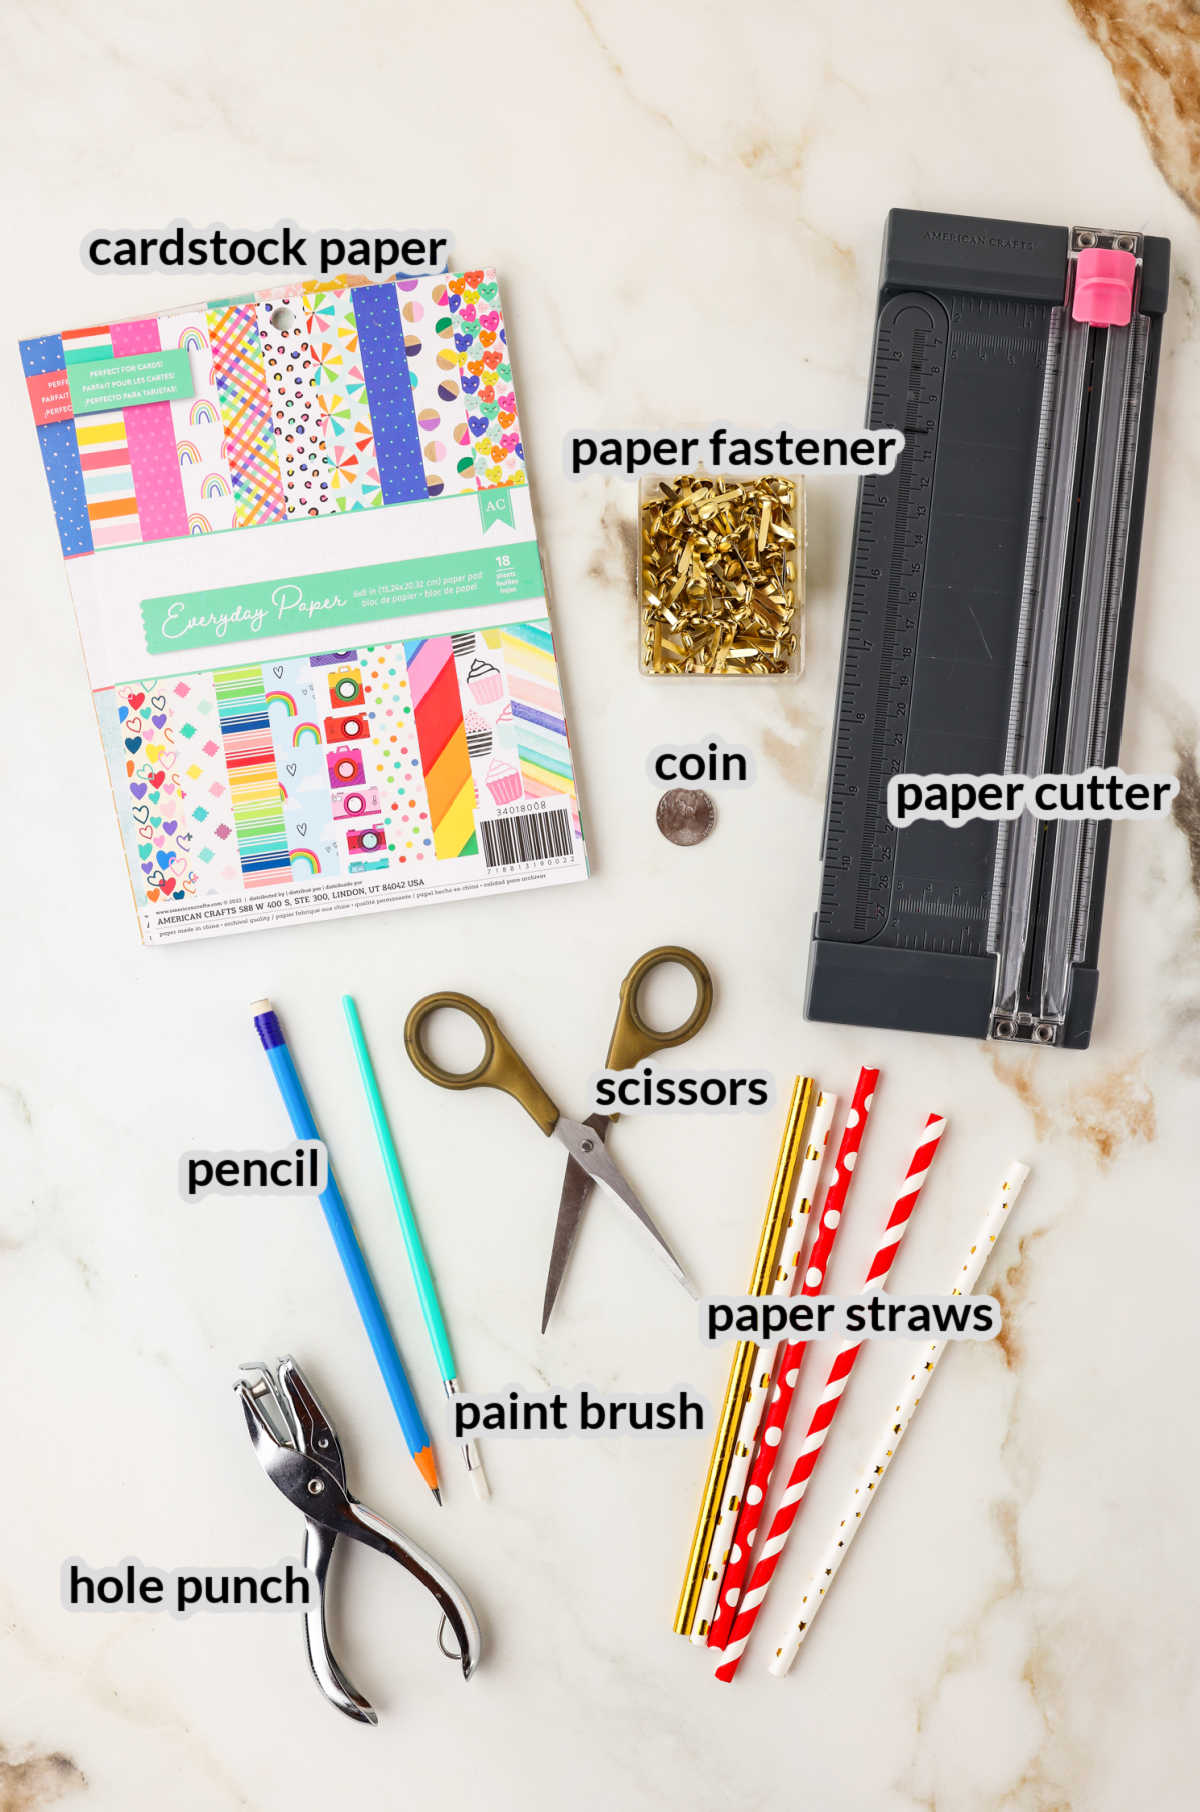
Paper Pinwheels Supplies
- Cardstock – This will hold up a lot stronger than a thinner paper like construction paper. Scrapbook paper will also work well.
- Paper straws – These are so useful for crafts and fun drinks!
- Paper fastener brads – These are super handy to have in your craft kit.
- Hole puncher – A single hole puncher is easier to manage than a three-hole punch.
- Scissors – There isn’t a ton of cutting in this craft, so it’s great for those with little hands who are learning.
- Pen/Pencil – You will be tracing a coin to create the middle of the pinwheel.
- Paintbrush – A great anchor to help fold the flaps over.
- Paper cutter – This will ensure nice straight sides for your square cut out.
- Coin – A nickel or quarter is the best size for the center of the pinwheel.
How to Make Paper Pinwheels
Cut card stock into a 6×6 inch square.
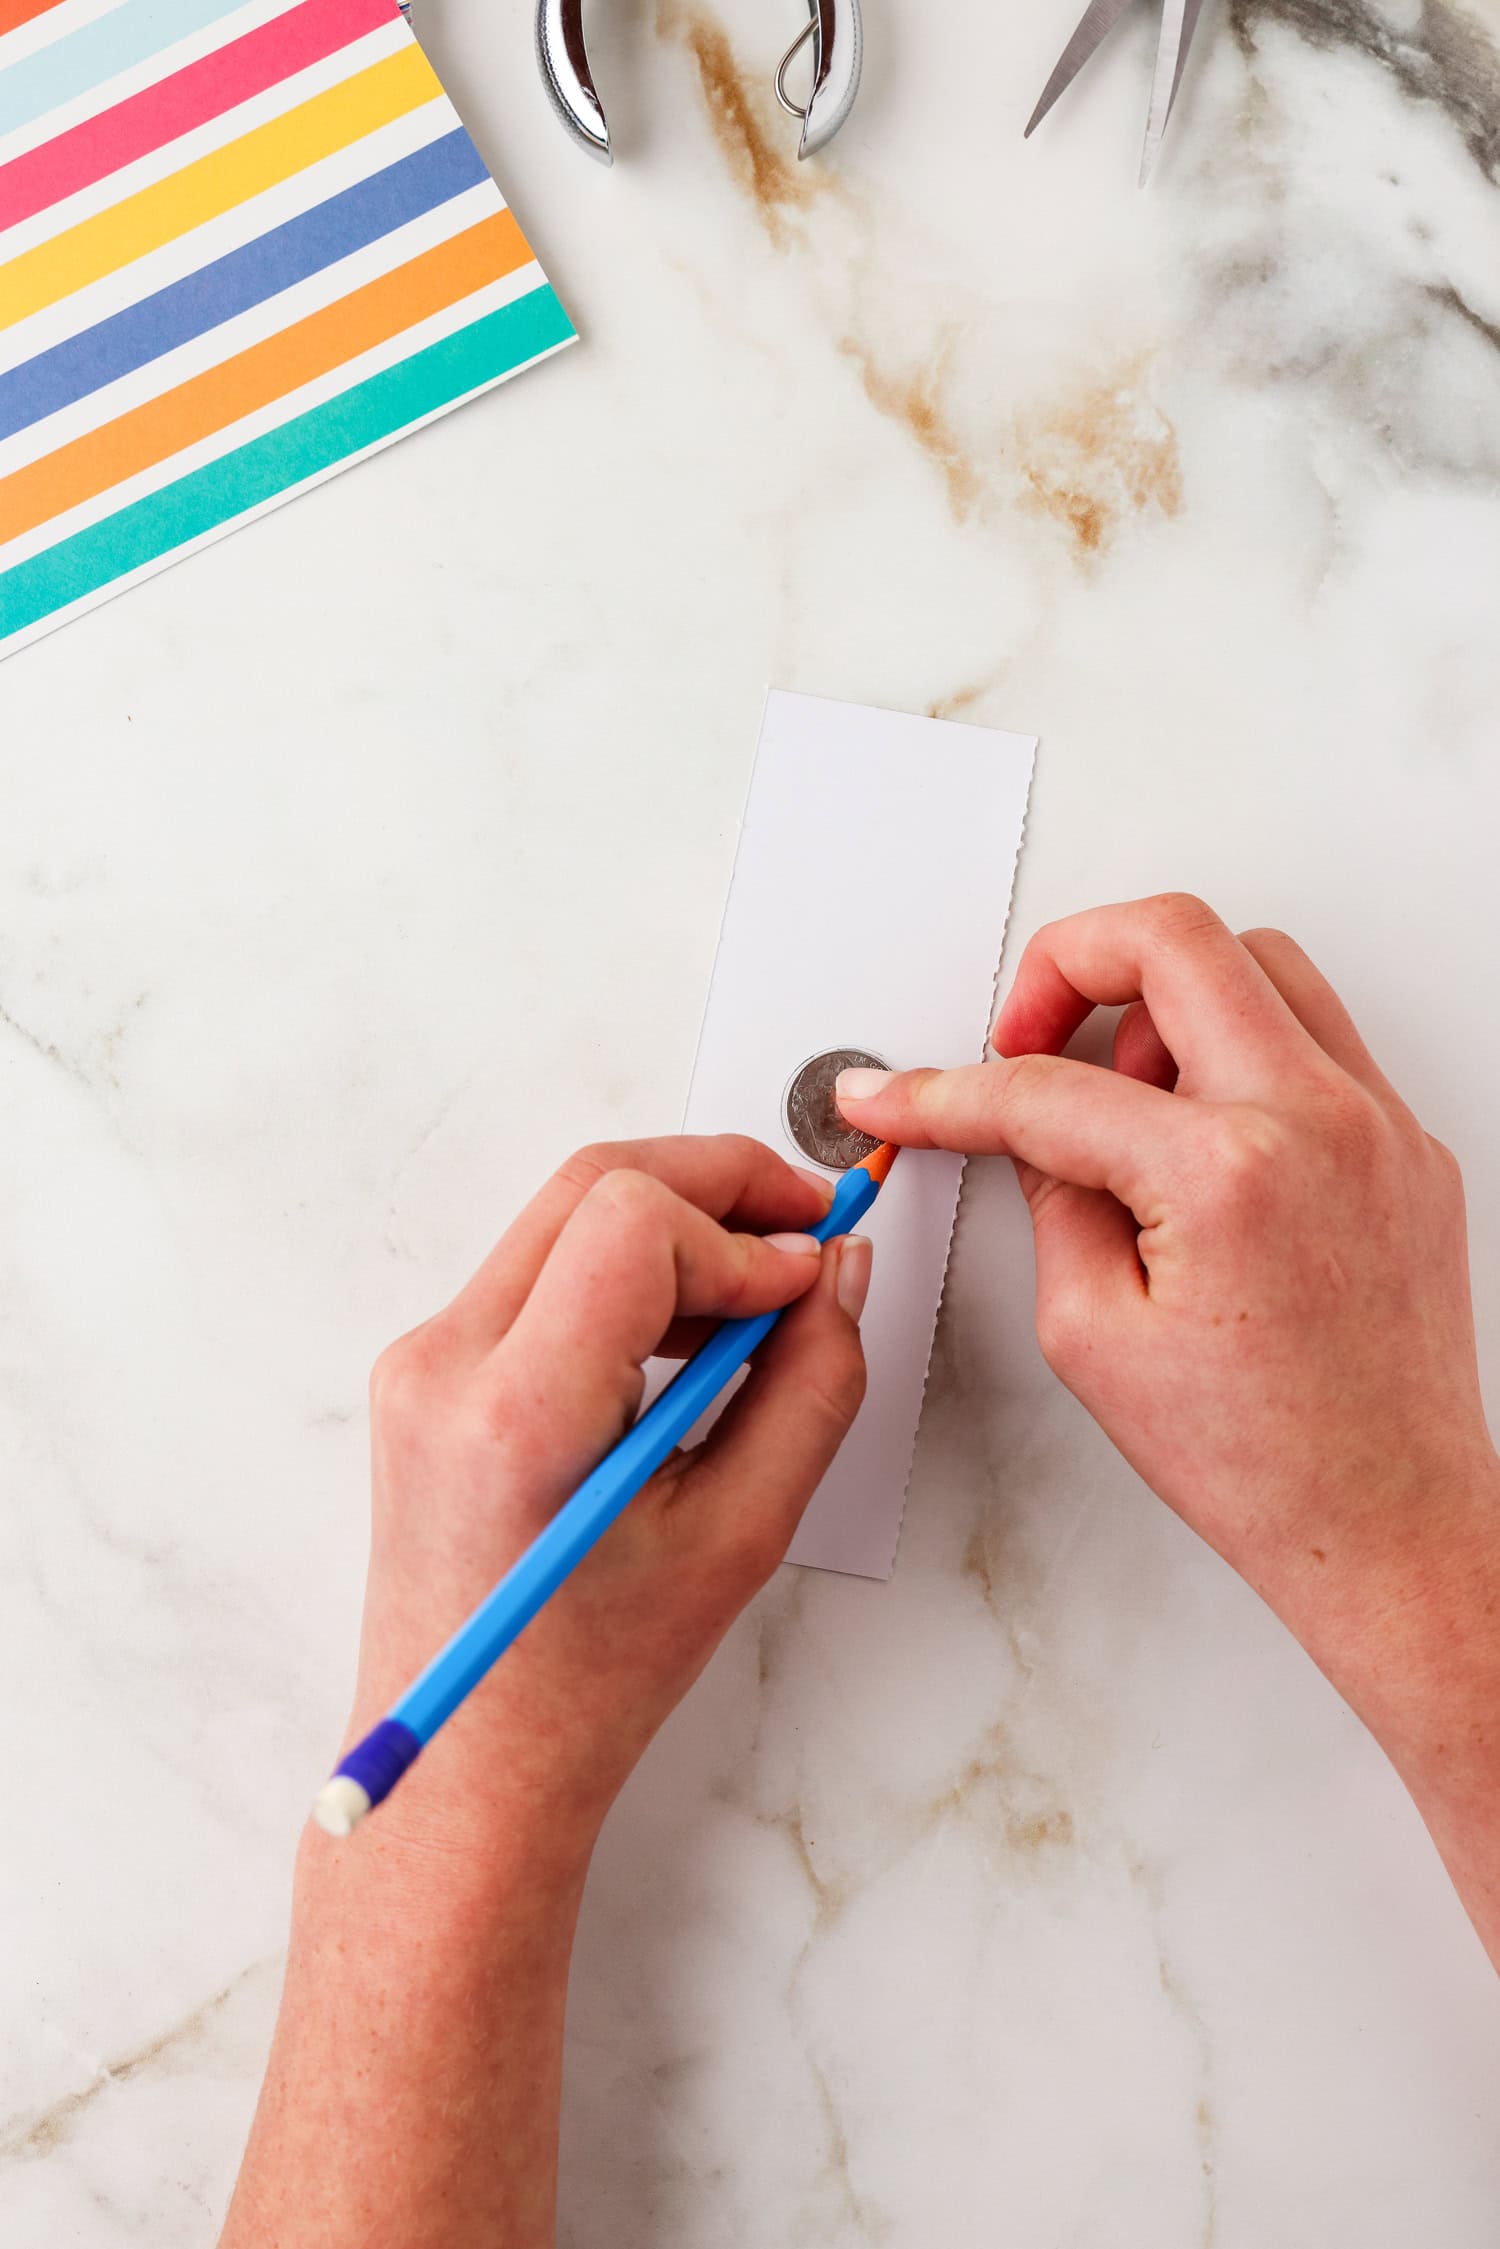
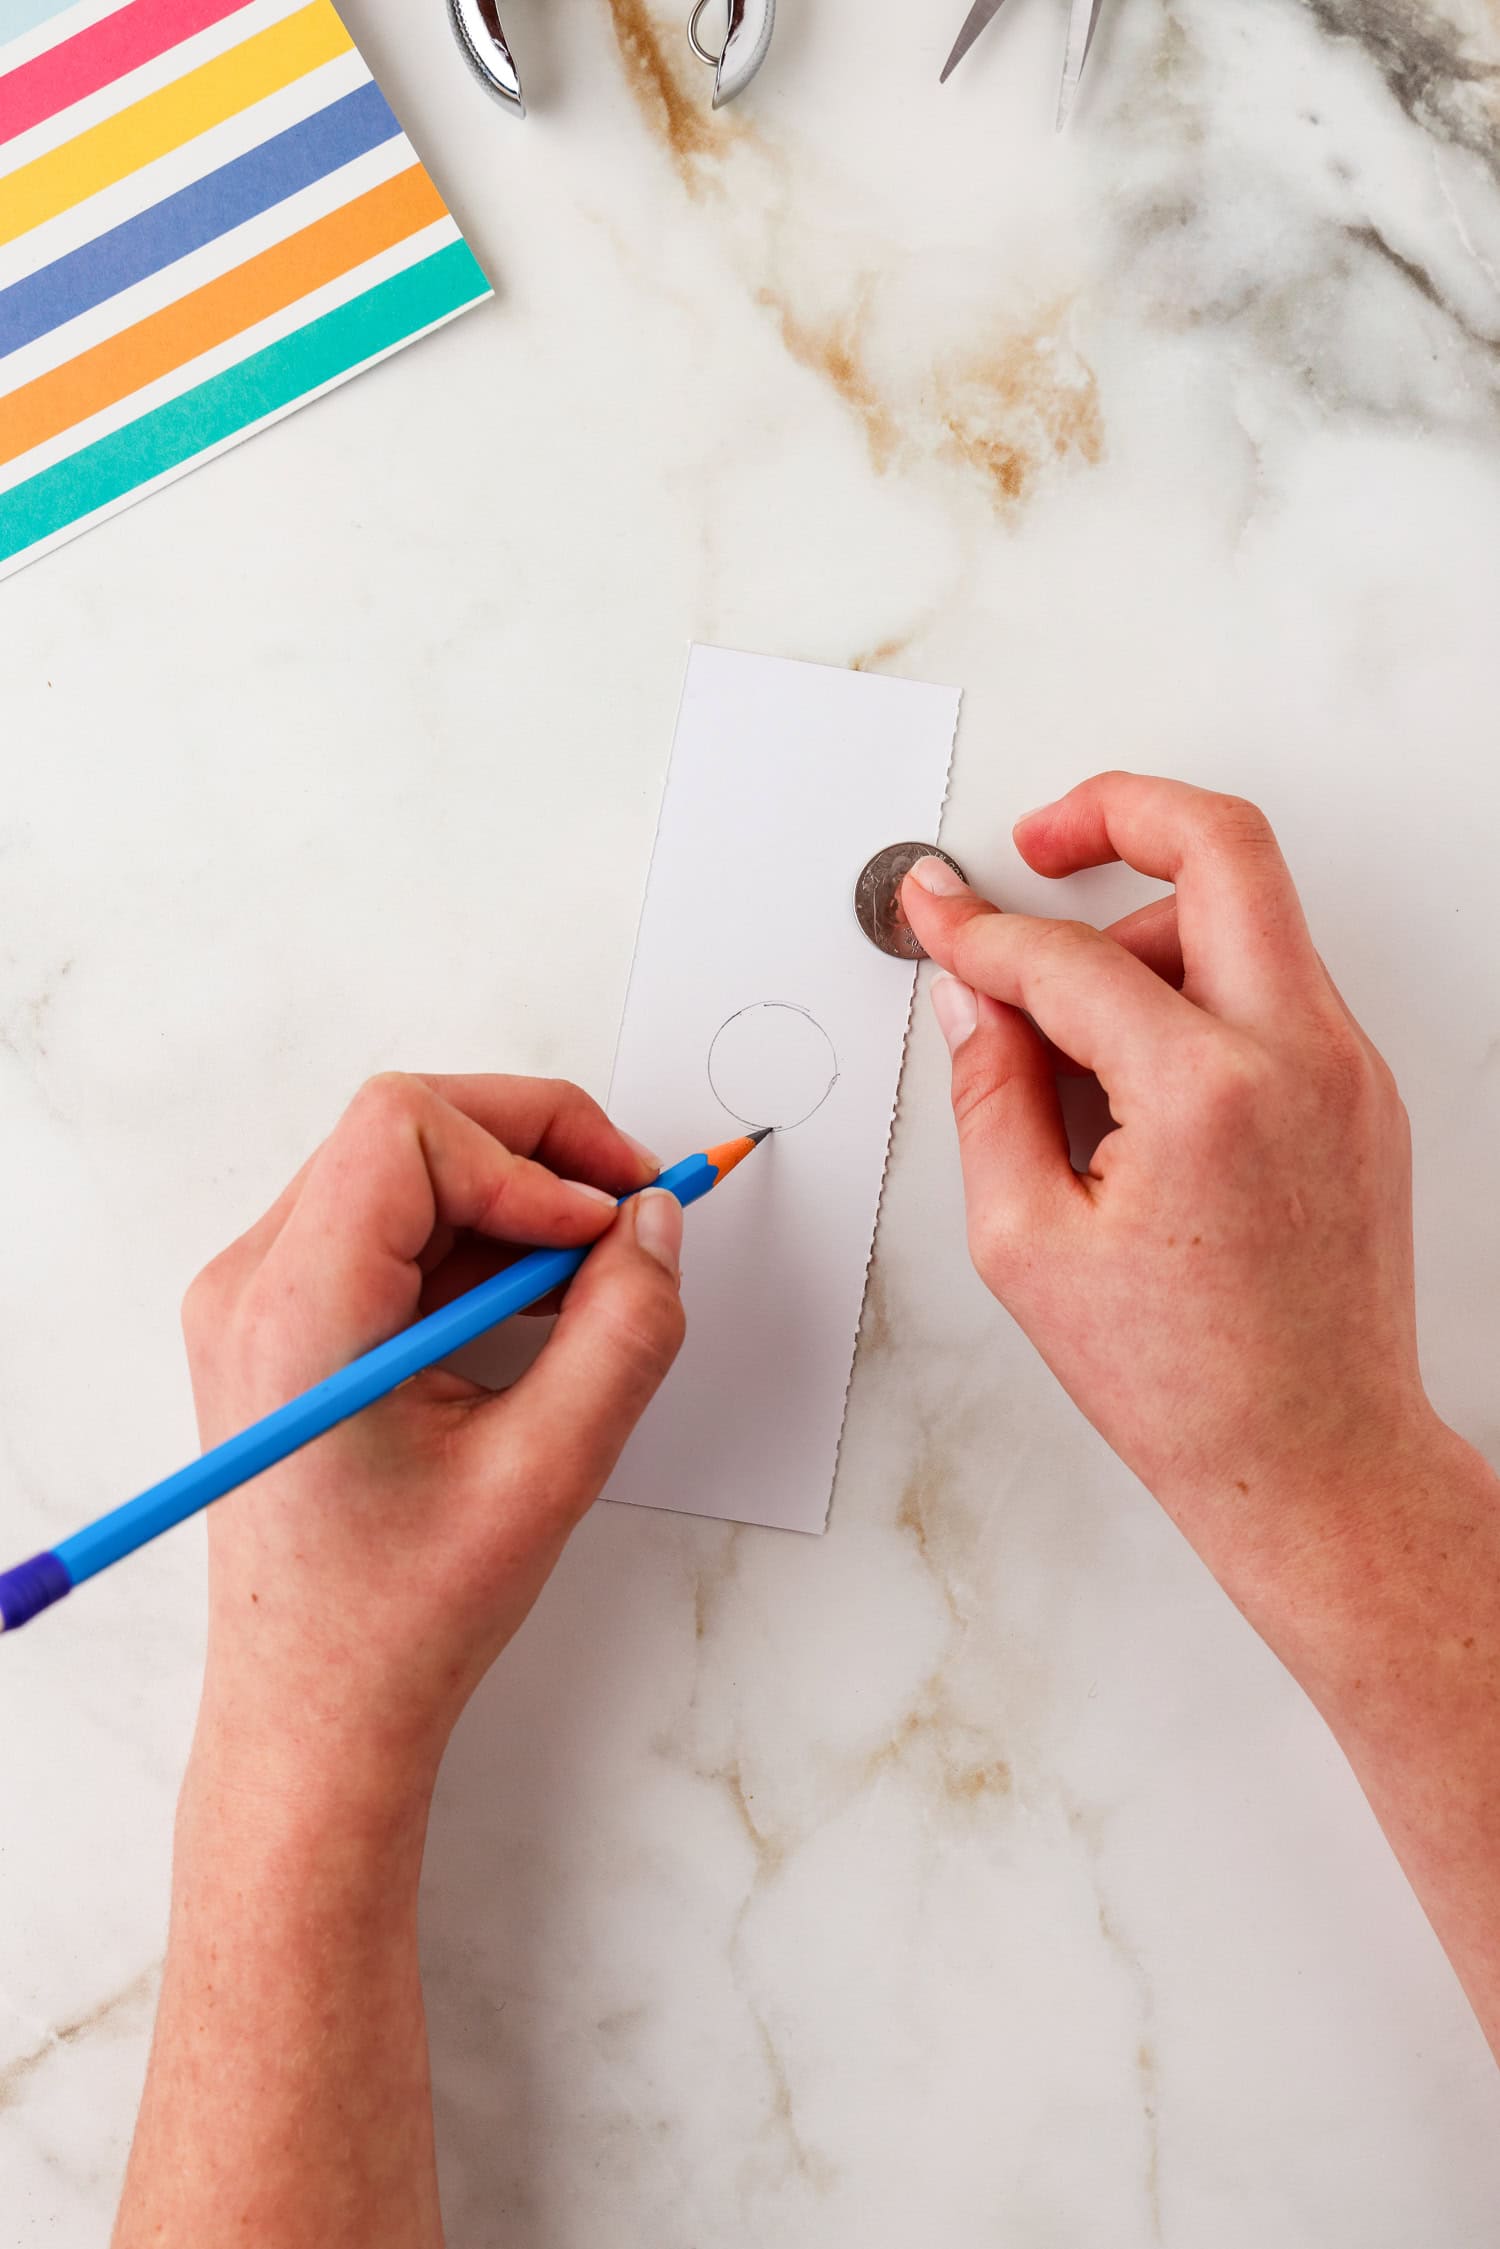
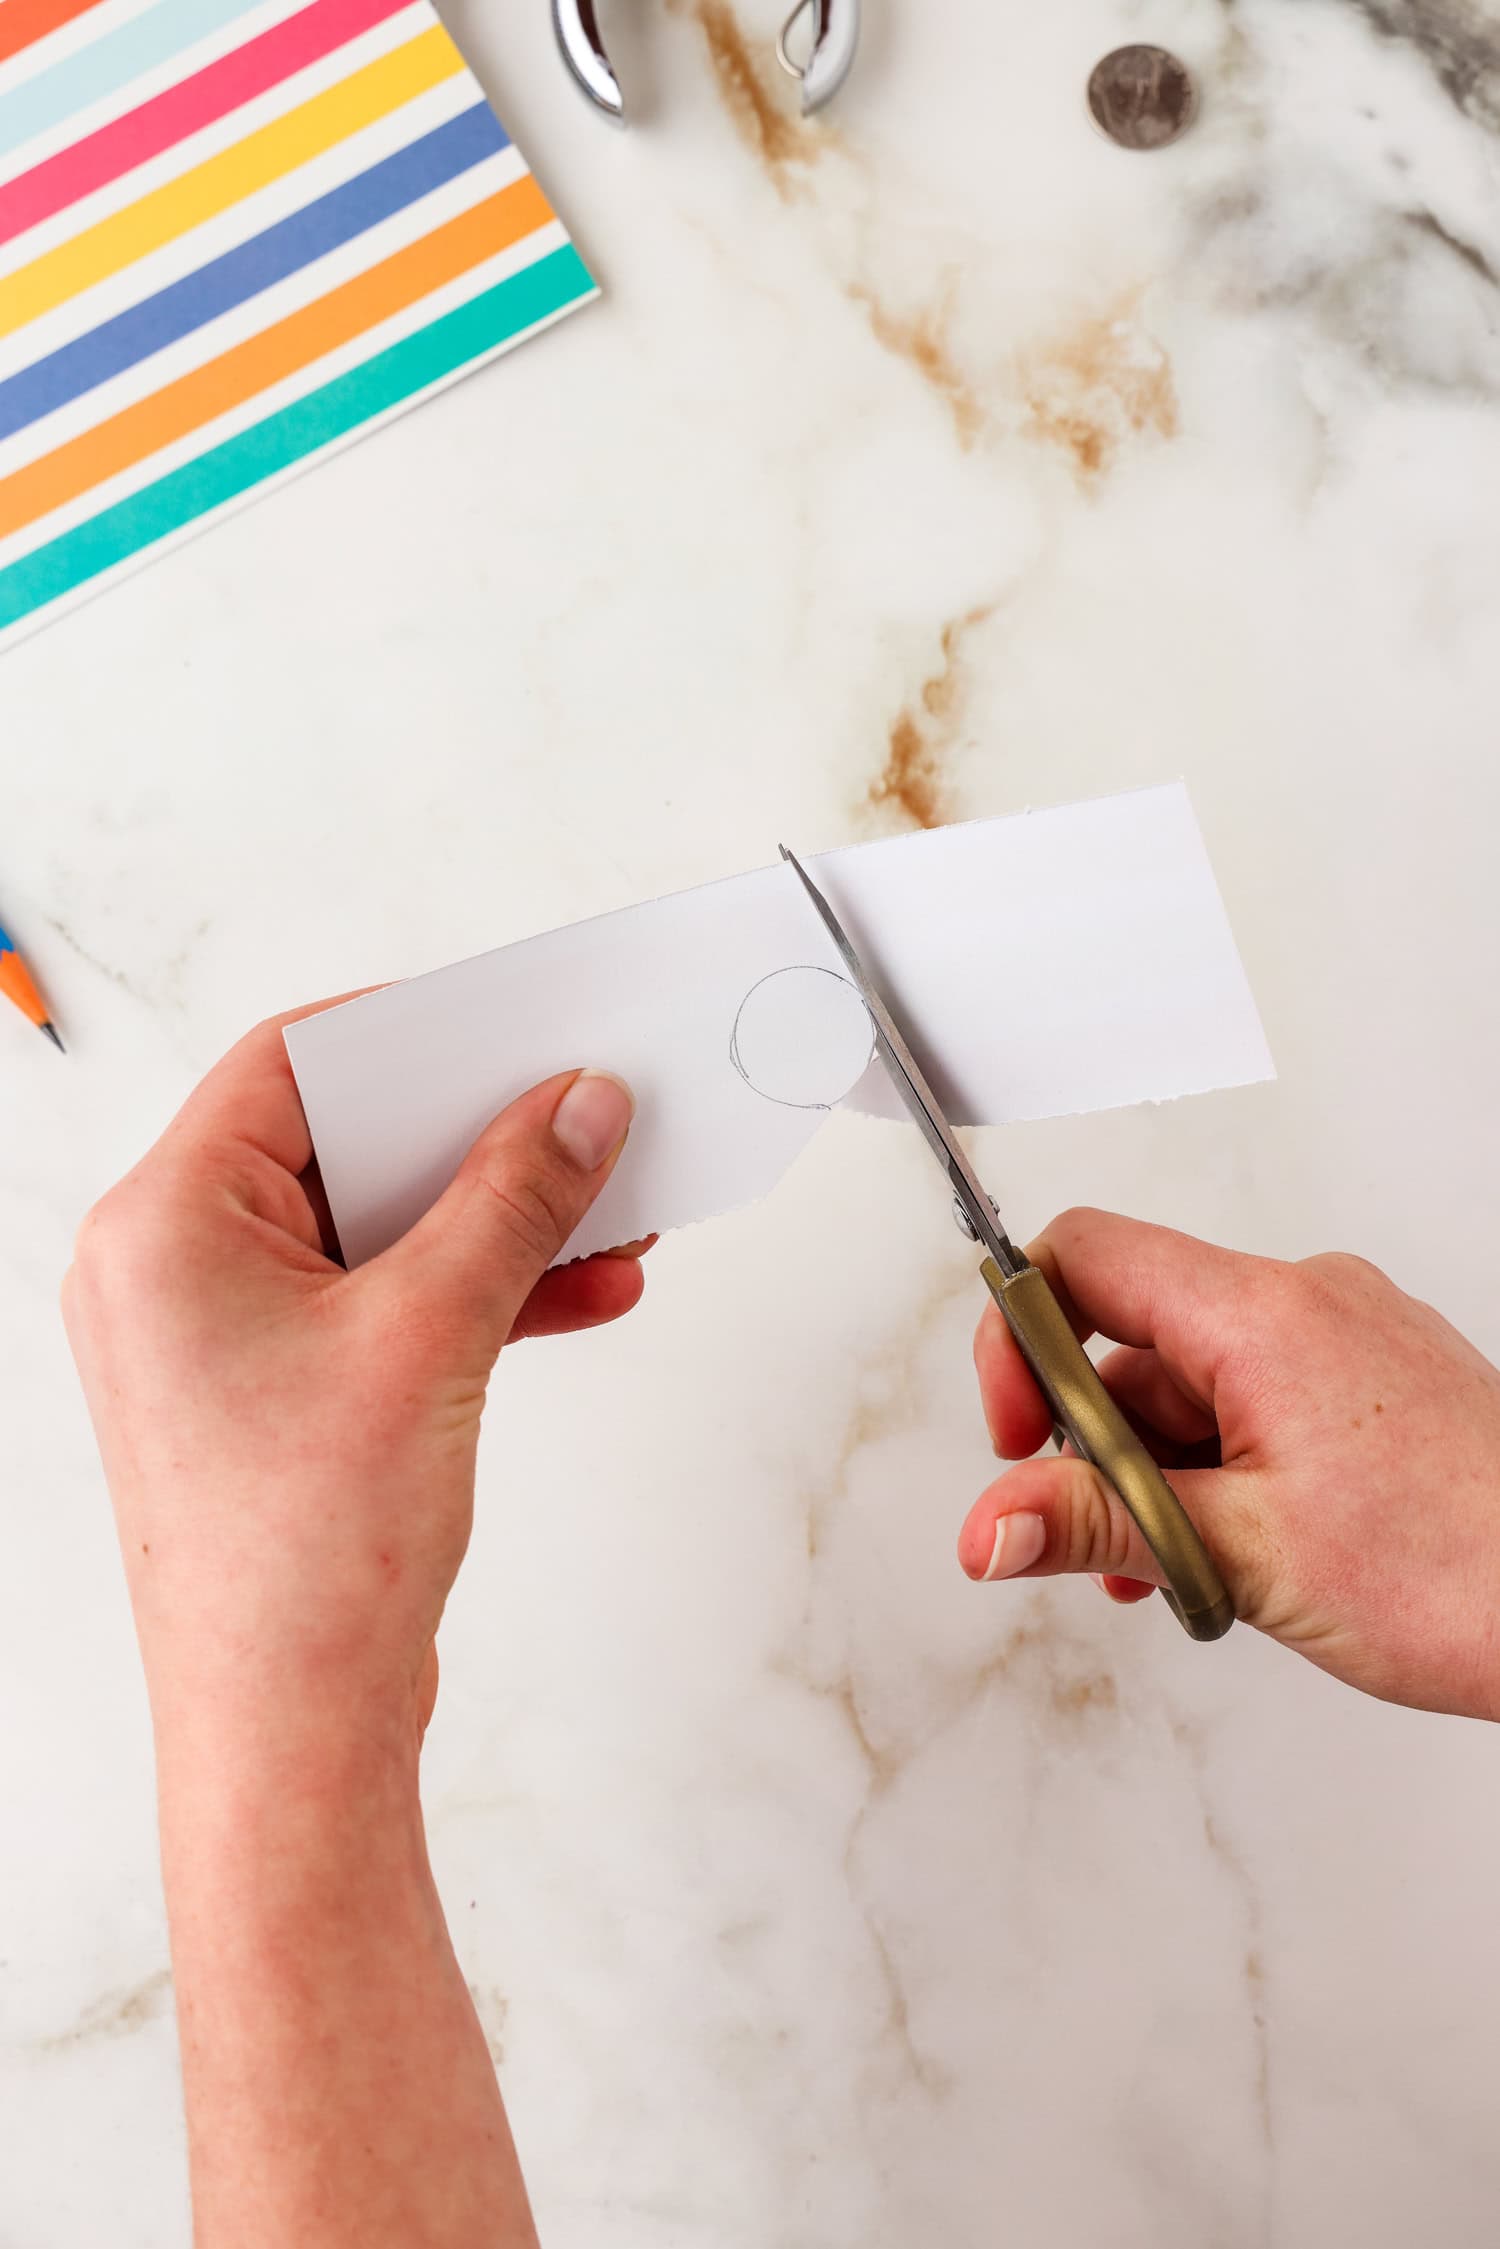
Using the leftover cardstock, trace around a coin and cut it out. Punch a hole in the middle of the circle and set aside.

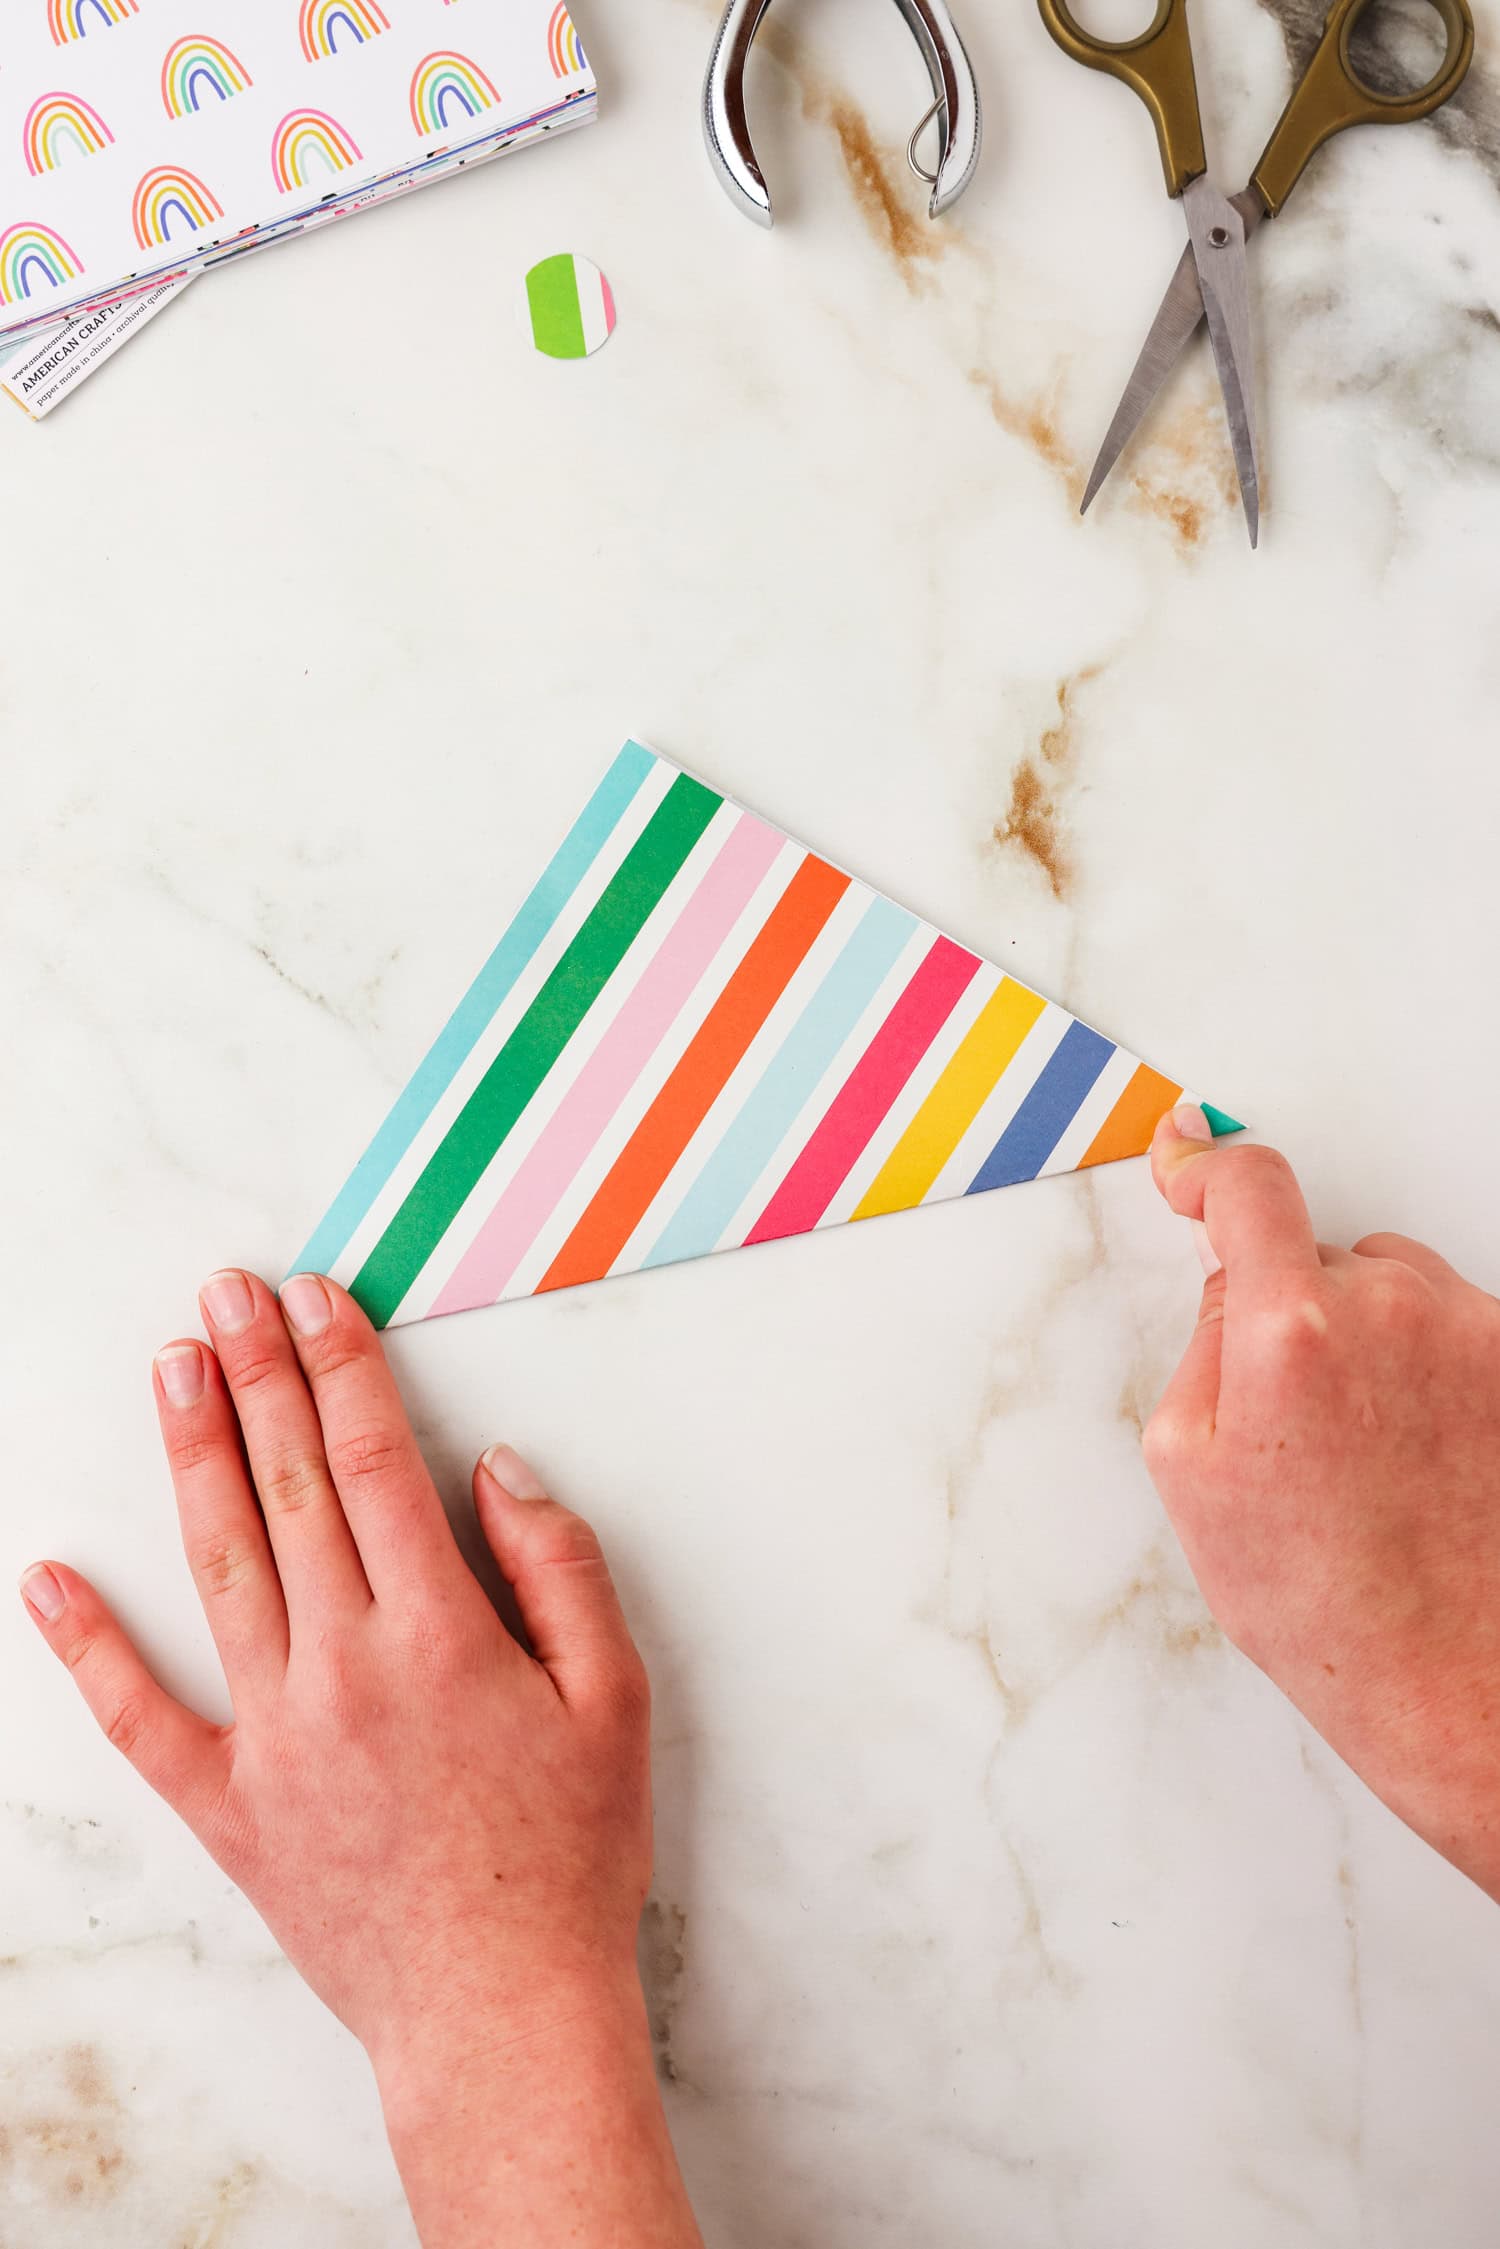
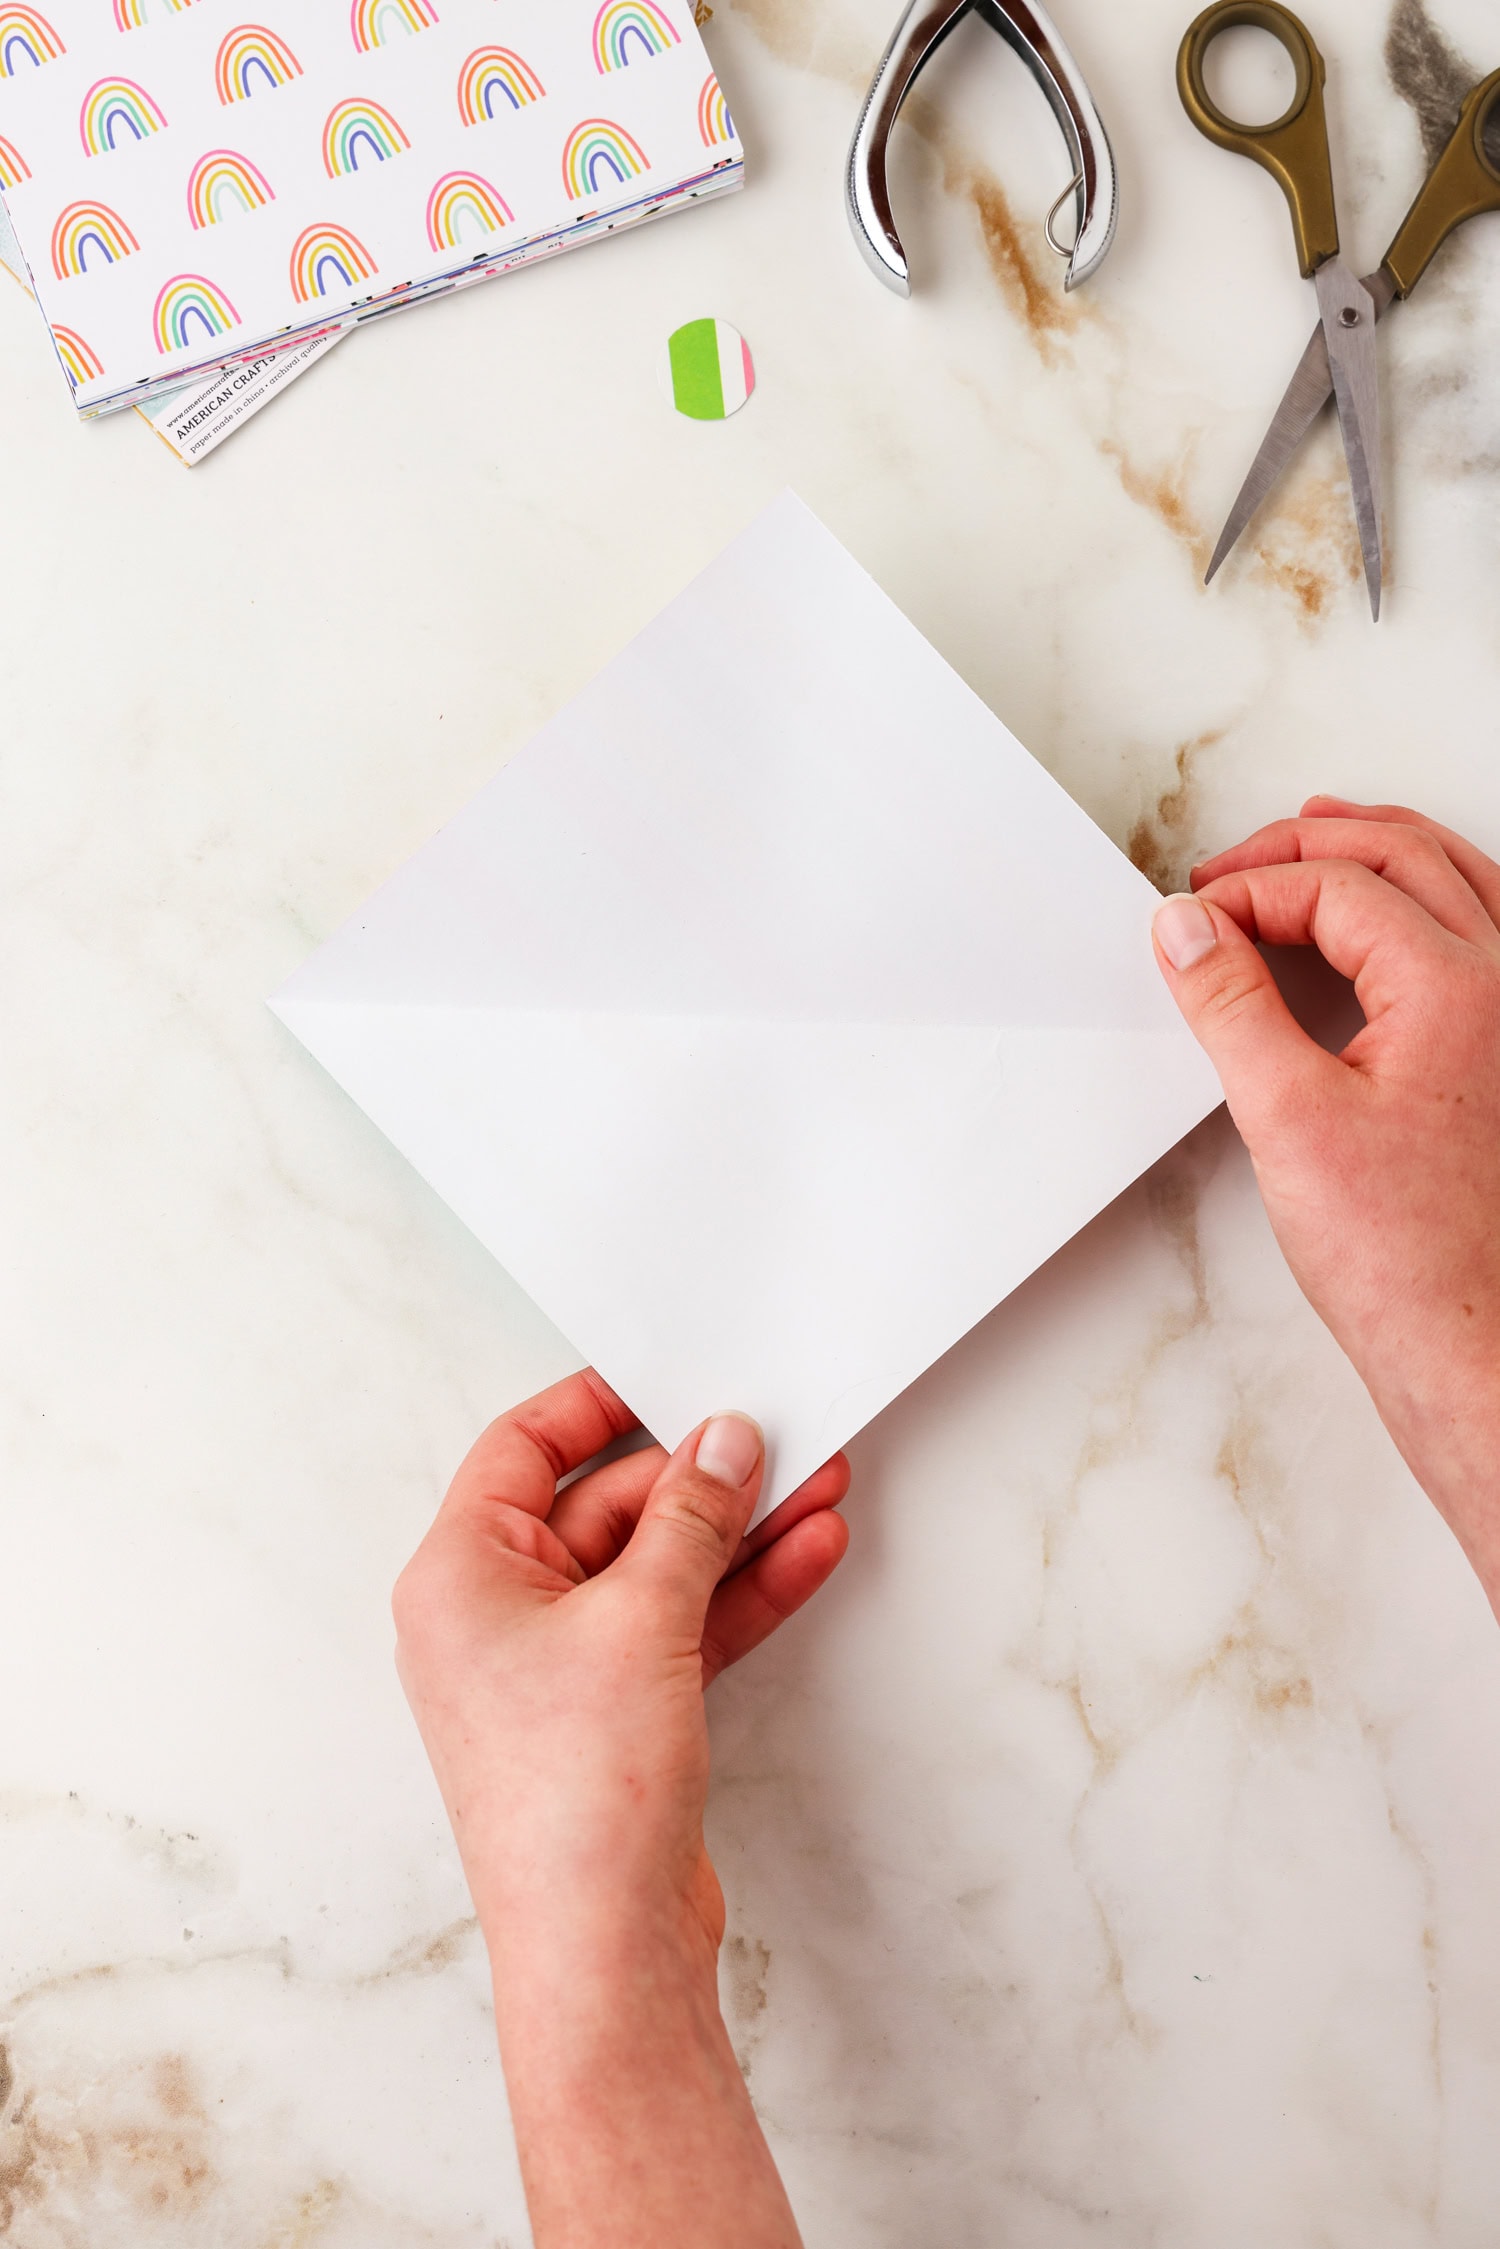
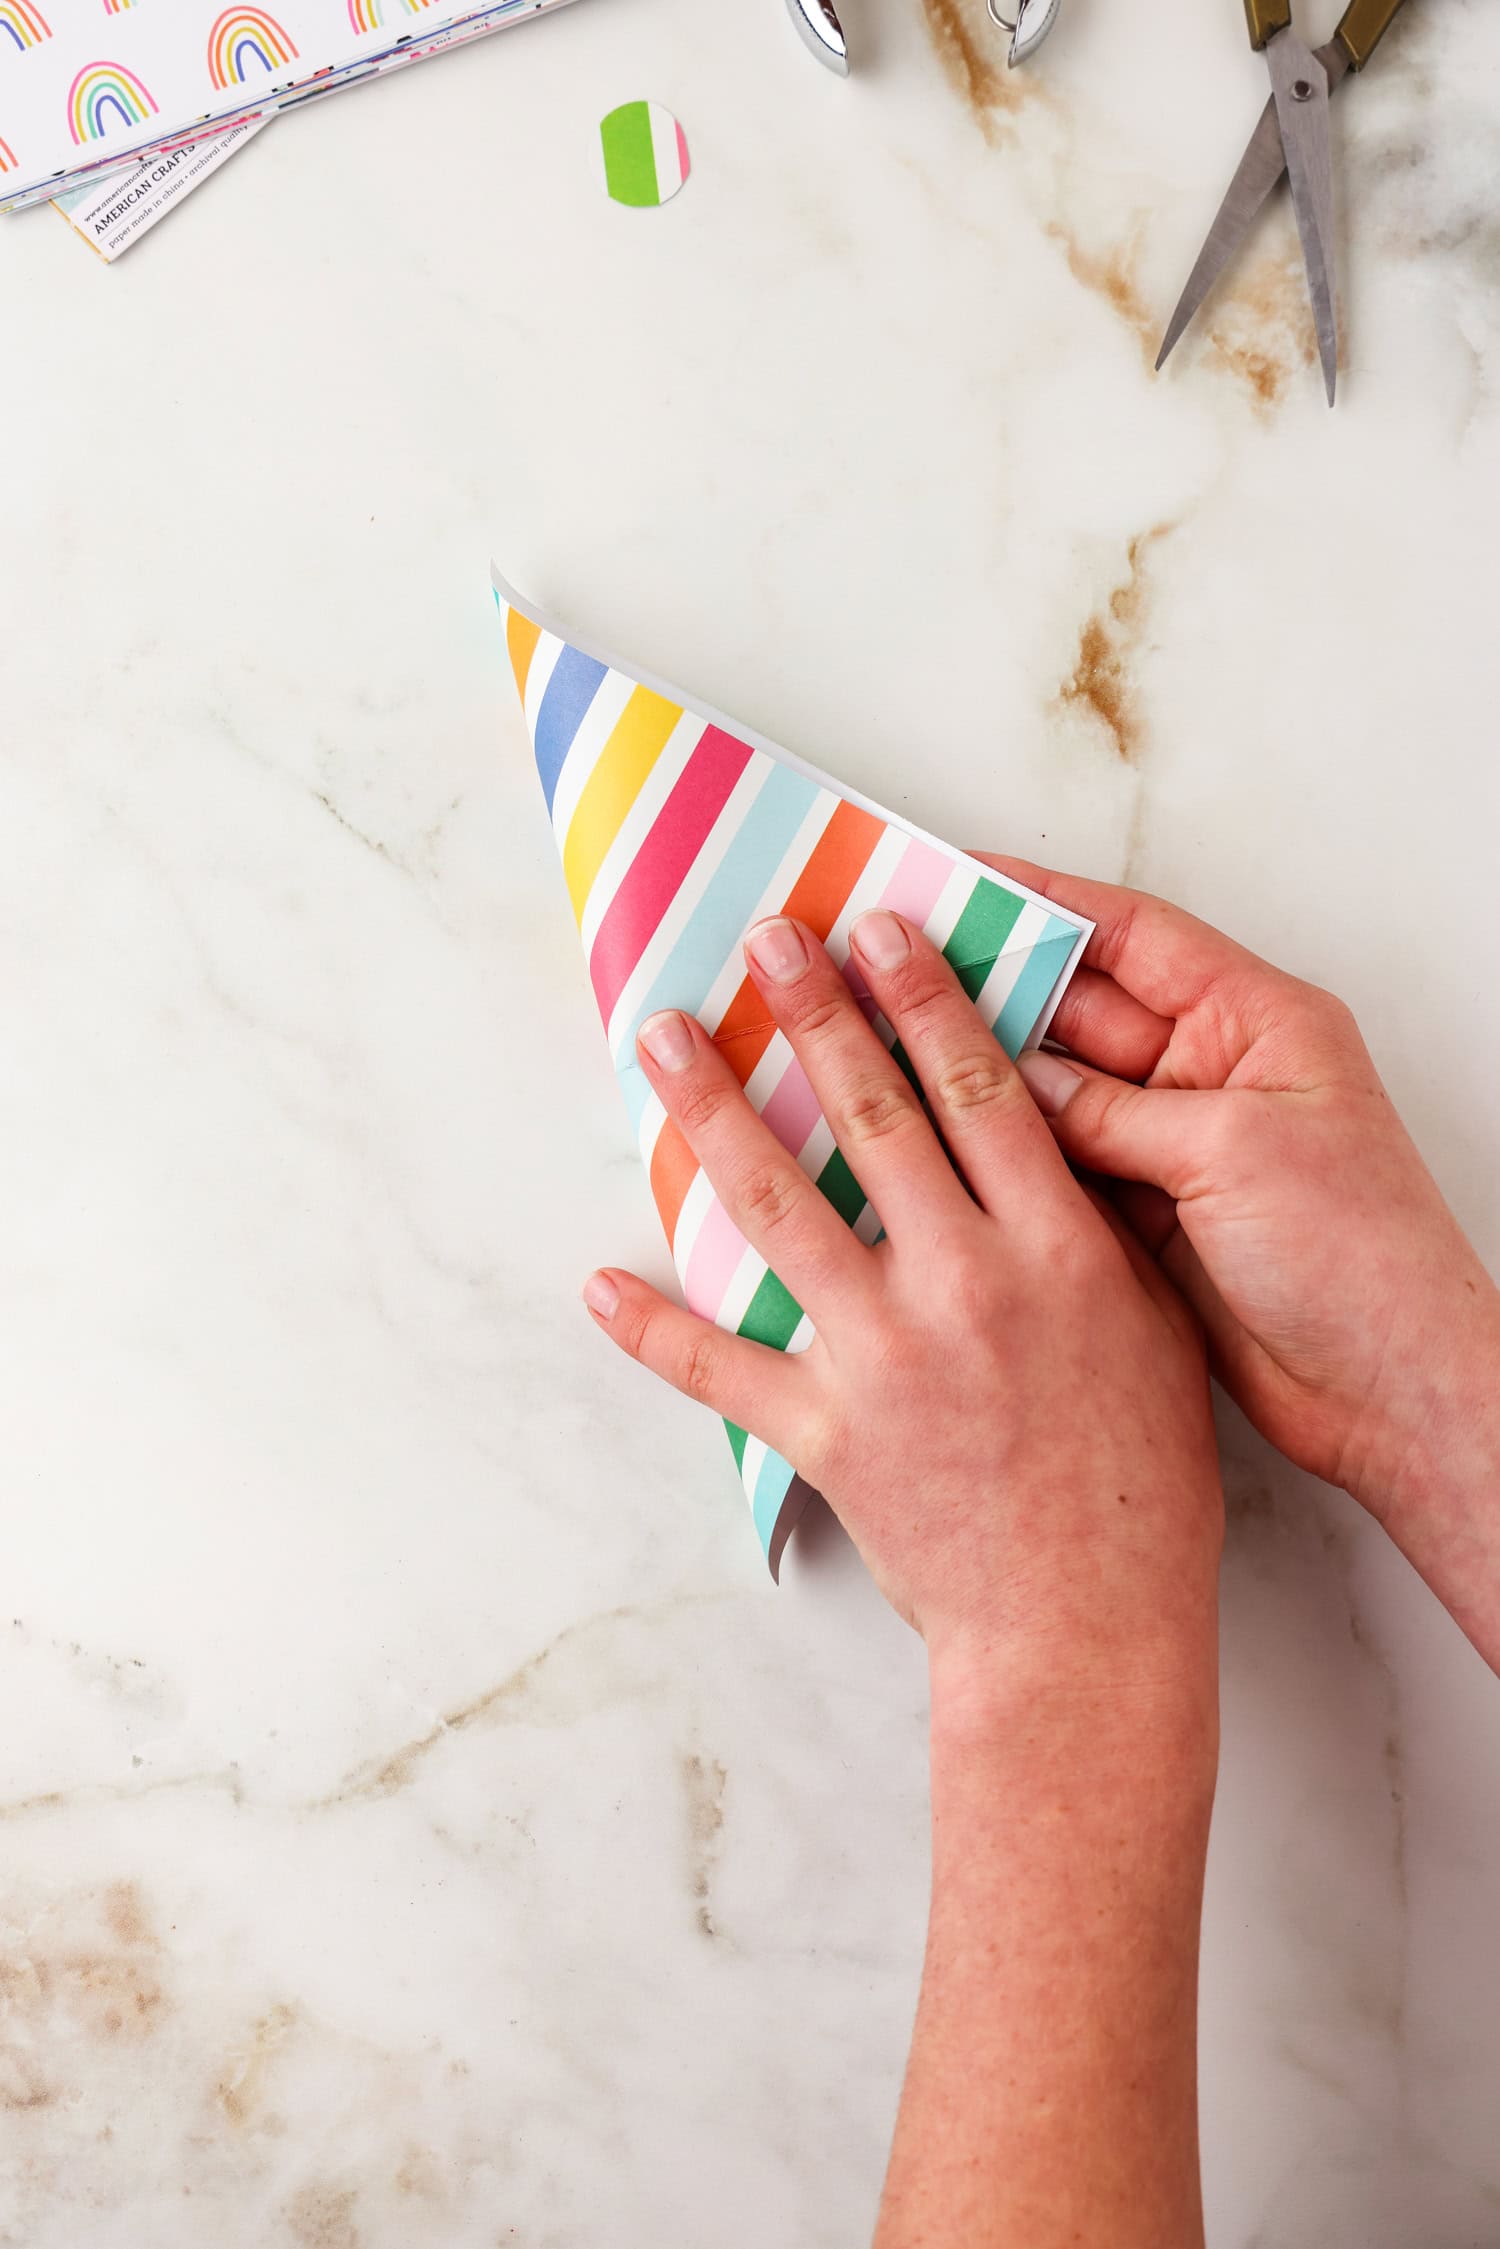
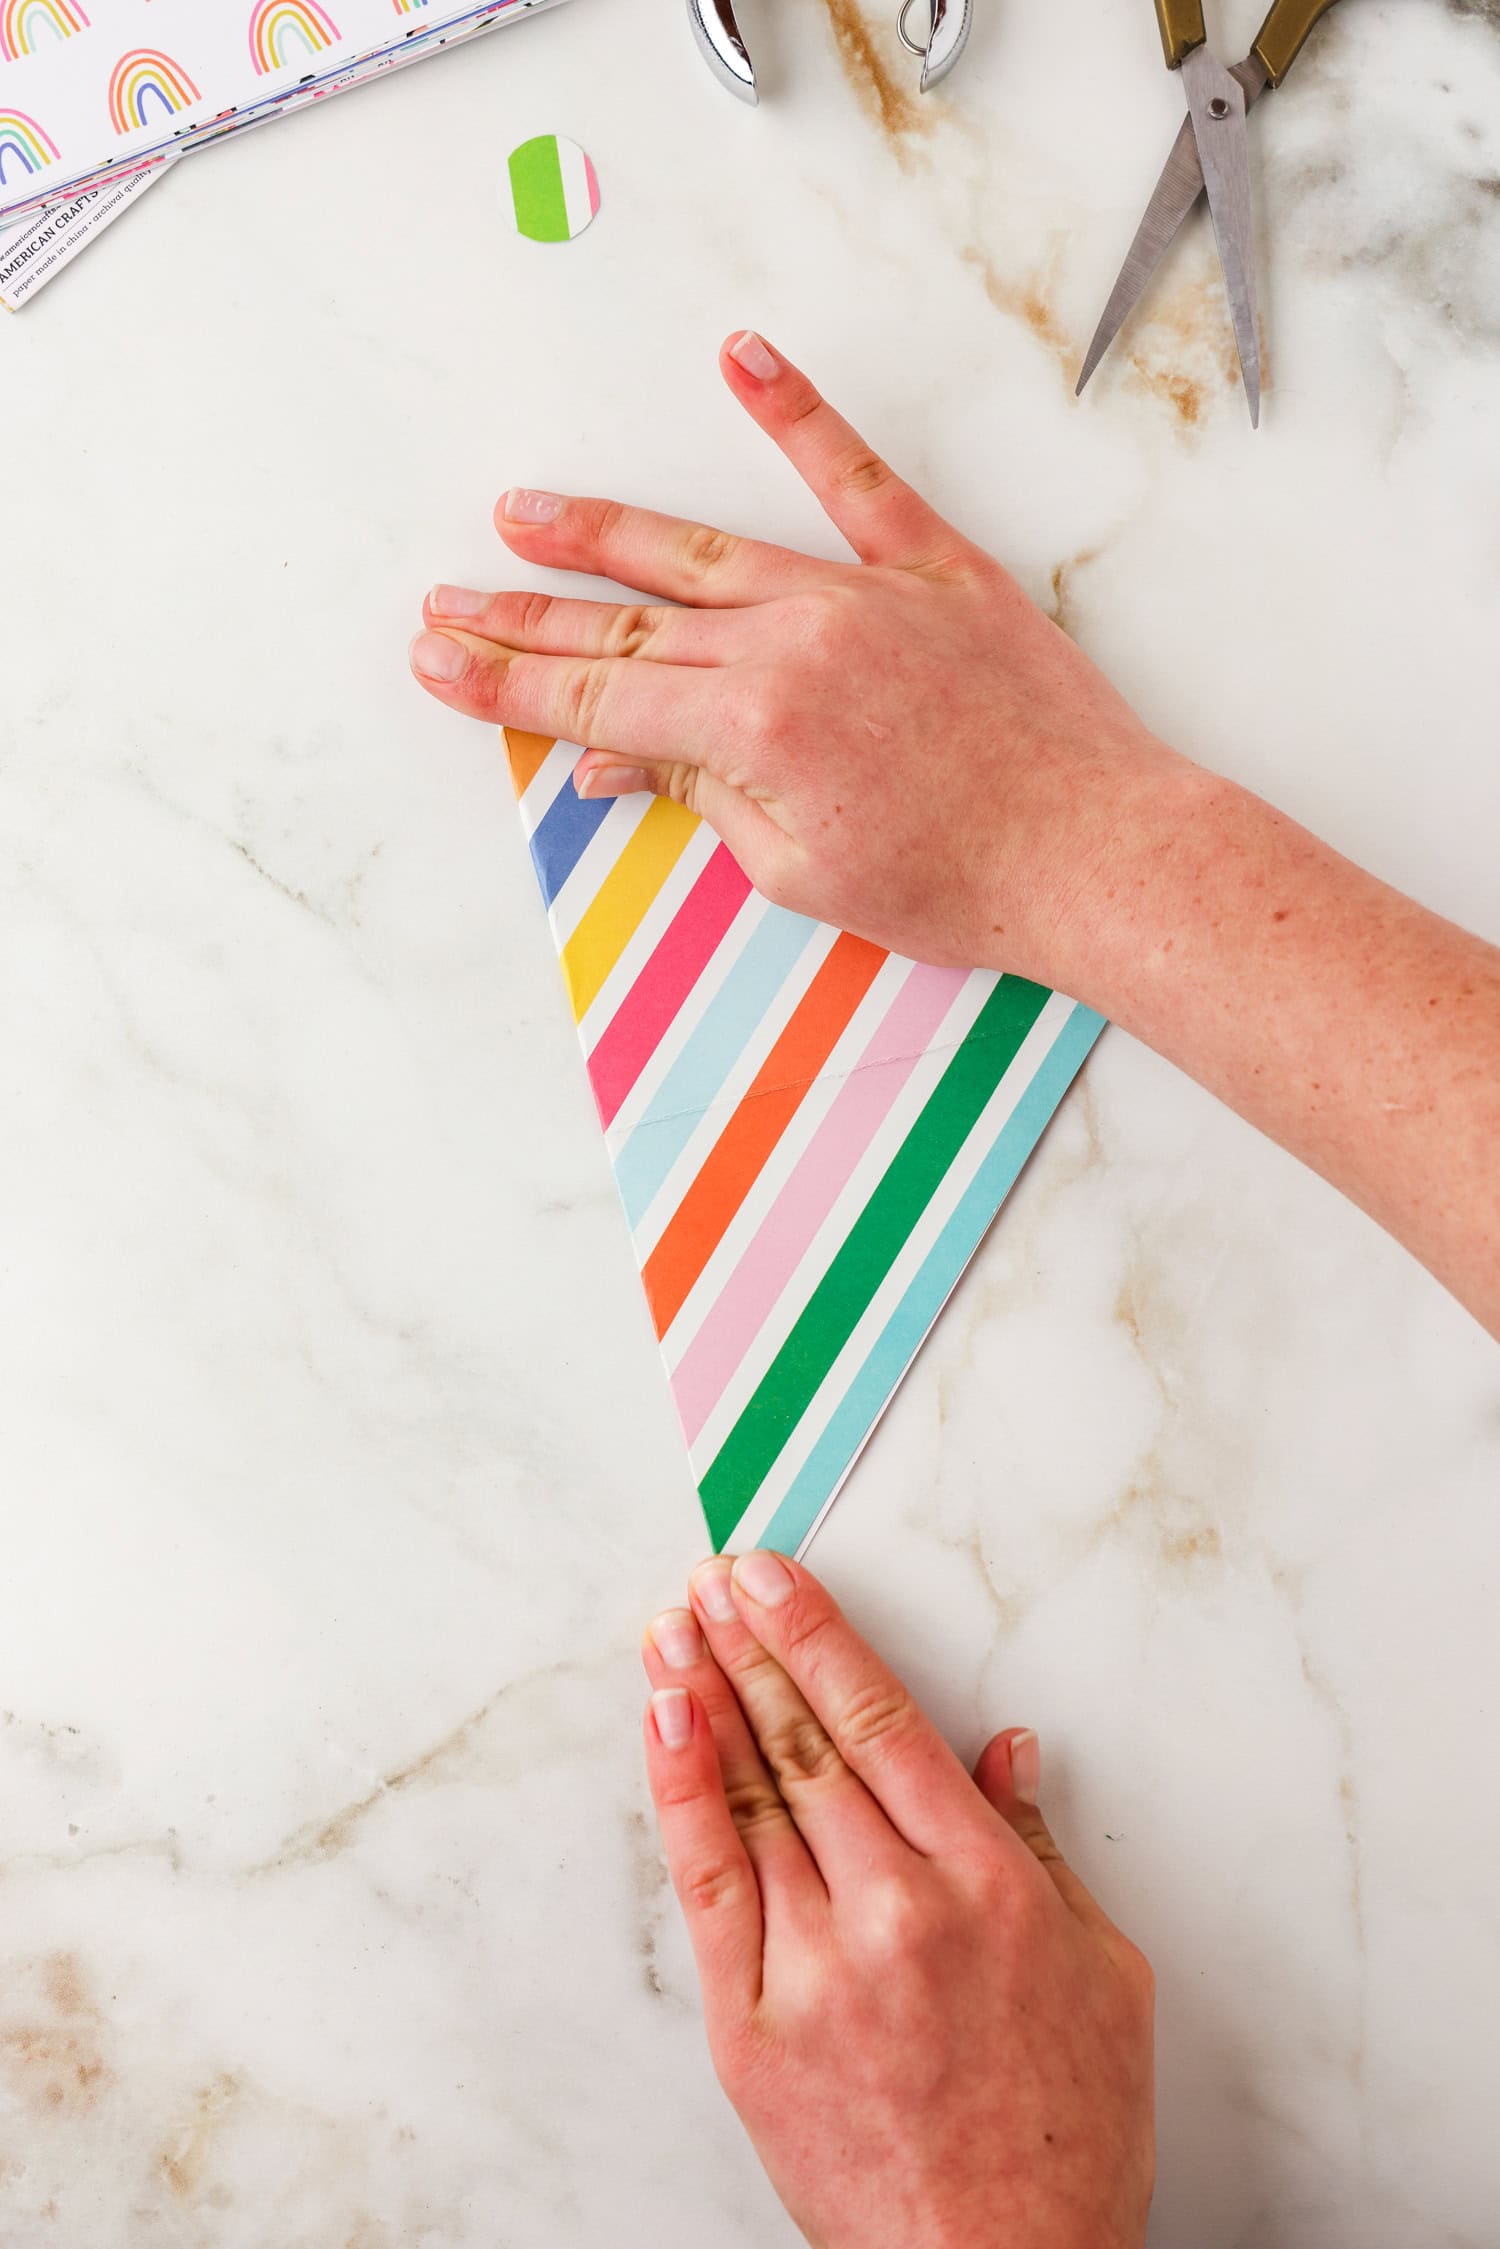
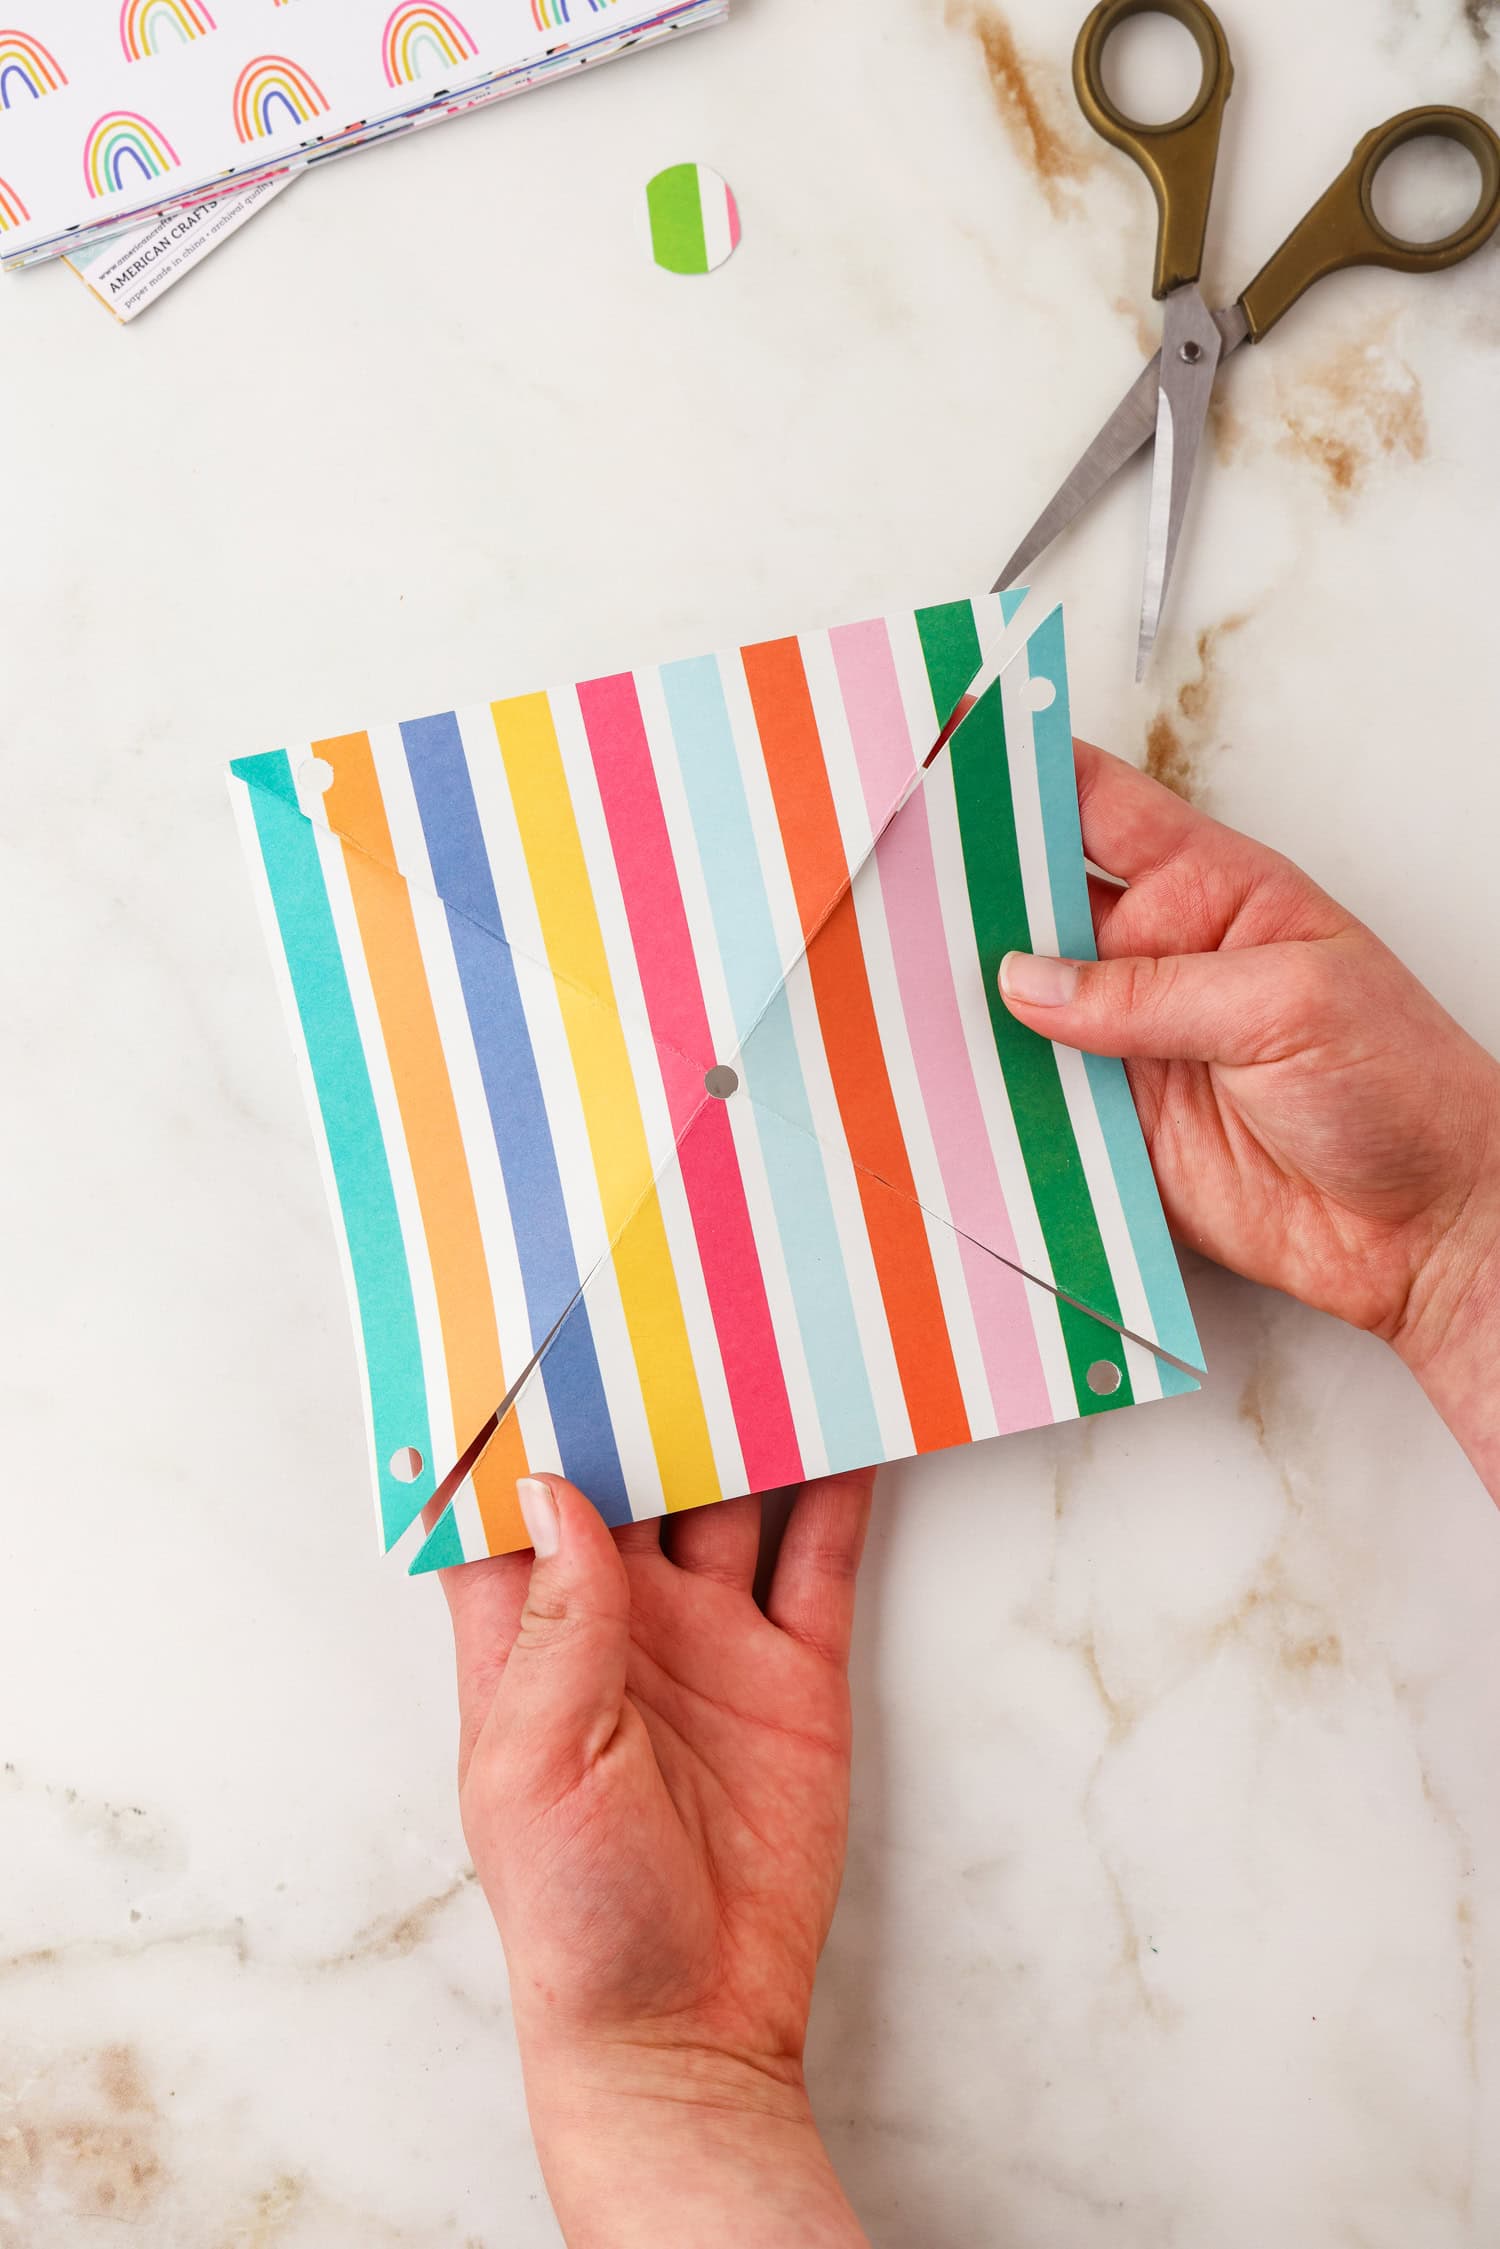
Fold the square in half to form a triangle and press flat. Open it up, fold it the opposite way and press flat again.
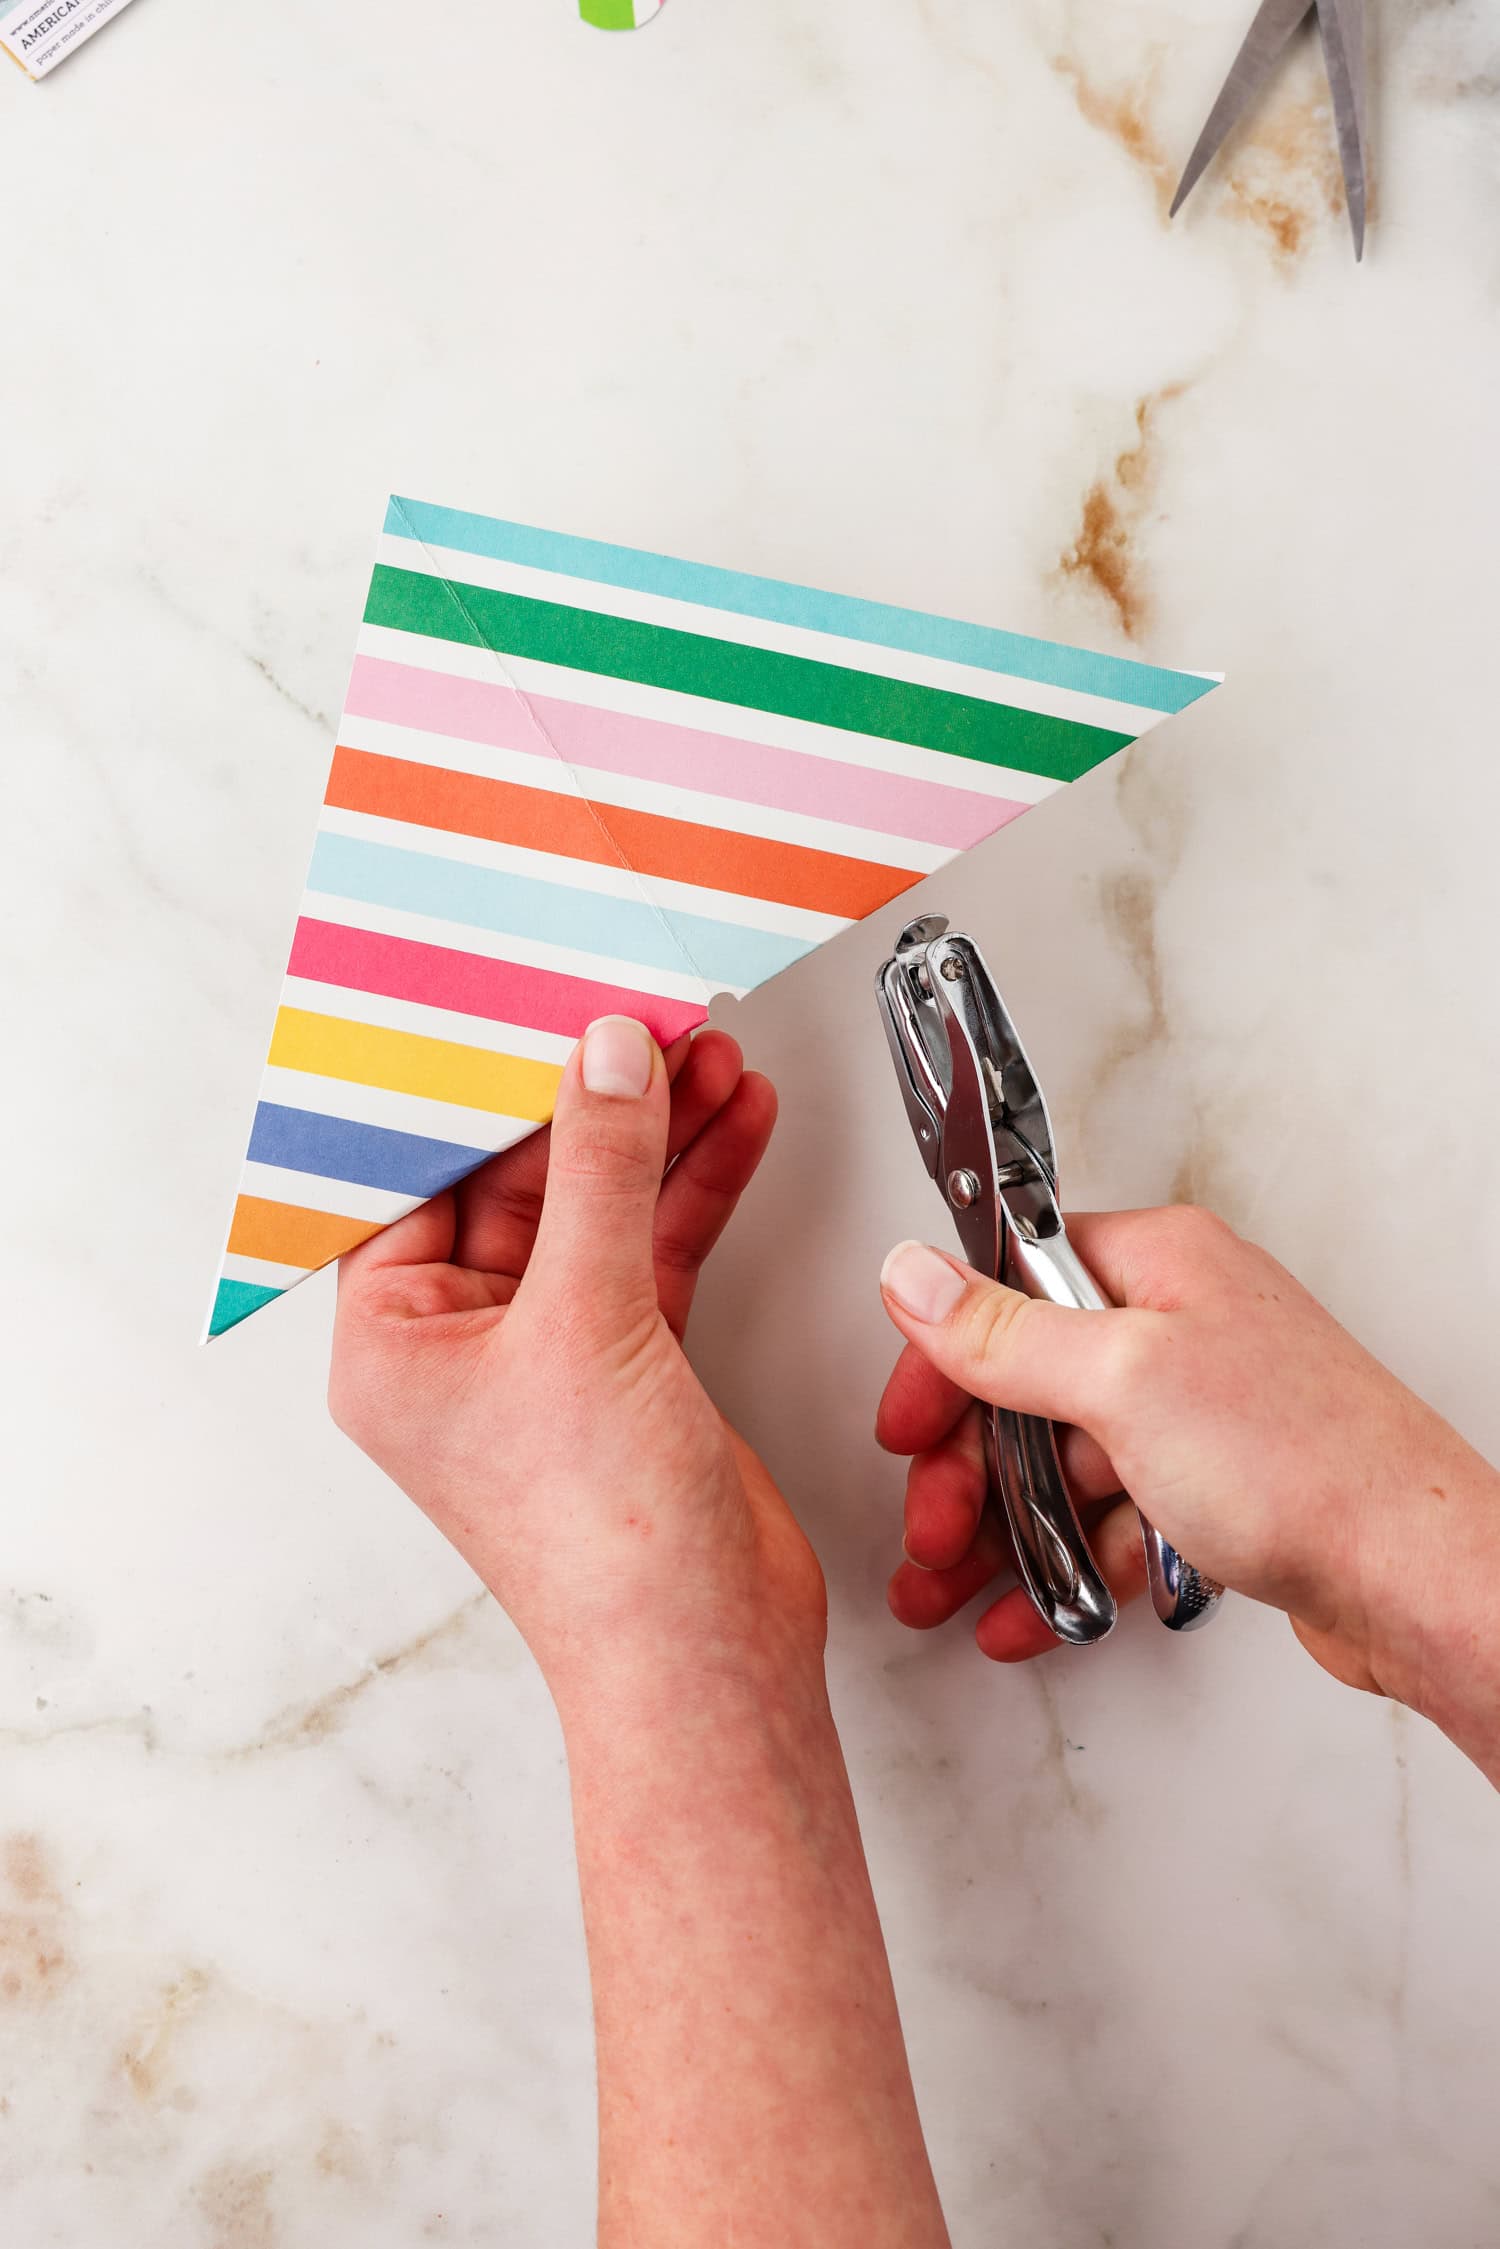
Using the edge of the paper, punch a hole into the center point of the cardstock.
Take the scissors and cut along the lines of the X, starting at the corners and working your way toward the hole in the middle. Stop about 1 inch away from the hole.
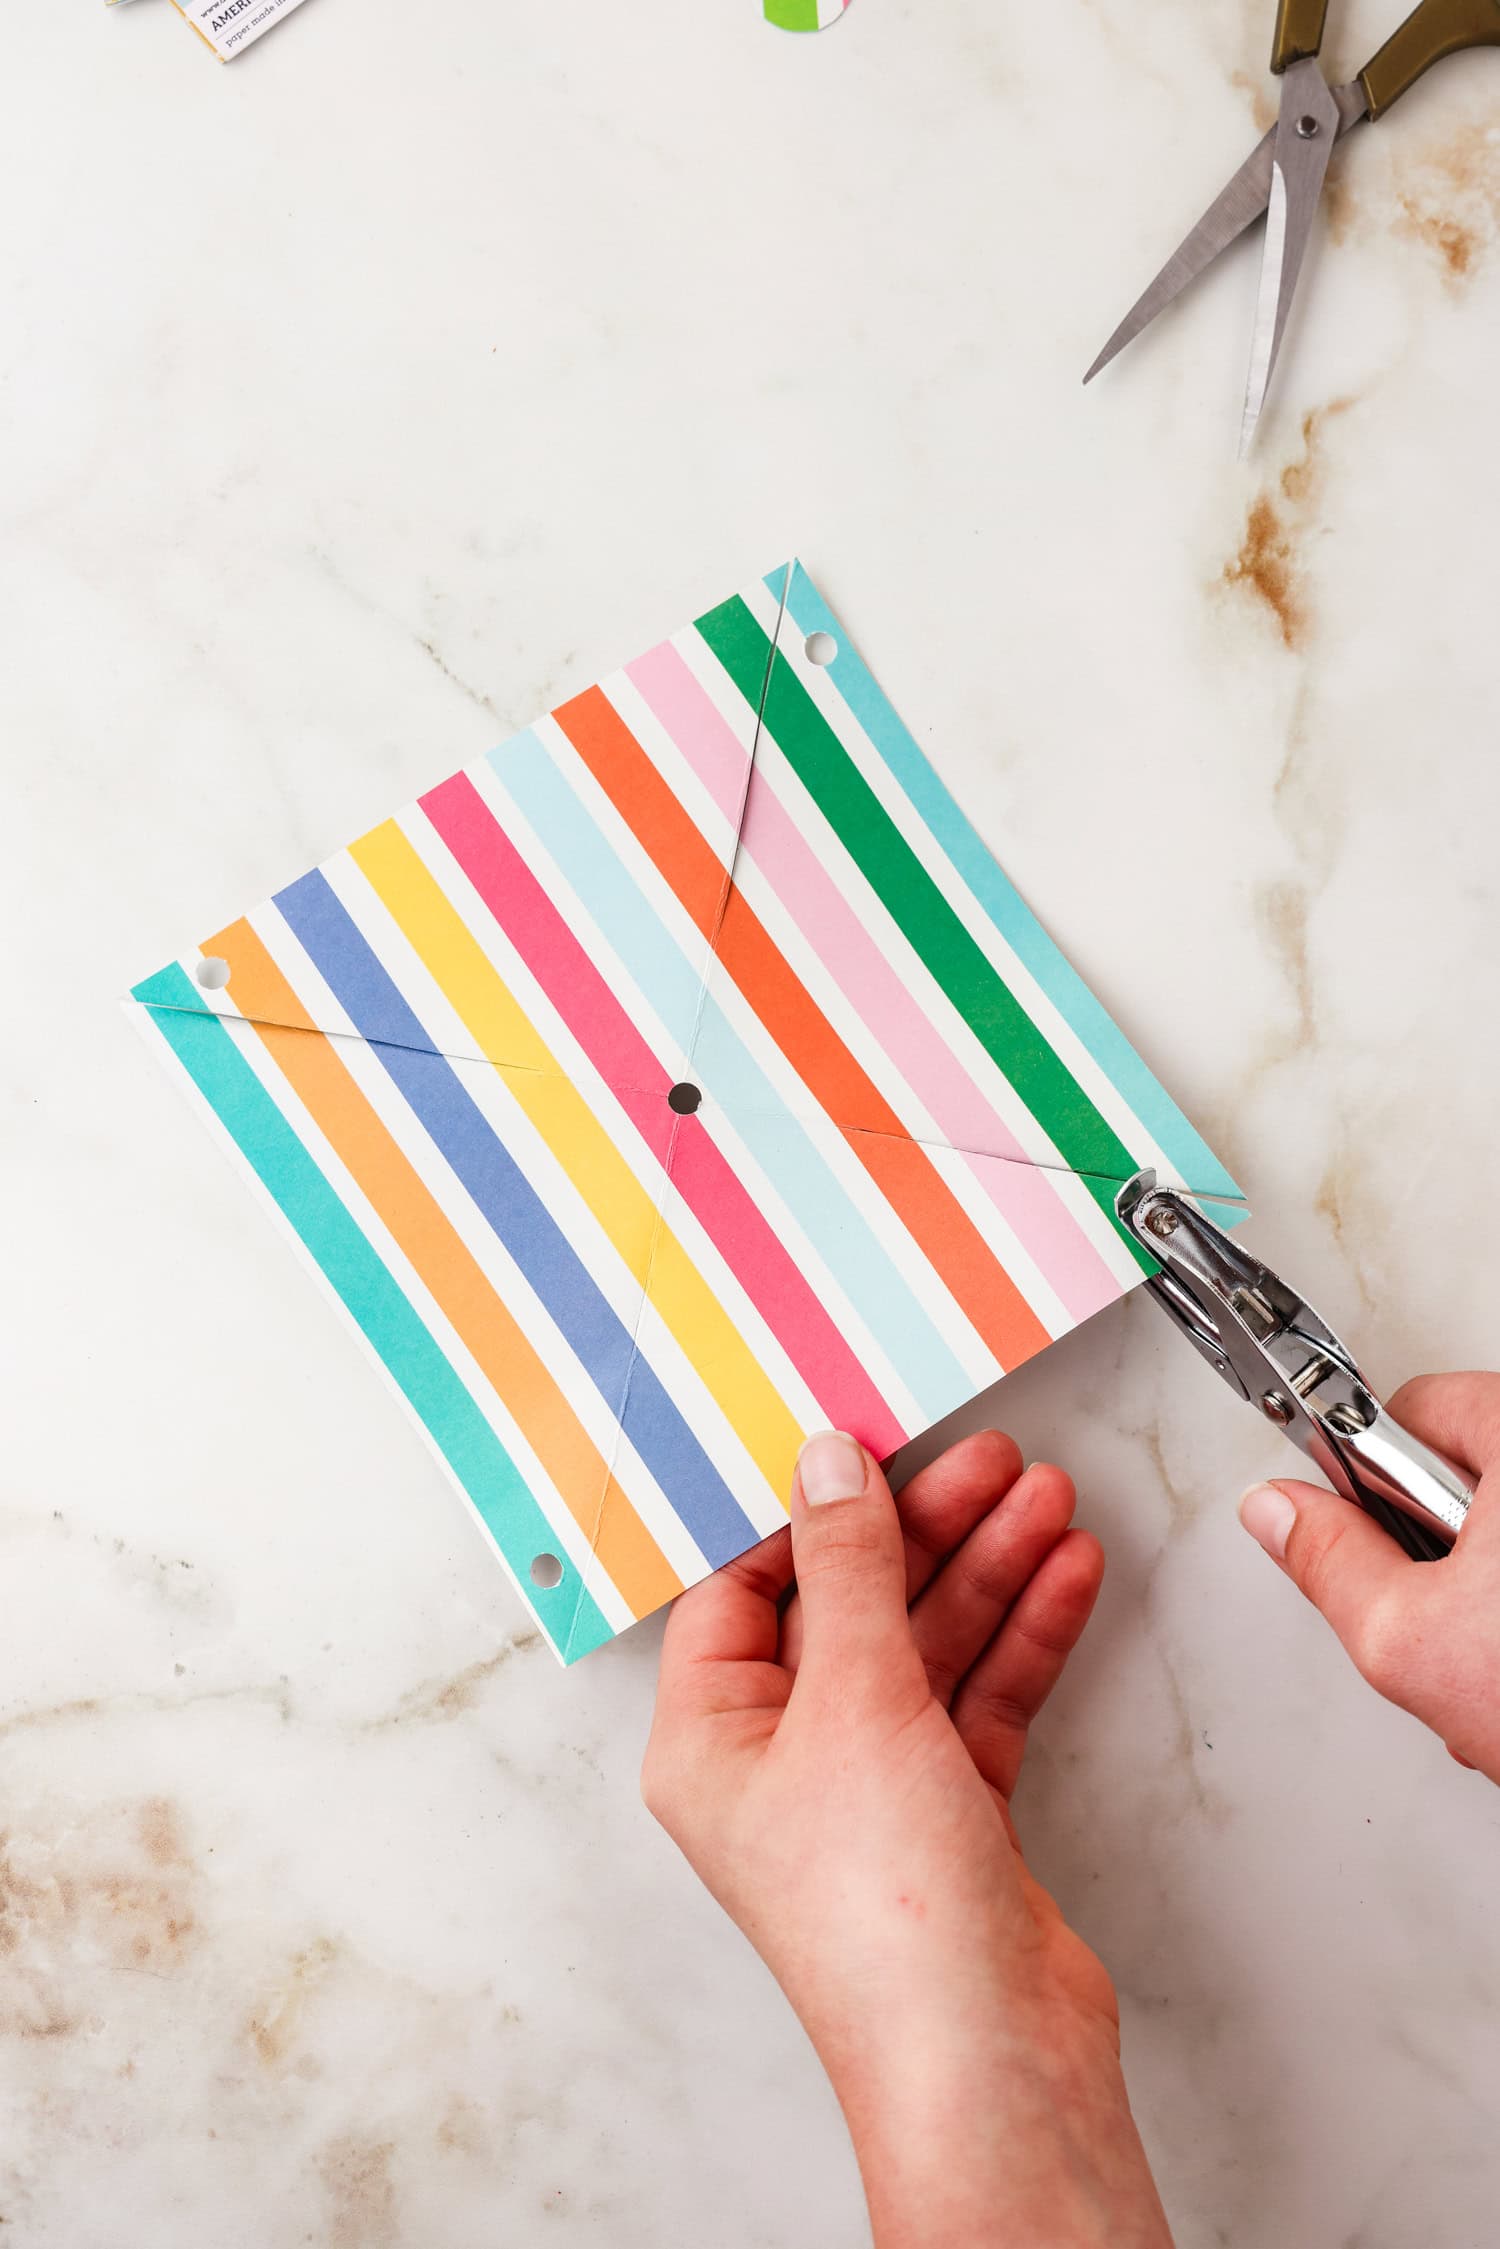
Use the hole puncher to make a hole on the left side of each line, leaving enough space between the hole and edge of the paper. There should be 5 holes total.
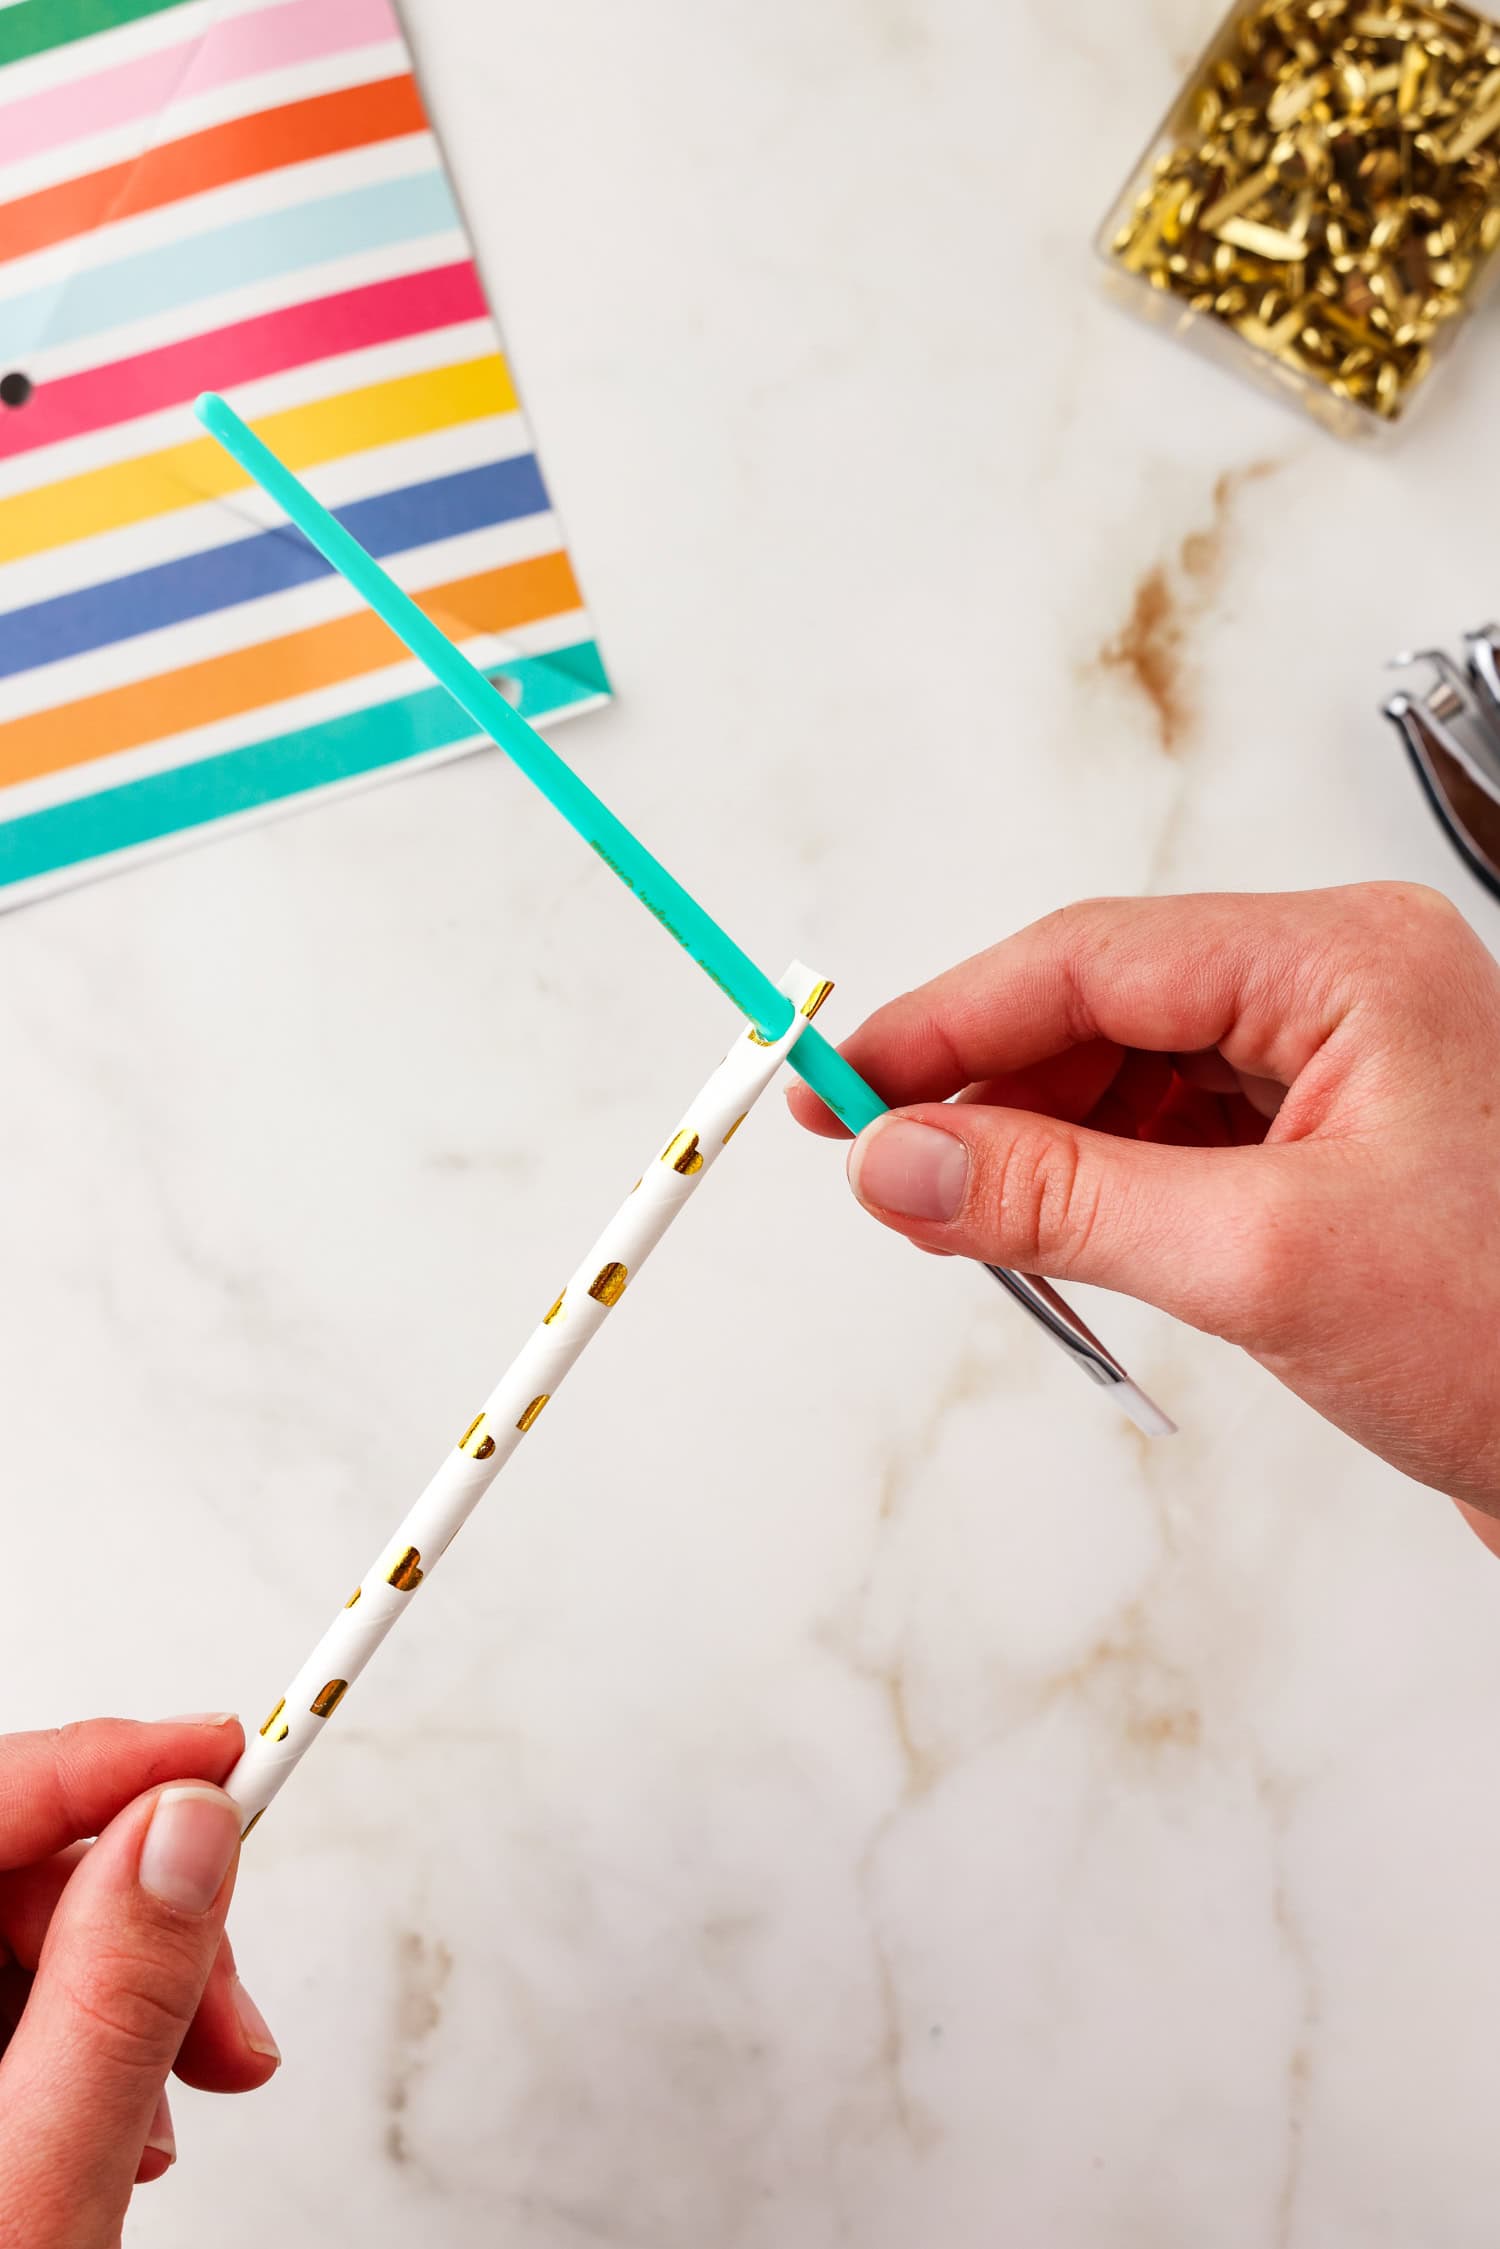
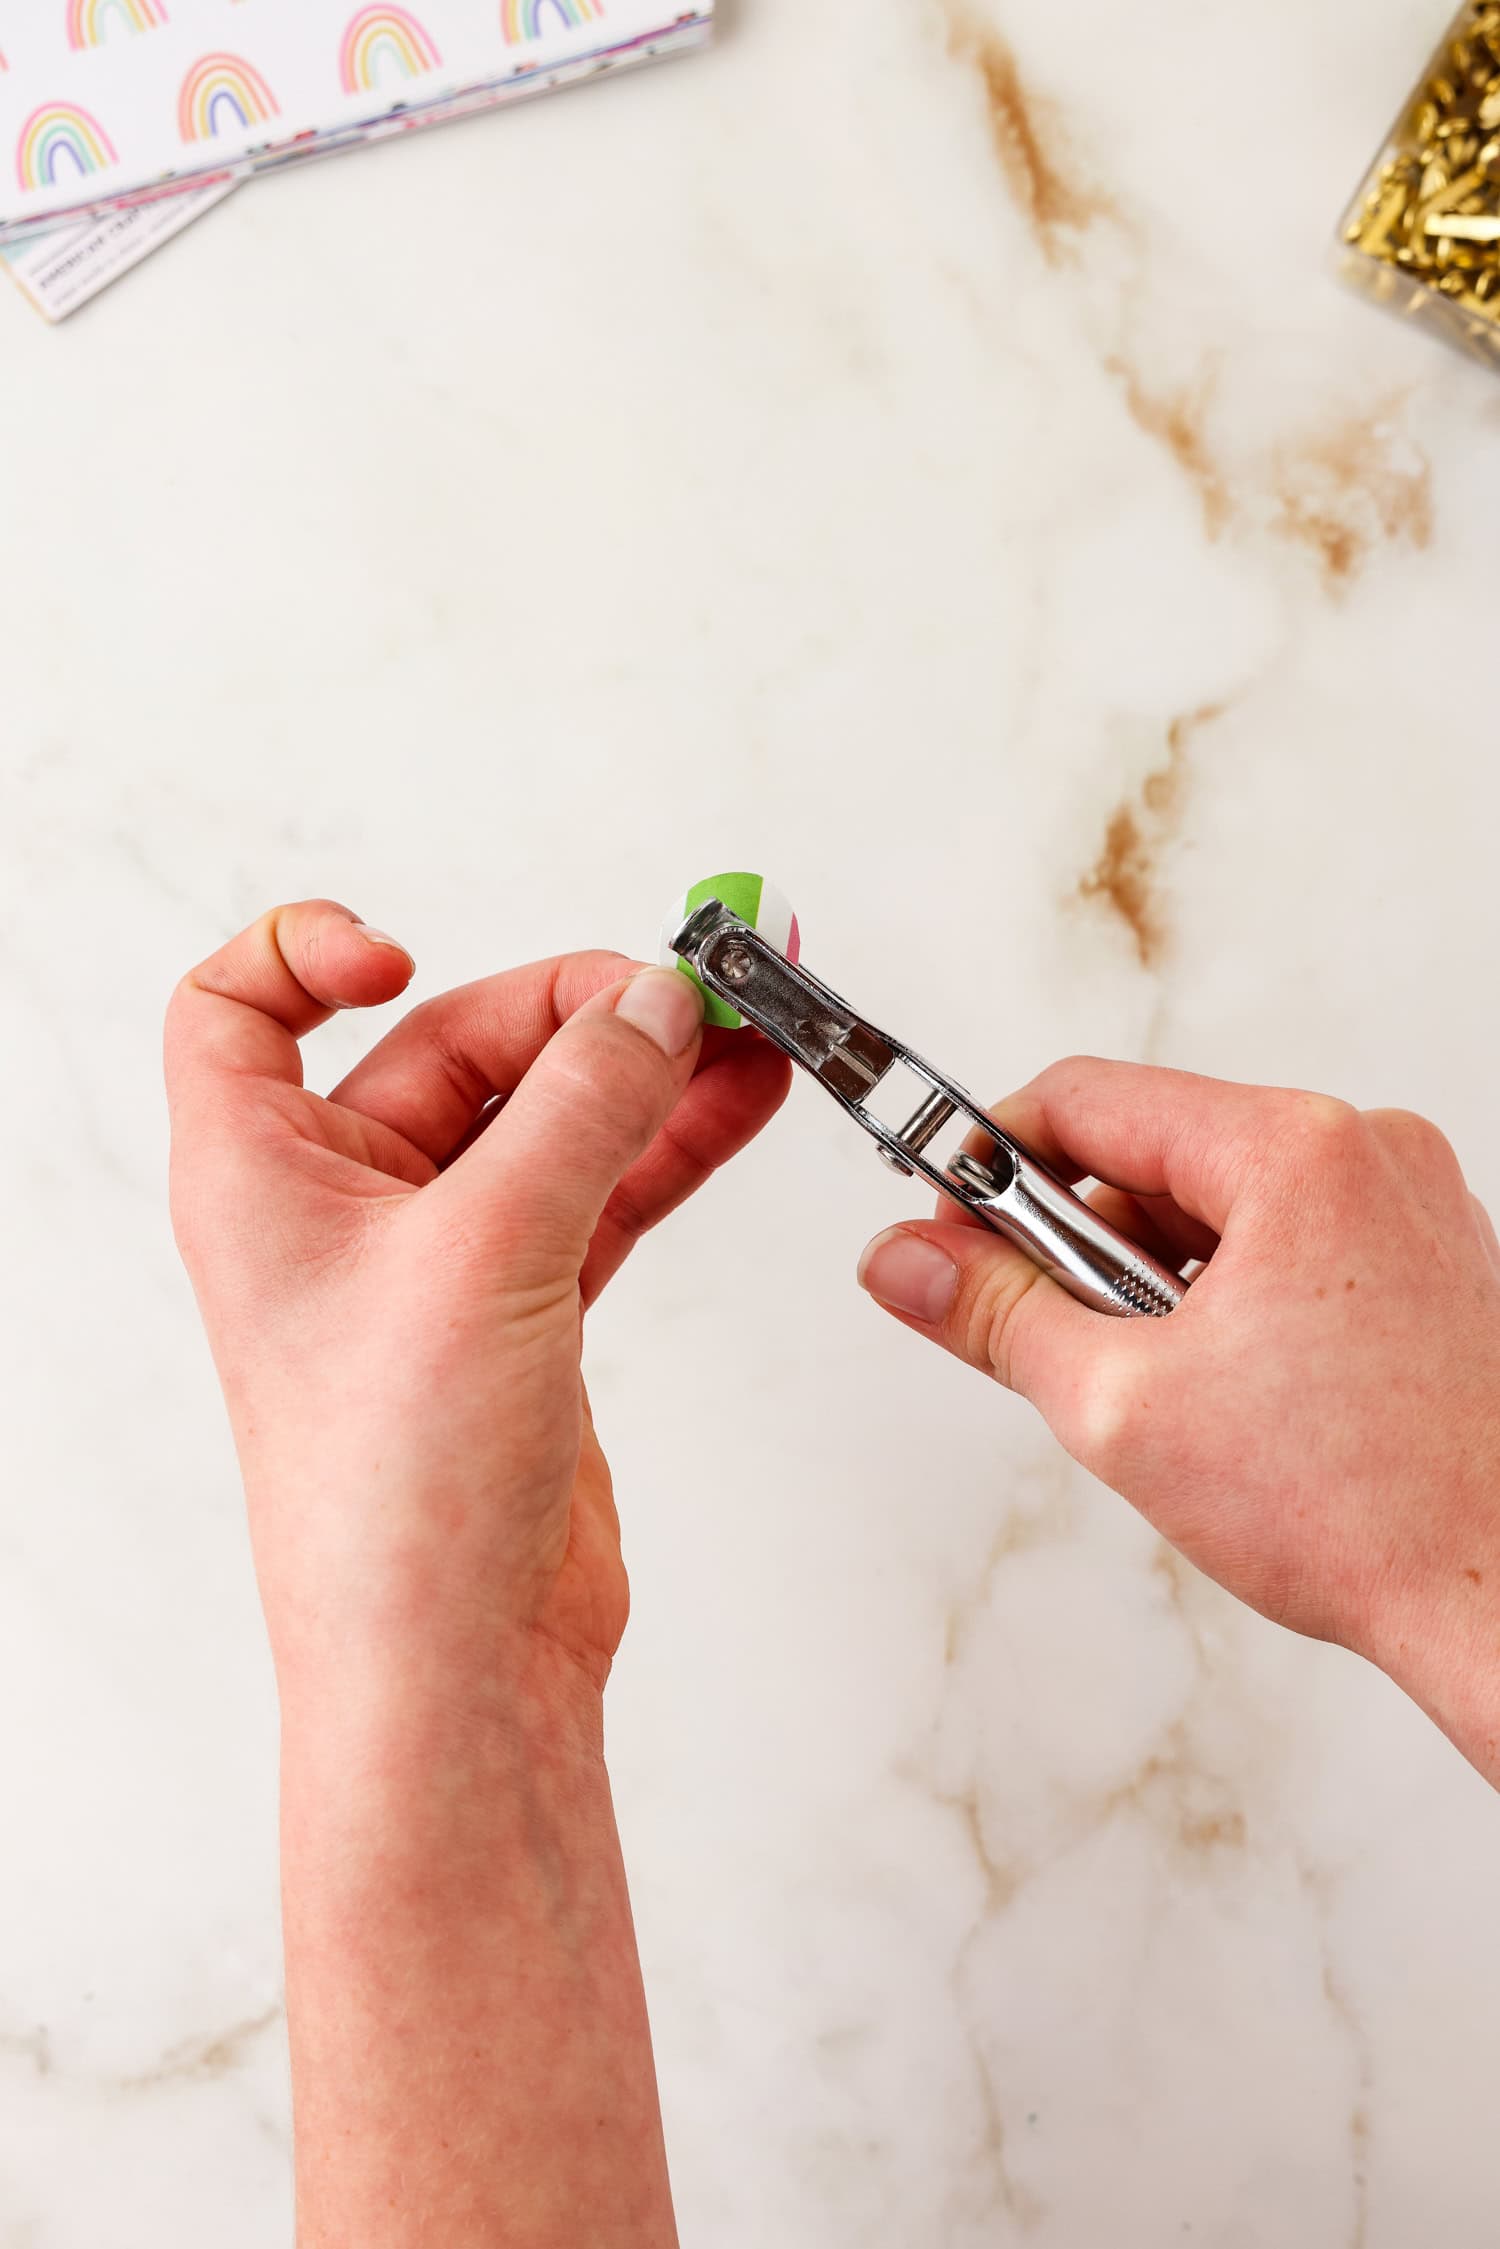
Flatten one end of the straw and punch a hole through it.
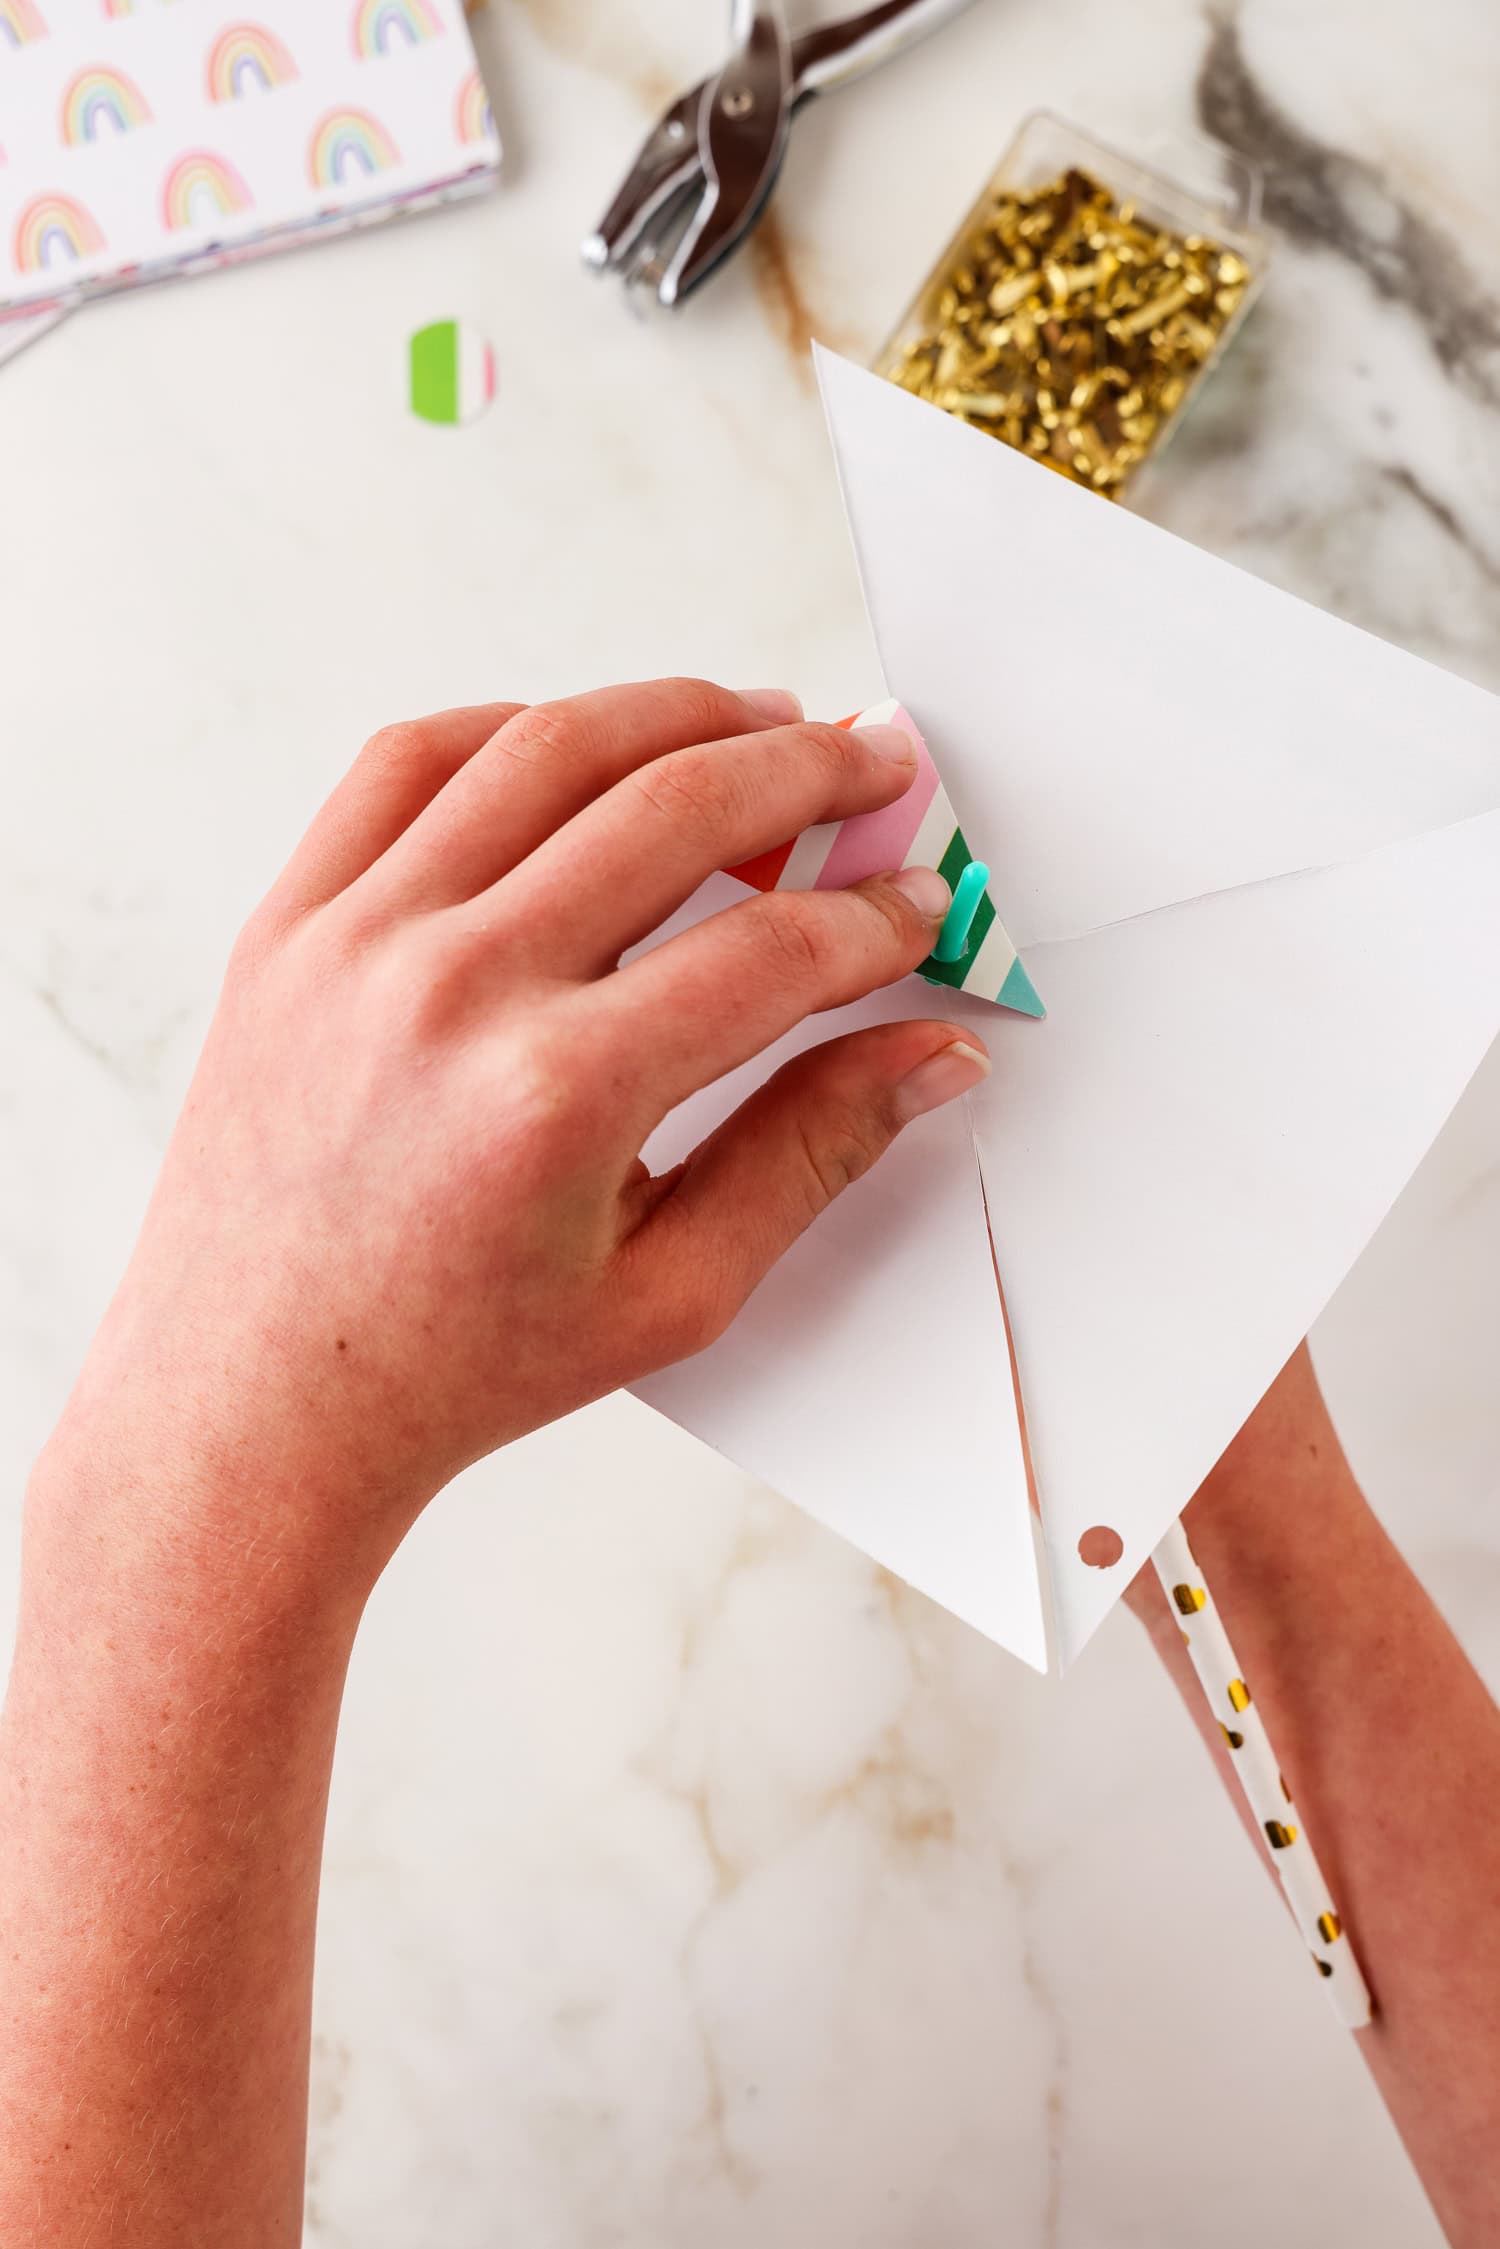
Use the end of a paintbrush, pencil or pen to help assemble the pinwheel. Stick the paintbrush through the hole in the center of the paper.


Working with one corner at a time, align the holes over the paintbrush. Carefully bend the paper as you put each hole over the paintbrush. Be careful not to press and crease the paper.
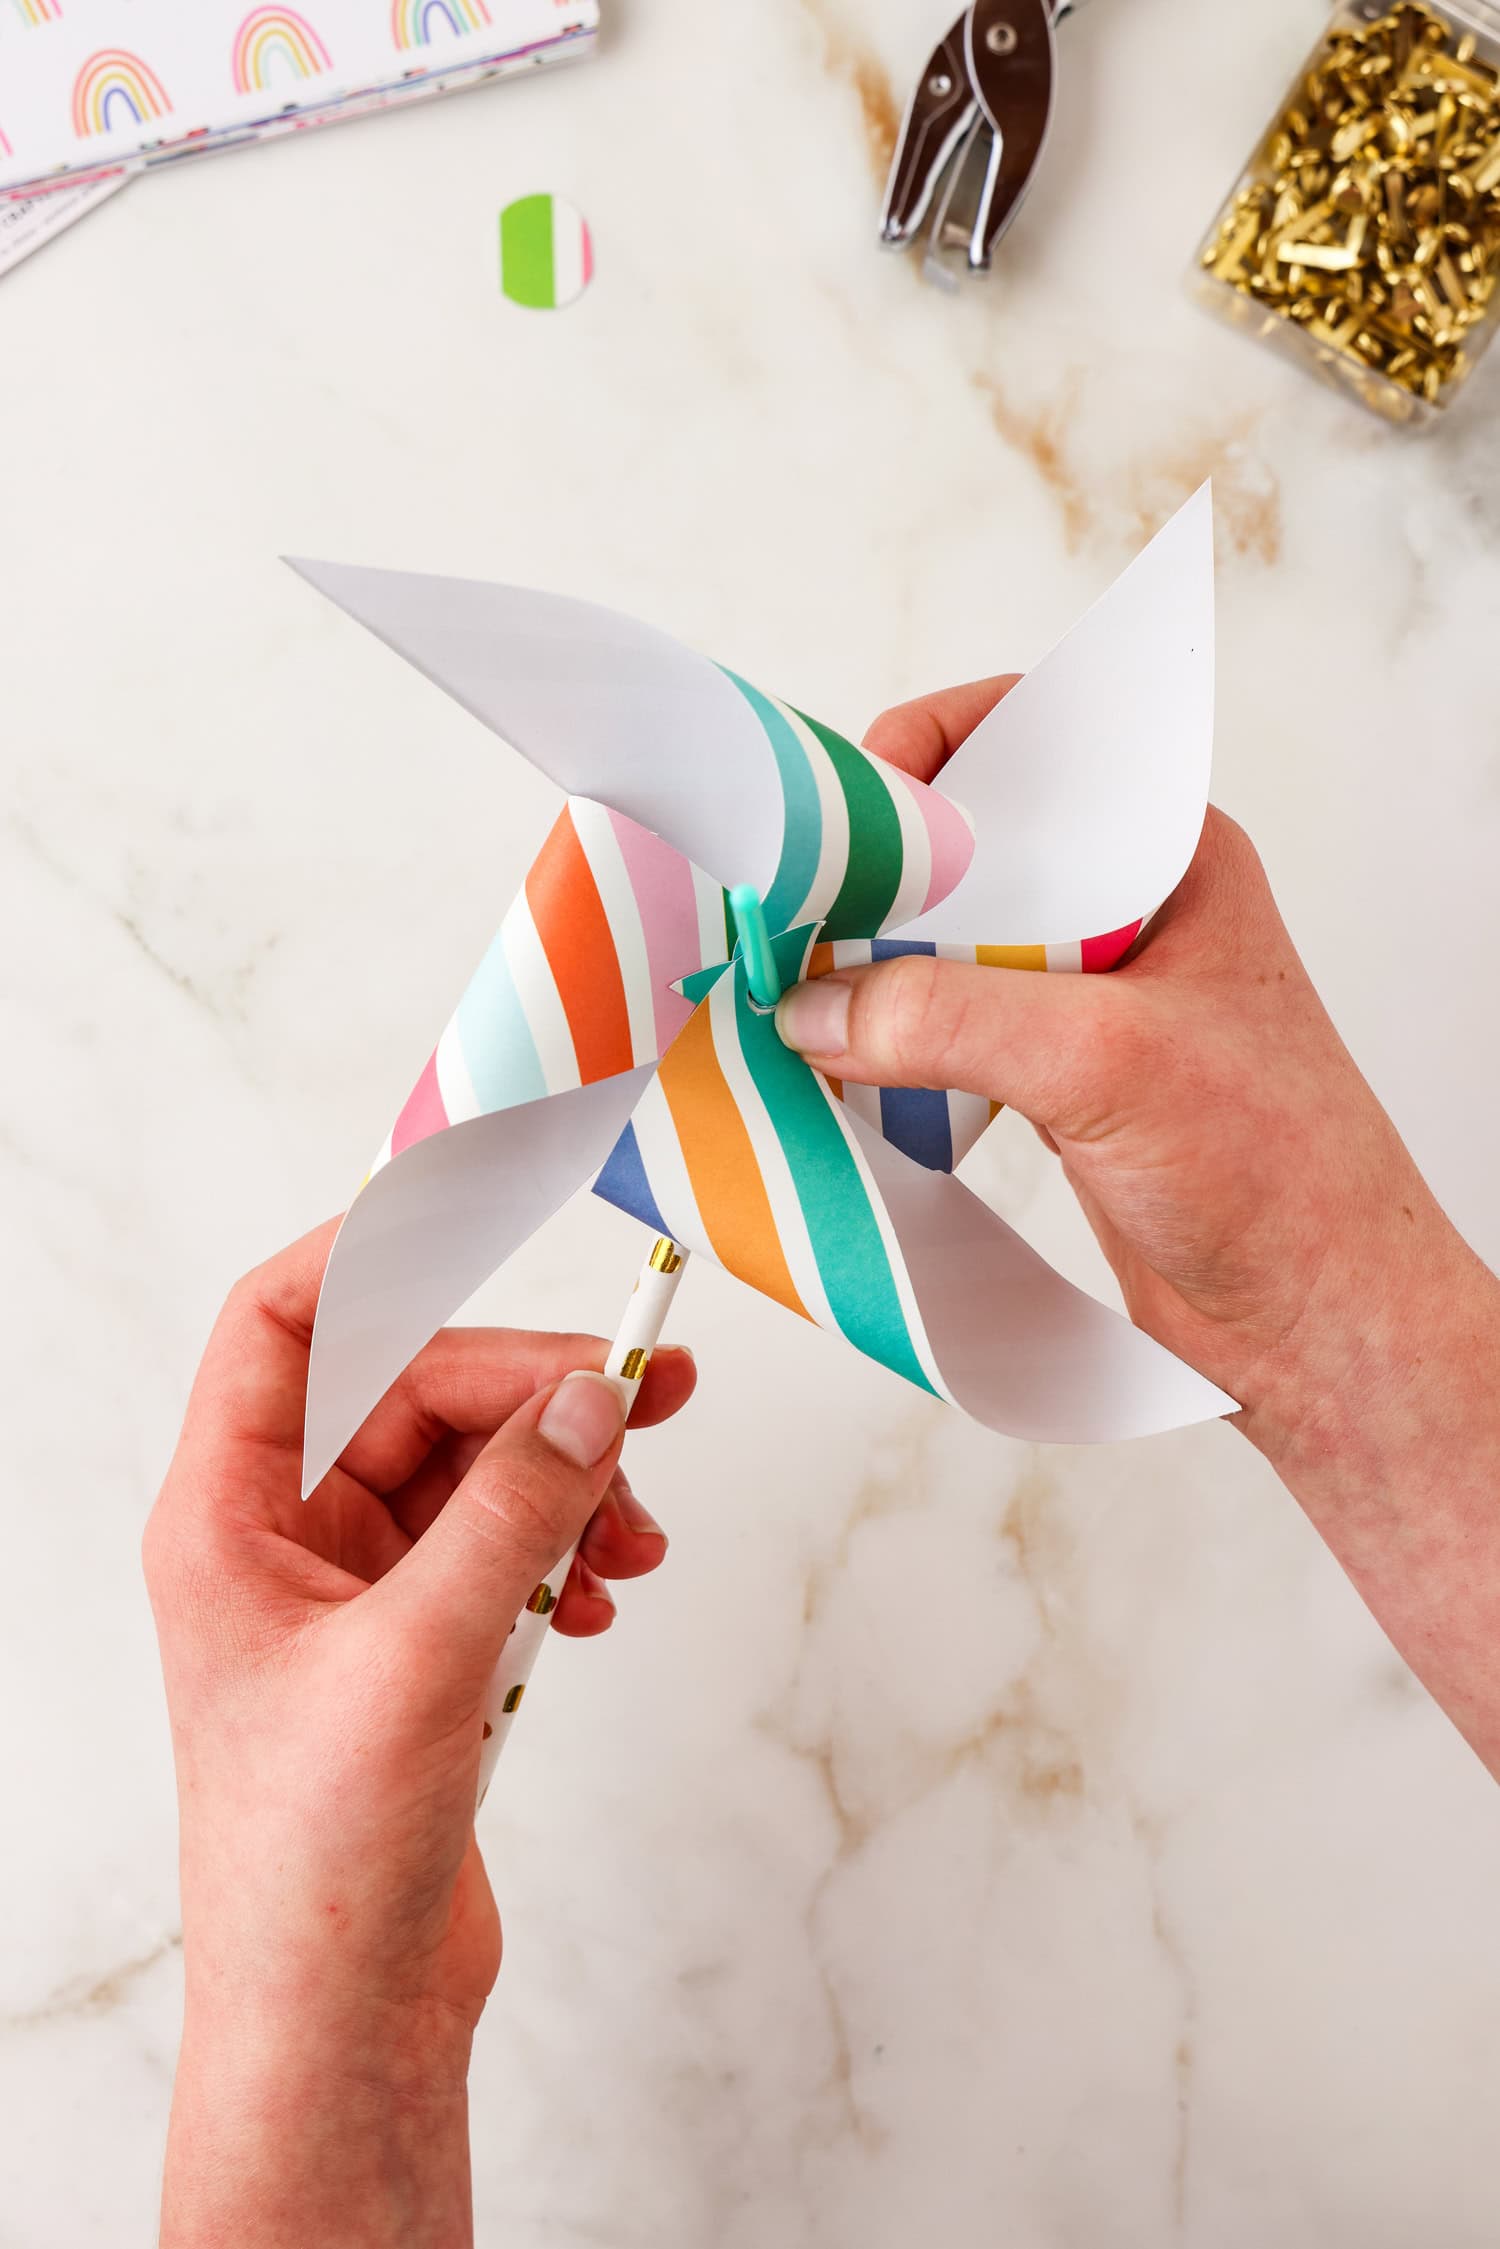
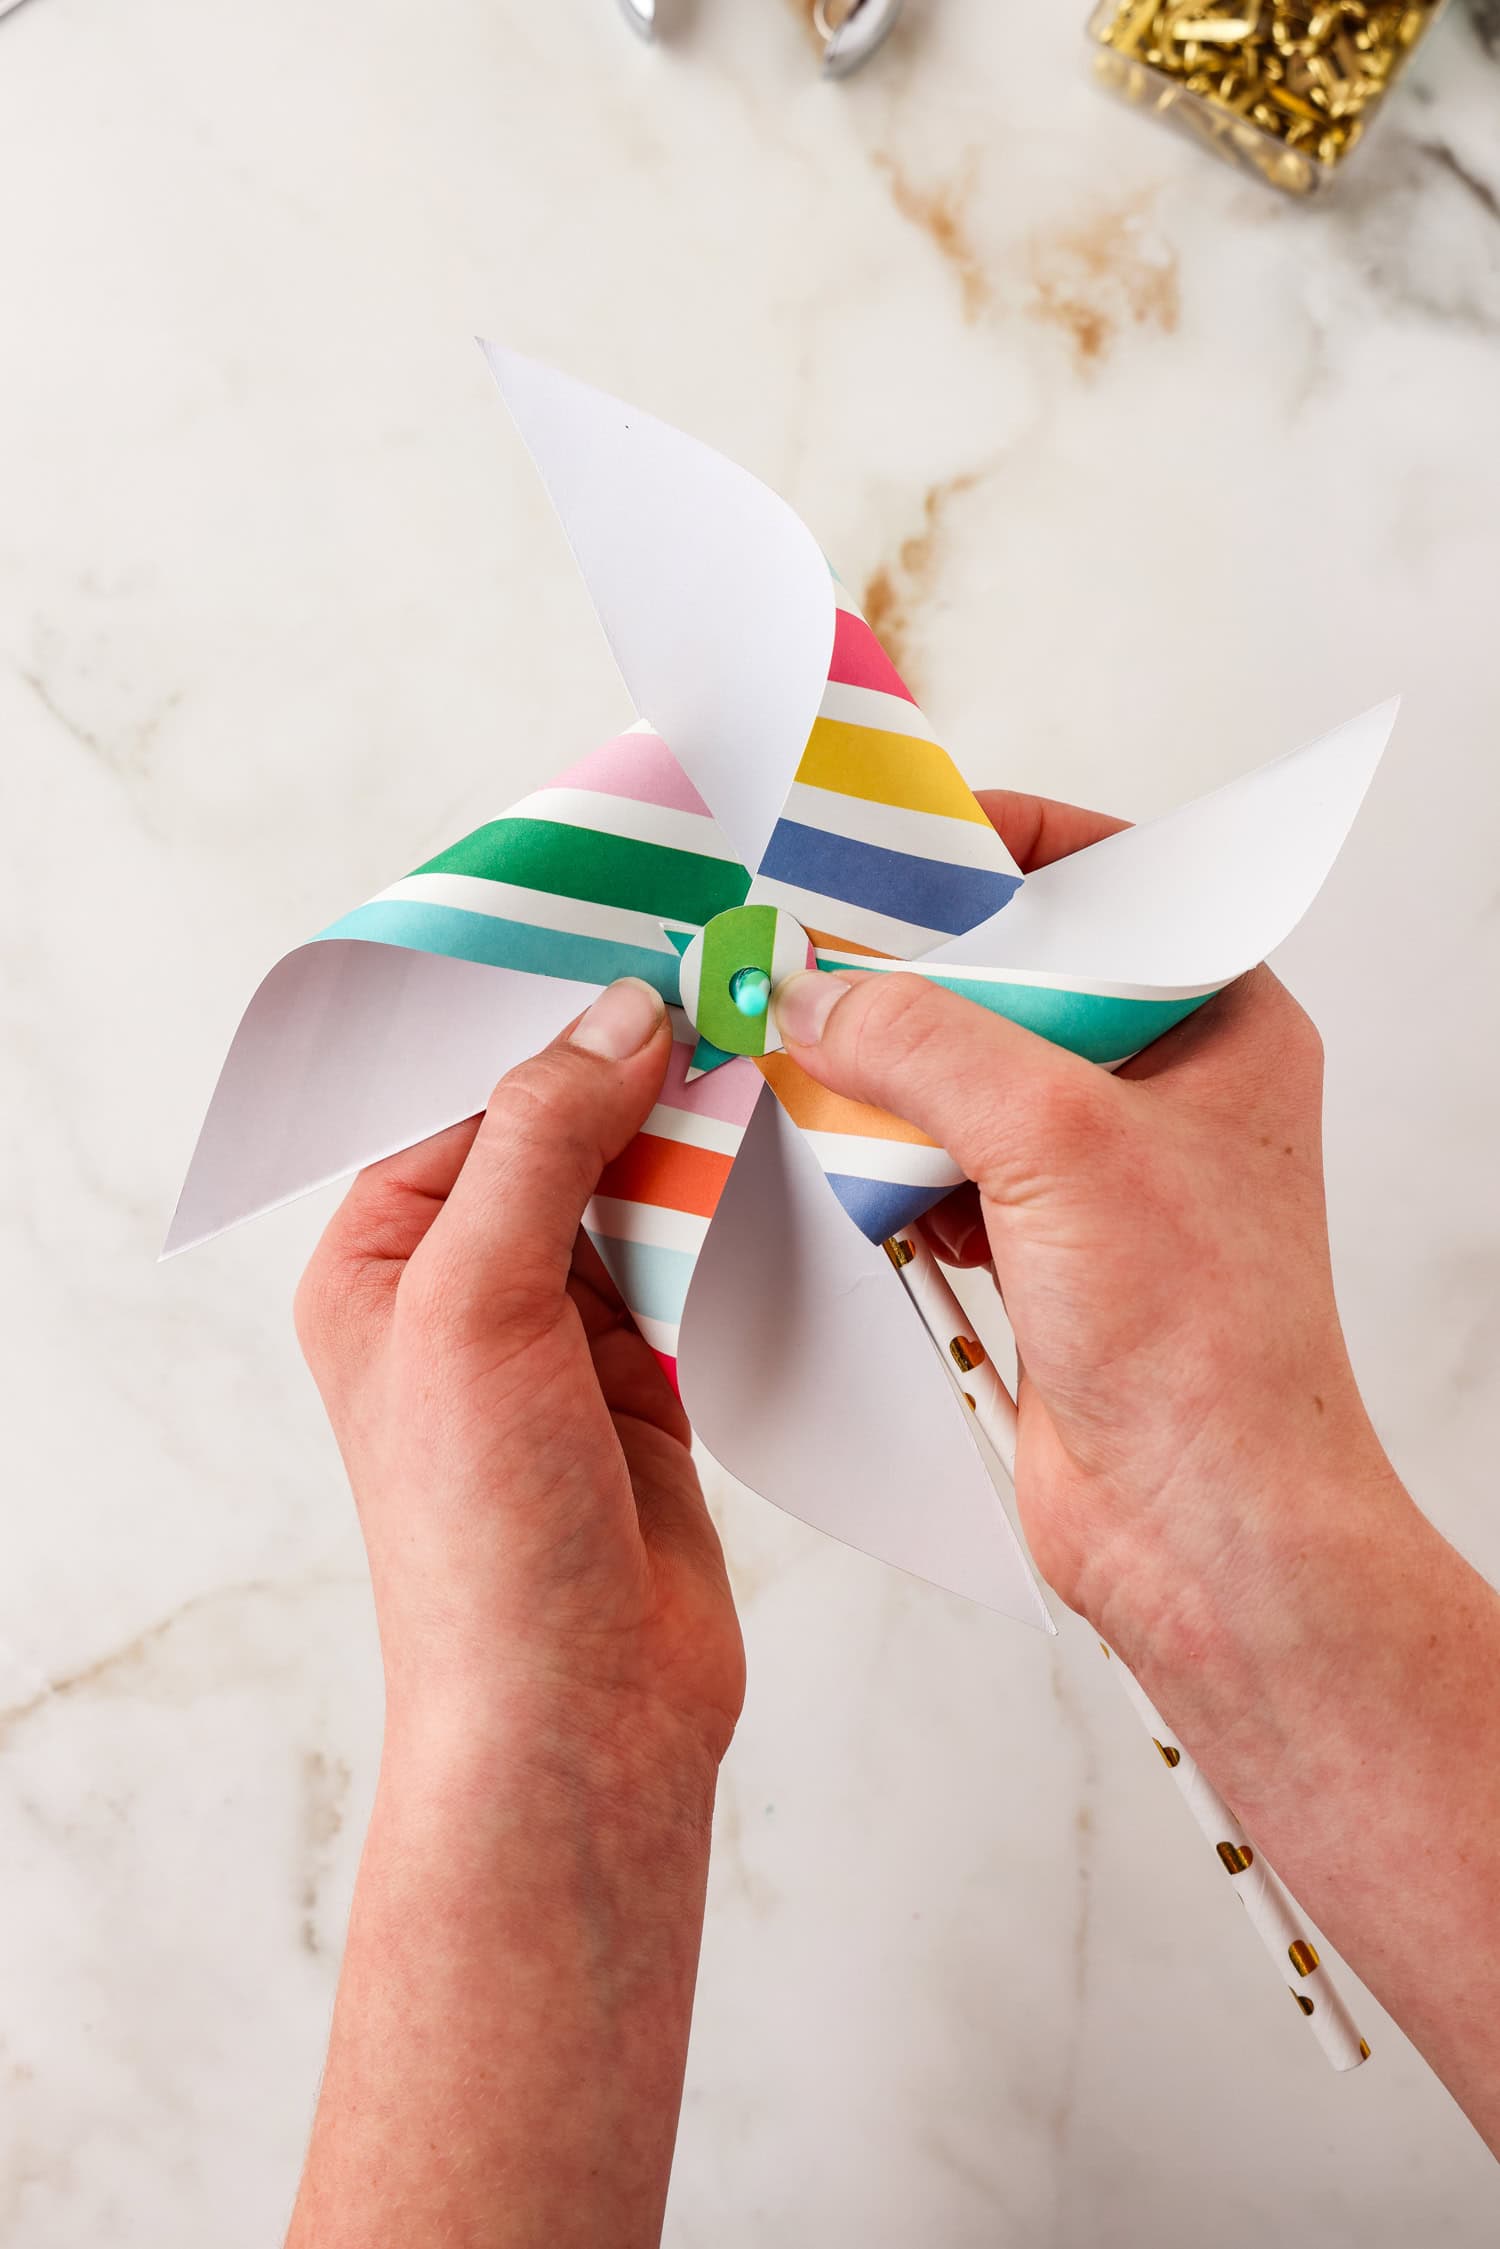
Once all of the holes are aligned, add the circle cut out on top.
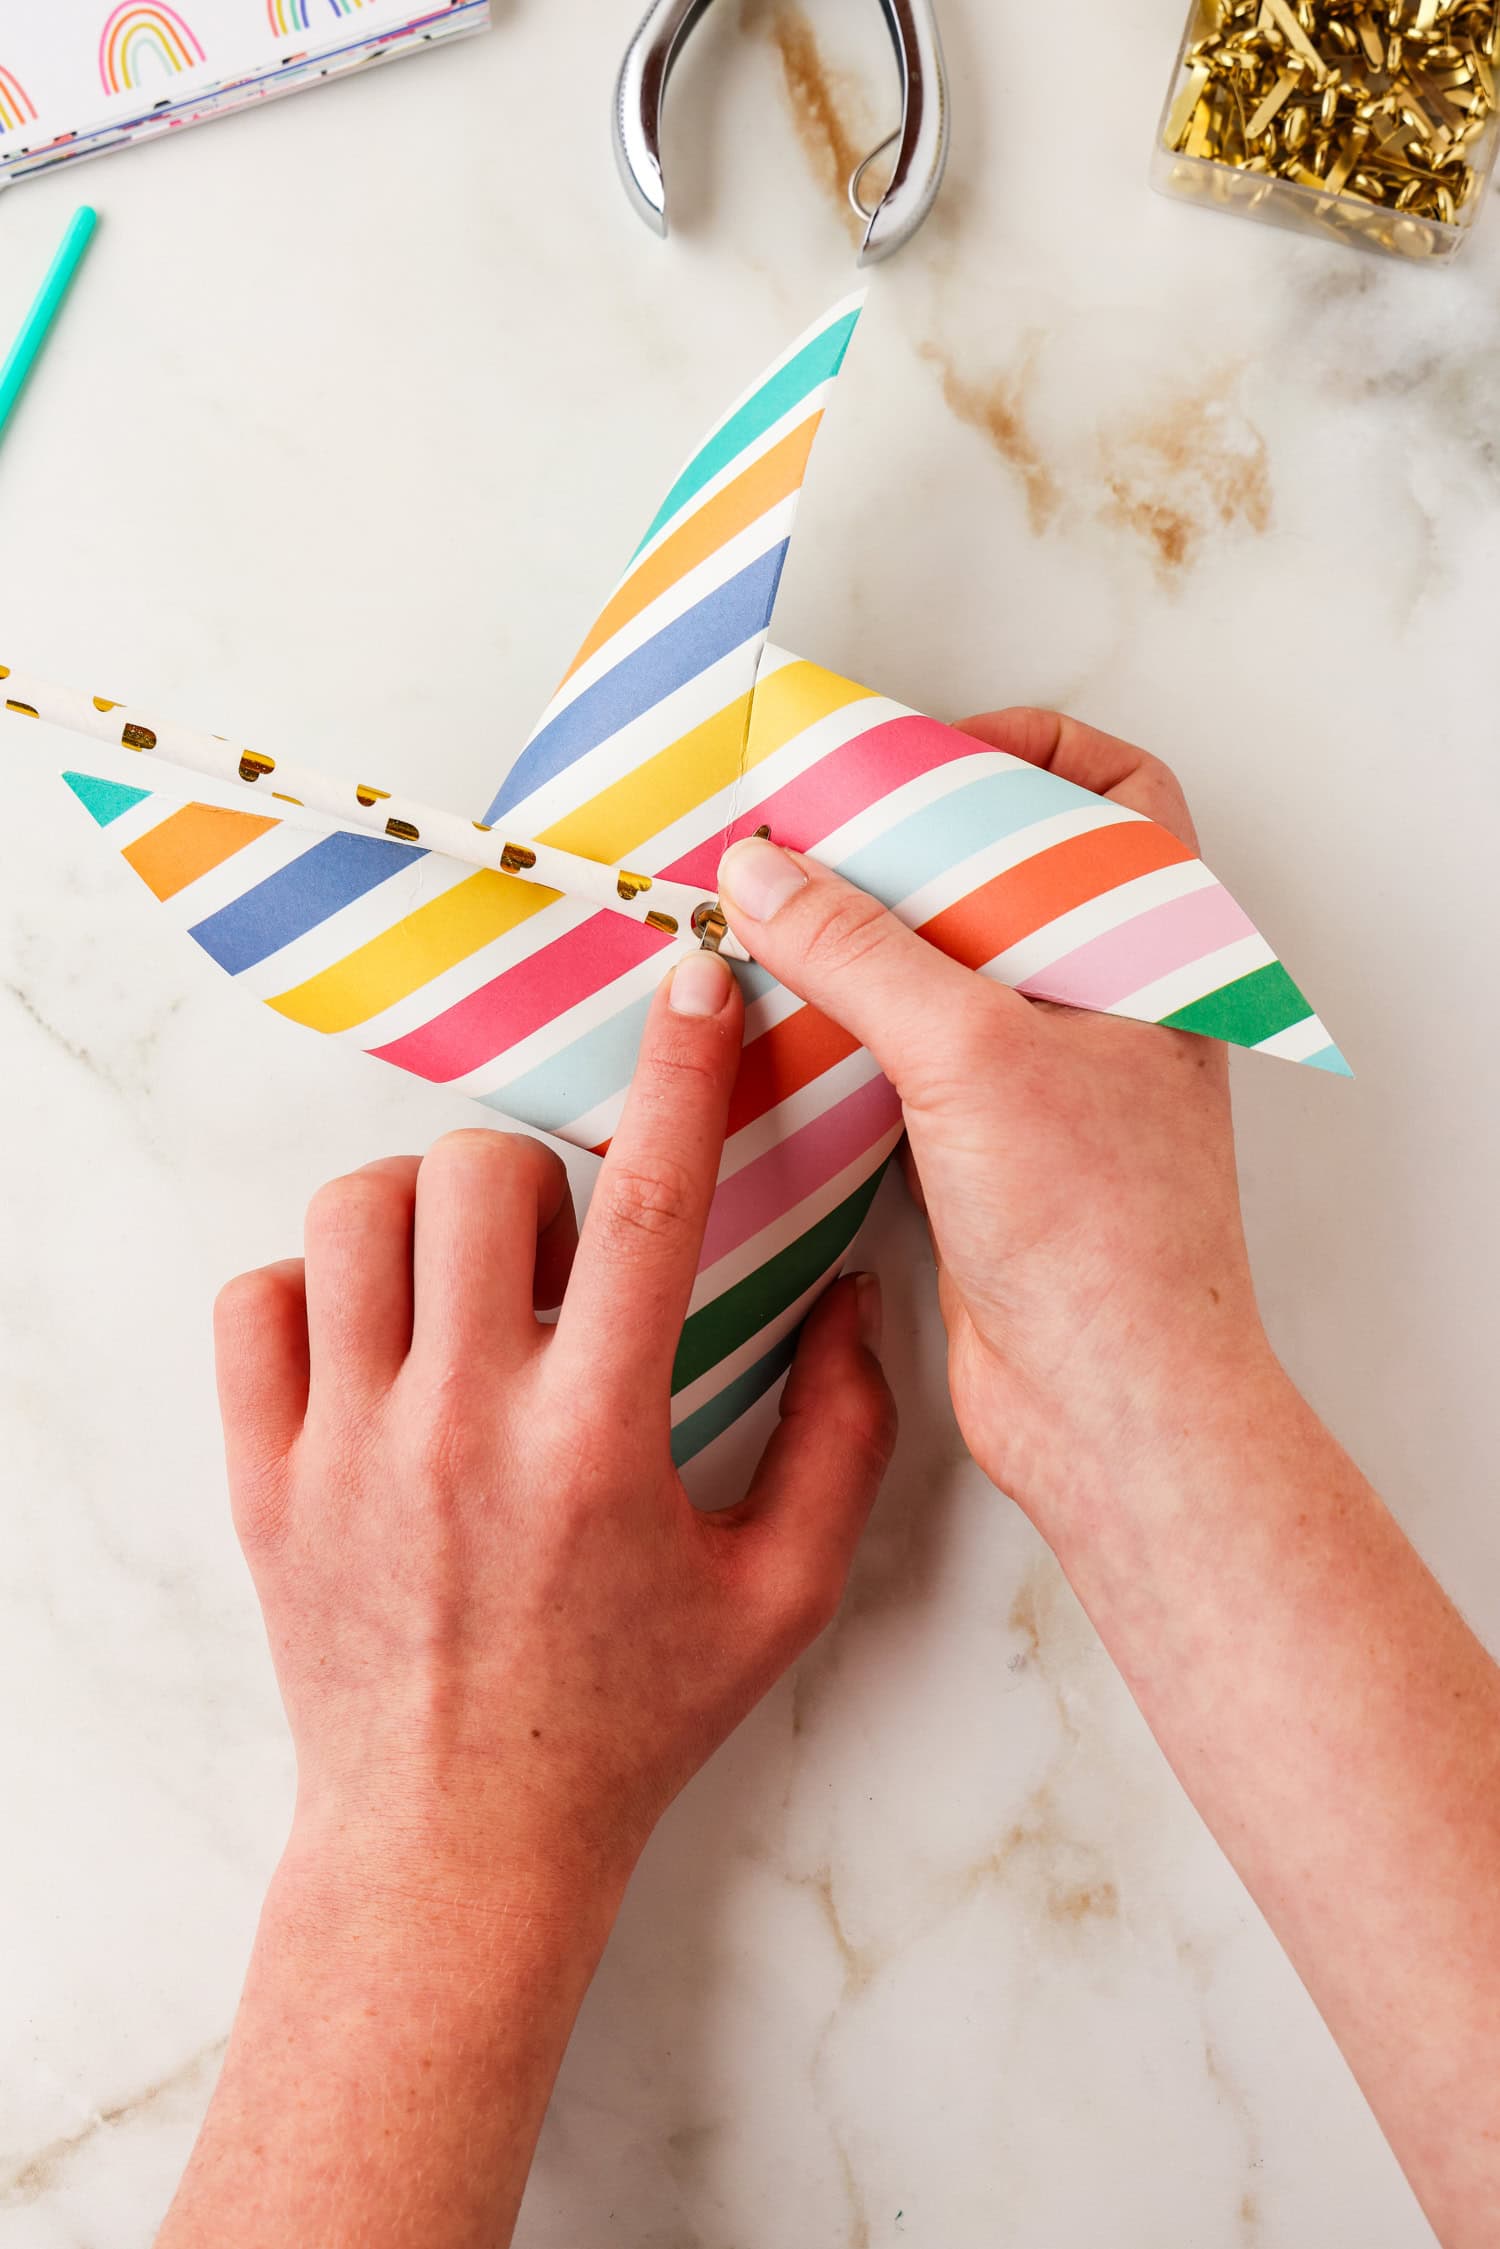
Hold all of the pieces in place, remove the paintbrush and push the brad fastener through the opening. Open the back prongs and press flat.

Why Isn’t My Pinwheel Spinning?
It is possible that the center paper is too tight against the straw. Pull it forward a little bit to leave some room. Loosening the brad can help with this.
Pro Tips
- If your paper isn’t a solid color or patterned on both sides, begin aligning the holes with the white side facing up so you see the color or pattern when the pinwheel is complete.
- If you don’t have decorative paper, you can easily glue a patterned wrapping paper onto one side of the white craft paper or simply decorate with crayons or markers.
- Add a bunch of paper pinwheels to a vase to make a creative and fun bouquet!
- Use these cute paper pinwheels as a take home name card when setting the table for a birthday party.
Making a homemade paper windmill is such a fun way to spend part of the day. Create them with different colors and patterns to really make a splash. Kids can focus on cutting and folding while having so much fun.
More 30 Minute or Less Craft Ideas
- Follow our guide to make a one of a kind Sticker Book.
- Getting close to a birthday in your household? Try making a Birthday Countdown Paper Chain!
- For the sea lovers out there, this Paper Plate Octopus is so much fun!
- If you need flowers in a pinch, make a creative bouquet out of Pipe Cleaner Flowers.
Paper Pinwheels
Ingredients
- Cardstock paper
- Paper straws
- Paper fastener brads
- Hole puncher
- Scissors
- Pen/pencil
- Paintbrush
- Paper cutter
- Coin nickel or quarter
Instructions
- Cut the cardstock down to a 6-inch by 6-inch square. Use the extra strip of cardstock to make a cover for your pinwheel by tracing around a coin and cutting it out. Use a hole puncher to make a hole in the middle of the circle. Set aside.
- Fold the square in half diagonally to form a triangle. Press flat. Open it back up and fold it in half again to form another triangle using the opposite corners. Press flat. Punch a hole right in the middle of the paper on the edge of the paper.
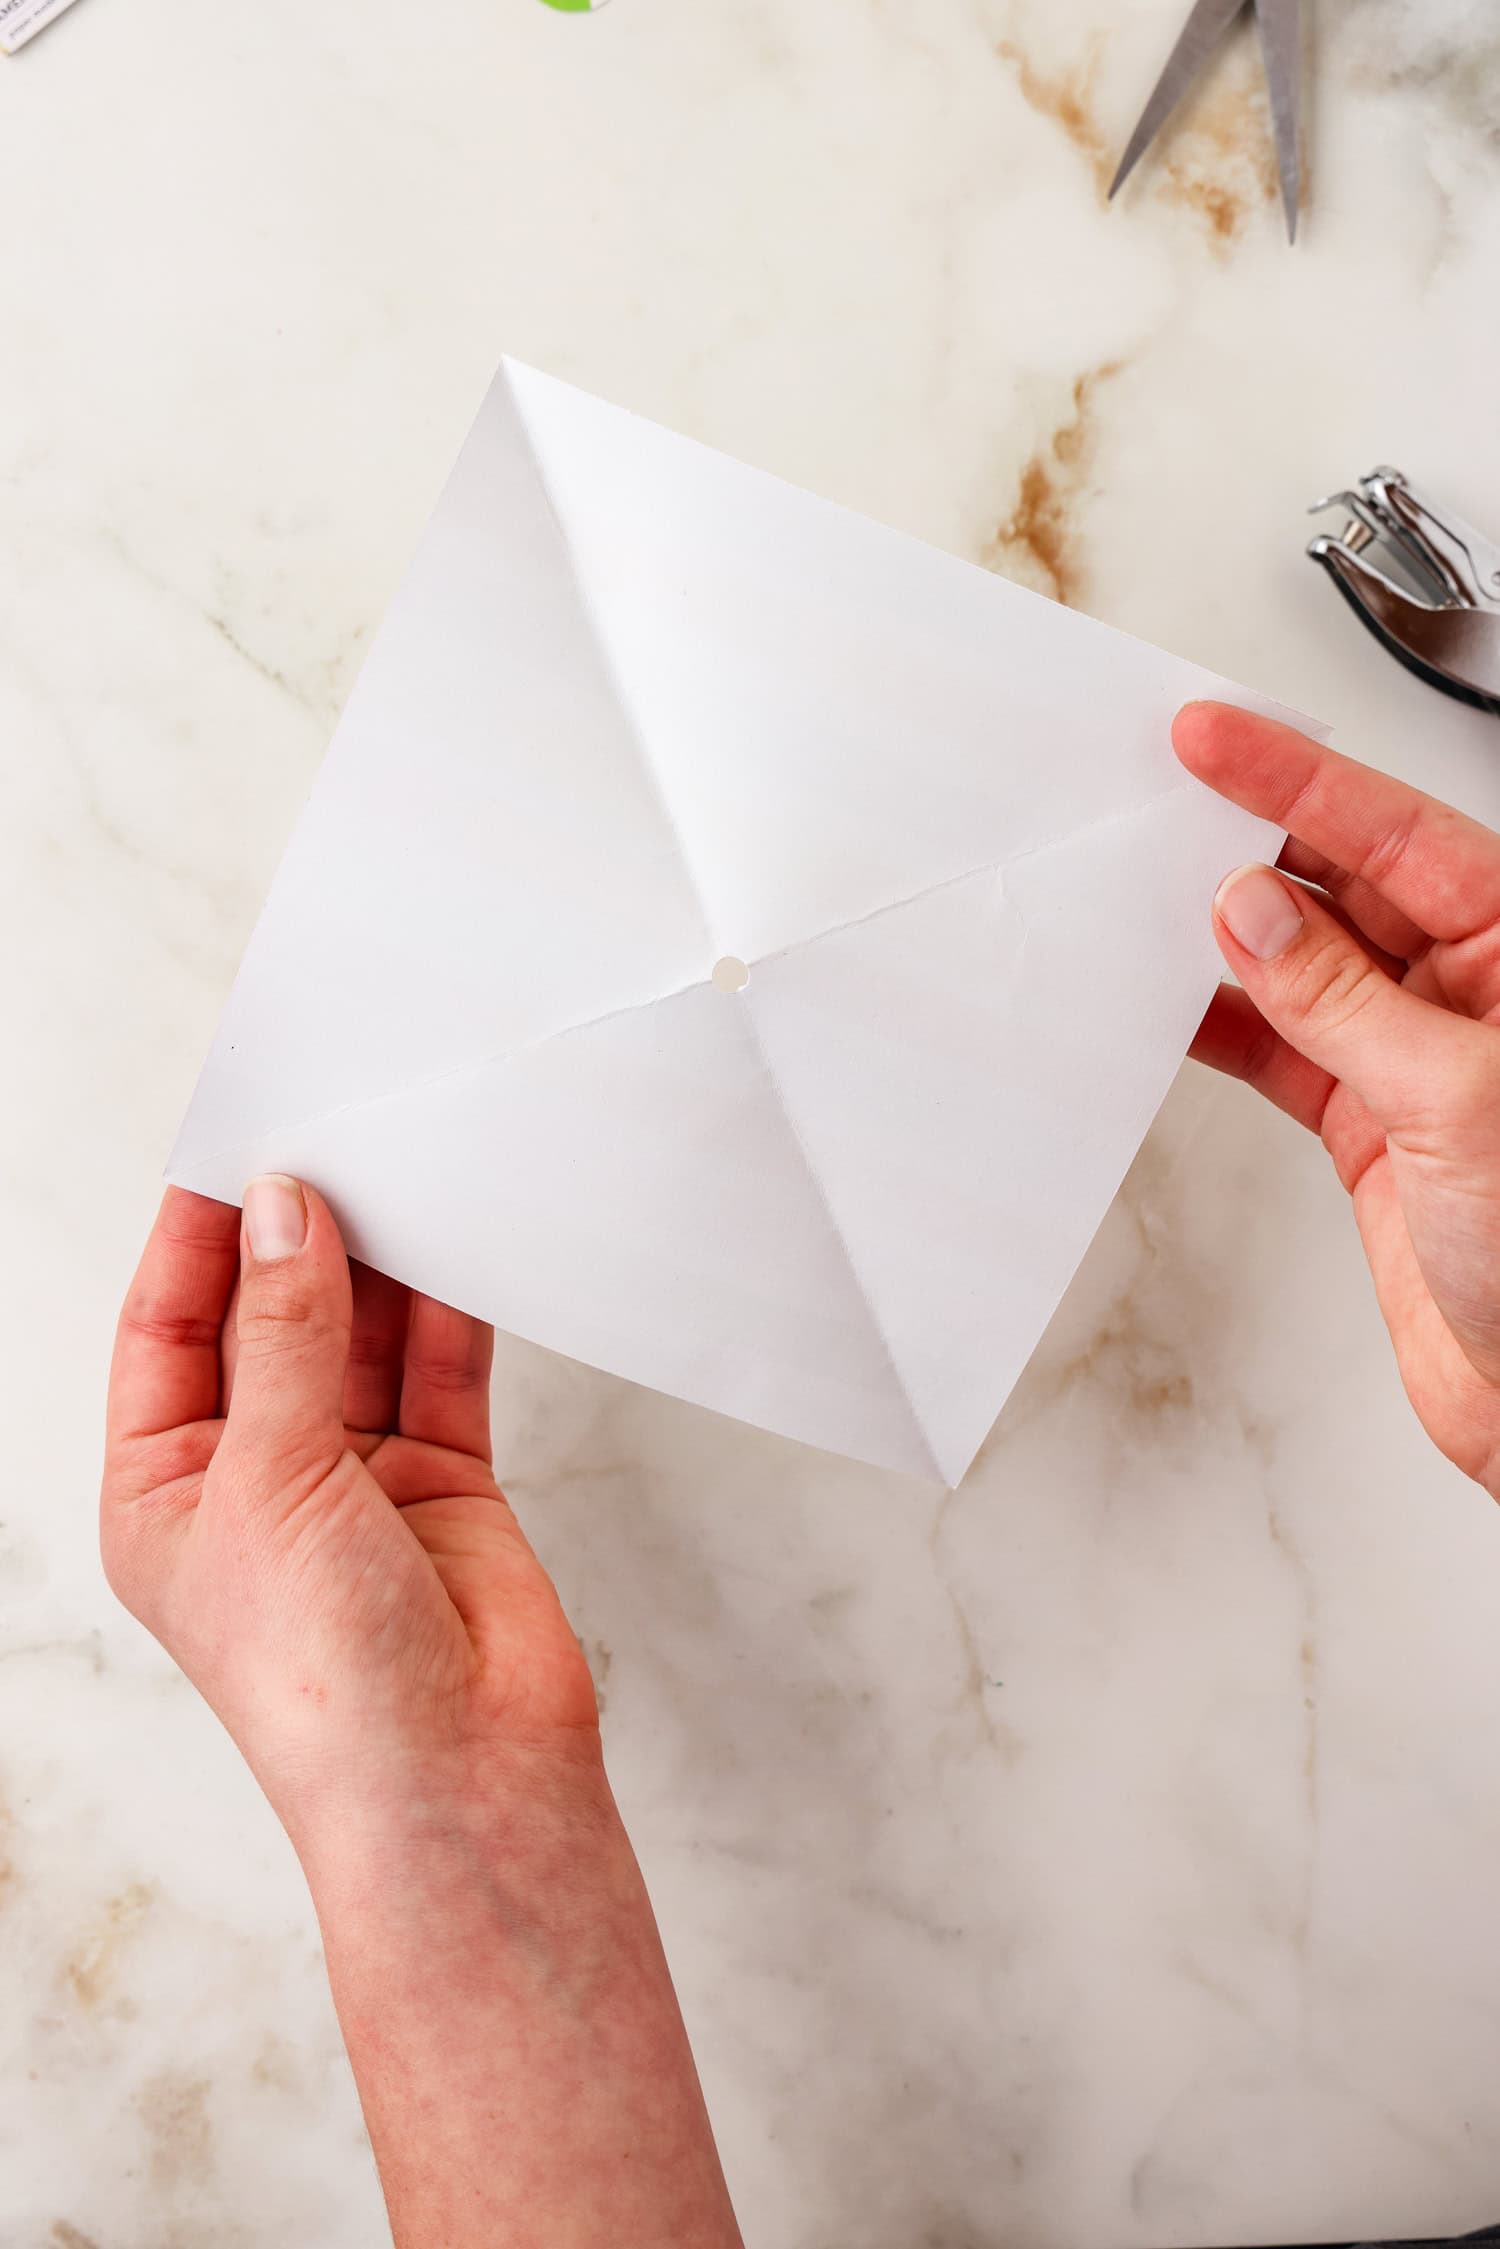
- Open the square back up. You should have an X running right through the middle of the square, from corner to corner, and a hole in the middle of the square.
- Use scissors to cut along the lines of the X, starting at the corners of the square. Stop about 1 inch shy of the hole in the middle of the paper.
- Use the hole puncher to make a hole on the left side of each line that you just cut. Be sure to leave enough space between the hole and the edge of the paper so that the paper won’t rip through easily. You should have 5 holes total; one in the middle of the square, and 1 hole along each edge of the square to the left of the diagonal lines you just cut.
- Flatten one end of the paper straw and punch a hole through it.
- Use the end of a paintbrush (or a pencil/pen/skewer, etc.) to help assemble the paper pinwheel. *NOTE: If your paper isn’t a solid color or patterned on both sides, begin this step with the white side facing up so that you see the patterns when the pinwheel is complete. Stick the paintbrush through the hole in the middle of the square. Working with one corner of the square at a time, align the holes over the paintbrush. Carefully bend the paper as you put each hole over the paintbrush. Be careful not to press the paper and make a crease, though you can gently press it to flatten it out some.
- Once all the holes are aligned, add the circle cover you cut out in step 1.
- While holding all of the pieces in place, remove the paintbrush and place the brad fastener through the opening. Open the back prongs and press flat to hold everything in place!
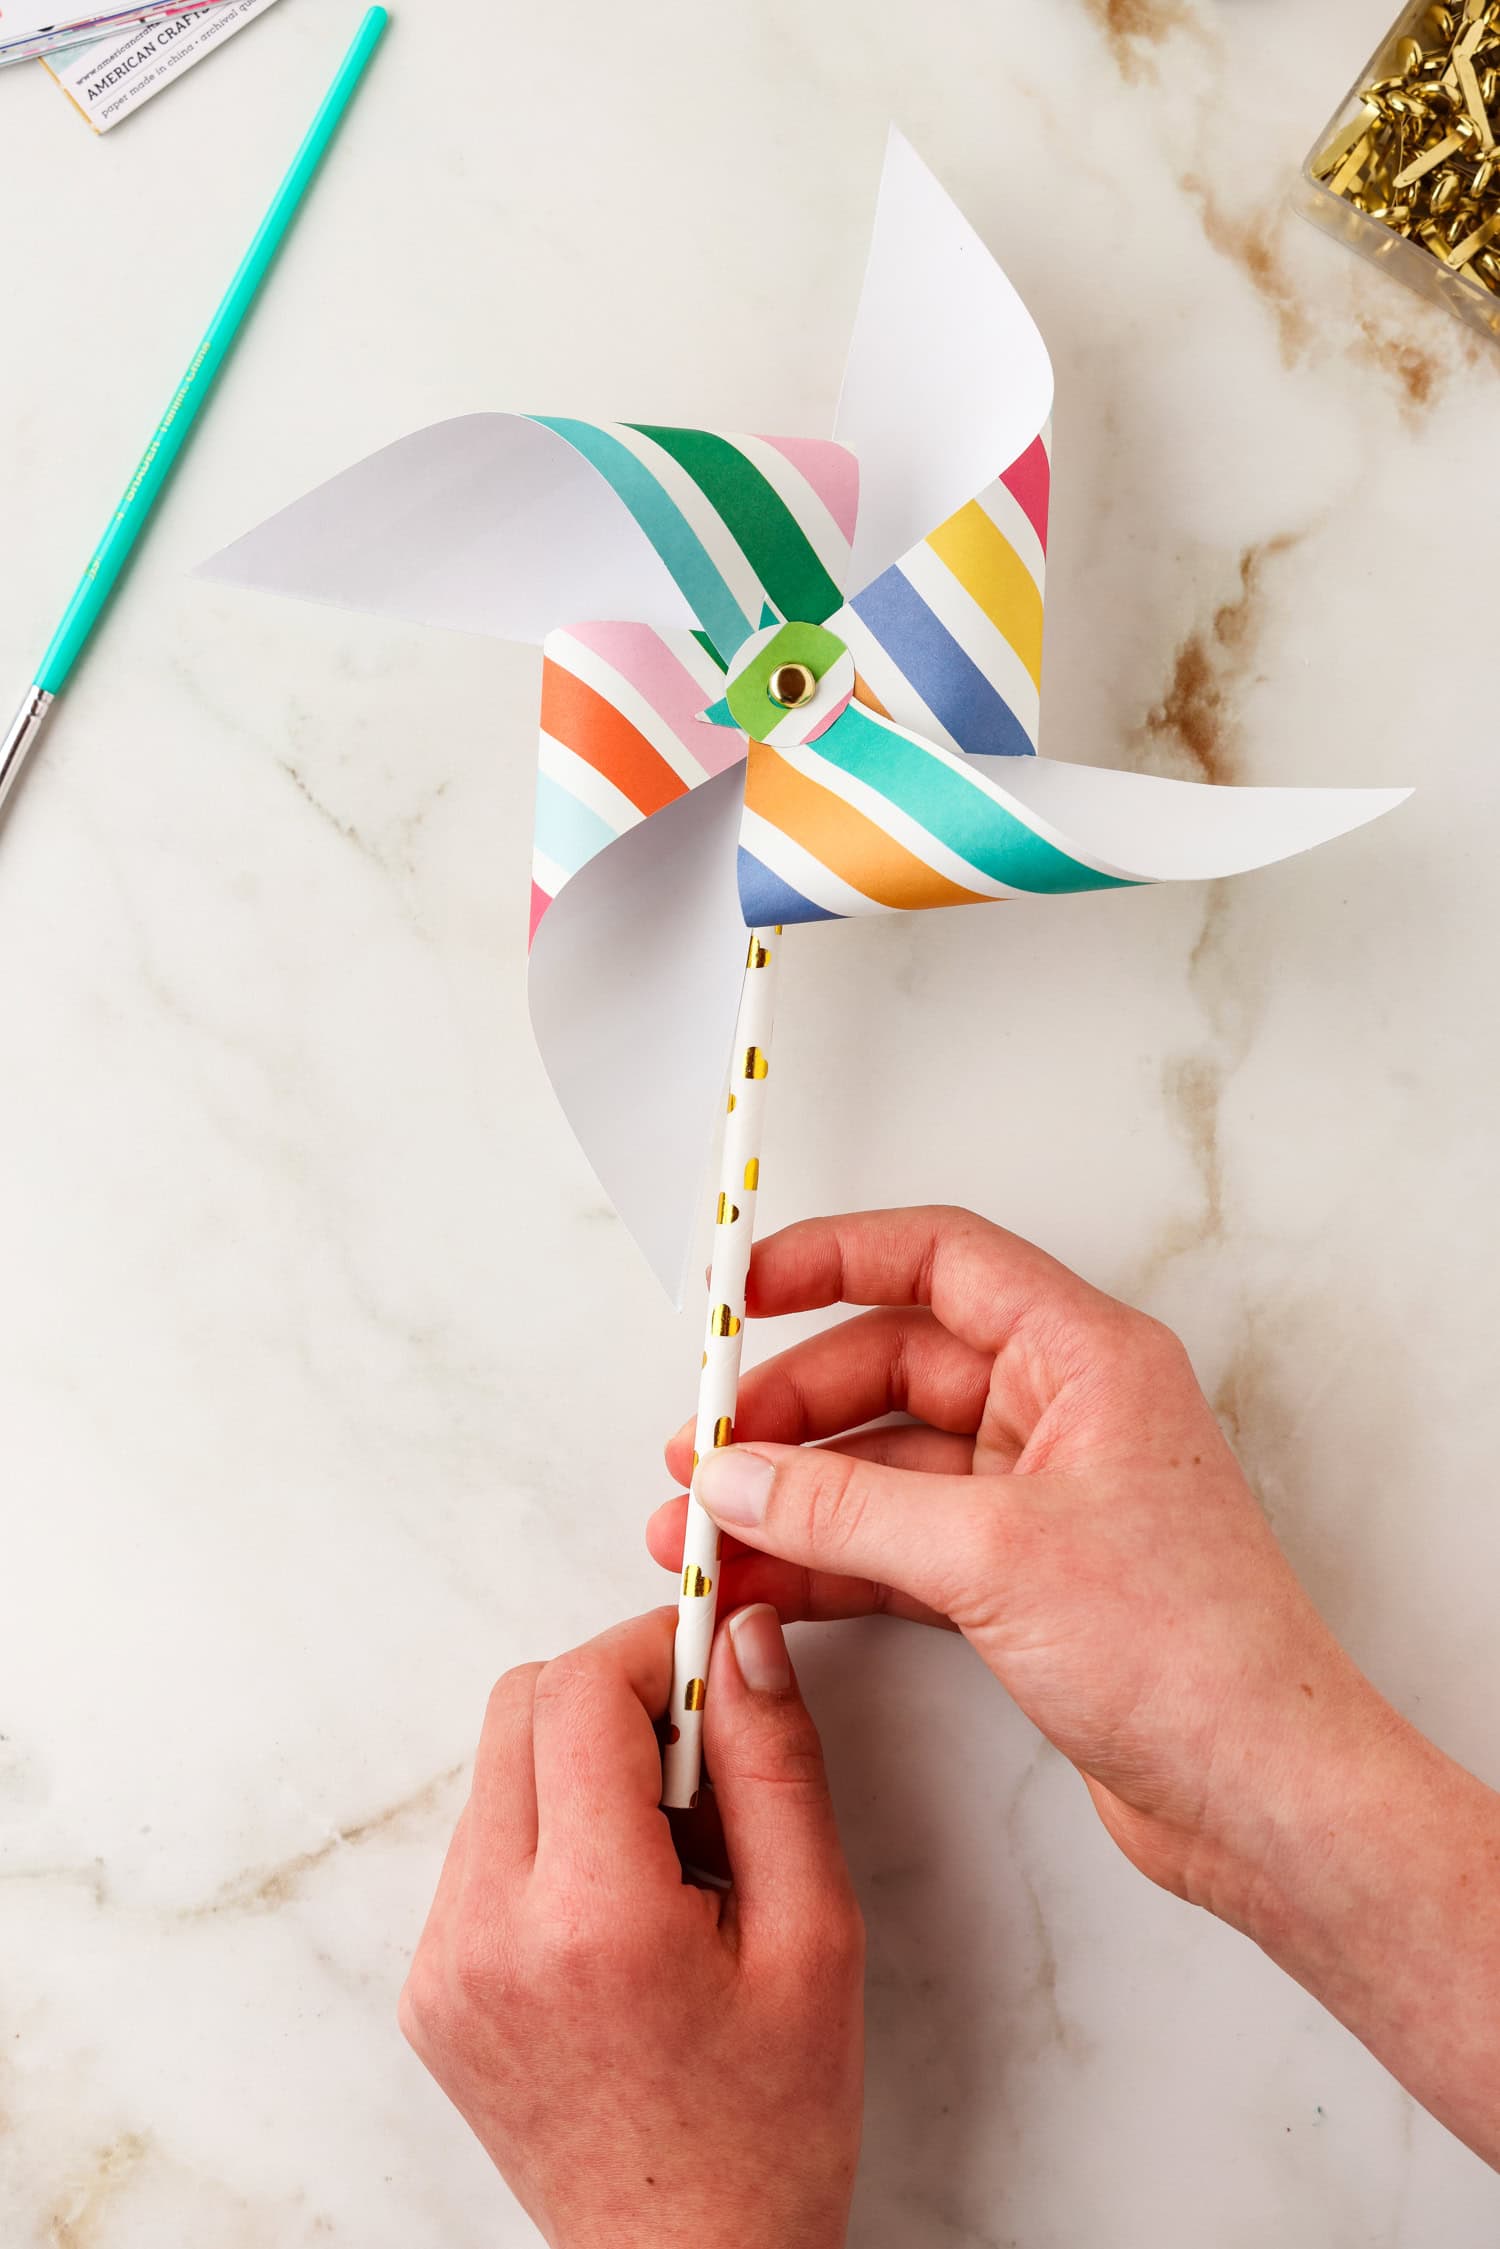
- Your paper pinwheel is complete! Take them out and enjoy watching them spin! You can also use them for a fun springtime decoration by setting them in a flower vase.