Paper Bag Scarecrow
Create a Paper Bag Scarecrow for an easy fall craft! This cute and adorable scarecrow craft is made with a paper bag, paint and few extra supplies. It’s an easy kids craft for fall!

There’s something about scarecrows that just lets you know that fall is here! I love how many cute scarecrow decorations are placed in the local stores and of course, our pumpkin patches have more than I can count. So, of course, I had to come up with the cutest paper bag scarecrow craft for kids of all ages that is so much fun!
No, these little guys may not scare birds aways from crops but they sure are adorable to look at. Maybe you could make this Indian corn craft and pretend that your scarecrow is protecting the corn crop! Double up that scarecrow protection and make paper plate or craft stick scarecrows too!
The fall season is such a fun time, filled with super fun activities. But when the leaves start to fall and those chilly days rush in, it can be really helpful to have a stock of fun crafts that you can make inside your home or classroom. No weather will keep you from having fun if you have the simple supplies handy to create a scarecrow paper bag craft!
Why You’ll Love This Craft
- This fall craft is budget-friendly. You can buy many of these craft supplies in bulk and save them for other crafts.
- A silly scarecrow is a great craft for many different ages. From preschoolers on up, any kid can make this easy craft and use their creativity to make it their own!
- Not only is this a really fun craft, but this paper bag craft can be used as a perfect fall decoration!

Supplies Needed For A Paper Bag Scarecrow
- Cardstock – I used purple, orange, and yellow cardstock. You’ll definitely need yellow paper as the hair for your scarecrow, but you can use any color you want for the hat band. Craft foam is also a great substitution!
- Brown lunch bag – A brown lunch bag will be the base of your scarecrow bag craft. You can typically find these in the same aisle you can find plastic zip top bags.
- Googly eyes – Grab the extra large googly eyes for the silliest and cutest look!
- Paint brush – All you need to paint is a simple small craft paint brush. You can also use a foam paint brush.
- Acrylic paint – I recommend using orange and yellow acrylic craft paints for this craft.
- Glue stick – A simple school glue stick will do the trick!
- Black marker – If you are making this paper bag scarecrow with younger children, consider using a washable black marker rather than a black Sharpie
- Scissors – Regular scissors and safety scissors will both do the job, so use whatever you have on hand.
Can I Add Anything Else?
- While the paint is still wet, sprinkle glitter of the same color on the wet paint. Once it dries, shake off the excess and you’ve got a glittery hat on your scarecrow.
- You can also use real straw for the scarecrow’s hair. Glue it on with hot glue.
- Feel free to add fun things like craft gemstones or buttons on your scarecrow to give it even more character.
- If you can’t find large googly eyes, you can paint eyes on with white and black acrylic paint.
- Add a bow to the hat band for a fancy flair.
- Use a pink bingo dabber to make rosy cheeks!
How To Make A Paper Bag Scarecrow
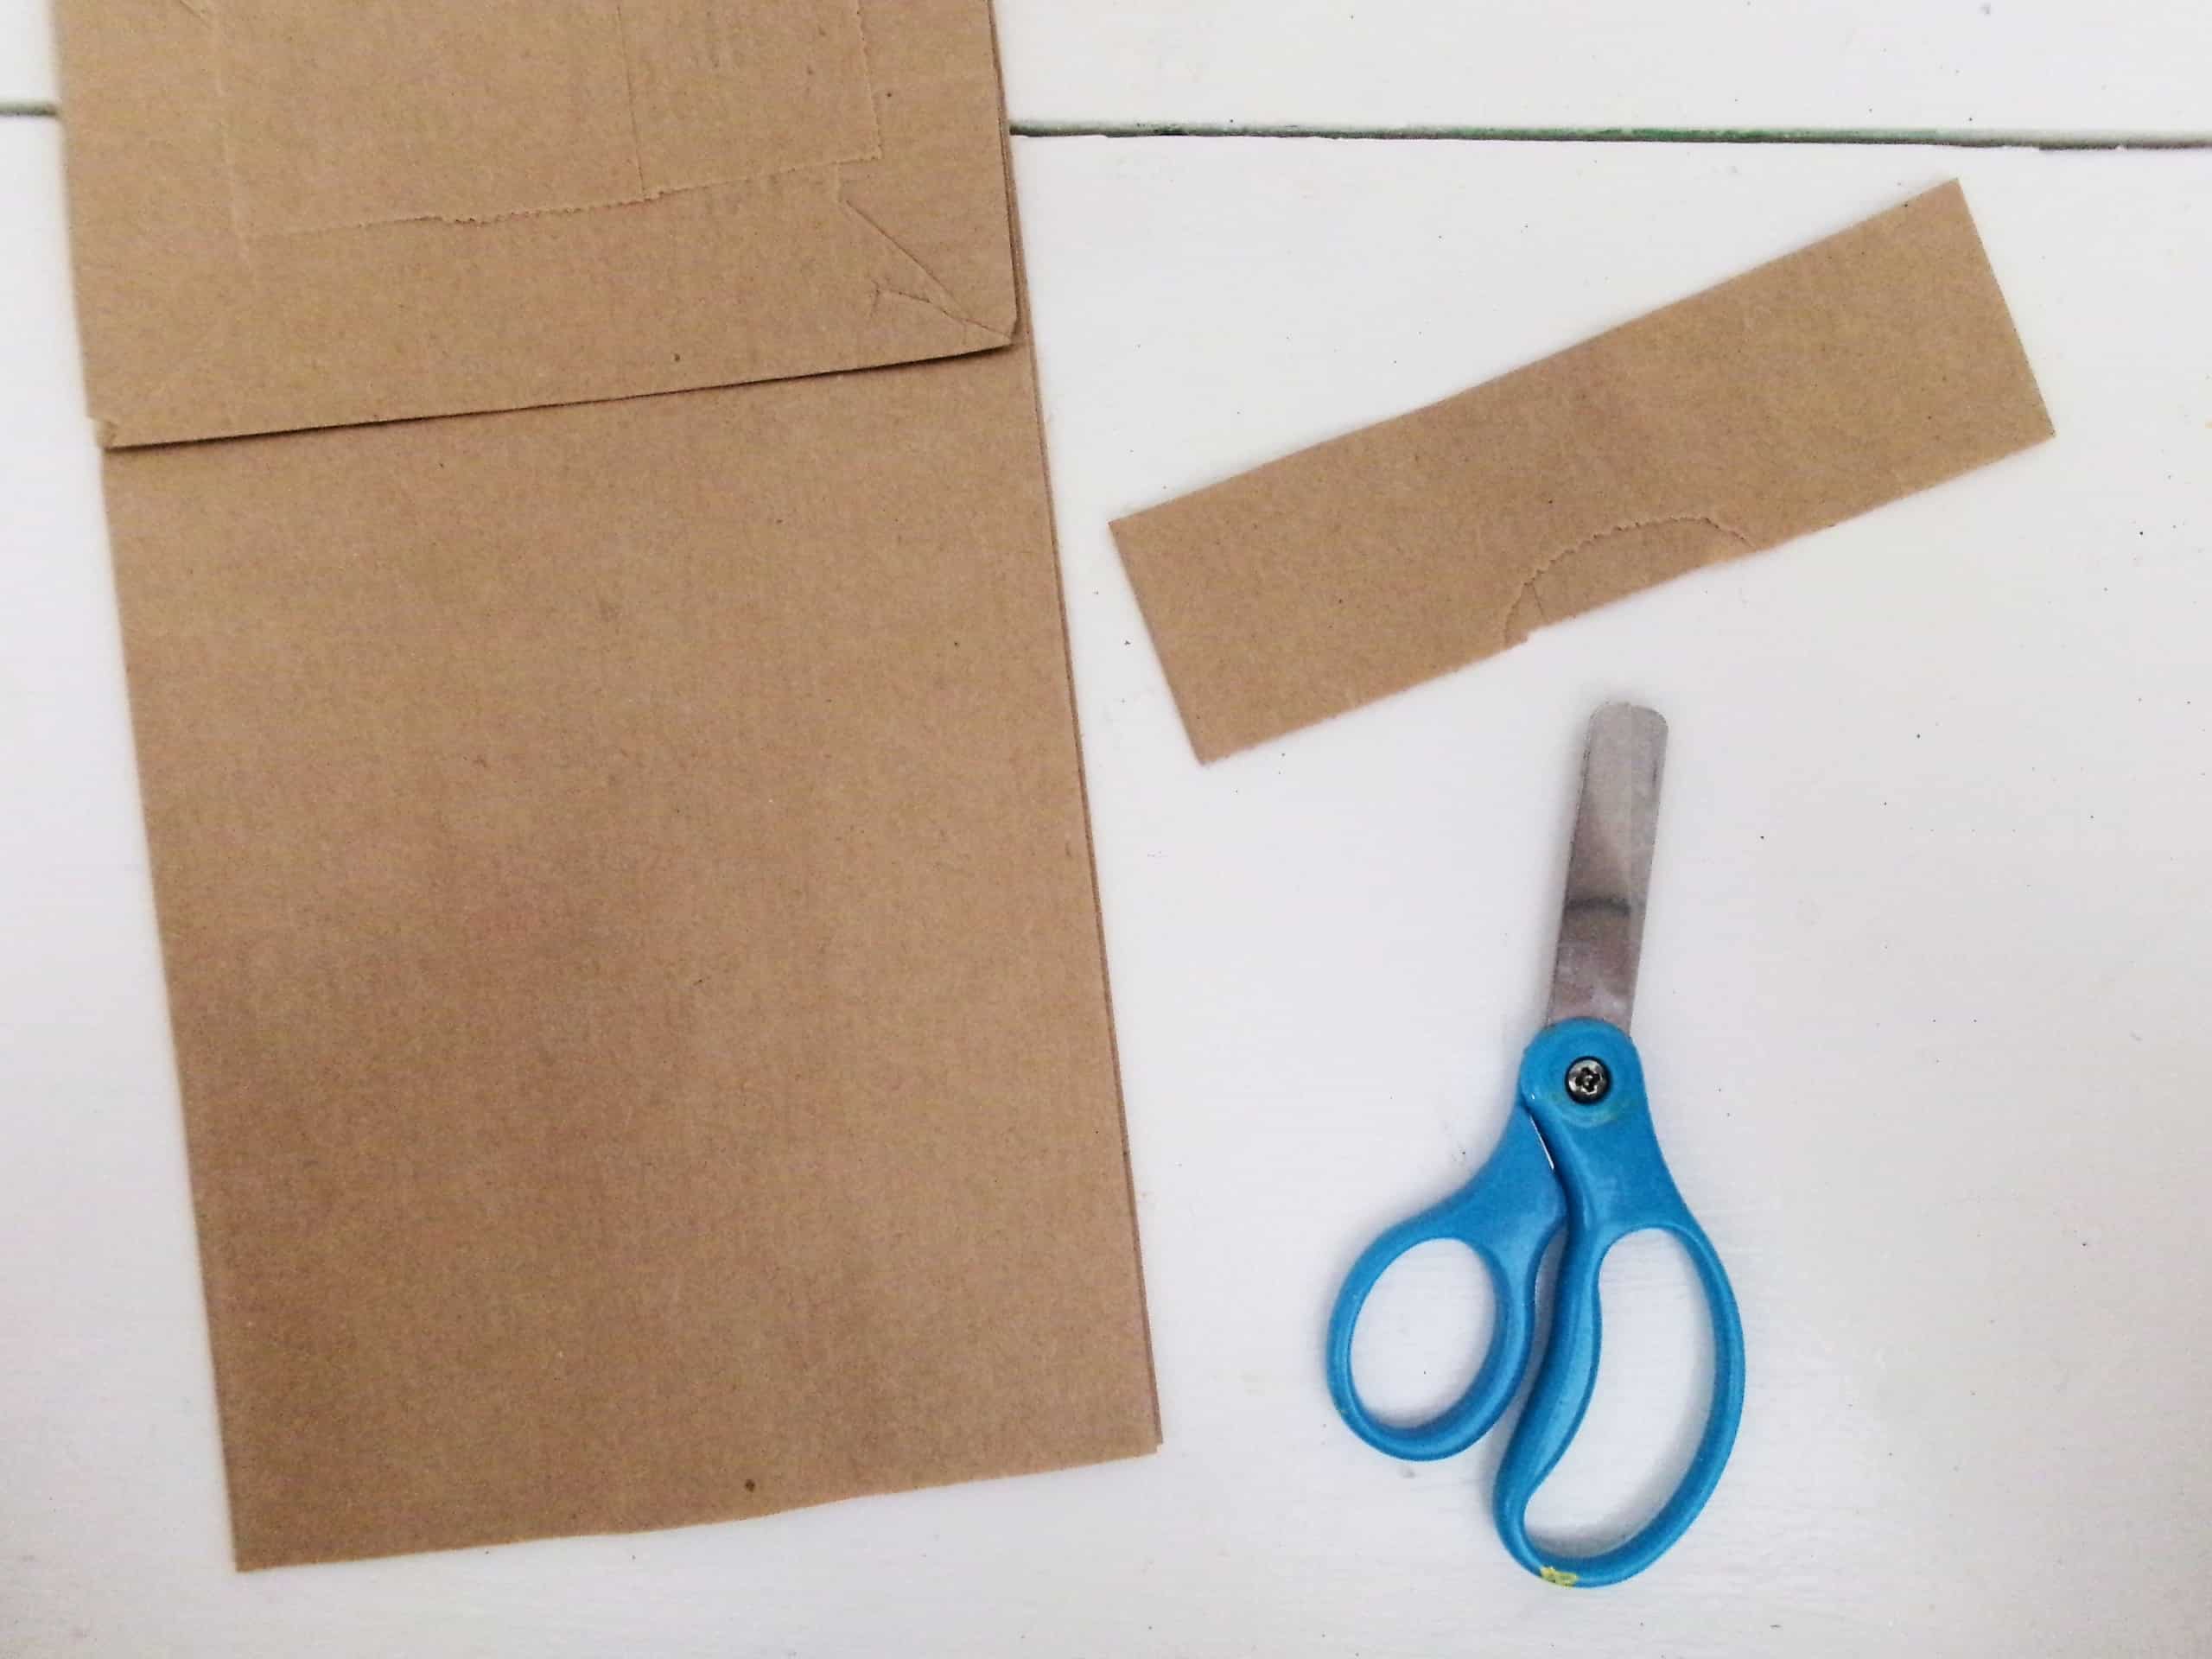
- Place the brown paper bag on your workspace with the flap at the top, facing up. Then cut roughly a 1 ½” strip off the bottom of the bag.
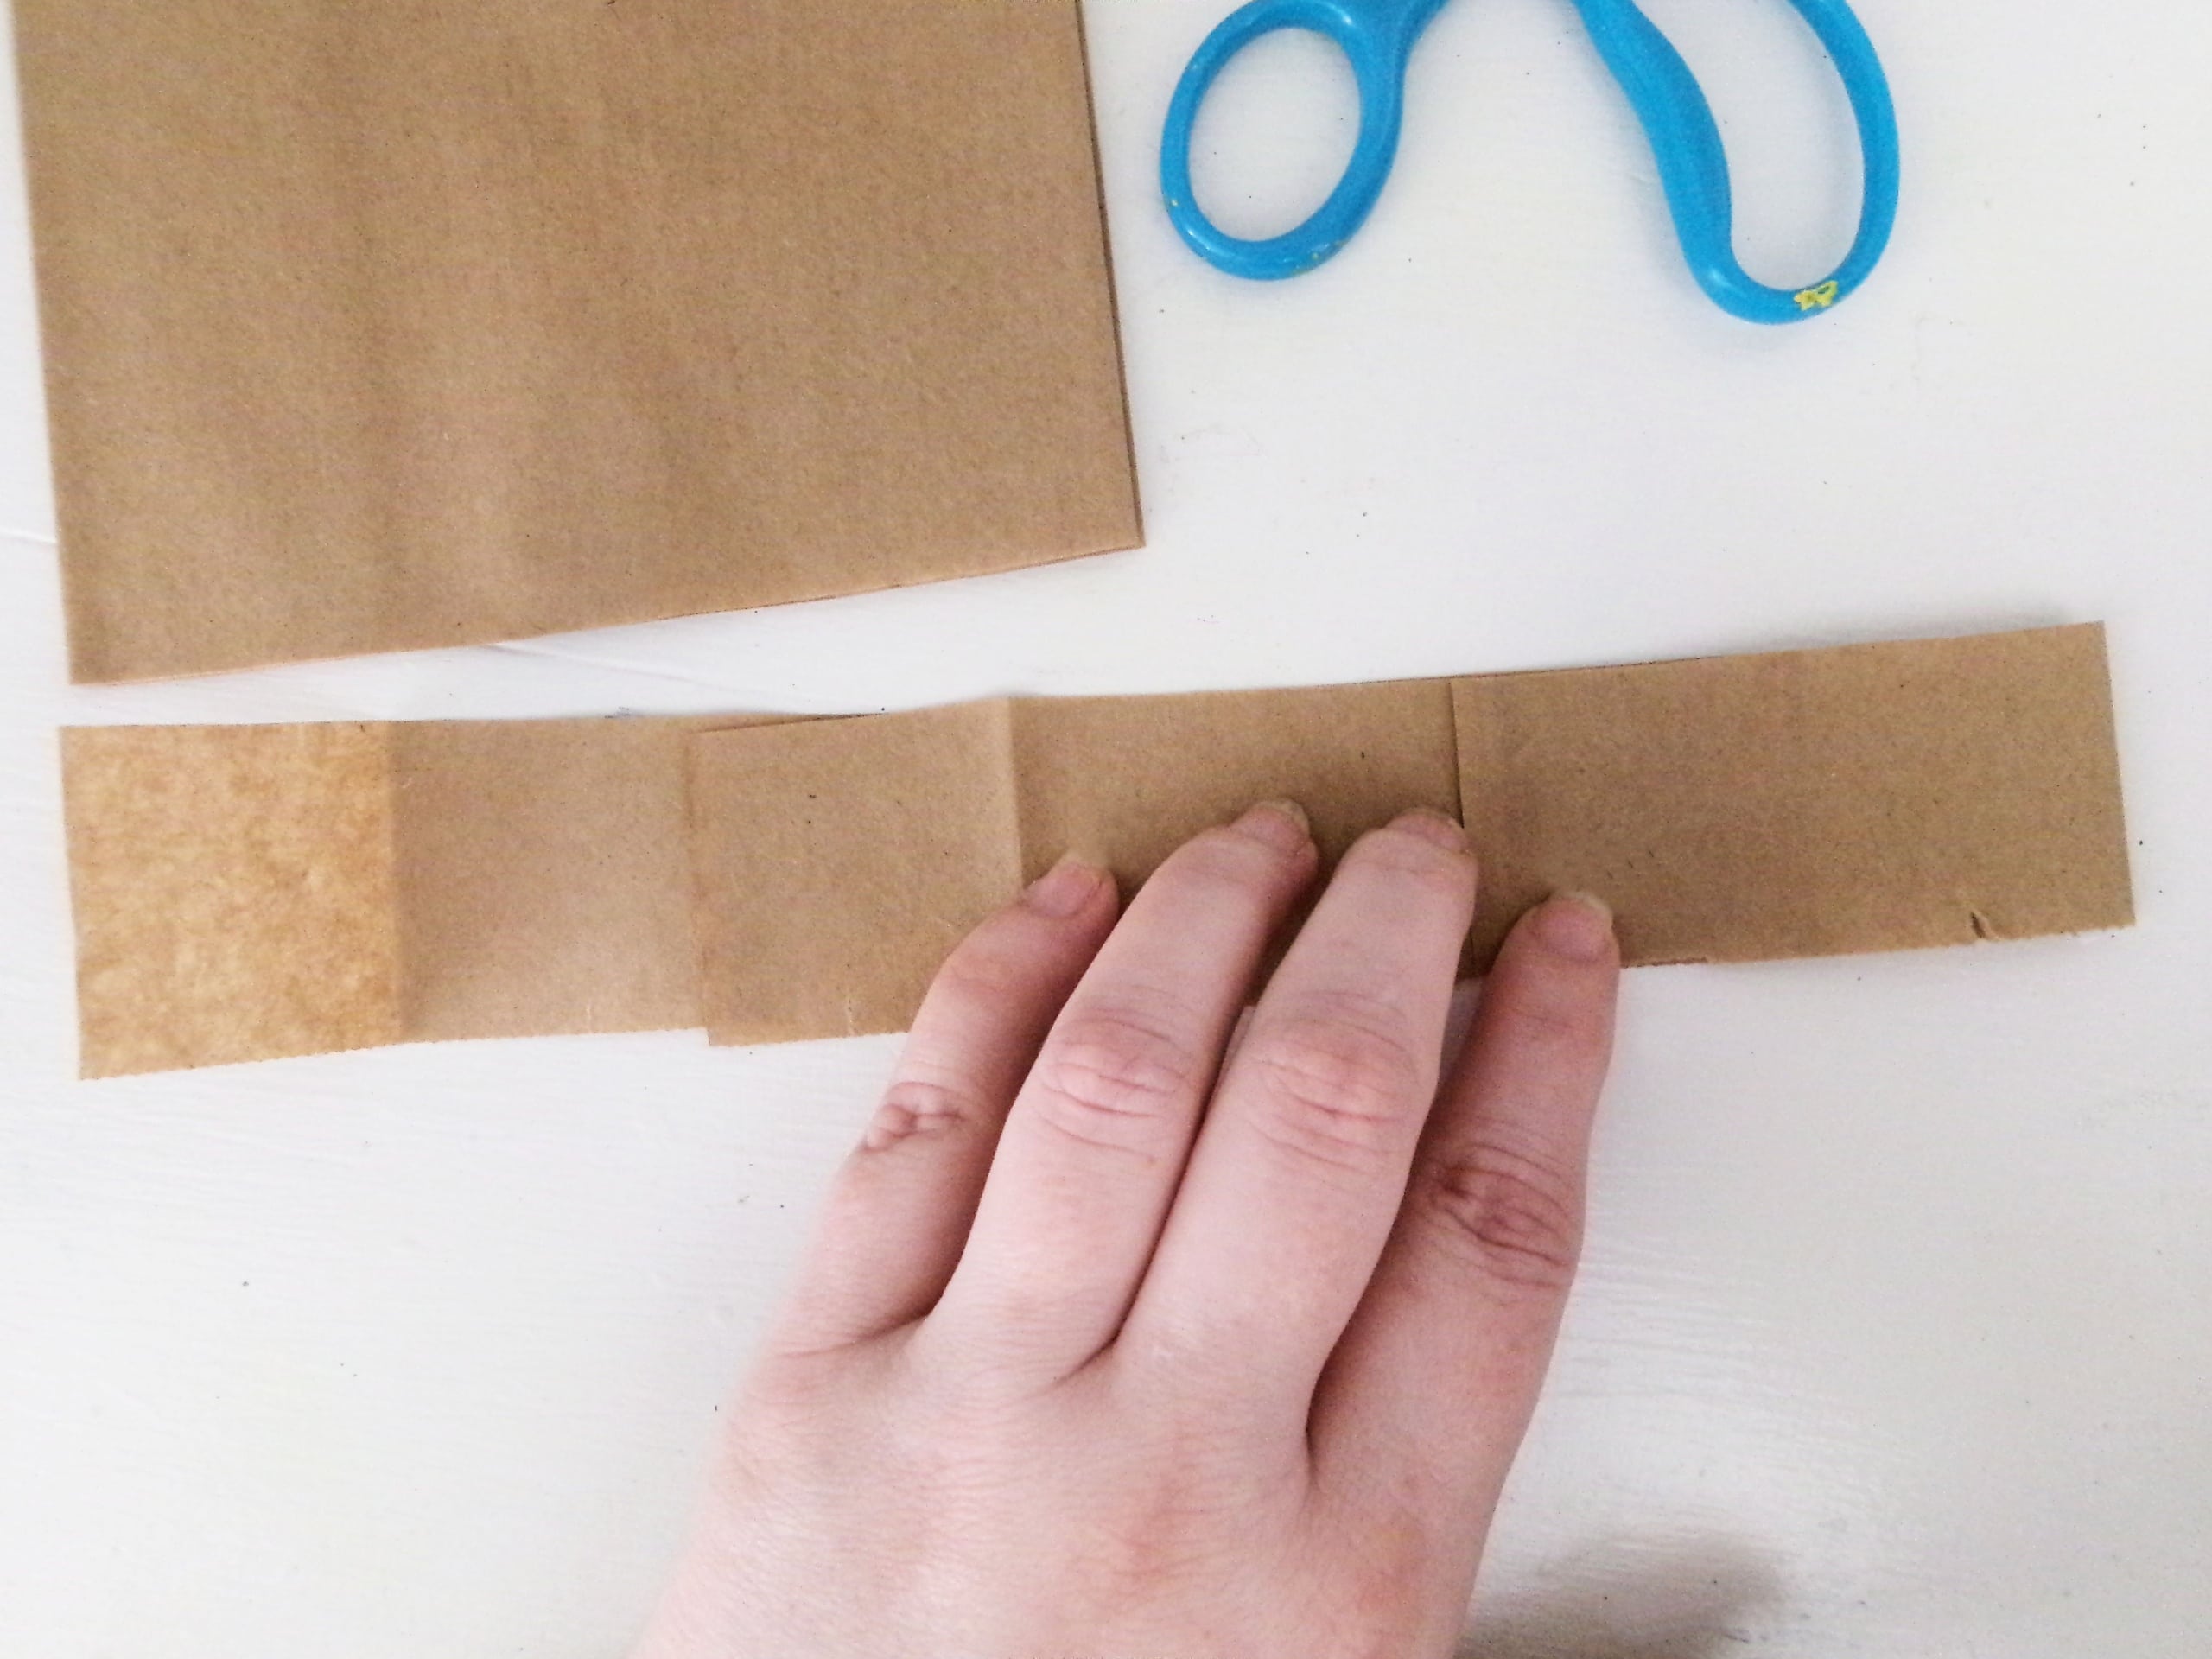
- Unfold the strip so that it’s a circle, then cut the circle into one long strip.
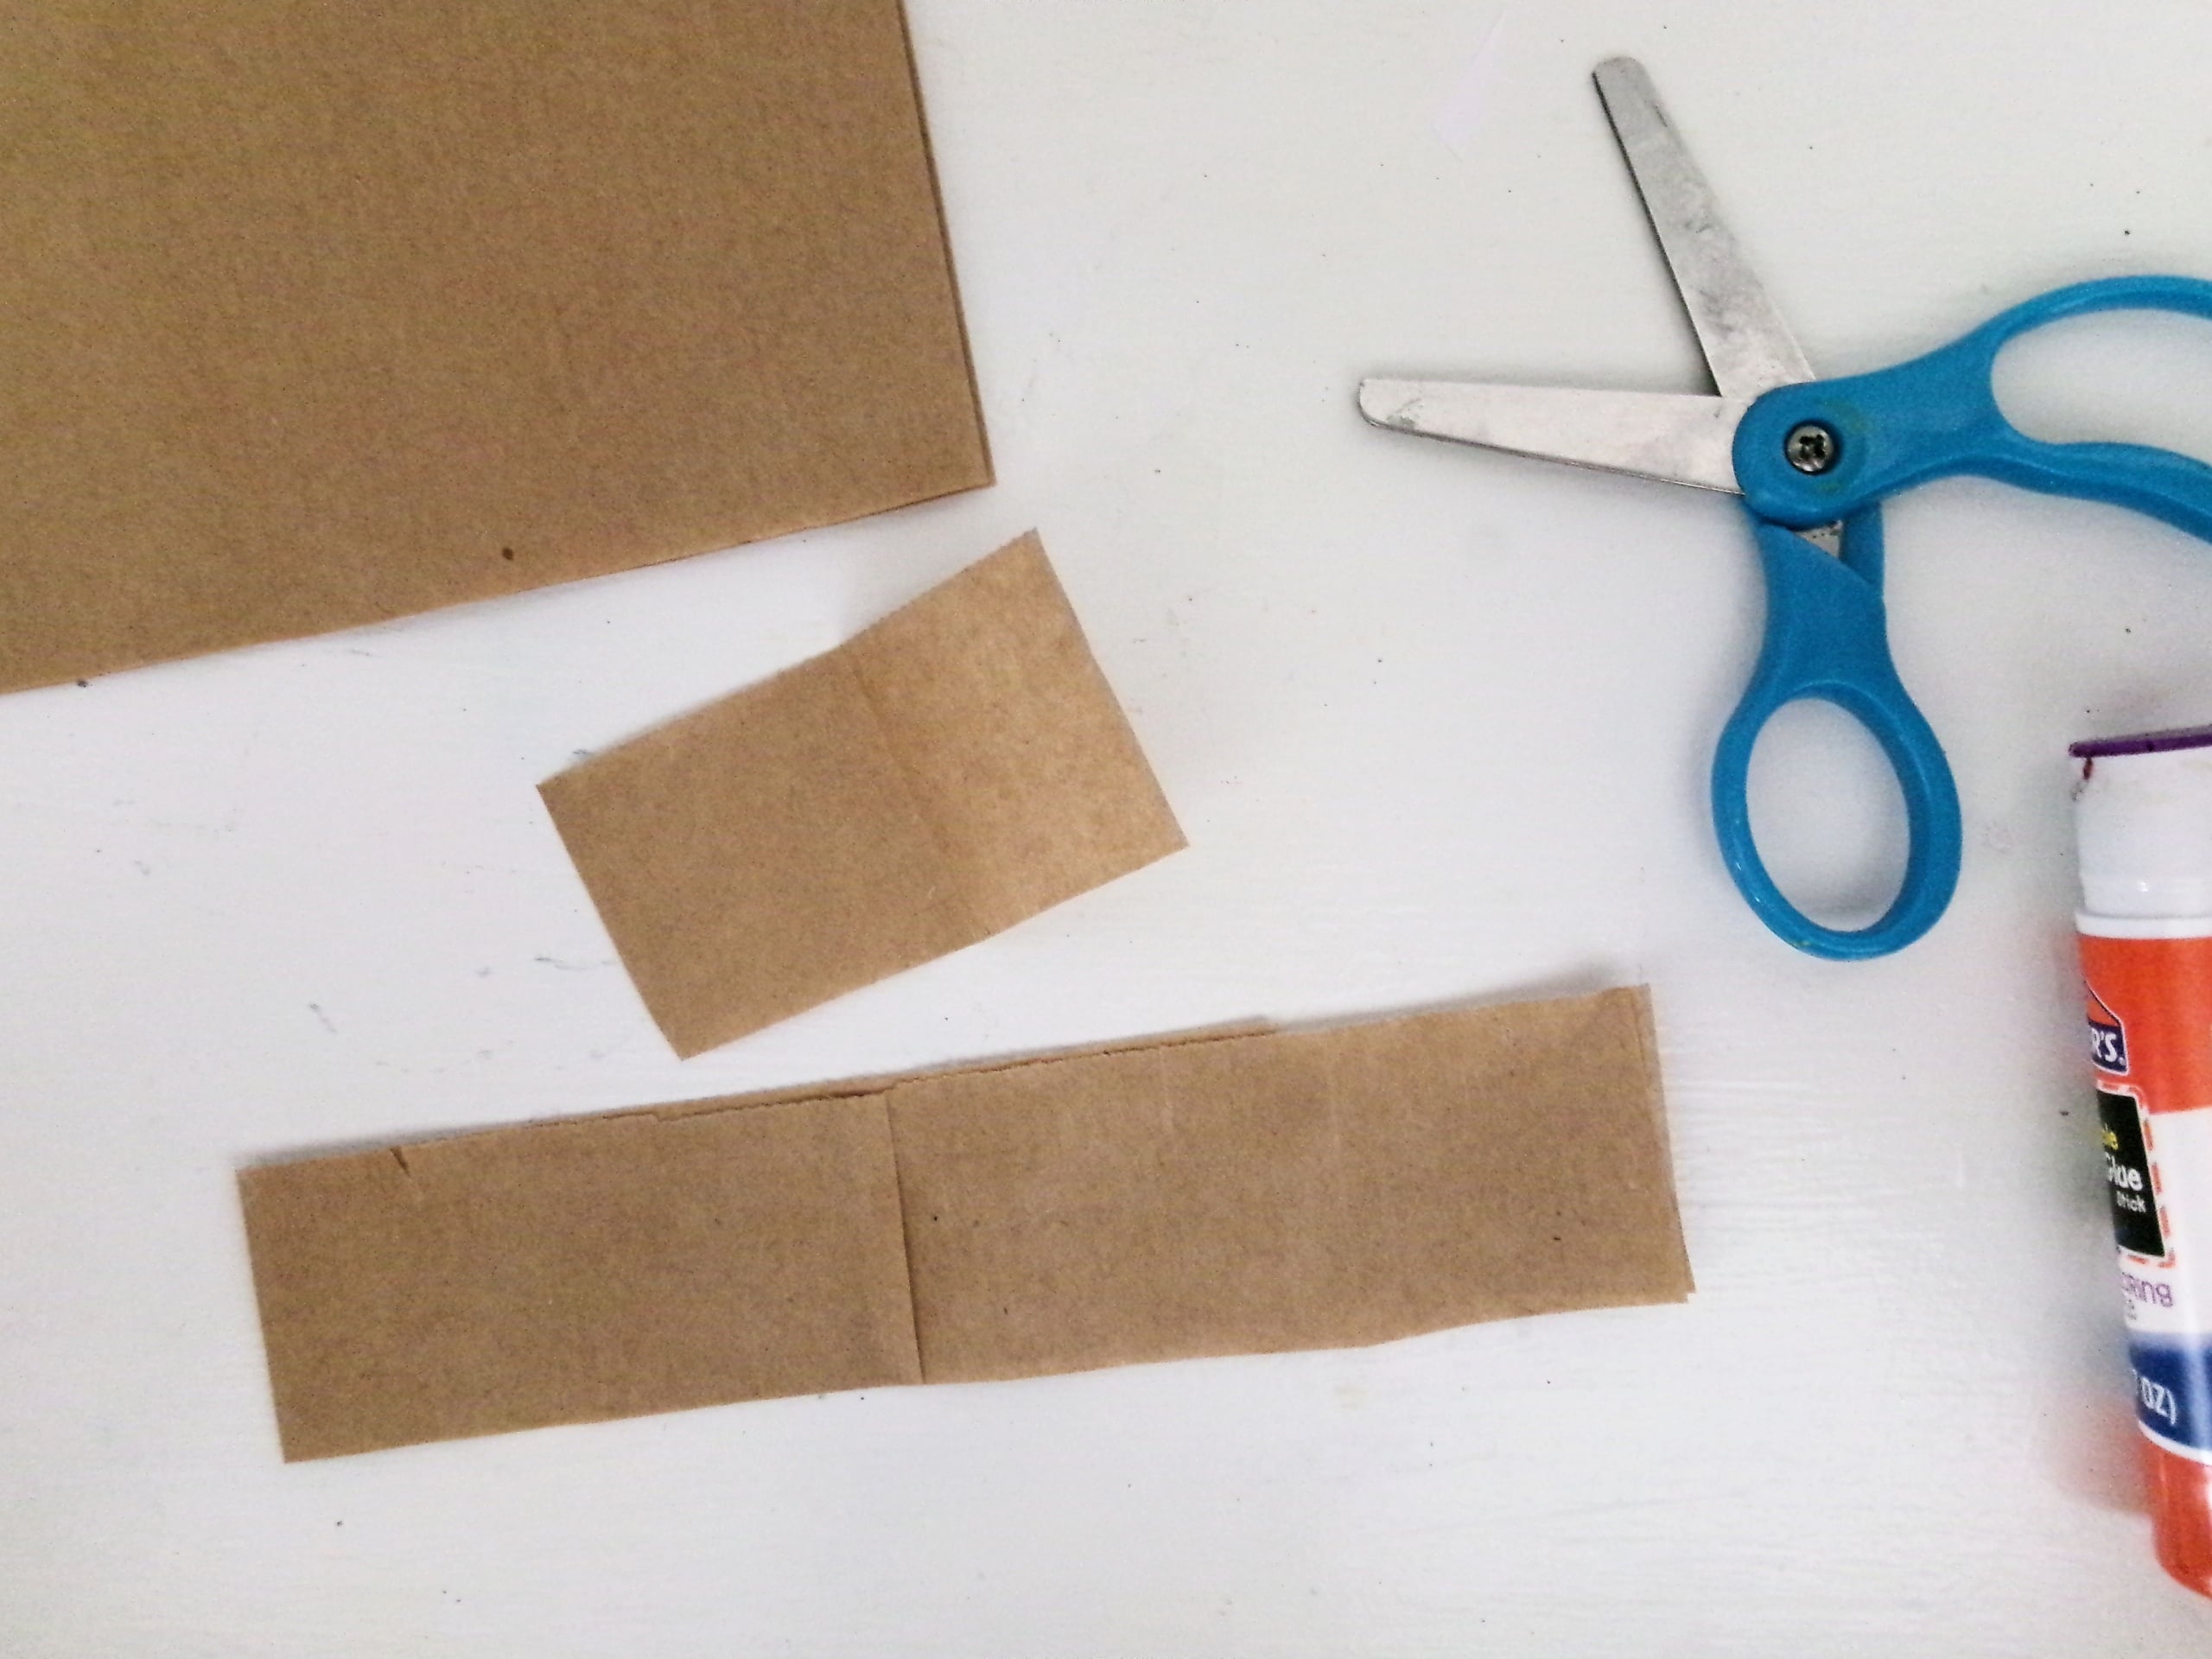
- Fold the strip over to make it longer than the width of the bag, then glue it together and cut away any excess.
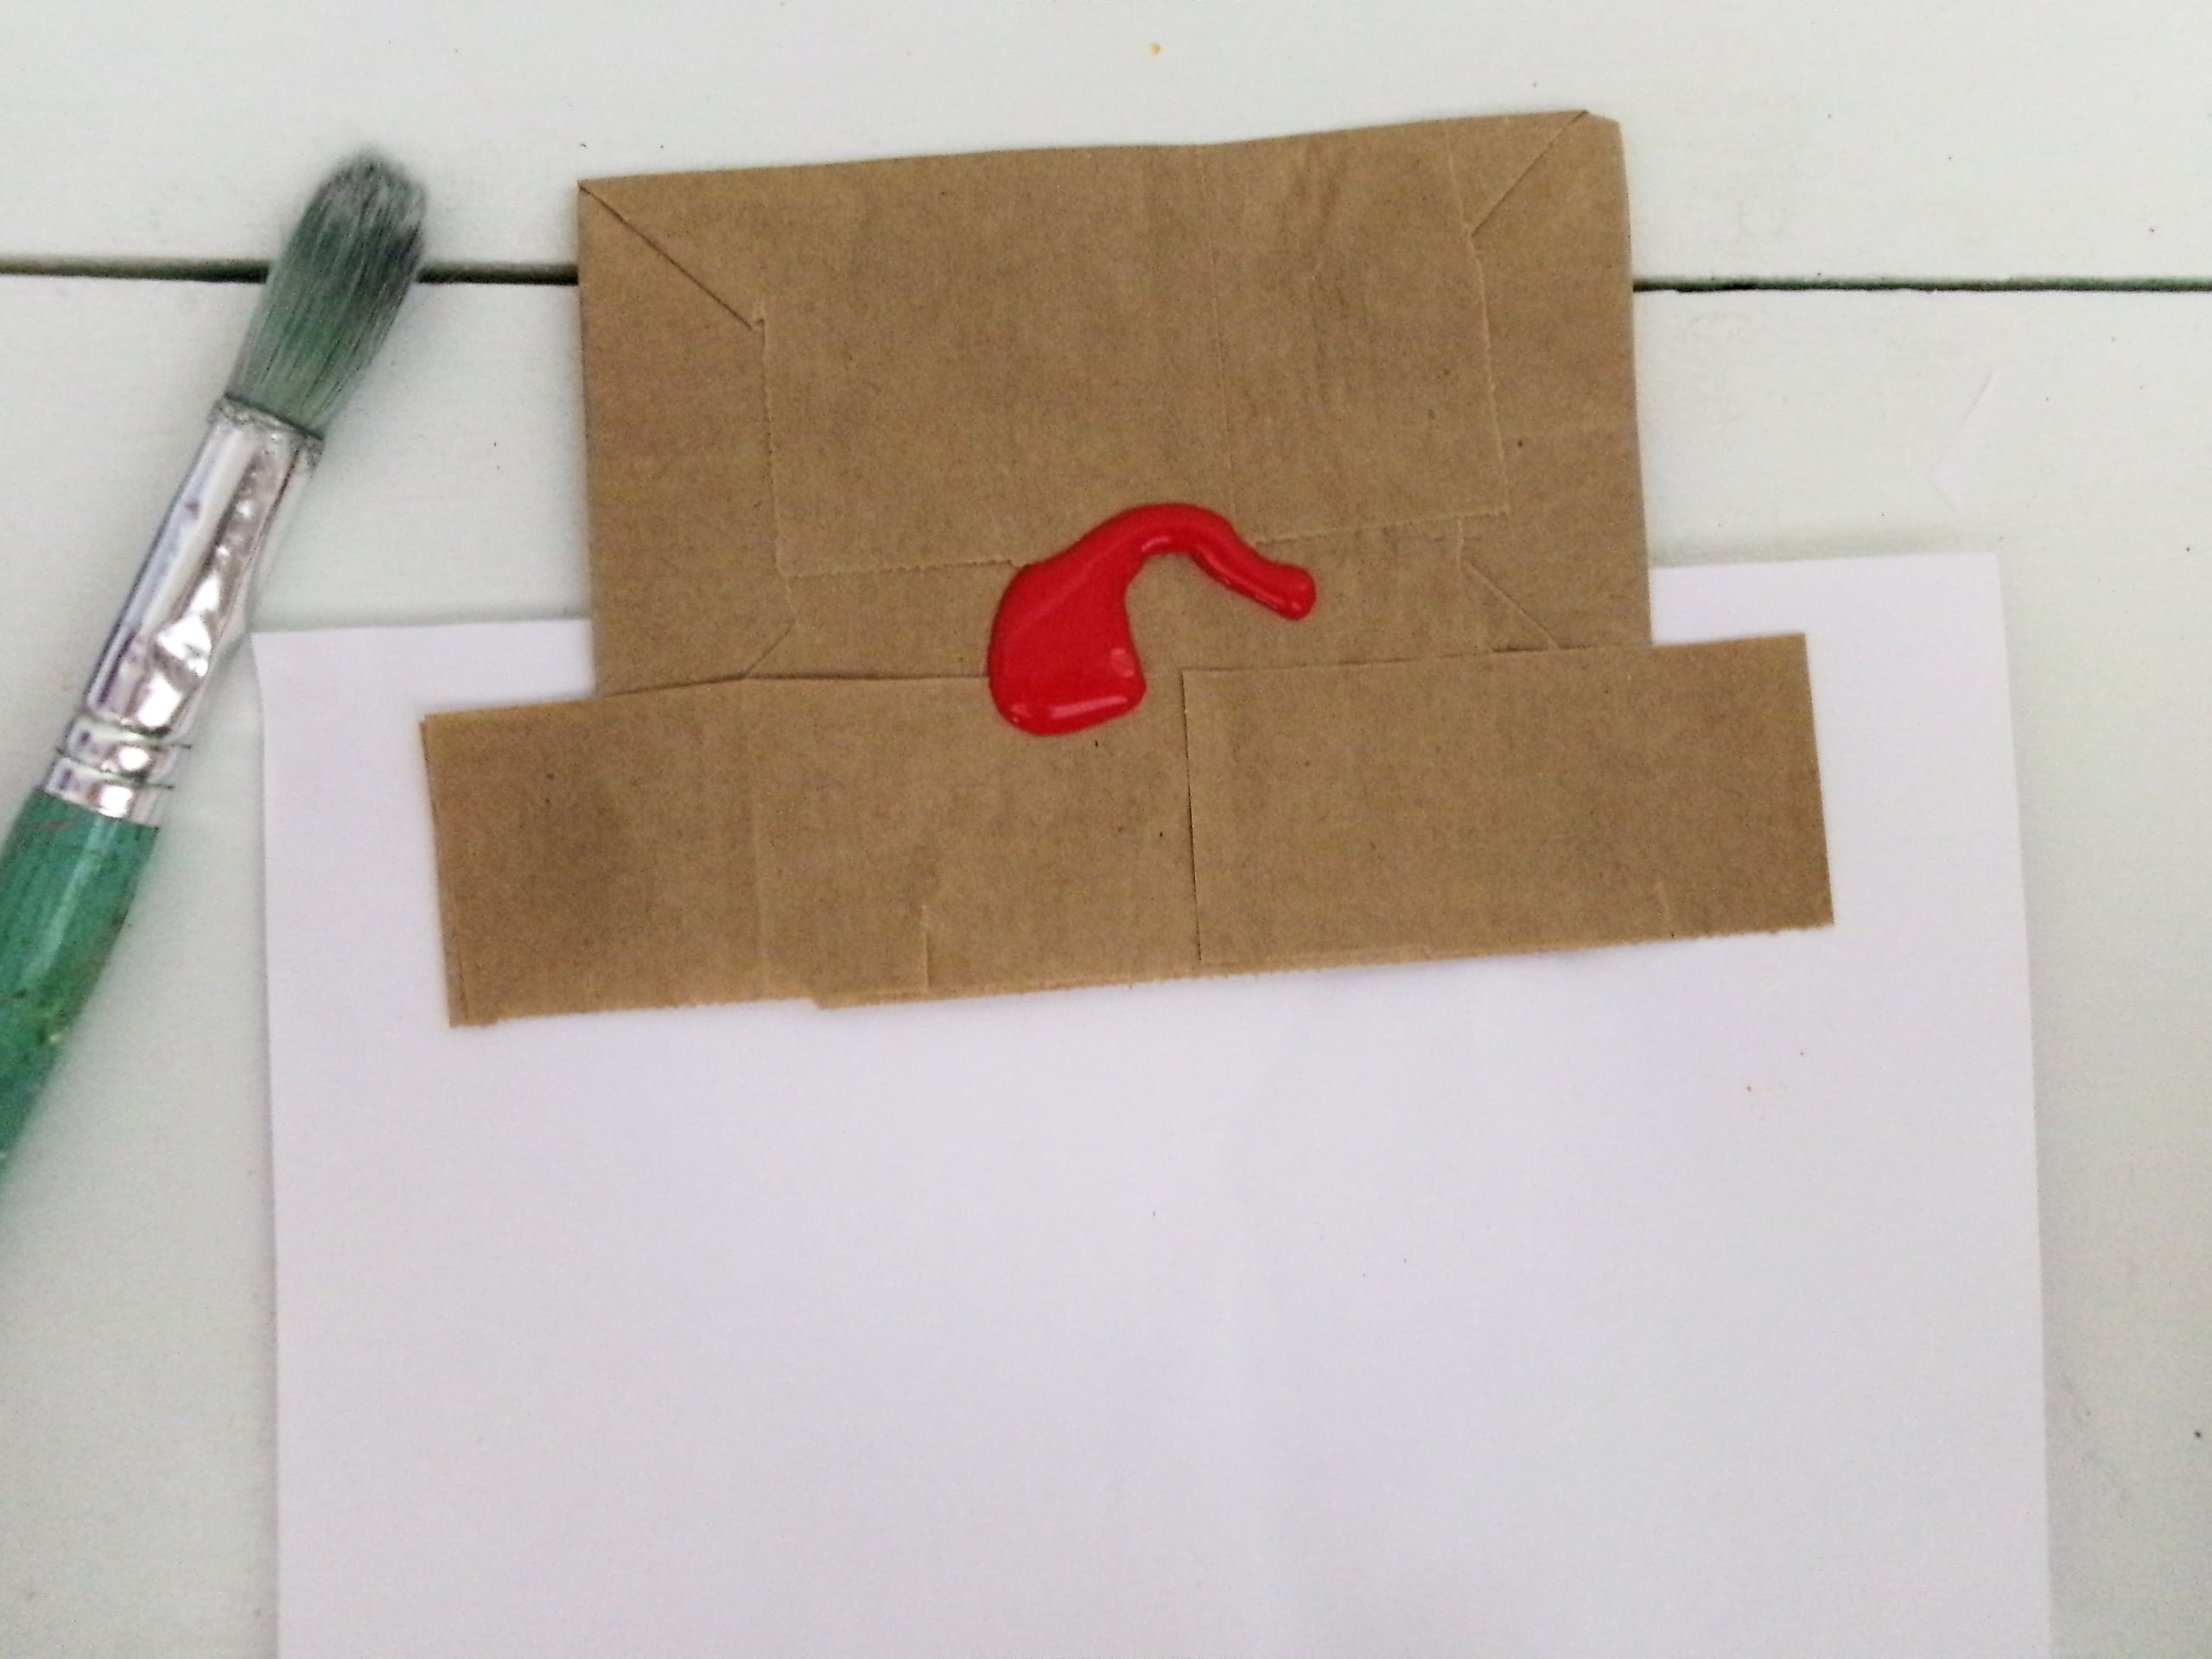
- Glue the folded strip onto the bottom of the flap of the brown paper bag and let the glue dry for a minute or two.
- Next, place a piece of scrap paper under the flap and paint the flap any color that you choose! to make the hat for your silly scarecrow friend.
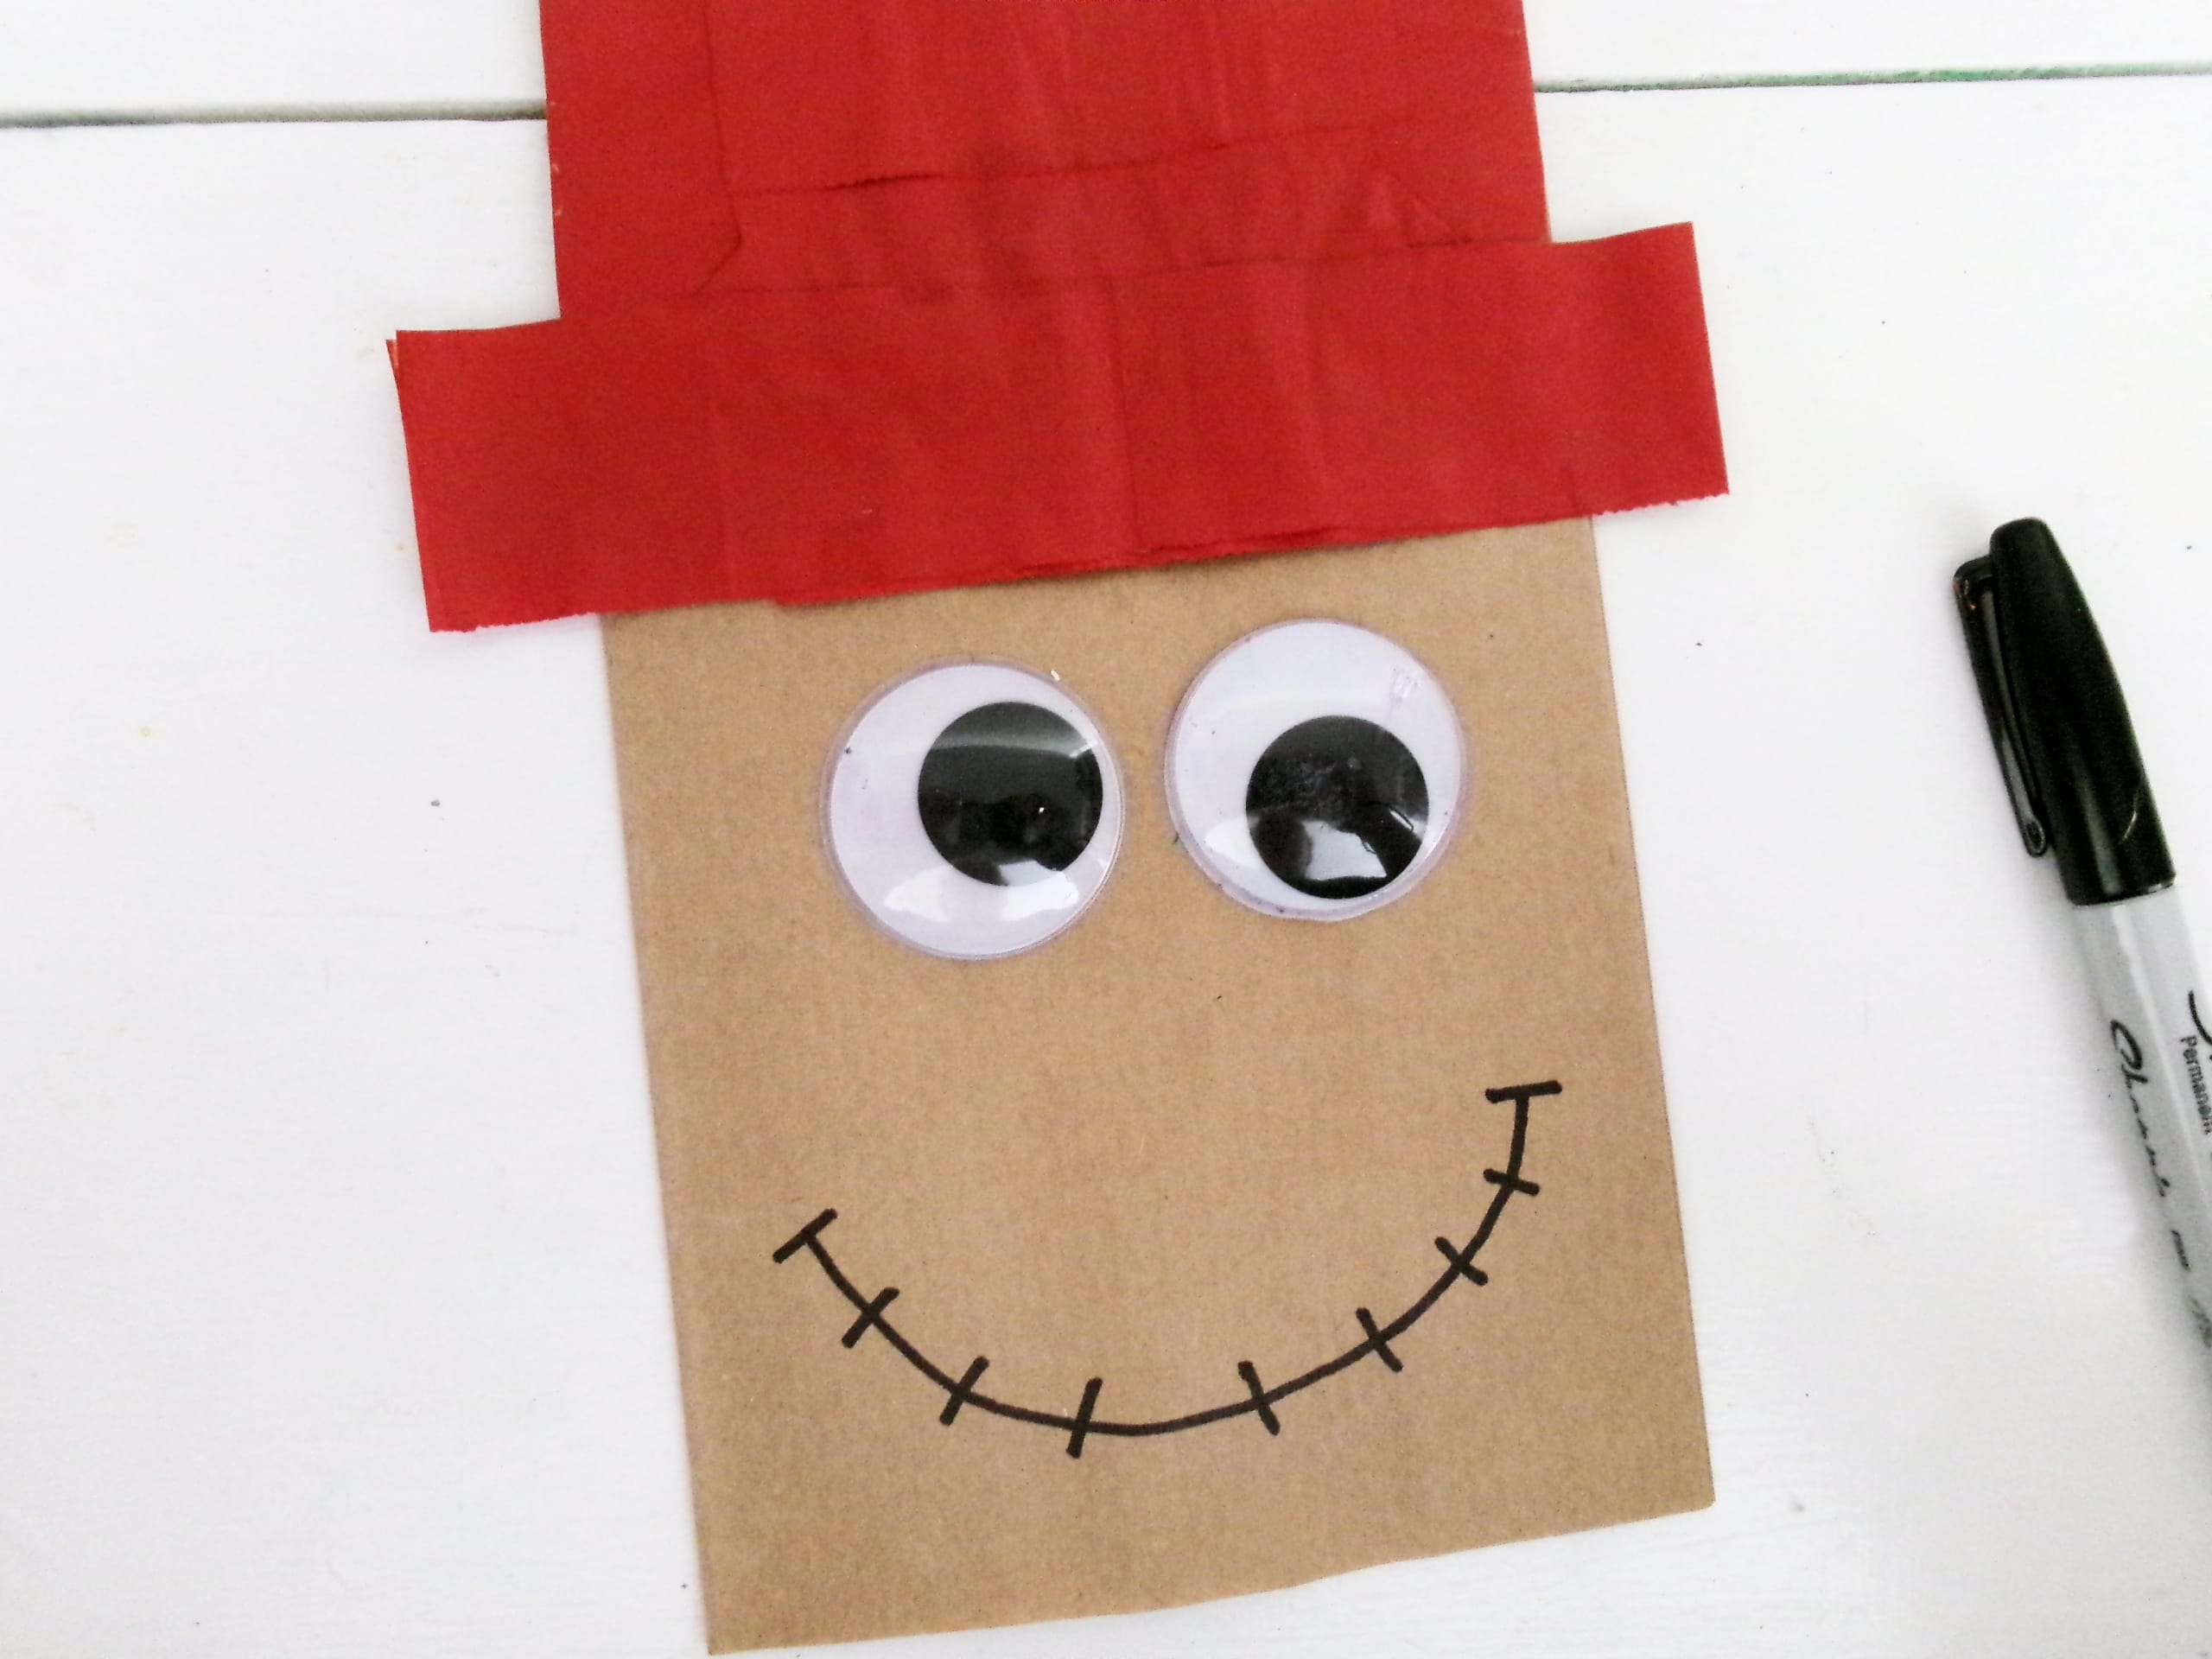
- Allow the paint to dry. While it is drying, glue googly eyes to the body of the bag.
- Using a black marker, draw a smiley mouth with dashes in it to make a scarecrow mouth.
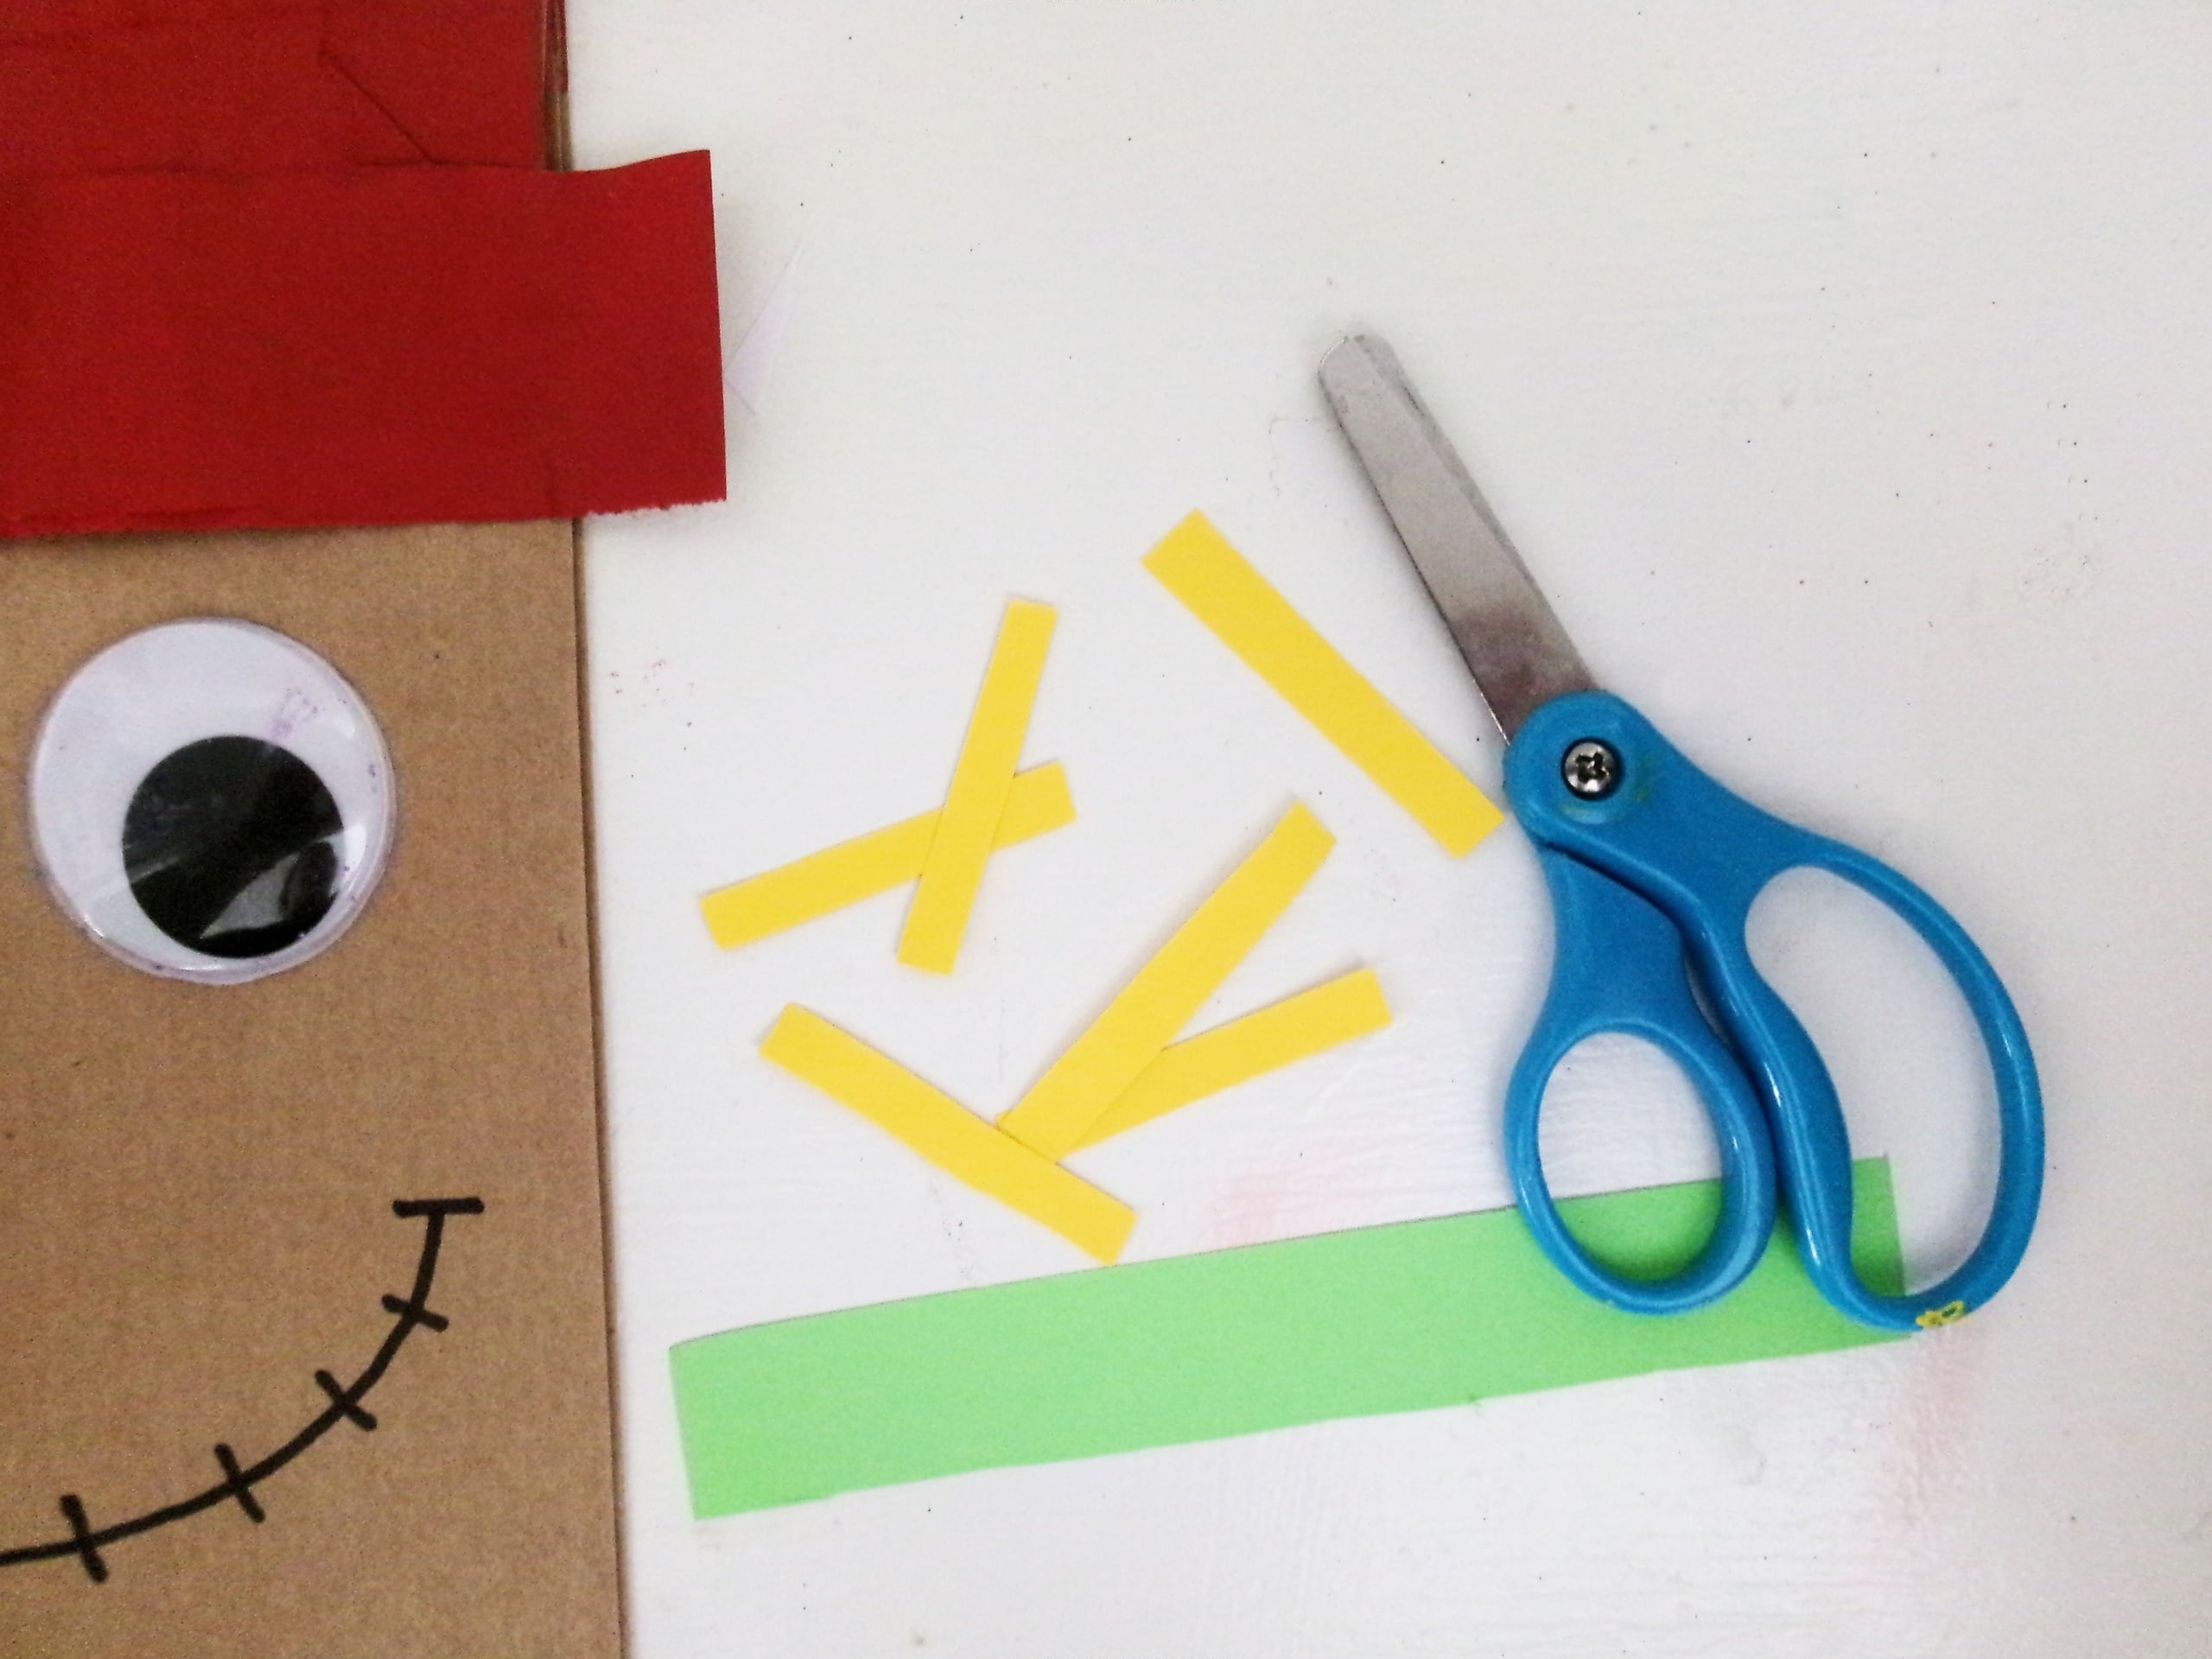
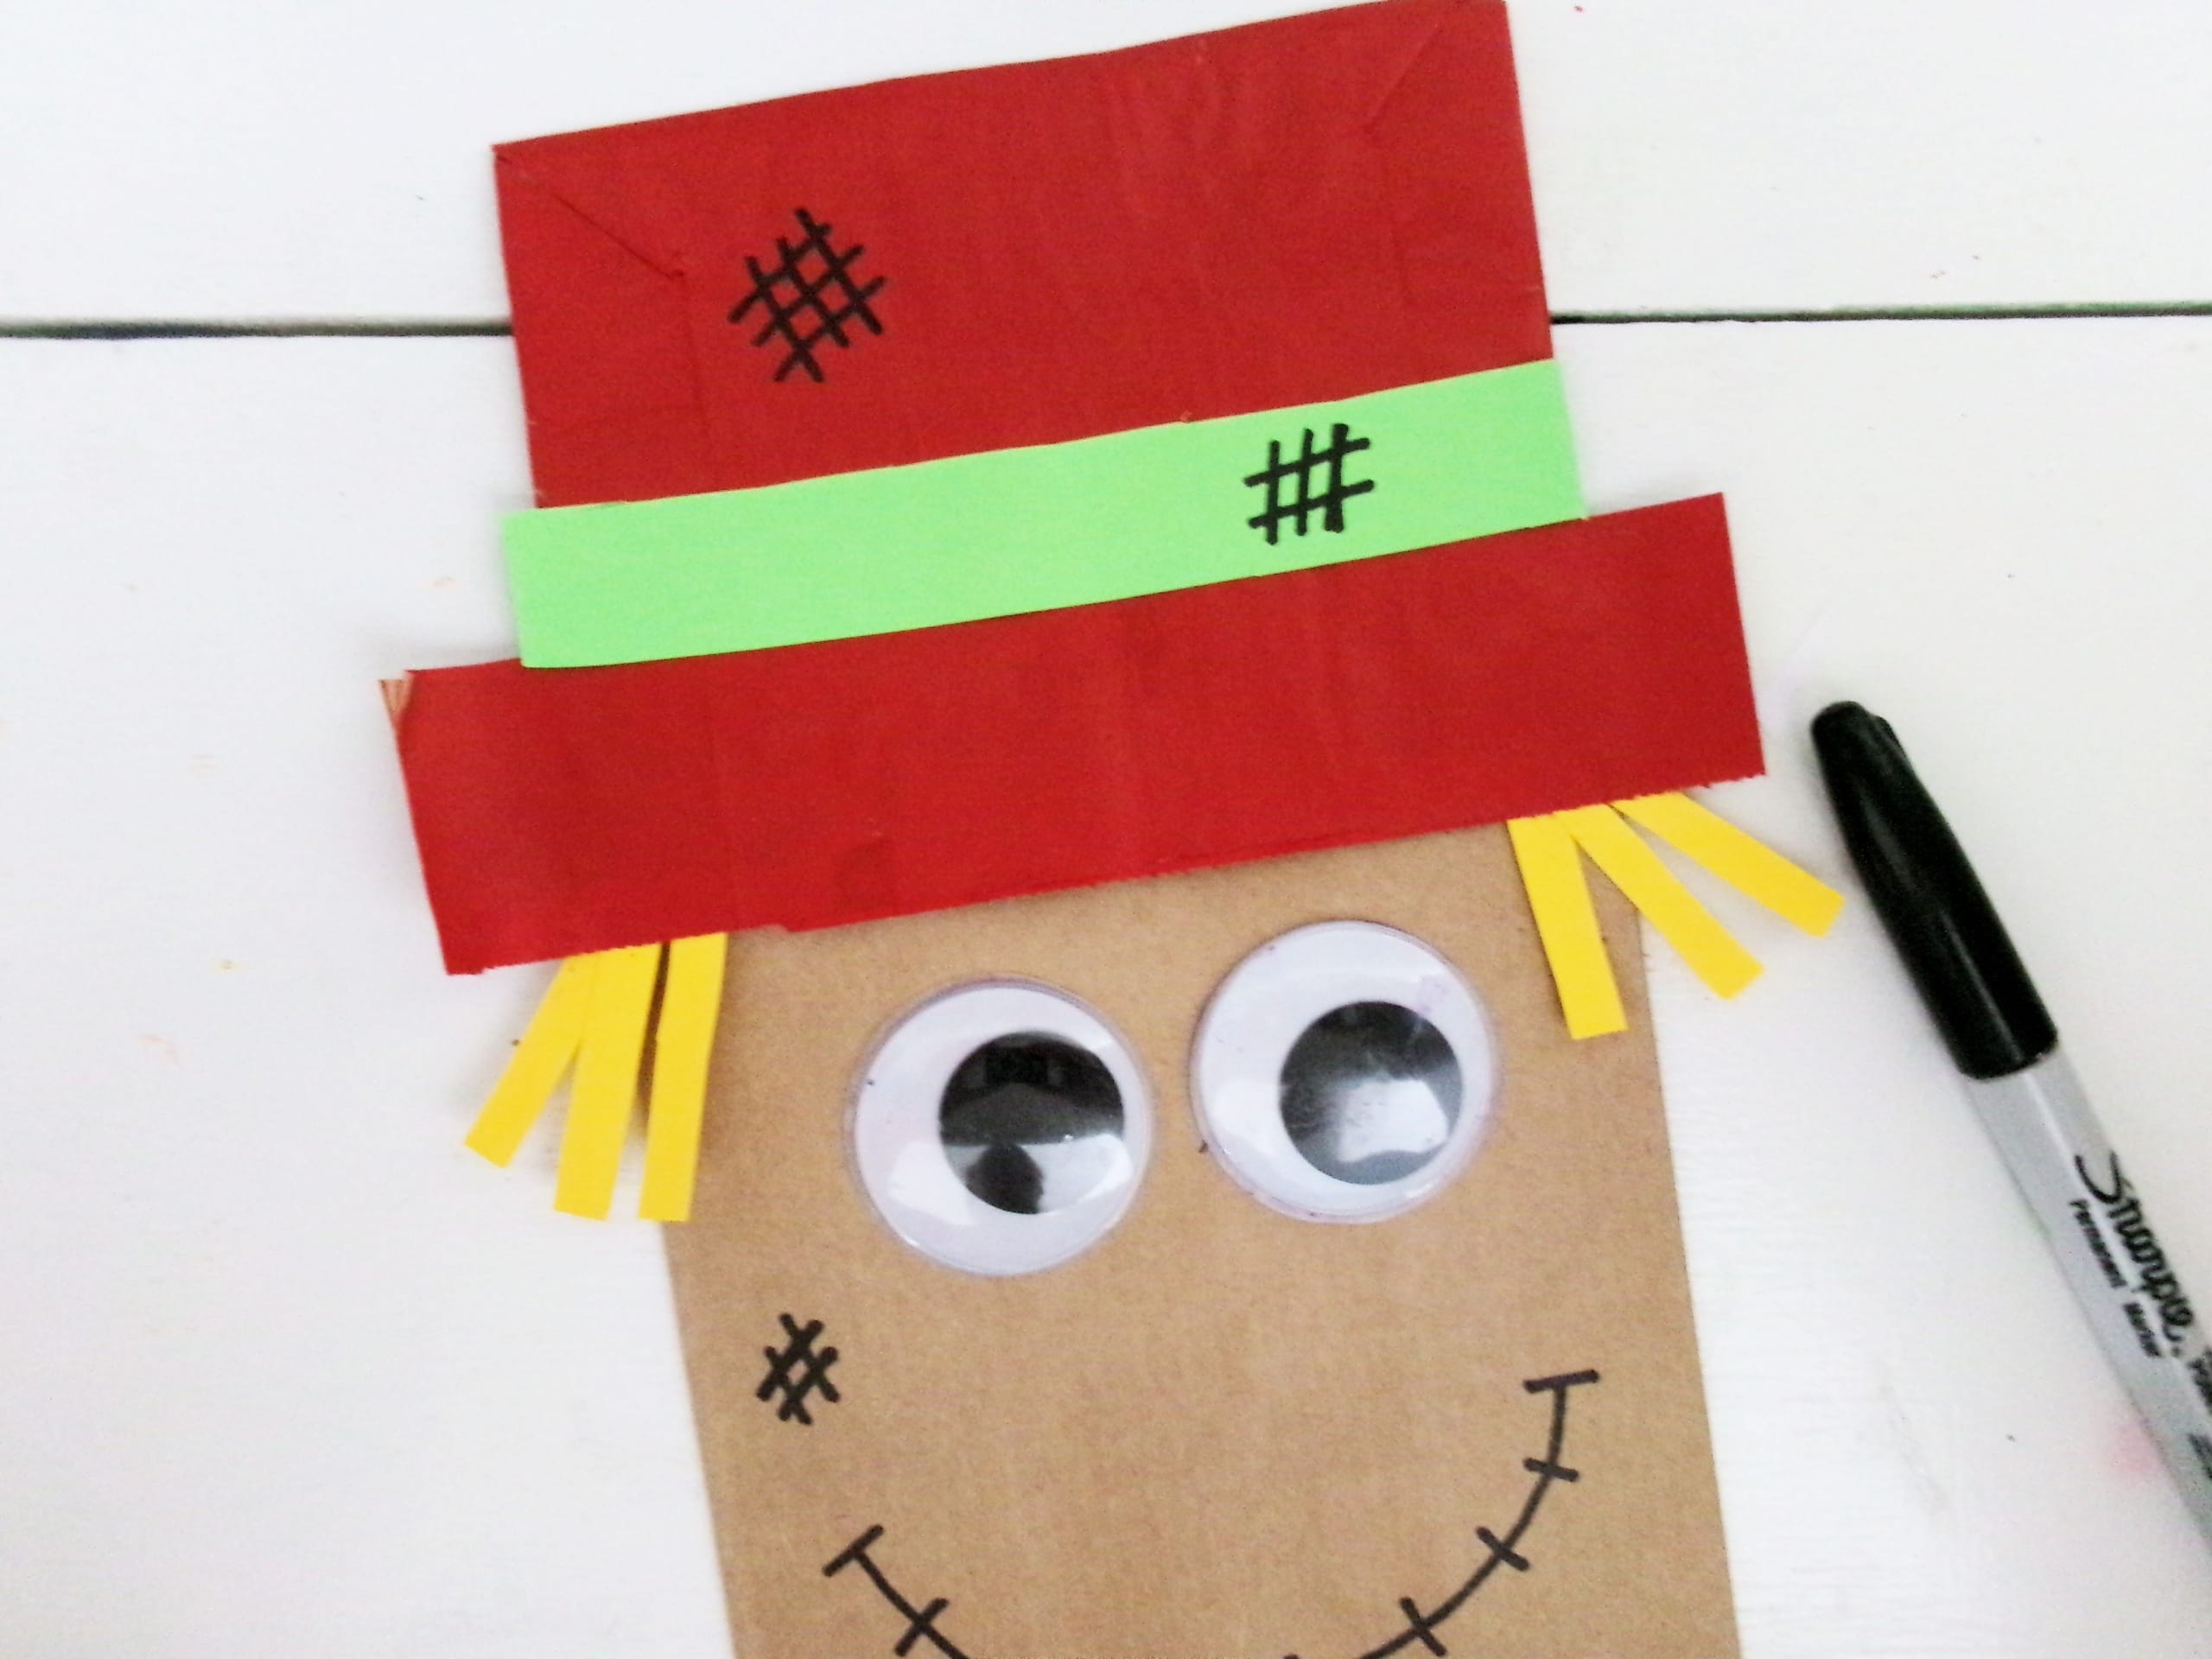
- Then, cut 6 small rectangular strips from yellow cardstock. Choose a color for the hat band for your paper bag scarecrow and cut the strip roughly the same width of the bag.
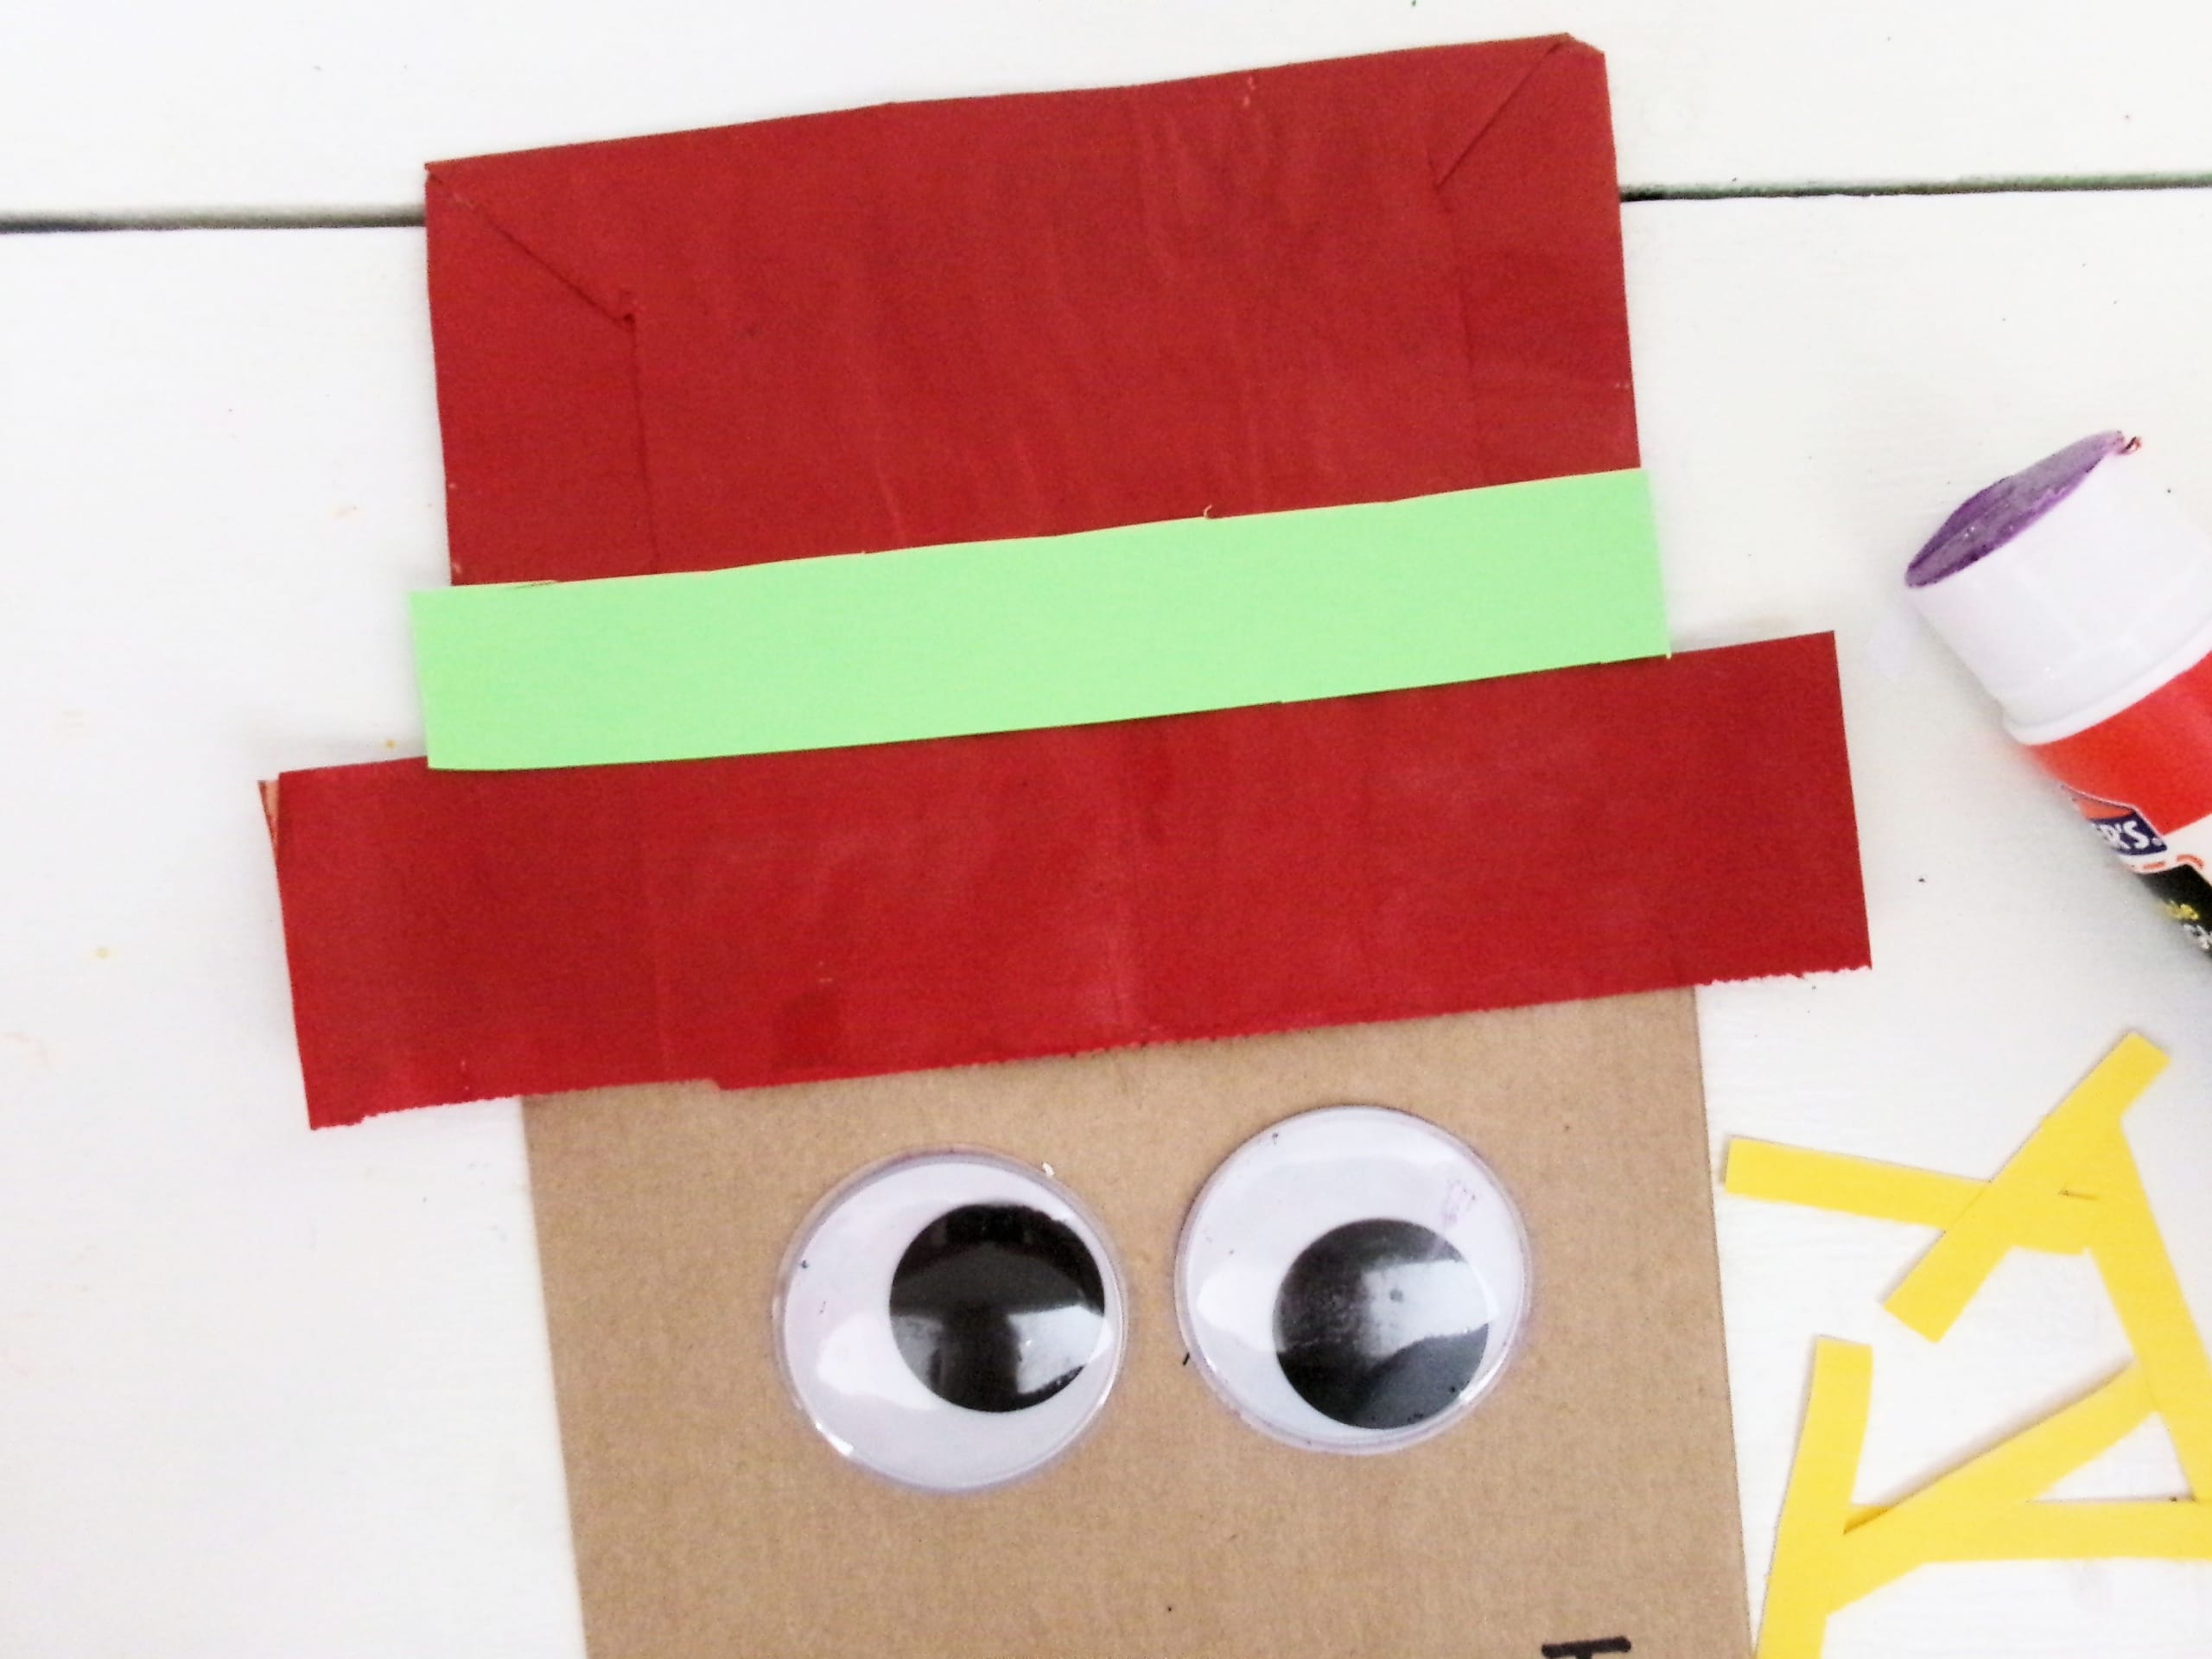
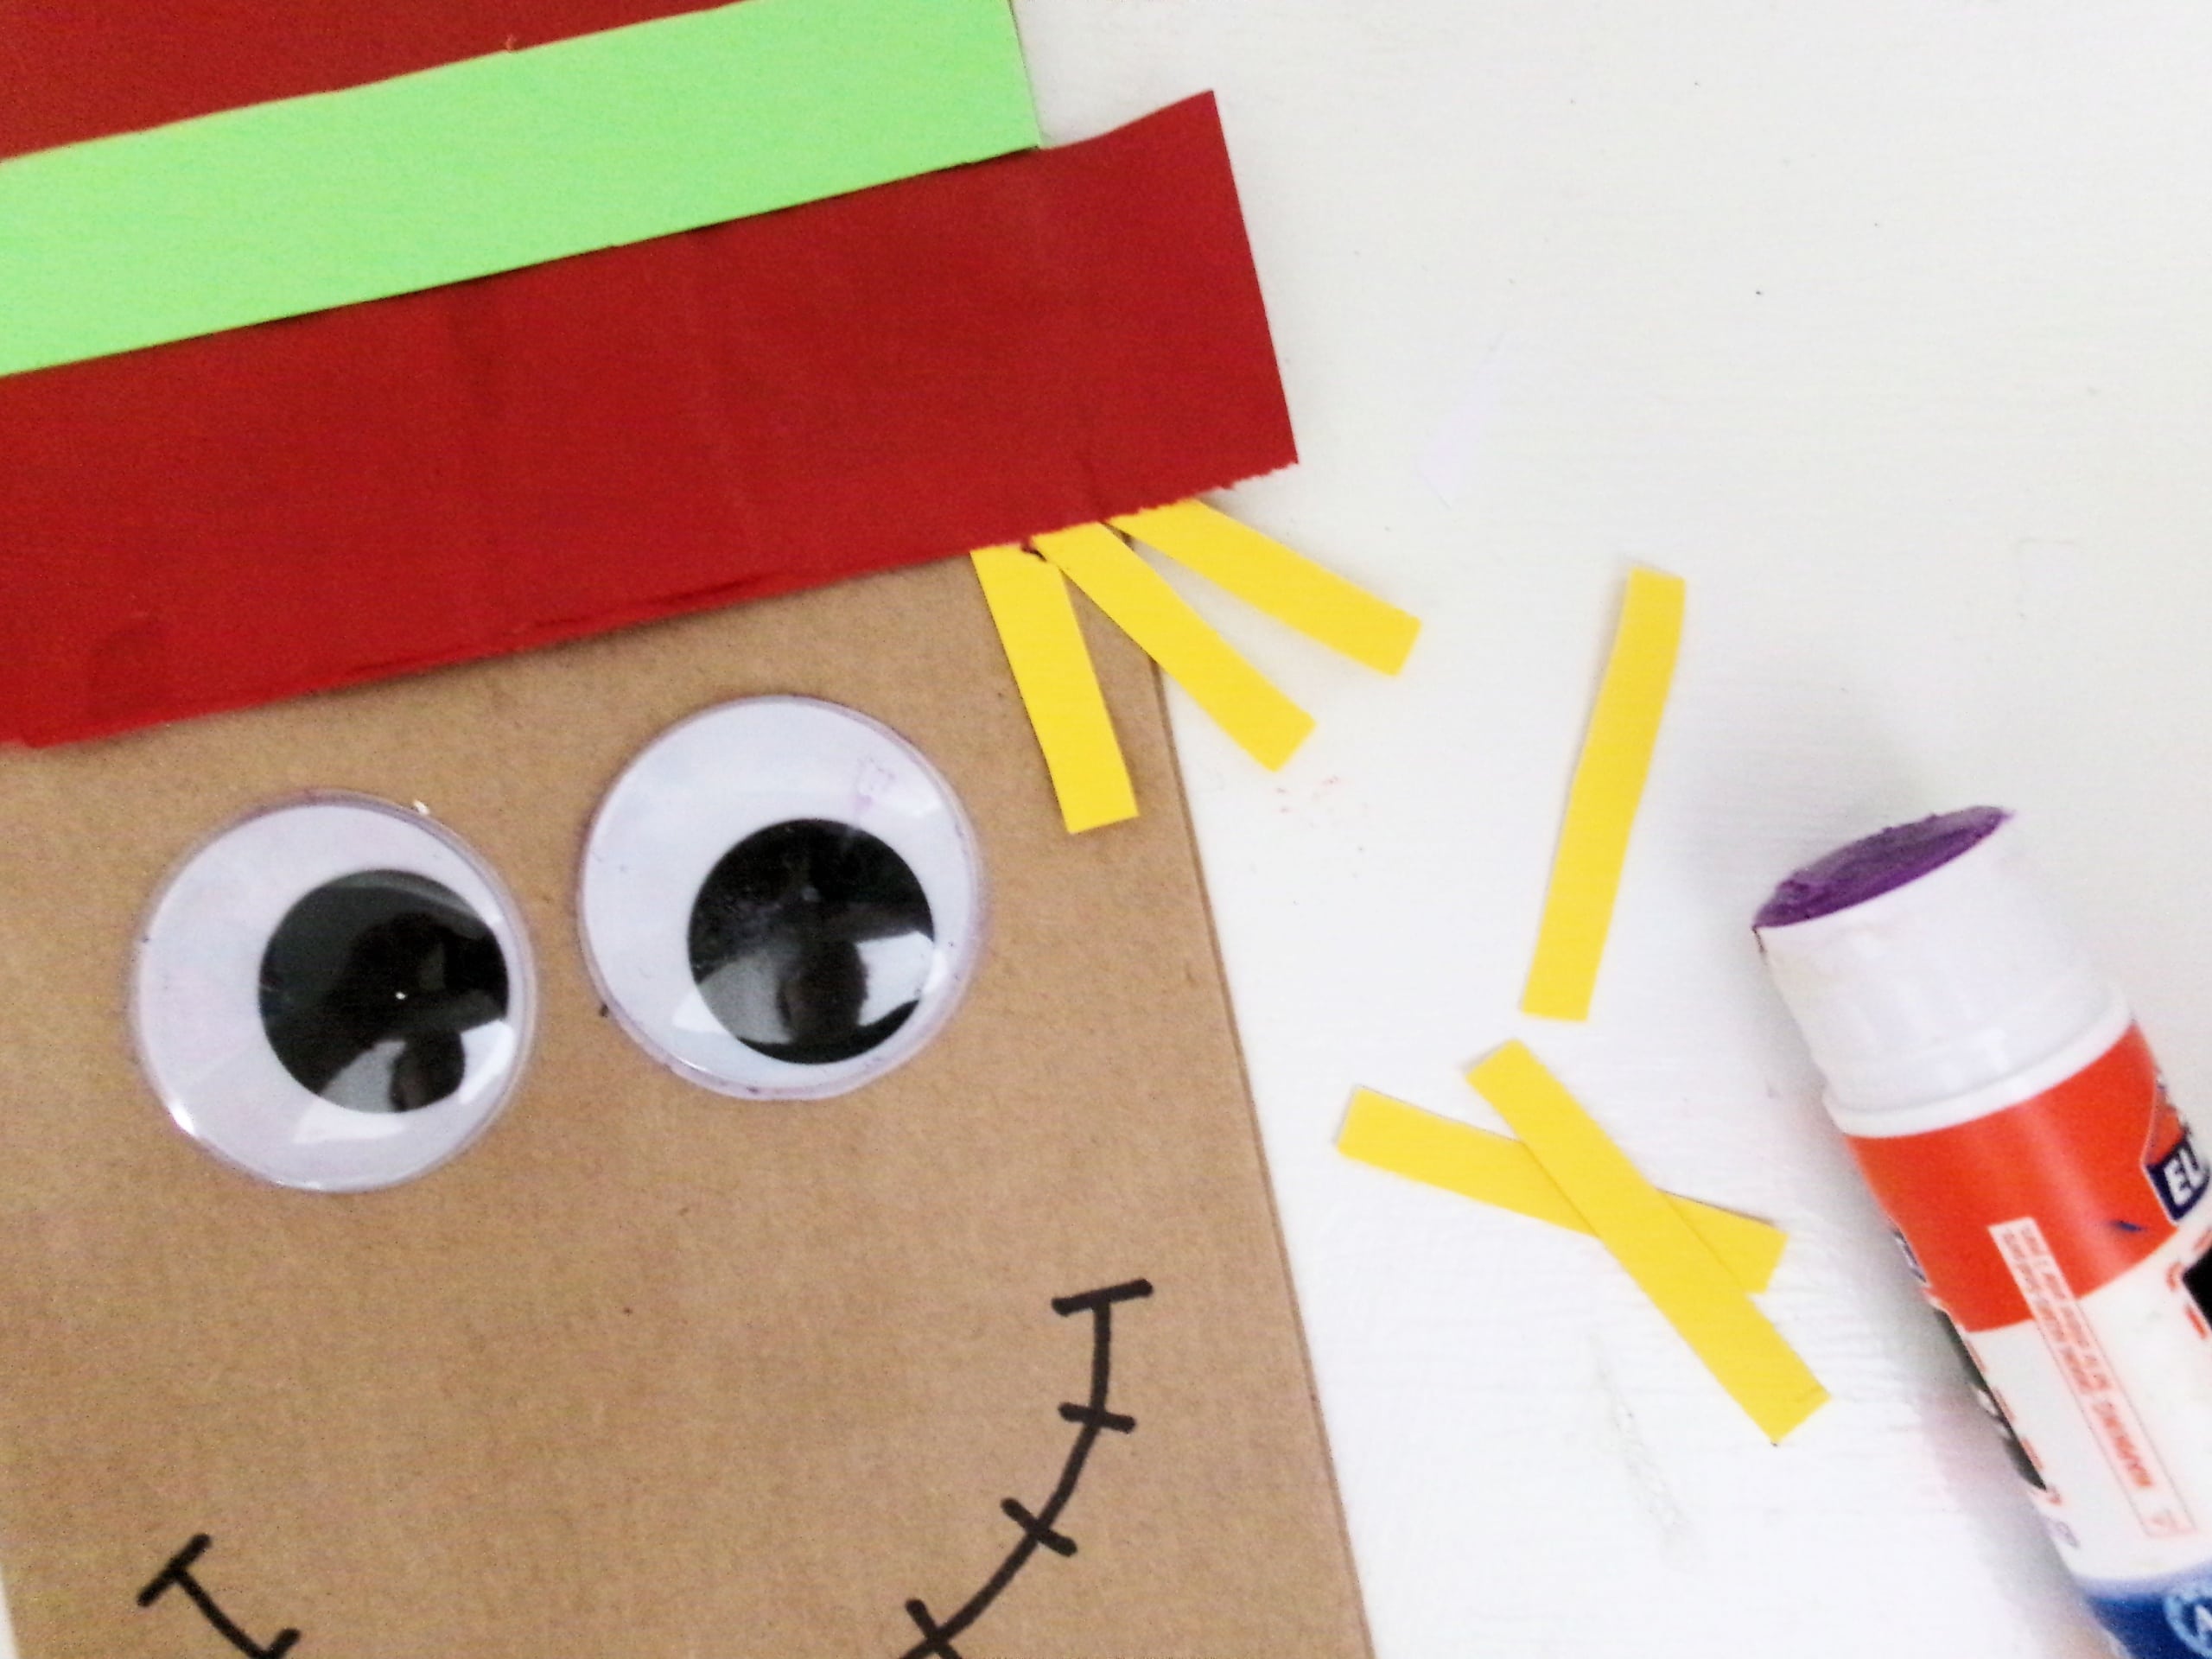
- Once all paint and glue is fully dry, glue the band in place just above the brim of the hat. Next, glue all of the yellow strips of cardstock under the sides of the hat to look like straw hair.
- Finally, use the black marker to make some crosshatch marks on the hat and face of your scarecrow.
- That’s it! This precious paper bag scarecrow is complete.


Pro Tips
- Glue a painter’s stick or large craft stick onto the back of your scarecrow to turn it into the cutest fall-themed puppet for all the creative puppet shows an imagination can think up!
- Add one or two stick on magnets to the back of your scarecrow puppet to easily display it on the refrigerator.
- Cover your workspace with kraft paper or a disposable plastic table cloth to protect it from glue and paint spills or splatters.
- If you don’t have any cardstock on hand, feel free to use construction paper in its place.
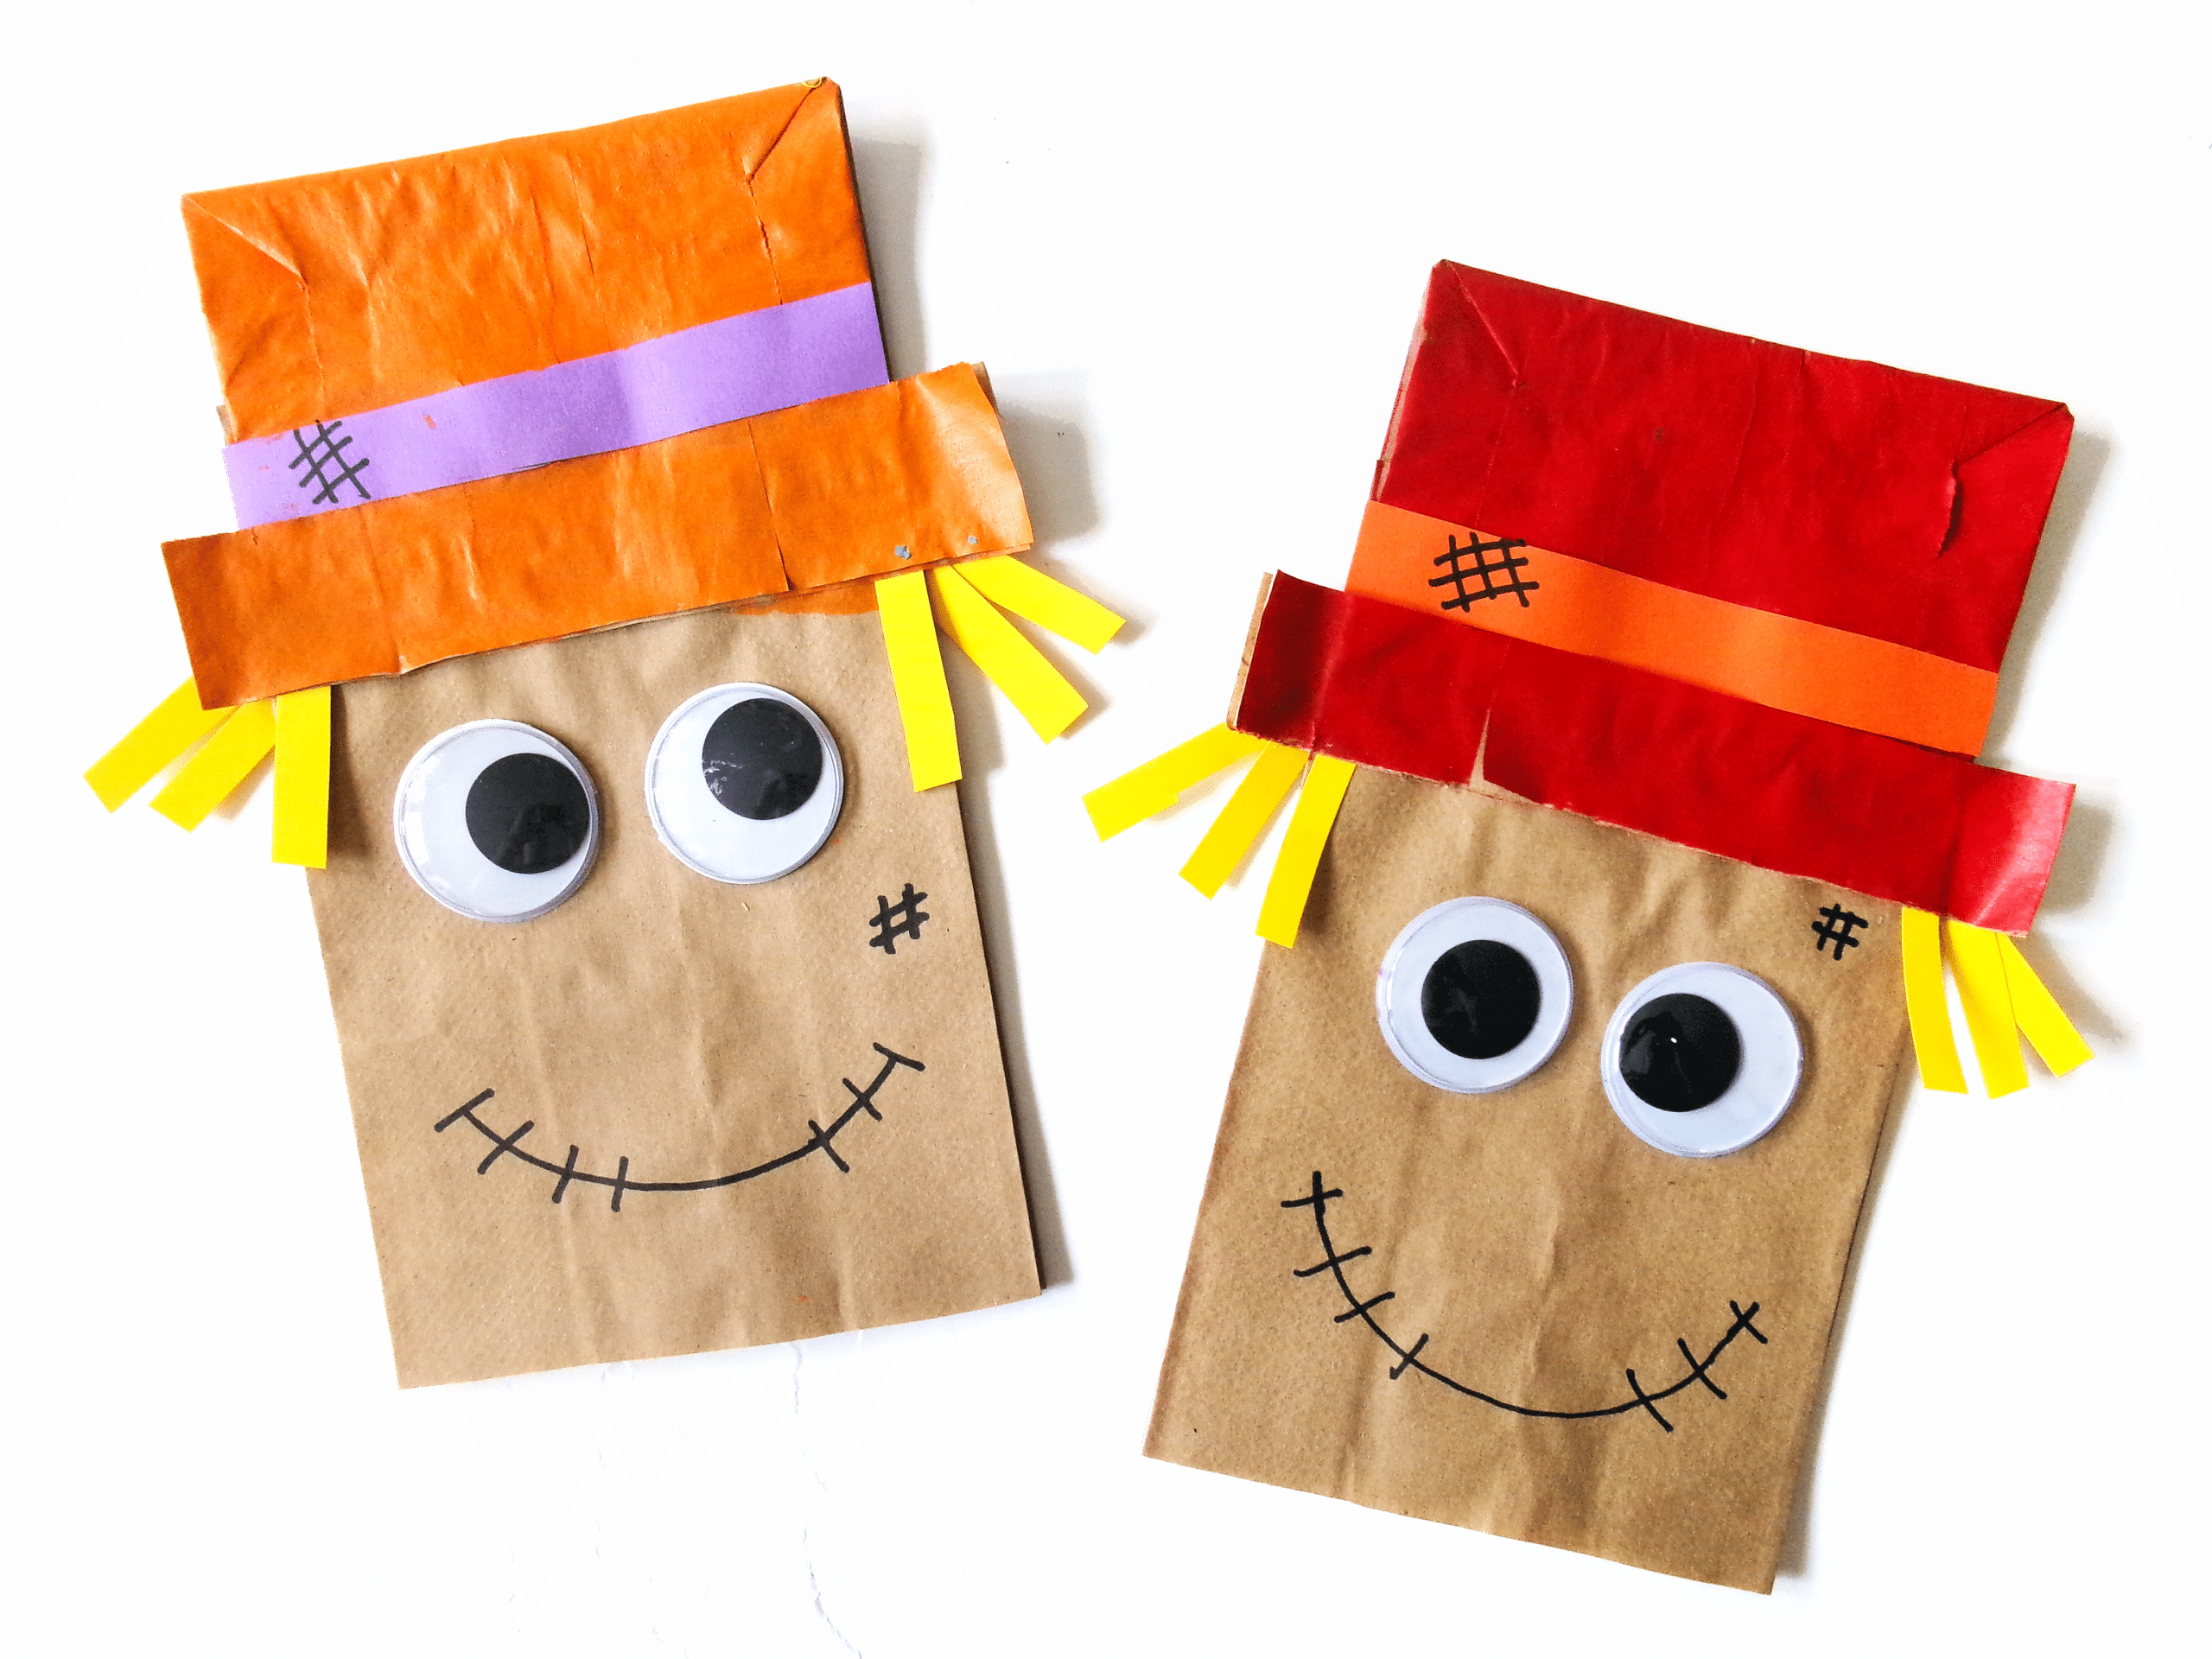
This fun autumn craft is so easy to make and turns out just absolutely adorable! Hang it in the window, on the fridge or link a few together like a banner to show off the kids’ creativity! Let us know what your favorite part about this easy craft is!
Paper Bag Scarecrow
Ingredients
- Brown paper lunch bags
- Cardstock any color
- Black marker
- Googly eyes large
- Scissors
- Glue stick
- Paint any color
- Paint brush
Instructions
- With the flap of the bag being the top, begin by cutting a roughly 1 ½” strip from the bottom of the paper bag.
- Unfold the strip so it makes a circle. Cut the circle so it’s one long strip.
- Fold the strip over so that it’s longer than the width of the bag and glue in place. Cut away any excess.
- Glue the strip to the bottom of the flap of the bag.
- Place a scrap piece of paper under the flap and paint the flap of the bag/scarecrow’s hat in your choice of colors. Let the paint dry.
- While the paint is drying, you can add googly eyes to the body of the bag.
- Use a black marker to draw a simple mouth for the scarecrow.
- Cut 6 small strips from the yellow cardstock. You will also need to cut a larger strip, roughly the width of the bag, from the cardstock (in the color of your choice) for the band of the hat.
- Once the paint is completely dry, glue the band in place above the brim of the hat.
- Glue the yellow strips under the flap, at the sides of the hat.
- Use the black marker to make a few random crosshatch marks on the hat and face of the scarecrow.
More Fun Fall Crafts
- We can’t get through fall without multiple bags of candy corn and this cutie Candy Corn Craft is a great one to make while we snack.
- This Fall Tree Pom Pom Painting is a great craft for little ones to make. They will work on fine motor skills and color recognition at the same time.
- Grab a pinecone from your backyard or on a nature walk in the park and then use it for this Pine Cone Painted Fall Tree Craft. The kids may never want to use a paintbrush again!
- Ready for Thanksgiving? Make some Toilet Paper Roll Turkeys as a fun craft and cute DIY decoration or place setting.