
Oreo Spiders
These Oreo spiders are the Halloween treat my kids beg to make every October, and honestly, I never say no because they take about thirty minutes and require exactly zero baking. Just Oreos, pretzels, melted chocolate, candy eyes, and a couple of sprinkles for the face. Set out the supplies, let the kids assemble their own spiders, and you’ve officially got a Halloween party activity AND a dessert in one go.

Between you and me, this recipe started because I was scrolling Pinterest at 10 PM on the Sunday before Halloween one year, looking for a treat I could throw together on Monday morning before school. My daughter had committed me to bringing something spooky for her class party and my witchy inspiration had, at that hour, evaporated entirely.
The internet delivered. I saw someone had turned Oreos into spiders using pretzel legs, and I had every single ingredient sitting in my pantry.
Now, the kids look forward to making these every October! Whose spider is smiling the biggest? Whose has the most teeth? Which one looks most surprised? It has become a small annual competition in our house, and I fully support it because it means they’re happily assembling their own Halloween treat while I’m doing literally anything else. A small win for a busy October, I’ll take it.
Why You’ll Love This Recipe
- With just a few ingredients you can make a batch of these adorable Oreo spiders for Halloween.
- There’s no baking involved. Just melt some chocolate and have fun decorating.
- It’s a great recipe to make with the kids because they can help with all of the steps. My kids love making these and sharing them with family and friends.

Key Ingredients
- Oreo Double Stuf Cookies – The doubled stuffed ones work best because there’s more cream filling to hold the pretzels. If you are unable to find this type, you can always sneak in a little bit of buttercream to help the cookies stick together.
- Pretzel sticks – These are dipped in melted chocolate to make the legs for Oreo Halloween spiders.
- Dark chocolate chips – You can also use a chopped dark chocolate bar if that’s what you have on hand.
- Candy eyes – You can use different eye sizes or ones that are all the same size.
- Jimmie sprinkles – Use red jimmie sprinkles for the mouths and white ones for the teeth.
Find the full ingredient list with exact measurements in the recipe card below.
Variations
- Keep an eye out for Halloween themed Oreos to switch up the flavor and color
- Switch up the flavor and shape with Nutter Butters
- For an advanced version, dip the Oreos in chocolate.
- Use black licorice strings for the legs.
How to Make Oreo Cookie Spiders
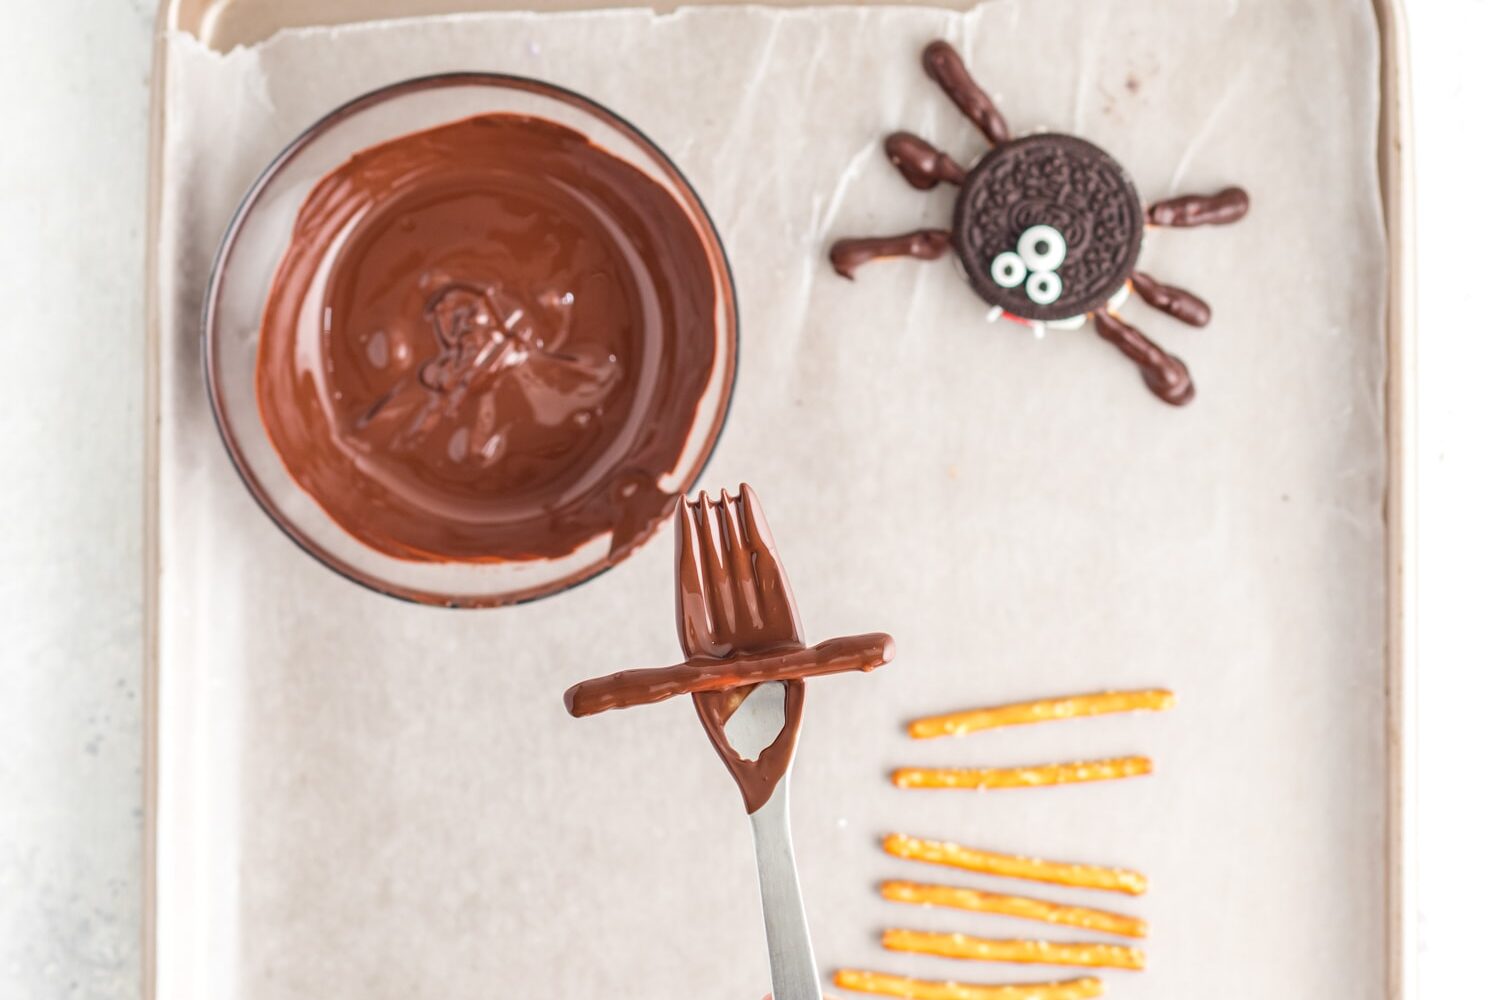
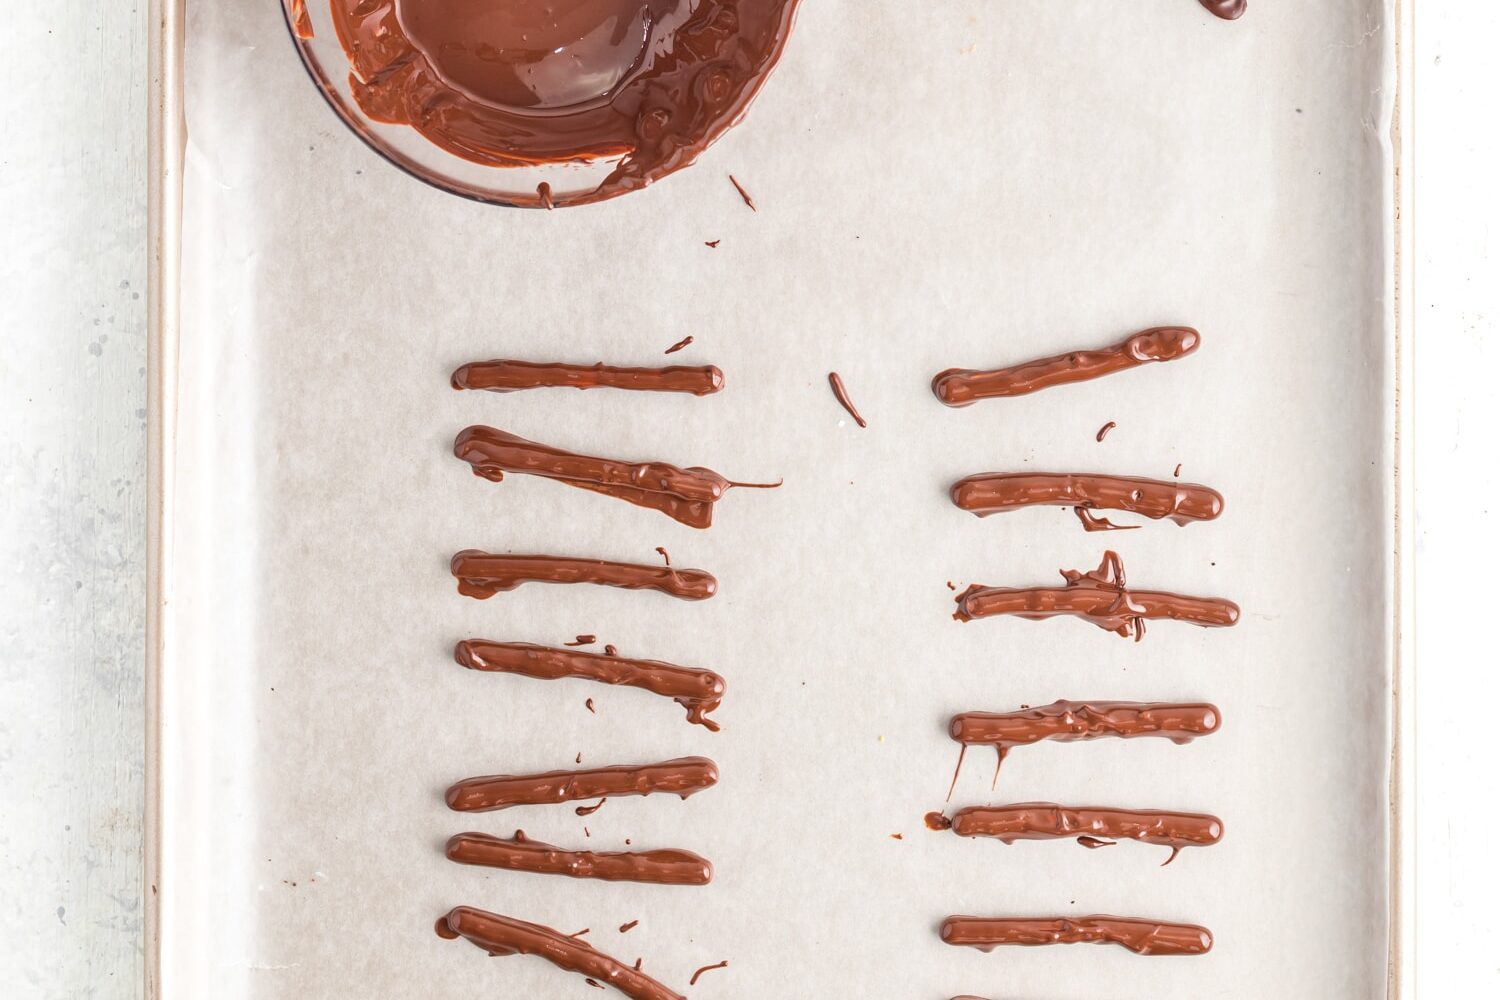
Prepare pretzel legs. Melt the chocolate and then dip each pretzel in it. Allow the excess chocolate to drip off and place the chocolate-coated pretzels on a sheet pan lined with parchment paper. Chill them for 30 minutes so the chocolate can set.
Prepare Oreos. Carefully twist an Oreo to remove a cookie to expose the cream in the center. Do this with all of the cookies and place them, cream-side-up, on a baking sheet. Smooth the cream with butter knife so the surface is even.
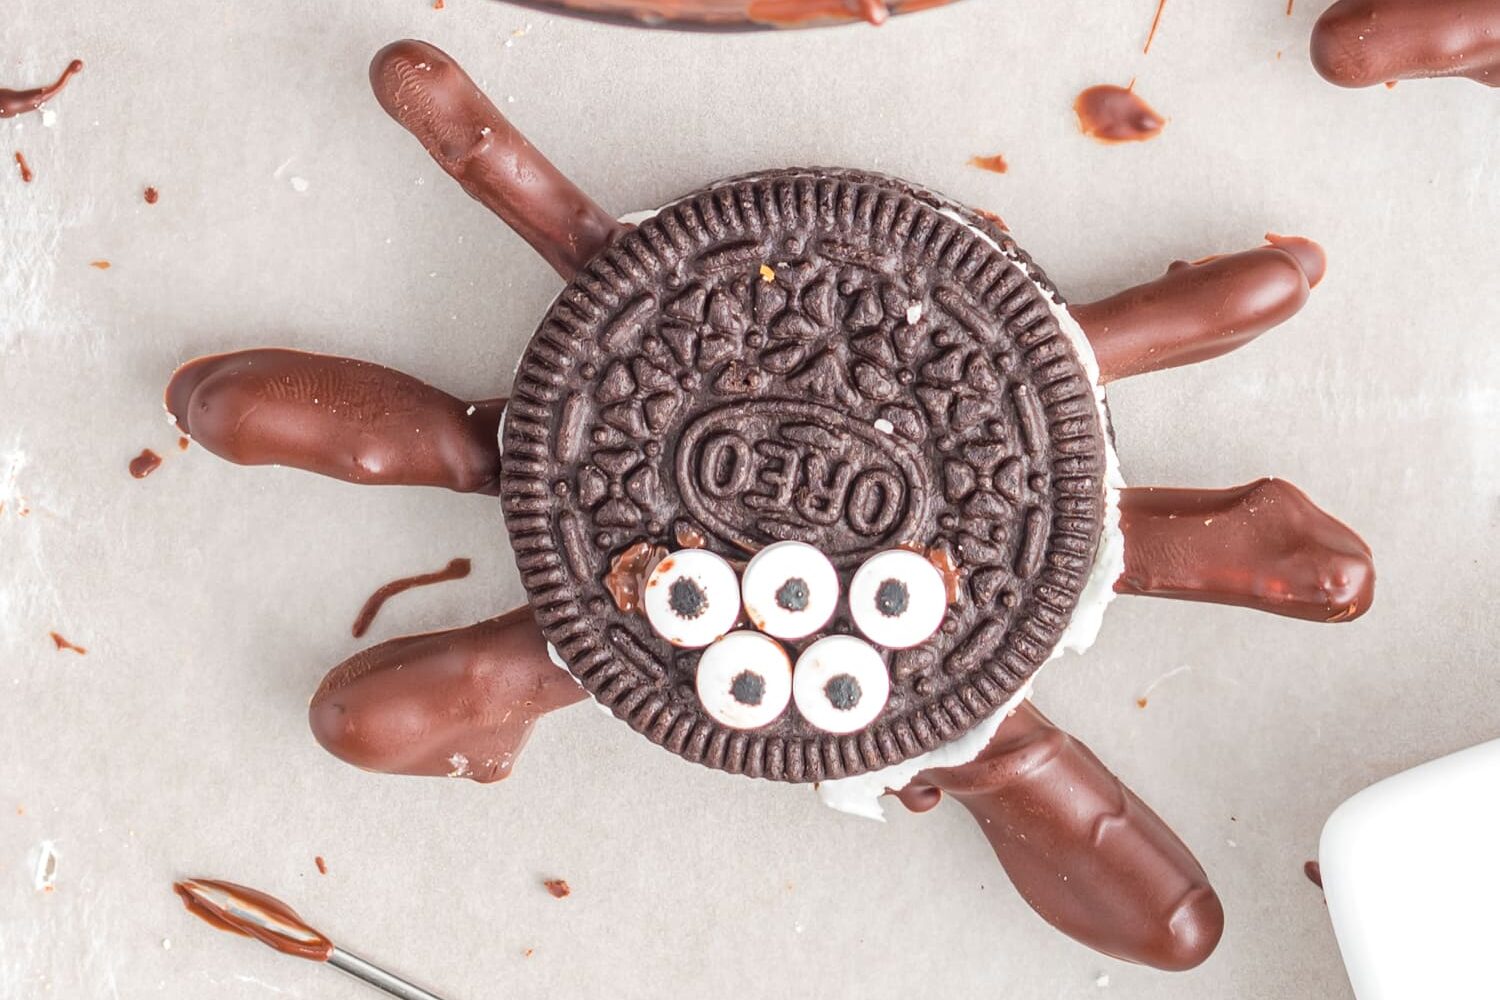
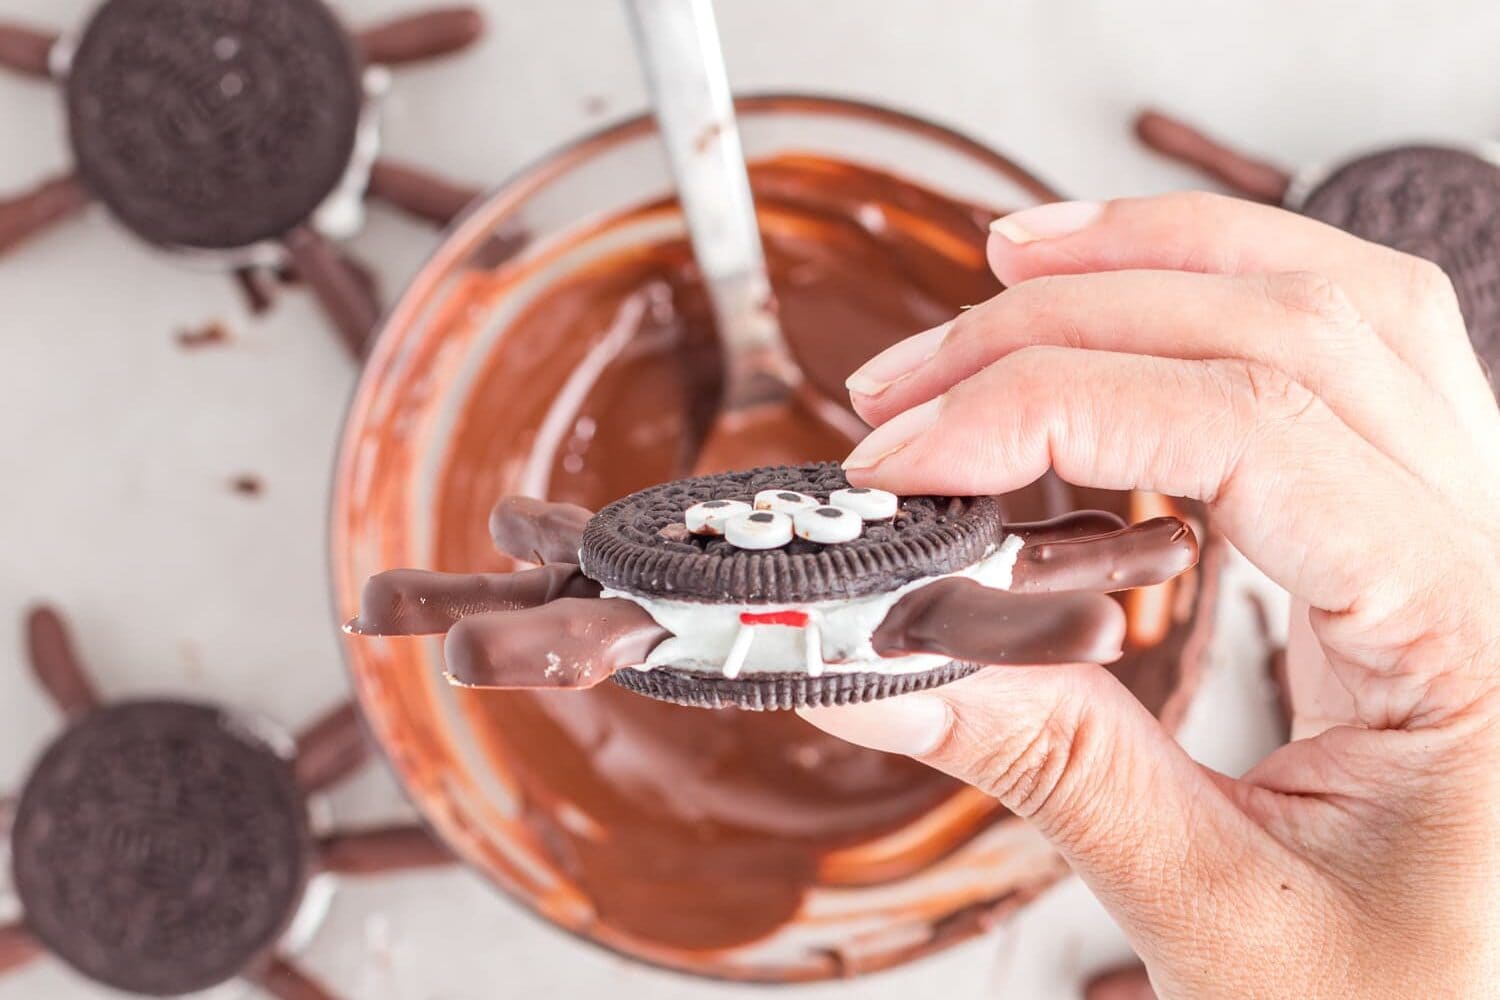
Assemble spiders. Take three chocolate covered pretzels and break each in half so you have six pieces total. Place three of the pretzels onto each side of the cookie to create the legs. Place the cookie that you removed back on the cream and lightly press so it adheres to the cream.


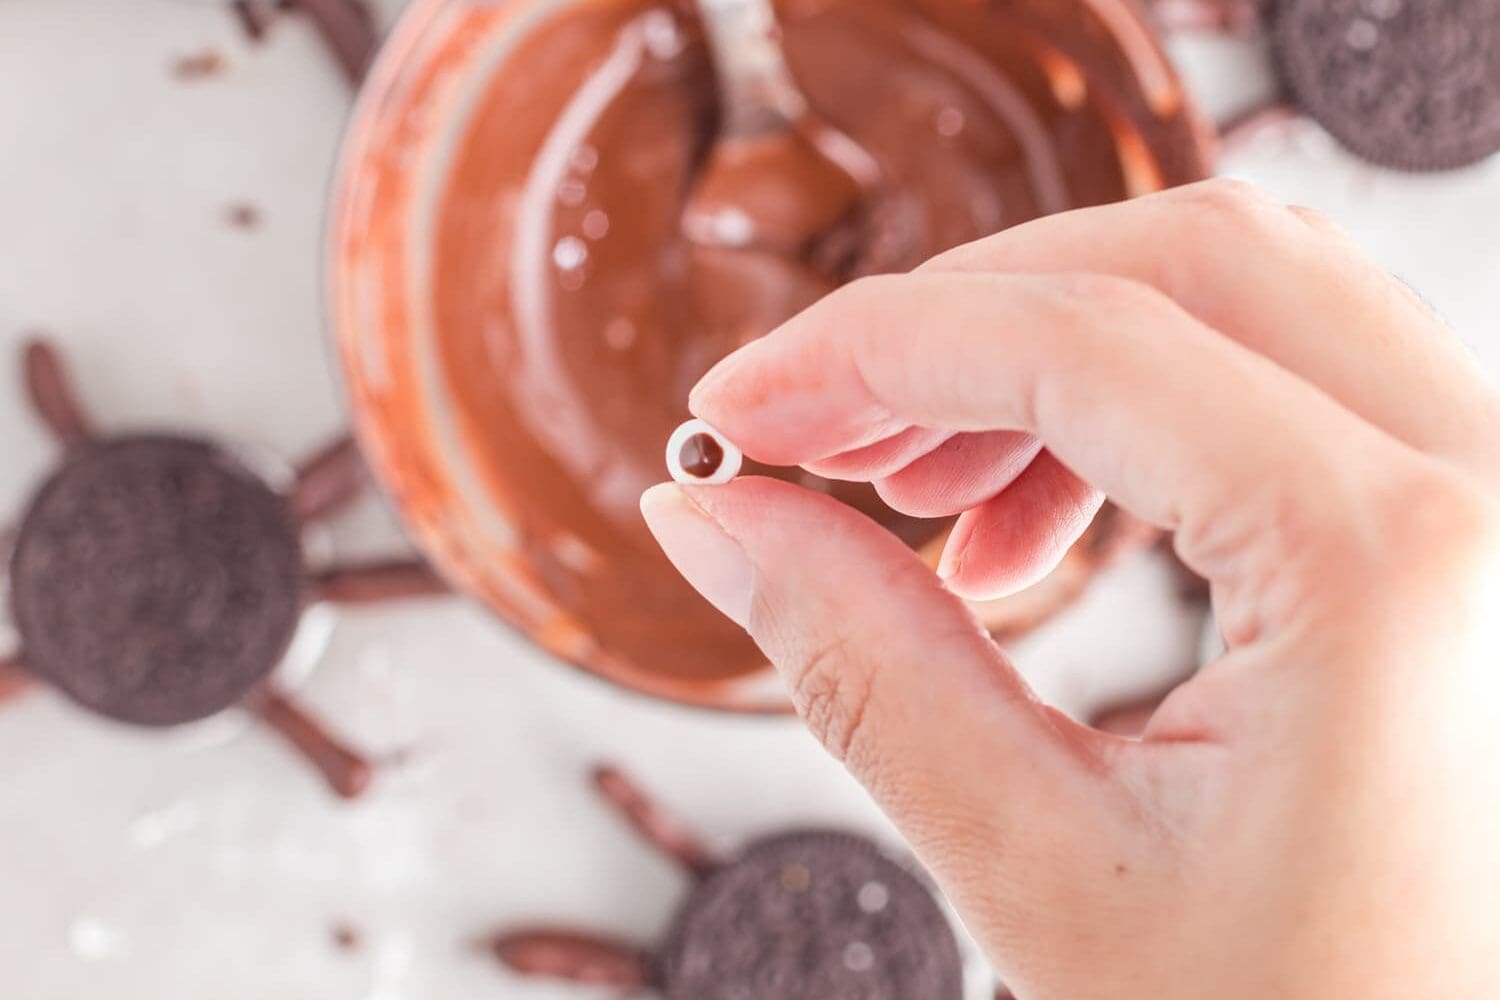
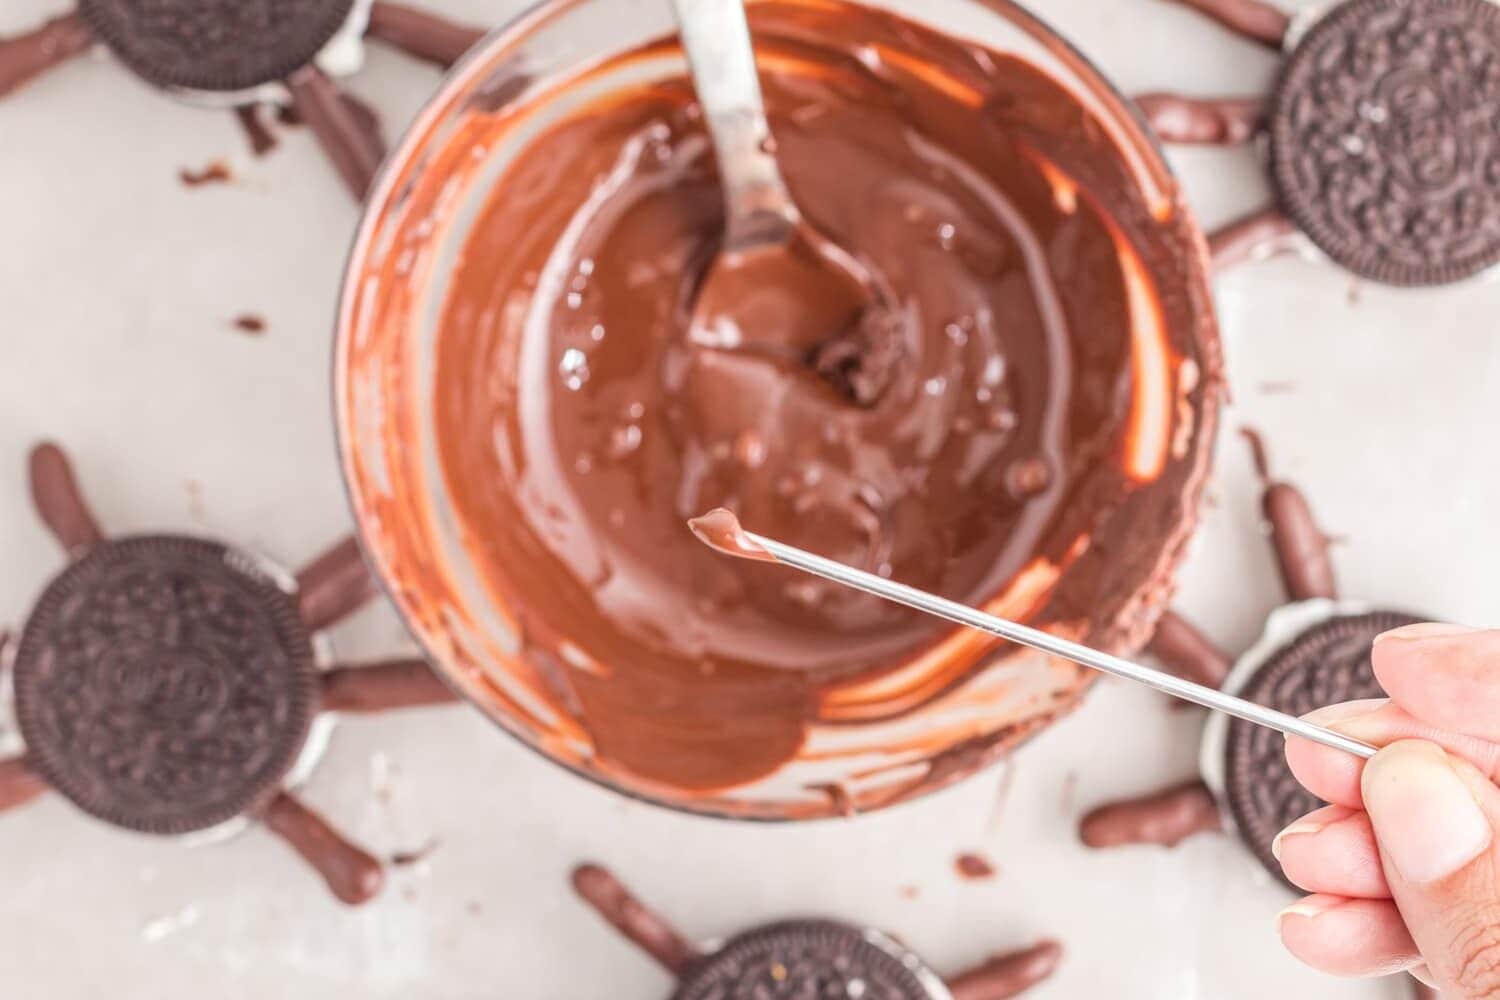
Create spider face. Adhere the candy eyes on the spider cookies with a dab of melted chocolate. Place a red jimmie sprinkle in the cream under the top cookie. Add two white jimmies to make the teeth.
Set and serve. Once you’ve made all of the spider cookies, let them set before storing or serving them.
For the complete directions and ingredient amounts, scroll down to the recipe card below.
Storage
If you want to make them for a party, you can make them the morning of and store them in an airtight container until you’re ready to serve them later that day.
Oreo spider cookies are best the day they’re made so I don’t recommend making them more than a few hours in advance. The cookies will start to soften after a day and won’t be as good after they’ve been stored.
How To Serve Oreo Spiders
If you’re hosting a Halloween party, serve these Oreo spiders with some Mummy Hot Dogs and Monster Rice Krispie Treats, everyone will love them. These are all great snacks to enjoy after a great craft like 10-Minute Yarn Ghosts.
Pro Tips
- I have accidentally bought regular Oreos, not Double Stuf, and if this happens I just add a little bit of melted chocolate to help adhere the pretzels.
- Once the two cookie halves are separate, smooth the cream with a butter knife or offset spatula, if necessary.
No Bake Oreo Spider Cookies
Ingredients
- 12 Double Stuf Oreo cookies
- 36 pretzel sticks
- ½ cup dark chocolate or ⅓ of a 10oz bar, melted
- candy eyes assorted sizes
- jimmie sprinkles red and white
Instructions
Spider Legs
- Line a baking sheet with wax or parchment paper and set aside.
- In a medium microwave-safe bowl, melt dark chocolate in the microwave in 20-second increments until fully melted. Stir in between melting to ensure the chocolate does not burn.
- Using a fork, dip a pretzel stick in the chocolate and allow the excess chocolate to drip back into the bowl. Place the pretzel on the prepared baking sheet and repeat with the remaining pretzels.
- Chill the pretzels in the refrigerator for about 30 minutes or until set.
Assemble the Spider
- When the pretzels have set, cut 3 of the chocolate coated pretzel sticks in half to form 6 legs.
- Carefully separate a Double Stuf Oreo Cookie in half (gently twisting the cookie shells helps to loosen it).
- Place the cookie halves cream side up on the baking sheet.
- Press 3 pretzel legs (cut side) into the cream side of a cookie half. Press 3 more legs into the opposite side of the cookie half.
- Reassemble the cookie by topping the base with the other half of the cookie. Press gently to evenly distribute the cream.
- Using melted chocolate and a toothpick or cocktail stick, attach the candy eyes.
- Add a red Jimmie sprinkle to create a mouth in the cream under the top cookie. Add some white Jimmie sprinkles for teeth.
- Continue until all spiders are assembled. Allow to fully set before enjoying.
Notes
Nutrition
More Easy Halloween Ideas
- Pumpkin Patch Cookies are another fun recipe with Oreos! They’re a no-bake treat and so easy to make.
- Need something to keep the kids busy? Print out our Halloween Activity Pages for some spooky fun.
- The kids will go crazy for Spider Donuts. Make a quick stop by the donut shop on your way home from school pick up and assemble these cute treats with the family.
- A simple trick using a marshmallow makes a fantastic frosting ghost for festive Ghost Cupcakes. They are fun, spooky and will be gobbled up in minutes!


Very simple and creative!