How to Make Moon Sand
This homemade Moon Sand is soft, moldable, and so easy to make! With just a few ingredients, you can create a fun sensory activity that kids will love playing with for hours.

I bet you’ve never really thought about DIY moon sand! Your kids are going to love the soft, moldable texture of a combination of flour and oil. It’s so simple to put together, even for little ones, plus using cooking oil makes it safe if the littles do a sneaky taste test.
Making moon sand is a fun activity for a rainy day inside or even outside in the sunshine. Some DIY moon sand recipes include decorative sand, but this one just uses pantry staples so you and the kids can make it any time. It’s time to get out the playdough tools and have fun!
Why You’ll Love This Activity
- This moon sand recipe only uses 3 simple ingredients, which I know you’ve already got at home in your pantry.
- This is a great sensory activity for kids to explore texture as well as practicing their fine motor skills and color recognition when they work with the moon sand.
- This is a super affordable homemade version of kinetic sand that will have your kids using their imaginations by creating different shapes with the sand.
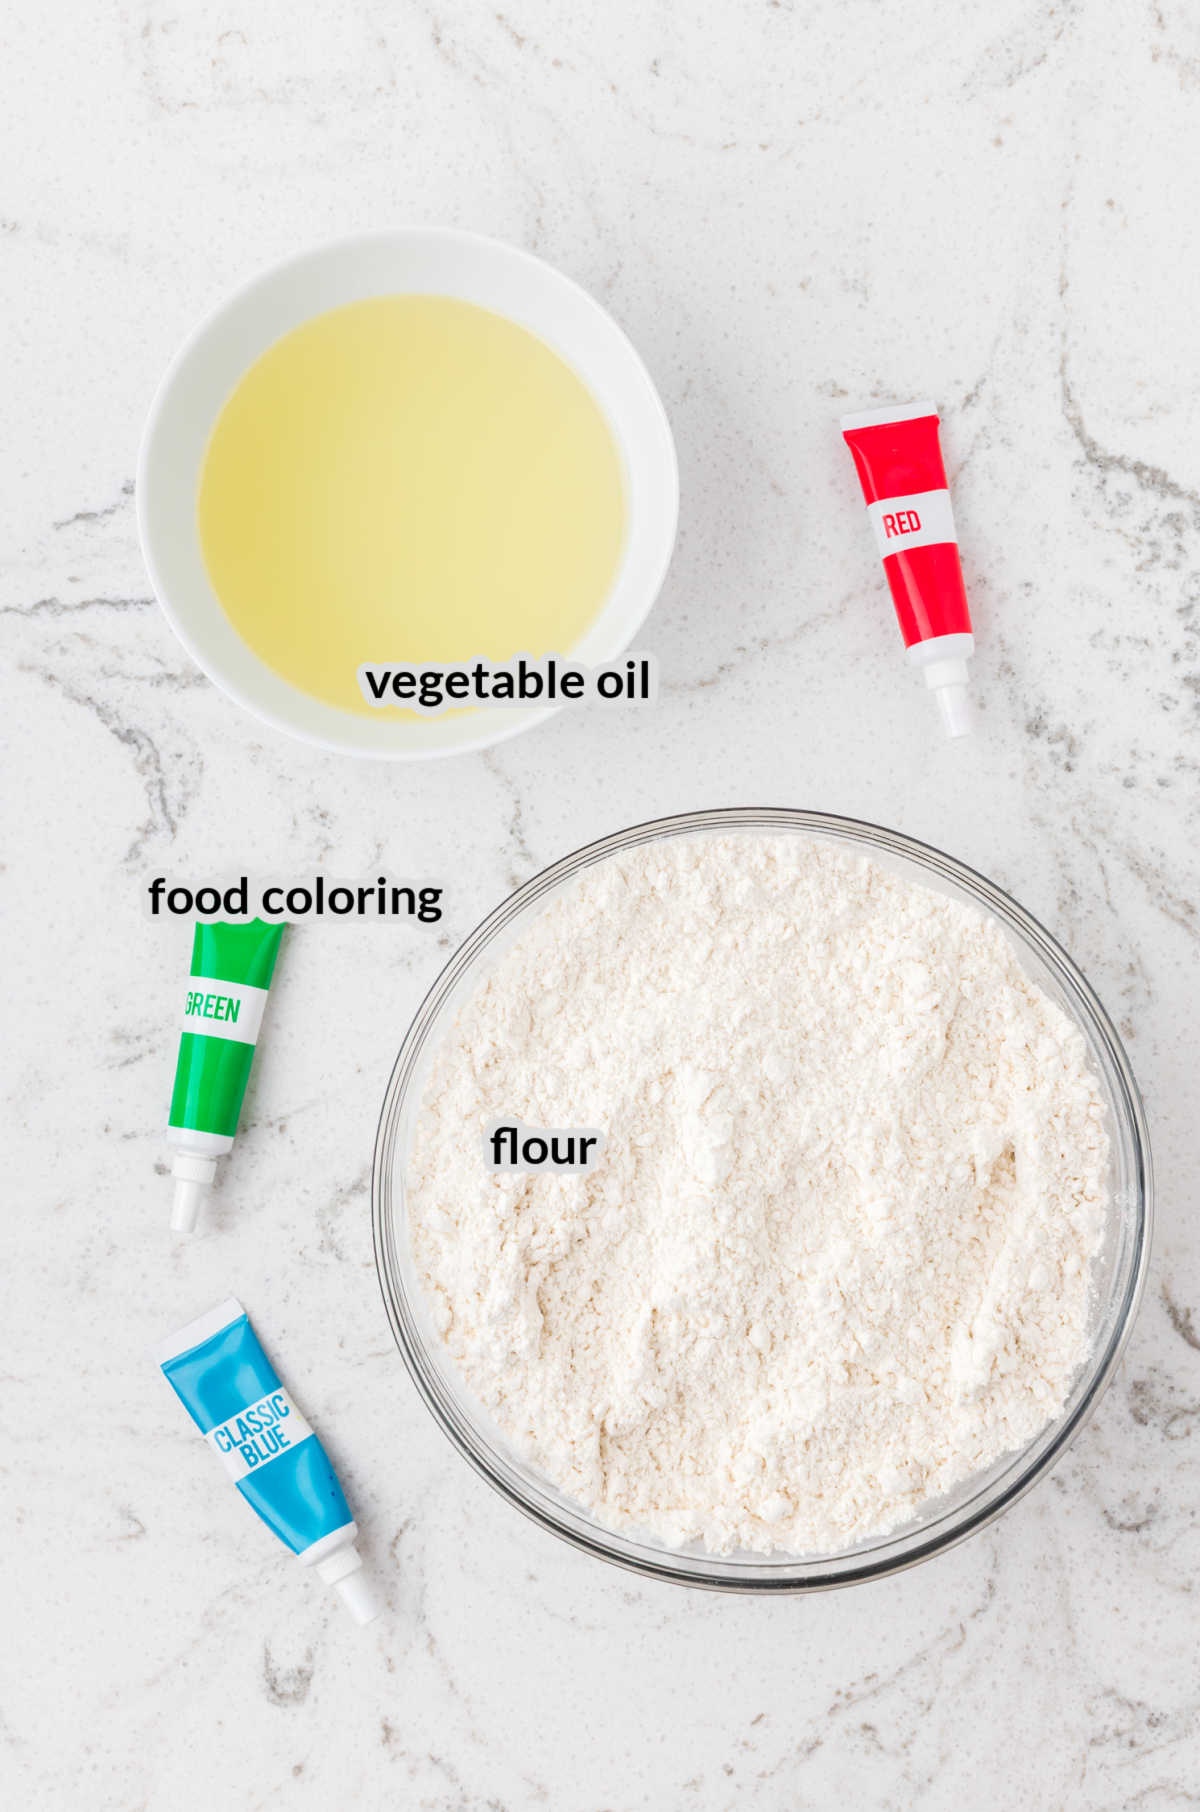
Ingredients For Homemade Moon Sand
- All-purpose flour – This is the base that gives moon sand its soft, moldable texture. You can use whole wheat flour, but the color will be darker and you may need to add a little extra oil. Heat treat to 165 degrees Fahrenheit before use.
- Vegetable oil – This binds the flour so the sand clumps and holds shape. Canola oil or sunflower oil work just as well. For older kids, baby oil can be used for a silkier feel (not taste-safe).
- Gel food coloring – Adds fun color without adding extra liquid. Liquid food coloring can be used, but the sand may be softer.
How To Make Moon Sand
- Spread 8 cups of all-purpose flour on a parchment-lined baking sheet. Bake for 5 to 7 minutes, stir once halfway through, and check that the flour reaches at least 165 degrees Fahrenheit. You can also use a microwave to heat treat. Place flour in a large microwave-safe bowl and heat in 30-second bursts, stirring between each round, until the flour reaches 165 degrees Fahrenheit. Allow flour to cool completely.
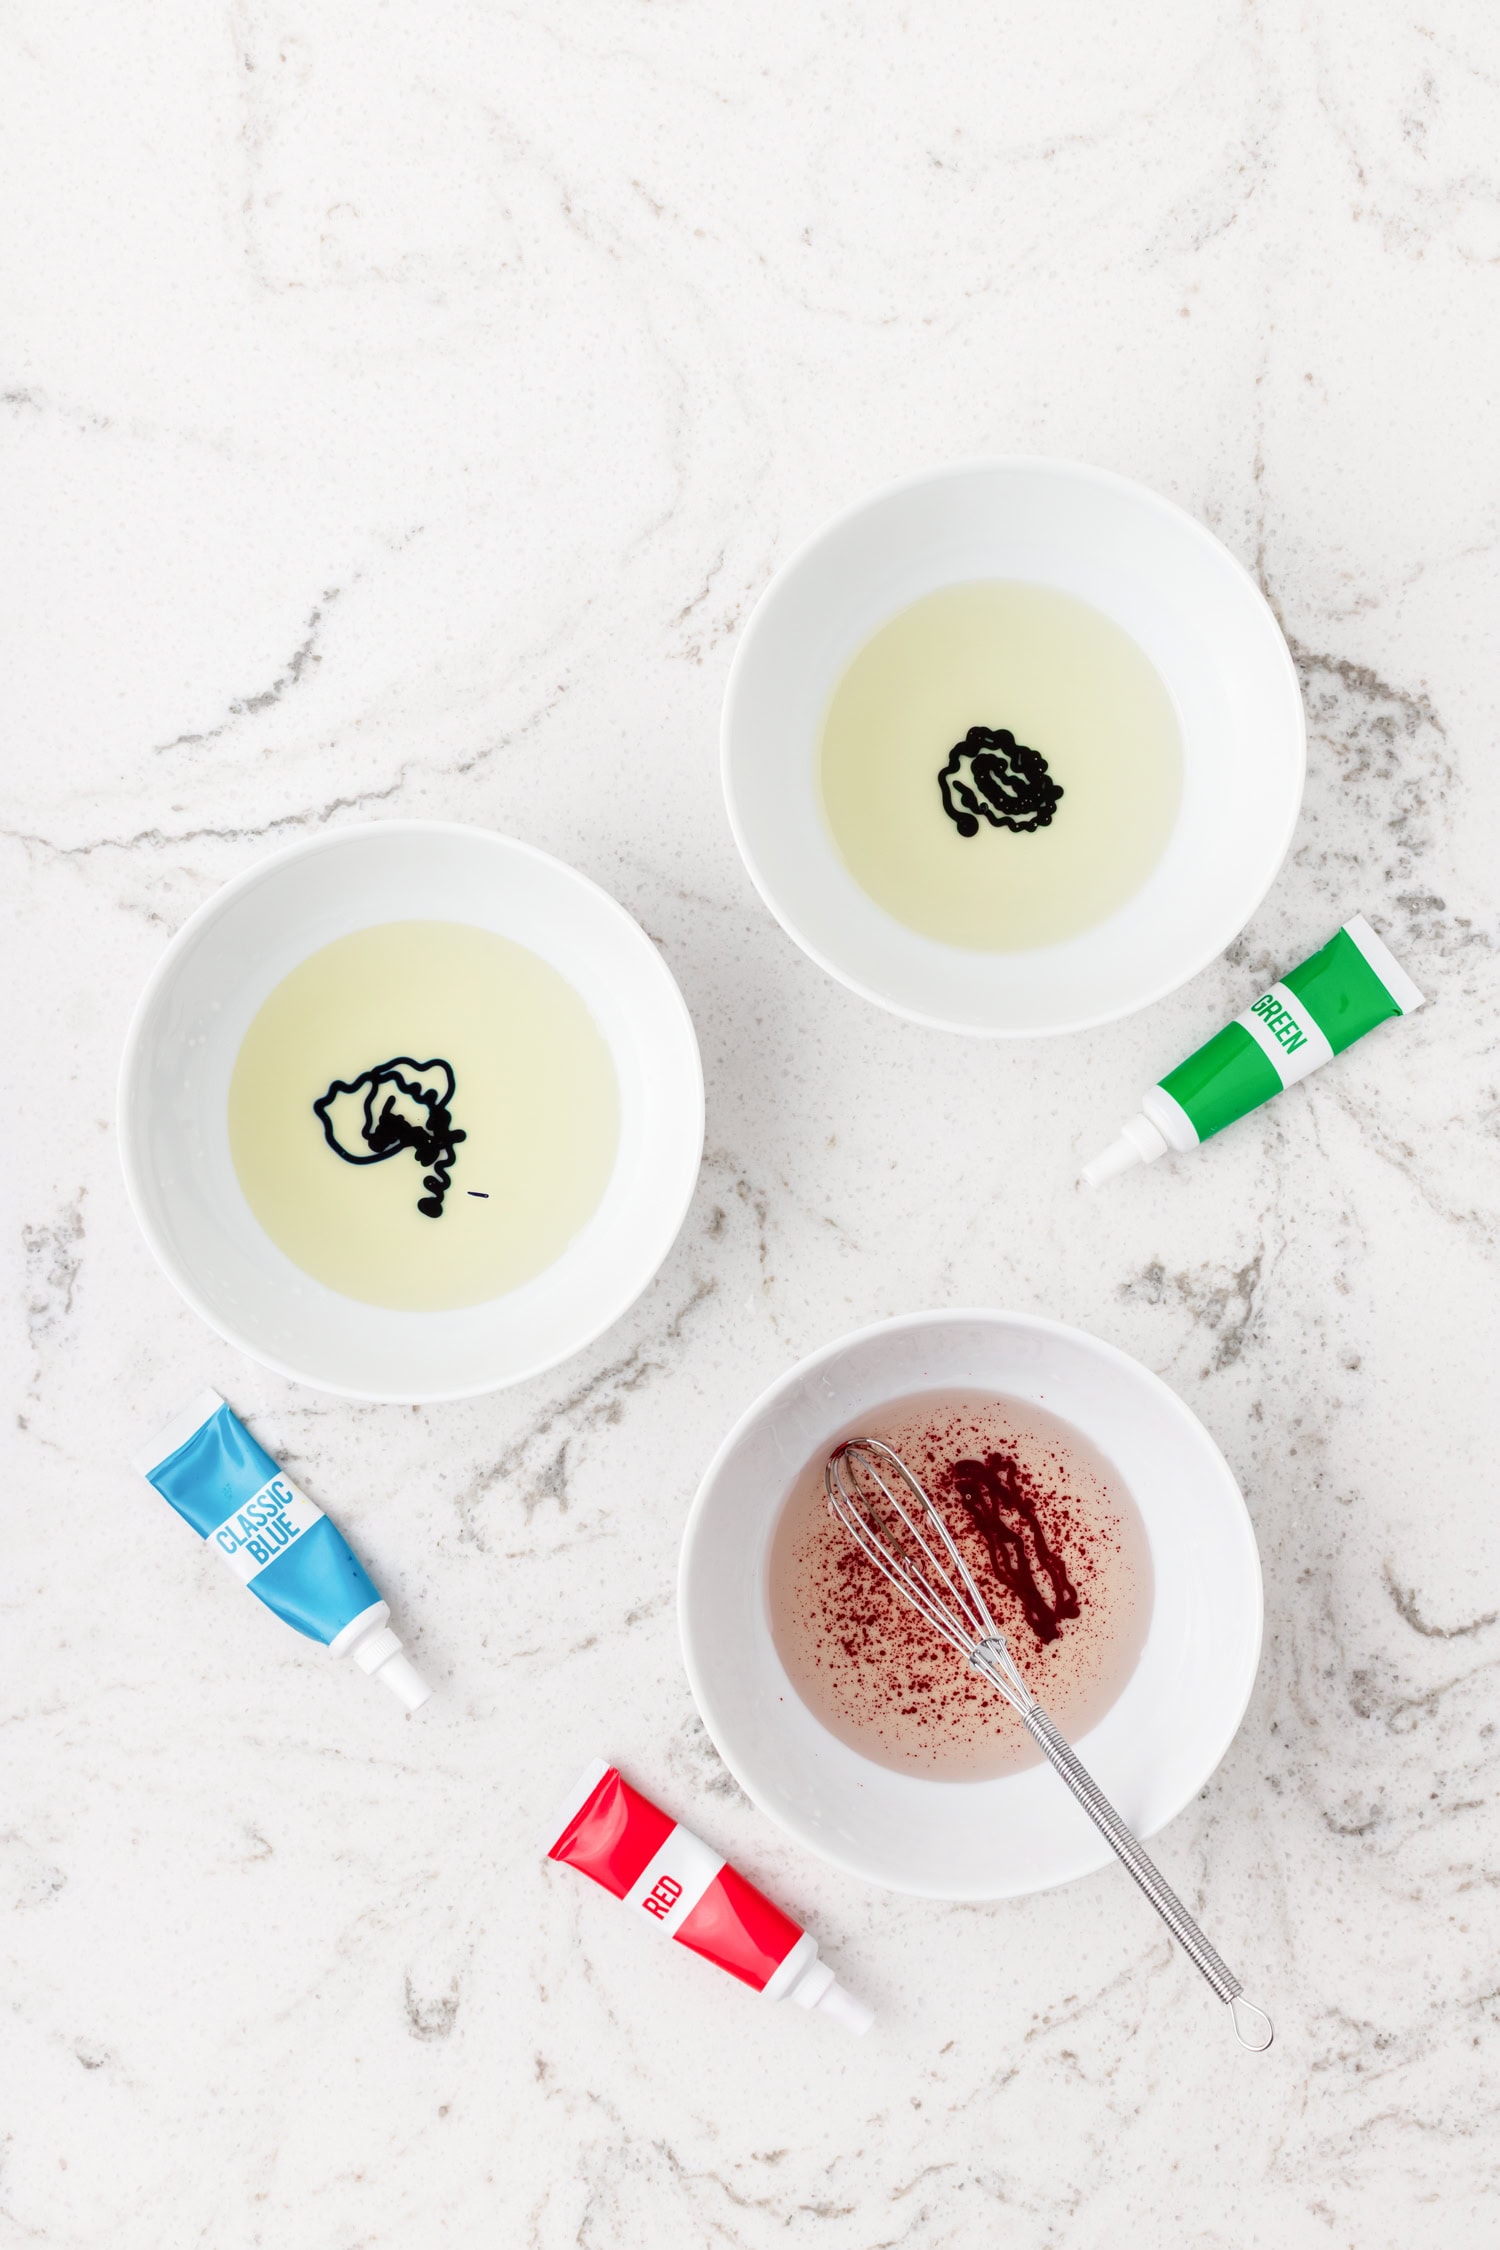
- Place the treated, cooled flour in a large mixing bowl or tub. In a separate container, stir the gel food coloring into the vegetable oil until the ingredients are fully blended. If you plan to use more than one color, divide the oil evenly before adding the different food colorings.
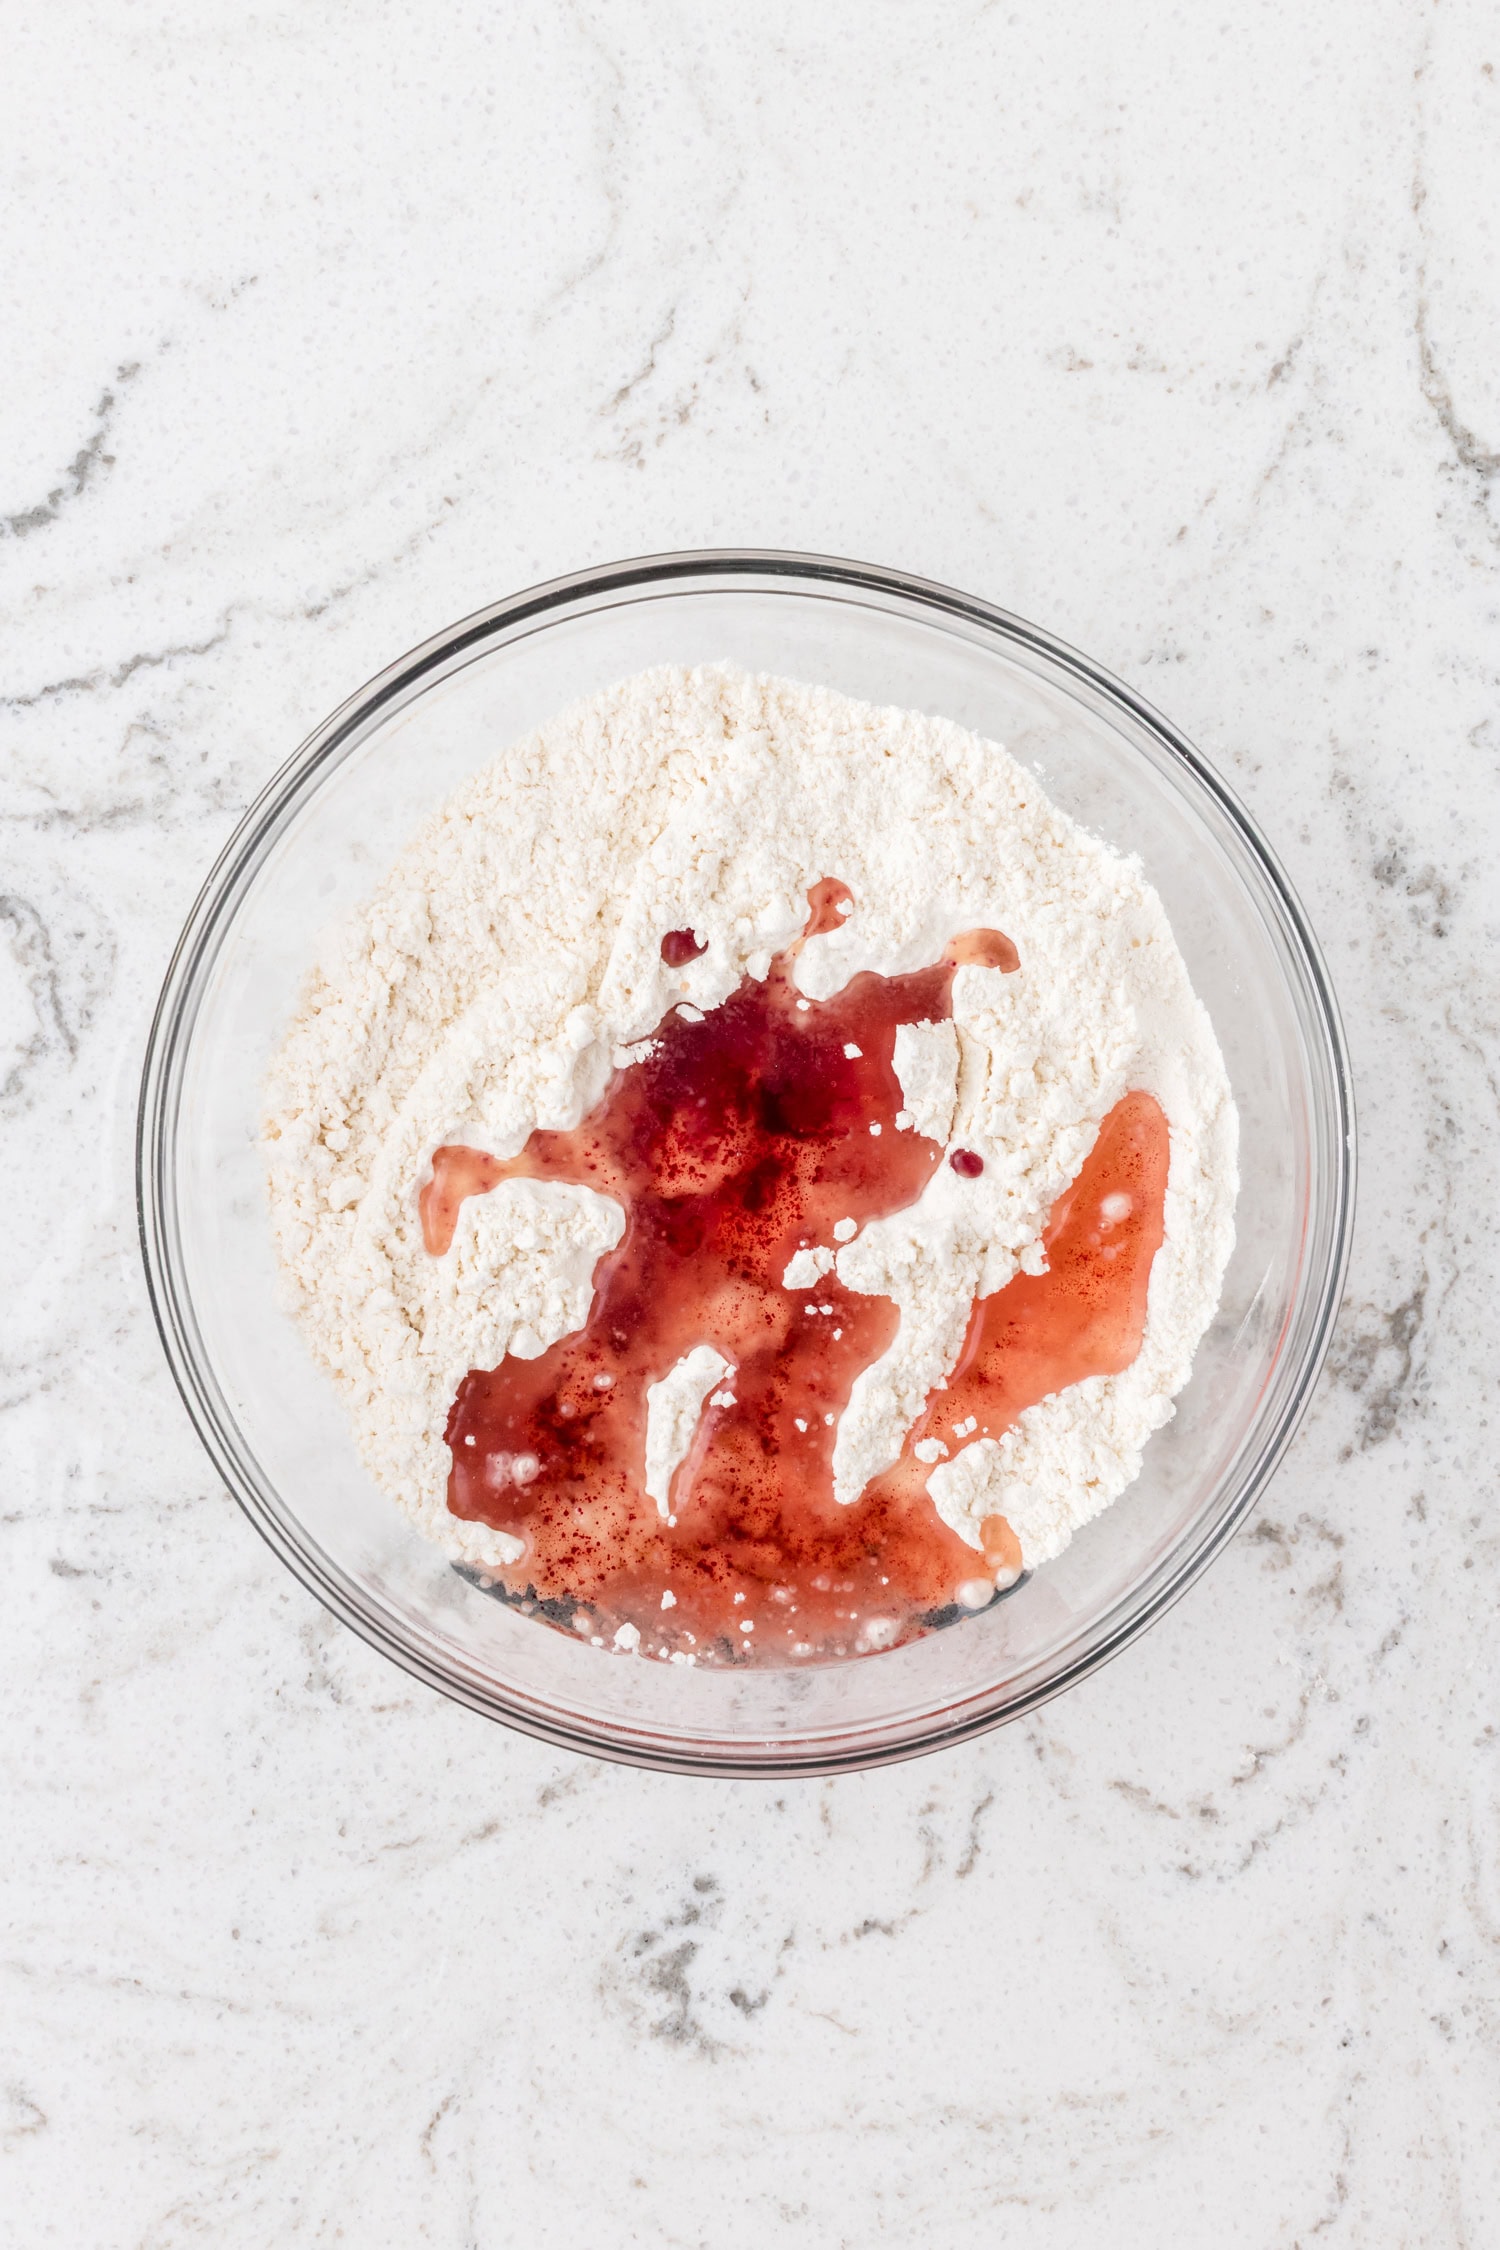
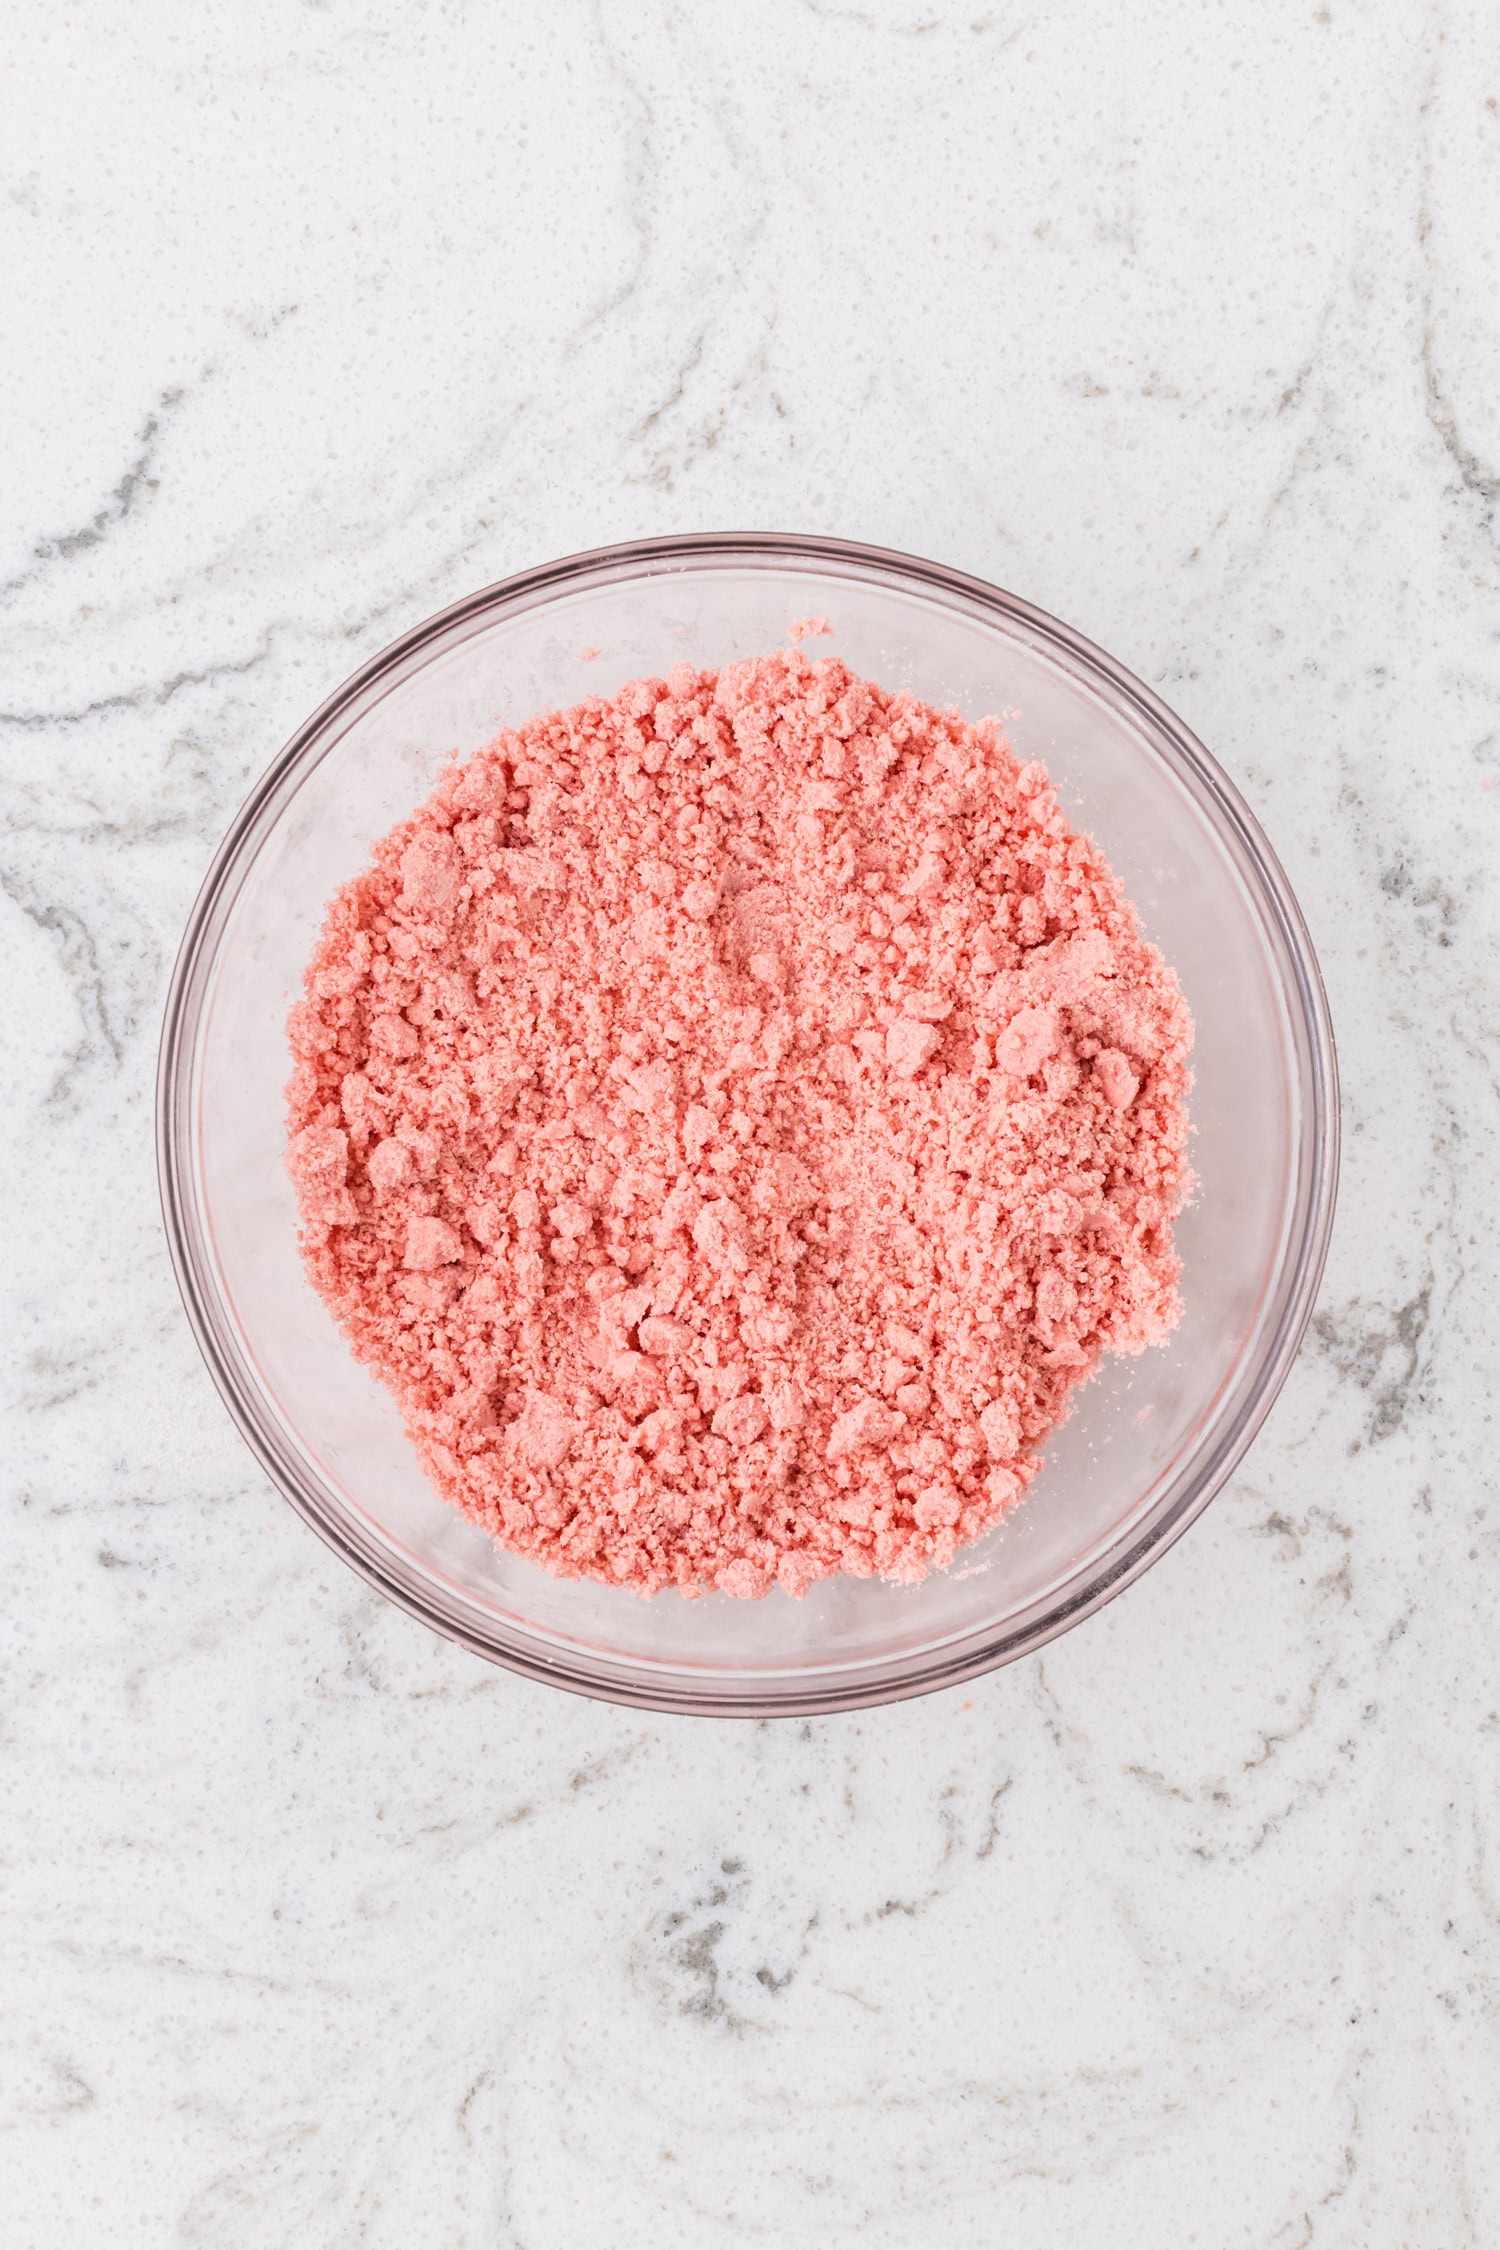
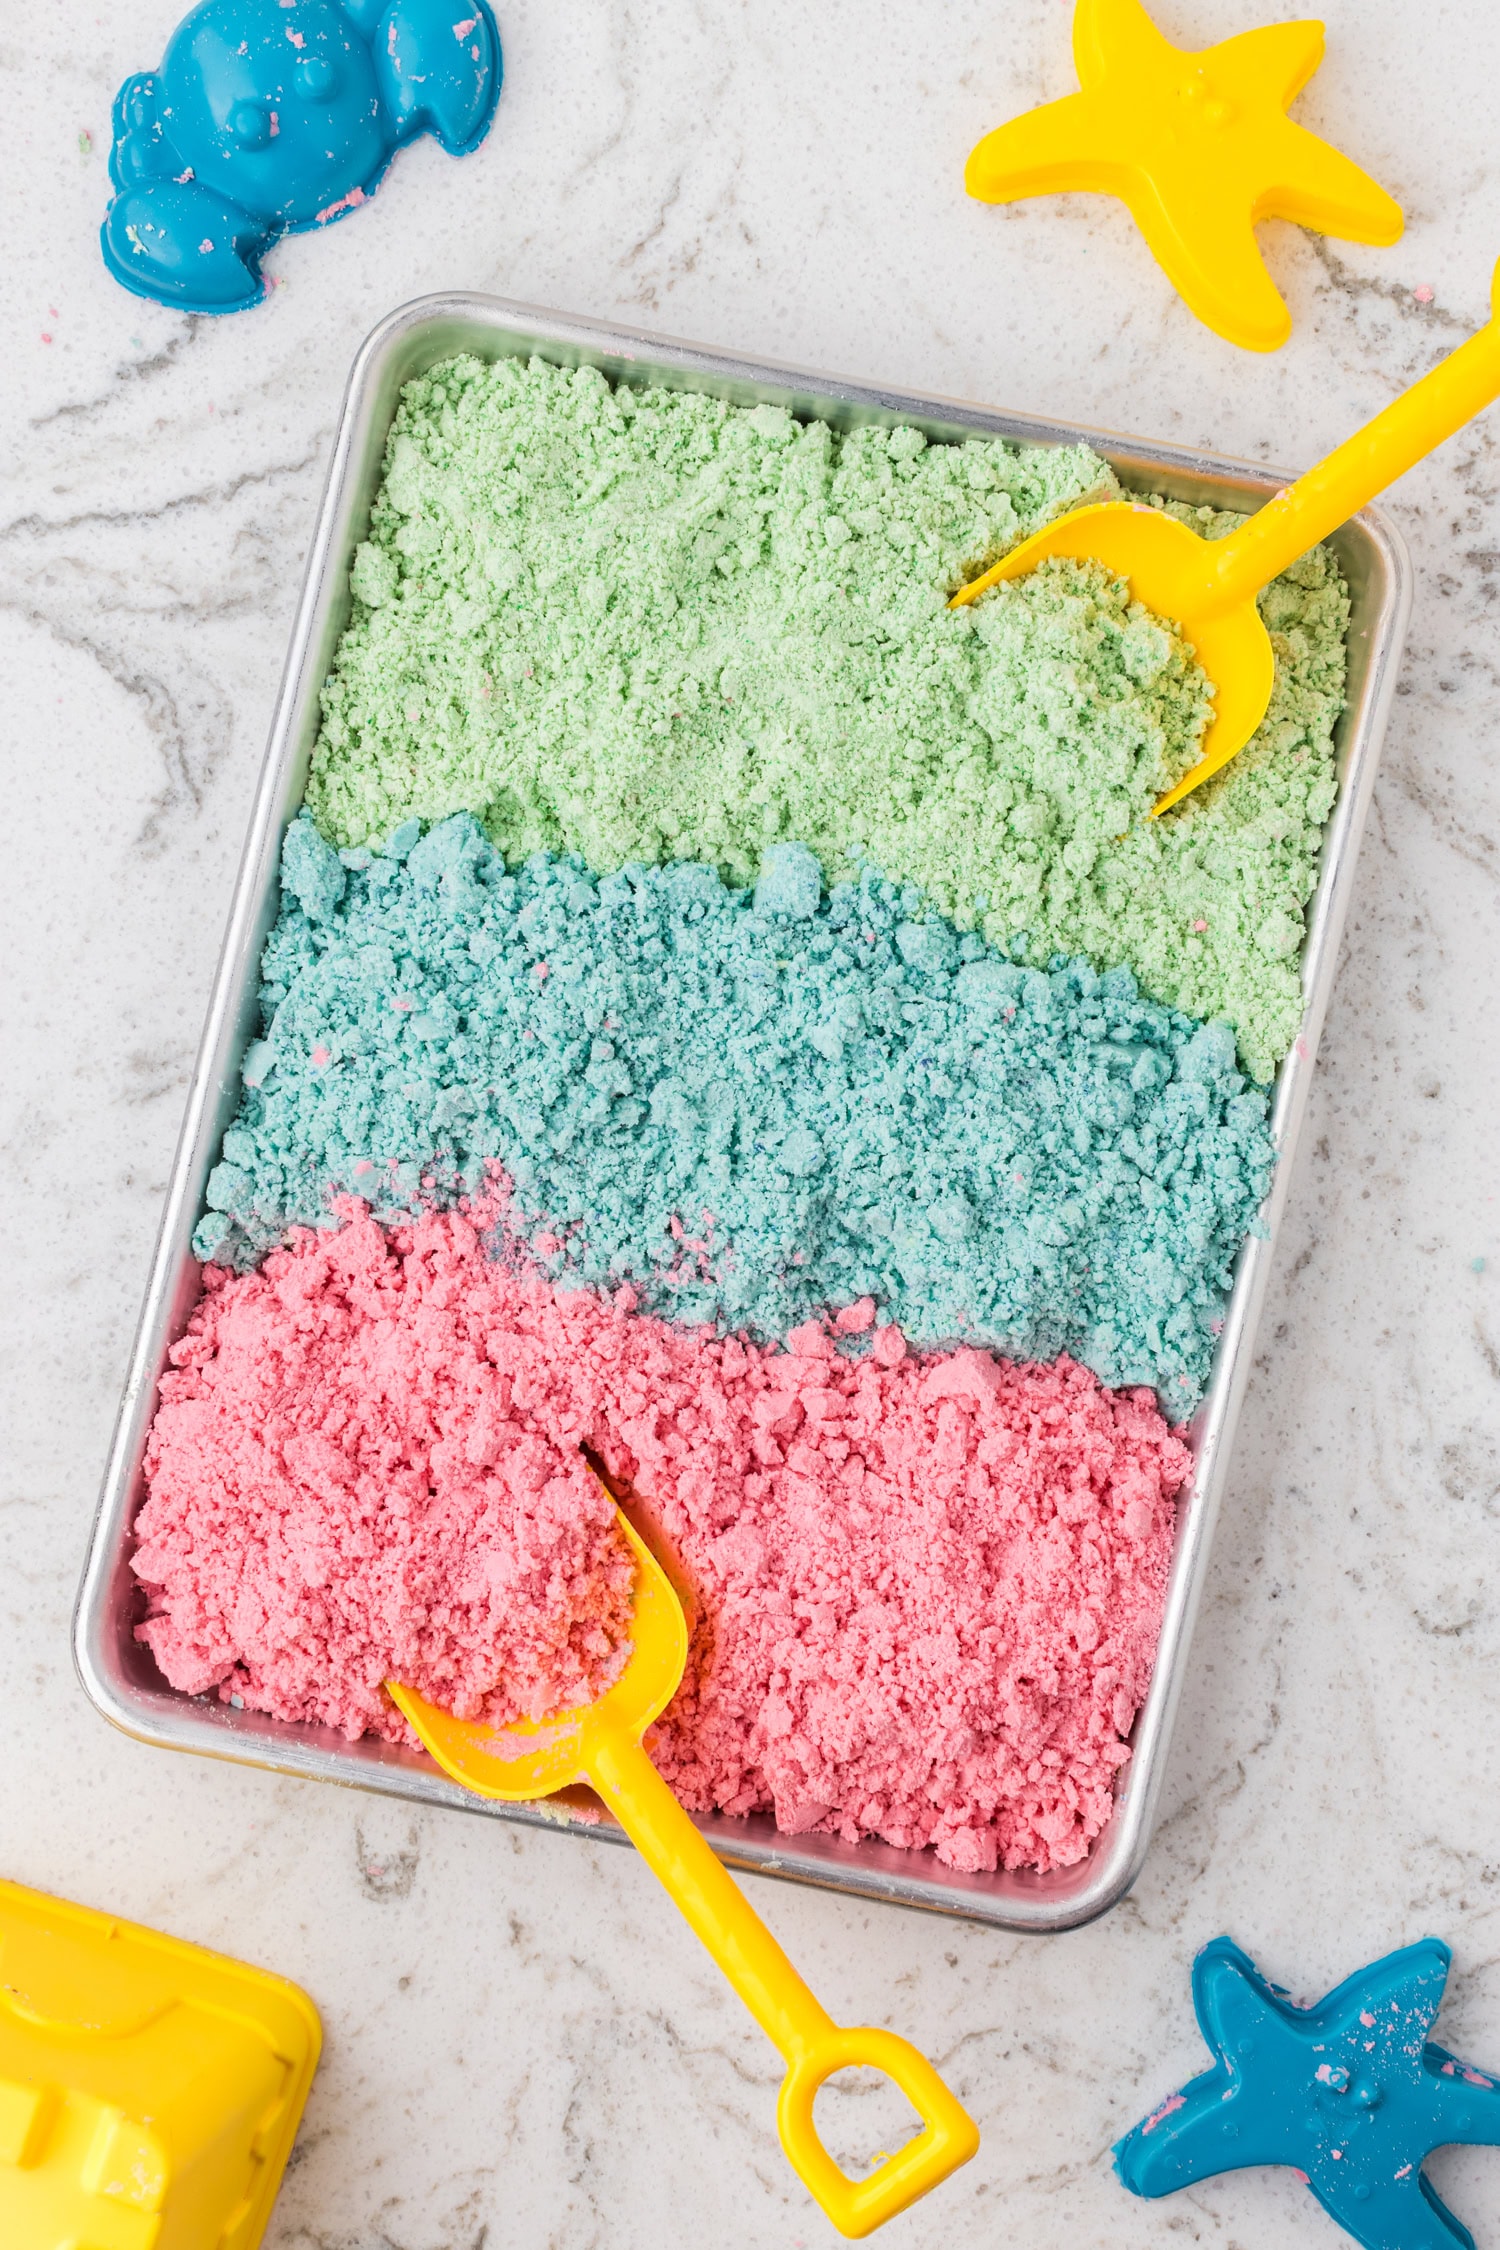
- If you’re making more than one color, scoop the flour into separate bowls first. Drizzle the colored vegetable oil over the flour. Use your hands to mix it in, squeezing and rubbing until the flour feels like soft, damp sand that can hold its shape when you press it together.
- If the moon sand feels too dry, add a splash more oil and remix it. If the consistency is too wet, sprinkle in a little more flour.
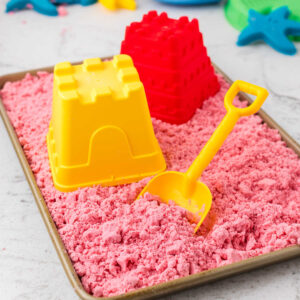
- Transfer your moon sand to a shallow bin or tray. Kids can mold it into fun shapes, scoop it, or use cookie cutters to make fun designs.

Storage
Store moon sand in an airtight container or a sealed plastic bag at room temperature. It should last up to two weeks.
If it starts to dry out, knead in a teaspoon or two of vegetable oil until the texture feels right again. If the moon sand smells funny, changes color, or gets damp from play, toss it and make a fresh batch. It is quick enough to whip up again.
Pro Tips
- I always heat treat the flour first, heating it to at least 165 degrees Fahrenheit. It is a simple step, but knowing the base of the moon sand is safer for little hands that might wander toward their mouths makes me feel better.
- To cool flour quickly, transfer it to a fresh baking sheet or a big shallow bowl. This cools it down in about 10 minutes instead of waiting half an hour.
- Mix the gel food coloring into the oil before it ever touches the flour. This way, the color blends in more evenly, and you do not end up with streaks.
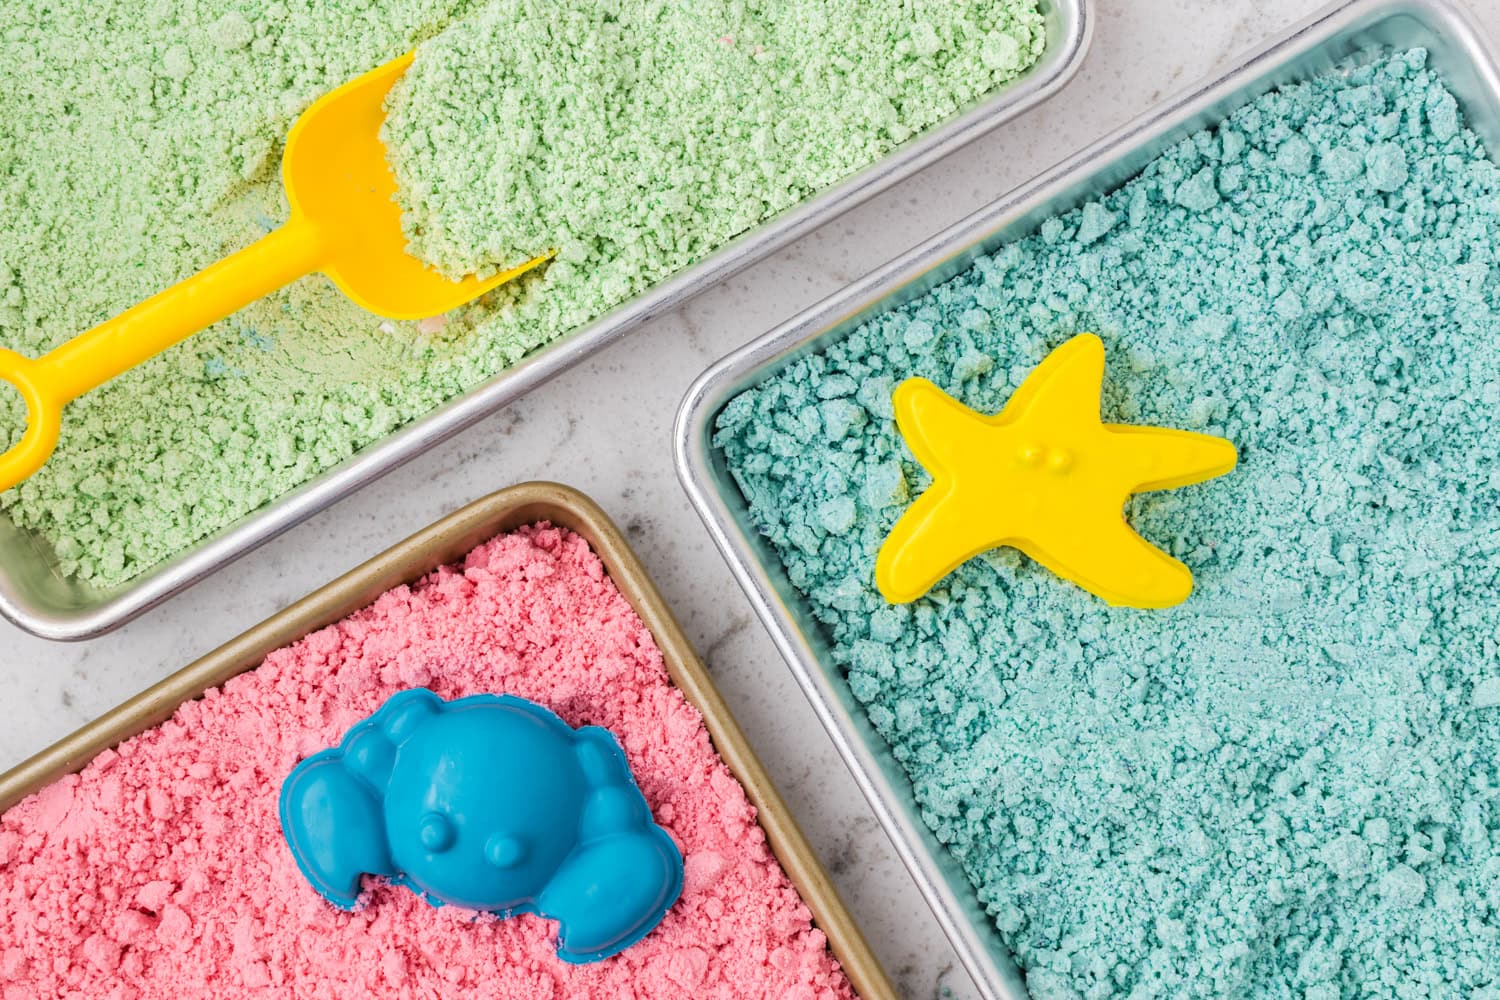
- If you want more than one color, split both the flour and the oil into separate bowls before mixing. That way, each color stays bright and does not end up muddy.
- For easier cleanup, I set the bin on a big plastic tablecloth or take it outside. Moon sand stays pretty contained, but a few stray bits always seem to escape.
Little hands are going to love playing with this homemade moon sand and you’re going to love how busy it keeps them! Creating different colors really makes the possibilities and fun endless with this sensory activity.
Homemade Moon Sand
Ingredients
- 8 cups all-purpose flour
- 1 cup vegetable oil
- Gel food coloring optional
Instructions
- Preheat your oven to 350 degrees Fahrenheit to heat treat your flour. Spread 8 cups of all-purpose flour on a parchment-lined baking sheet. Bake the flour for 5 to 7 minutes, stir once halfway through, and check that the flour reaches at least 165 degrees Fahrenheit with a kitchen thermometer. Let it cool completely.
- Place the flour in a large mixing bowl or tub. In a separate container, stir the gel food coloring into the vegetable oil until the ingredients are fully blended. If you plan to use more than one color, divide the oil evenly before adding the different food colorings.
- If you’re making more than one color, scoop the flour into separate bowls. Drizzle the colored vegetable oil over the flour. Use your hands to mix it in, squeezing and rubbing until the flour feels like soft, damp sand that can hold its shape when you press it together.
- If the moon sand feels too dry, add a splash more oil and remix it. If it’s too wet, sprinkle in a little more flour.
- Transfer your moon sand to a shallow bin or tray. Kids can mold it into fun shapes, scoop it, or use cookie cutters to make fun designs.
More DIY Activities
- The less mess the better, right? Puffy Paint is an affordable and super fun activity for the kids to keep busy and use their creativity – with hardly any mess to clean up at the end!
- Kids can keep DIY Bath Bombs for themselves or give them as gifts, either way, they are going to have a blast making them. There is even an opportunity to put a little trinket in the middle for a surprise!
- I have yet to meet a kid who doesn’t love to make Homemade Slime! In just a few minutes, with a couple of ingredients, your kids can have hours of fun in their hands.
- When stored correctly, Homemade Playdough can last up to three months. That’s a very affordable way to keep the kids occupied!