How to Make Matchbox Notebooks
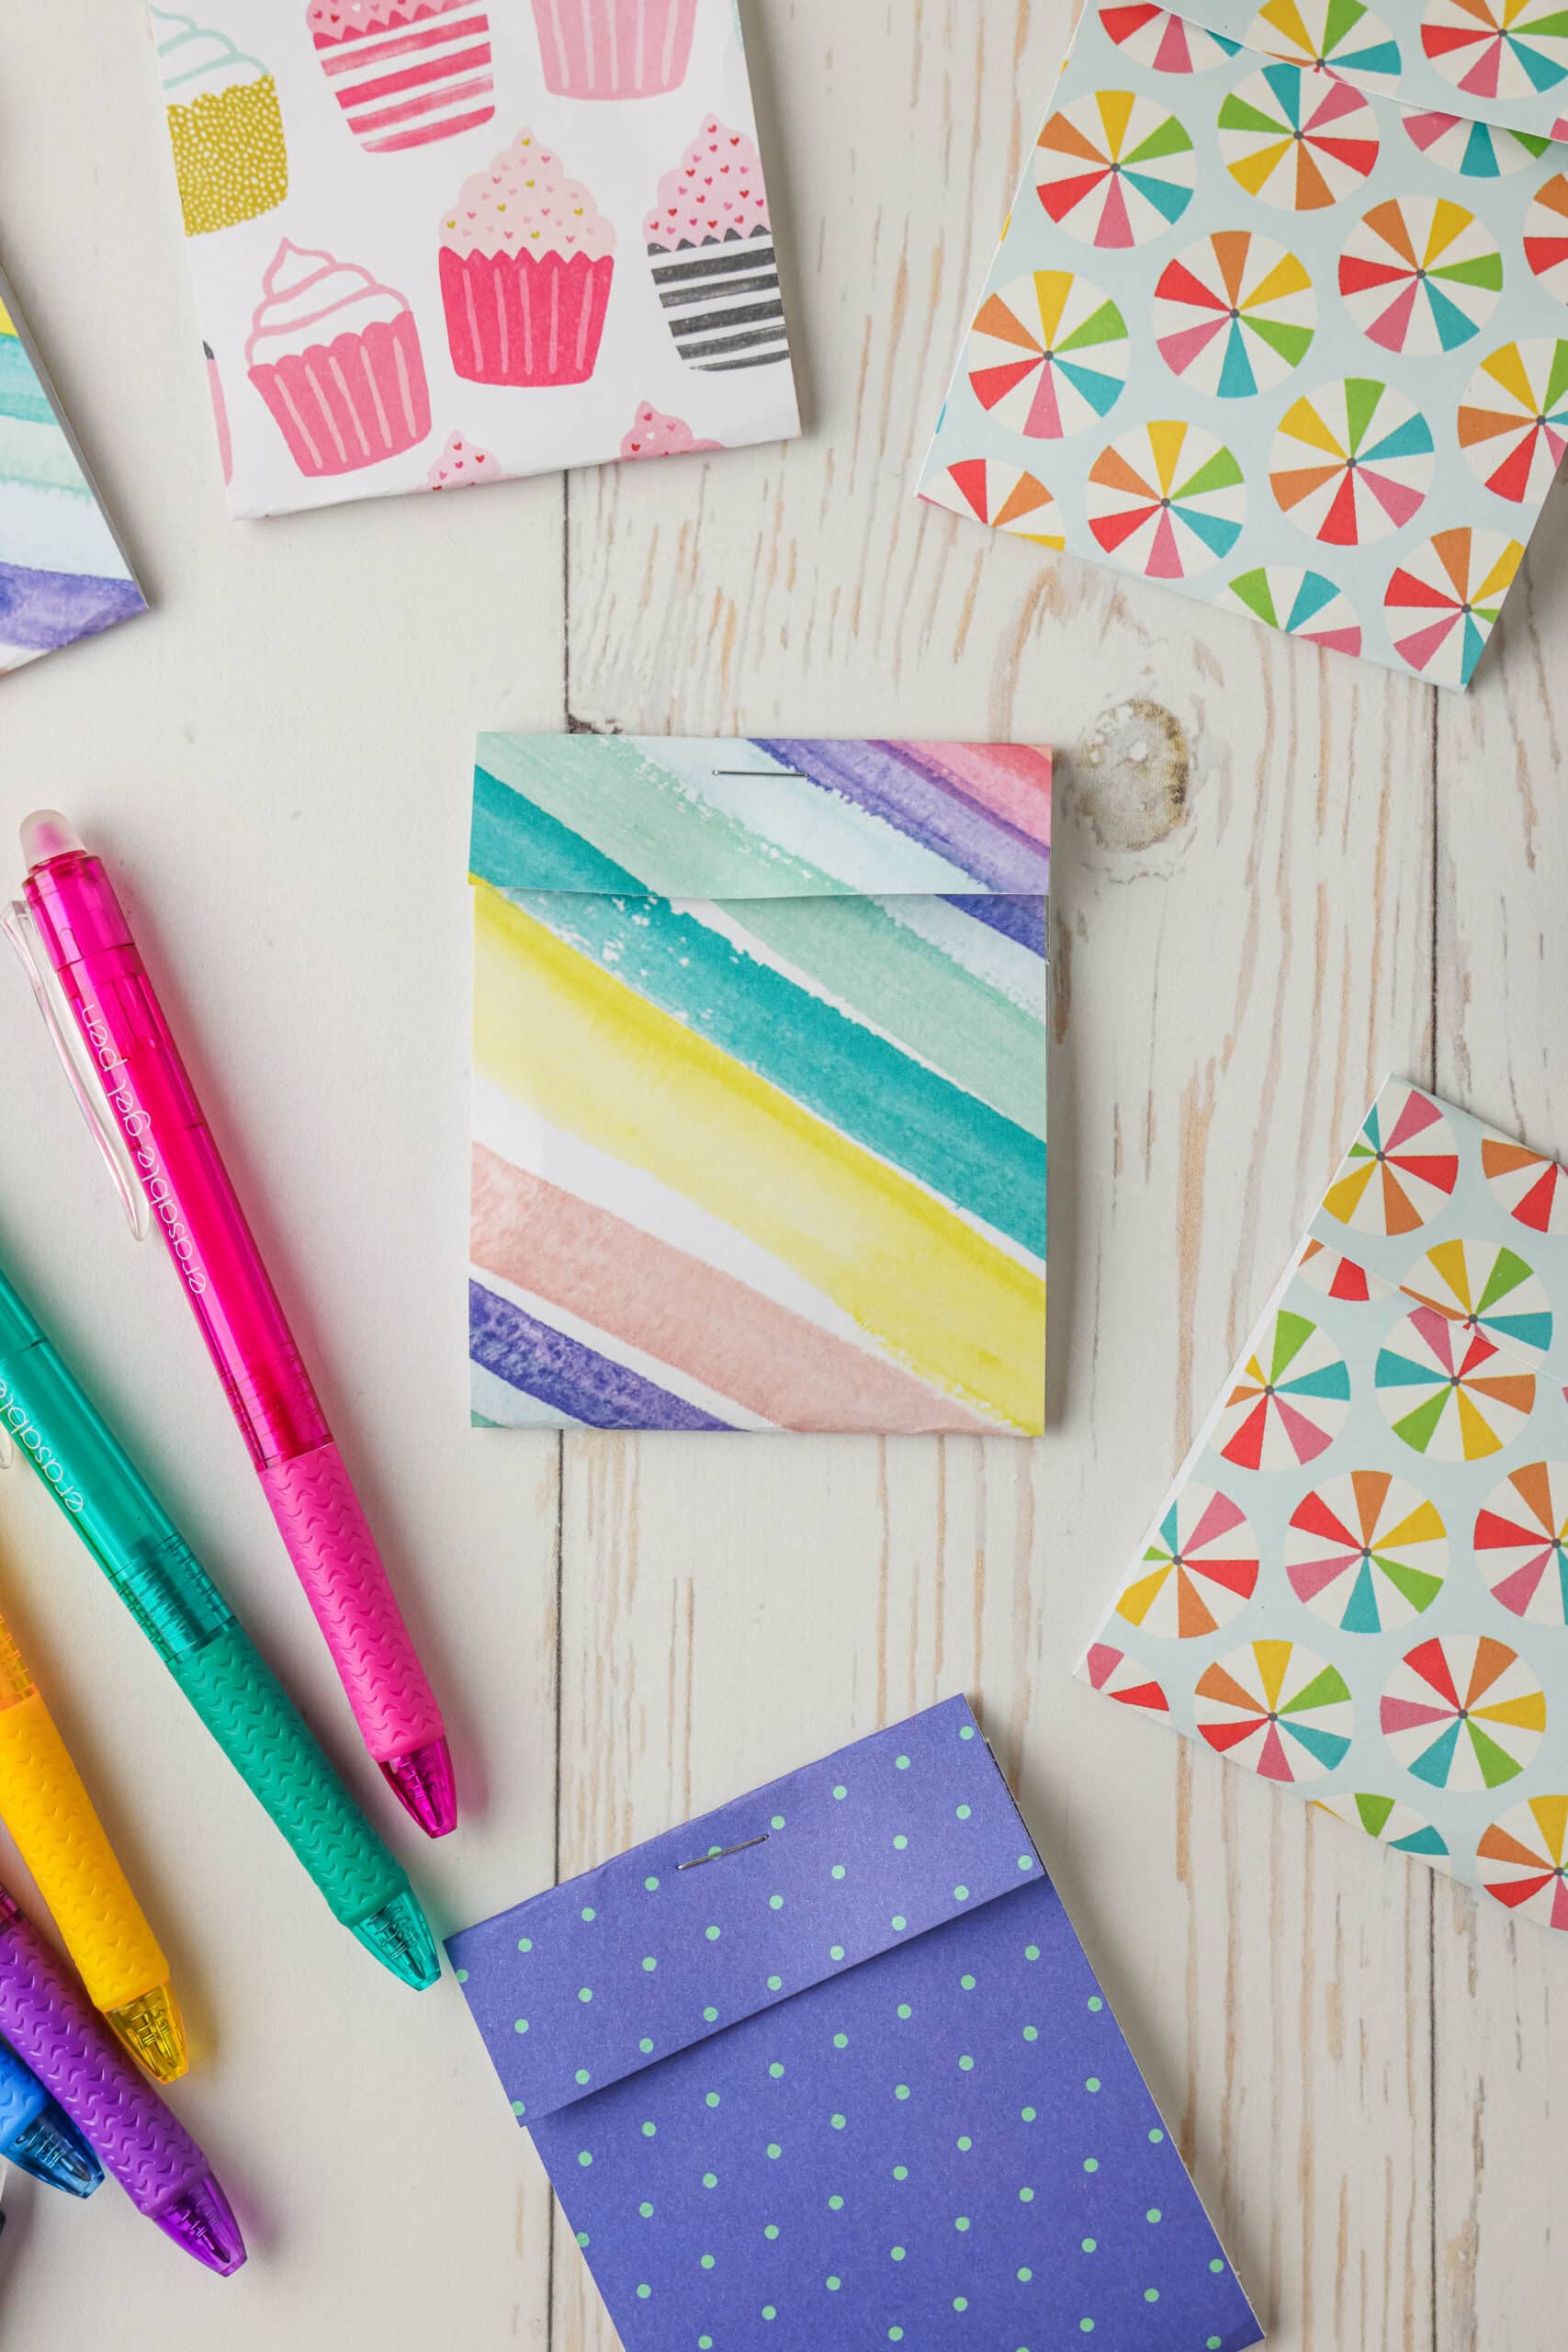
Want a handy notebook that fits in your pocket? Learn how to make your own personalized matchbook notebook with just a few simple steps and materials. These are so fun for kids to make, then fill with notes and play with them!
Do your kiddos love to doodle on things they’re not supposed to? There’s only so many times you can use a magic eraser on a wall before it starts getting old, am I right? That’s where fun things like these matchbox notebooks come in! When your kiddos learn how to make matchbox notebooks and create this adorable mini journal, they’ll have so much fun that they’ll actually WANT to write in this notebook. Scribbling on little notebook pages is way better than walls, floors and furniture.
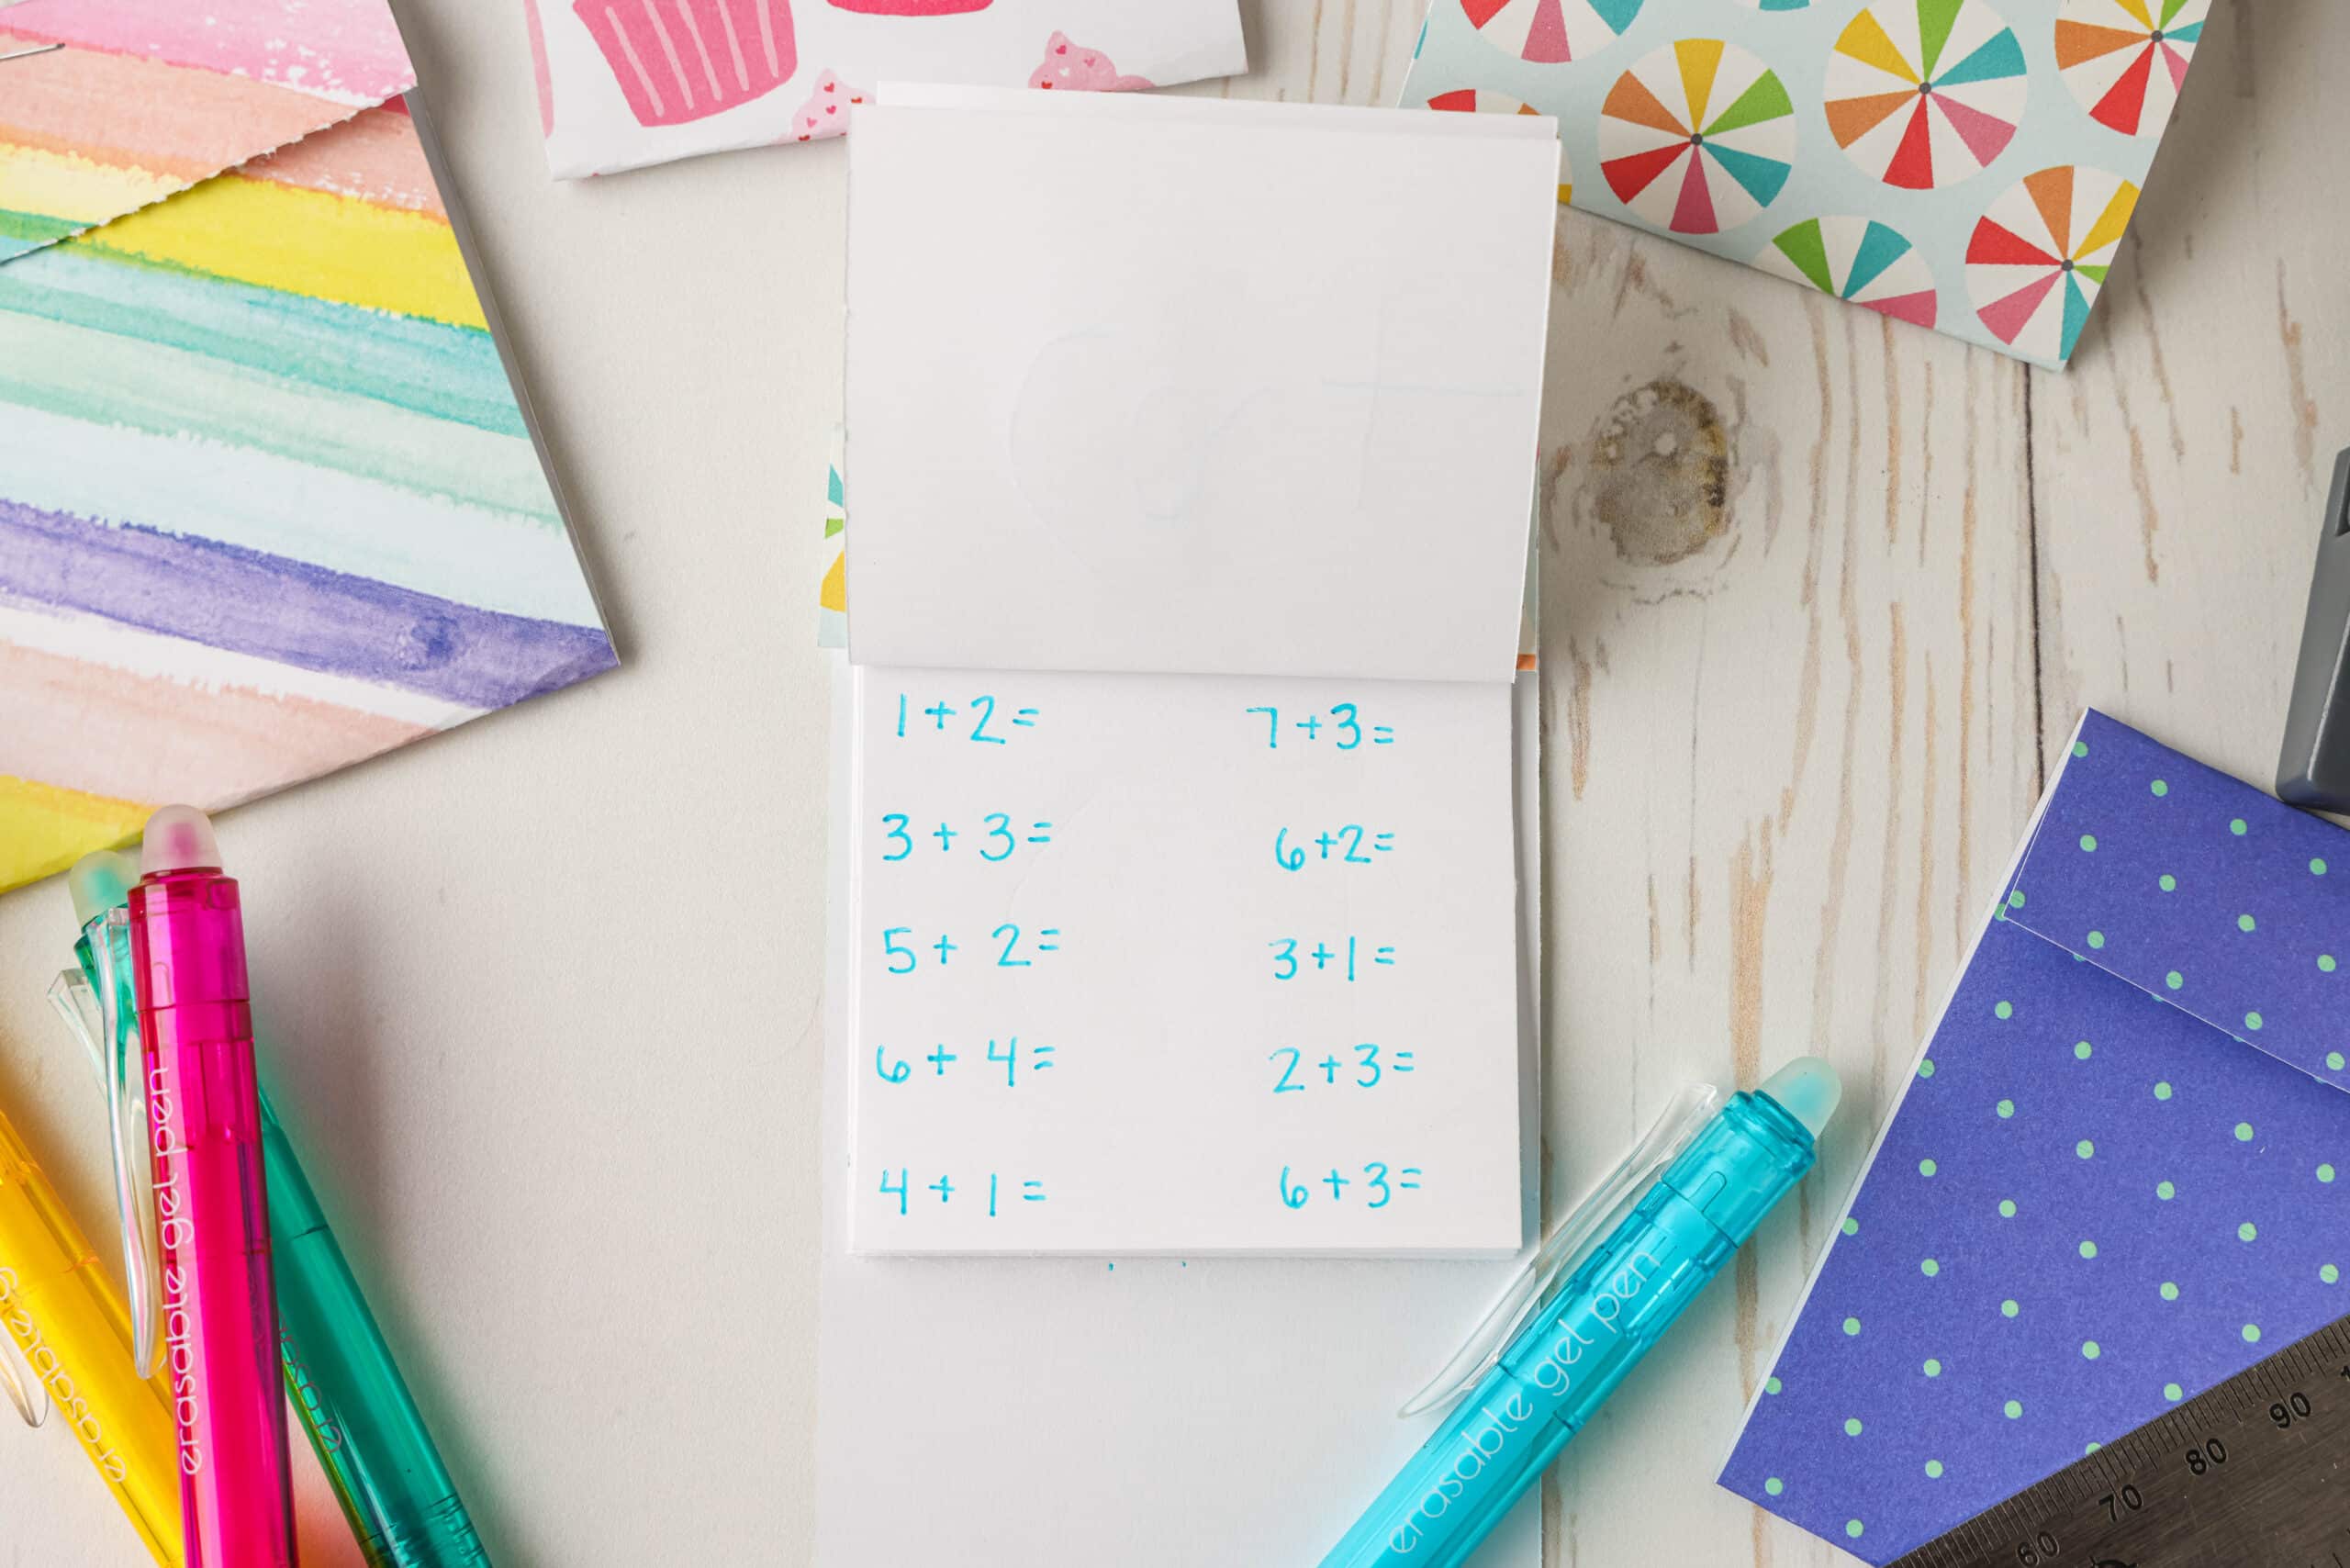
Each little mini book is actually great for school work too. Need to practice addition and subtraction? Write down those math facts inside a little notepad instead of boring plain paper! Make some DIY felt envelopes for your DIY mini notebook too — and these sticker books are great too. Your kids will love these mini sized creations and will have so much fun filling each page with all of their creative doodles. They can fill each page to their heart’s content!
Why You’ll Love these Matchbox Notebooks
- You only need six different materials and supplies to make your own matchbook notepad. You can even use scrap paper to make a little journal — there’s so many ways to repurpose crafting materials and make new things!
- DIY mini notebooks make great party favors. They are the perfect gift to give to kiddos who like to draw, write and create. A great addition to a bag of cool favors.
- Kids can use their creativity with crafts like this one. Not only with the craft process, but after the fact too. Who knows what their little imaginations will create with tons of empty pages to fill!
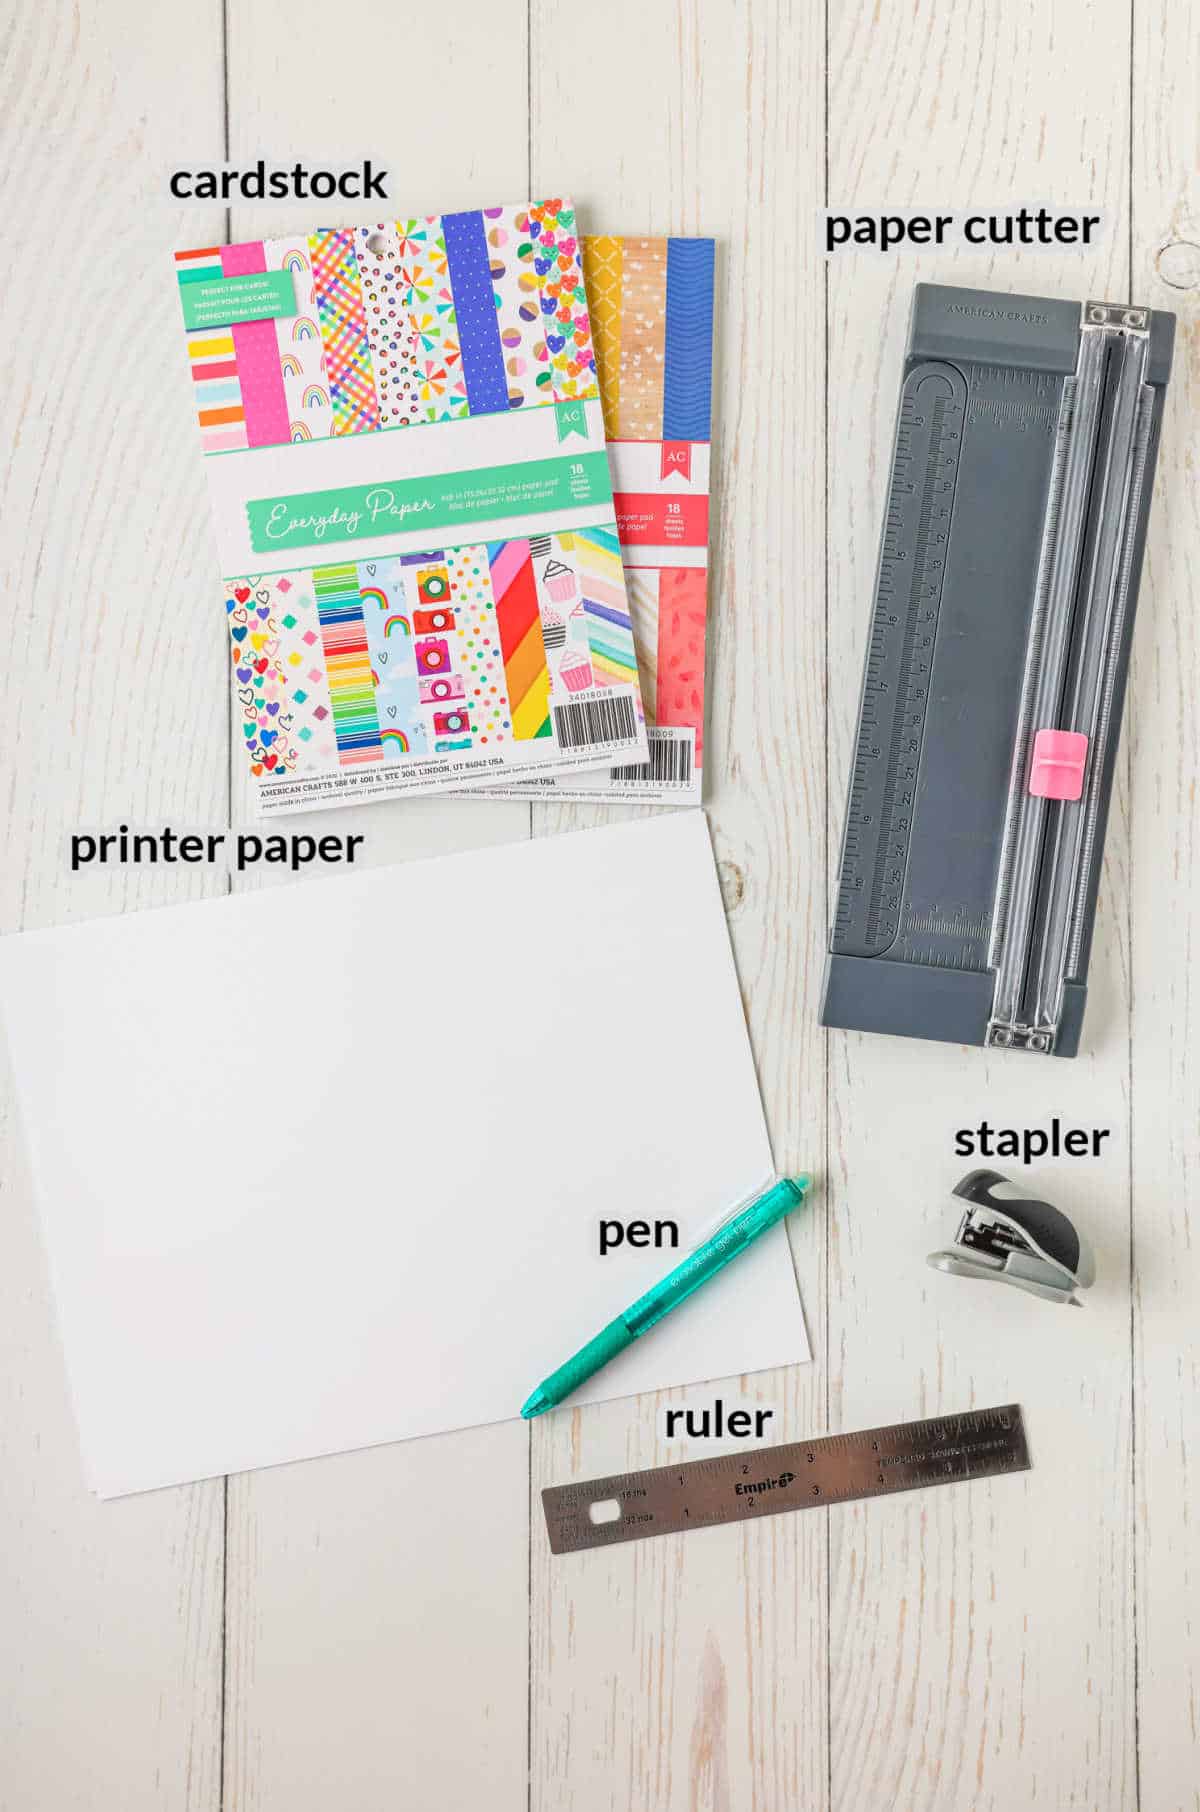
Supplies Needed
- Ruler – You’ll need a ruler to use a straight edge and to measure the paper into even sections so that all of the pieces are the same size.
- Pen – Use a pen or pencil to trace lines down the paper so that you have a guide to reference when cutting the paper.
- Stapler – Attach everything together with a stapler.
- Cardstock – Grab some colorful card stock to create a pretty outside cover to hold all of the paper inside. Any color will do and fun patterns are always encouraged.
- Printer paper – Plain white copy paper is all you need for the inside of your notebook. However, you can also use all sorts of pretty papers inside! Even some scrap paper from leftover craft materials would work.
- Paper cutter – Evenly cut the sheet of paper with a paper cutter. If you do not have a paper cutter, a pair of scissors will do.

How to Make Matchbox Notebooks
To begin, measure your cardstock for the cover and cut it 3 inches wide. The cardstock that I used measures 6 inches wide, so I cut it in half to make a 3 inch cover. When cut in half, it measured 3 inches wide by 8 inches tall. Once cut, set aside.
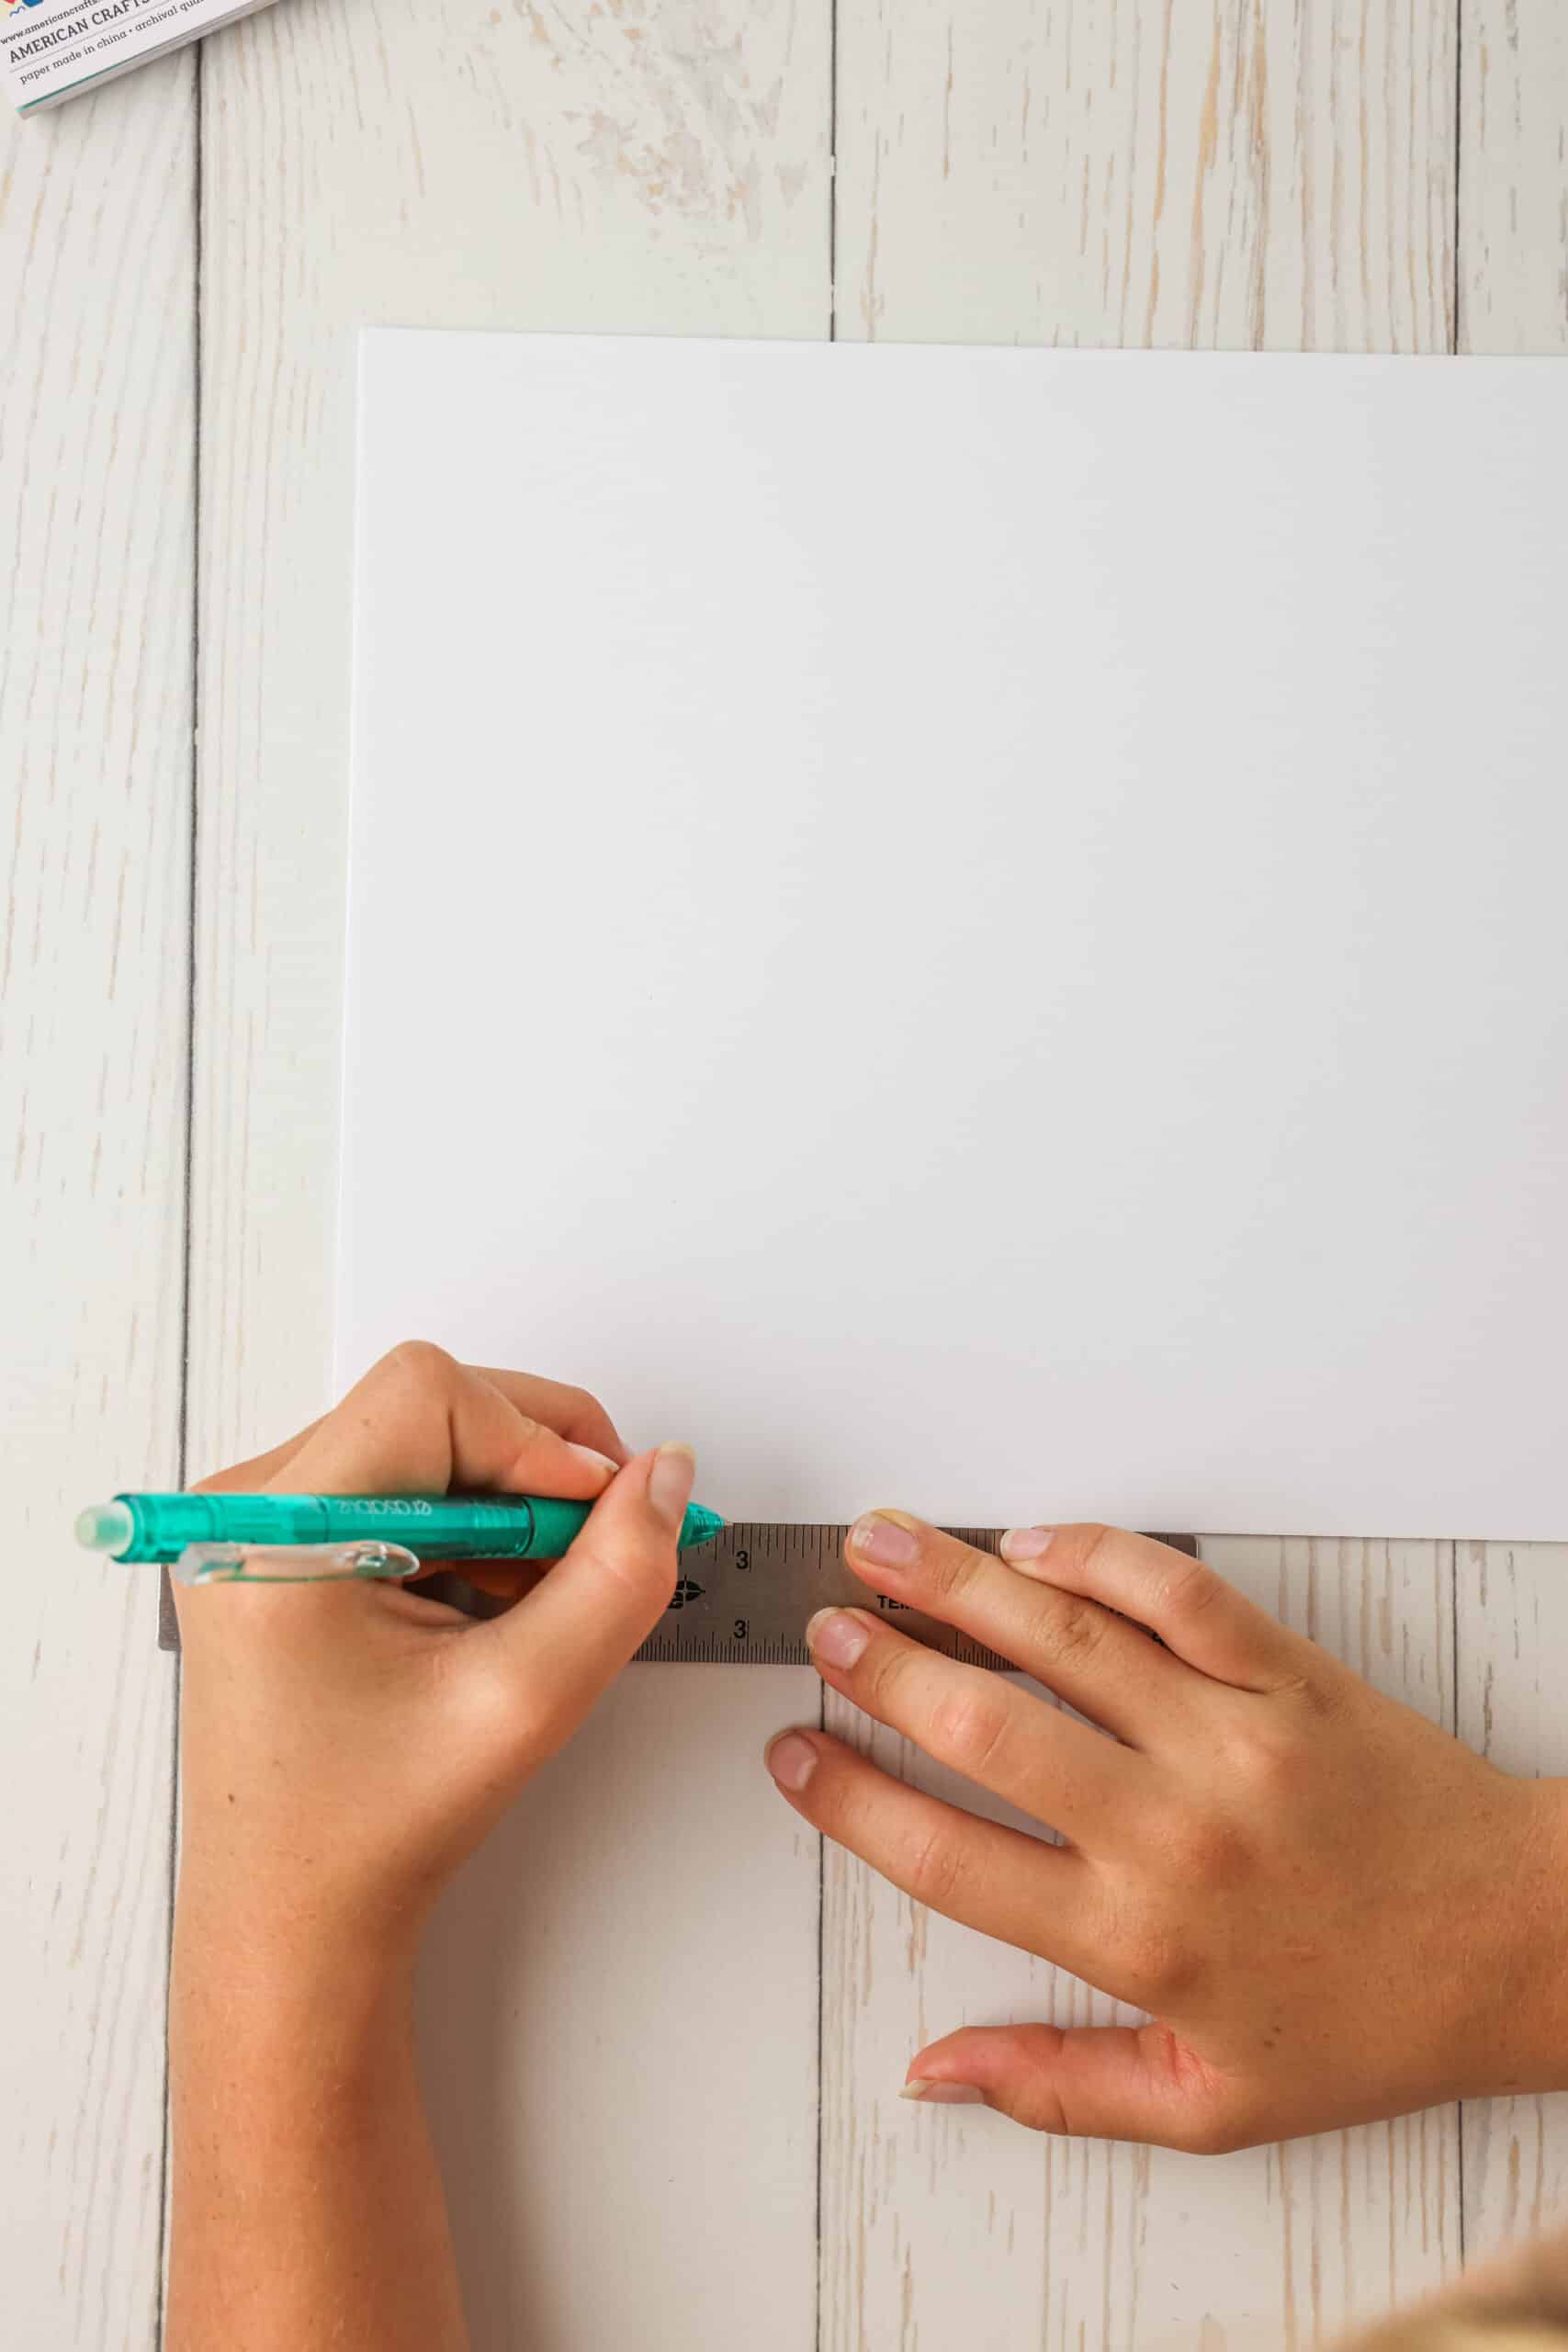
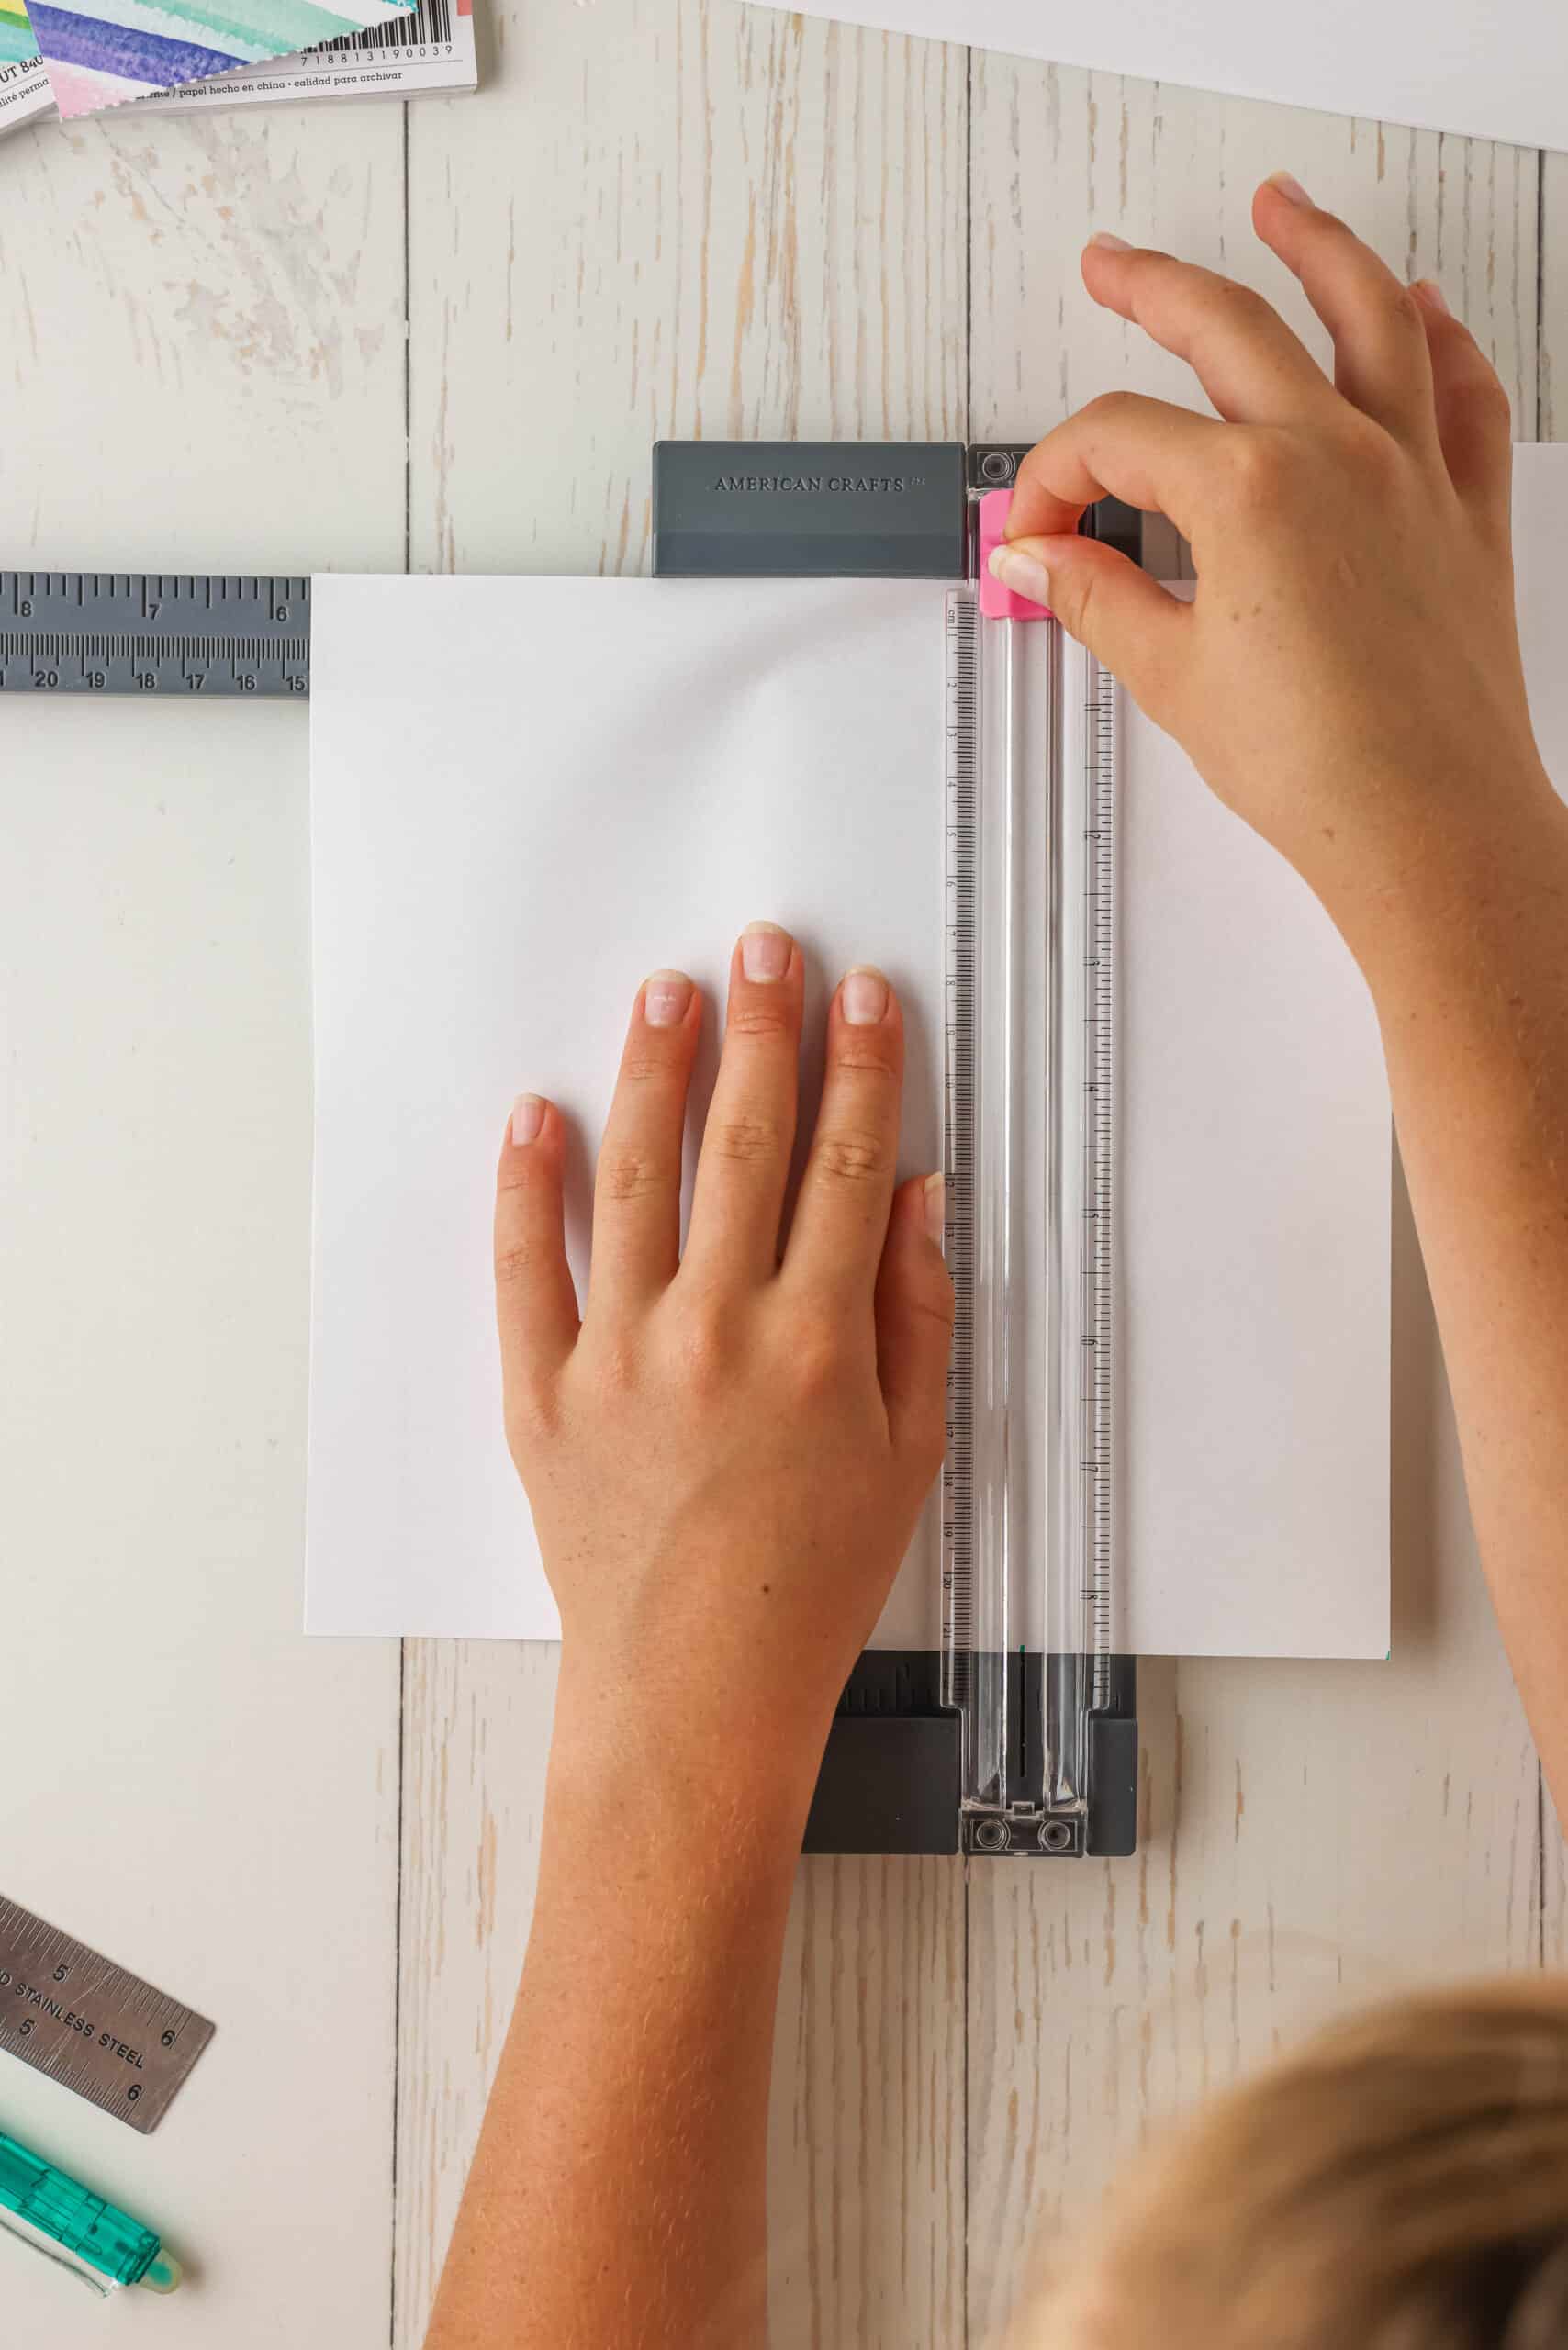
Take your plain white paper and turn it horizontally (landscape orientation). Then use a ruler to measure 2 ¾ inches from the left side. Mark this measurement with a pen.
Then place the end of your ruler at that mark and measure another 2 ¾ inches. Mark there as well and then make a final mark by measuring 2 ¾ inches from that point. You should have 3 total marks across your paper, which will make four equal sections once cut.
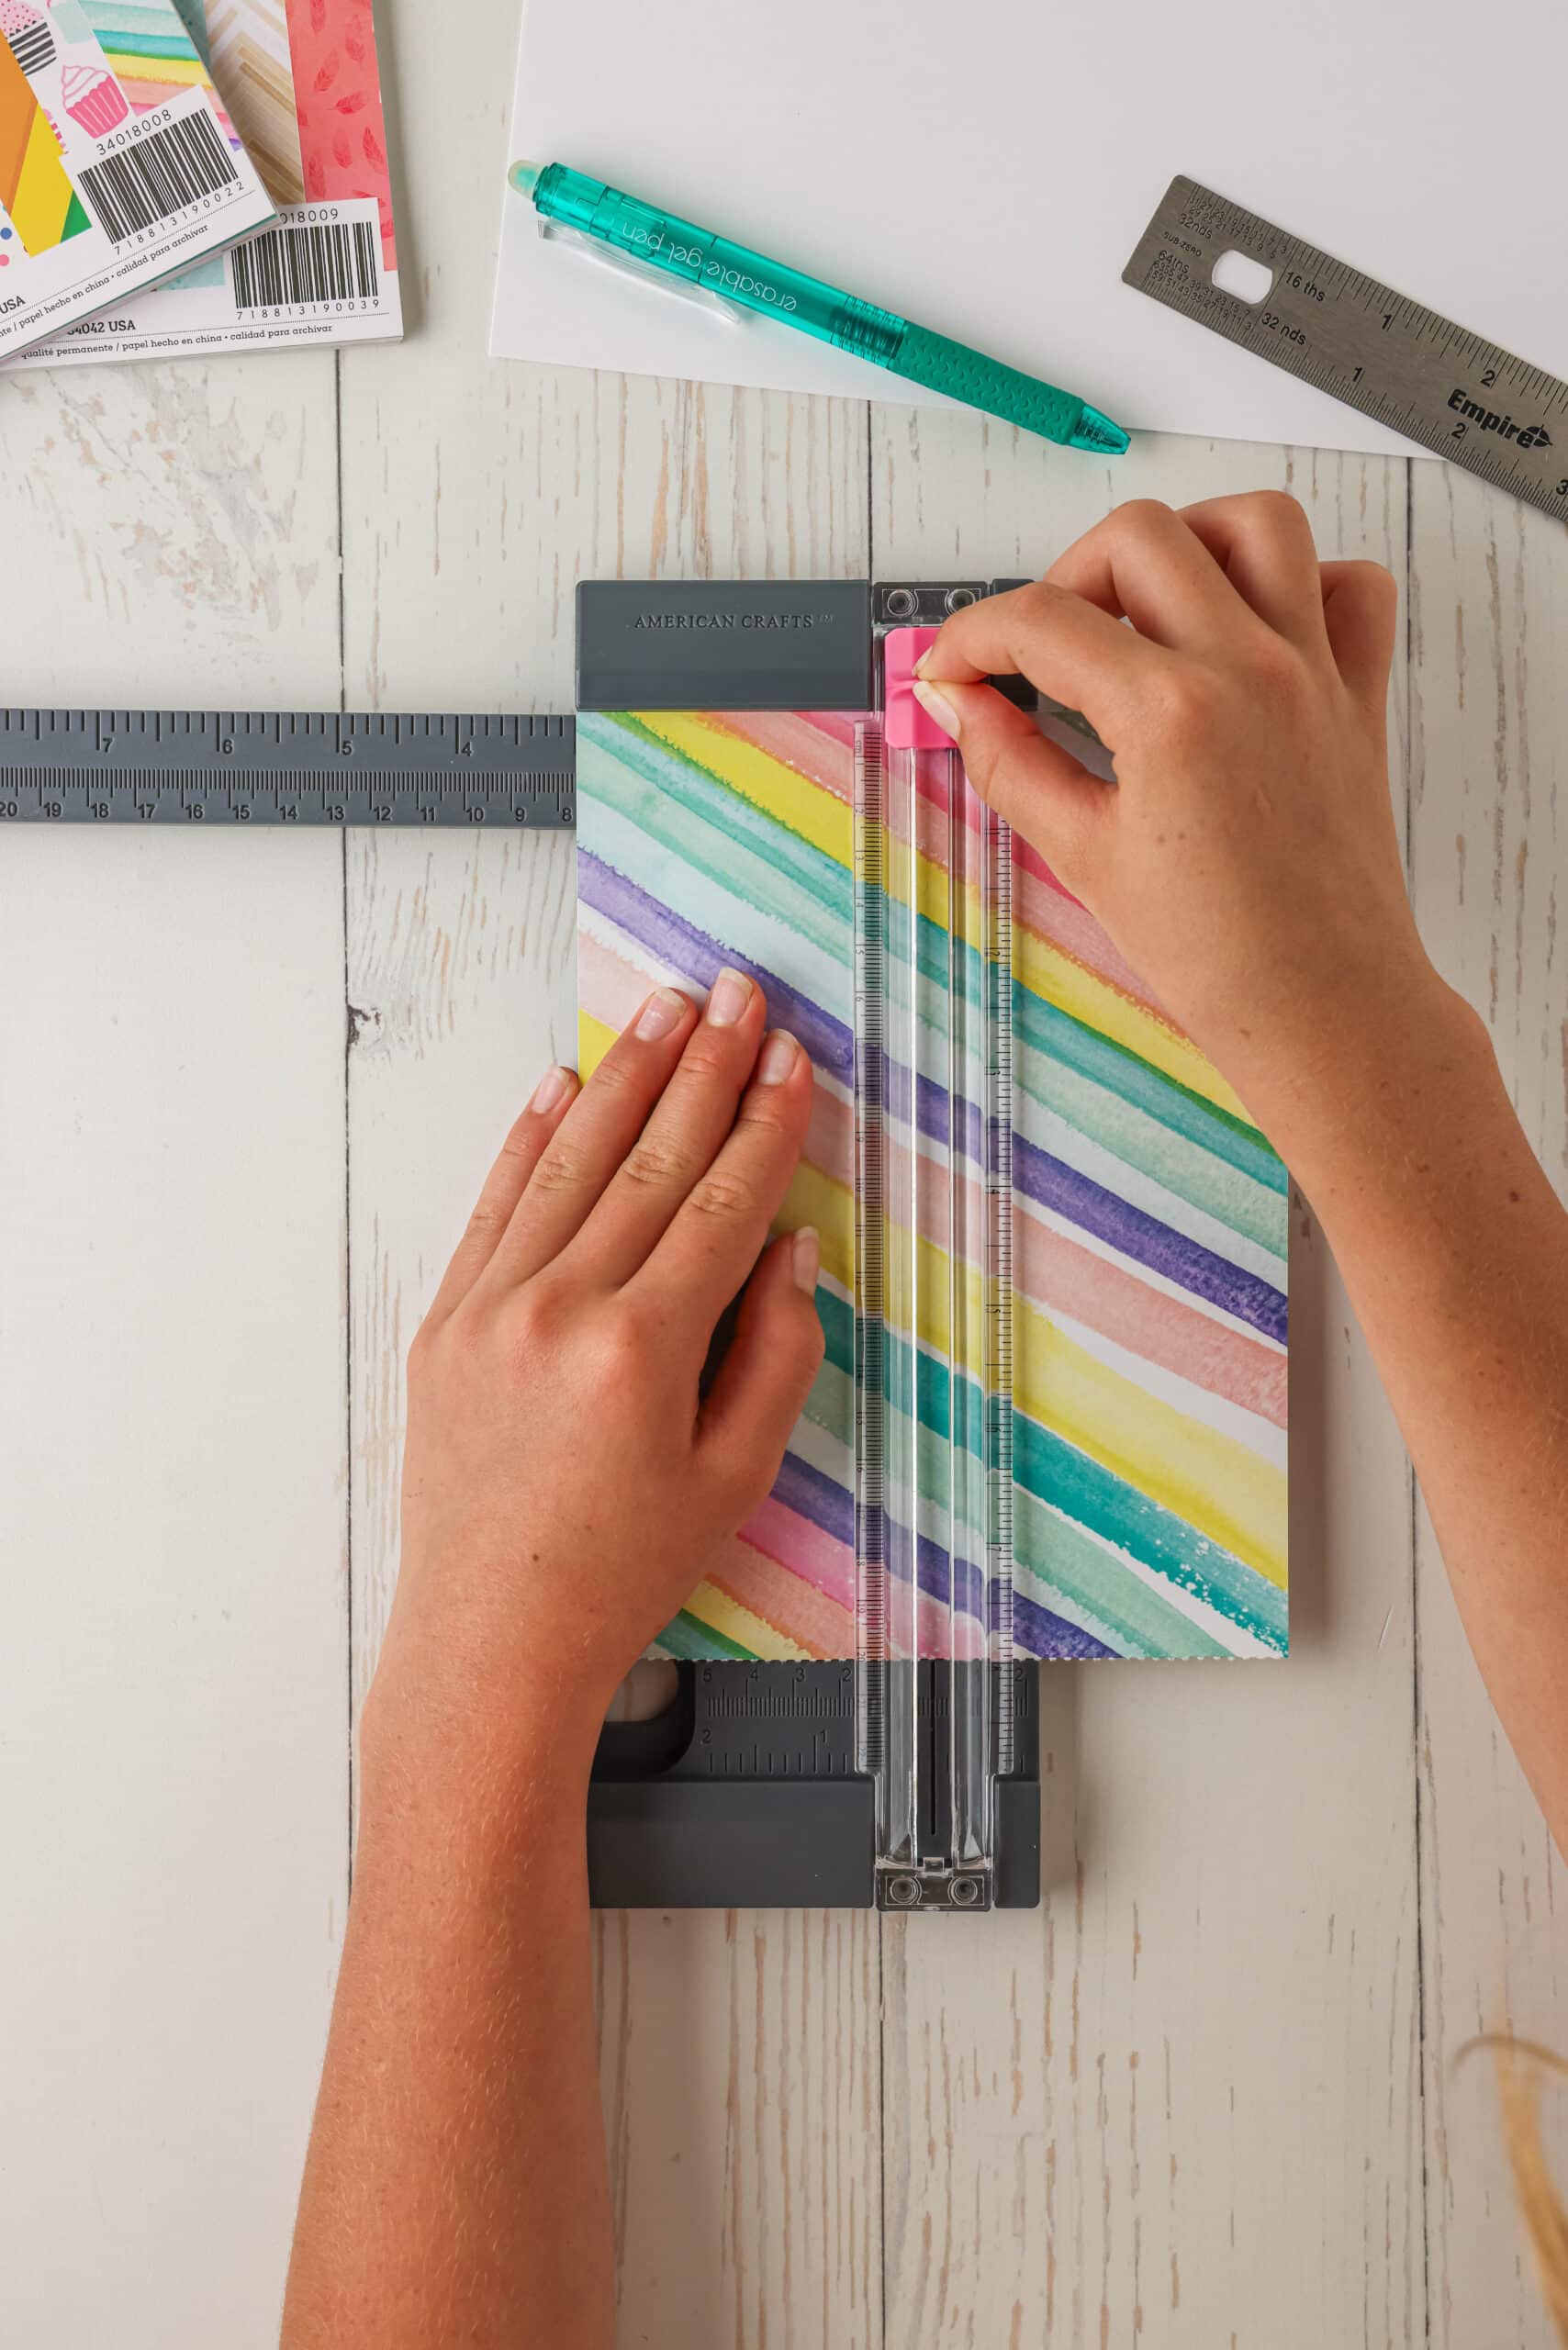
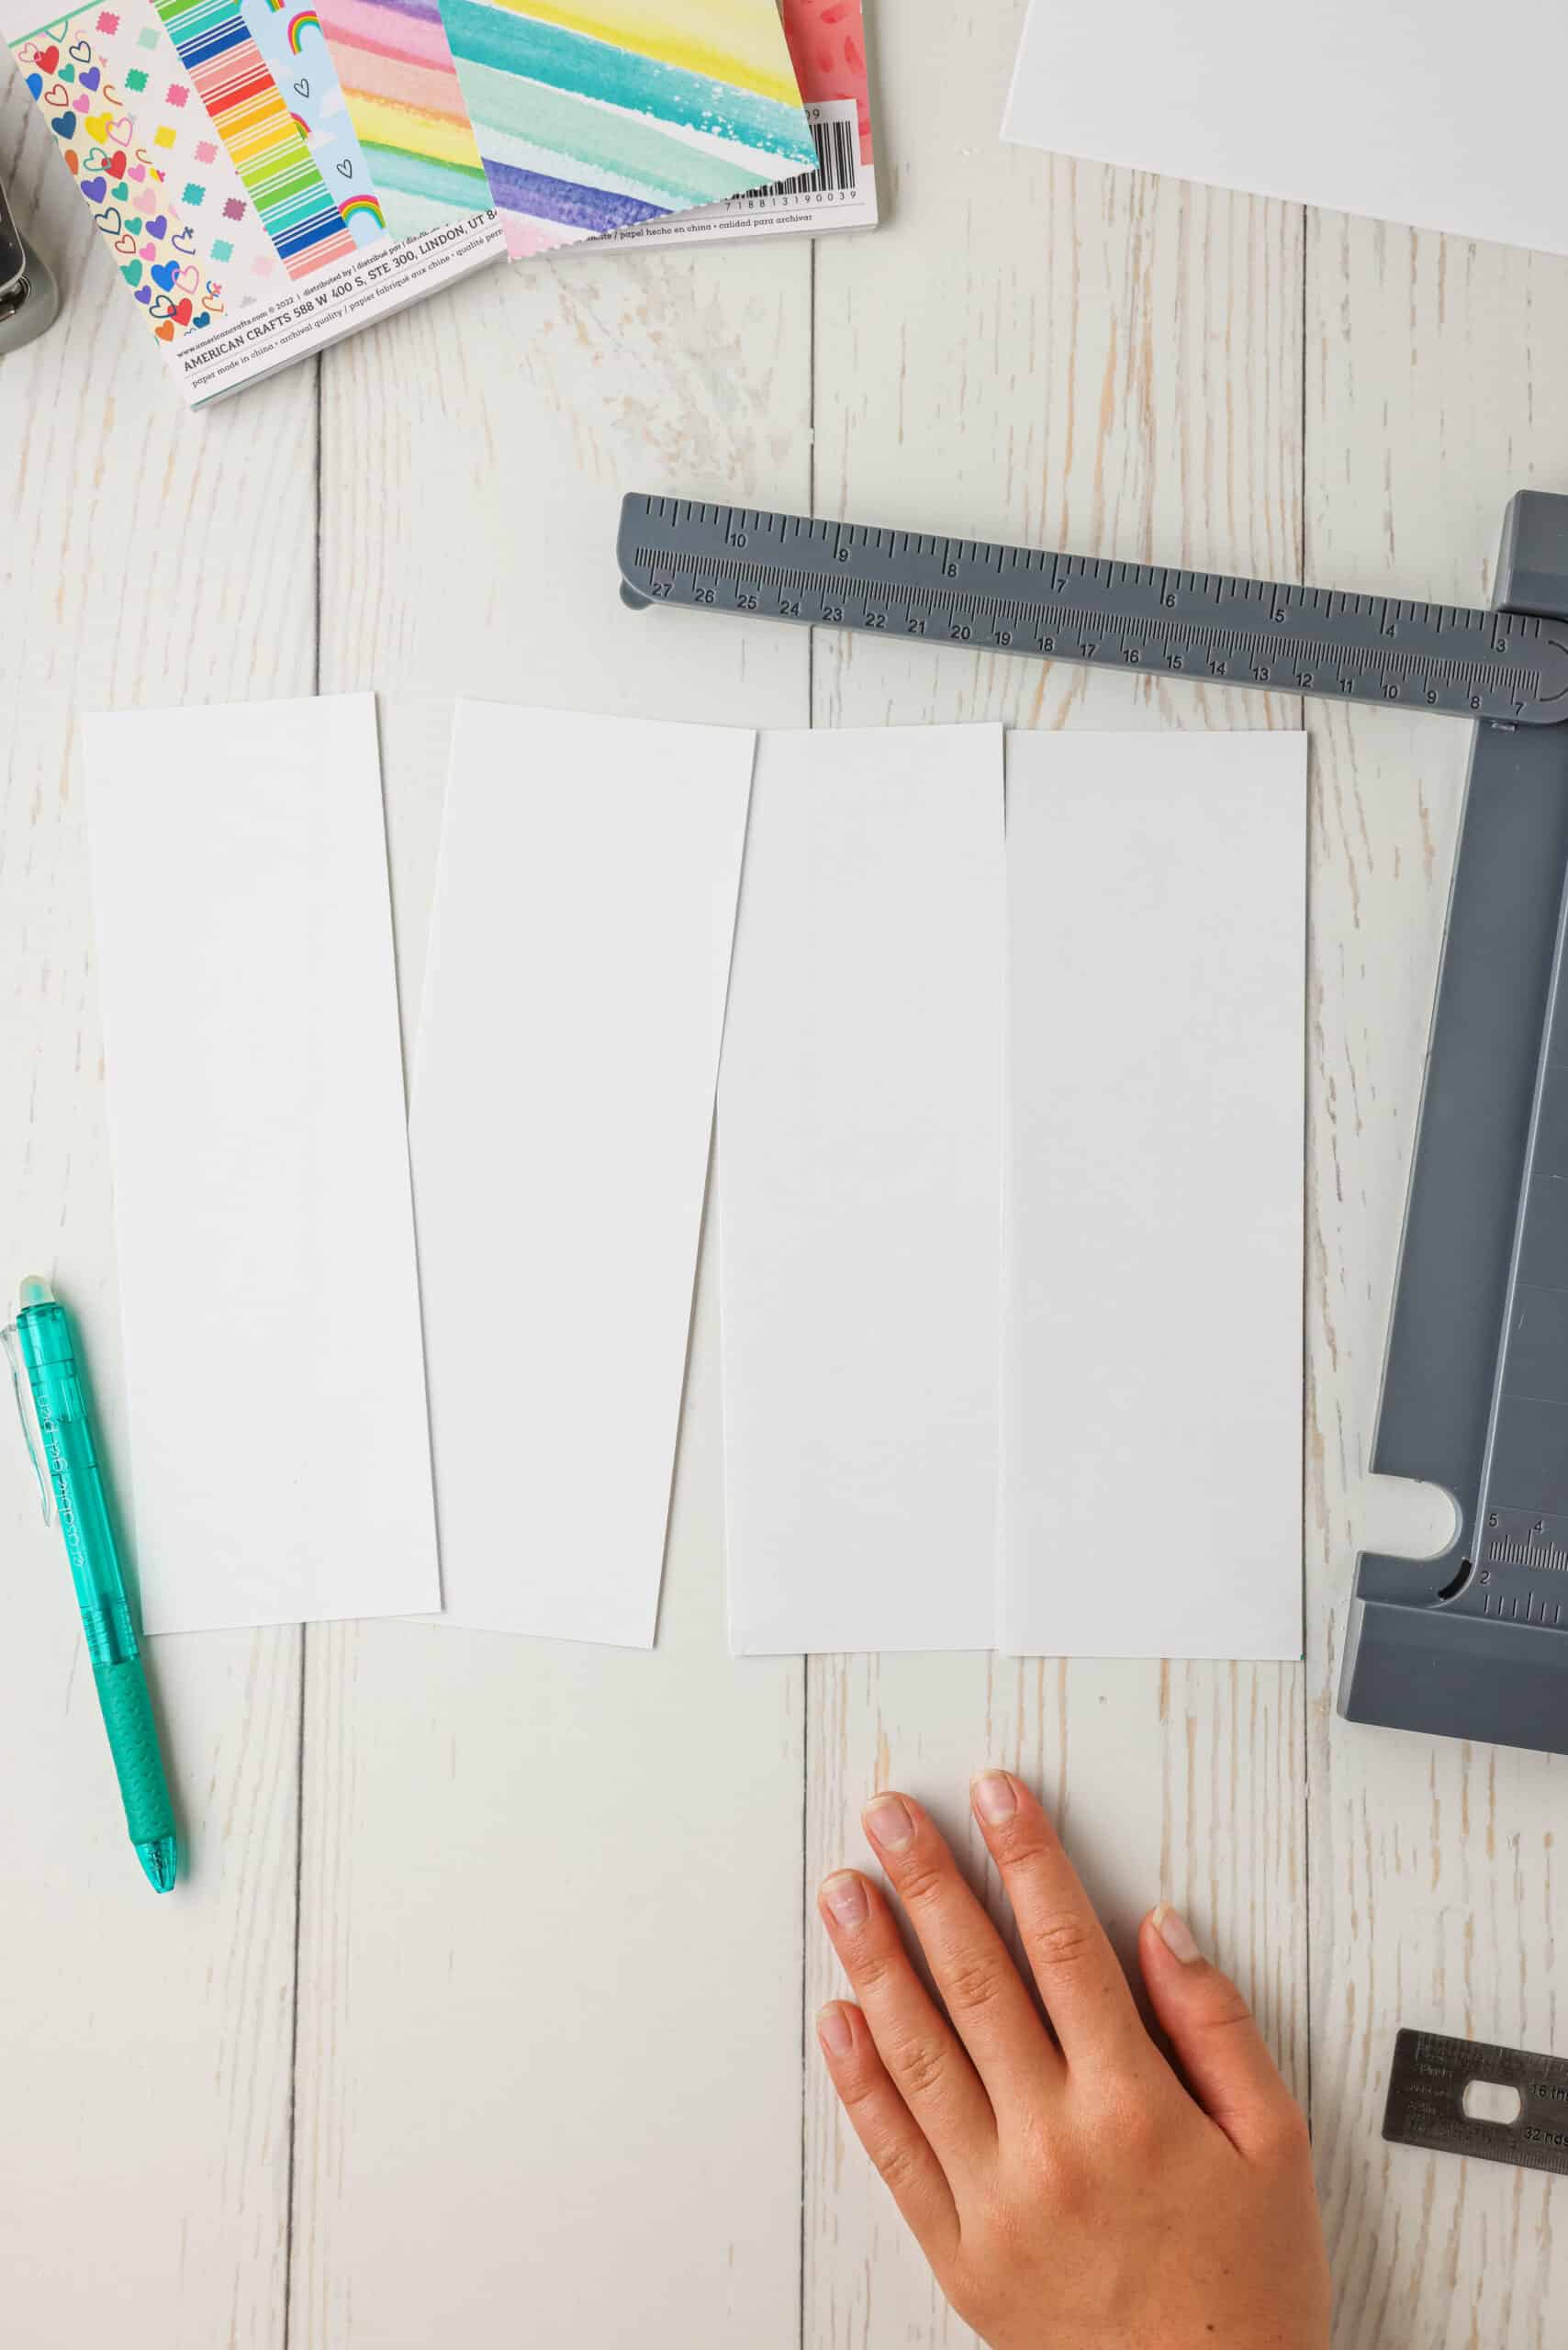
Align your paper in a paper cutter at the first mark and then make a straight cut forming a strip of paper that is 8 ½ inches by 2 ¾ inches. Repeat step 3 until you have four equal strips of paper.
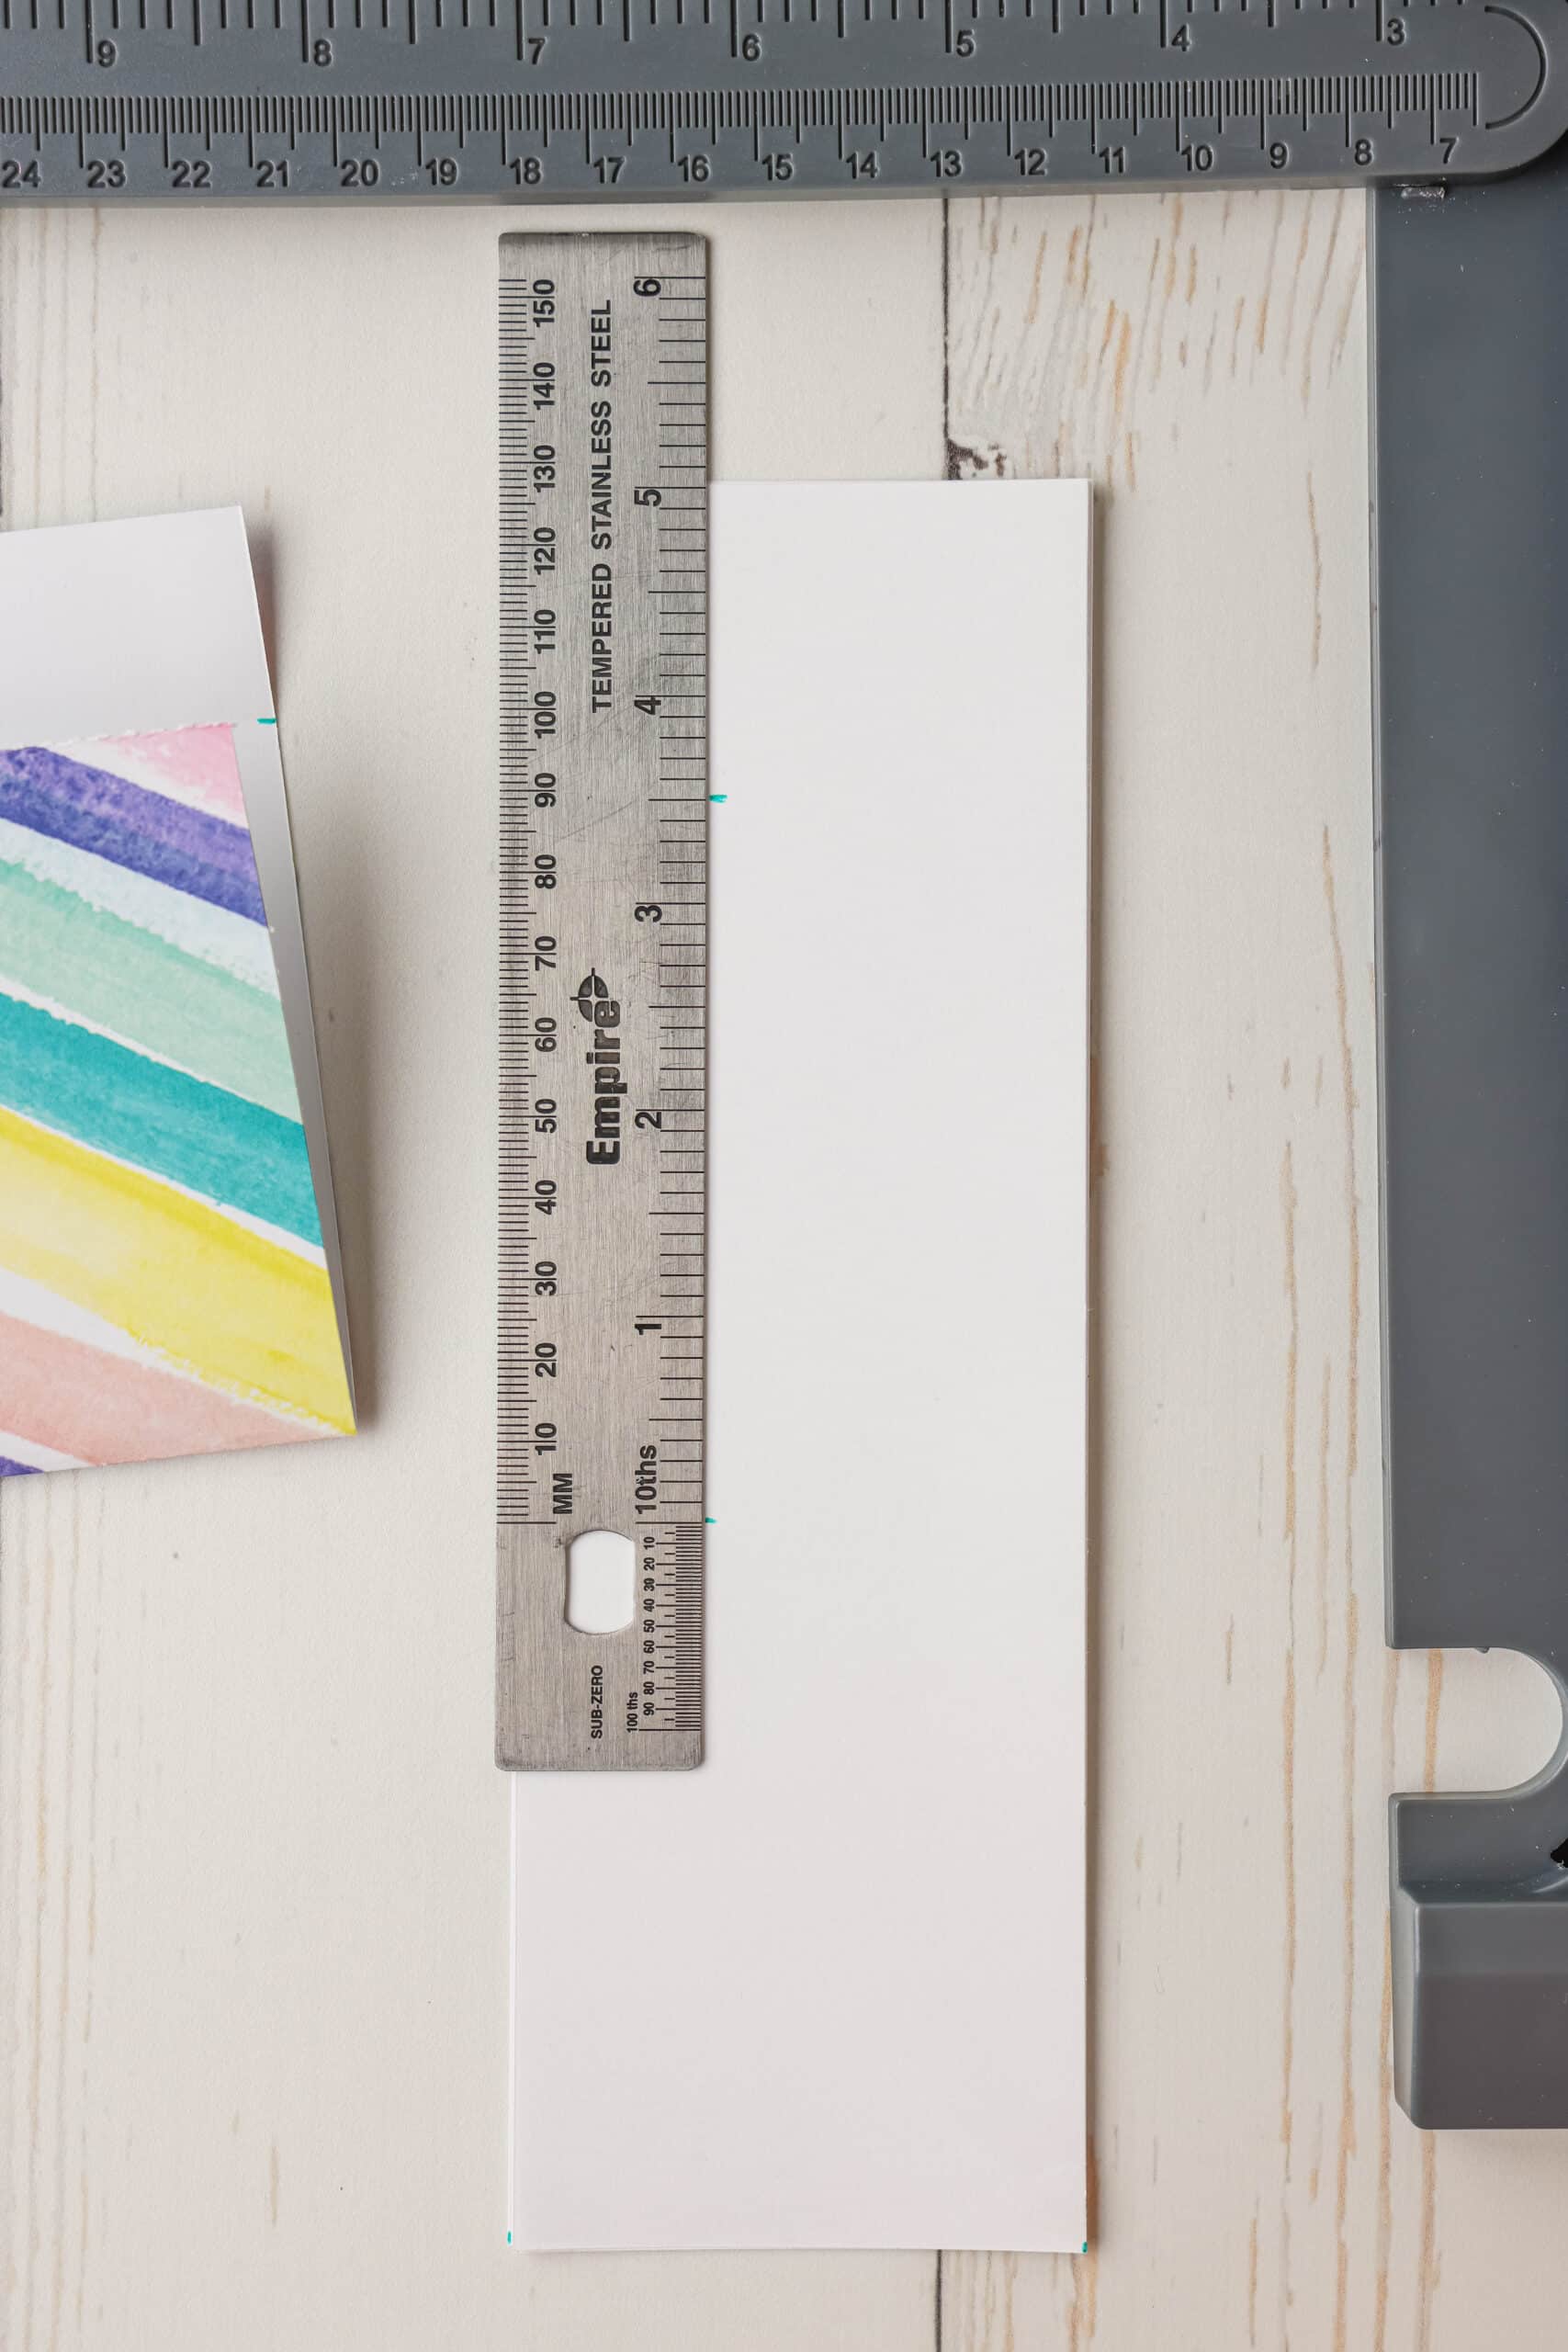
Measure the strips by making marks at 3 ½ inches lengthwise. You will be able to make two marks at 3 ½ inches with a little paper left over. Cut straight across at the 3 ½ inch marks. You will now have eight pieces of notebook paper to fill the inside of your matchbook notebook. Discard the leftover end pieces.
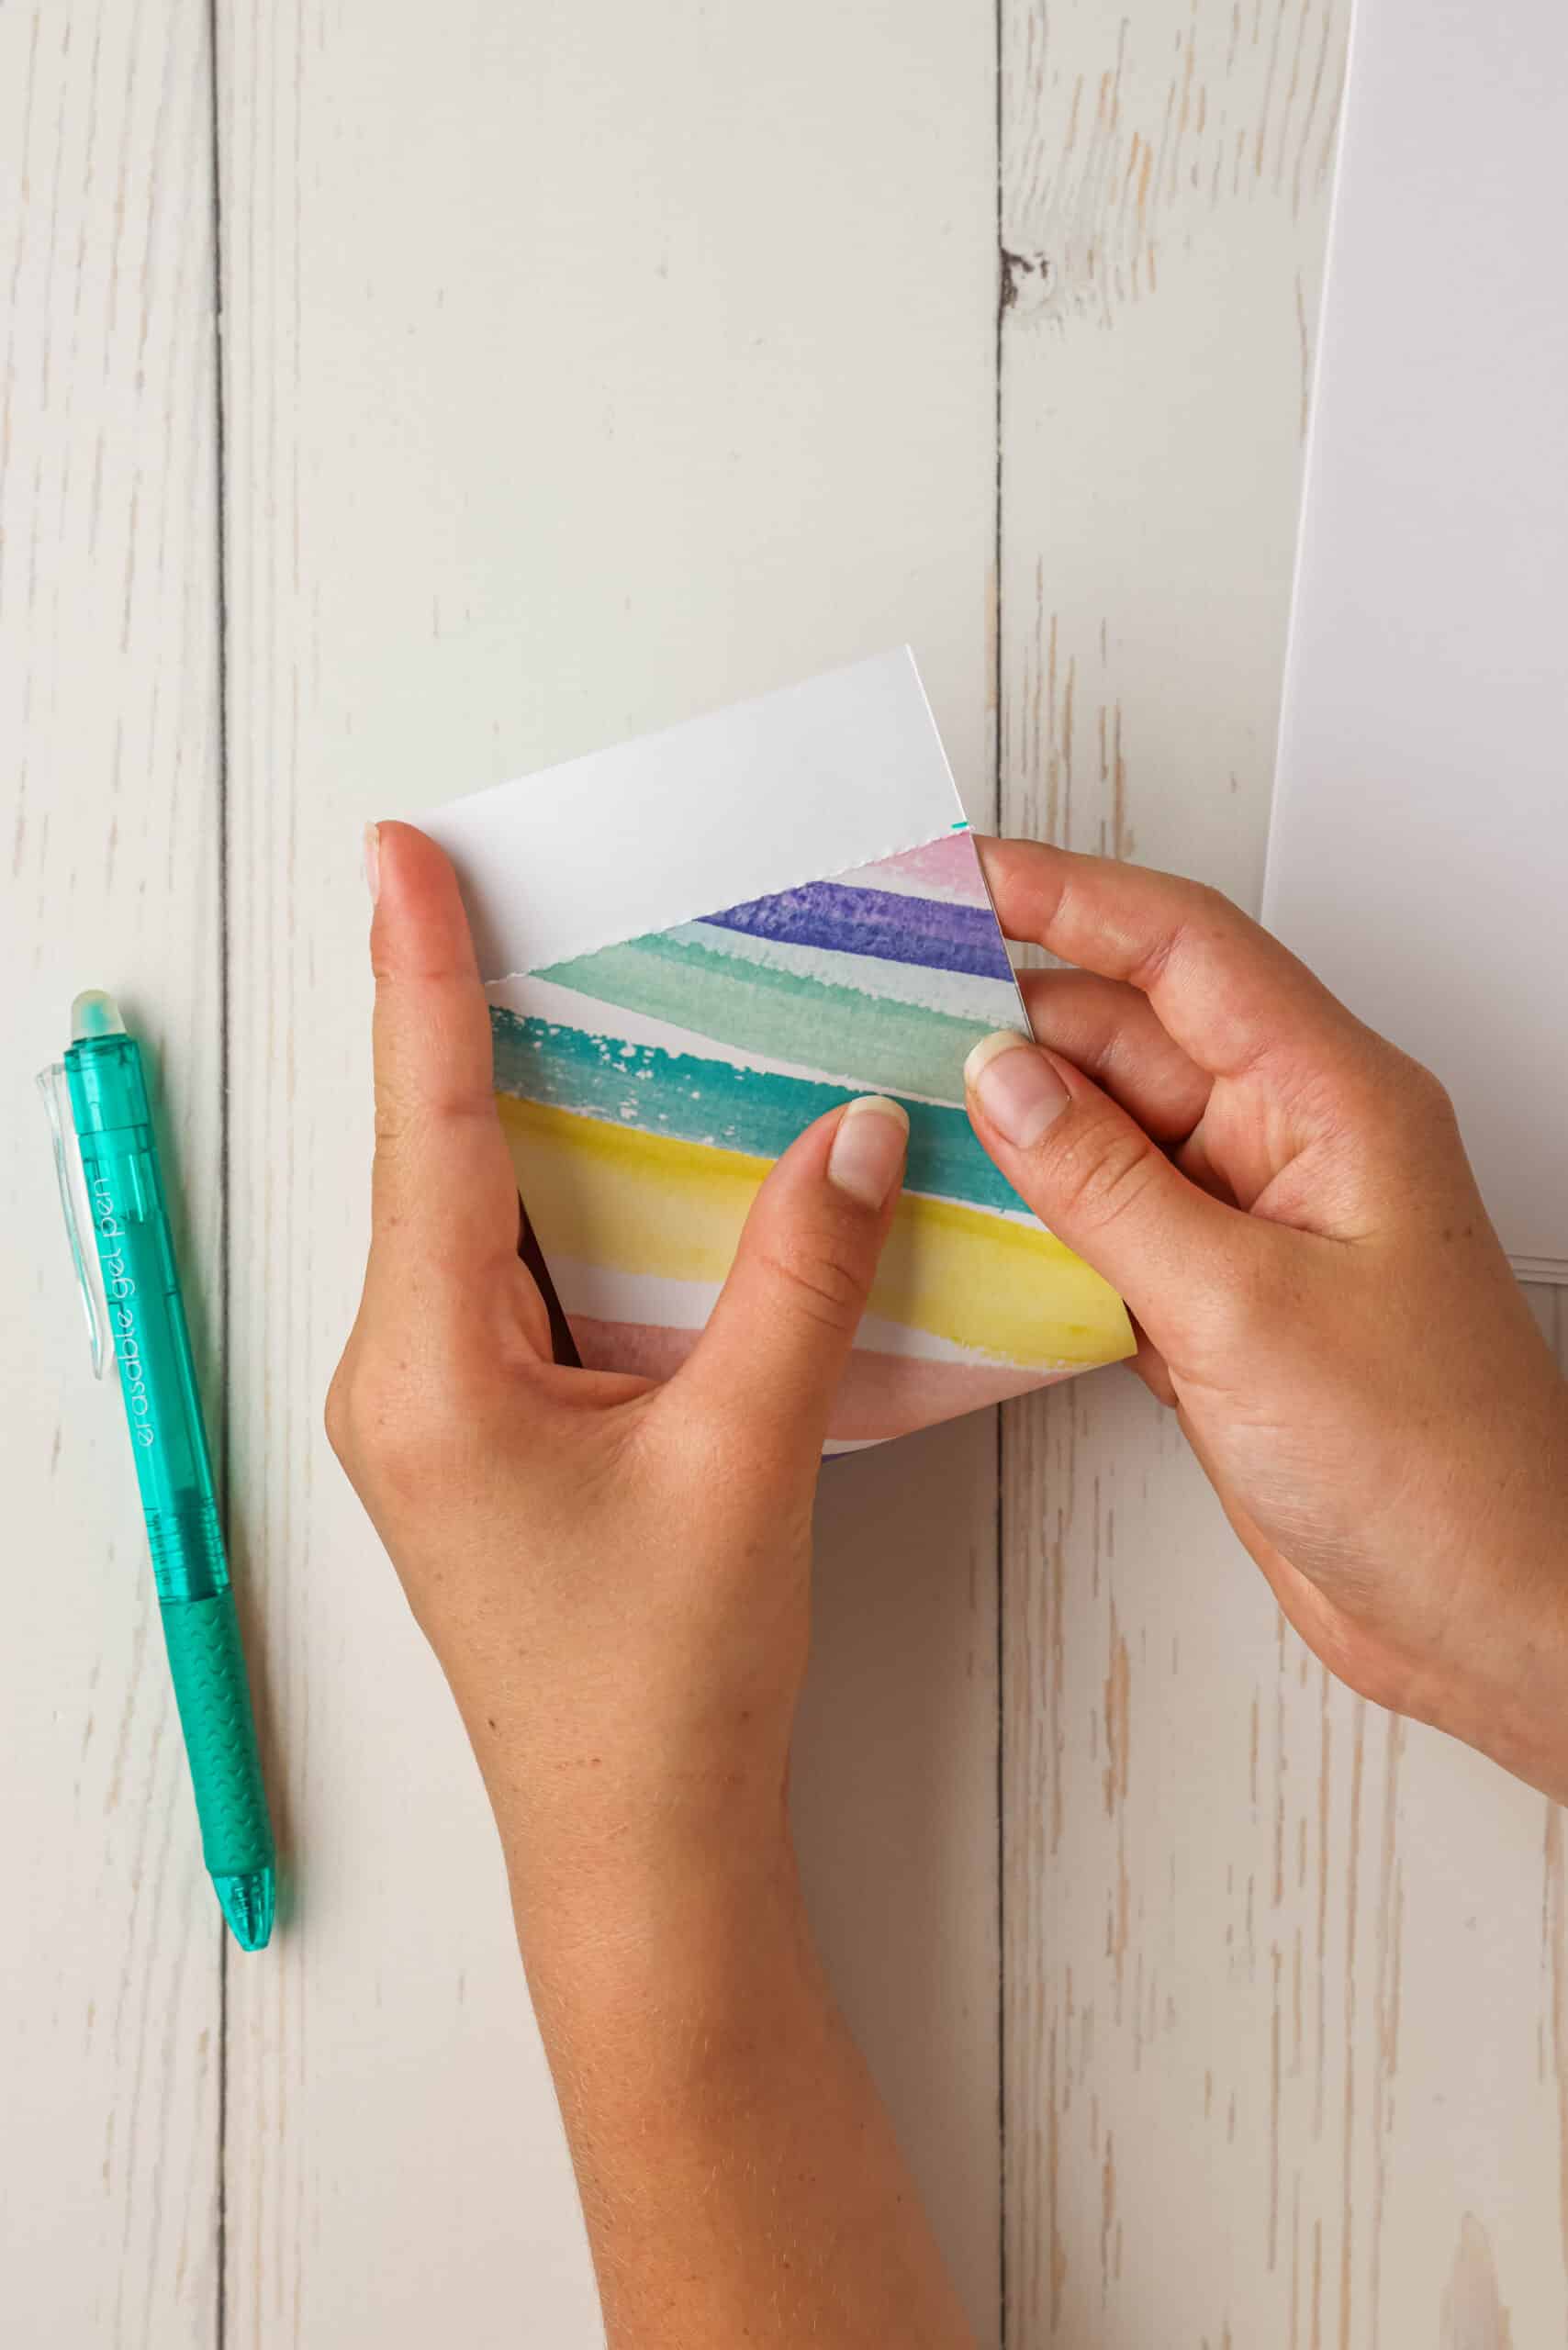
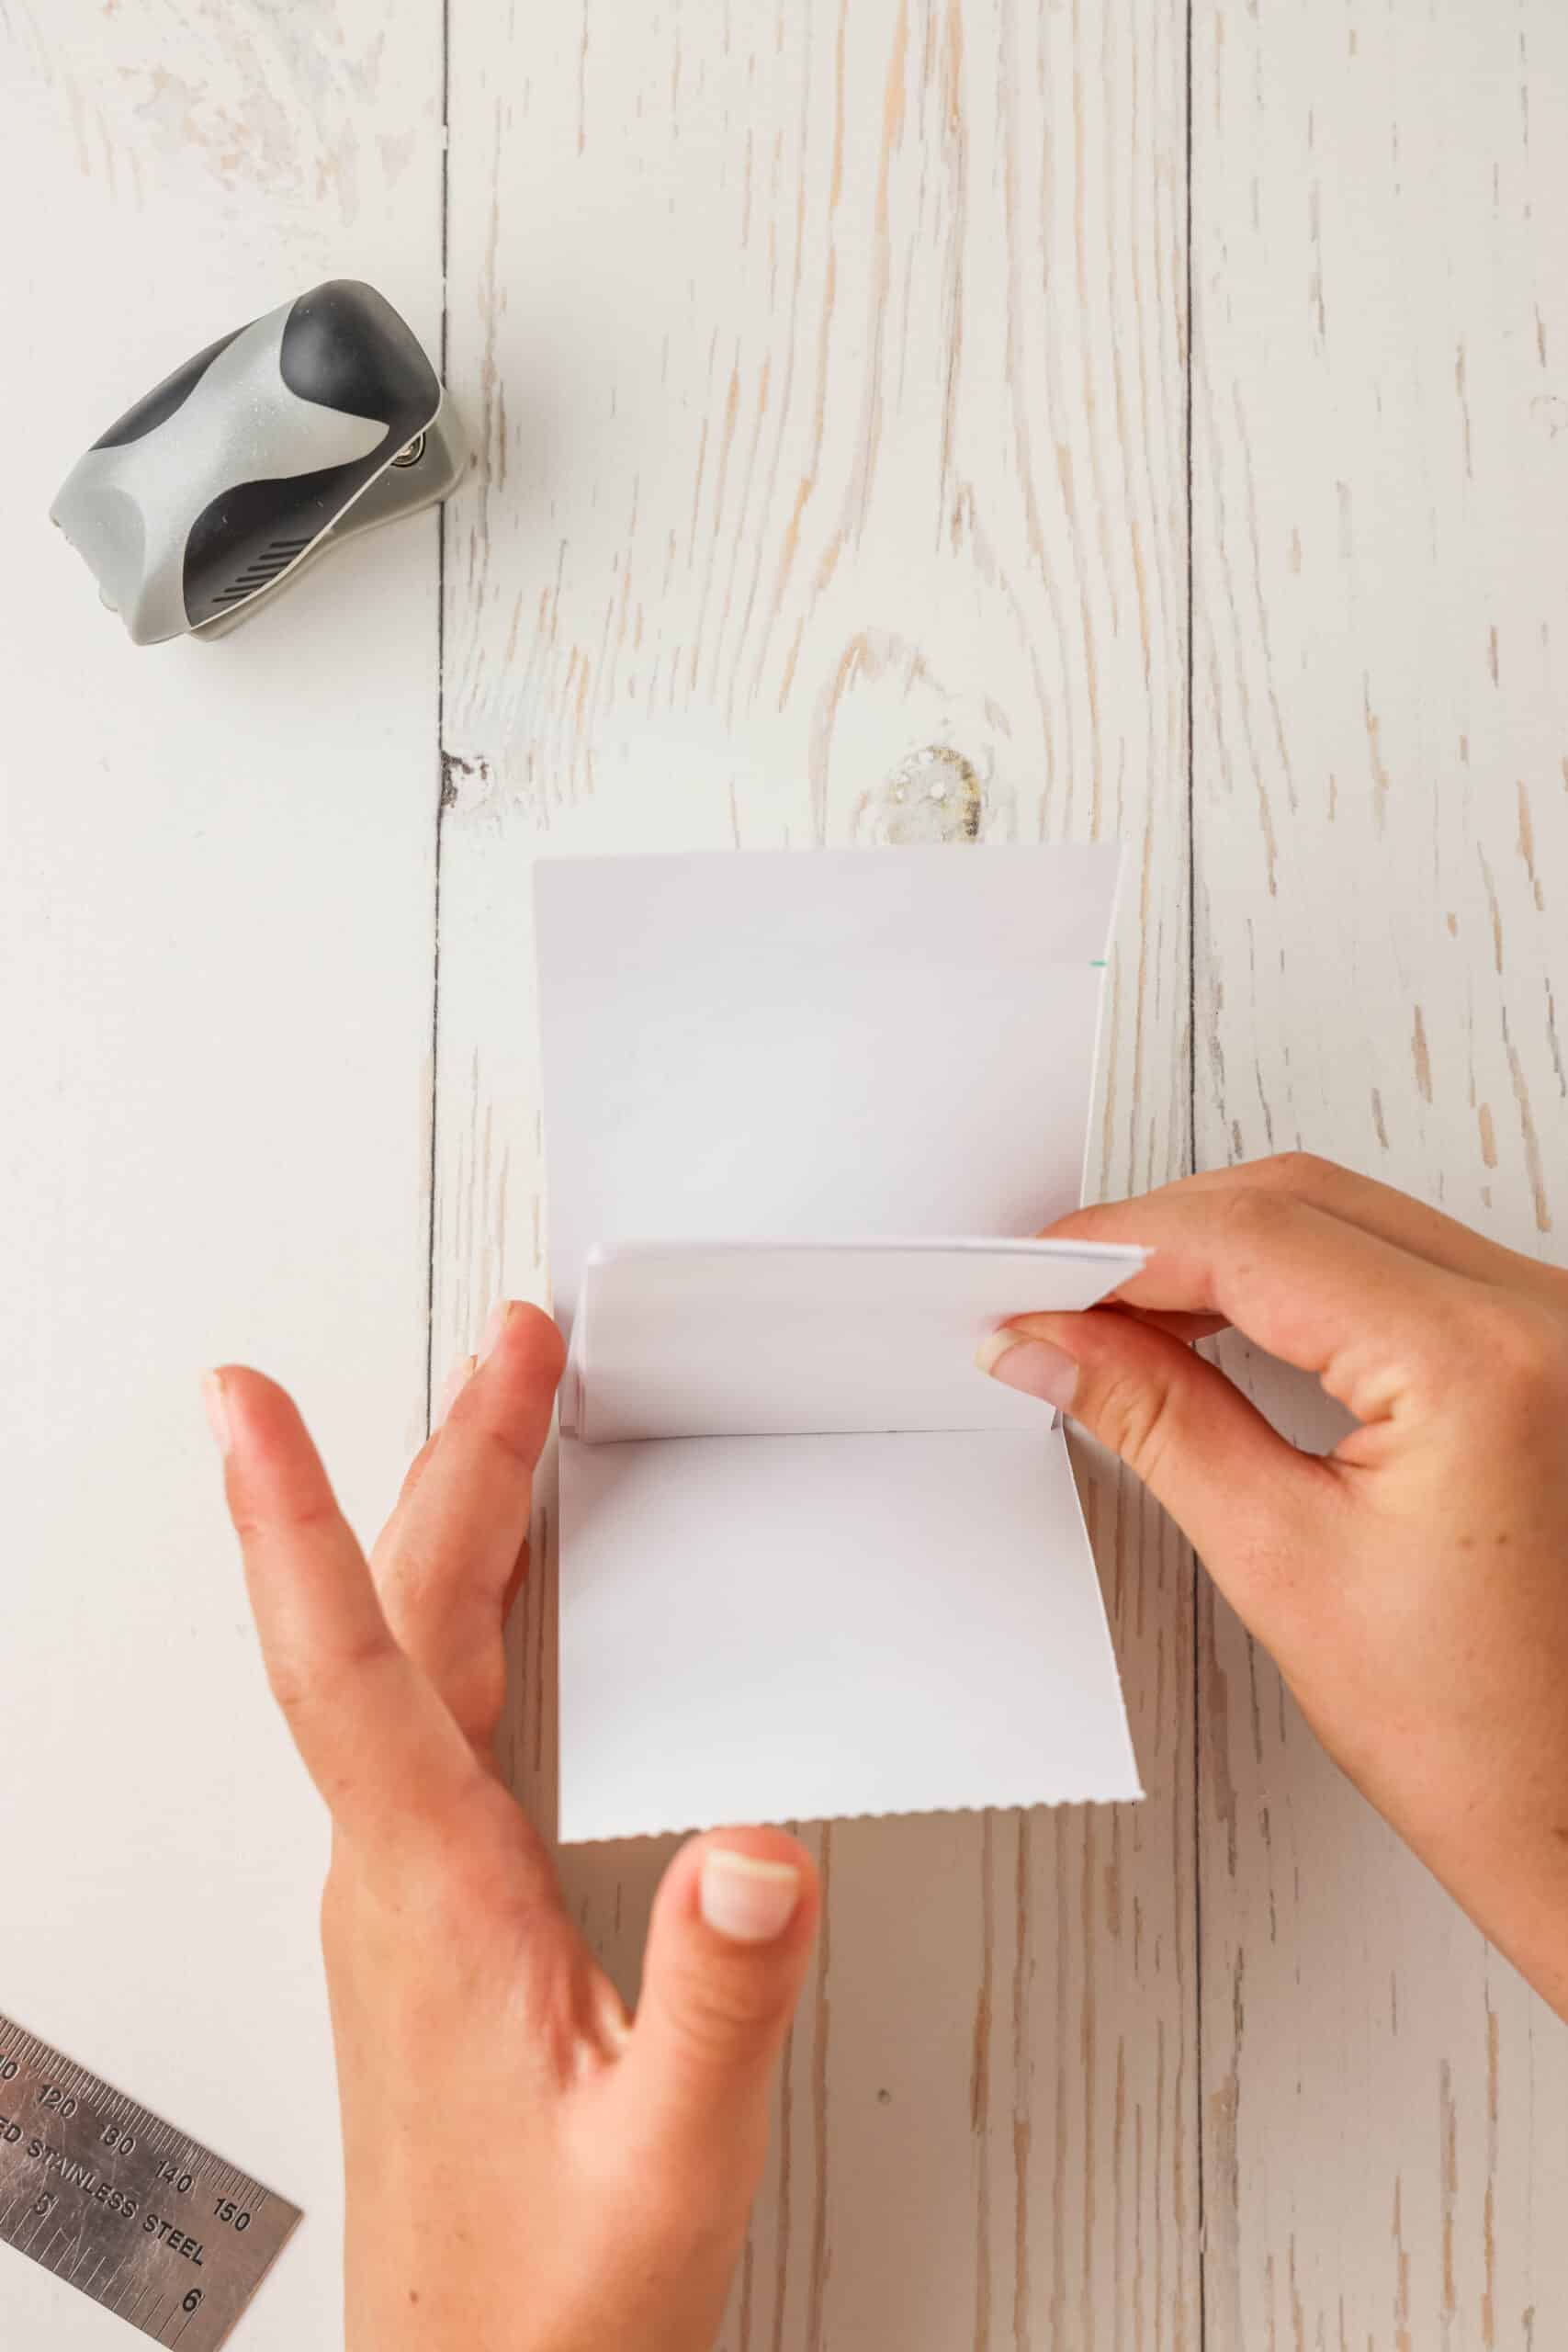
Once all the strips are cut, it is time to measure and place a mark for the fold of the cover. Place the matchbook cover on the table in front of you, colorful side down. Make a mark one inch from the top on the inside, facing up.
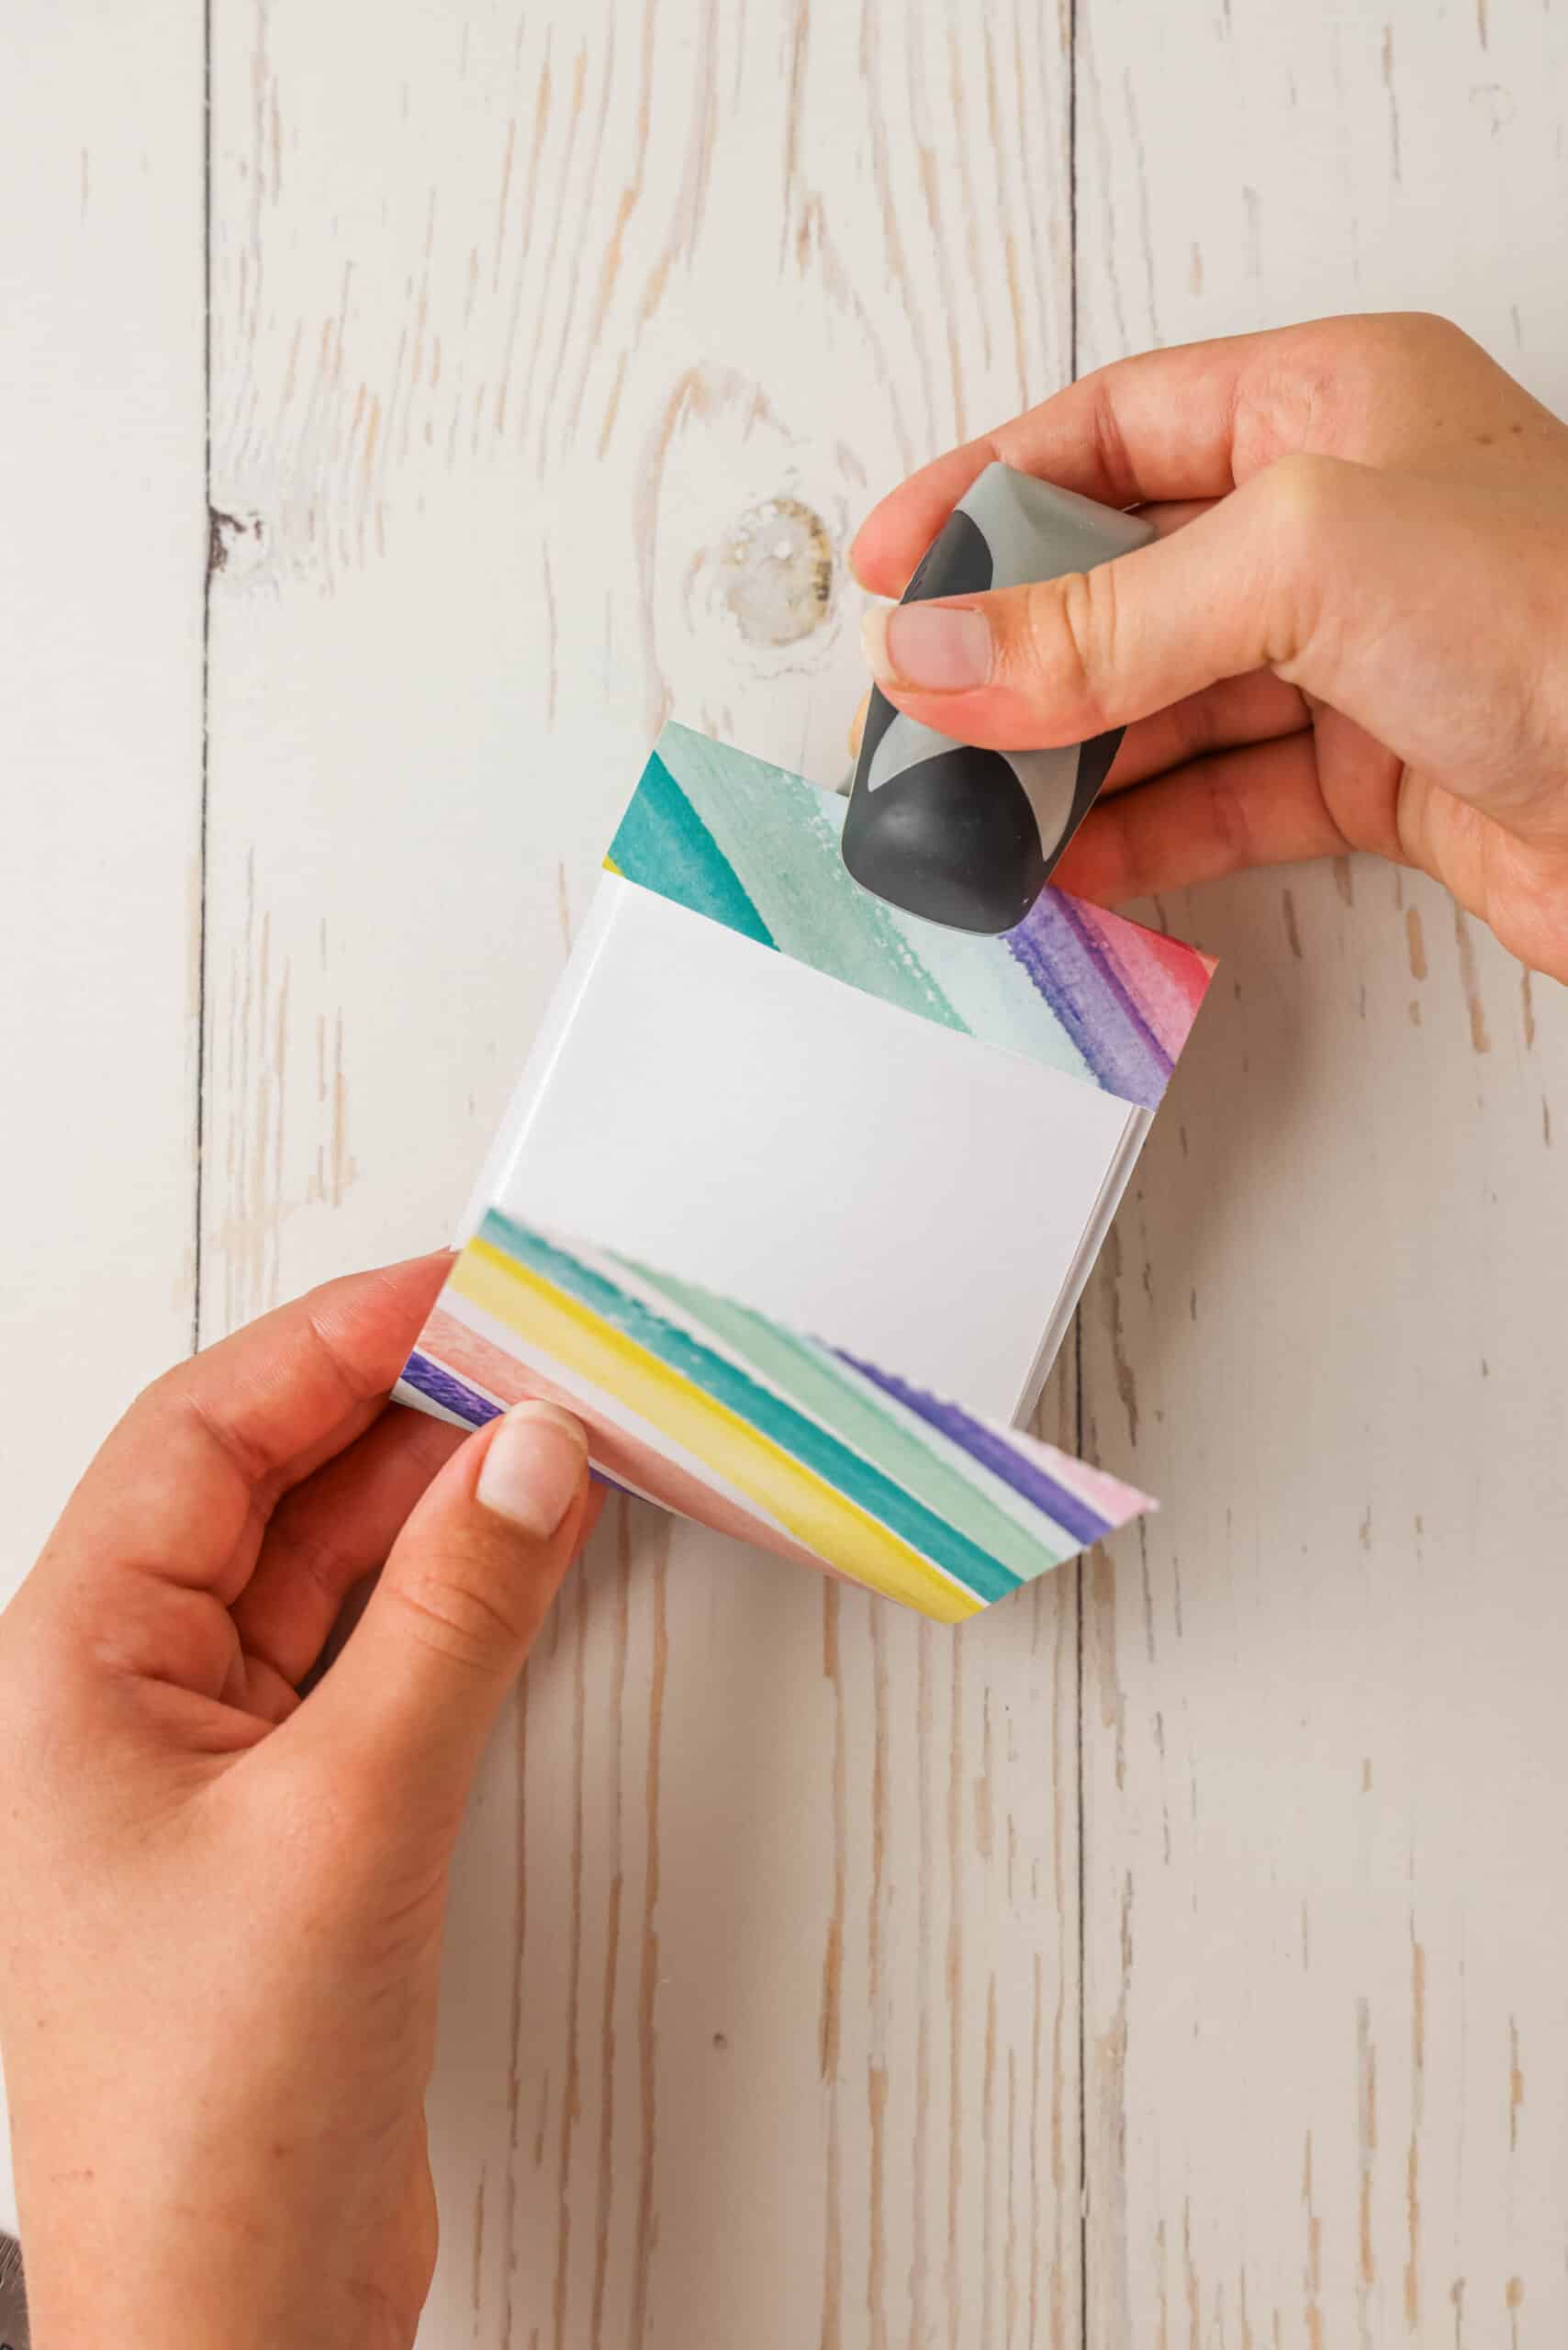
Then fold the bottom of the cover up to the mark that you just made and press flat across. Insert the pages into your notebook and fold the top down over the pages. Secure with a staple near the top edge.
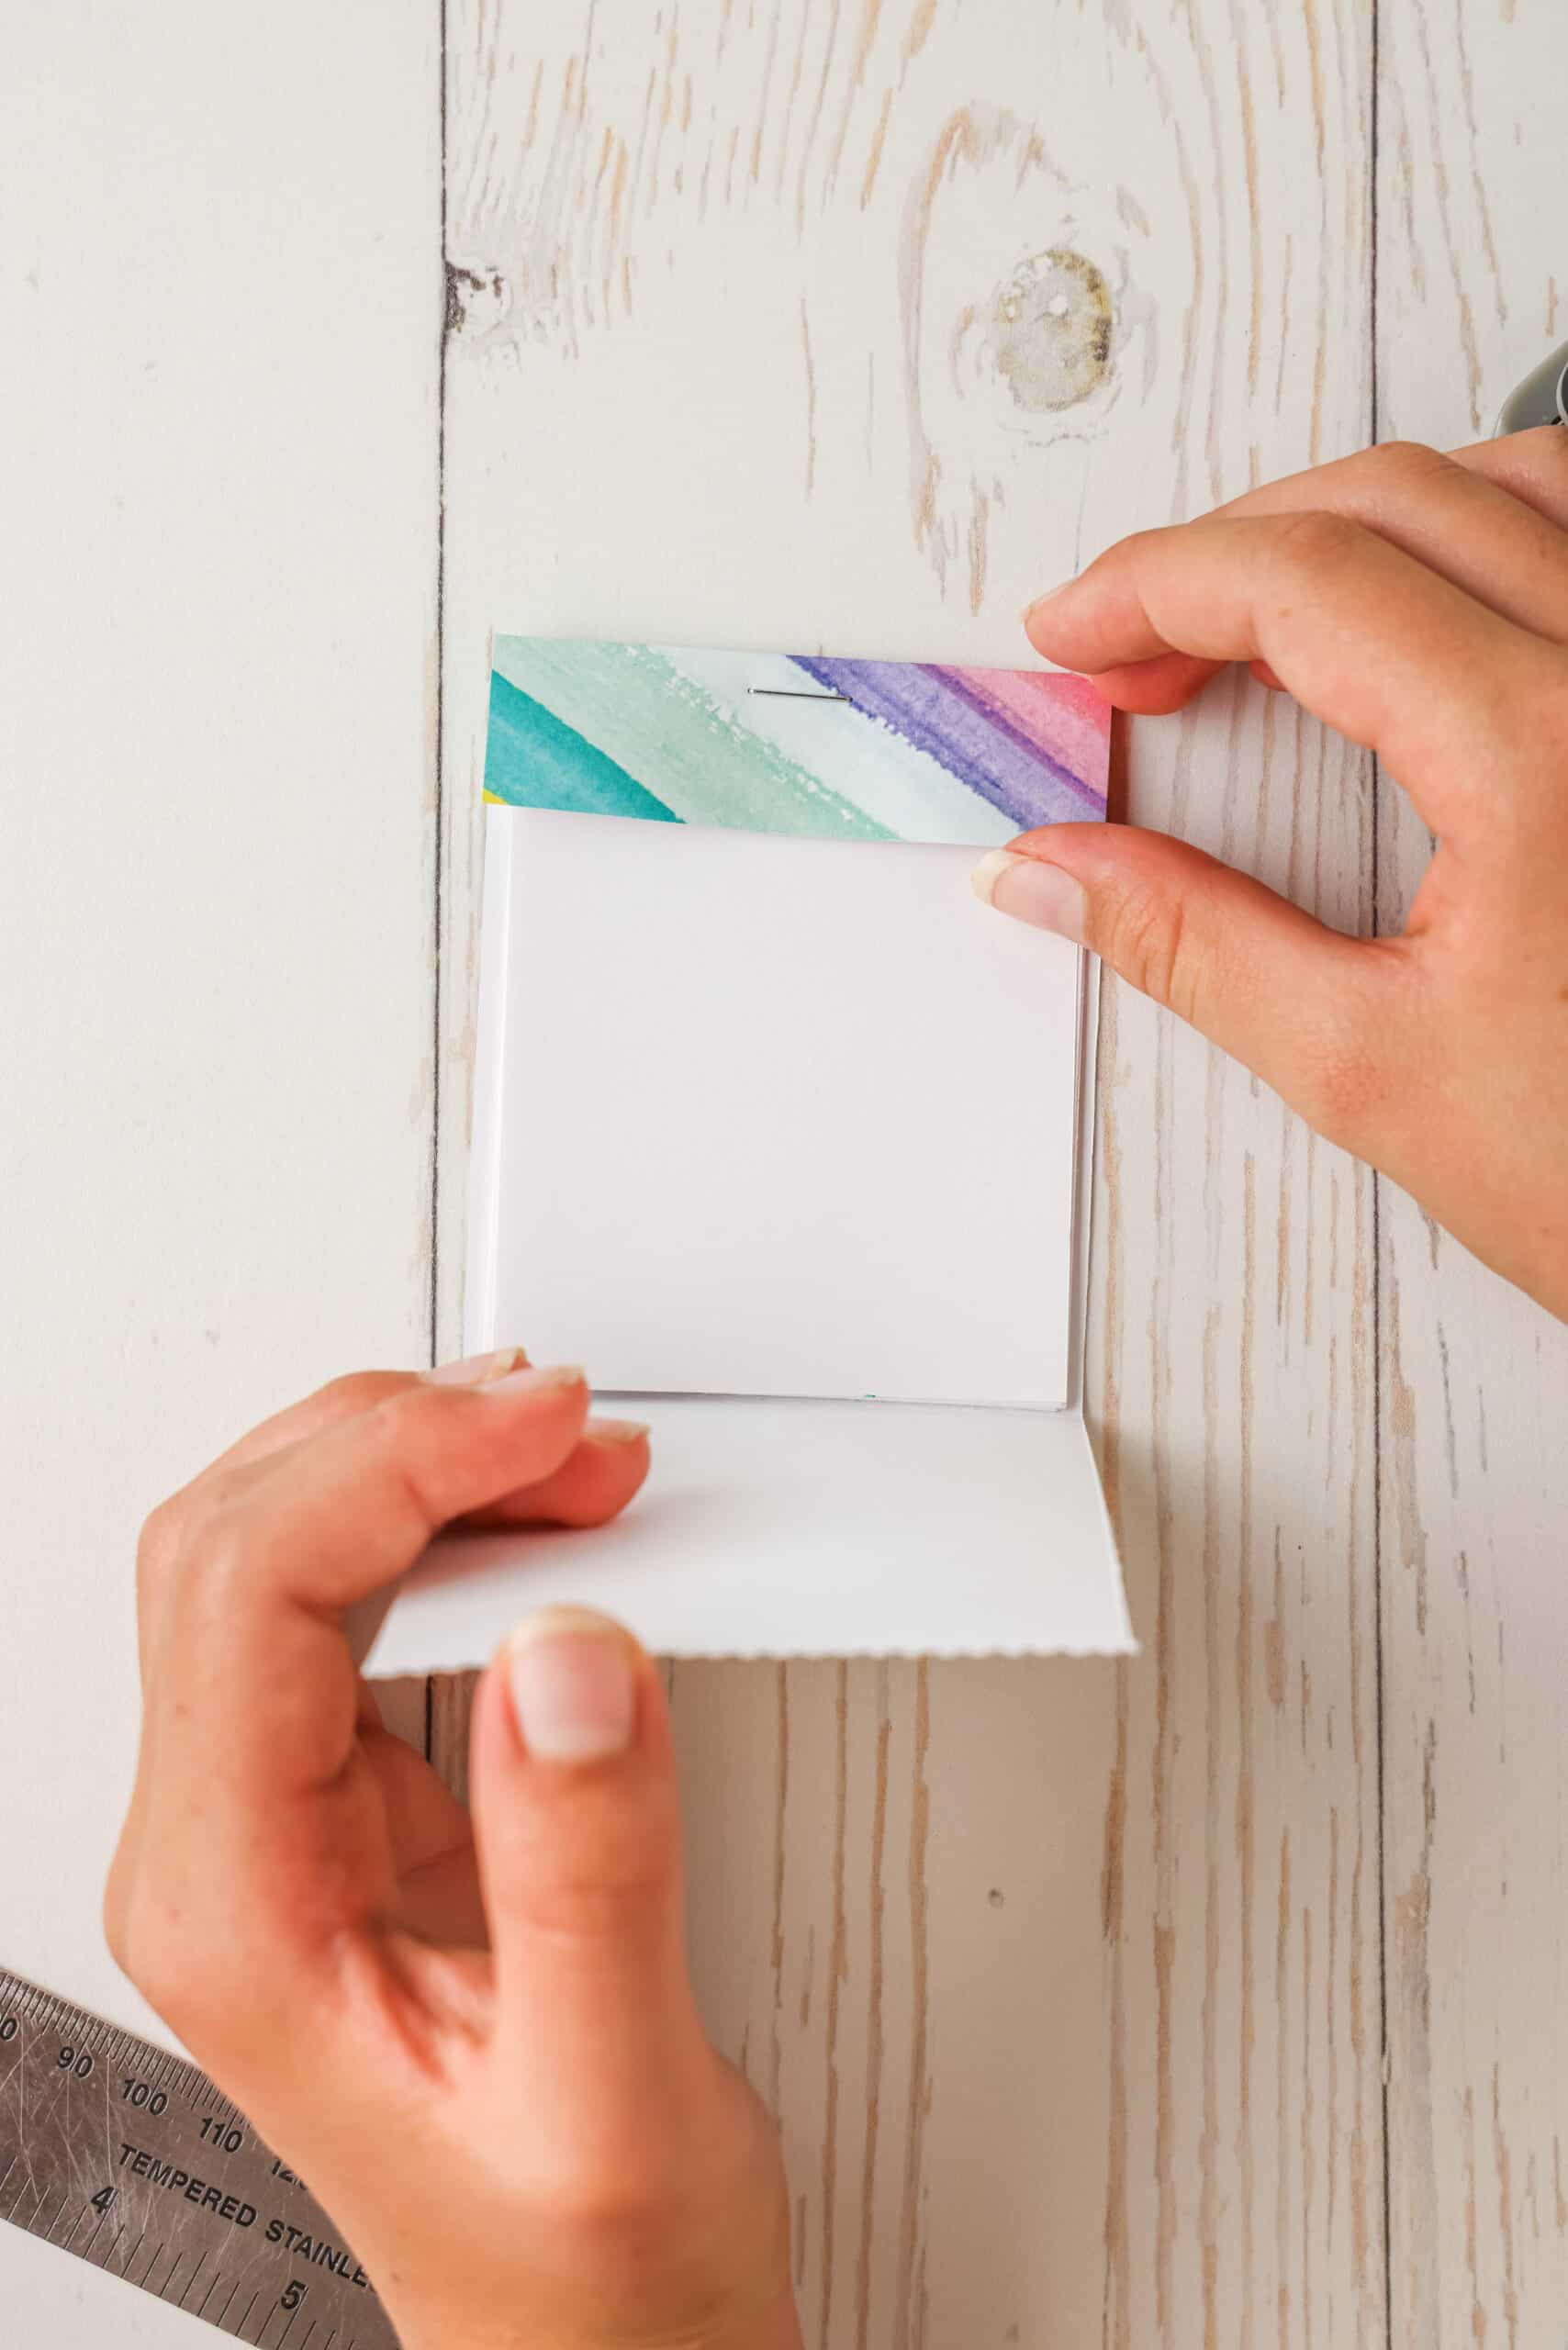
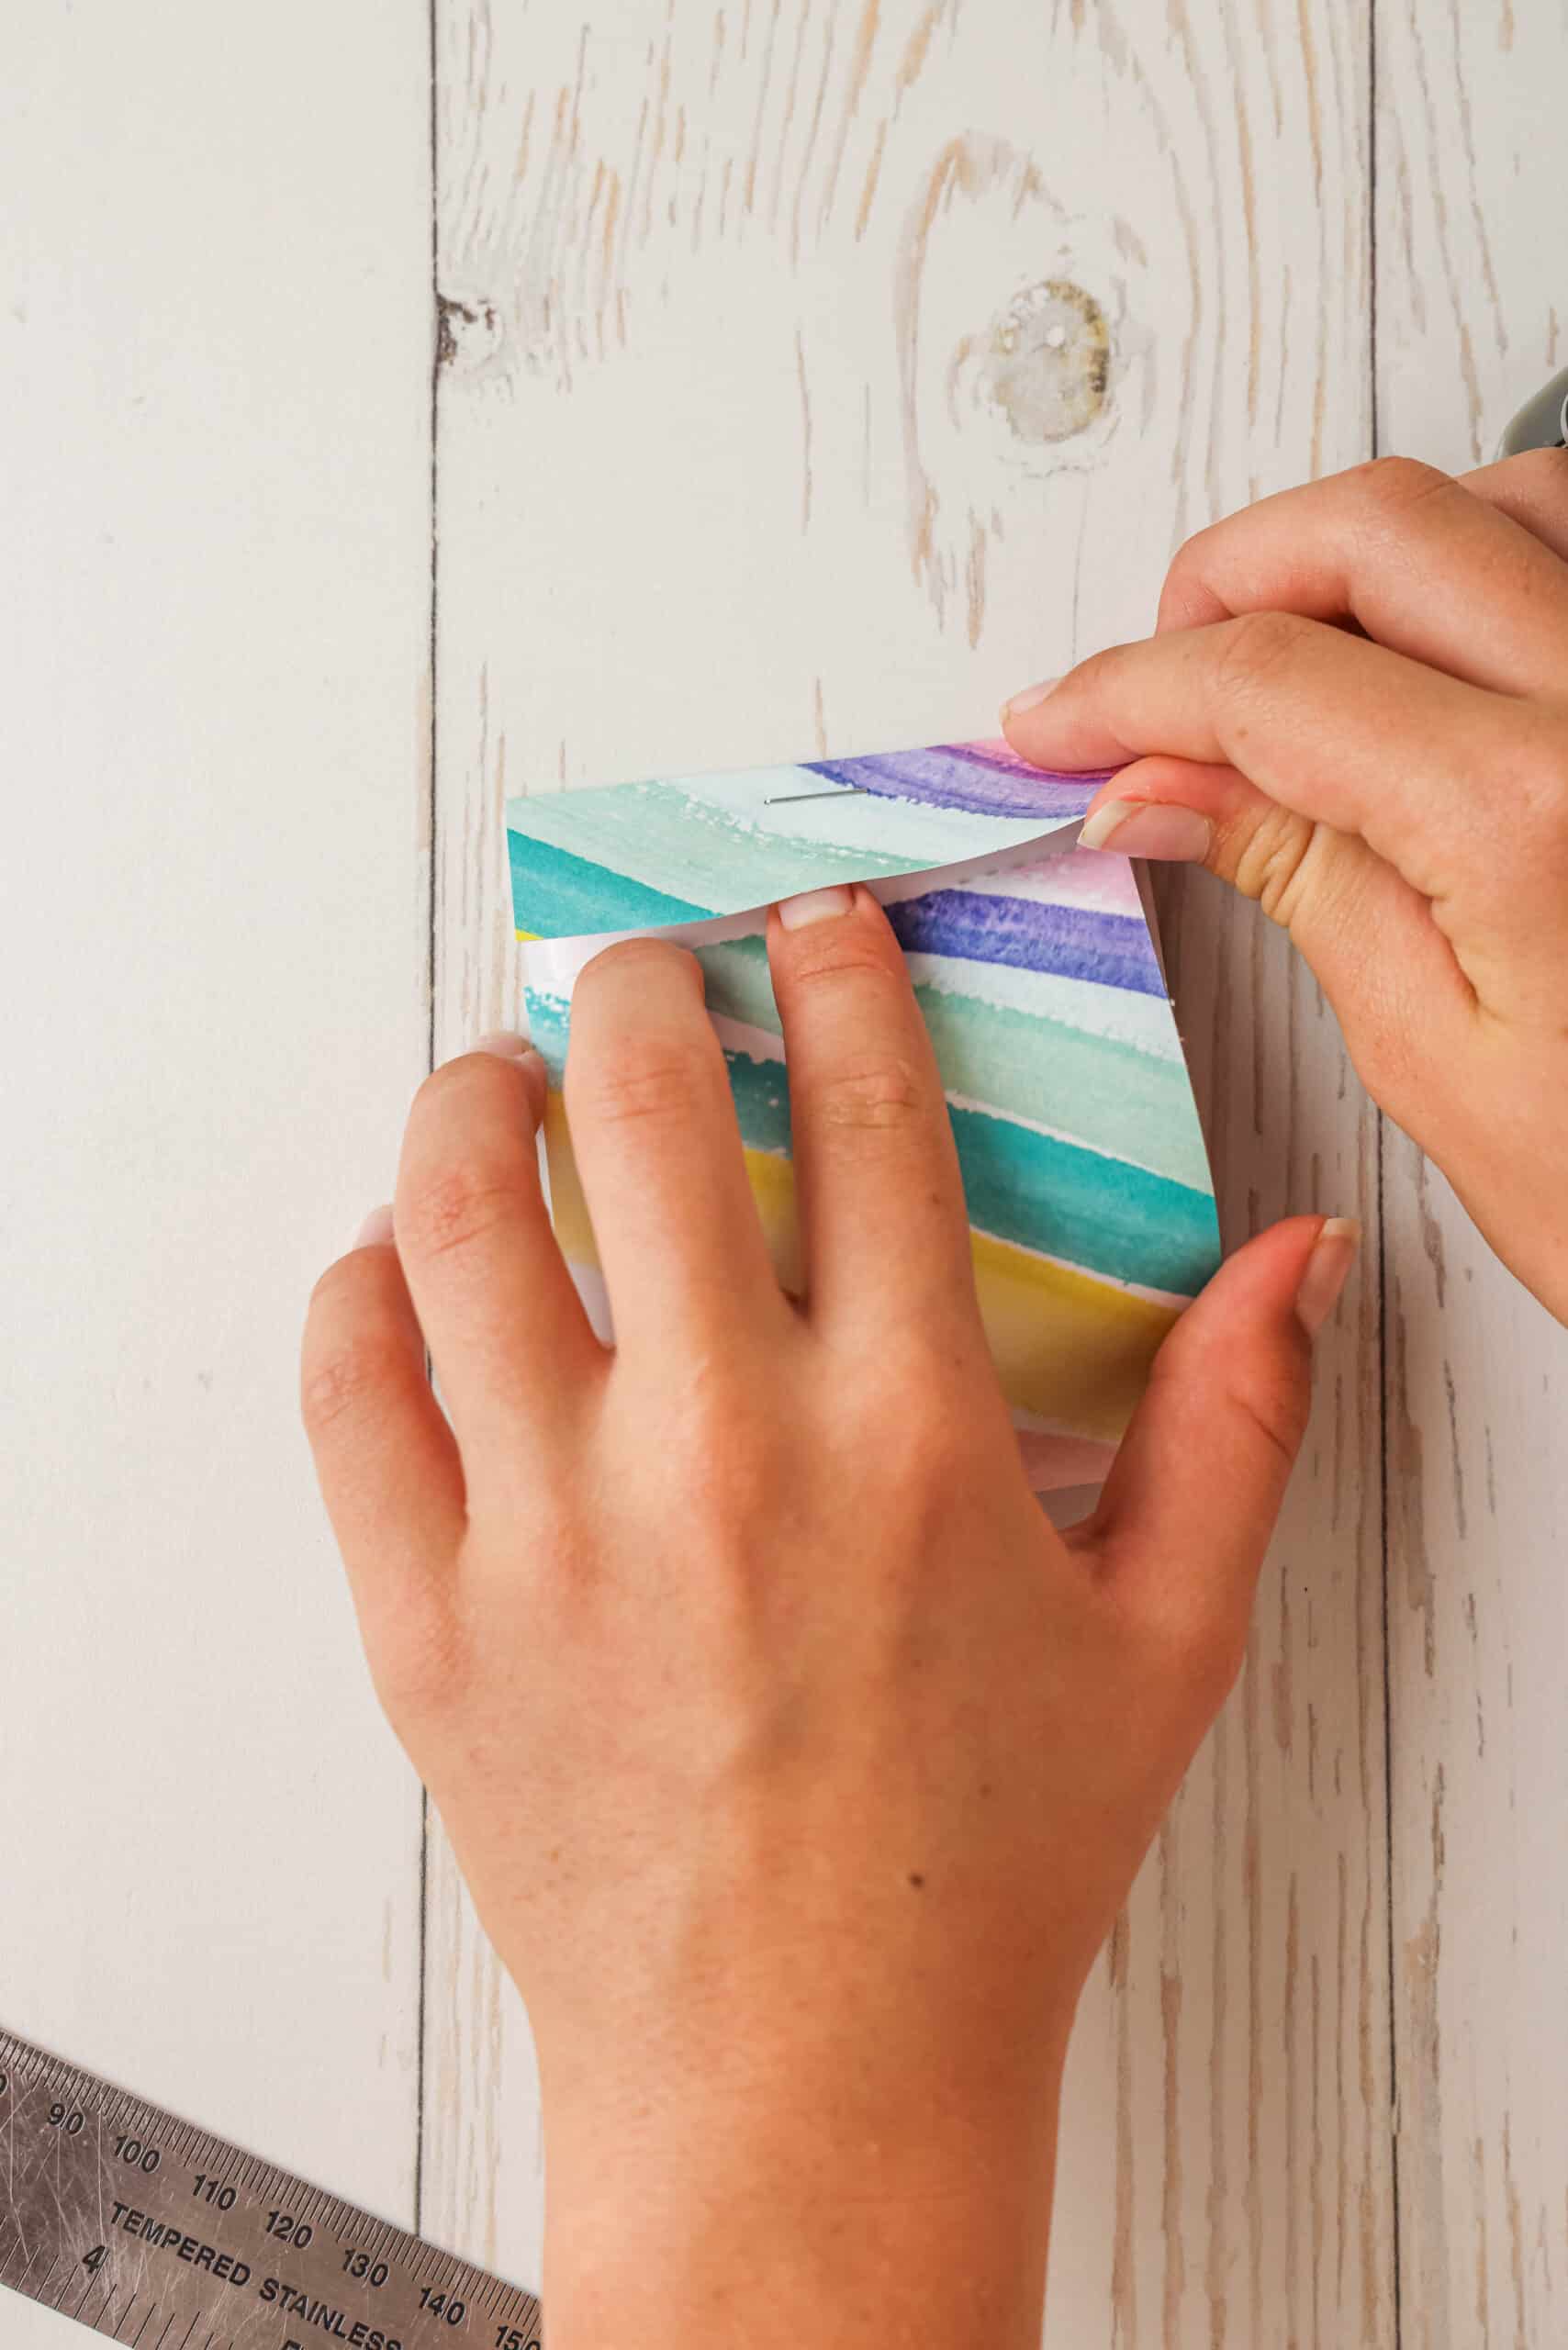
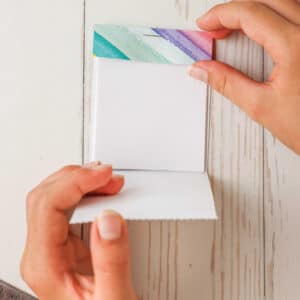
Lift the flap to secure the cover and close your notebook, just like a real matchbook!
What paper should I use in DIY mini notebooks?
Regular ol’ copy paper is all you need! But you can also use notebook paper, dotted paper, lined paper and anything else you want. Even some cool rustic paper would make a fun notebook.
For the outside cover, use colorful cardstock, scrapbook paper or anything else that is more sturdy and has a fun color or pattern.
Pro Tips for the MOST Fun!!
- If you do not have access to a paper cutter, you can simply use your ruler to make straight lines to the top of your paper at each of the points you made. Then just will cut along these lines with your scissors.
- You can make as many pages as you’d like to fill your matchbook notebook by repeating steps 3-5. However, I recommend ensuring that you do not make too many pages or your little notebook may be too thick and could easily fall apart.
- Feel free to add a simple closure on the front of the matchbox notebooks. A button a string, a velcro dot, etc. Anything that you’d like to add to help keep your secret messages secure!
Learn how to make mini notebooks and you’ll never be without a fun way to take notes! There’s so many things you can create inside these pages.
More DIY Crafts You’ll Love!
- Make these DIY Photo Candles as a gift for mom on Mother’s Day. They’re great gifts for anyone, really!
- These easy DIY Bath Bombs are really easy to make and will make bath time way more fun. Your kids can create whatever color and scent they want too!
- Make Salt Dough on your own and then use it to create things like ornaments and other really cool creations.
- Skip the store-bought Puffy Paint and make some on your own instead. This homemade activity is a blast to create and use!
How to Make Matchbox Notebooks
Ingredients
Instructions
- Measure your cardstock for the cover and cut it 3 inches wide. Our colorful cardstock paper measures 6 inches wide, so we cut it in half to make a 3 inch cover. When cut in half, our cardstock cover measures 3 inches wide by 8 inches tall. Set aside.
- With your plain white paper turned horizontally (landscape orientation), use a ruler to measure 2 ¾ inches from the left side. Mark this measurement with a pen. Place the end of your ruler at that mark and measure another 2 ¾ inches. Mark there as well. Make a final mark by measuring 2 ¾ inches from that point. You should have 3 total marks across your paper, which will make four equal sections once cut. *NOTE: If you do not have access to a paper cutter, you can simply use your ruler to make straight lines to the top of your paper at each of these points. For the next step, you will cut along these lines with your scissors.
- Align your paper in a paper cutter at the first mark and make a straight cut forming a strip of paper that is 8 ½ inches by 2 ¾ inches.
- Repeat step 3 until you have four equal strips of paper.
- Measure the strips by making marks at 3 ½ inches lengthwise. You will be able to make two marks at 3 ½ inches with a little paper left over. Cut straight across at the 3 ½ inch marks. You will now have eight pieces of notebook paper to fill the inside of your matchbook notebook. Discard the leftover end pieces. *NOTE: You can make as many pages as you’d like to fill your matchbook notebook by repeating steps 3-5.
- Once all your strips are cut, it is time to measure and place a mark for the fold of the cover. Place the matchbook cover on the table in front of you, colorful side down. You will make a mark one inch from the top on the inside (facing up).
- Fold the bottom of the cover up to the mark that you just made. Press flat across.
- Insert the pages into your notebook and fold the top down over the pages. Secure with a staple near the top edge.
- Lift the flap to secure the cover and close your notebook, just like a real matchbook!