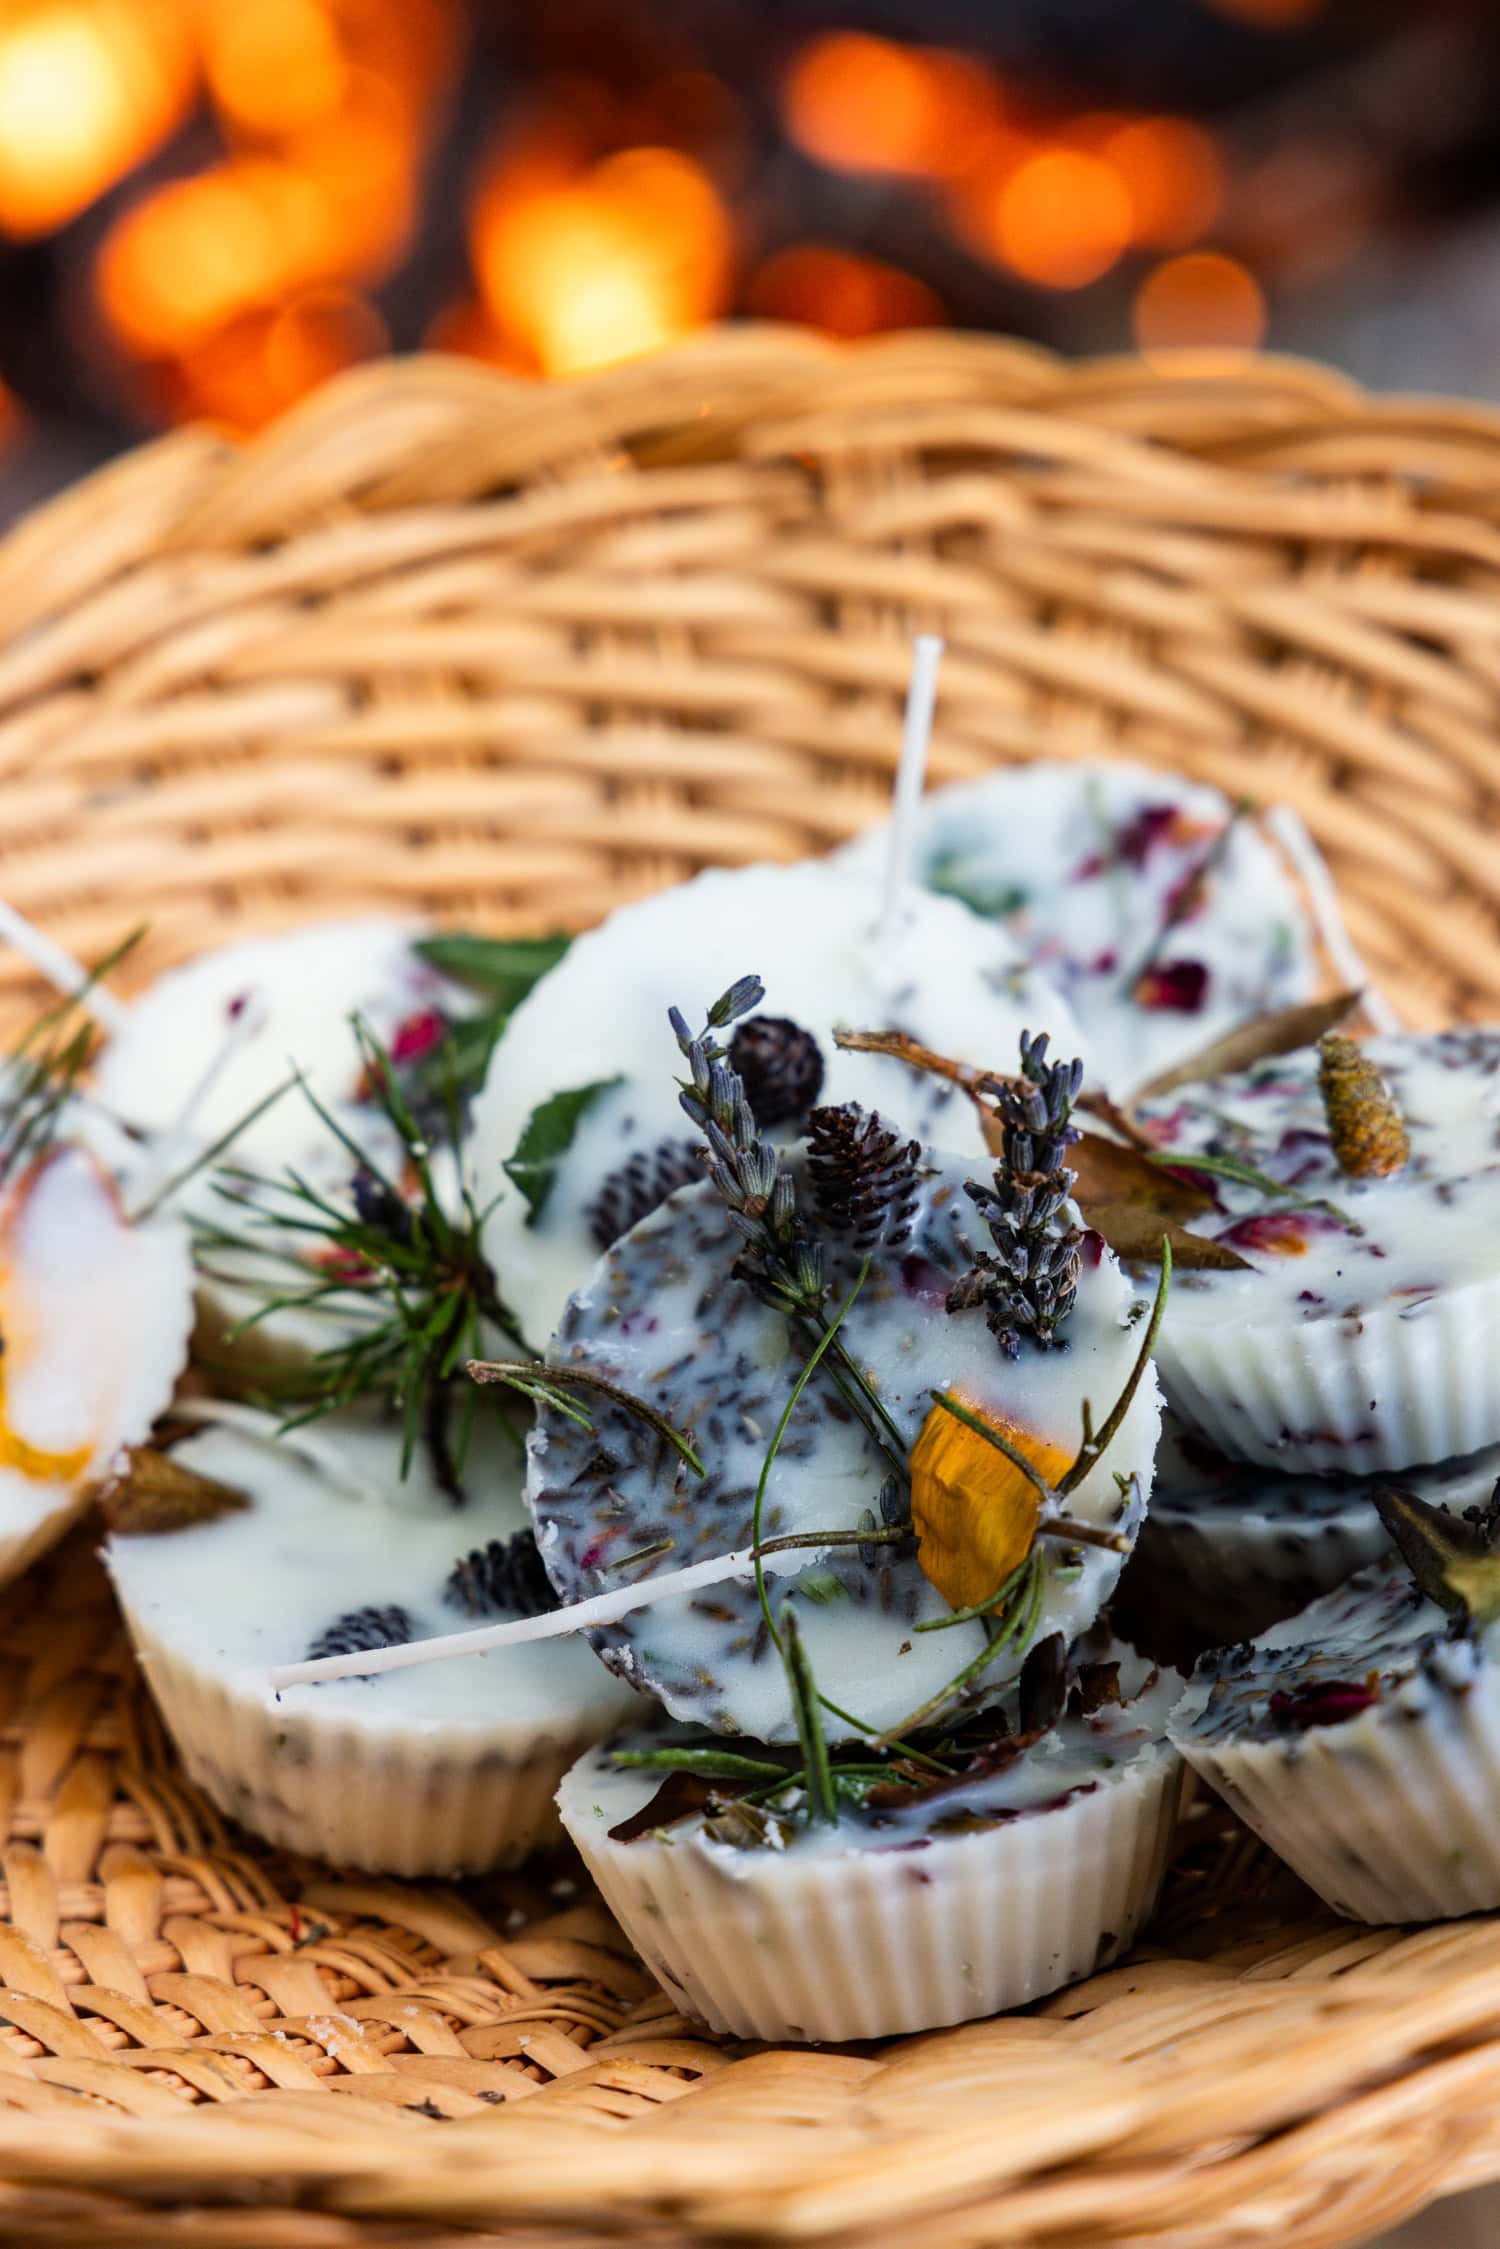
DIY Campfire Starters
These DIY Campfire Starters are a fun and easy craft for kids that make starting a fire simple and stress-free. Perfect for camping trips, backyard bonfires, or s’mores nights, they’re made with nature hunt items and are great for teaching basic outdoor skills!
Whether you are heading out to a friend’s for a campfire or hosting one at your home, you’ve got to make some DIY campfire starters! They are so cute and fun for the kids to put together. Start off with a nature hunt and look for dry wood chips, dry leaves and sticks, whatever you can find to add to the starters!
While everyone is out hunting, the wax can be left to melt in the crockpot so it’s ready to go when everyone gets back in. Add little bits of nature into each silicone liner before adding the melted wax and a wick. These great homemade firestarters only need a minimum of an hour to set, so they can be ready to go the same day you make them. You’ll be making memories and roasting Campfire Cones in no time!
For this craft, you will be working with hot wax so use caution! Ask an adult for approval and help before beginning this craft.
Why You Will Love This Activity
- DIY campfire starters are a really easy activity for the whole family to enjoy together.
- Easily double up the batch to have more than enough fire starters to last the whole summer.
- If you are invited out to a friend’s cabin and don’t know what to bring, these are a thoughtful gift to bring your host.
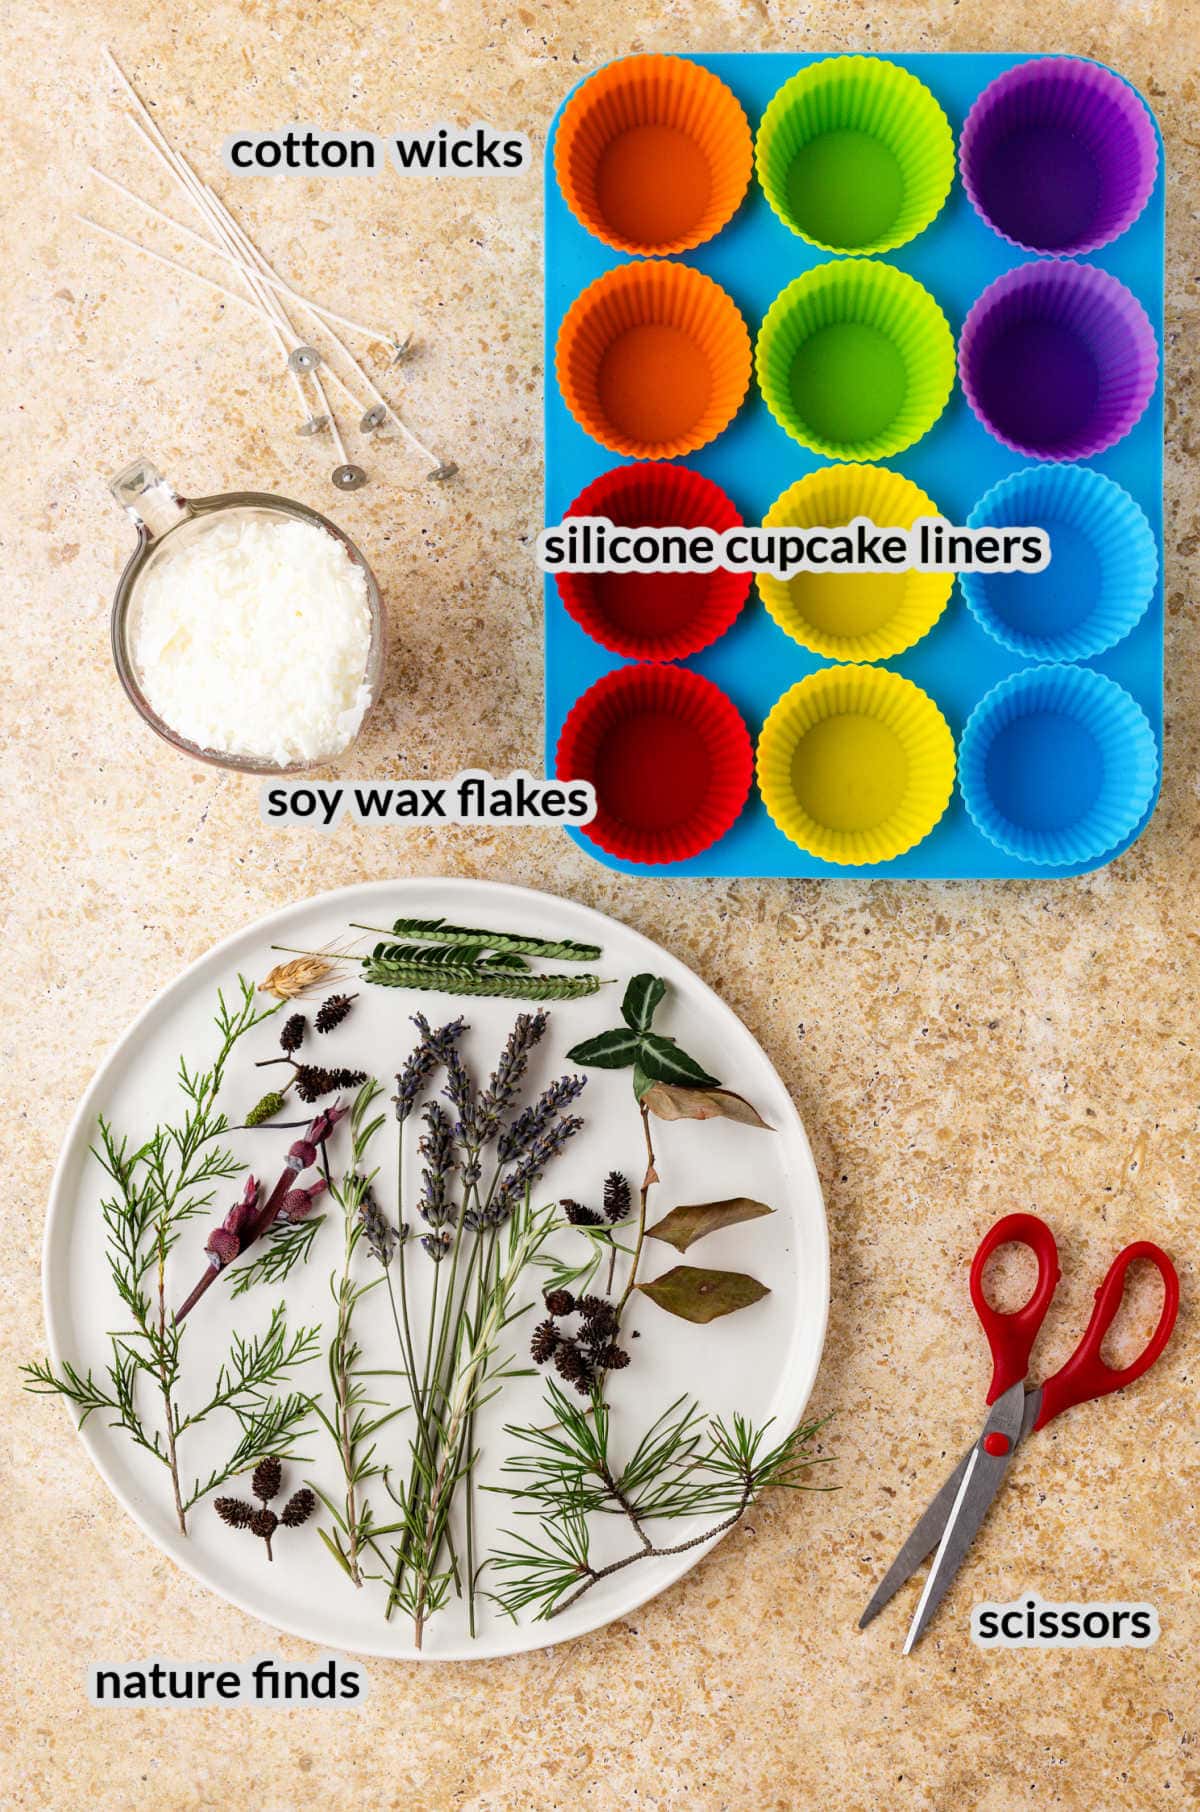
Supplies Needed For DIY Campfire Starters
- Soy wax flakes – These are so easy for kids to use and don’t create any black smoke. You can also give beeswax, old candle wax or unwrapped crayons a try.
- Silicone cupcake liners – These are great because you can easily pop the diy fire starters out of the silicone molds. If you do not have any available to you, use a cardboard egg carton or regular paper cupcake liners. The cardboard egg carton and paper liners are great for fueling the fire, too.
- Cotton wicks – Just like a candle, firestarters use a wick to start the flame.
- Scissors – You will need to use scissors to trim the wicks.
- Small crockpot – Use this to melt the wax. You can also use a double boiler.
- Nature hunt finds – Dry pine cones, dry leaves, pine needles, dry petals, wood shavings – you name it! Whatever you find out in your yard will be great as long as it is dry. Do not use anything that has been treated or painted as it can release toxic chemicals when burning.
How To Make A Firestarter
Begin this craft with a nature hunt! Head outside and gather natural materials that will fuel your fire—tiny twigs, mini pinecones, dried grass, leaves, and flowers all work well.
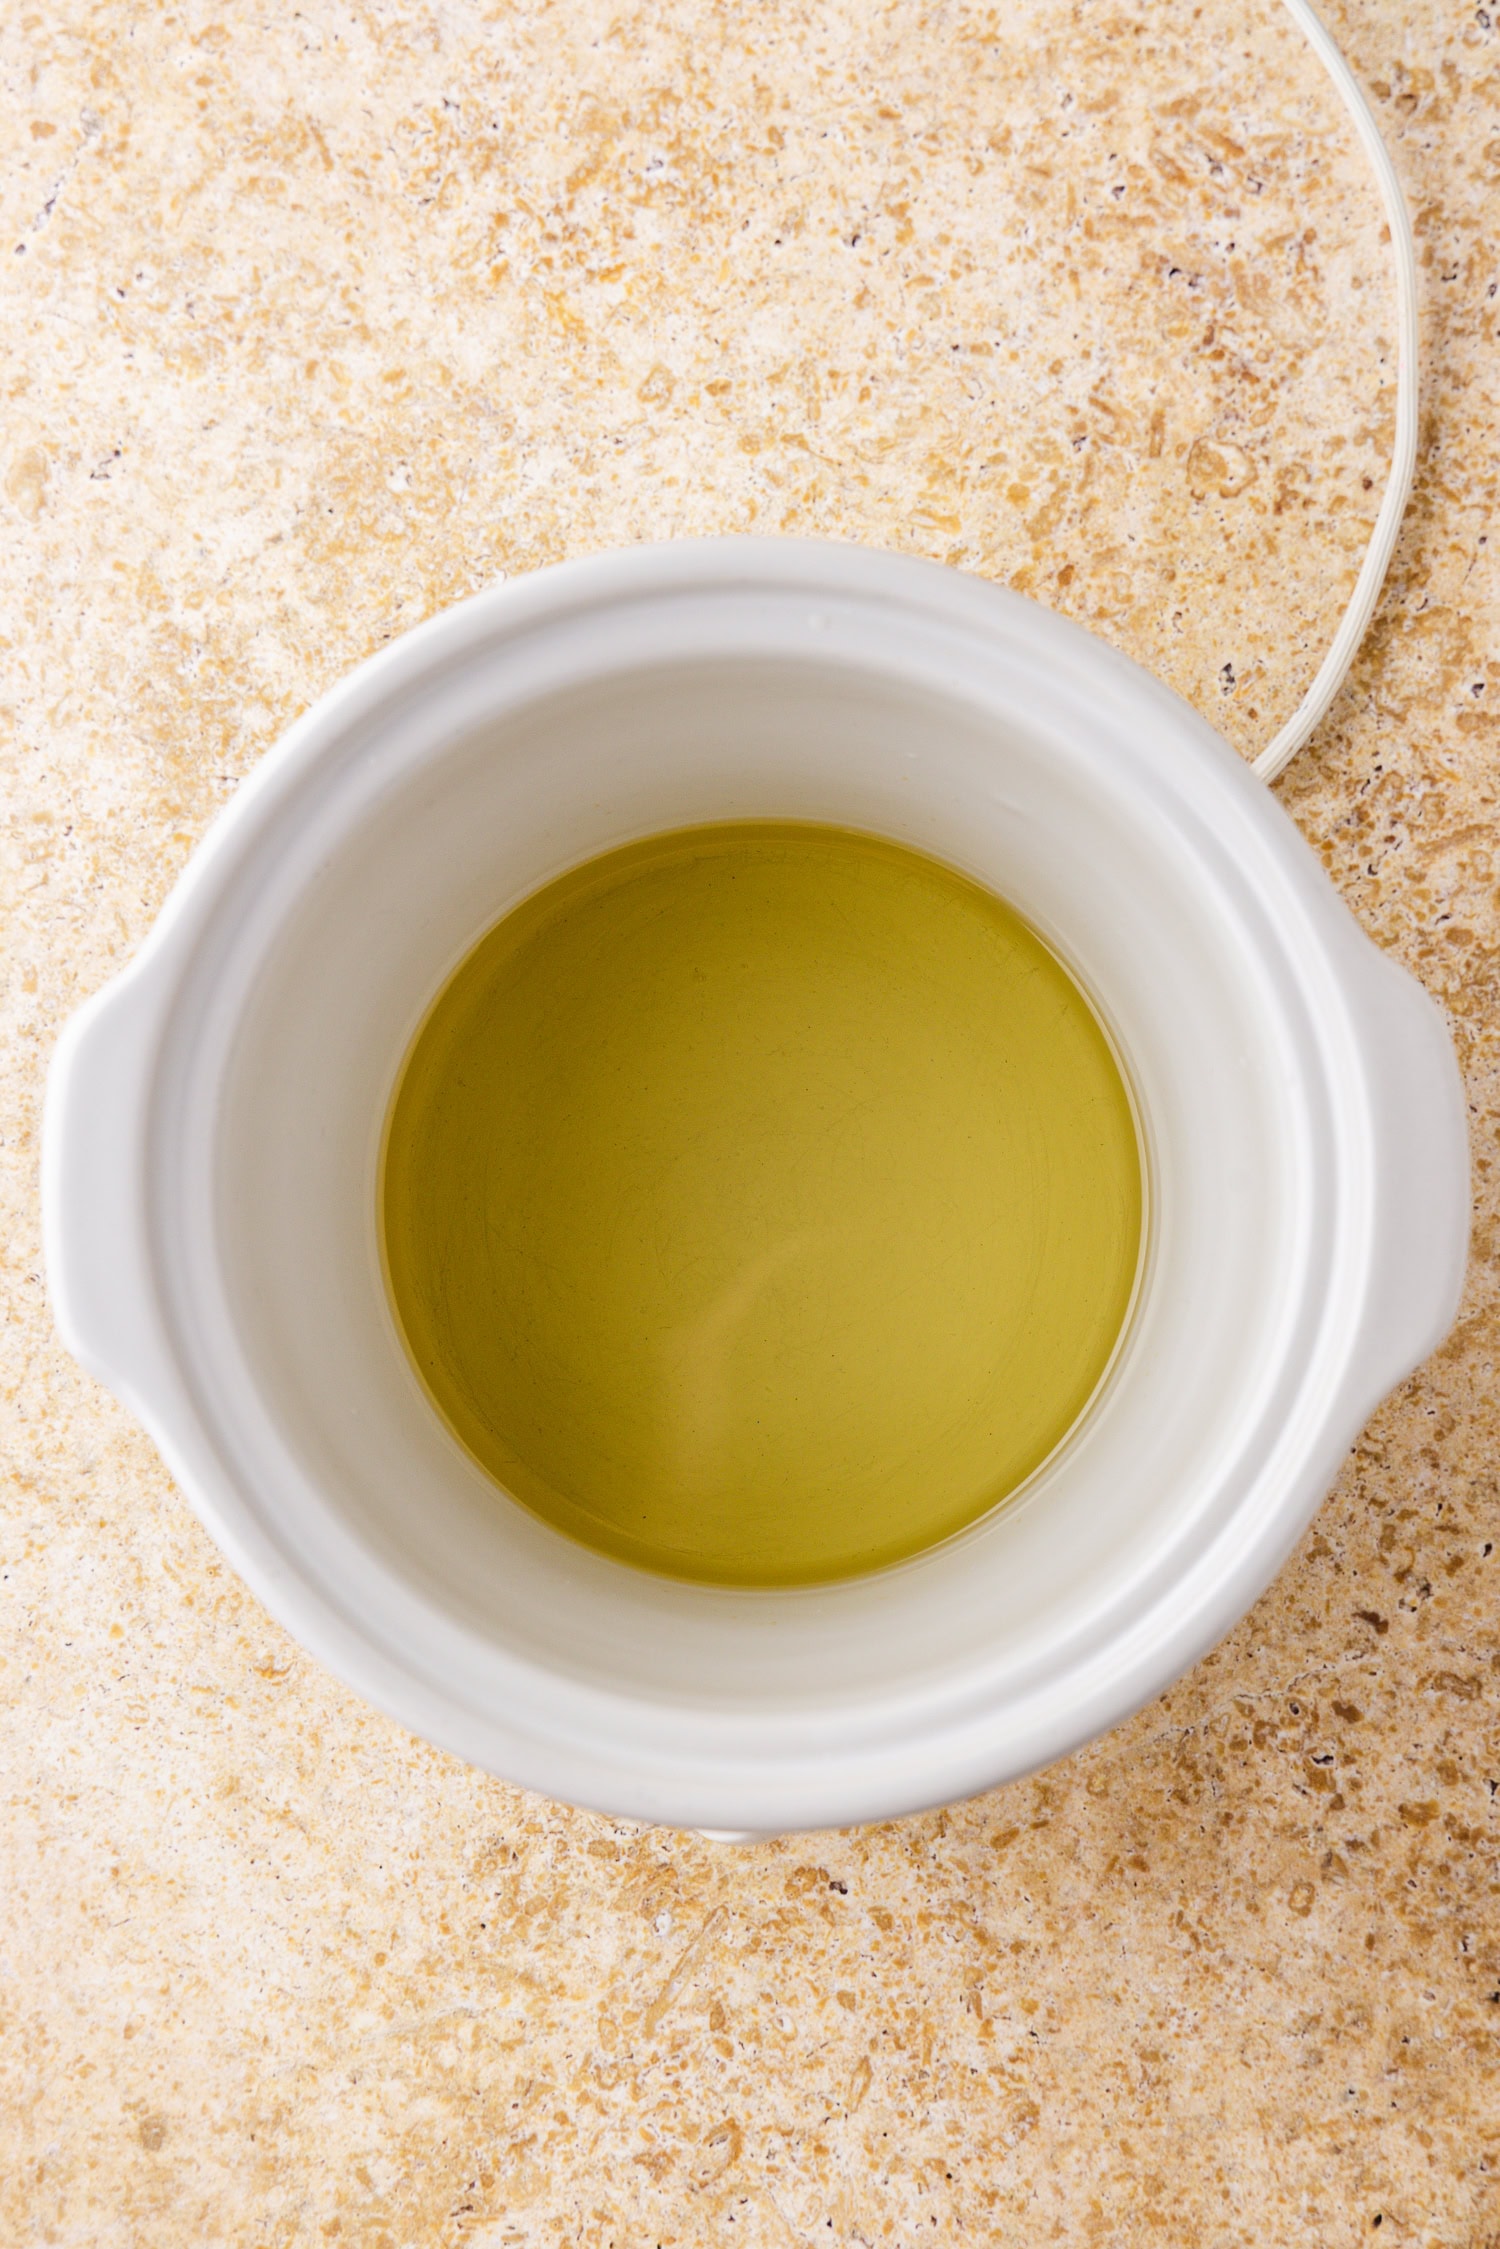
Melt the soy wax flakes in a small slow cooker set to medium/high OR use a double boiler. Melting the wax flakes should take about 30 minutes, so start melting the wax first and it will slowly melt while you work on the rest of the project.
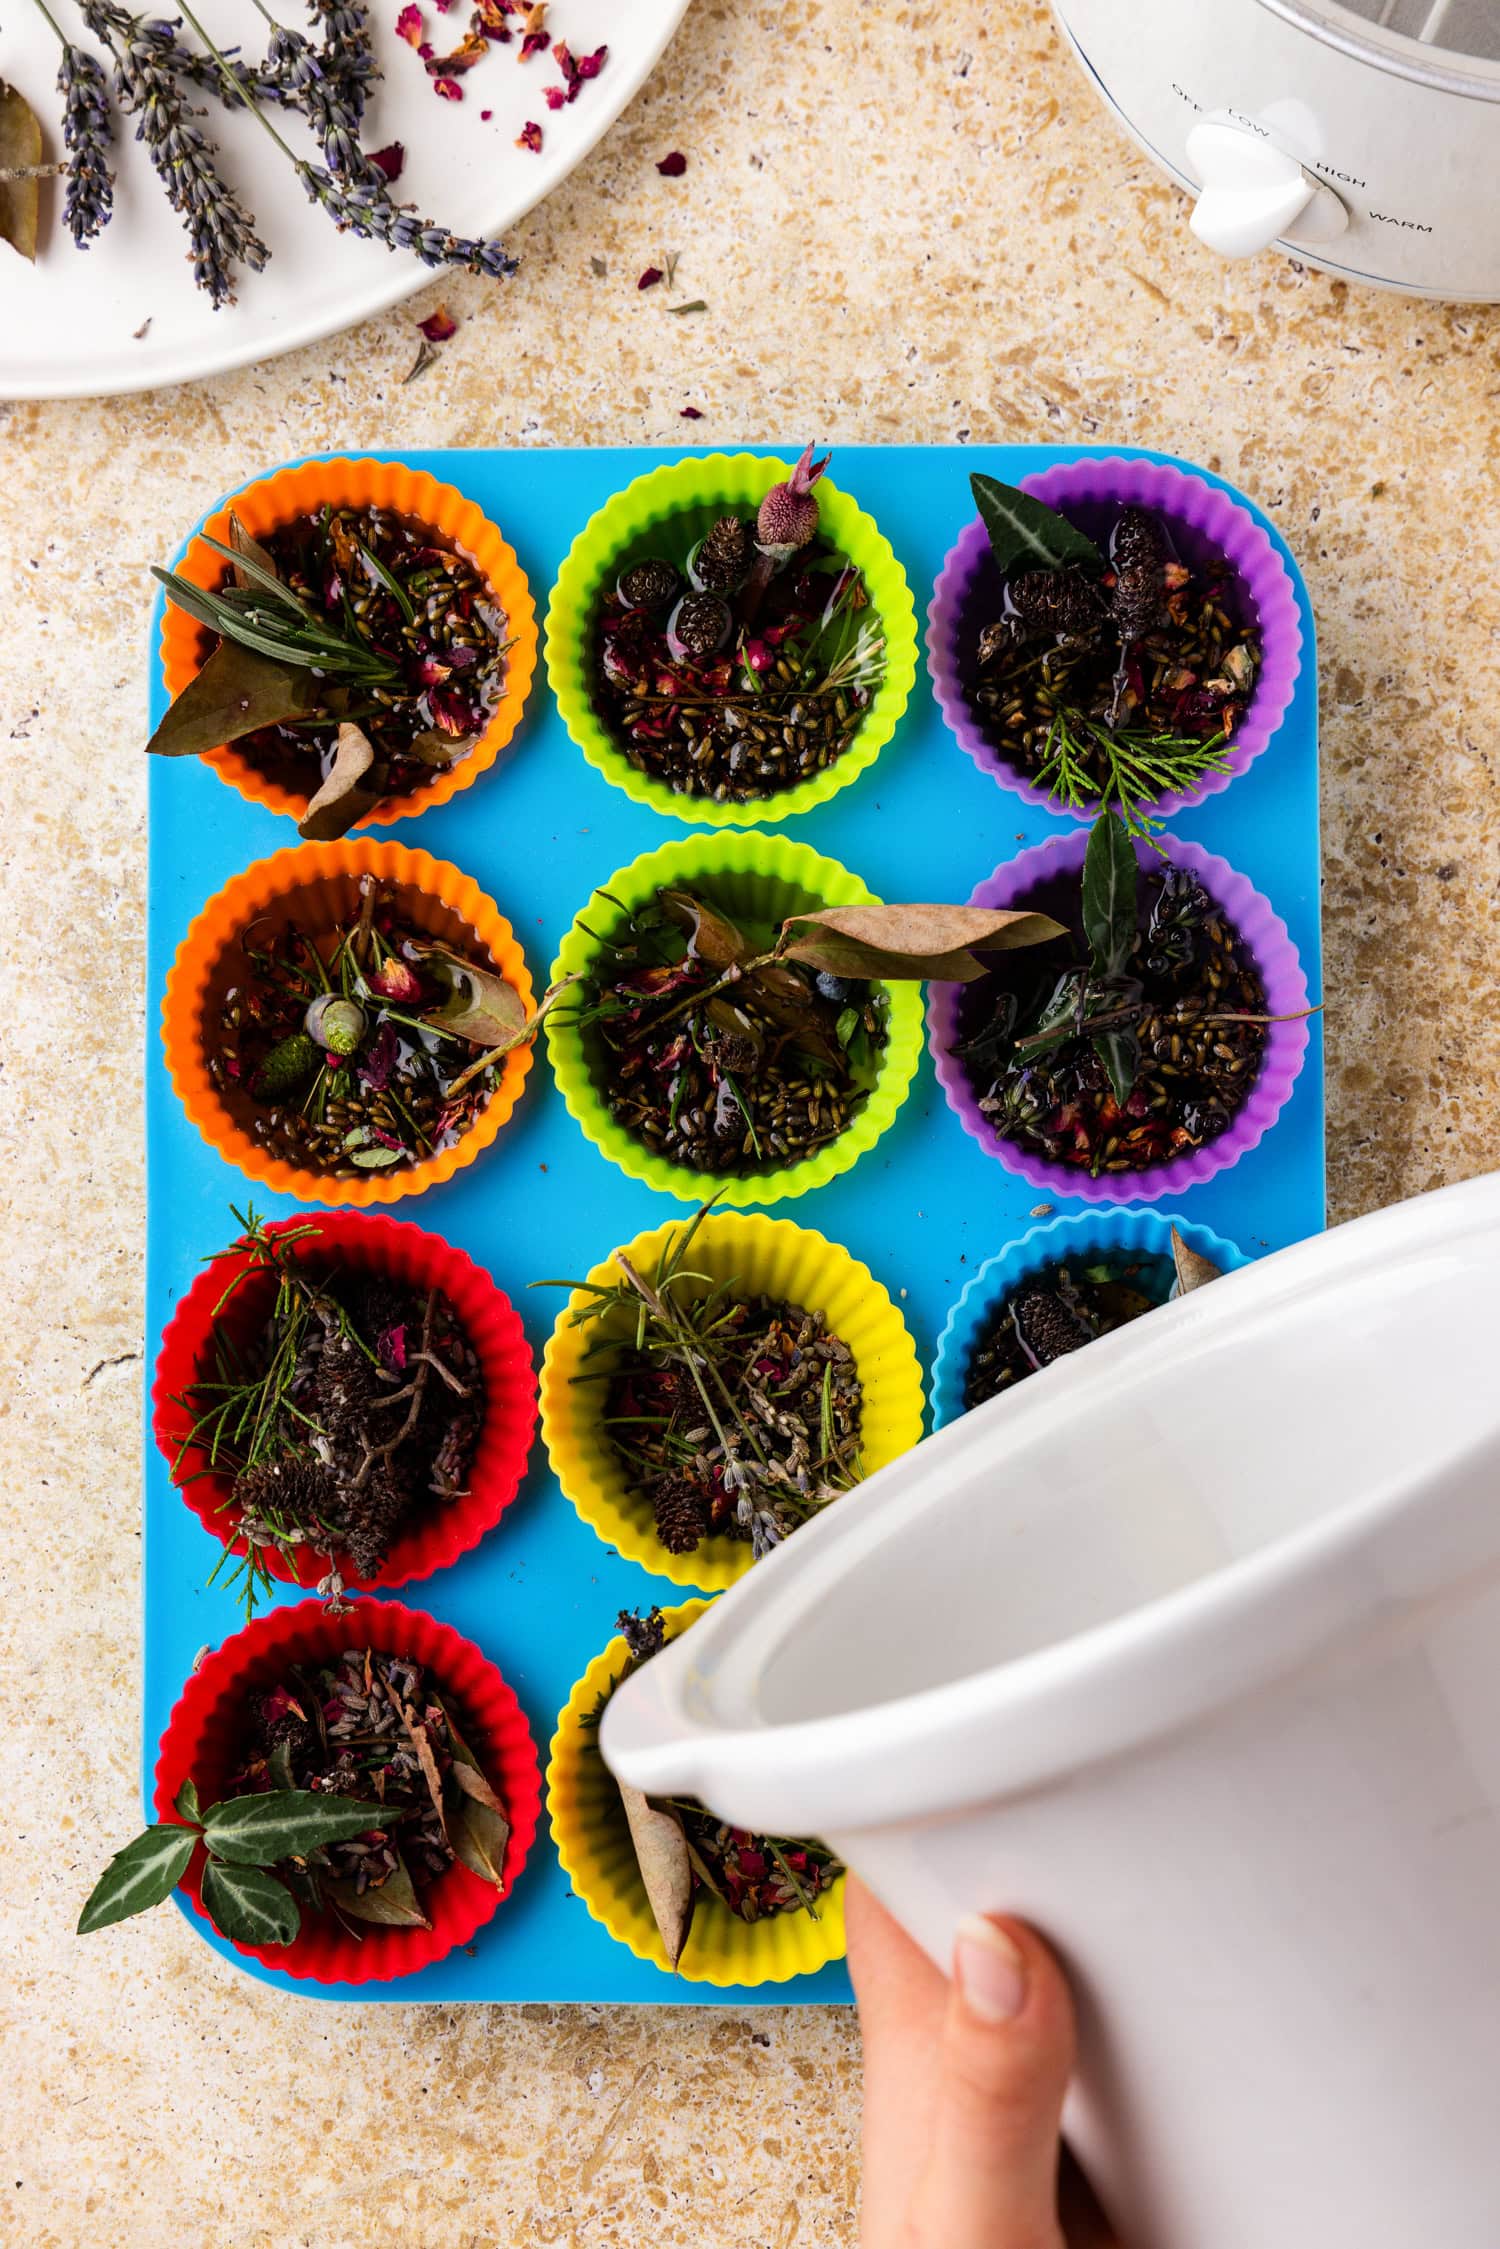
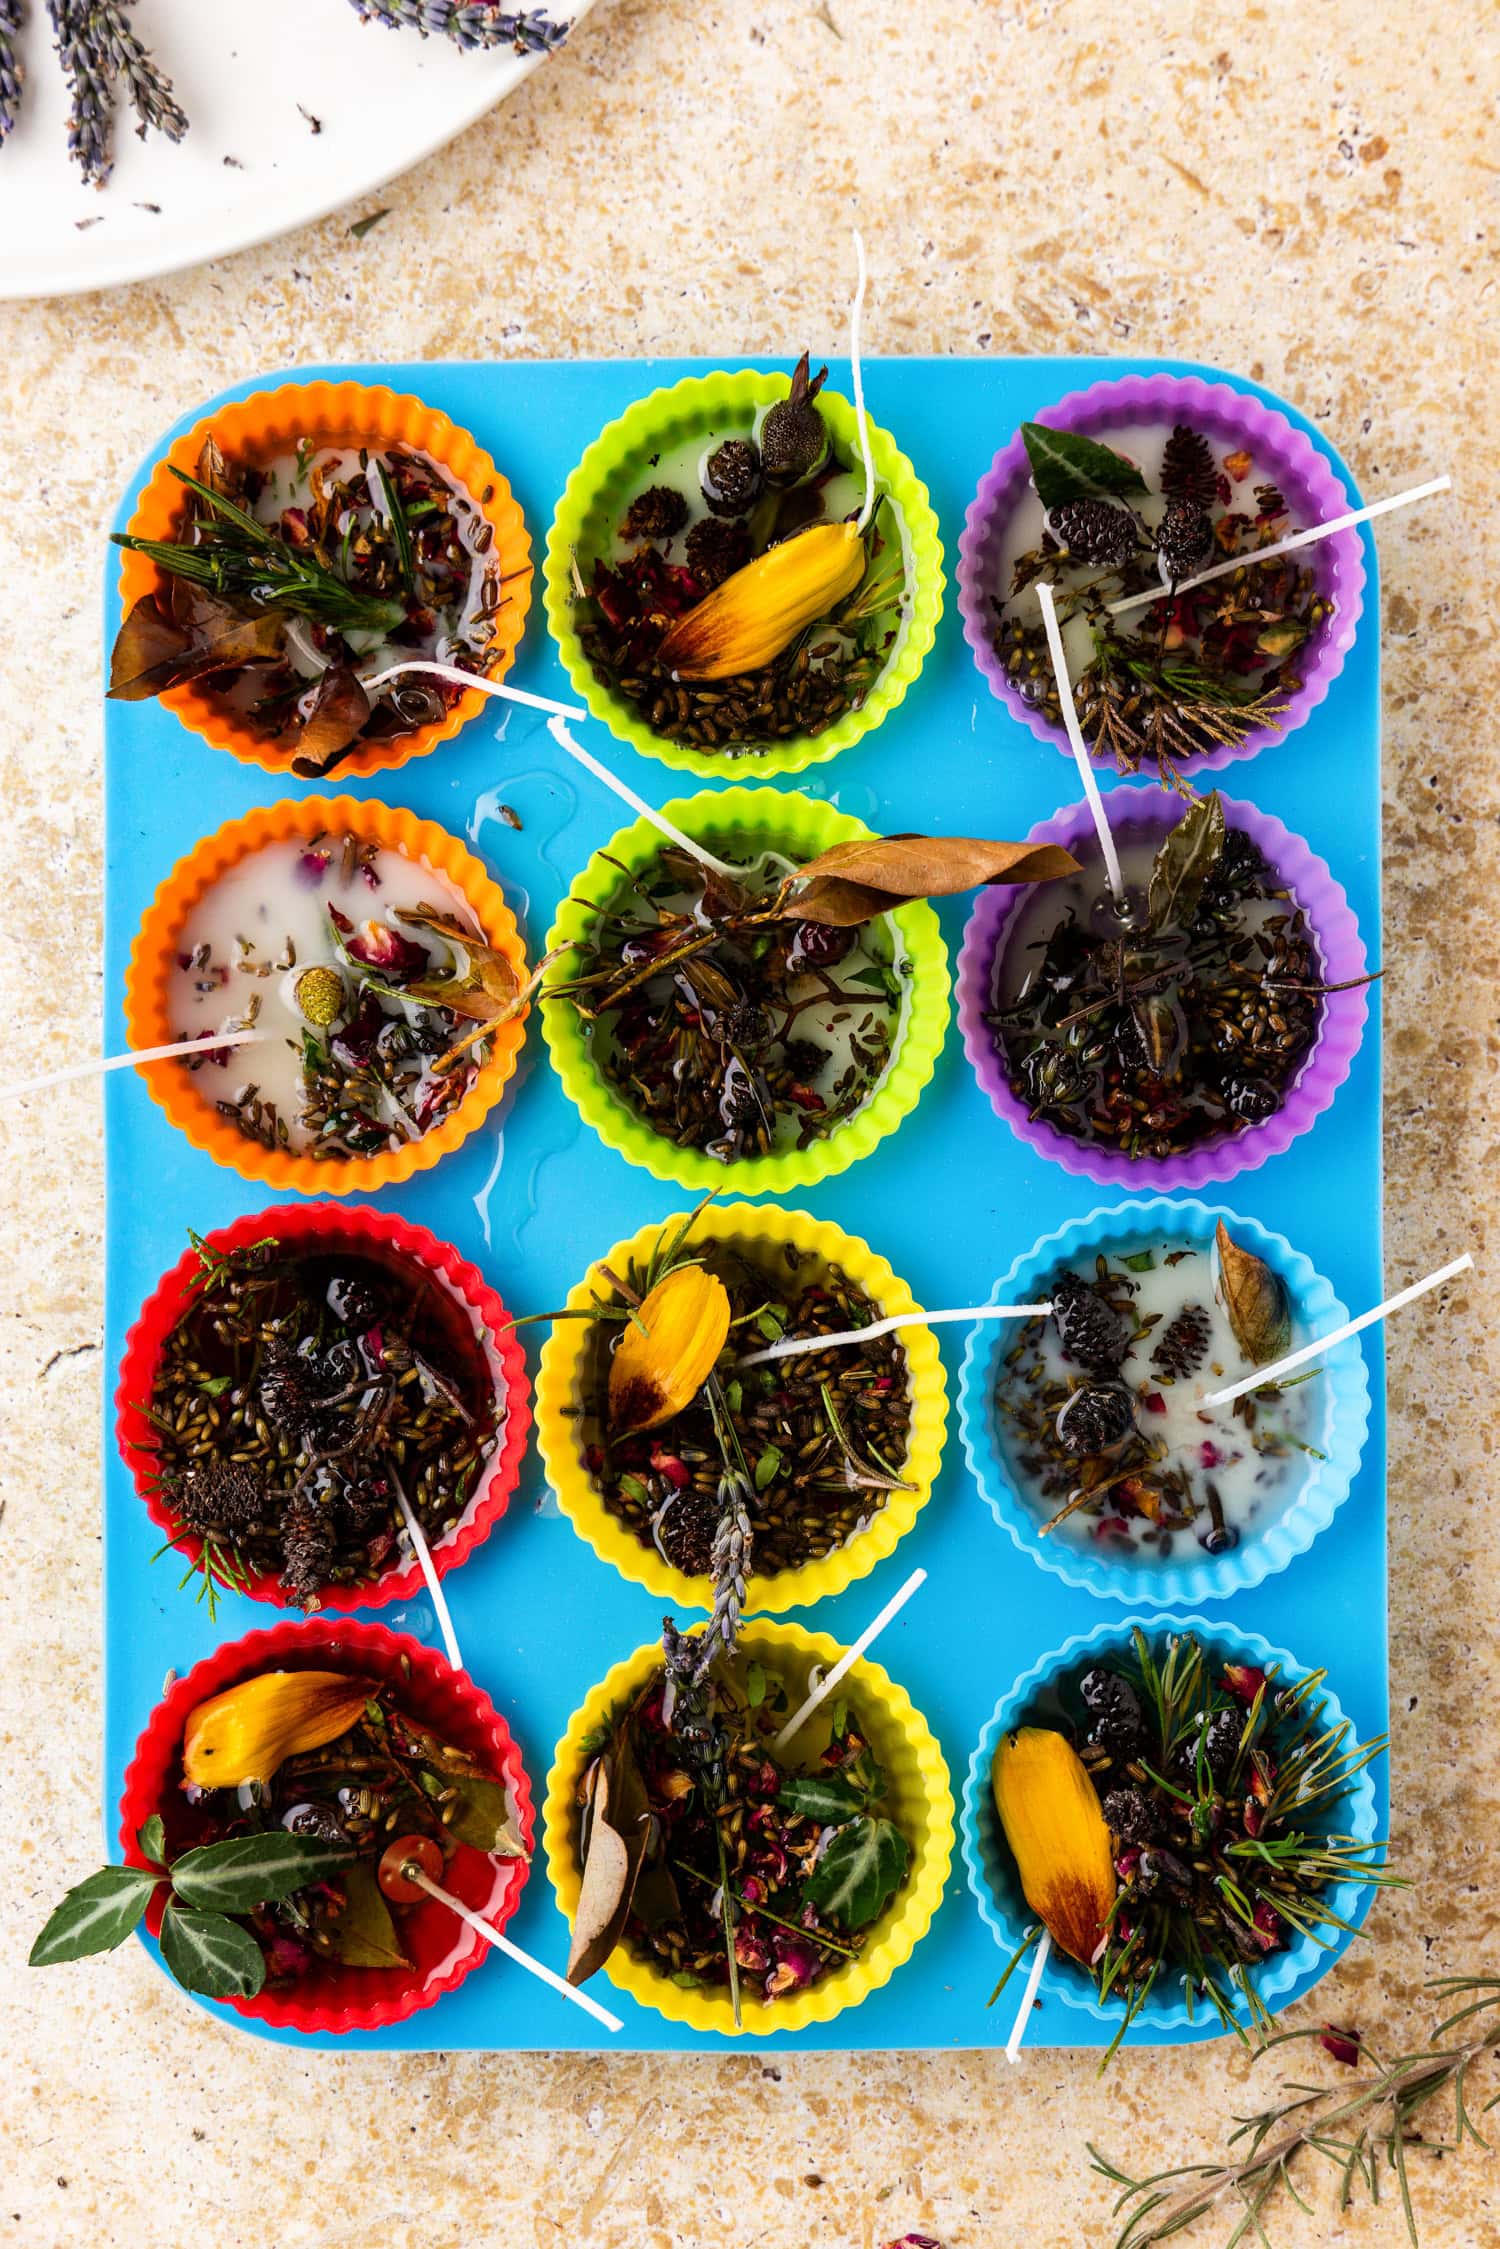
Place the items from your nature scavenger hunt into silicone cupcake liners. Break or cut into smaller pieces as needed. Add as many or as few items as you’d like to each cupcake liner to create your custom campfire starters.
Once the wax has fully melted, carefully pour it over your nature finds in the cupcake liners.
After pouring the wax and while it is still liquid, insert a candle wick into the center of each fire starter. Try to position it so the wick reaches the bottom. If your wicks are too long, trim them with scissors and reuse any extra pieces in another fire starter.
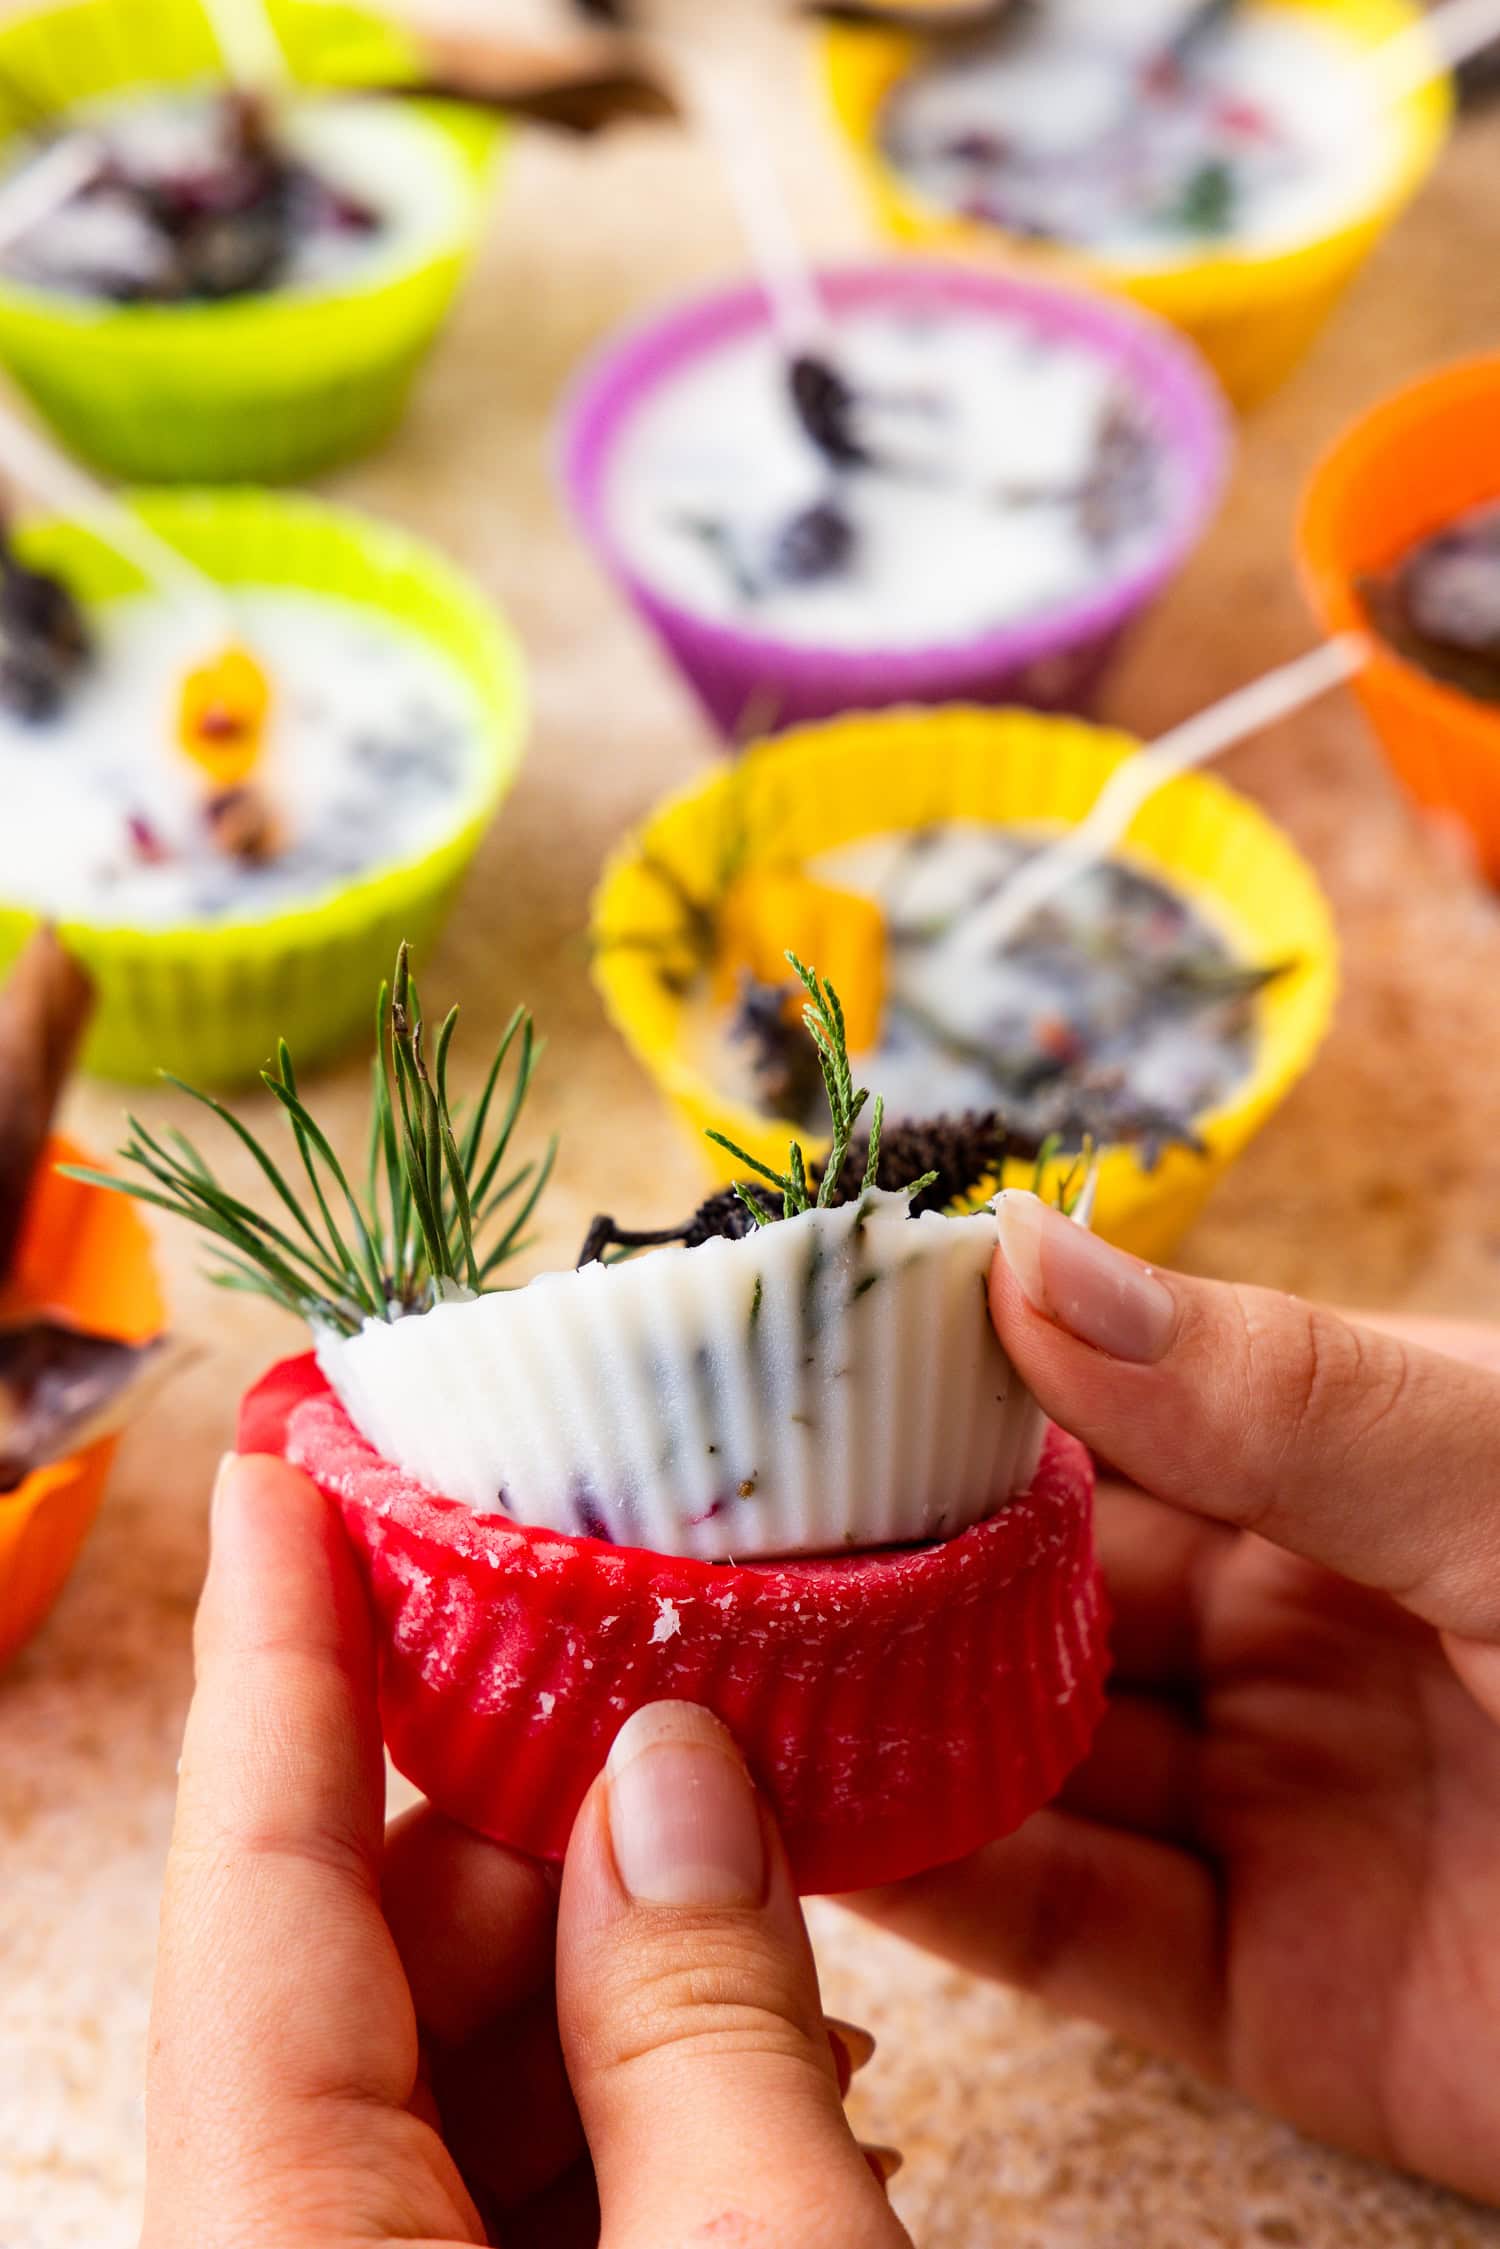
Let the wax cool and harden at room temperature. This should take about 1 hour.
Once the wax is fully set, remove each campfire starter from its silicone cupcake holder.
To use the campfire starters, build a campfire and place a campfire starter underneath, next to the kindling. Light the wick, and watch as your campfire grows! Always ask an adult before lighting a campfire.


Storage
Store your homemade campfire starters in an airtight container. Leave the container out of direct sunlight so they don’t melt and keep them somewhere where they cannot get wet and degrade over time.
Pro Tips
- To make a double boiler, fill a large pot halfway with water and place it on the stovetop on medium heat. Place a medium sized pot inside the large pot, and put the wax flakes in the medium pot.
- You can even add dryer lint to your campfire starters!
- For 12 cupcake liners, we melted 4 cups of wax flakes. This melted down to 2 cups of liquid.
Tips For A Simple Campfire
1. ALWAYS ask an adult before you get started!!! Gather your supplies:
- Tiny sticks and twigs (called kindling)
- Dry leaves or pine needles
- Bigger sticks and small logs
- Your homemade campfire starter
- Matches or a lighter (adult help needed!)
2. Make a safe fire spot:
- If you don’t have a fire ring, clear a circle of dirt or stones—no grass or leaves inside!
- Be sure it’s far away from trees, tents, and anything that could burn.
- Always have a grown-up nearby!
3. Add kindling (tiny sticks and twigs):
- Place your campfire starter in the middle of the fire spot. Arrange the little sticks around the fire starter like a teepee or a tent, and place the dried leaves and pine needles over the kindling.
4. Add bigger sticks:
- After the kindling, stack slightly bigger sticks around the teepee.
5. Light the fire:
- Have a grown-up light the fire starter.
- Watch as the flames grow and catch the sticks.
7. Add more wood slowly:
- As the fire grows, you can add small logs or bigger sticks.
- Don’t smother the fire—leave space for air!
8. Be safe at all times:
- Never leave the fire alone.
- Keep water nearby just in case.
9. When you’re done, put it out completely:
- Pour water on the fire.
- Stir the ashes with a stick.
- Add more water if needed.
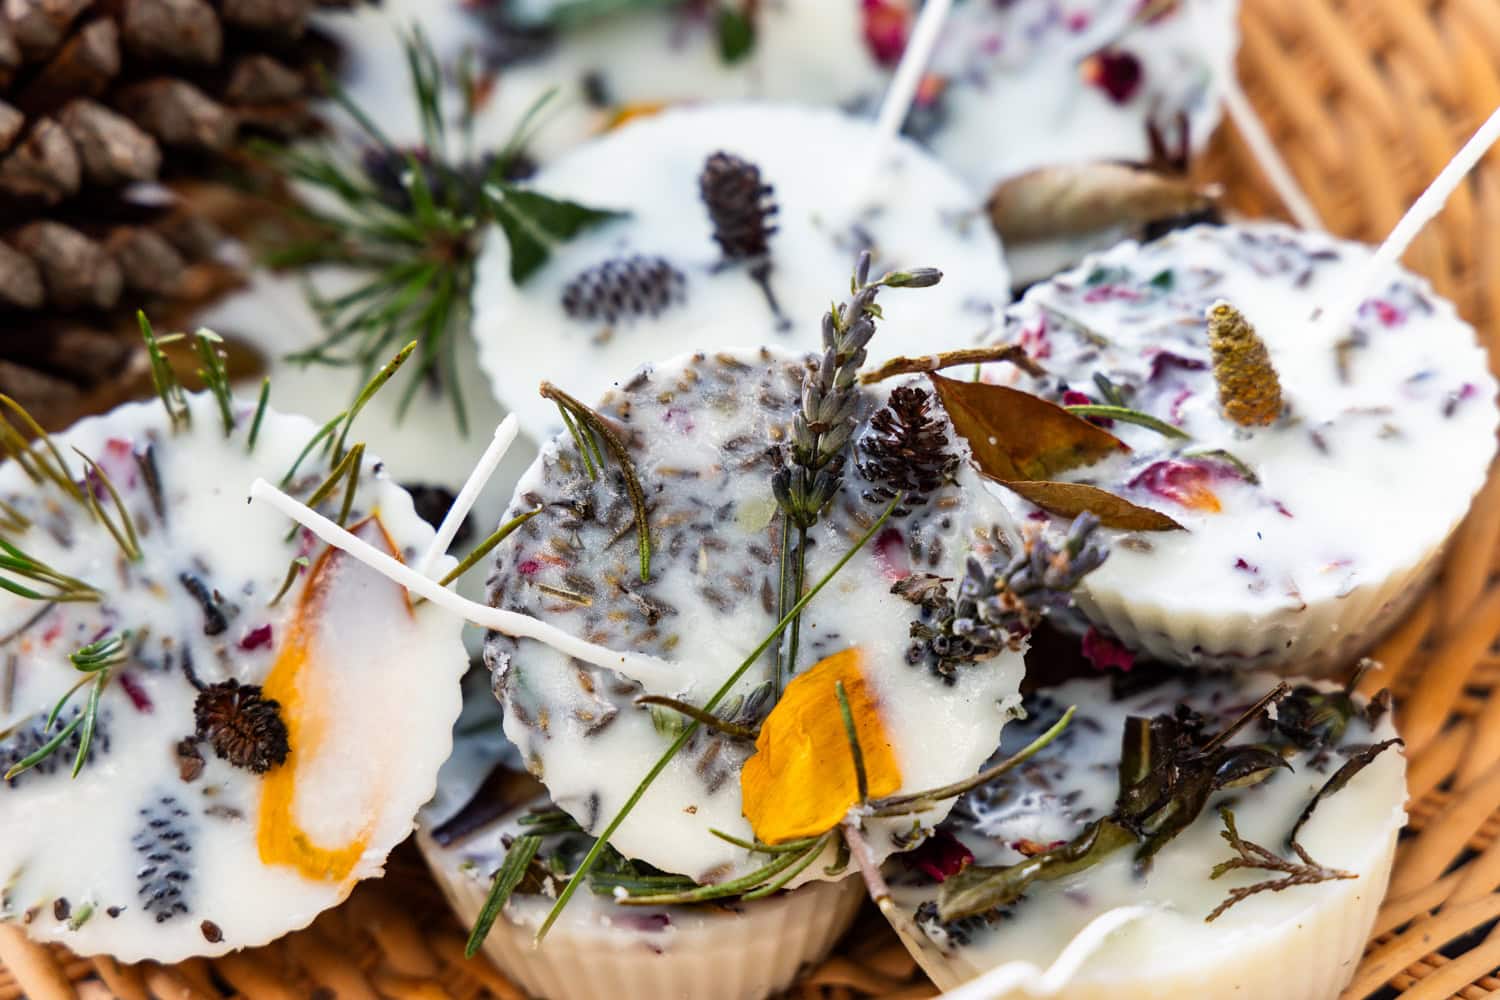
Do-it-yourself campfire starters make starting the campfire so simple and the kids are going to love helping out! Get them out on a nature hunt to collect dry foliage to add to these simple wax starters and have so much fun putting them together.

DIY Campfire Starters
Ingredients
- 4 cups soy wax flakes
- 12 cotton wicks
- nature hunt finds
Instructions
- Begin this craft with a nature hunt! Head outside and gather natural materials that will fuel your fire—tiny twigs, mini pinecones, dried grass, leaves, and flowers all work well, just make sure they are dry.
- After your nature hunt, melt the soy wax flakes in a small slow cooker set to medium/high OR you can use a double boiler. Melting the wax flakes should take about 30 minutes, so start melting the wax first and it will slowly melt while you work on the rest of the project.
- Place the items from your nature scavenger hunt into silicone cupcake liners. Break or cut into smaller pieces as needed. Add as many or as few items as you’d like to each cupcake liner to create your custom campfire starters.
- Once the wax has fully melted, carefully pour it over your nature finds in the cupcake liners.
- After pouring the wax and while it is still liquid, insert a candle wick into the center of each fire starter. Try to position it so the wick reaches the bottom. If your wicks are too long, trim them with scissors and reuse any extra pieces in another fire starter.
- Let the wax cool and harden at room temperature. This should take about 1 hour.
- Once the wax is fully set, remove each campfire starter from its silicone cupcake holder.
- To use the campfire starters, build a campfire and place a campfire starter underneath, next to the kindling. Light the wick, and watch as your campfire grows! Always ask an adult before lighting a campfire.
More Great Summertime Fun
- When the kids need a rainy day craft, create their favorite treat – S’Mores! Using items you most likely already have at home, the kids can still create their favorite campfire treat while staying dry.
- With all of the outside time and fresh air the kiddos are getting, snacks are essential! Next time your kids invite the neighbourhood over for some summer fun, a Snack Board will keep everyone happy and well fueled.
- When it’s hot out, everyone loves a cool treat and homemade Root Beer Popsicles are always a hit! Vanilla ice cream and root beer are all you need to make this refreshing treat.
- If you’re tired of the kids sneaking up on you with the water guns, bring out the paint! Squirt Gun Painting is a great way for kids to express their creativity outside on a sunny day.