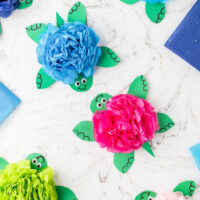
Tissue Paper Turtle Craft
Fun and cute Tissue Paper Turtle Craft! These turtles are so fun to make and cute for the kids. They can each pick their own color of tissue for their turtle to make them fun and unique. Make this fun kids craft and have fun.
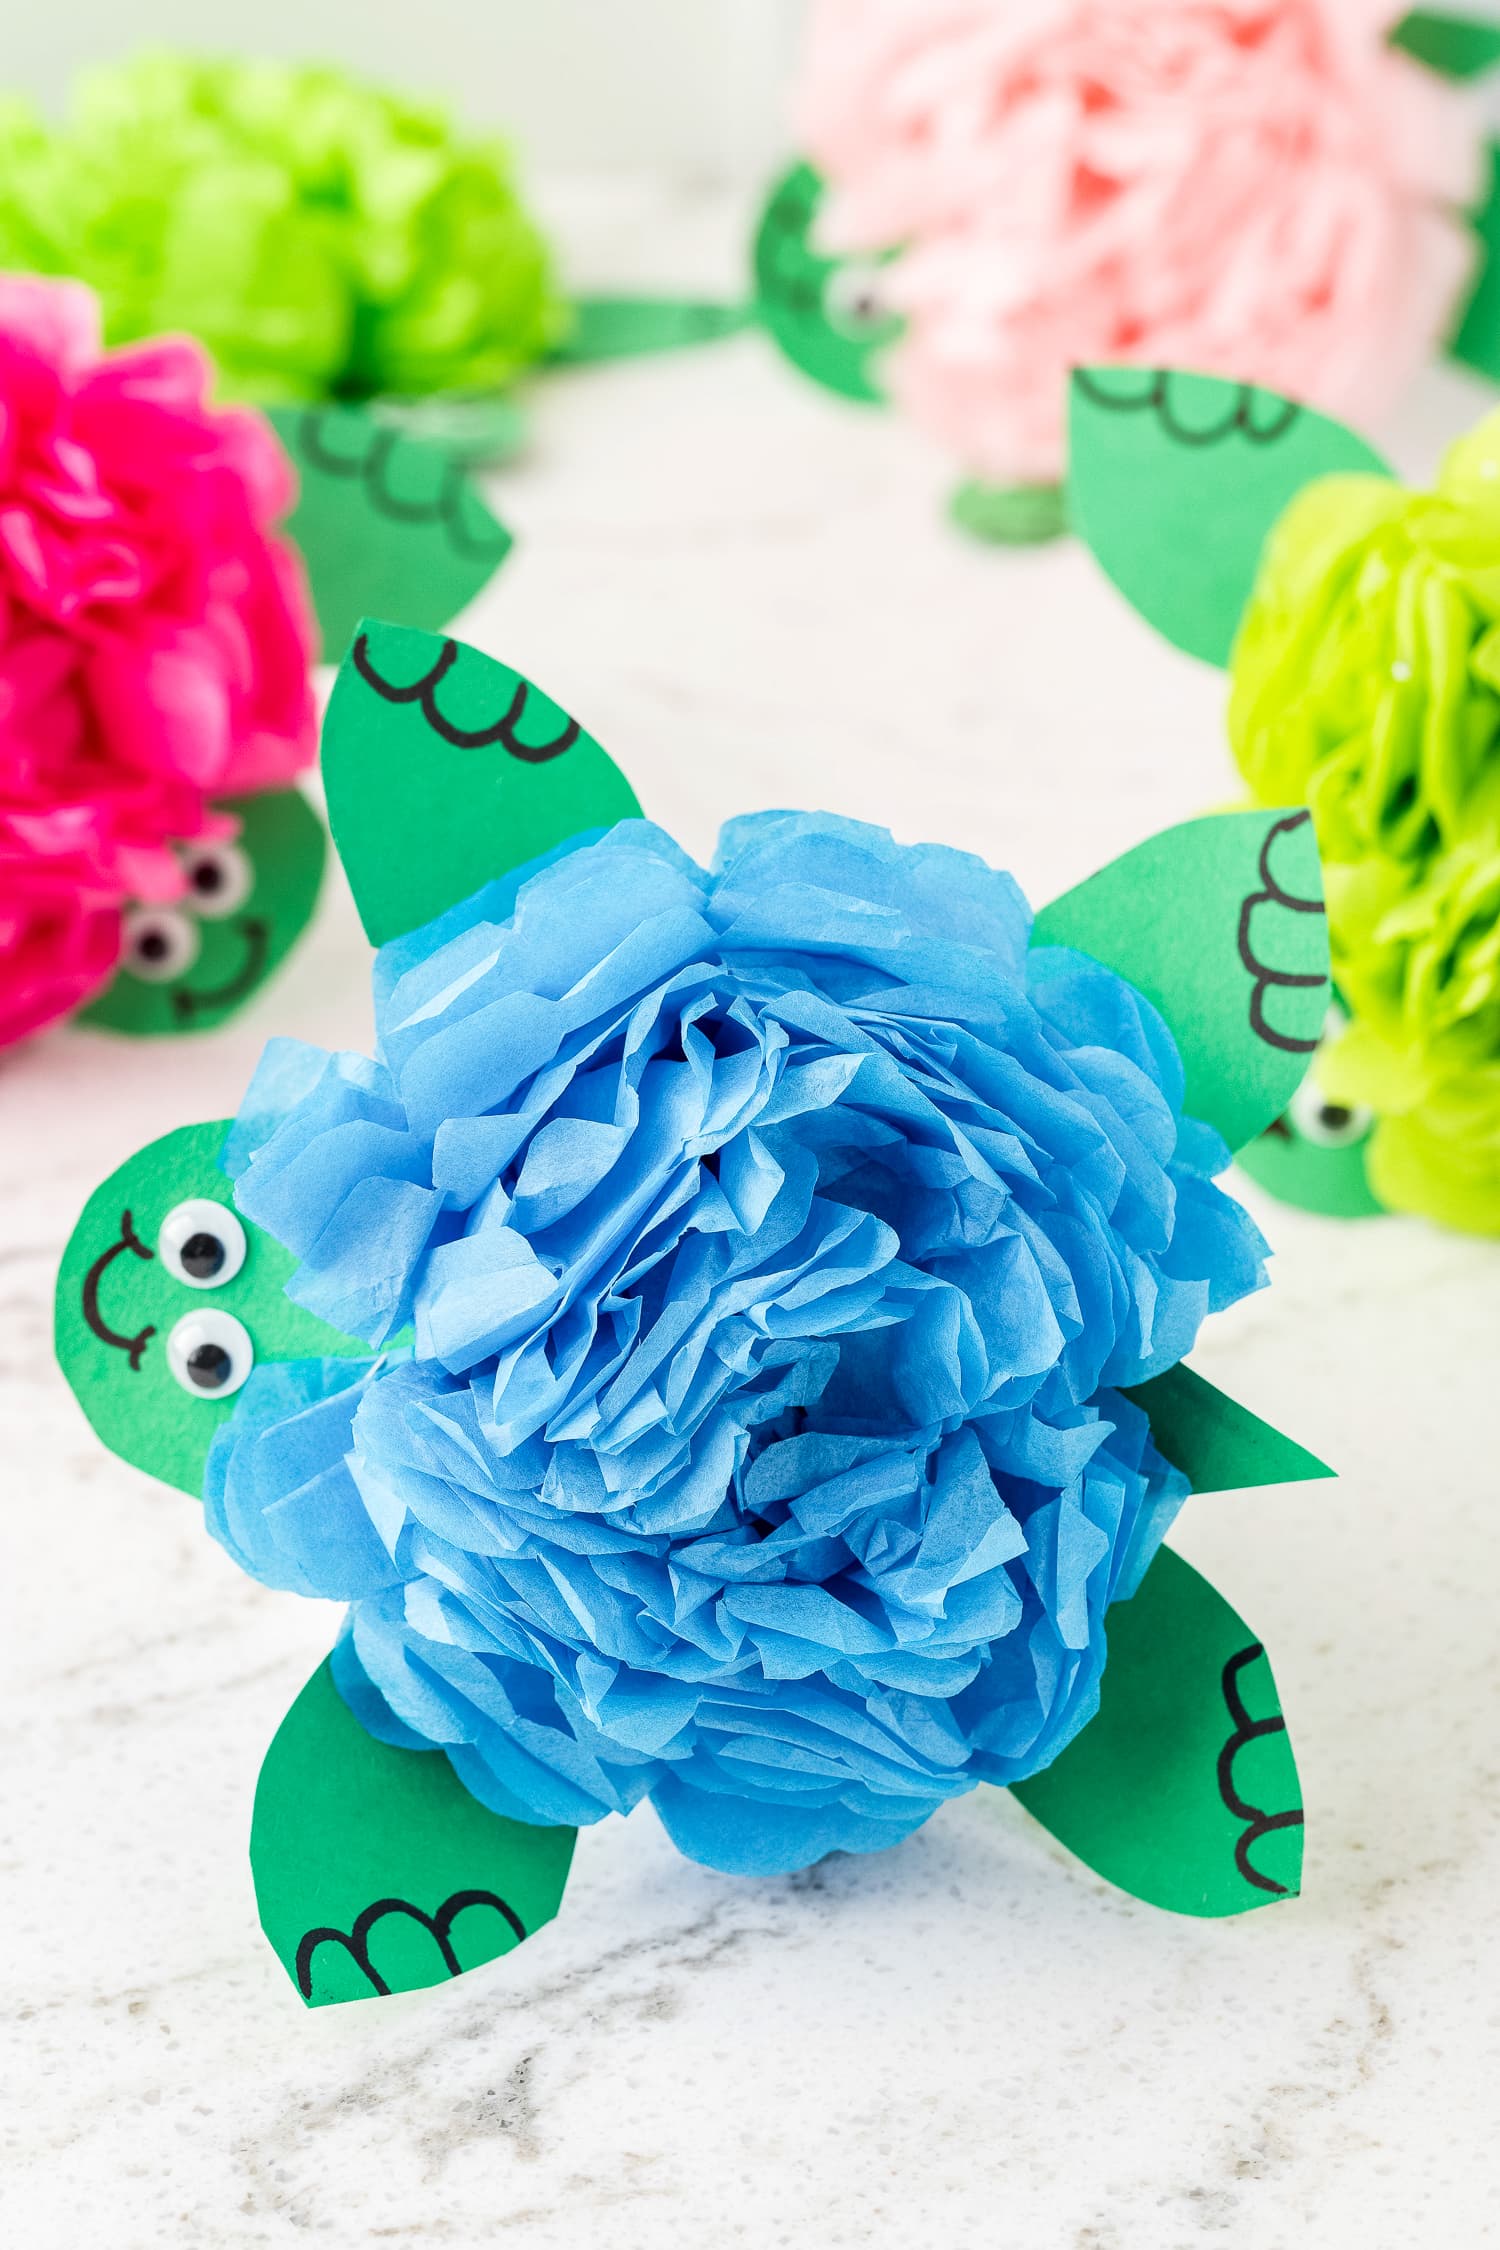
This turtle craft is so fun and cute to make the kids will love them and so will you!
All you need is a few simple craft supplies to make this fun tissue paper craft. We love using vibrant colors. Each kid can pick their favorite colors to make their turtle unique to them!
Don’t have tissue paper on hand? Check out this paper plate turtle craft instead! And for more deep sea fun, make this adorable paper plate octopus craft.
Have fun creating this kids craft!
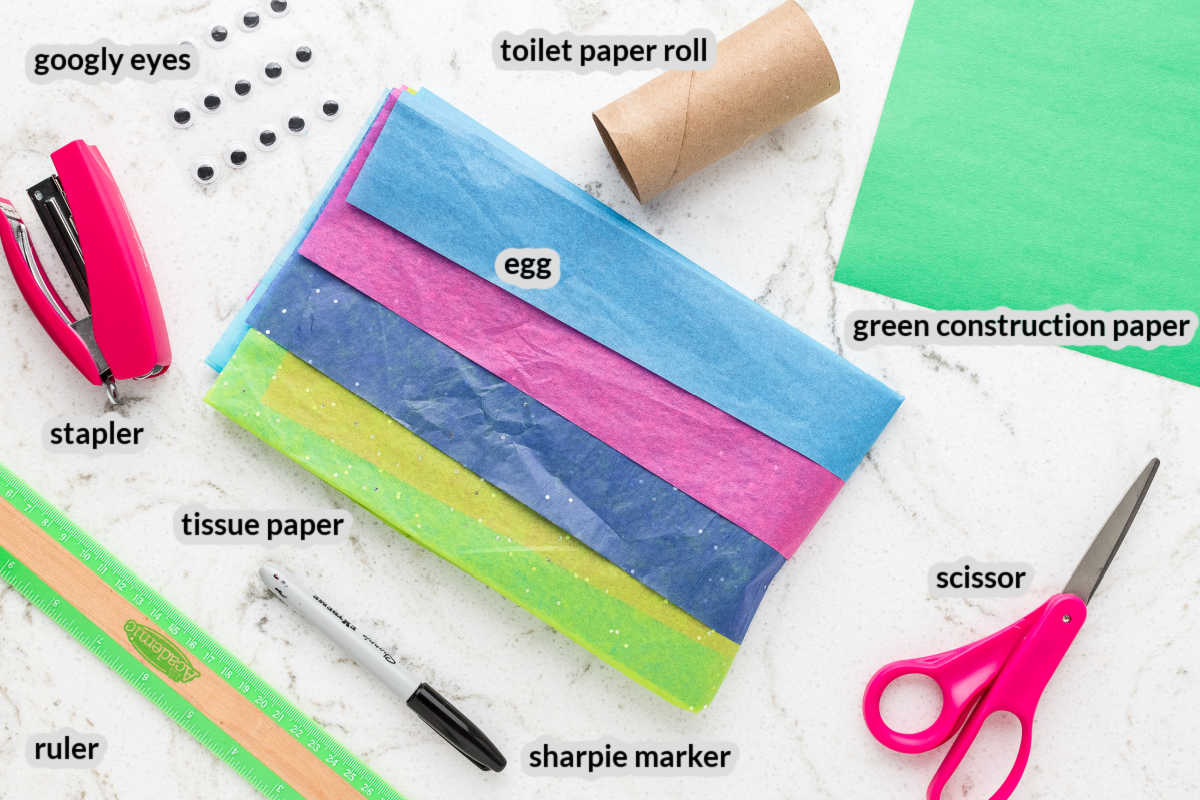
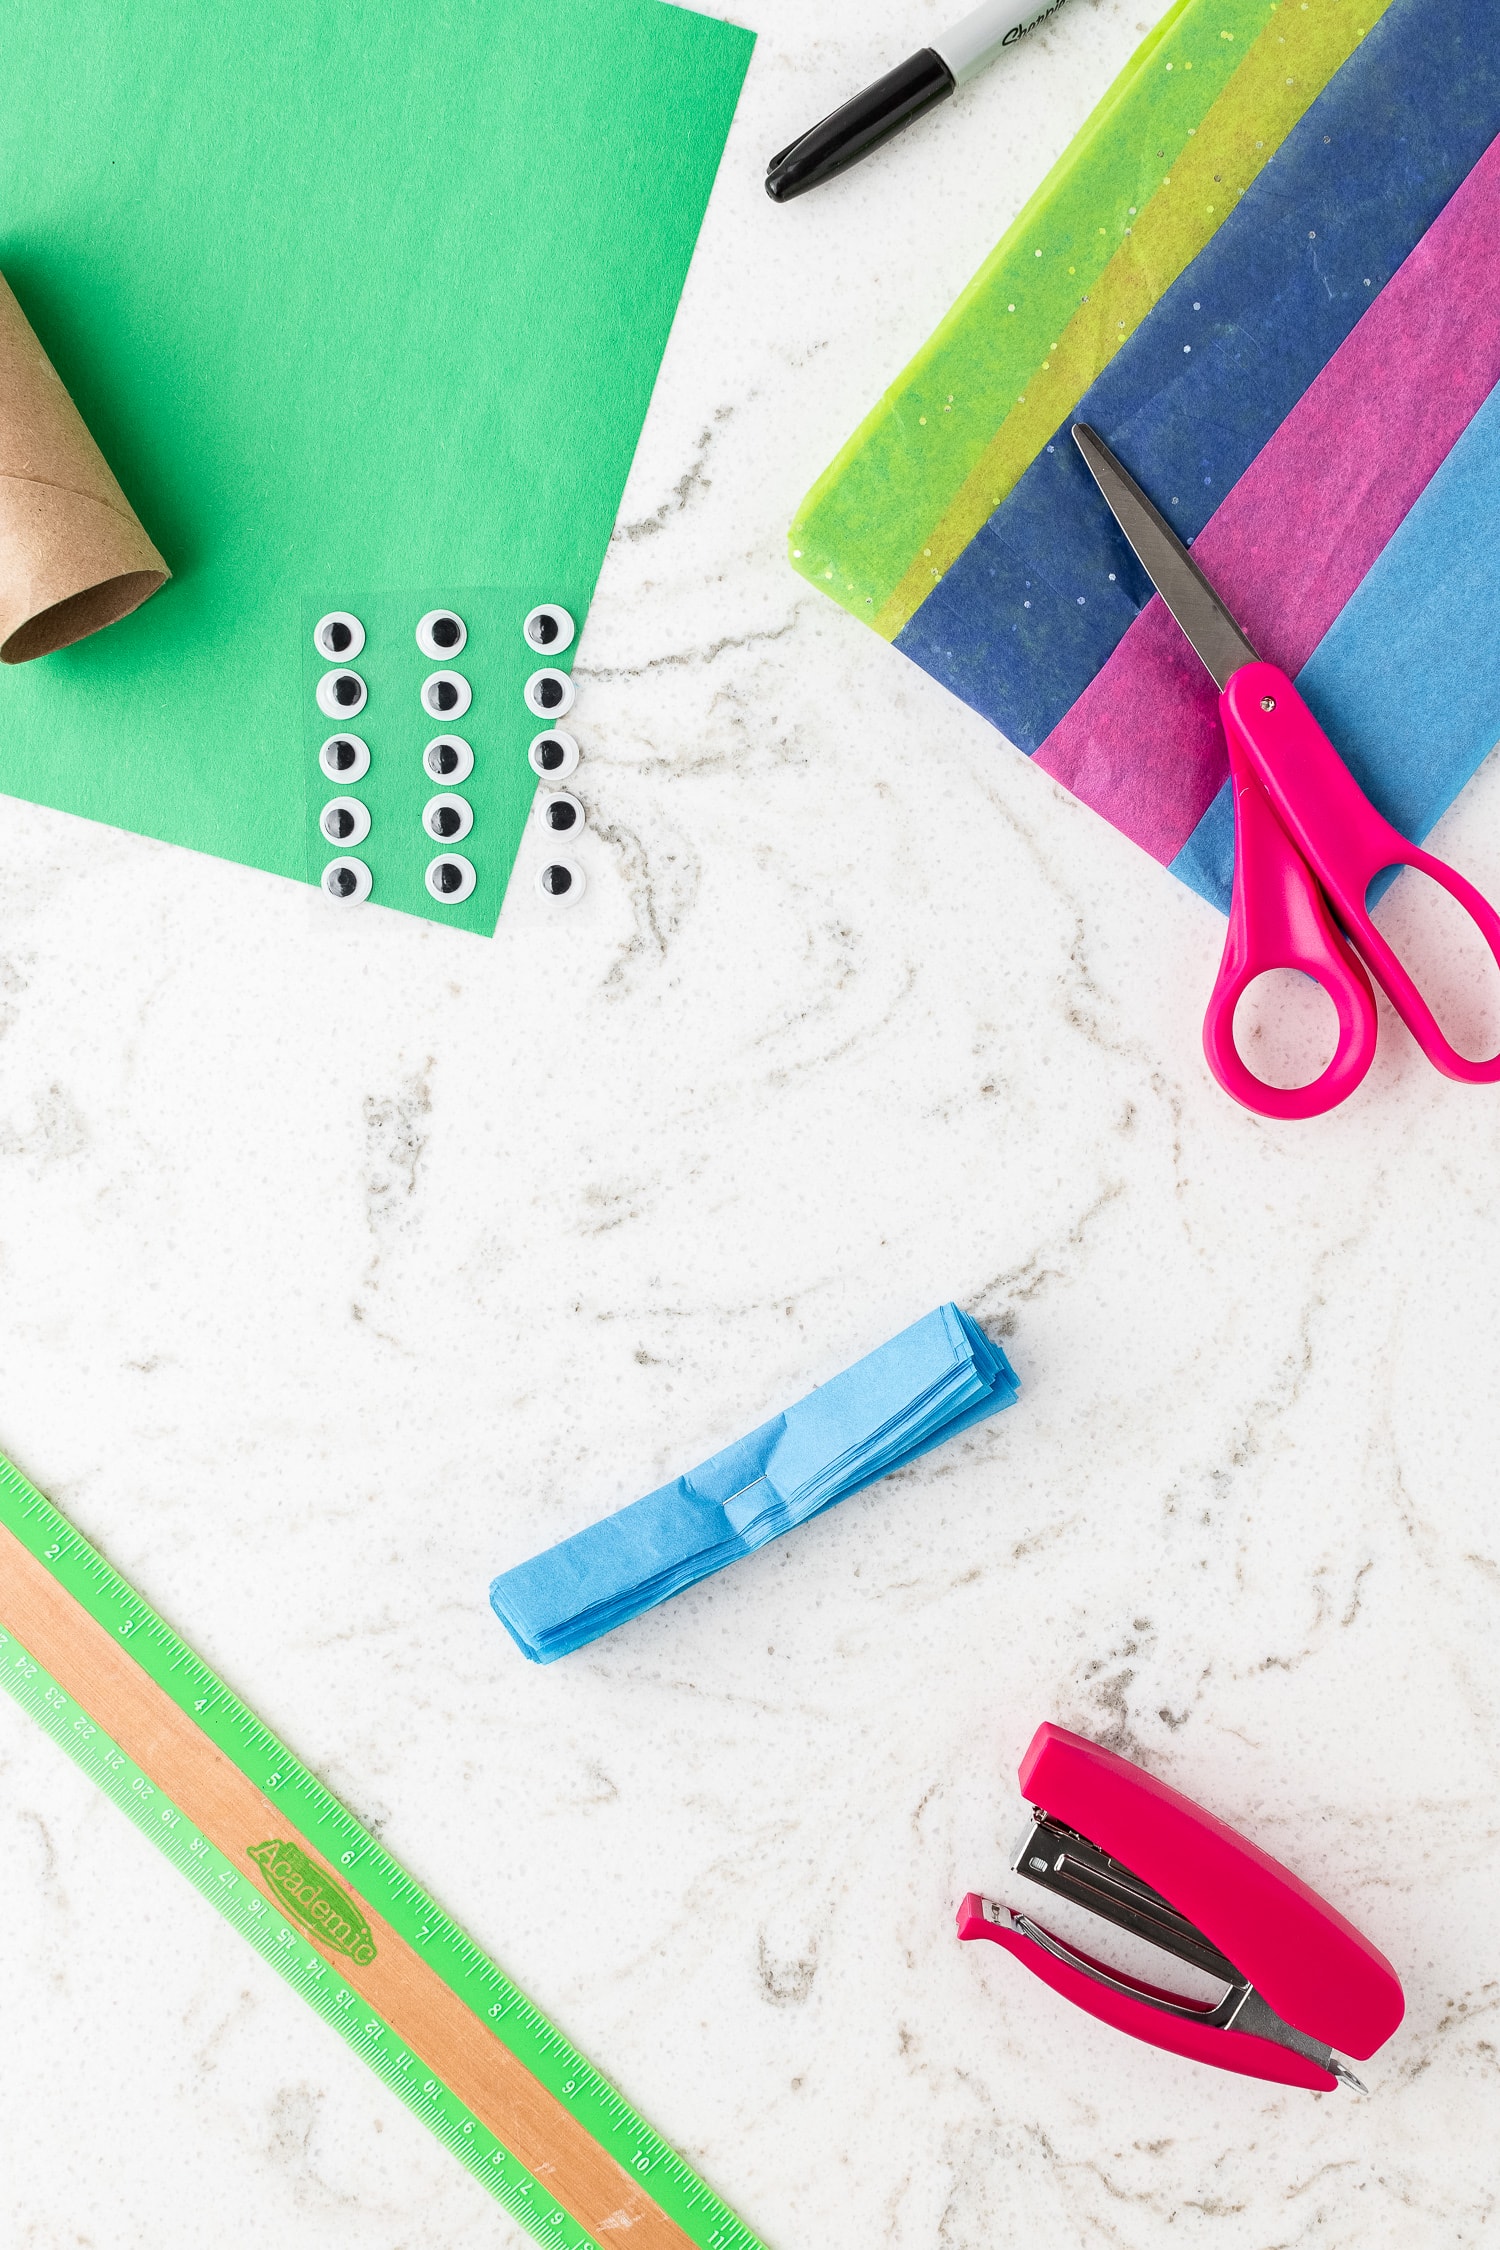
Supplies Needed for Turtle Craft
- Tissue paper – we used 20-inch x 26-inch sheets of tissue paper, but any size can be cut down to fit your turtle size.
- Ruler – we used a classroom ruler, but you could also use a measuring tape.
- Scissors – make sure your scissors are clean and sharp!
- Stapler – we used a small stapler for this craft.
- Sharpie marker – feel free to use any marker or pen/pencil on hand.
- Toilet paper roll – reduce, reuse, and recycle! We used an empty toilet paper roll as a template for the circle and ovals.
- Green construction paper – you can also use green card stock for this project.
- Googly eyes – use googly eyes to give your turtle some character!
How to Make Tissue Paper Turtle Craft
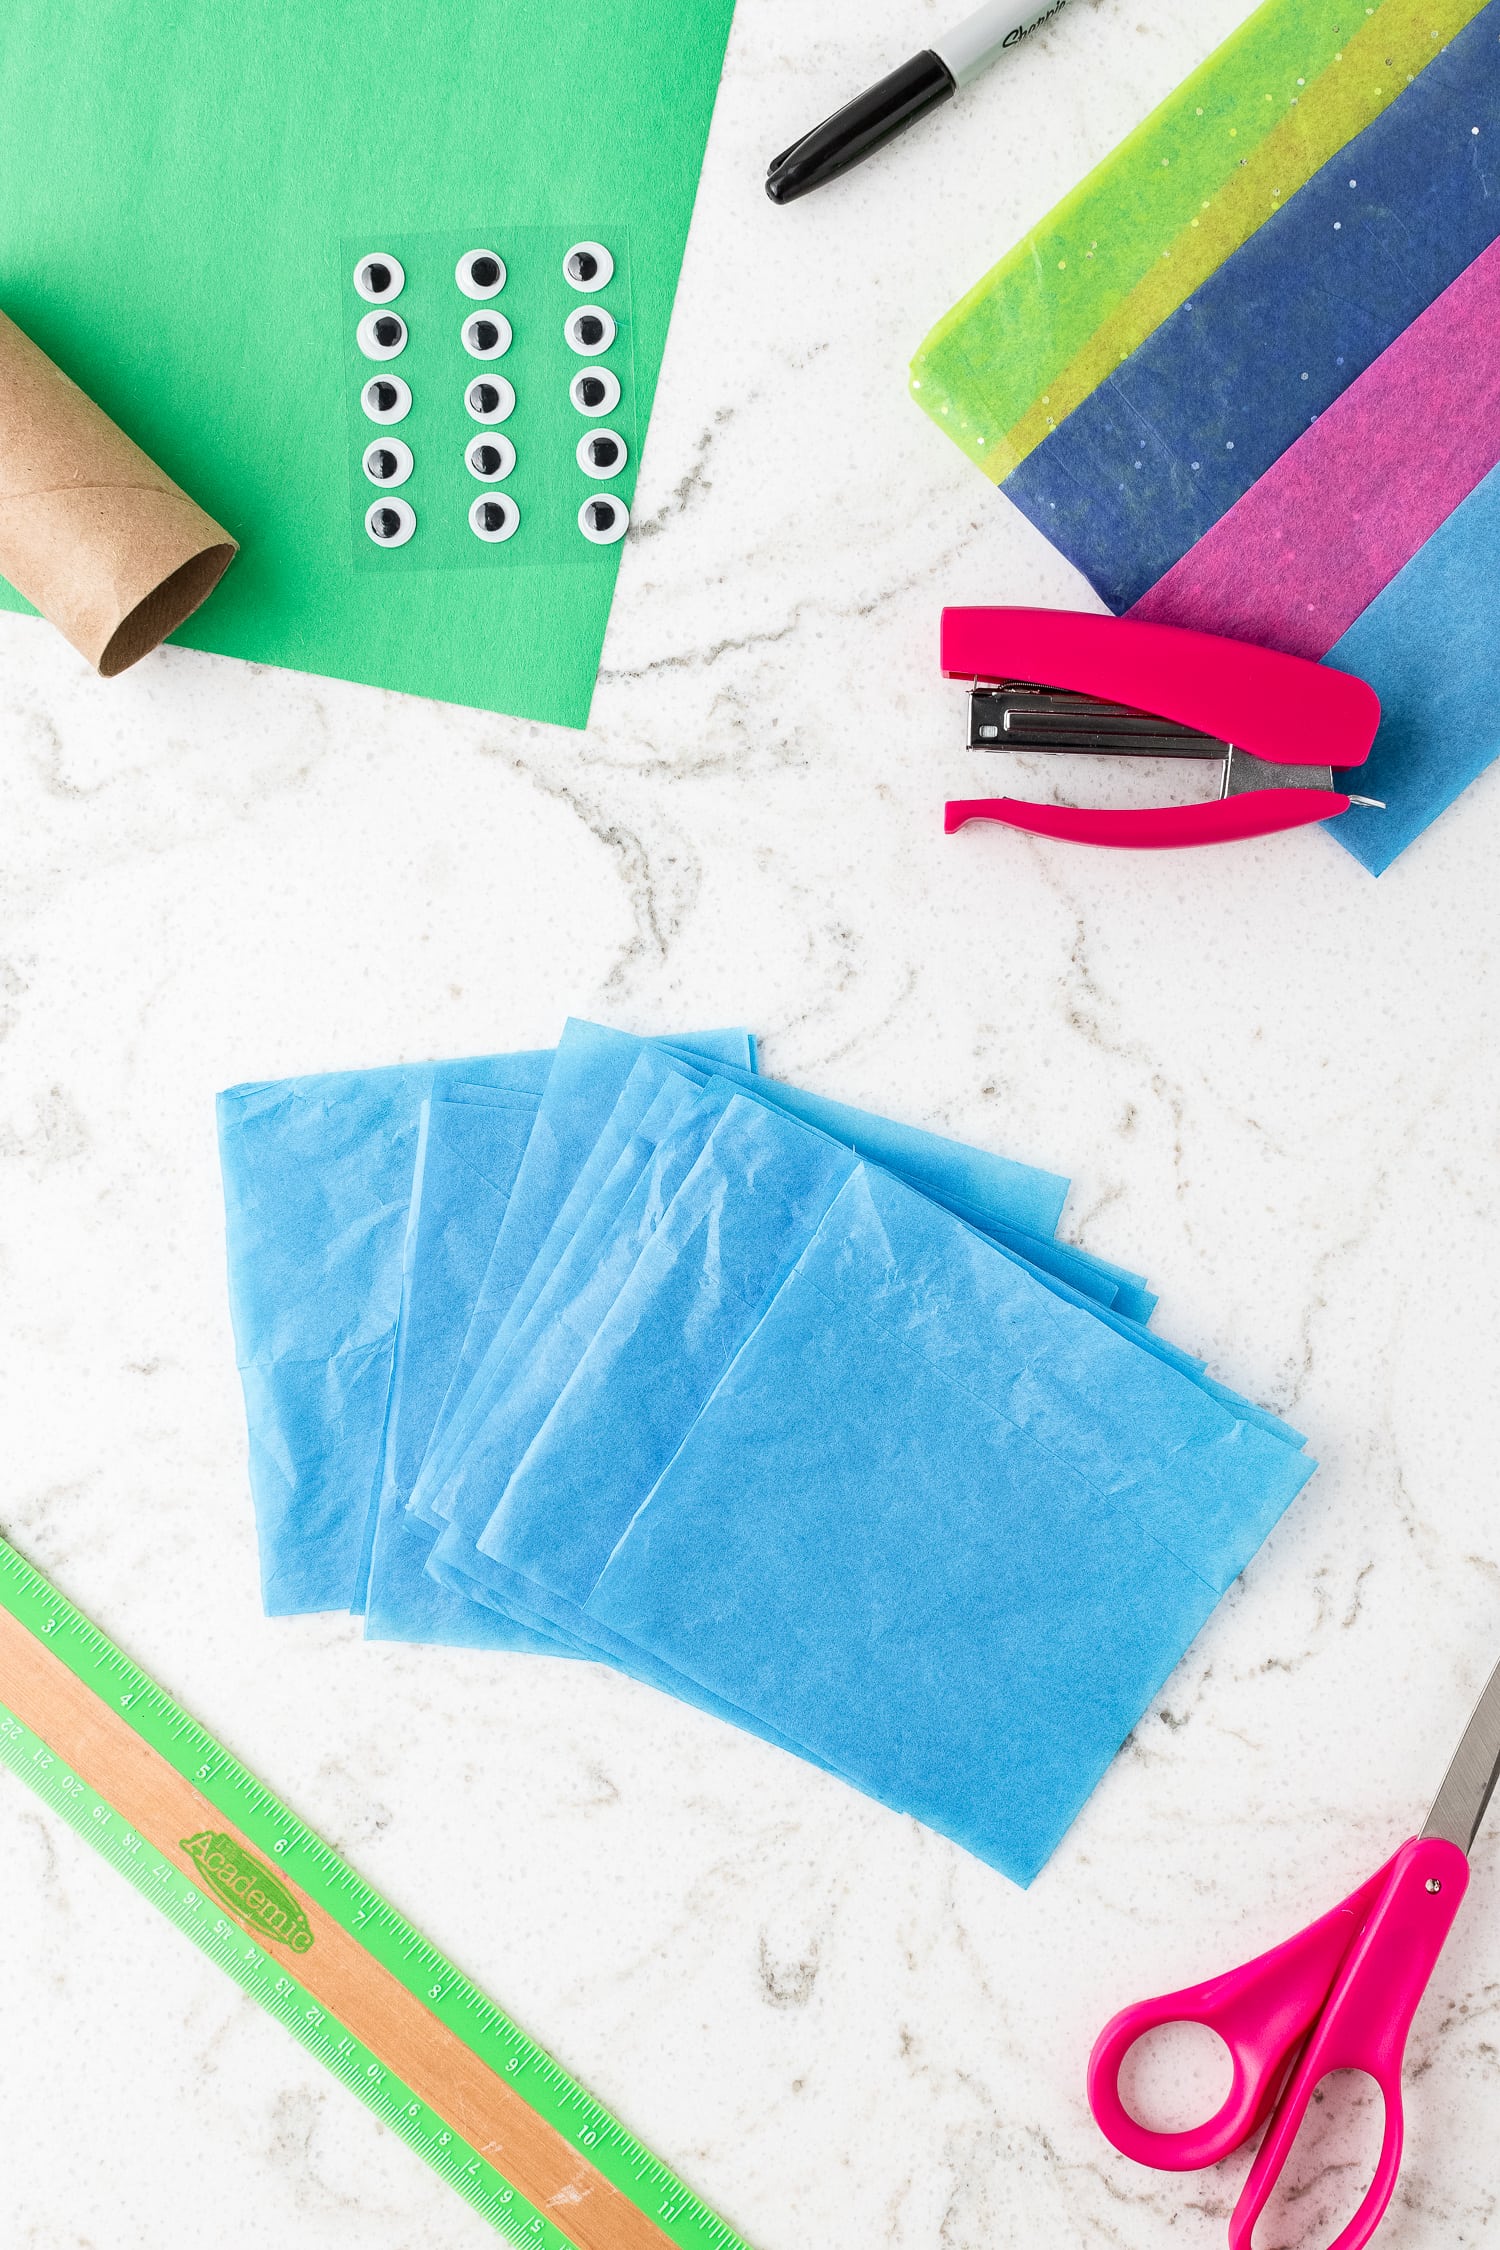
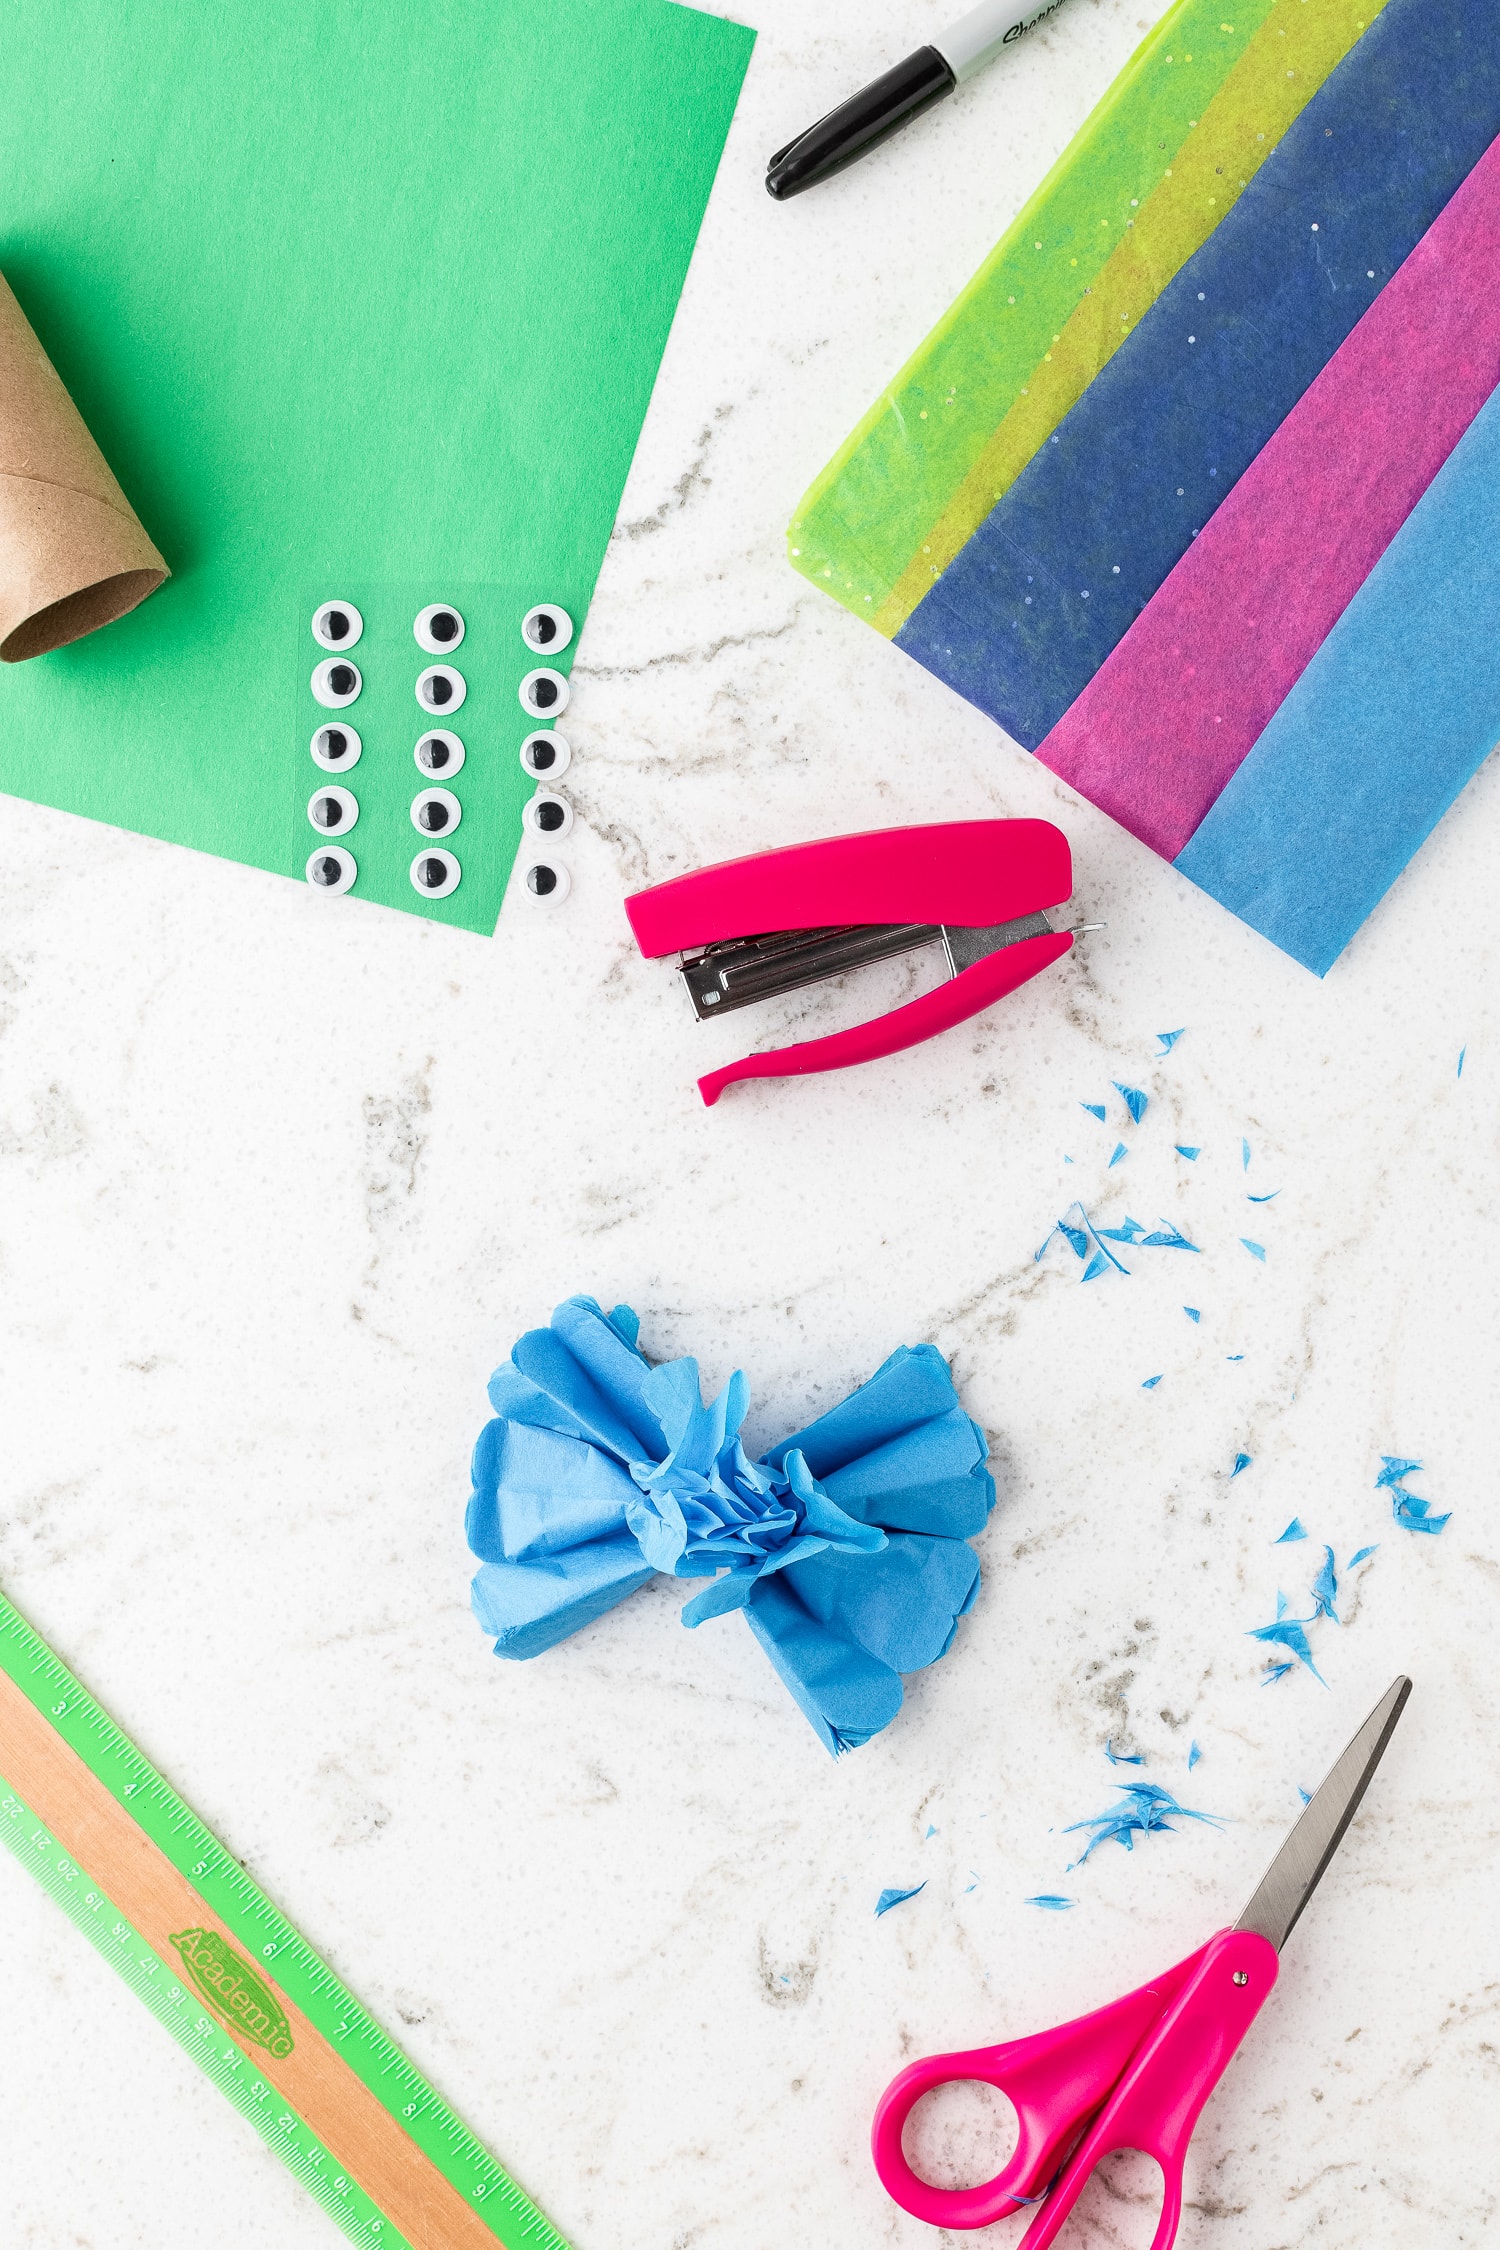
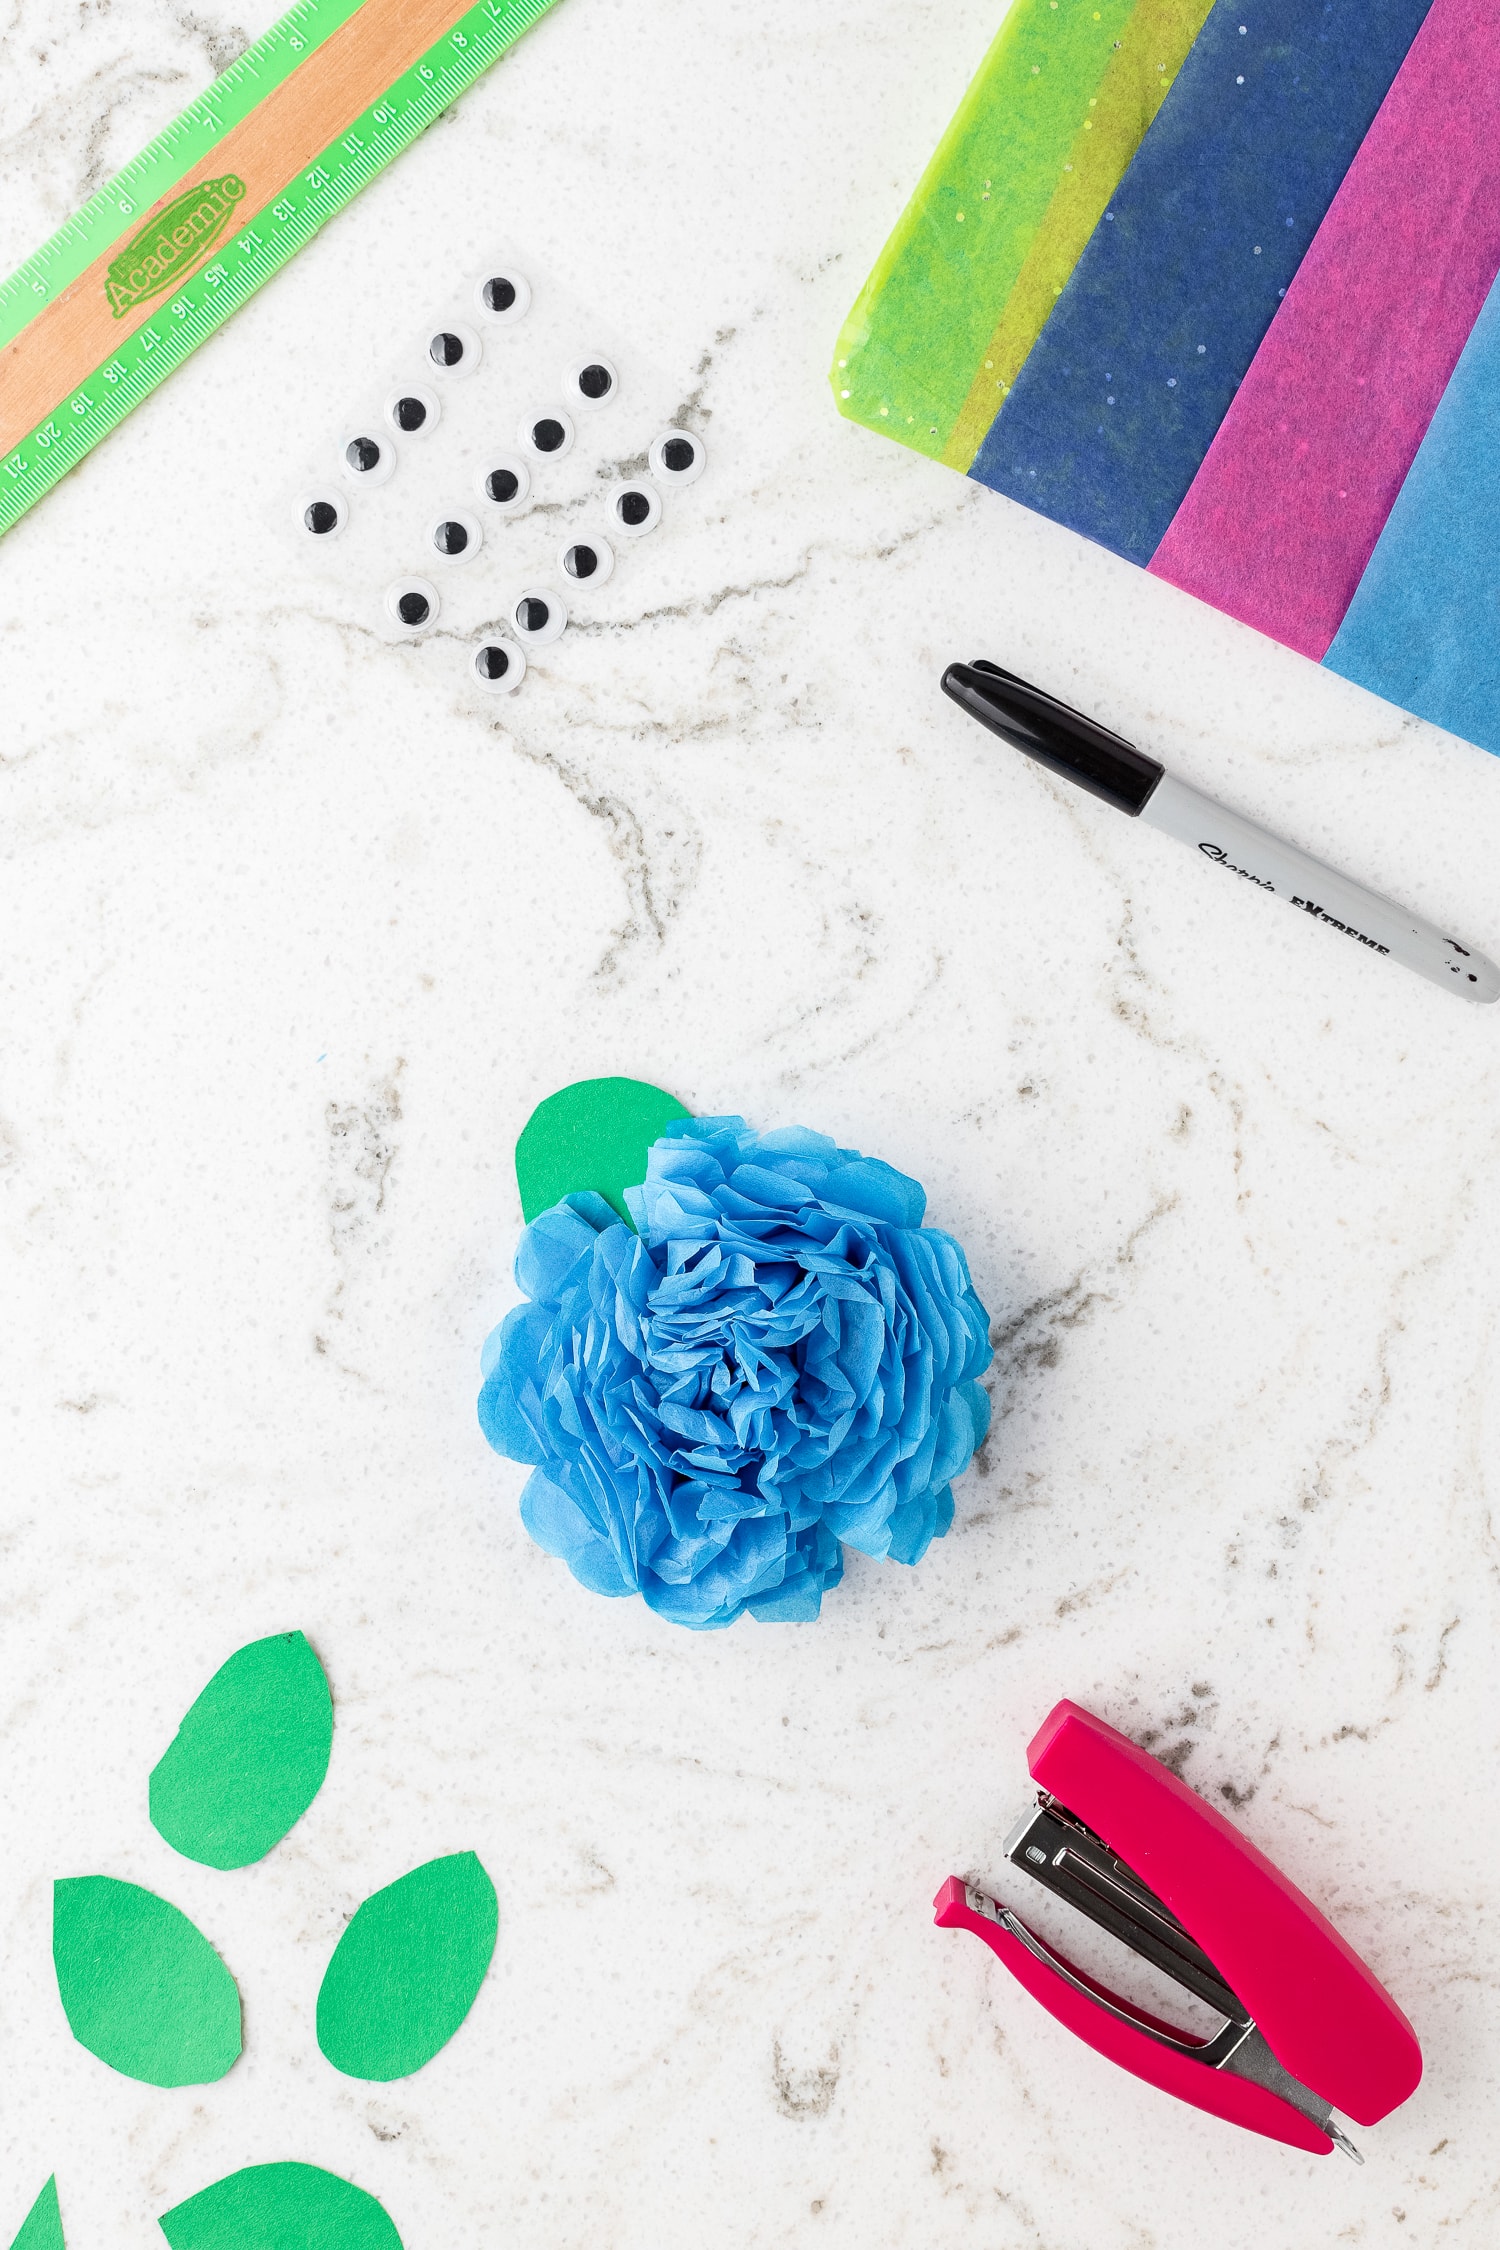
Select a piece of tissue paper and fold and cut it into 5 x 5-inch sheets. Arrange 16 tissue paper sheets by stacking them evenly.
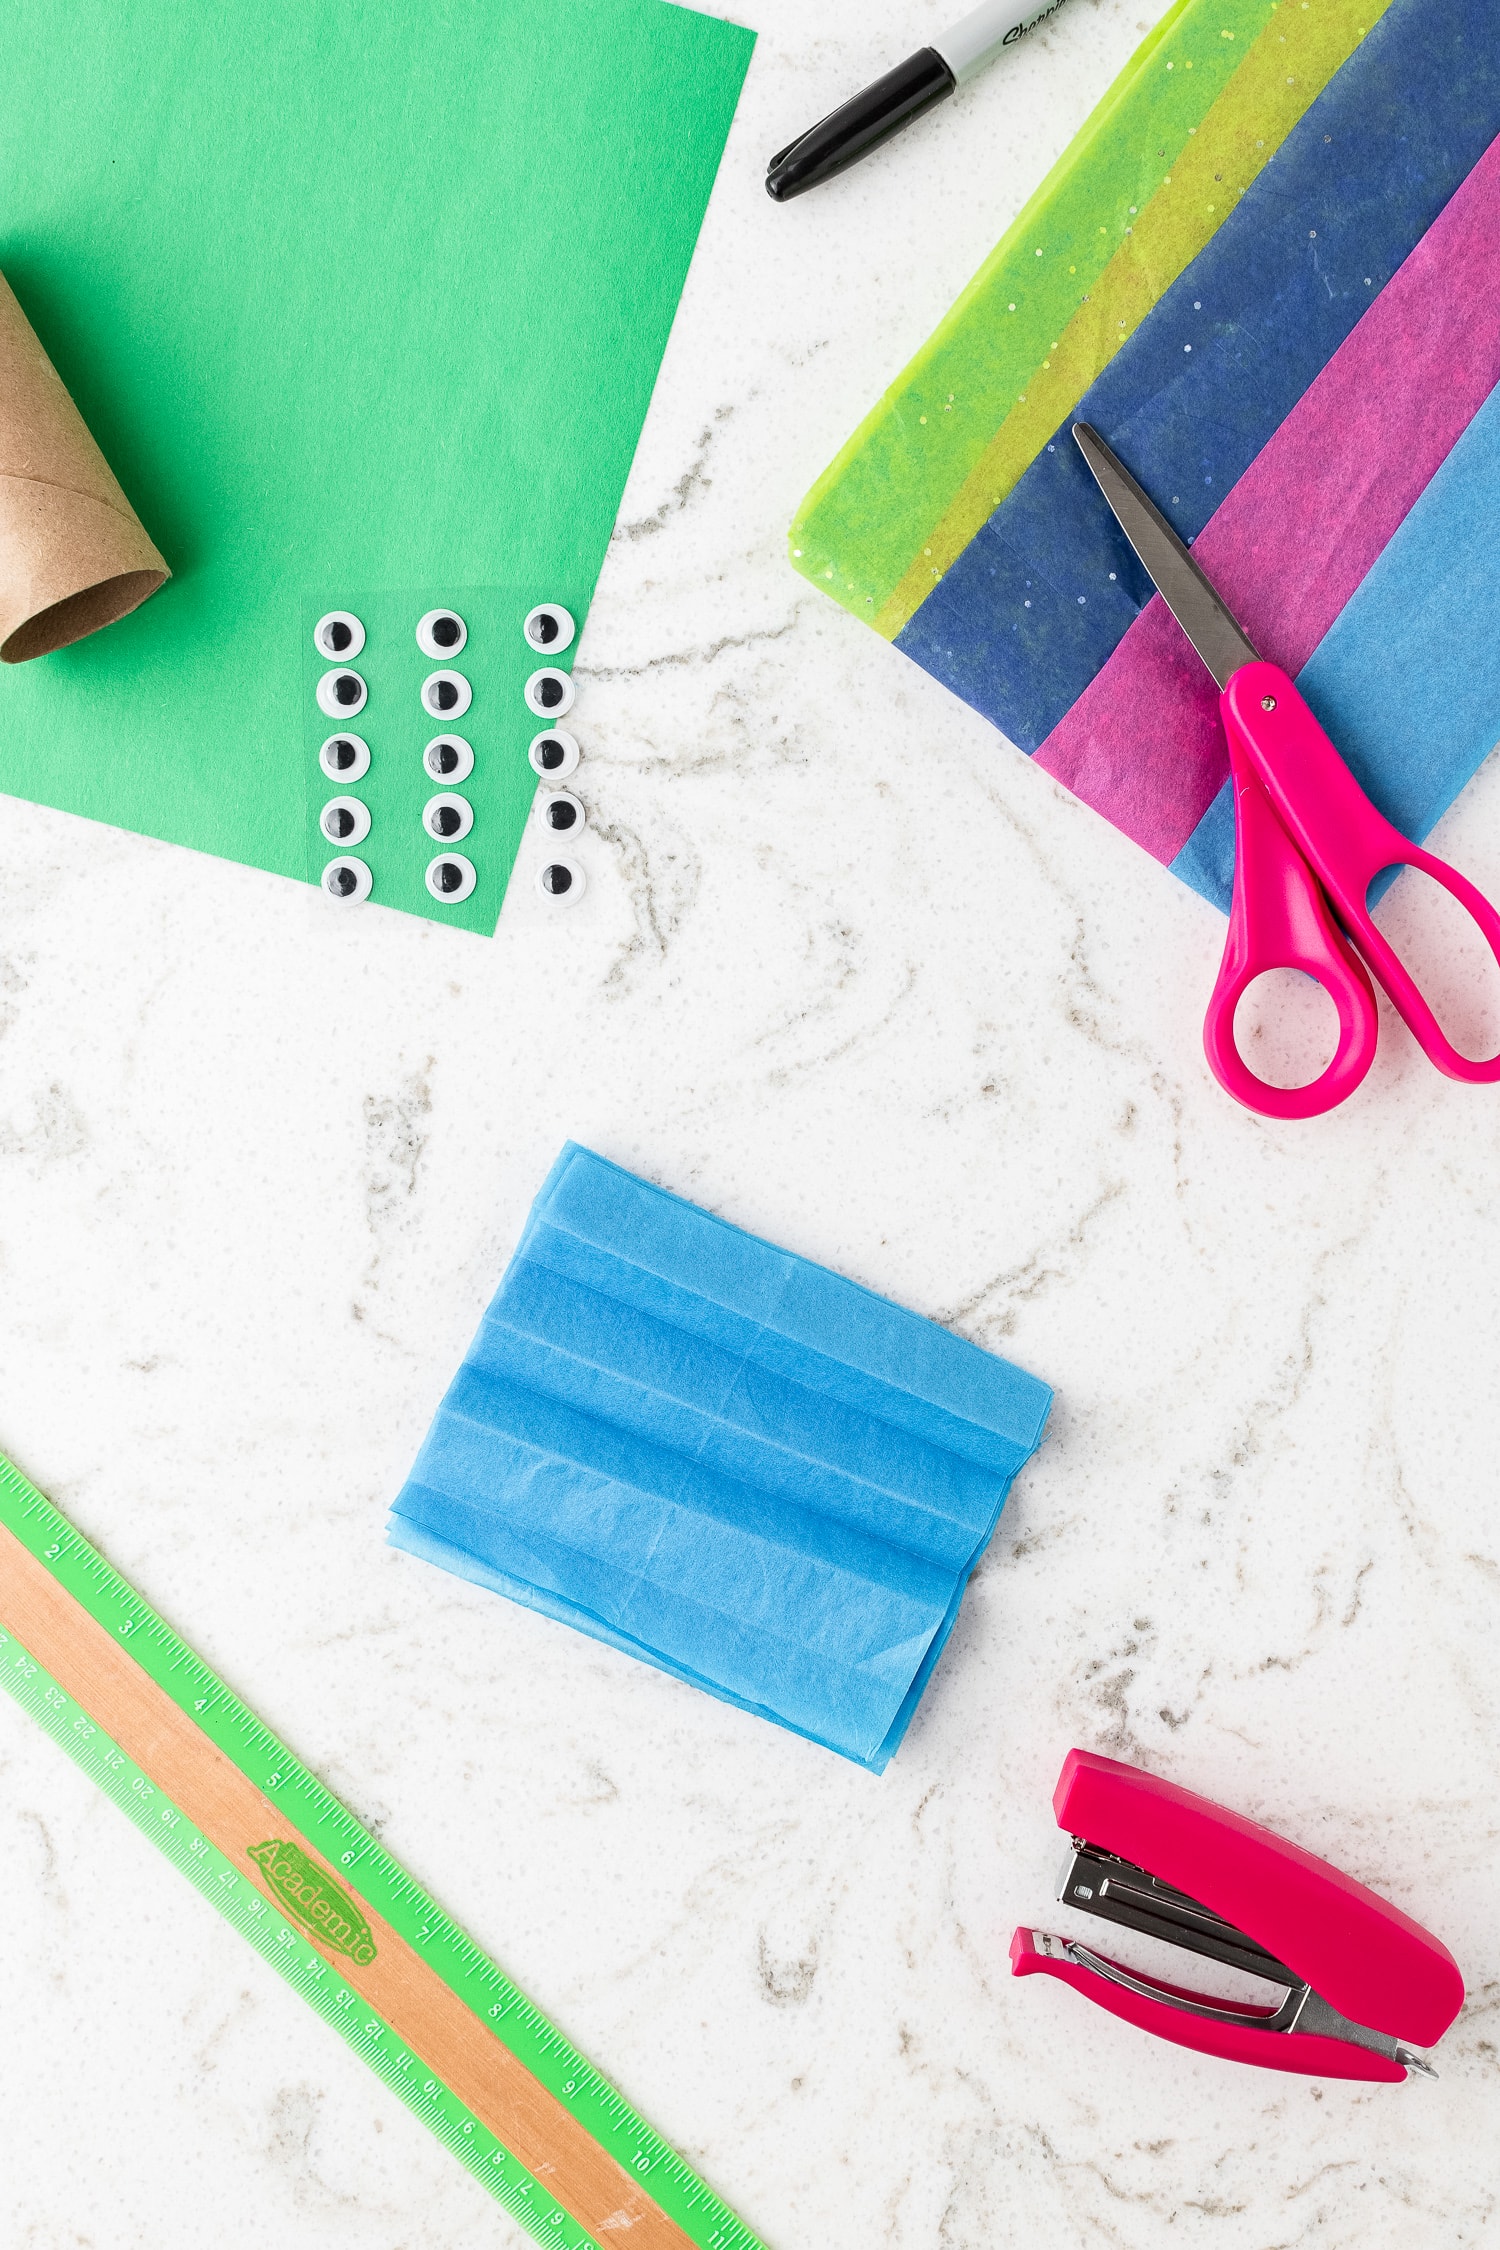
Next, fold the stack of sheets in accordion style. Once folded, staple the stack in the center.
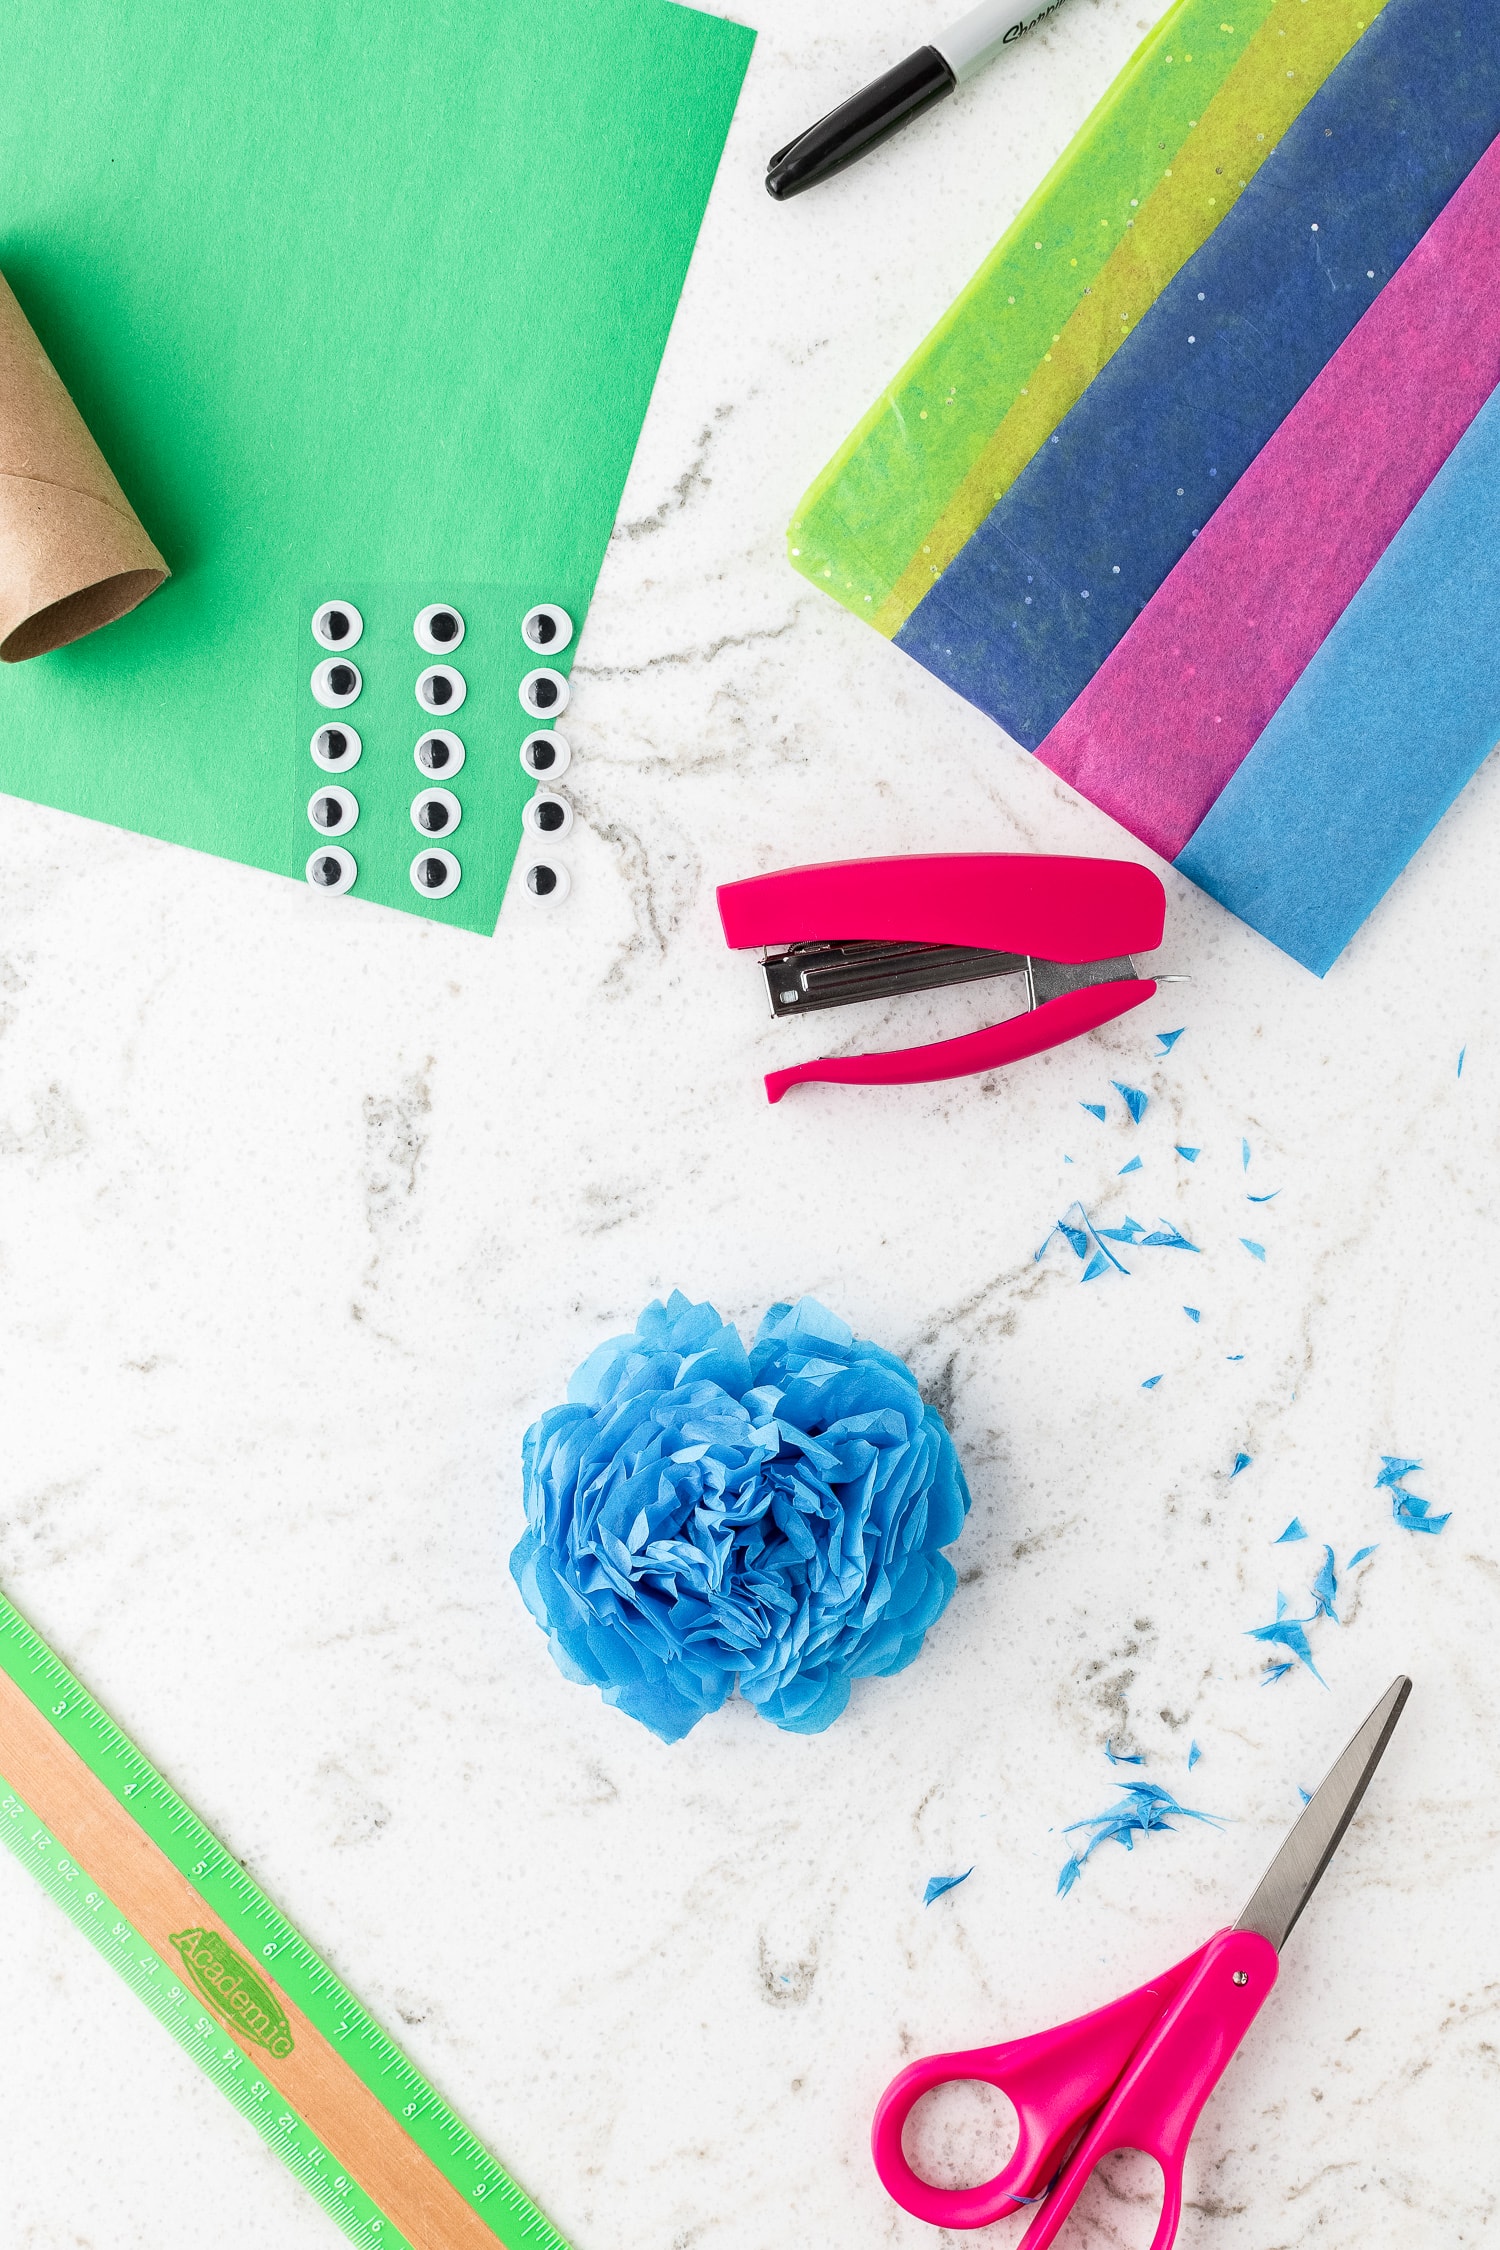
Now it’s time to “fluff” our turtle body! Start by pulling the first layer of tissue paper towards the center. Repeat this step until all layers are fluffy and full. Set aside.
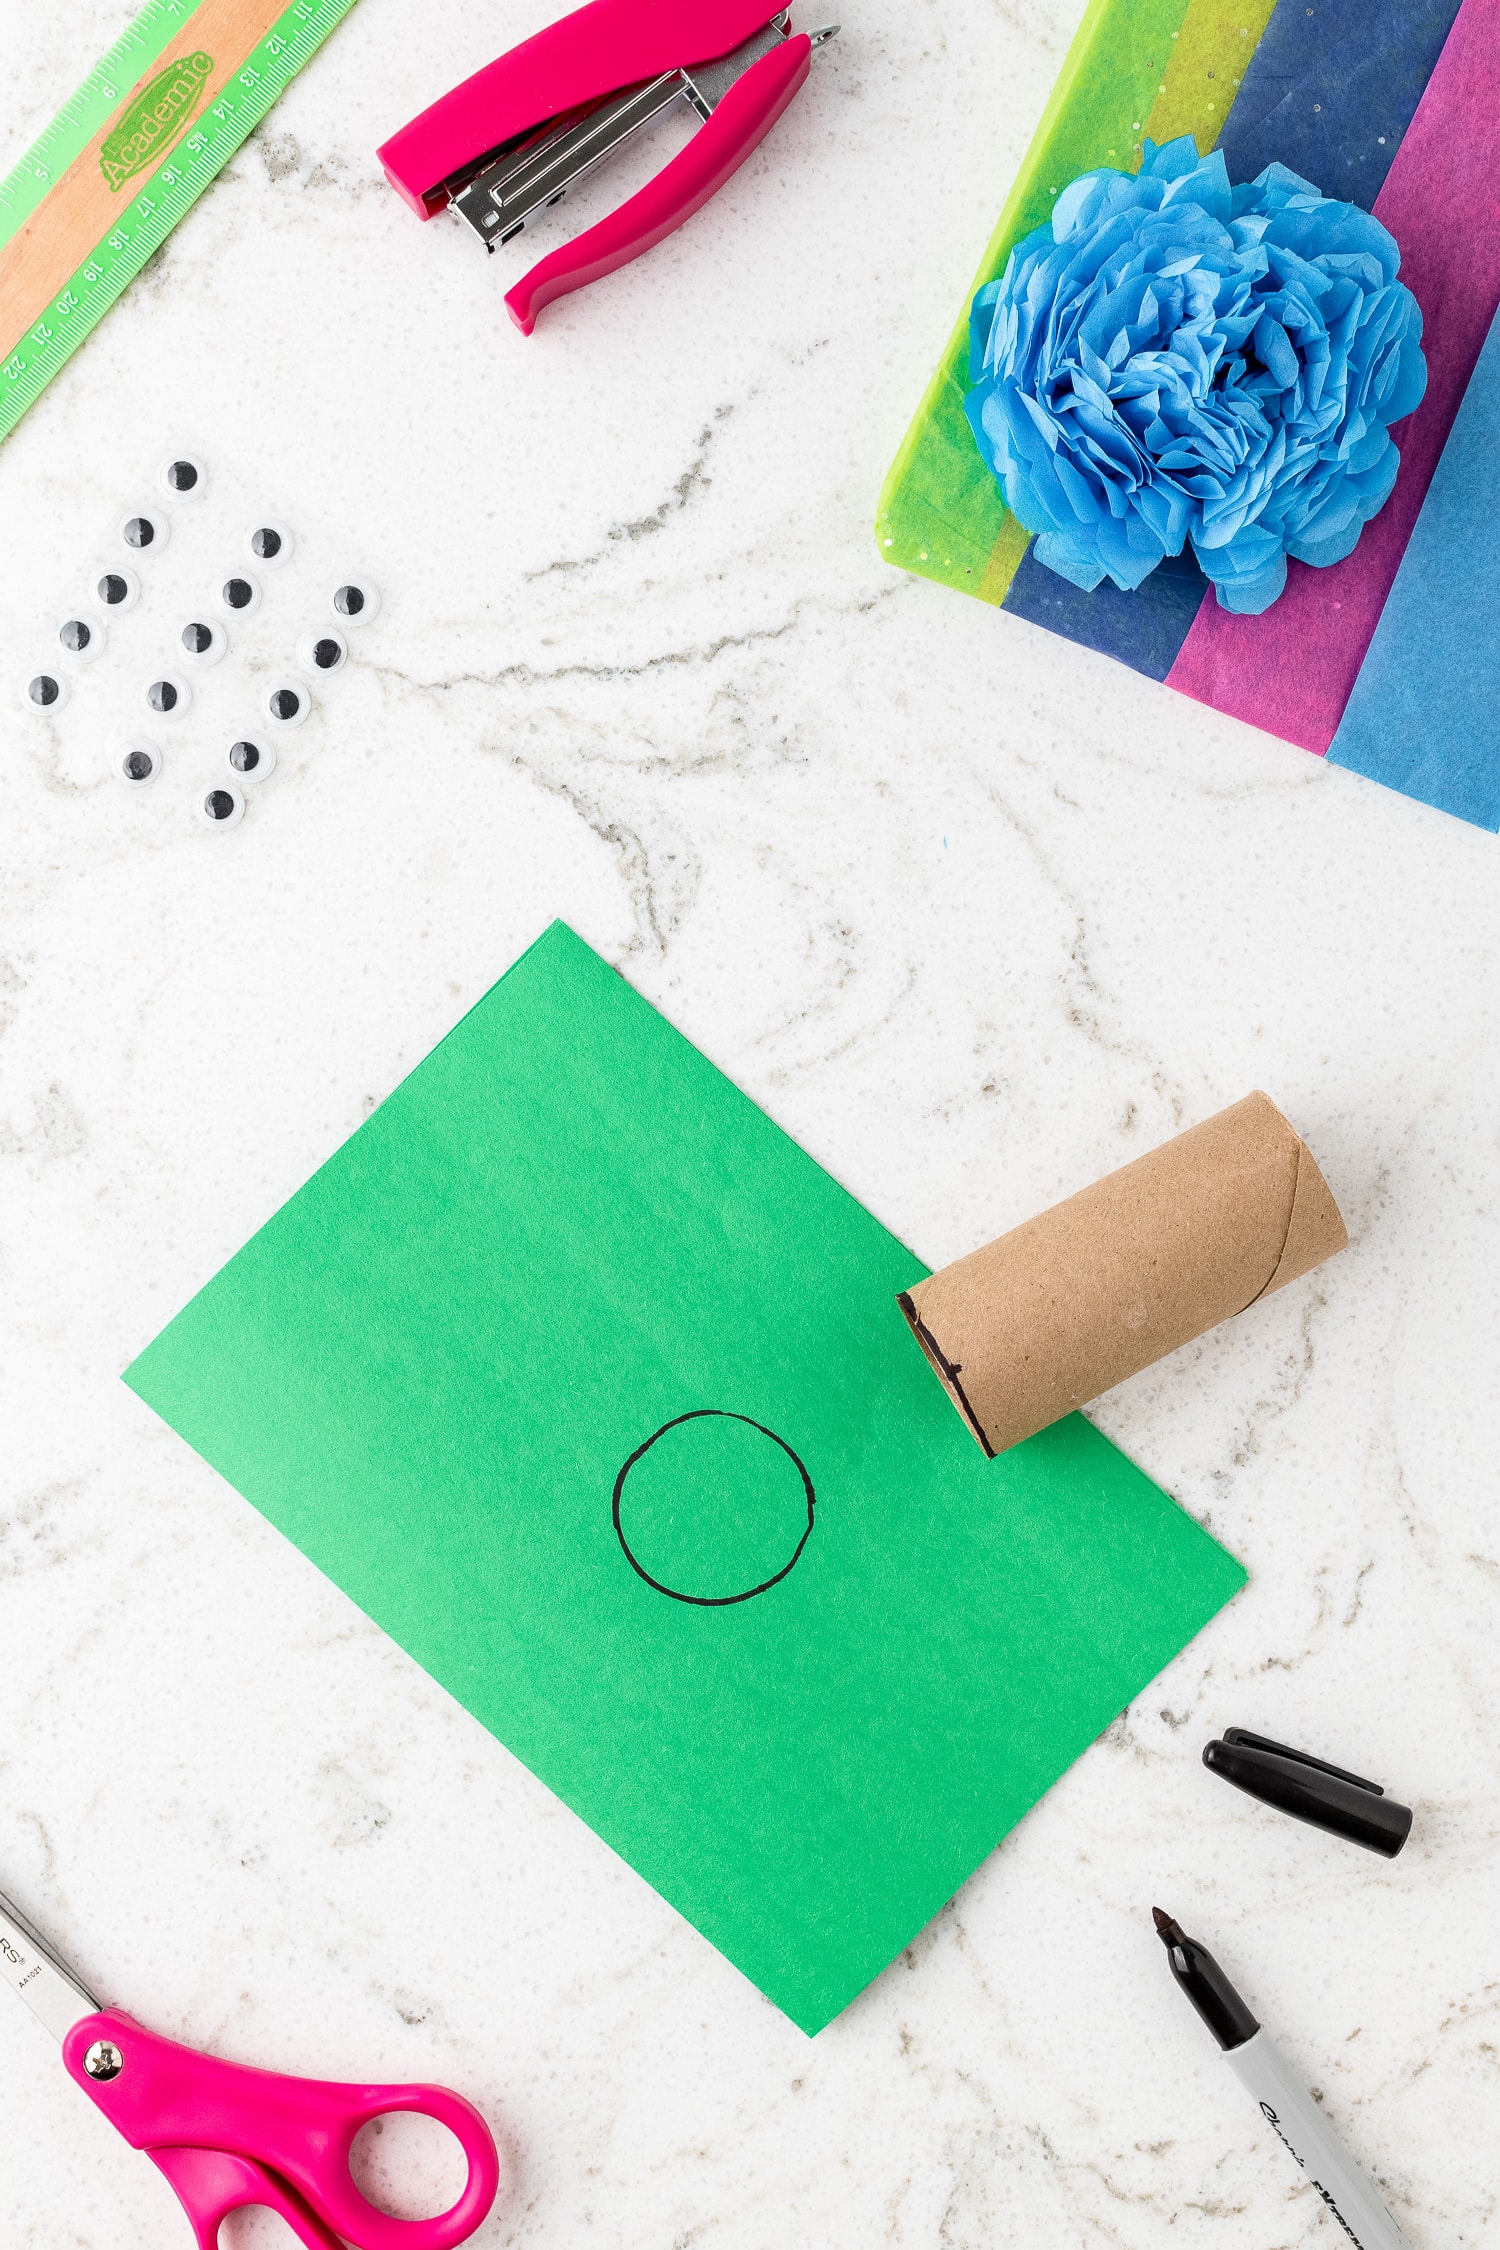
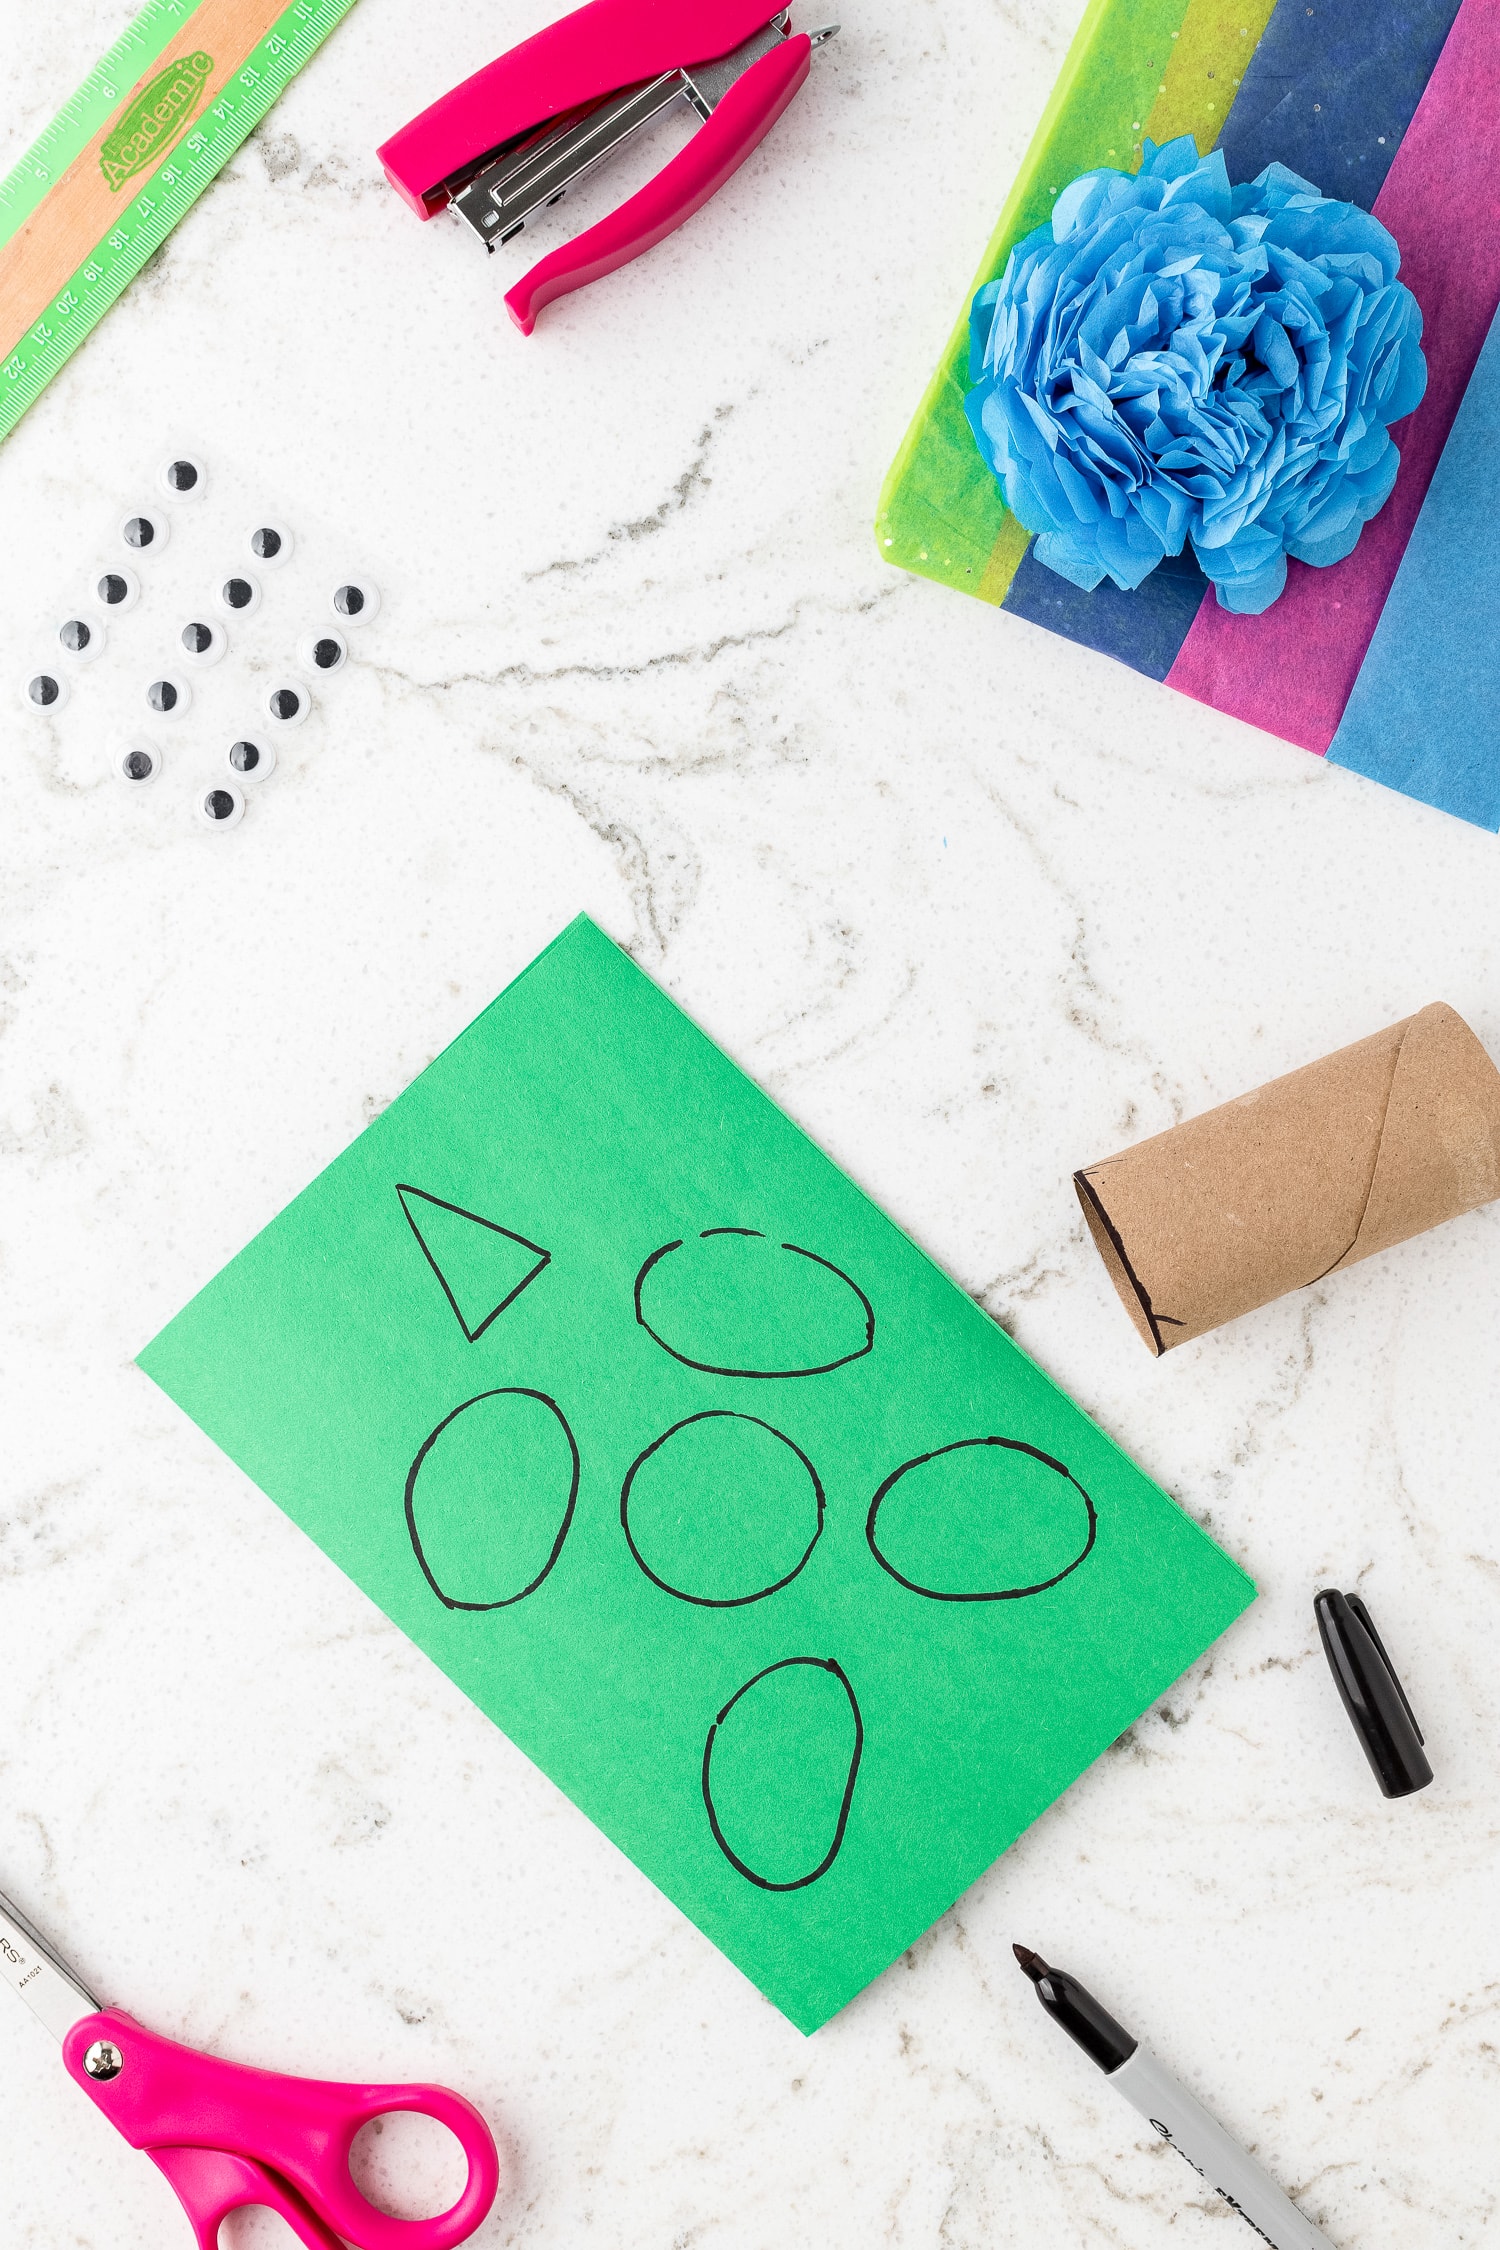


Now let’s make the head, arms, legs, and tail for our turtle! Using an empty toilet paper roll, trace a circle on the green construction paper about 1 and ½ inches.
Next, slightly squeeze the toilet paper roll and use it to trace an oval-like shape on the green construction paper. Repeat this step to make 4 legs.
Lastly, draw an elongated triangle to use for the tail. Cut all of your tracings and set them aside.
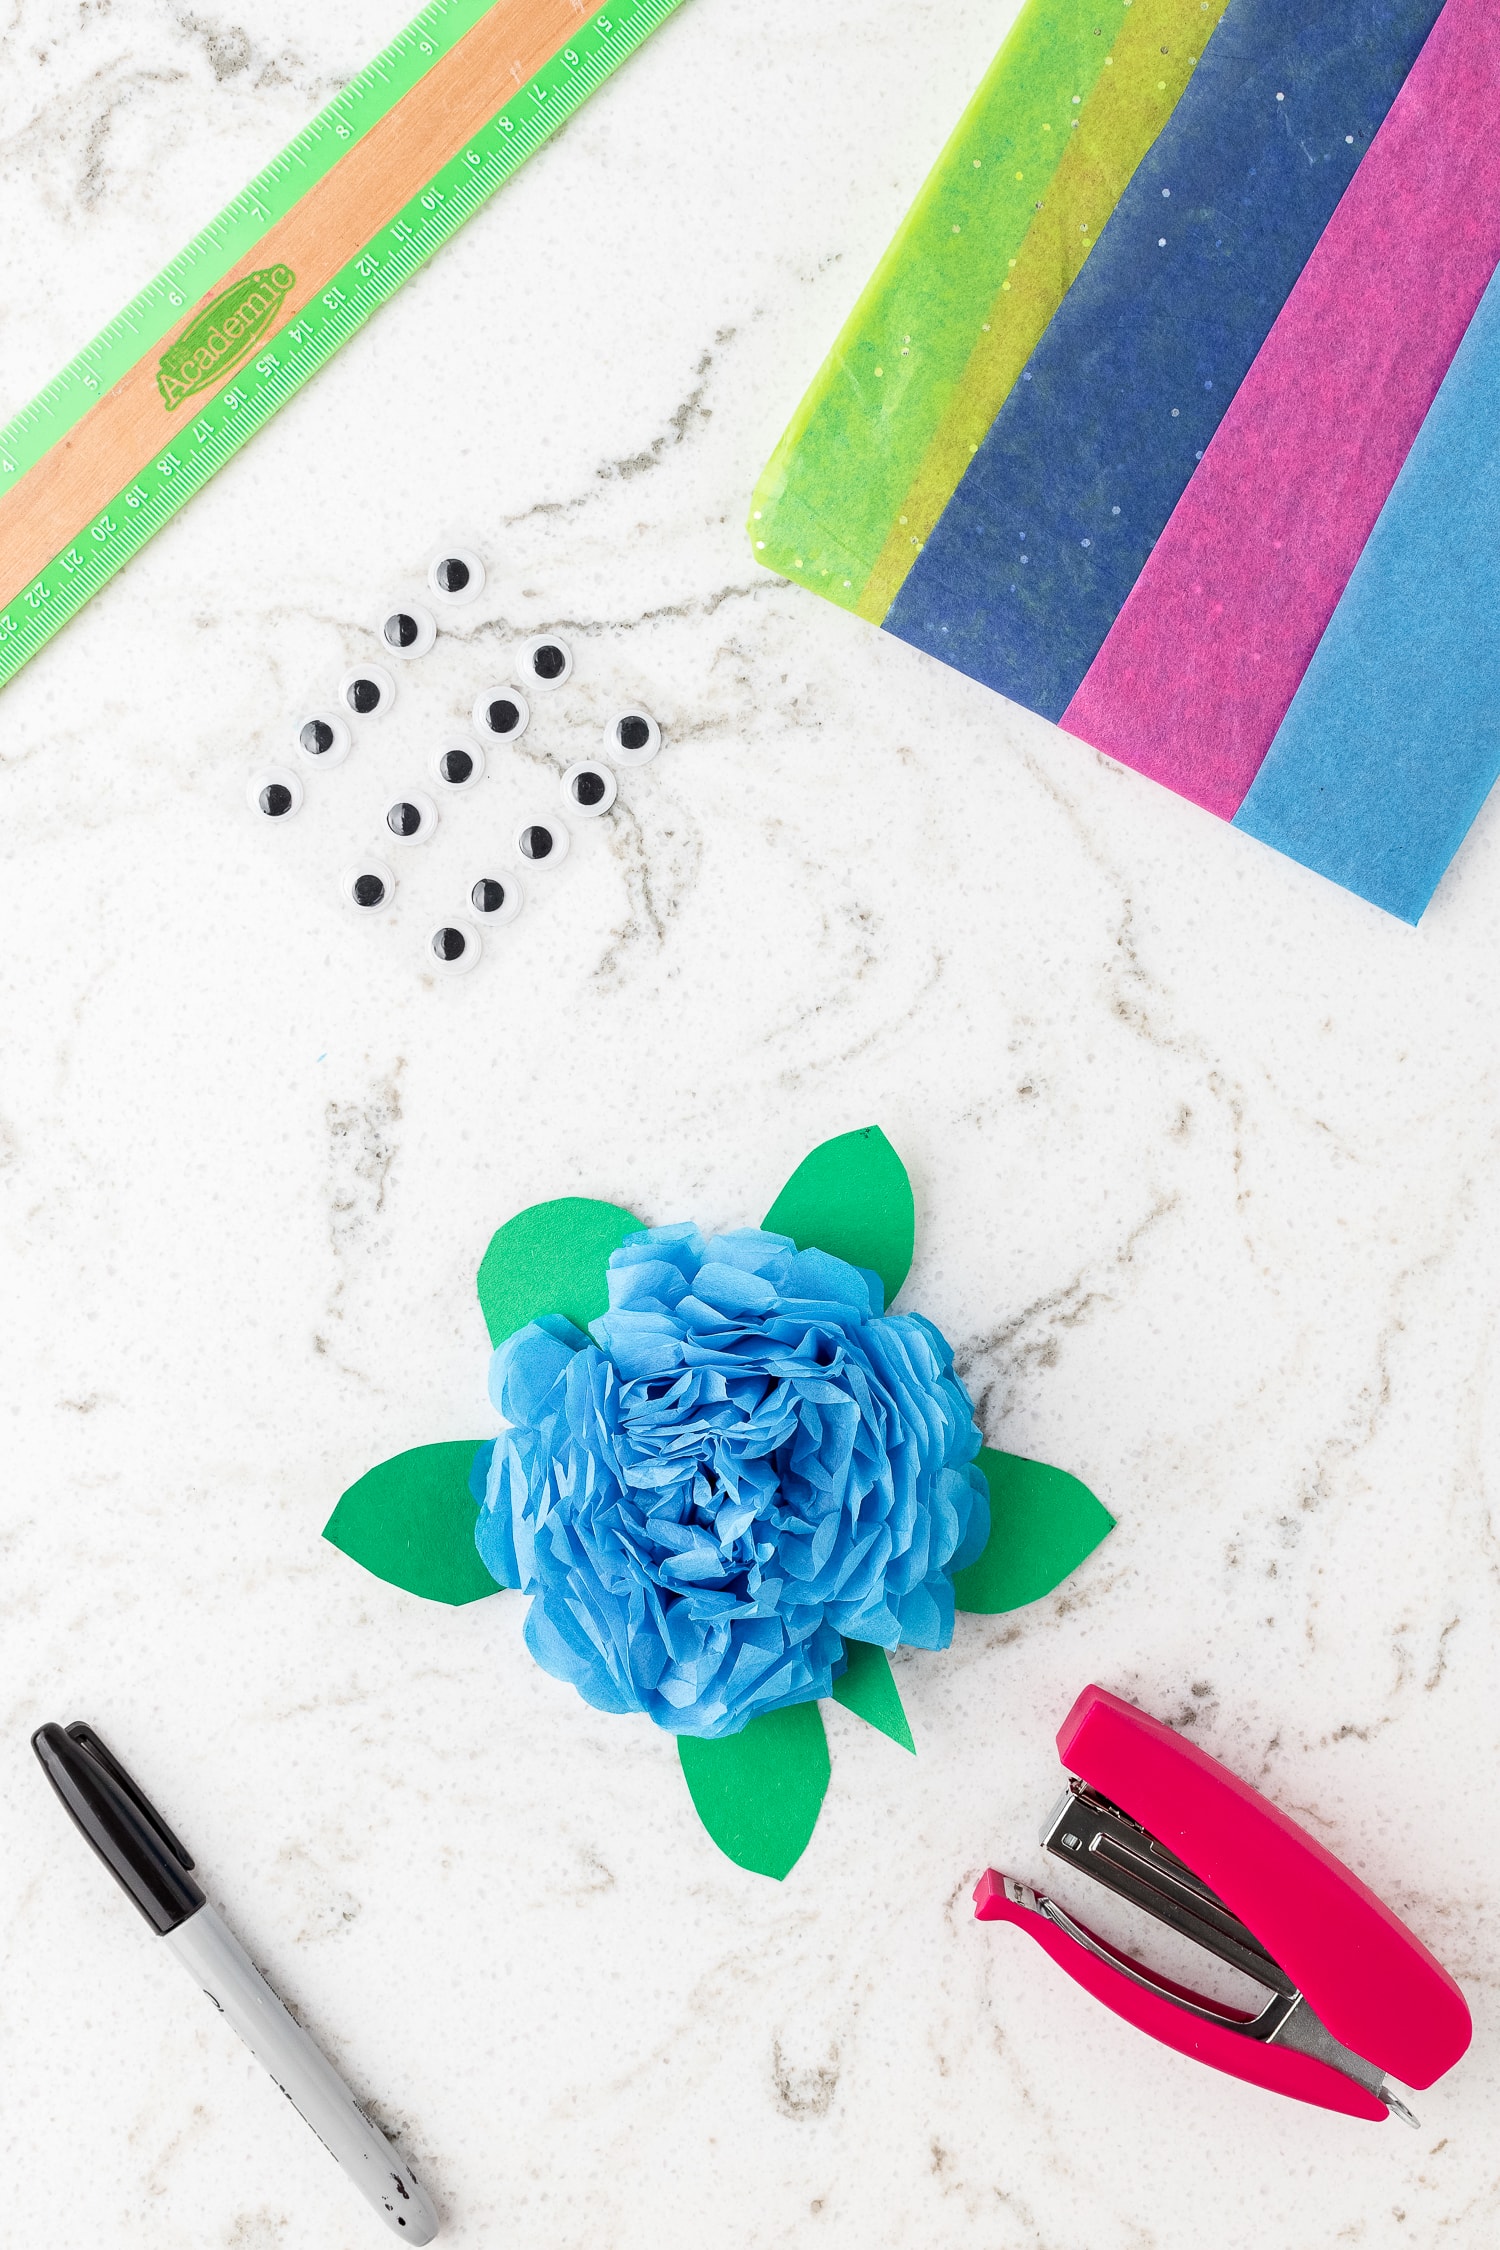
The turtles are ready to come alive! Using a small stapler, attach the 1 and ½ inch circle you previously cut for the head of the turtle. Secure it by stapling each side of the bottom of the circle to the bottom layers of tissue paper. Using the same method, attach the legs on opposite sides of the shell and the tail to the end.
Now let’s give the legs some character by drawing 3 small humps on each to create some toes! Finally, add 2 googly eyes and a smile!
Pro Tips for Tissue Paper Turtle Craft!
- When doing this craft with younger kiddos, you might consider pre-cutting the head, legs, and tails to reduce assembly time.
- You can change the size of your turtle by increasing or decreasing the size of your 5 x 5-inch sheets of tissue paper to fit your need.

Easy Tissue Paper Crafts
- Cute and easy to make Tissue Paper Flowers are a day brightener and so fun to make
- Need a quick and easy winter craft to keep the kids busy? This Snowflake Suncatcher Craft is such an easy craft.
- You won’t be able to resist smiling after the kids create this adorable Paper Plate Sunflower. Bright, cheery sunflowers made out of paper plates and tissue paper
If you take a picture and share it Instagram make sure to #kidsactivityzone or tag us @kidsactivityzoneblog so we can see them!
Tissue Paper Turtle Craft
Equipment
Ingredients
Instructions
- Select a piece of tissue paper and fold and cut it into 5 x 5-inch sheets. Arrange 16 tissue paper sheets by stacking them evenly.
- Next, fold the stack of sheets in accordion style. Once folded, staple the stack in the center.
- Now it’s time to “fluff” our turtle body! Start by pulling the first layer of tissue paper towards the center. Repeat this step until all layers are fluffy and full. Set aside.
- Now let’s make the head, arms, legs, and tail for our turtle! Using an empty toilet paper roll, trace a circle on the green construction paper about 1 and ½ inches.
- Next, slightly squeeze the toilet paper roll and use it to trace an oval-like shape on the green construction paper. Repeat this step to make 4 legs.
- Lastly, draw an elongated triangle to use for the tail. Cut all of your tracings and set them aside.
- The turtles are ready to come alive! Using a small stapler, attach the 1 and ½ inch circle you previously cut for the head of the turtle. Secure it by stapling each side of the bottom of the circle to the bottom layers of tissue paper. Using the same method, attach the legs on opposite sides of the shell and the tail to the end.
- Now let’s give the legs some character by drawing 3 small humps on each to create some toes! Finally, add 2 googly eyes and a smile!
Notes
- When doing this craft with younger kiddos, you might consider pre-cutting the head, legs, and tails to reduce assembly time.
- You can change the size of your turtle by increasing or decreasing the size of your 5 x 5-inch sheets of tissue paper to fit your need.