Layered Rainbow Cake
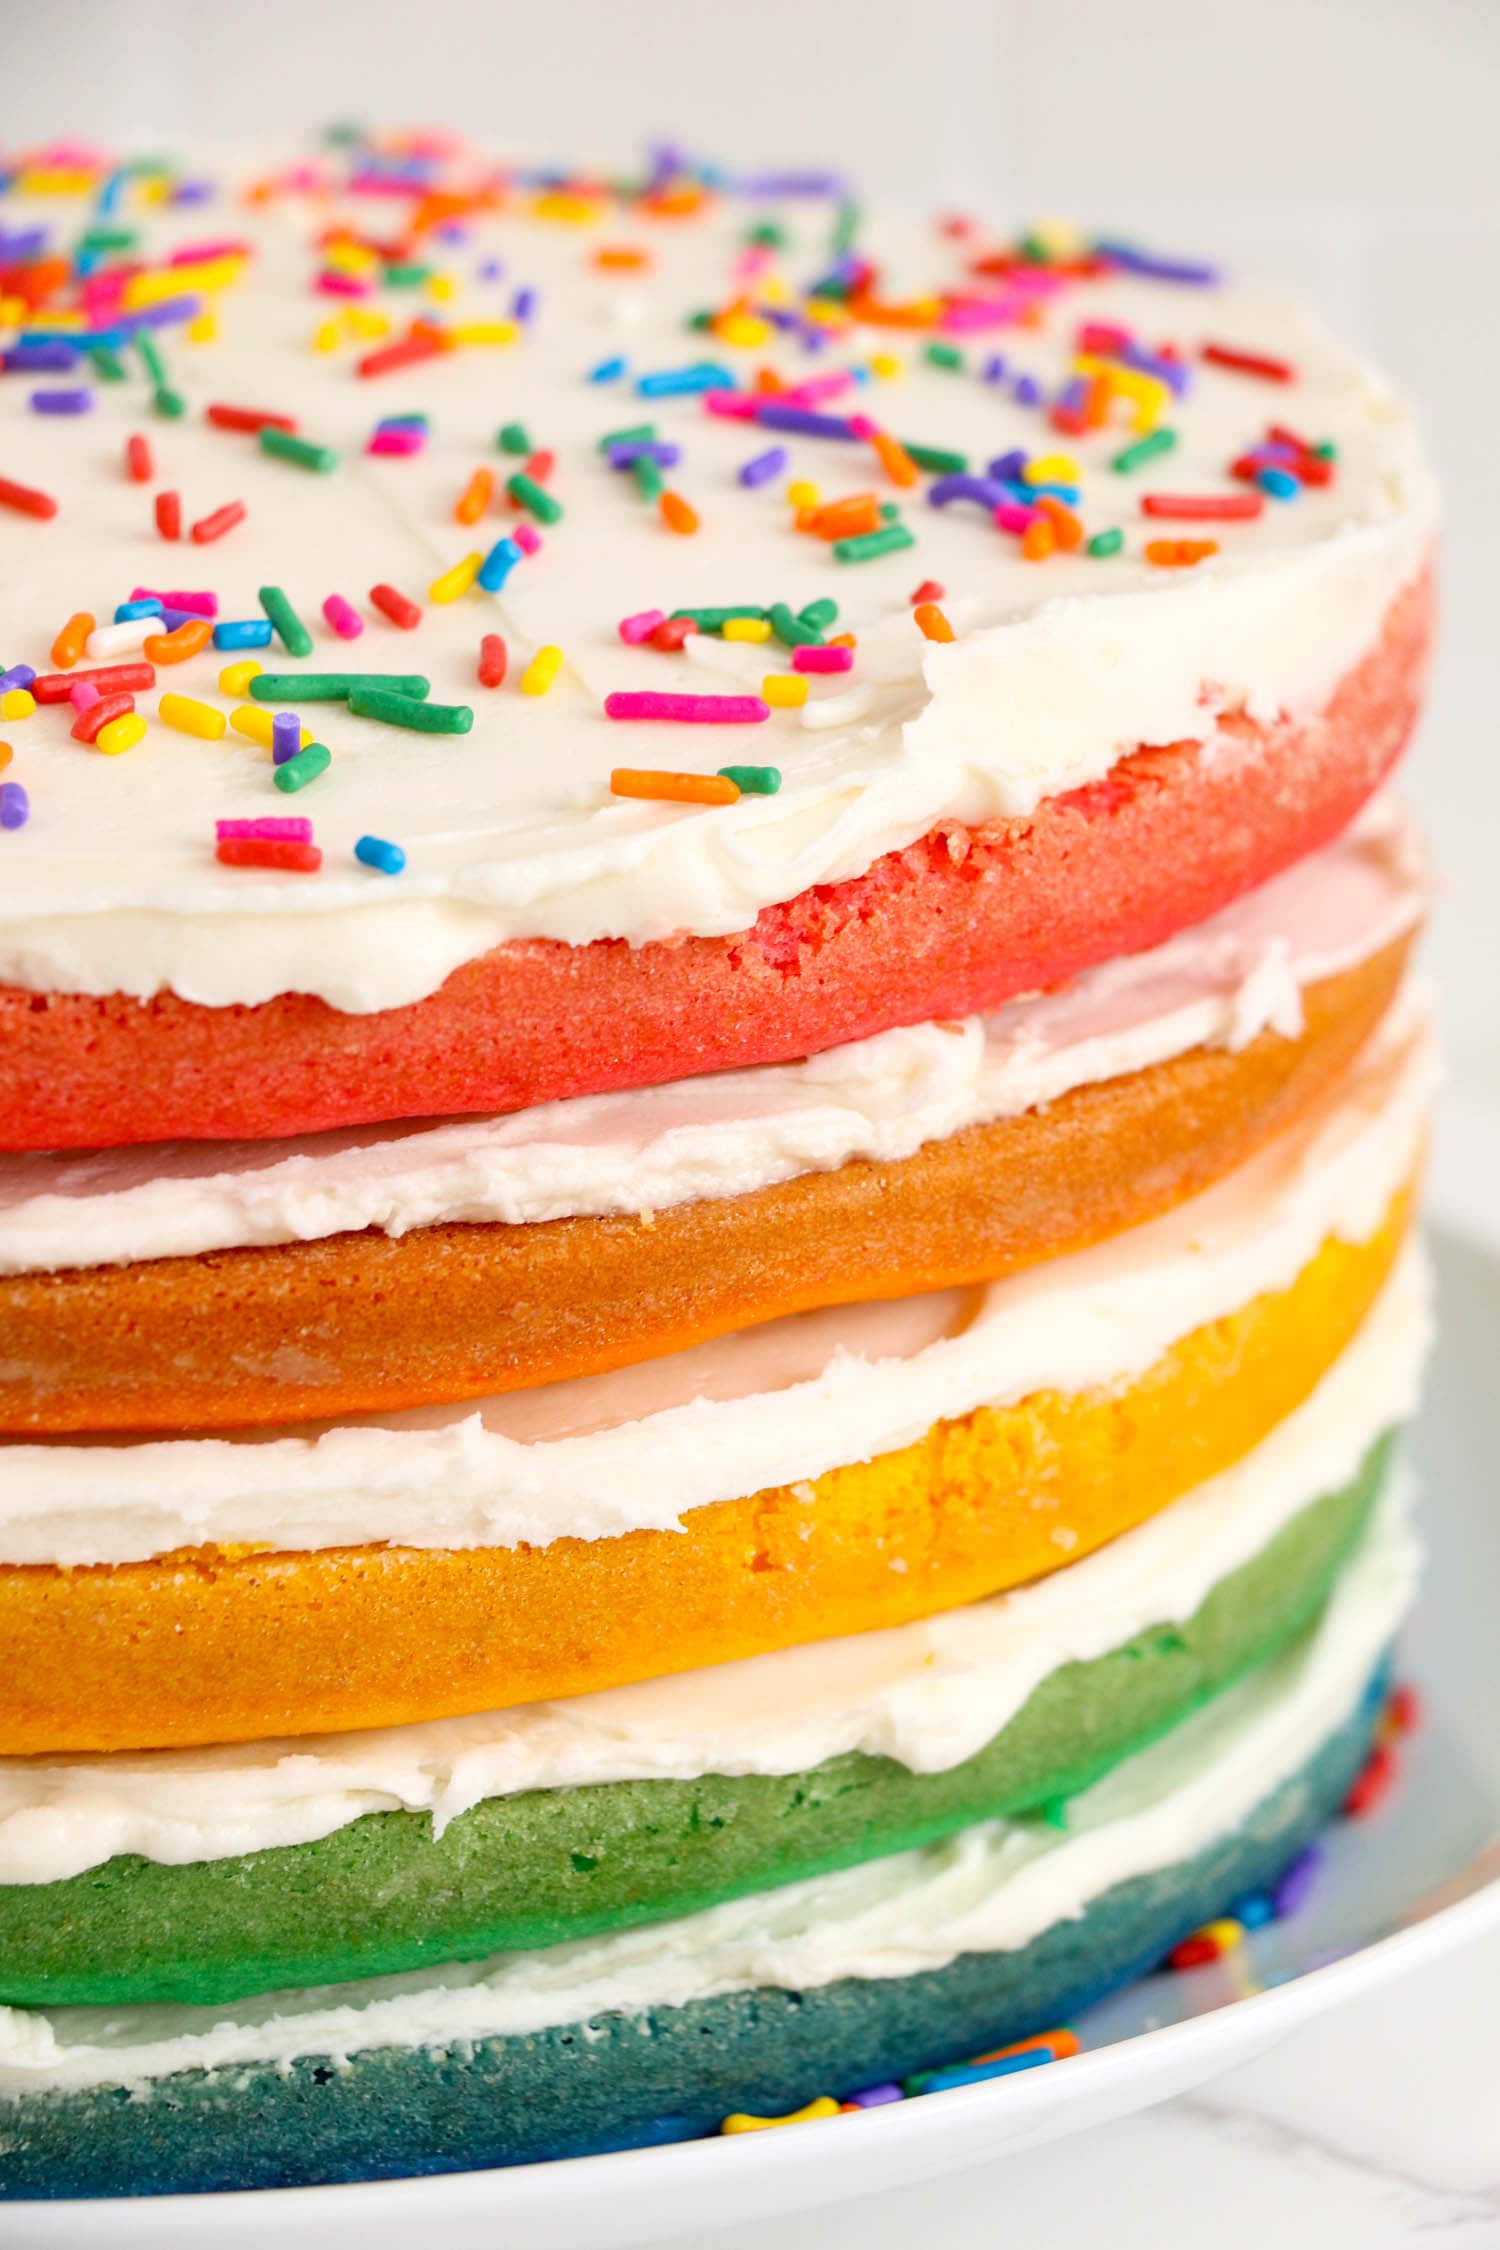
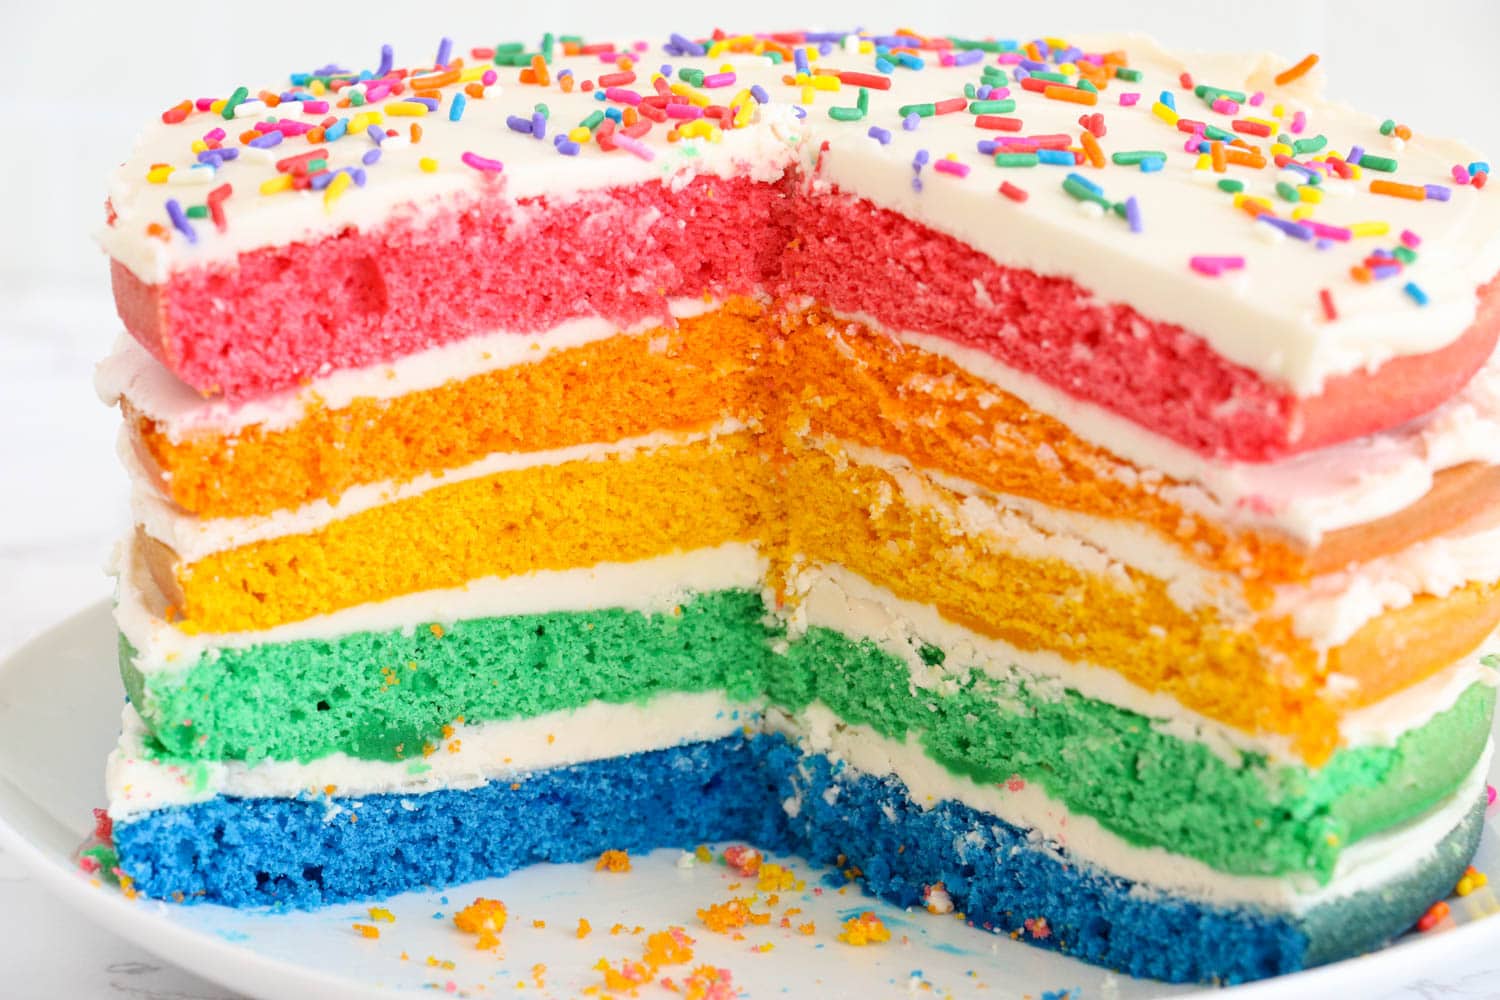
Bake a show-stopping Layered Rainbow Cake—five colorful 8-inch layers (red, orange, yellow, green, blue) made from a simple vanilla batter with egg whites, then stacked “naked cake” style with homemade butter–powdered sugar frosting and sprinkles. Perfect for birthdays, spring parties, or St. Patrick’s Day—and easier than it looks.
Somewhere over the rainbow…there’s rainbow layered cake! I’m absolutely obsessed with this recipe that is crazy easy and oh, so cute! This easy rainbow layer cake is the perfect way to brighten any kitchen and will be the star of any celebration. It is so easy to make a rainbow layer cake at home, this beautiful cake might become a regular thing in your house!
If you’re looking to fill your dessert table with plenty of fun desserts, let this moist, colorful cake be your centerpiece! Then, have your kids help you make these Cake Mix Cookies, Rainbow Jello Cups, and throw in some of the Mini Funfetti Cheesecakes too for a great dessert spread. No matter what you’re celebrating, this showstopping rainbow cake is sure to bring a smile to everyone’s face!
Why You’ll Love This Recipe
- People tend to avoid layer cakes since they can be difficult to frost evenly. But this naked cake does not require you to frost the outside of the cake so you can see the colorful layers.
- This easy layered cake is perfect for novice bakers, and a great recipe for kids to help out with.
- You can make an easy rainbow cake for many different occasions. This cake is great for birthdays, pool parties, St. Patrick’s Day, and anything in between.
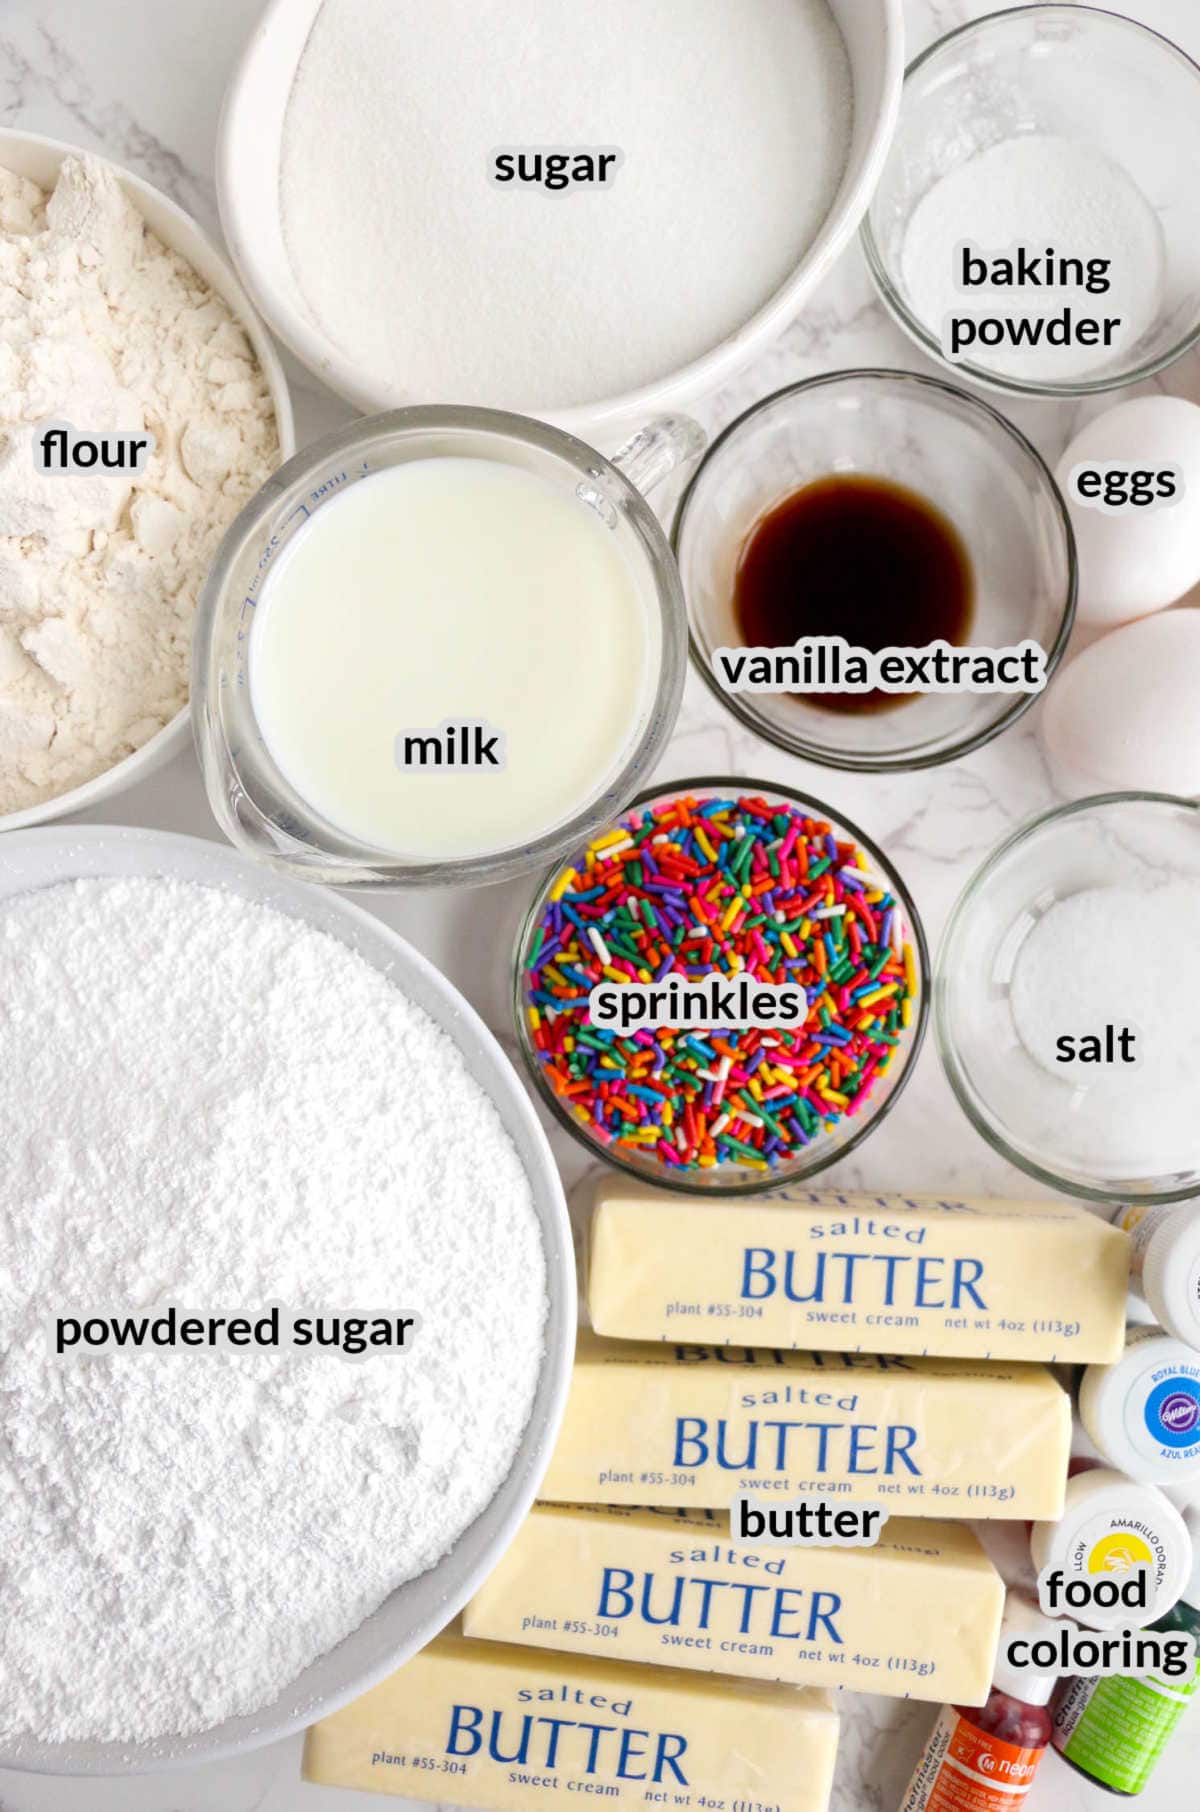
Ingredients For Rainbow Layered Cake
- Flour – Use a high quality all-purpose flour for best results.
- Sugar – You’ll need both granulated sugar and powdered sugar for this recipe. The granulated sugar is for the cake and the powdered sugar will be for the frosting.
- Baking powder – Baking powder will help the cake layers to rise.
- Eggs – Using egg whites in a cake helps it remain moist and fluffy plus keeps the batter a bright white color so when you add the food coloring, it is more vibrant.
- Salt – I recommend using Kosher salt in order to keep the batter from becoming bitter.
- Sprinkles – The more fun your sprinkles are, the better! Get adventurous and try out multi-colored sprinkles of all different shapes and sizes.
- Butter – Let each stick of butter come to room temperature before using it in this recipe. Use unsalted, but if you do use salted, omit that added salt.
- Food coloring – I personally recommend using gel food coloring in the frosting, but you could use liquid food coloring as well.
- Vanilla Extract – A little splash of vanilla helps give the frosting a subtly sweet vanilla flavor. If you have clear vanilla, your frosting will stay bright white.
- Milk – Use whole milk or 2% milk for best results.
- Powdered sugar – This dissolves really well for a nice smooth frosting.
How To Make A Rainbow Cake
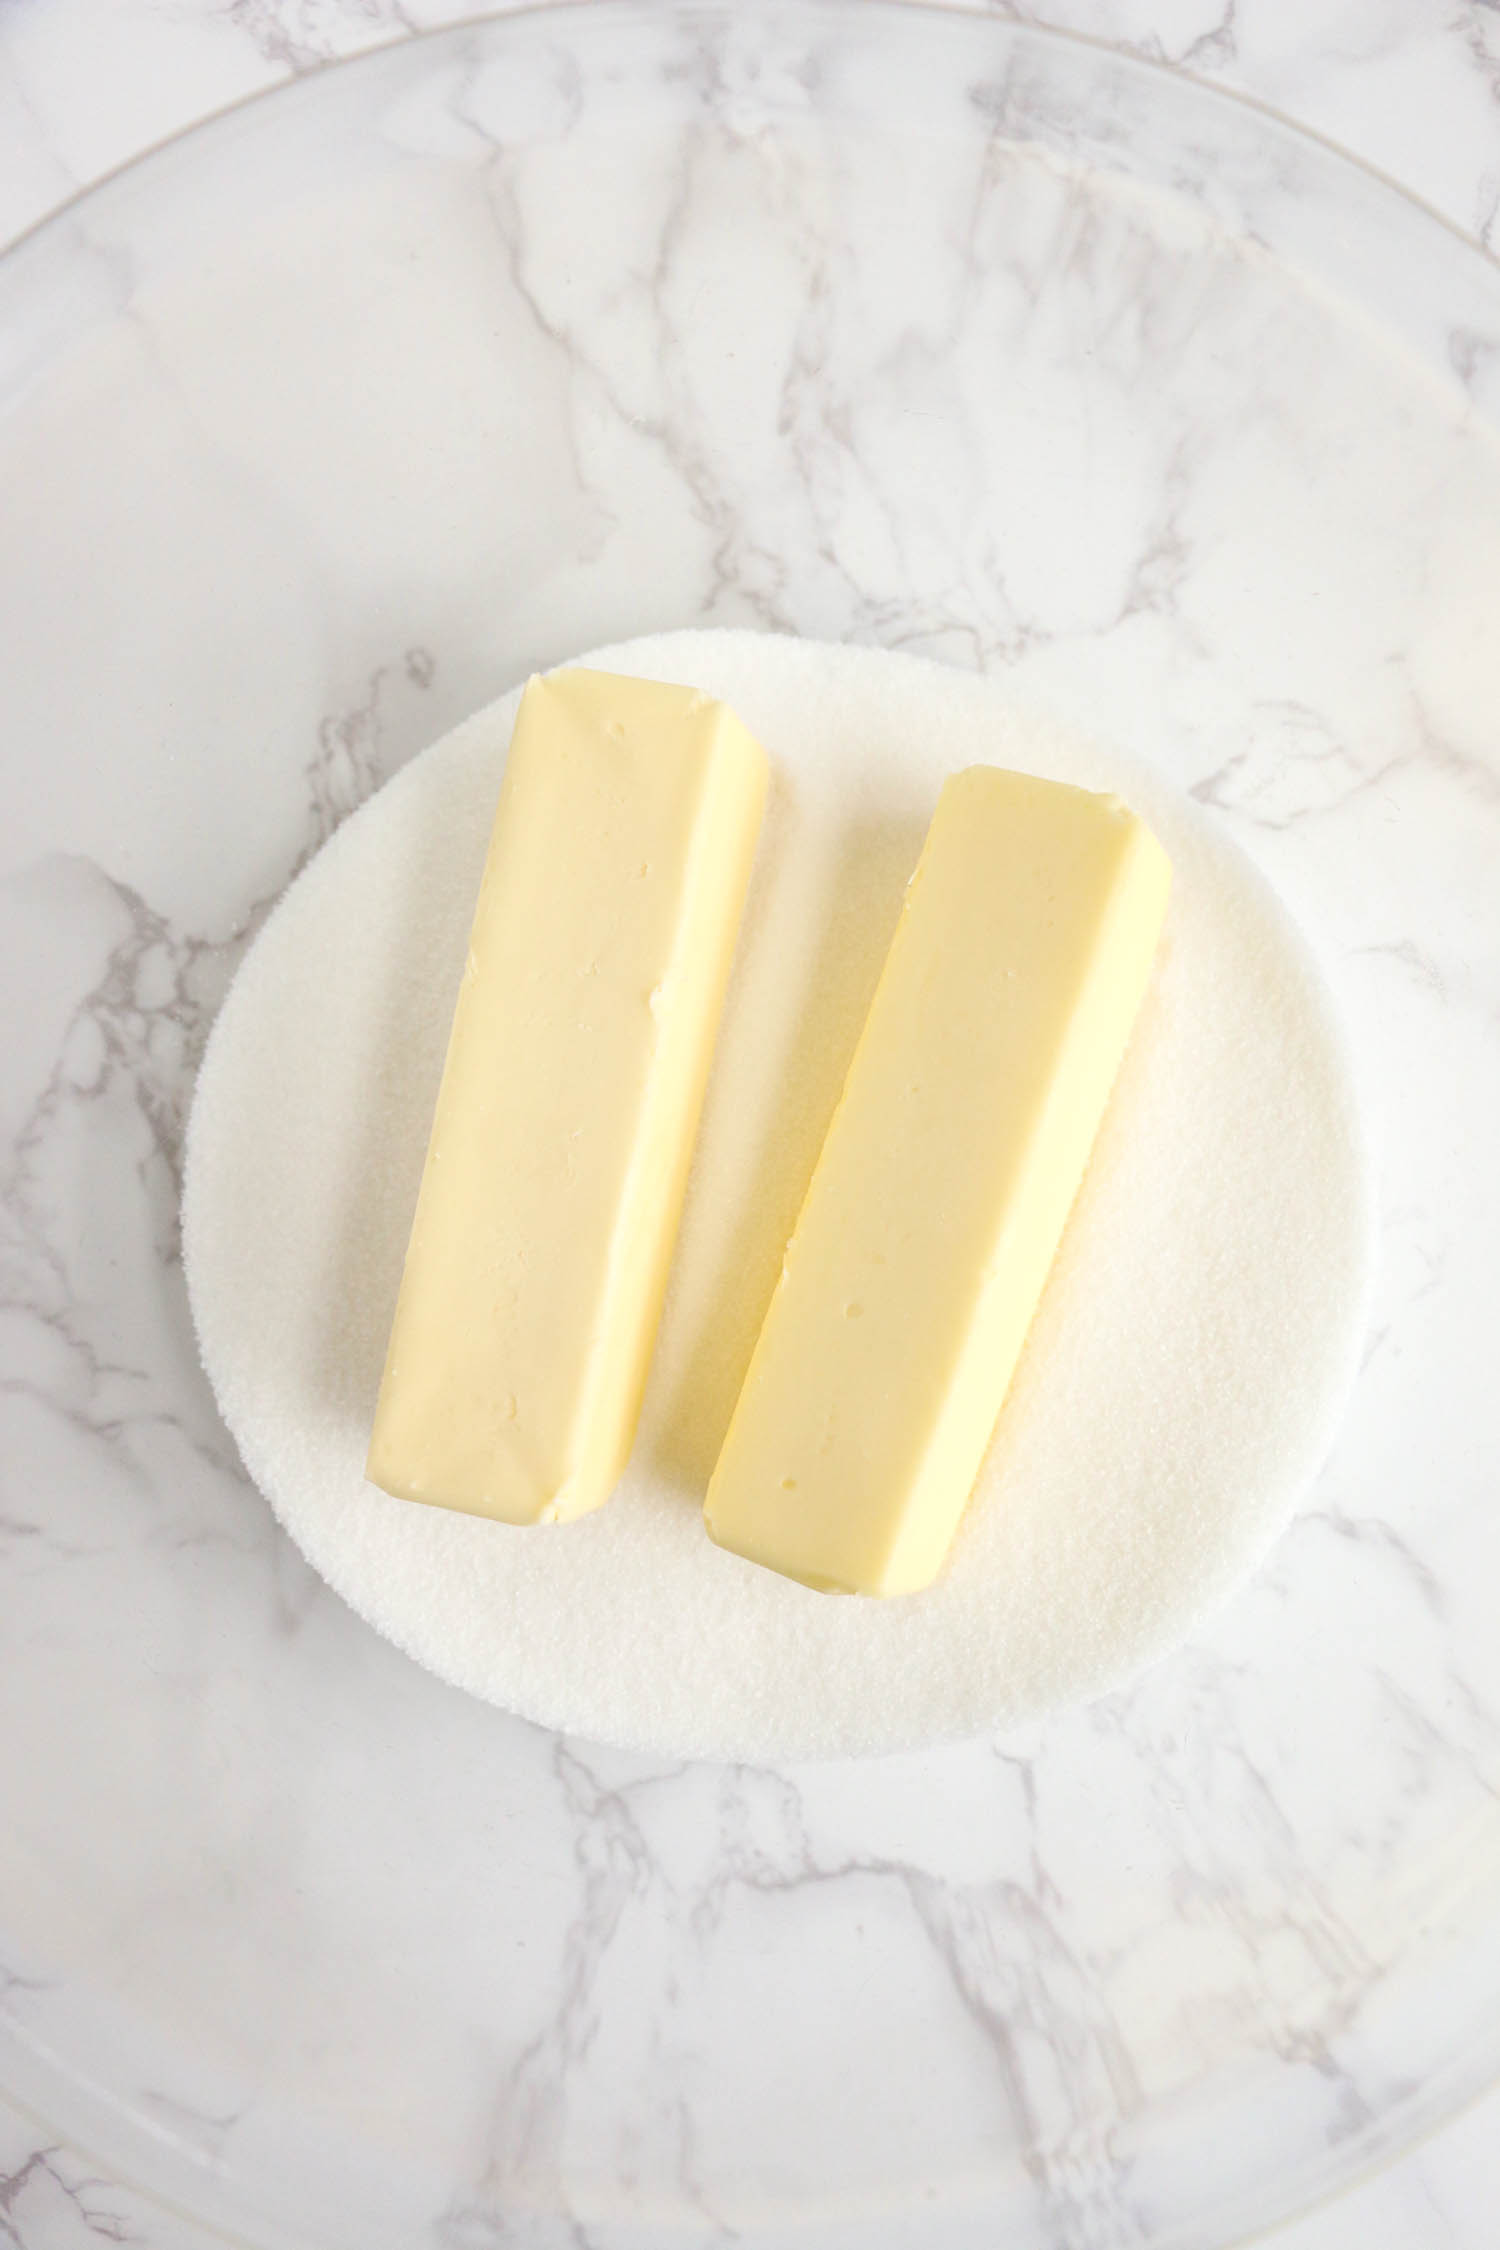
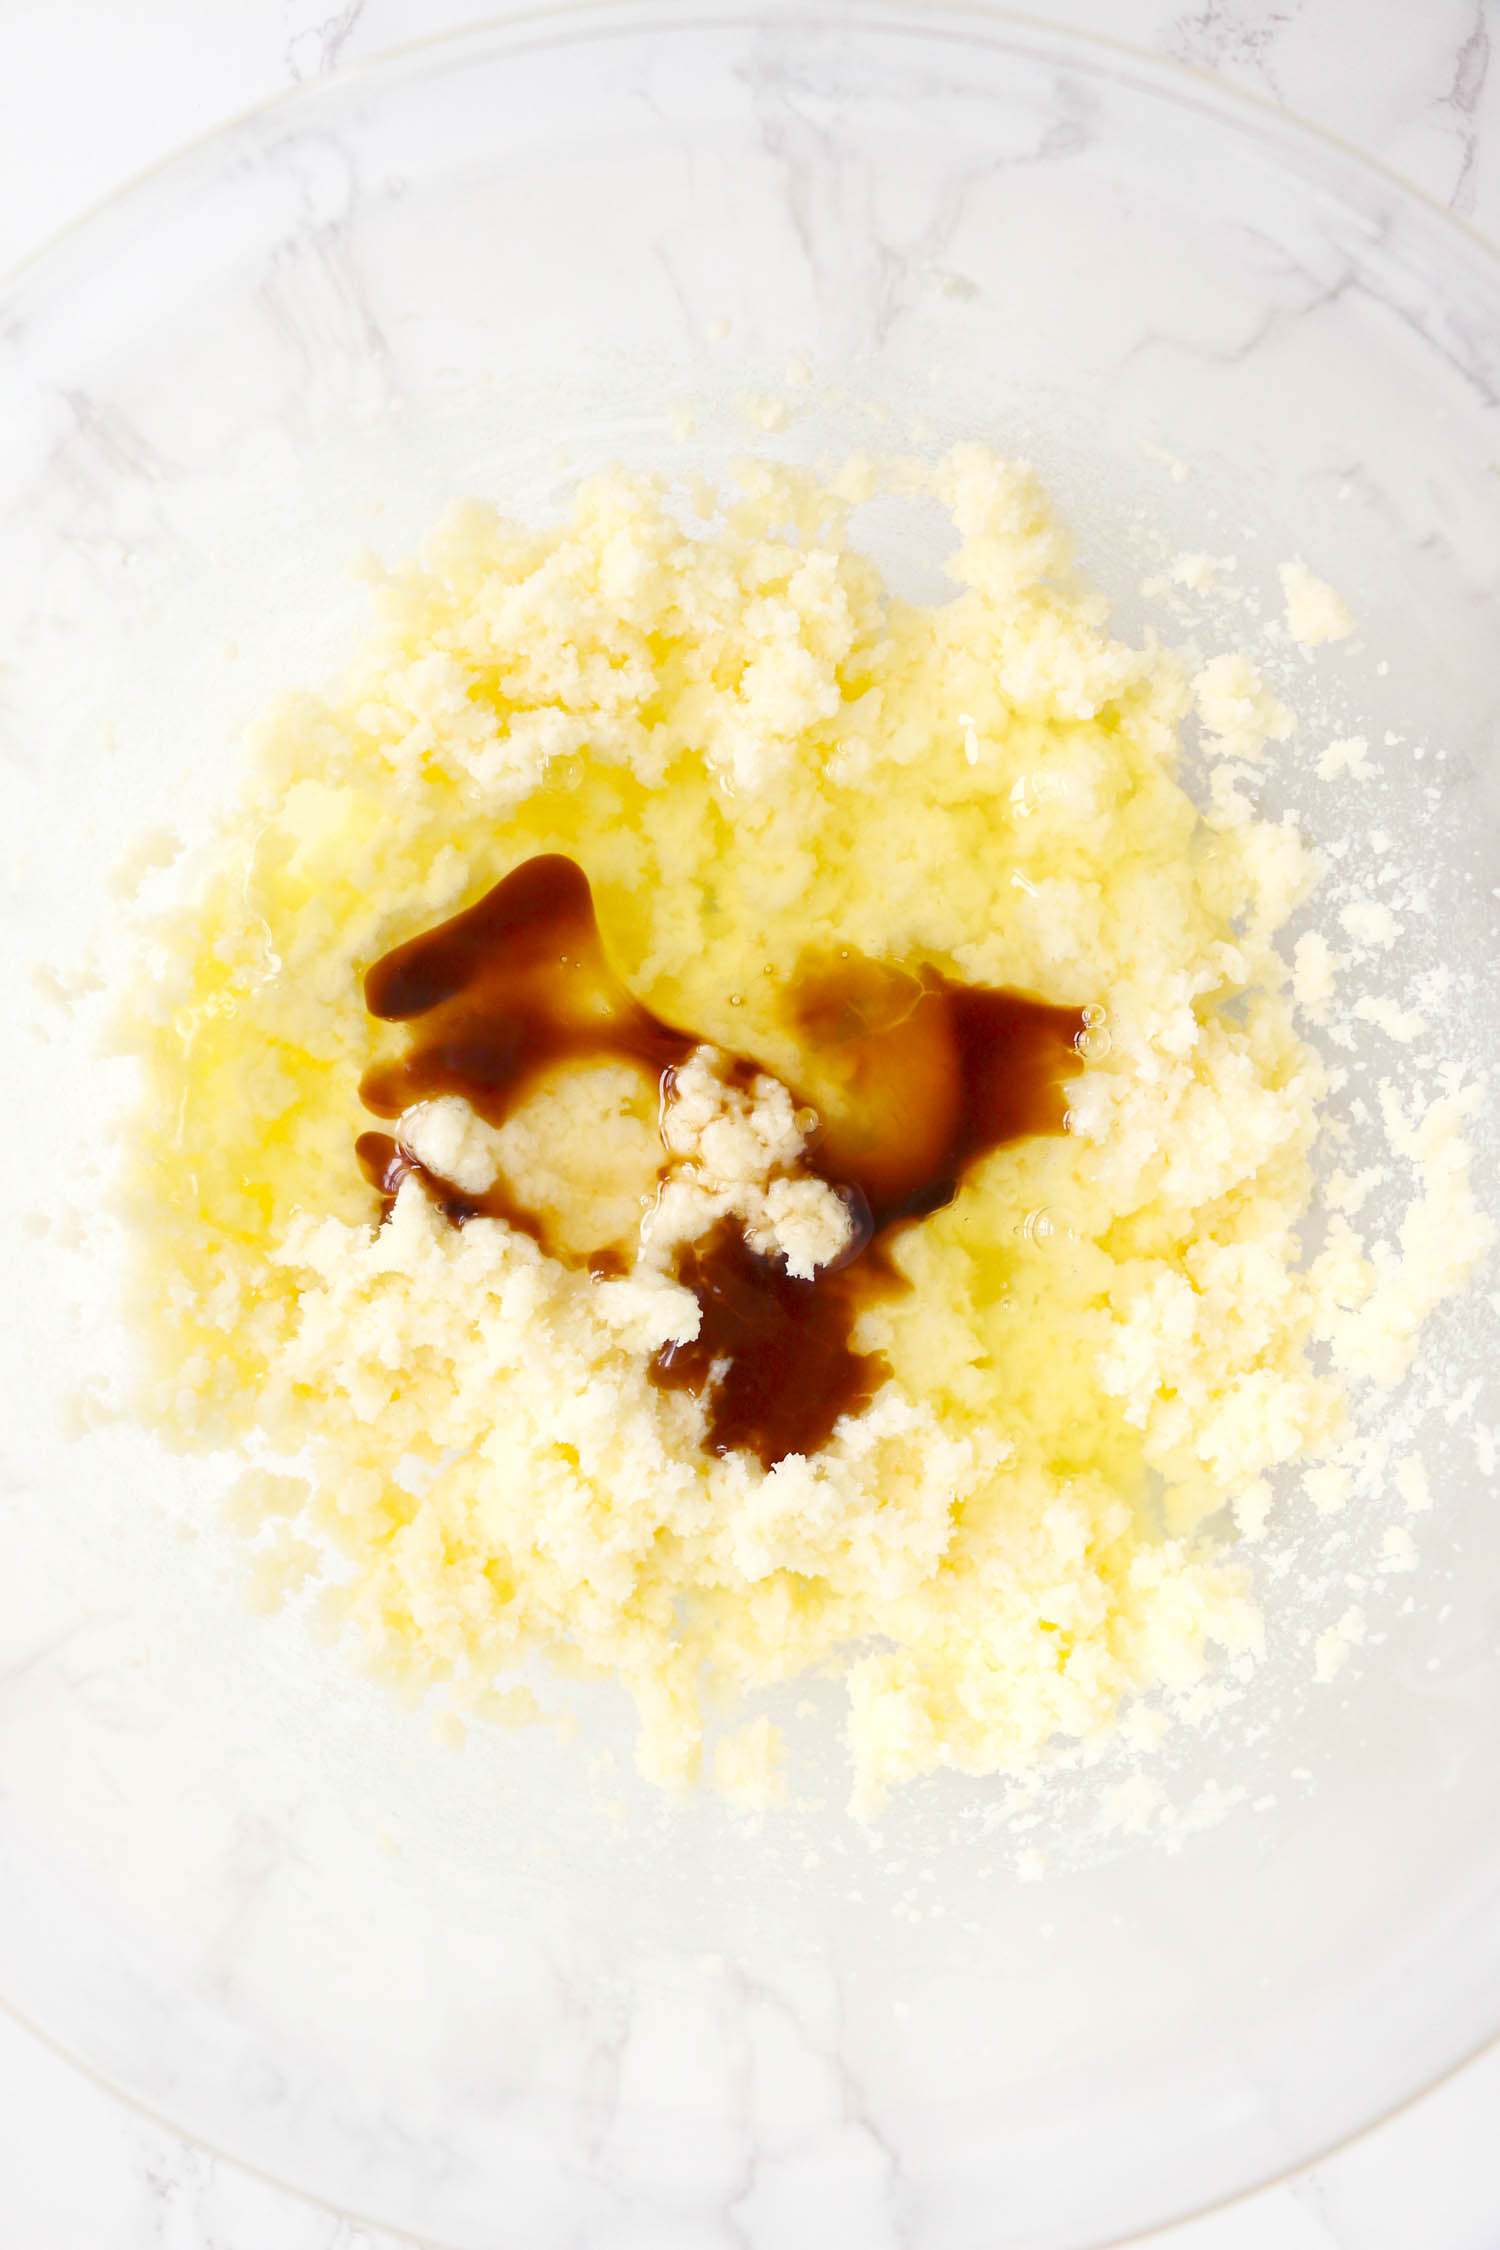
Use a hand mixer or stand mixer to cream together butter and sugar. Add vanilla and egg whites and beat until smooth.
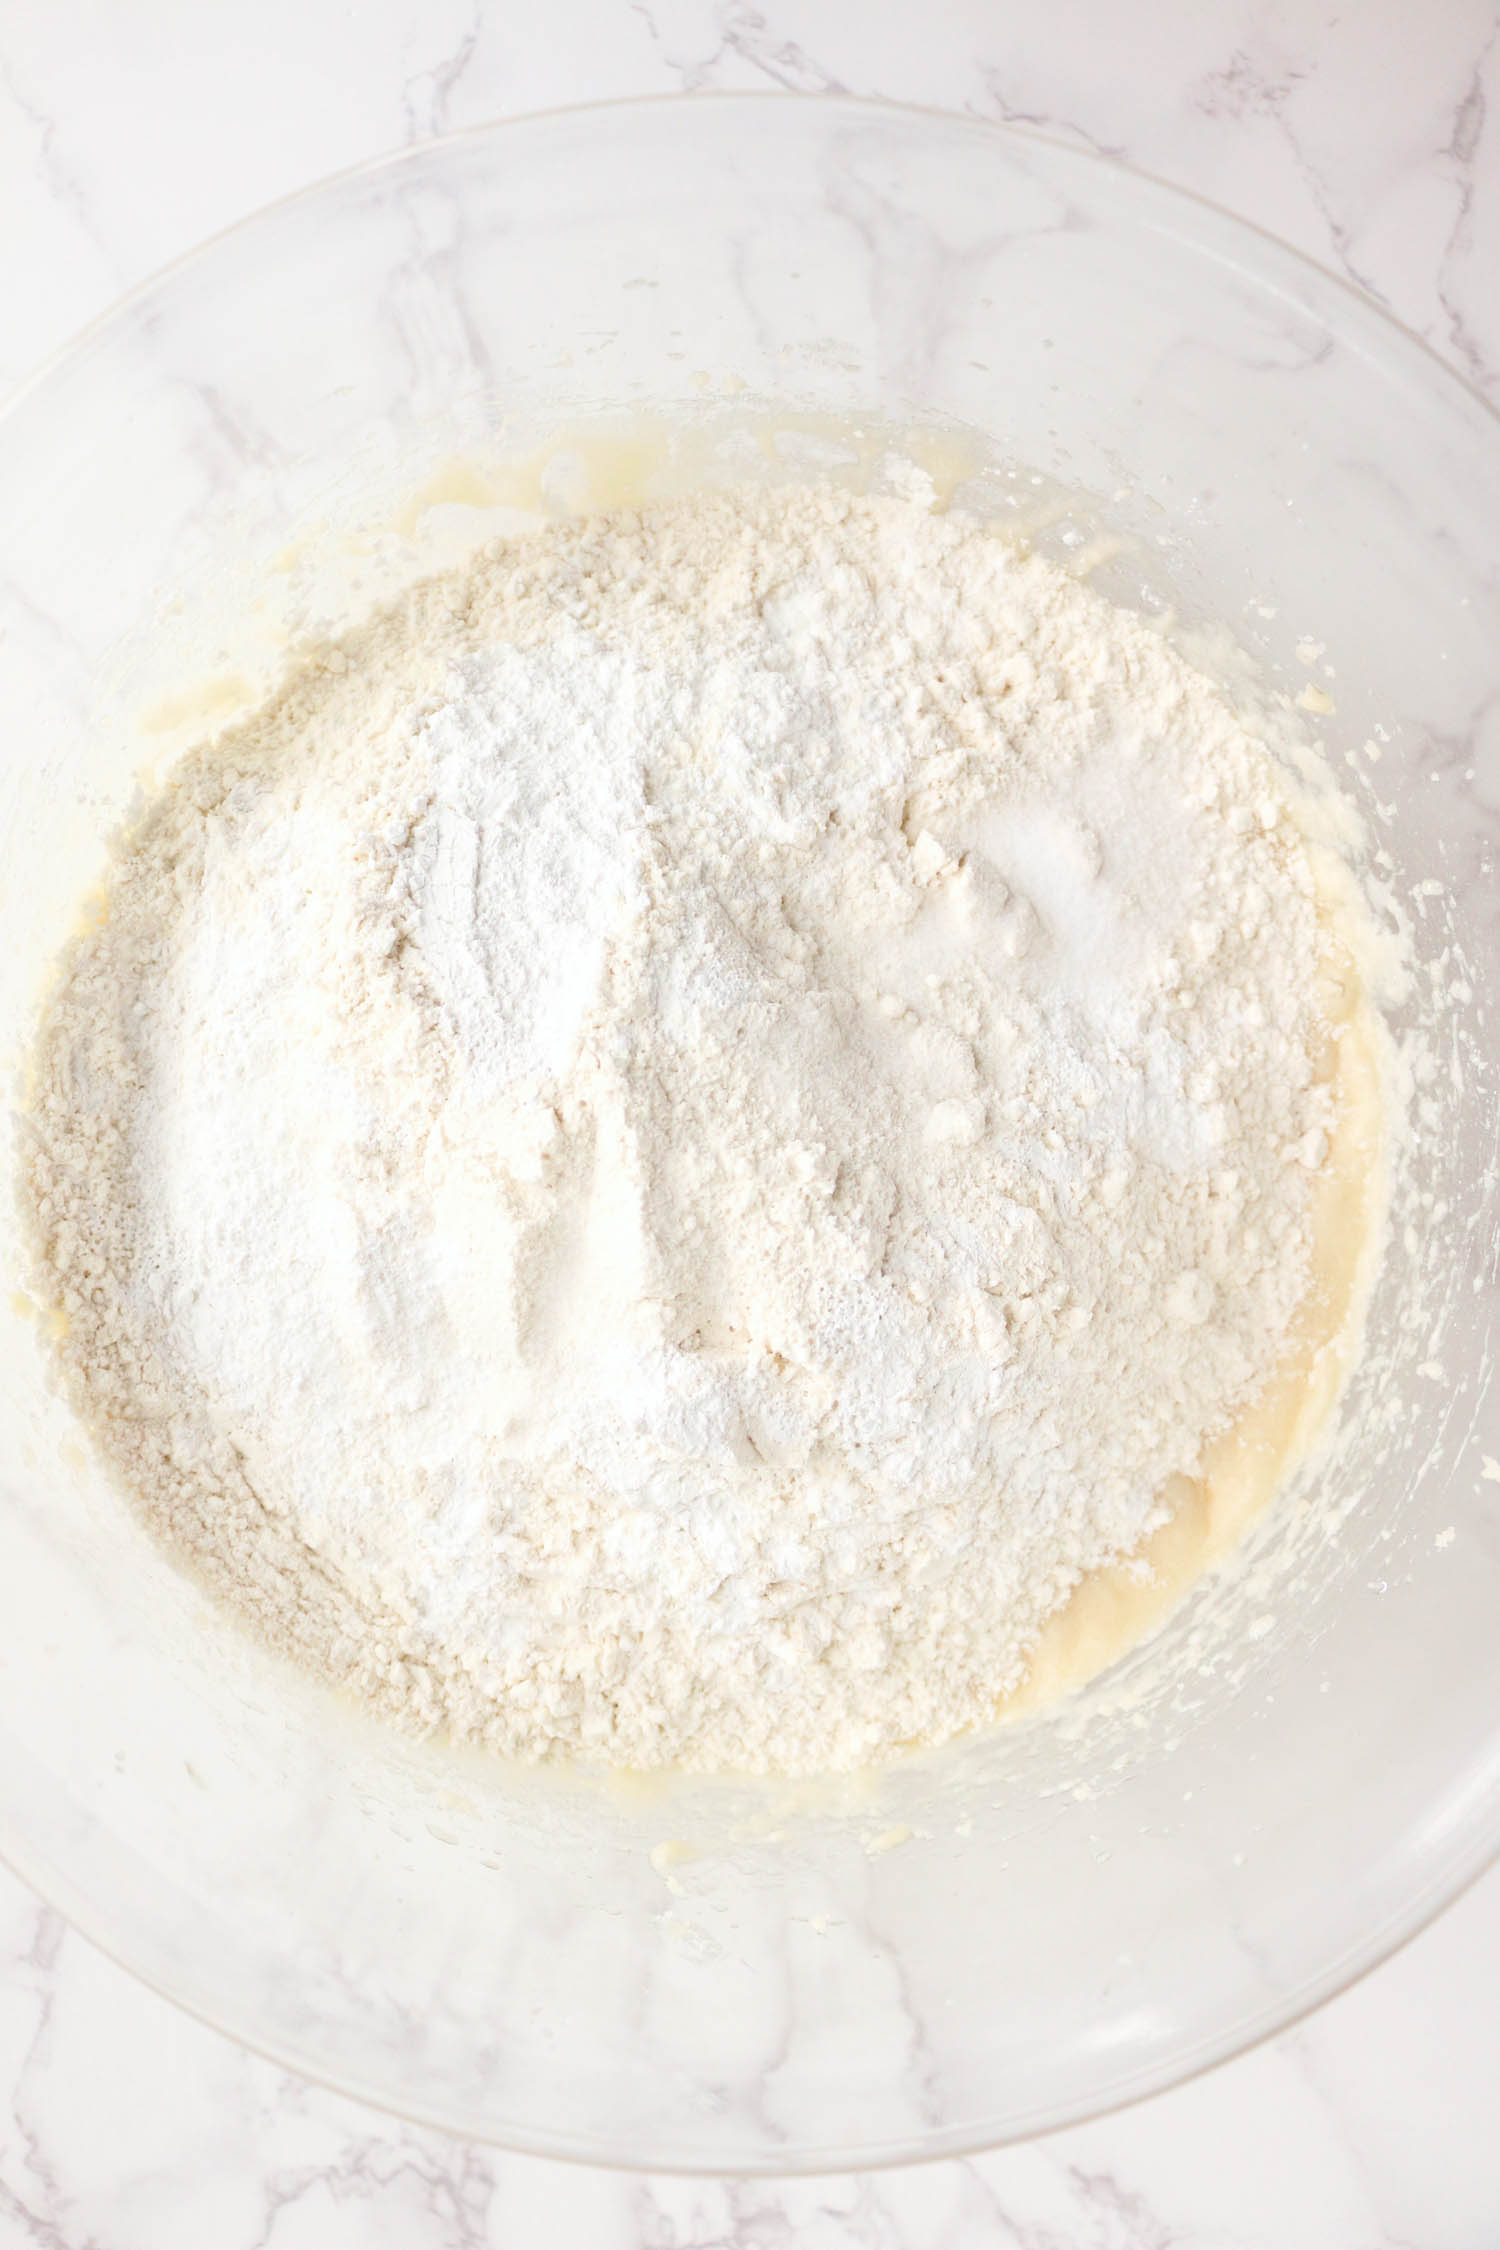
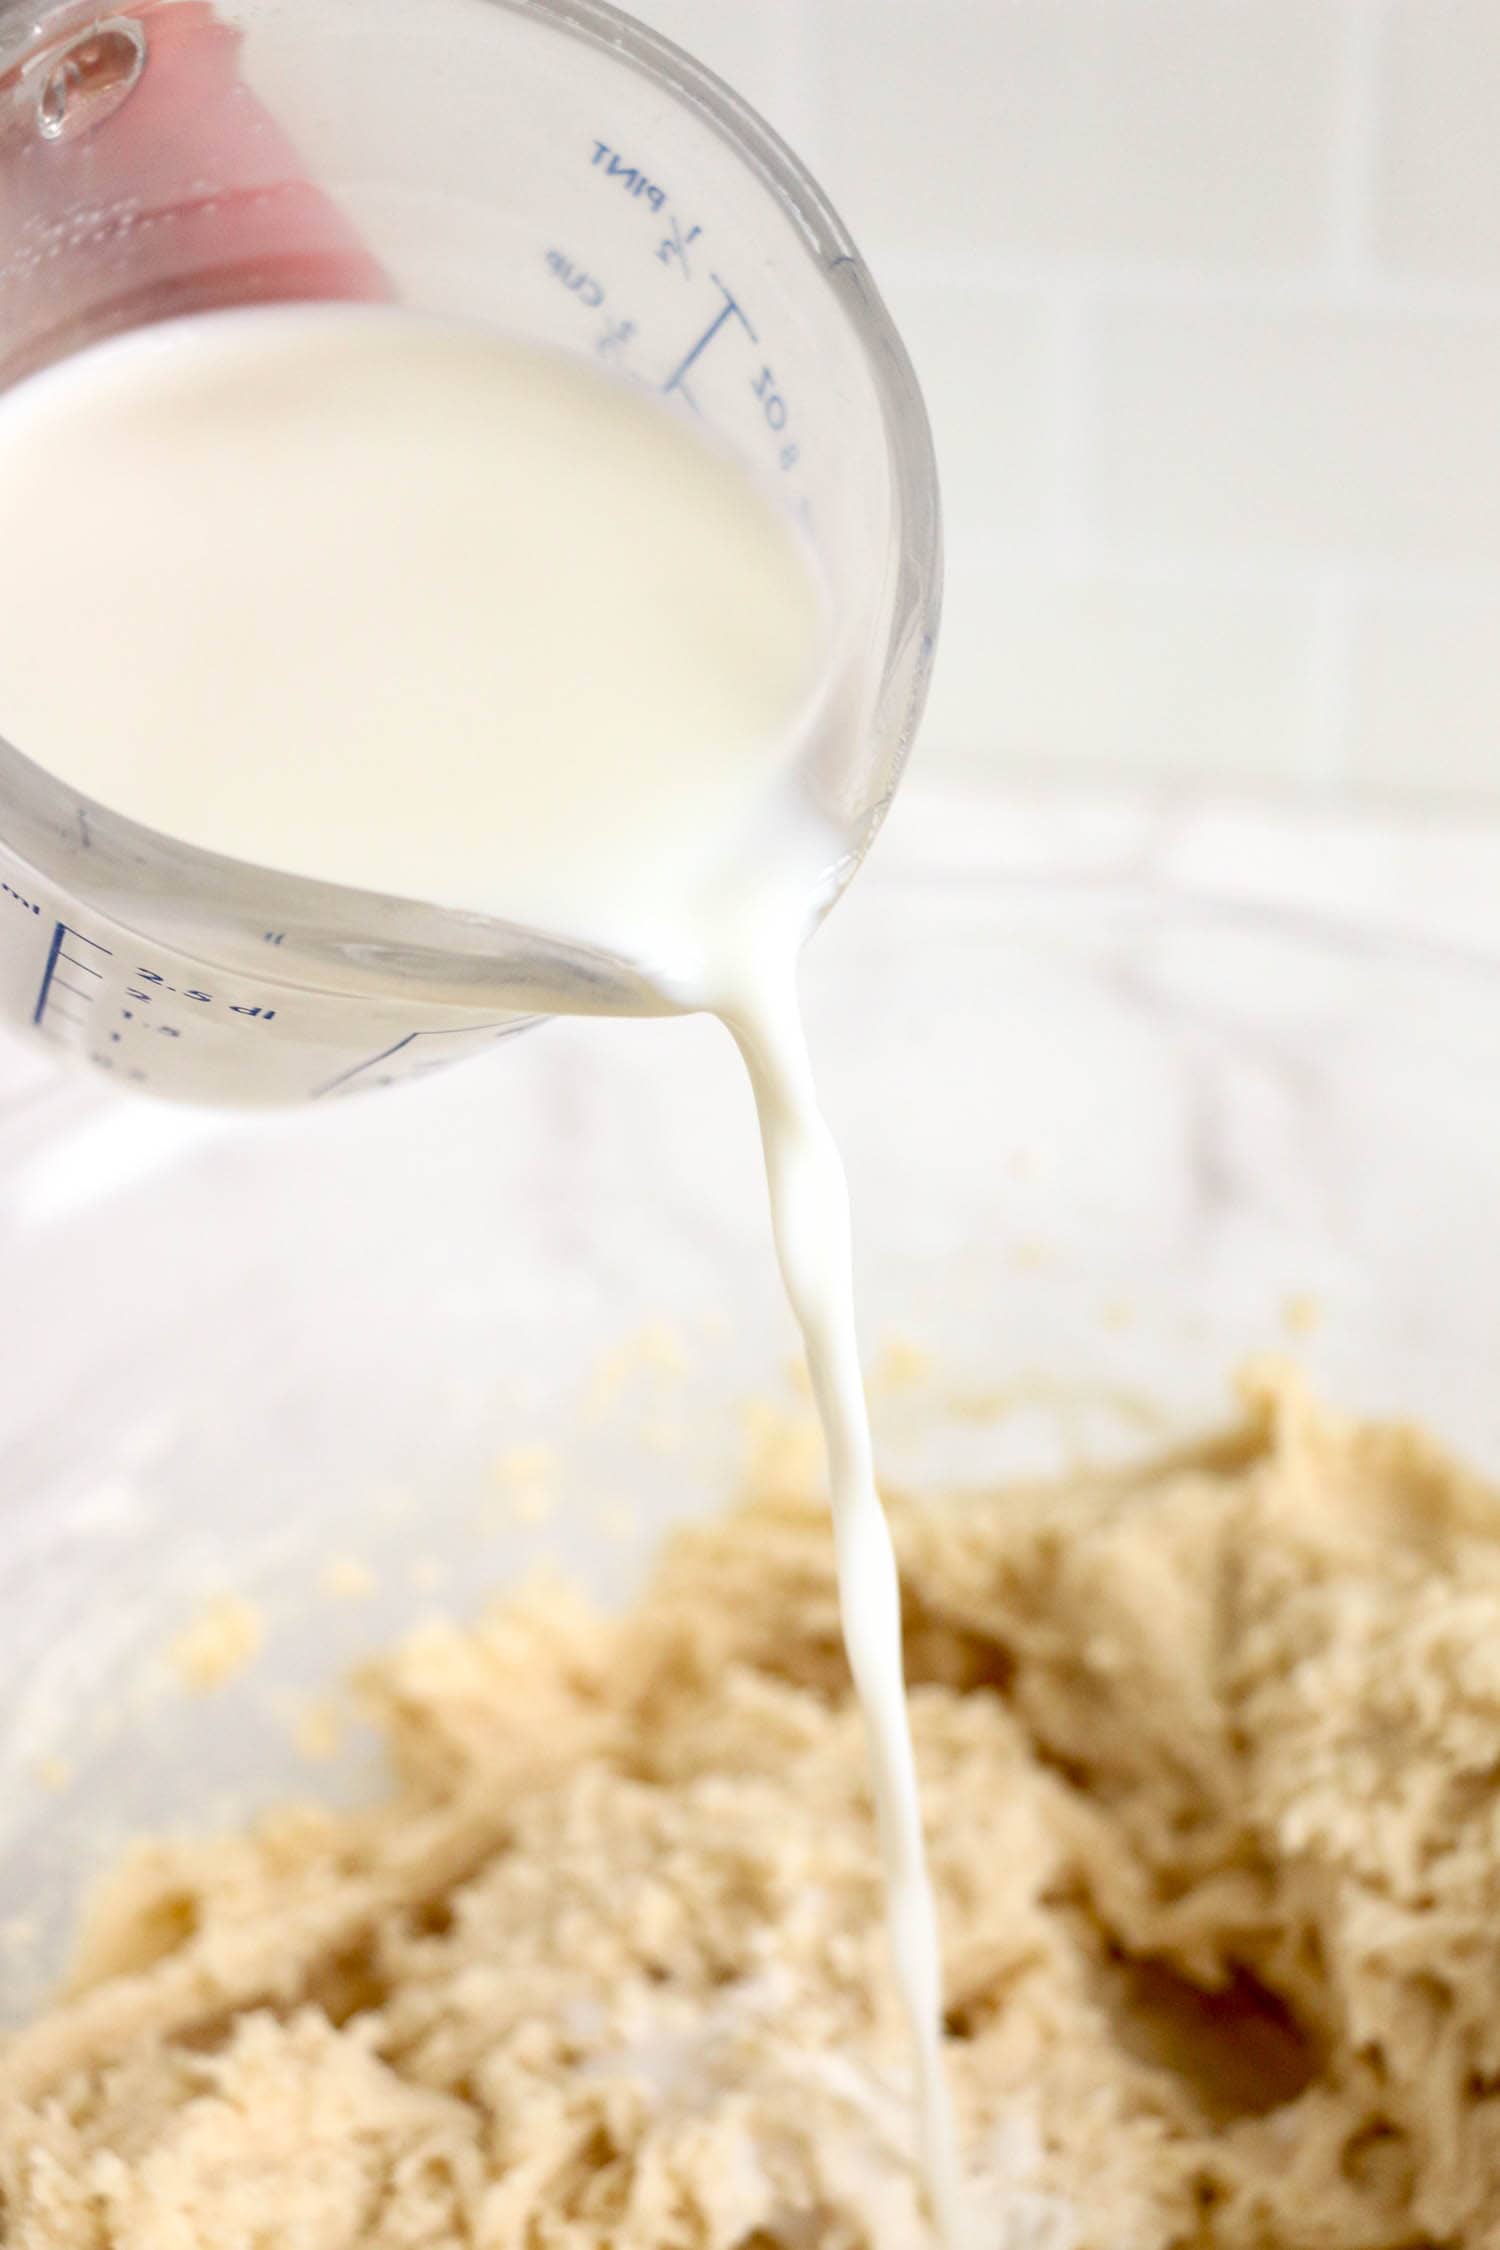
Add the flour, baking powder, salt, and milk to the mixture and beat until smooth and fully incorporated.
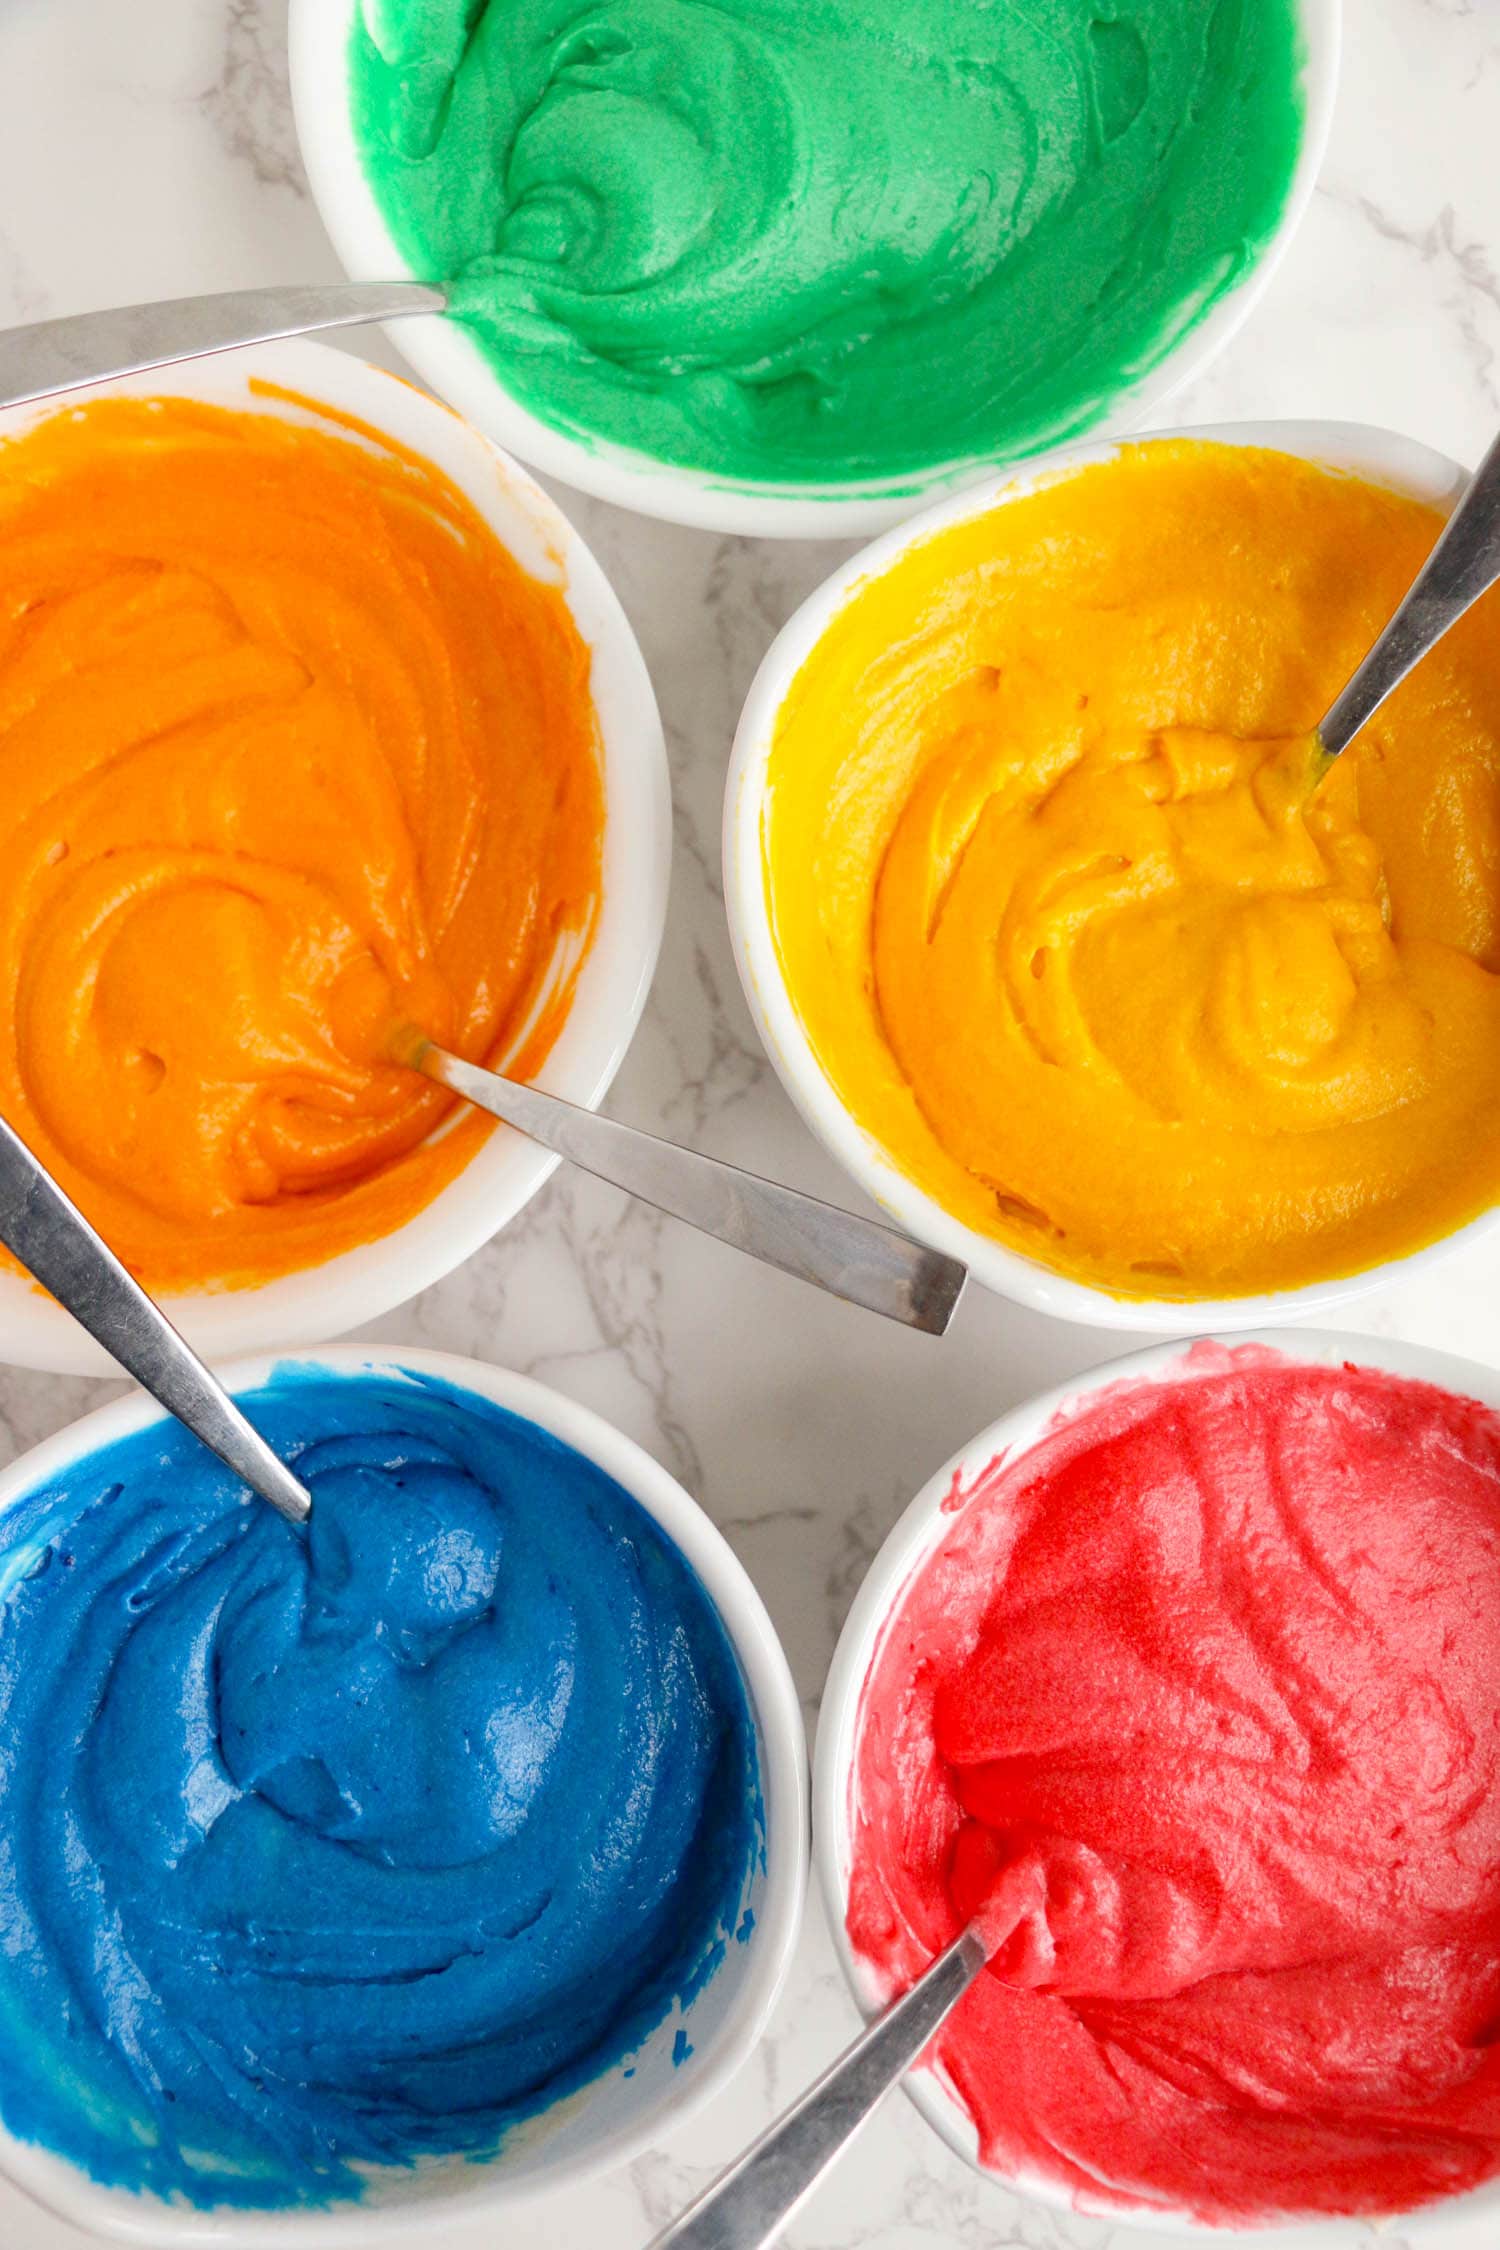
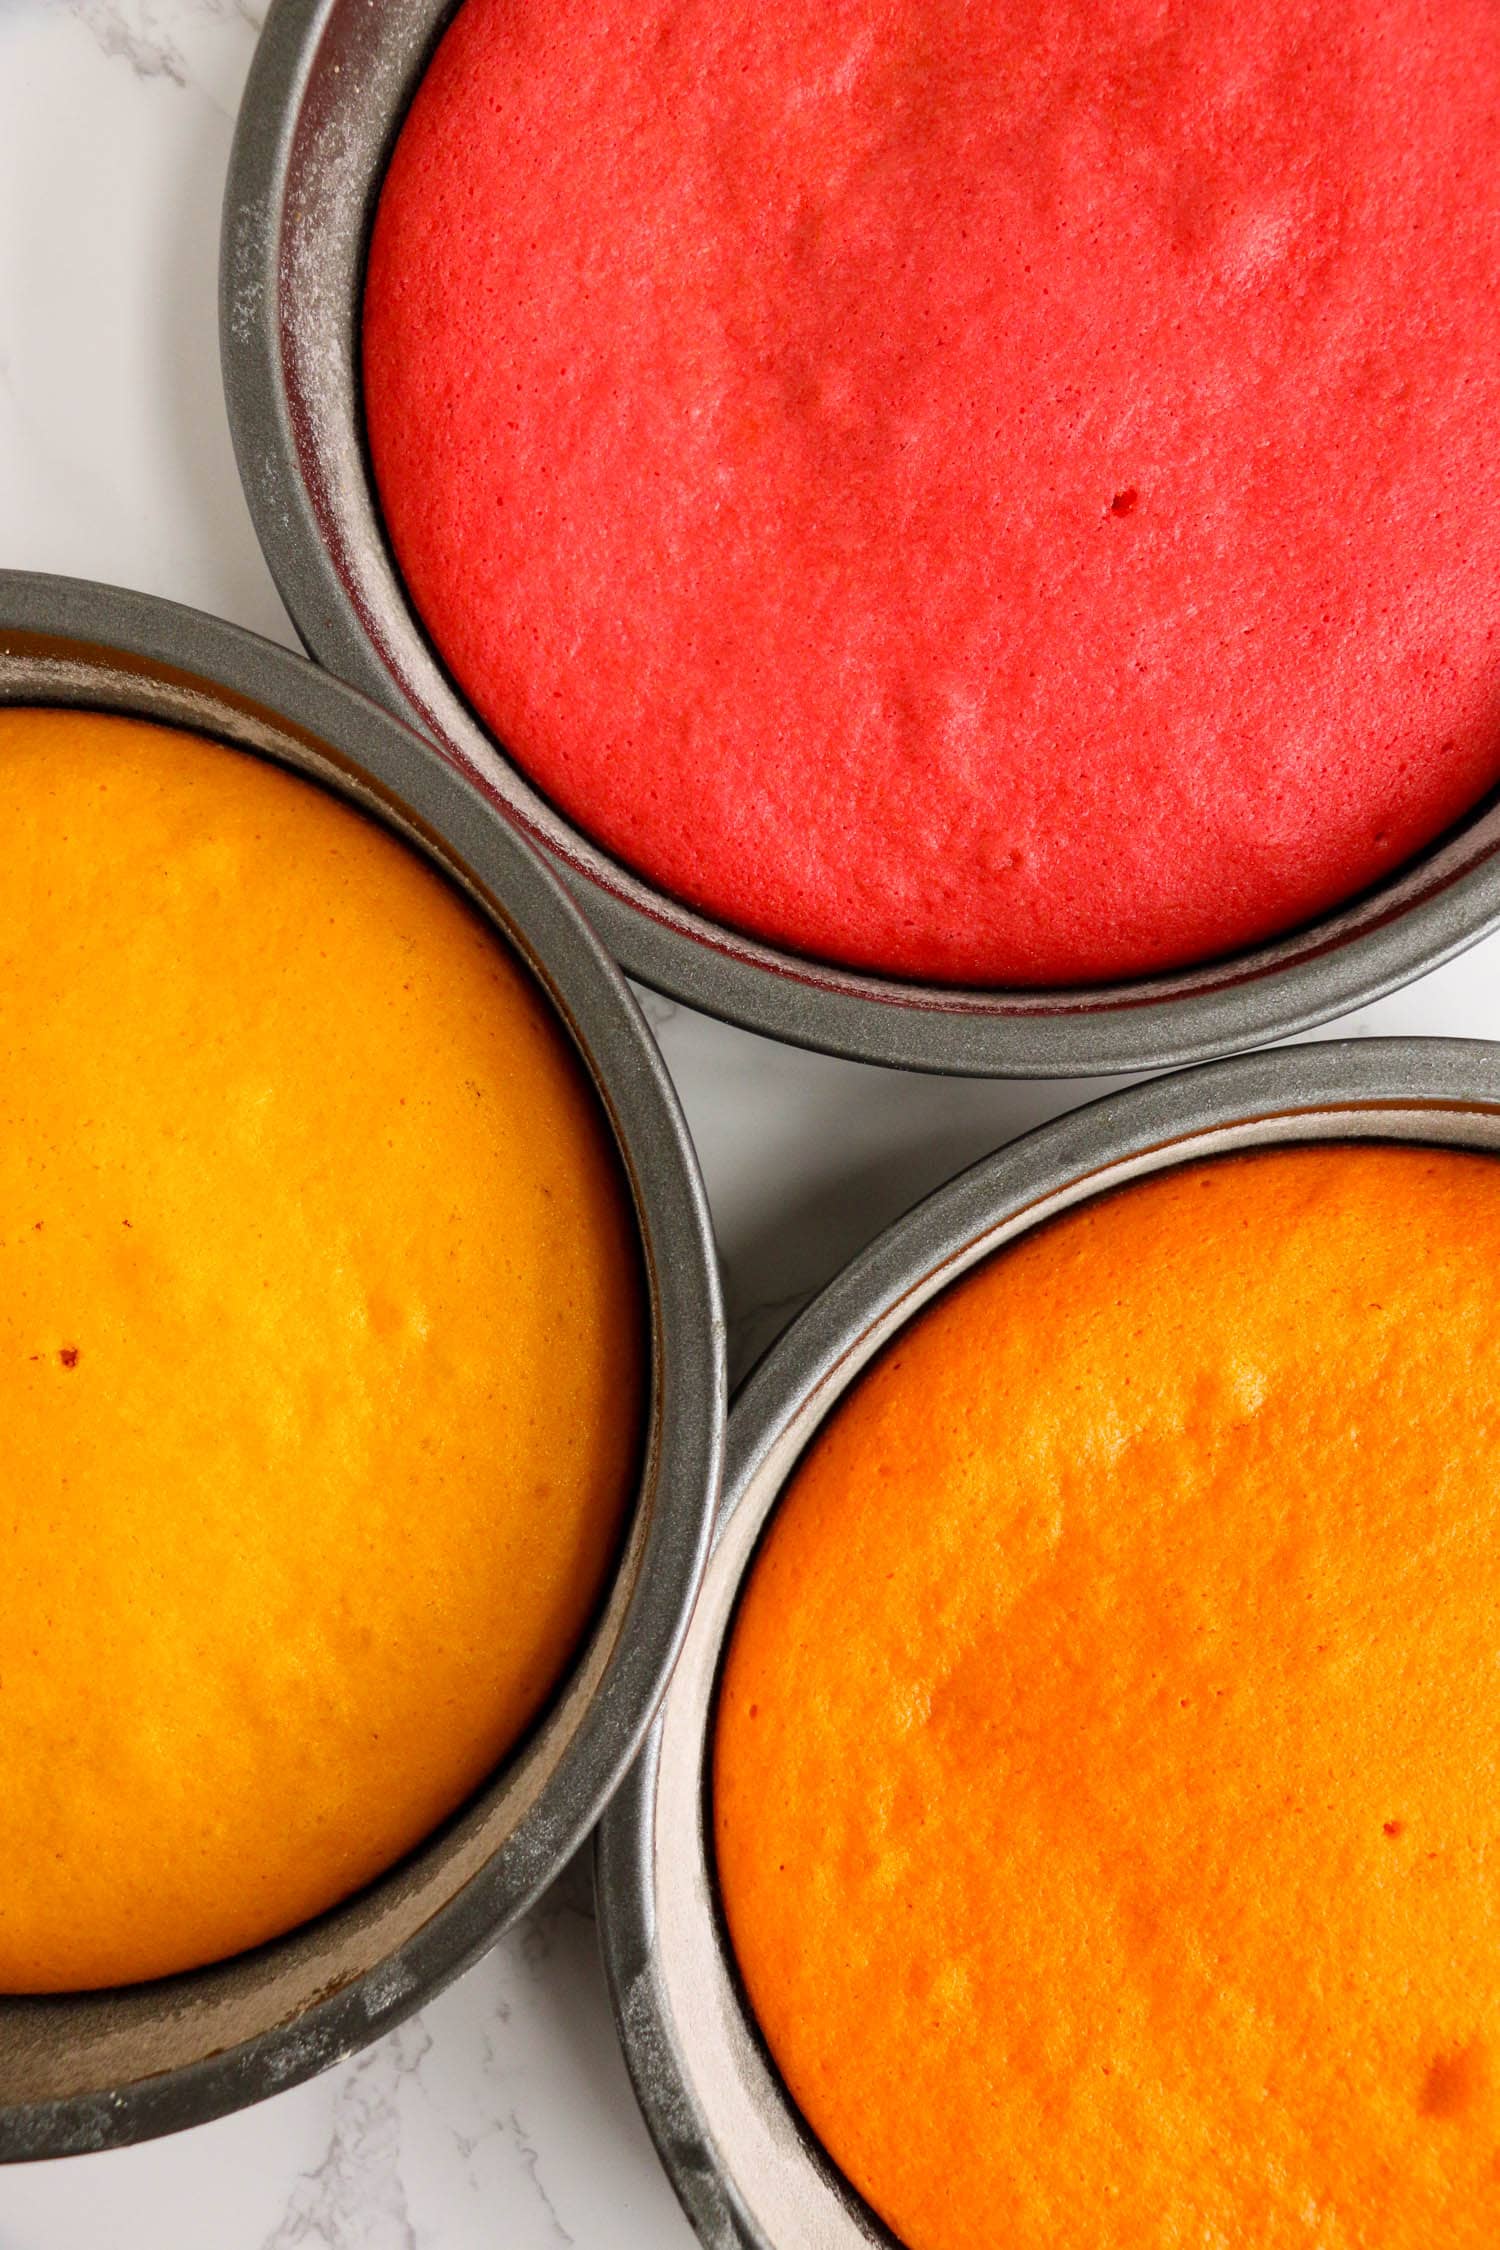
Separate the cake batter evenly into five bowls. Add food coloring corresponding to colors of the rainbow to each bowl and stir until the color has been worked all the way through the batter.
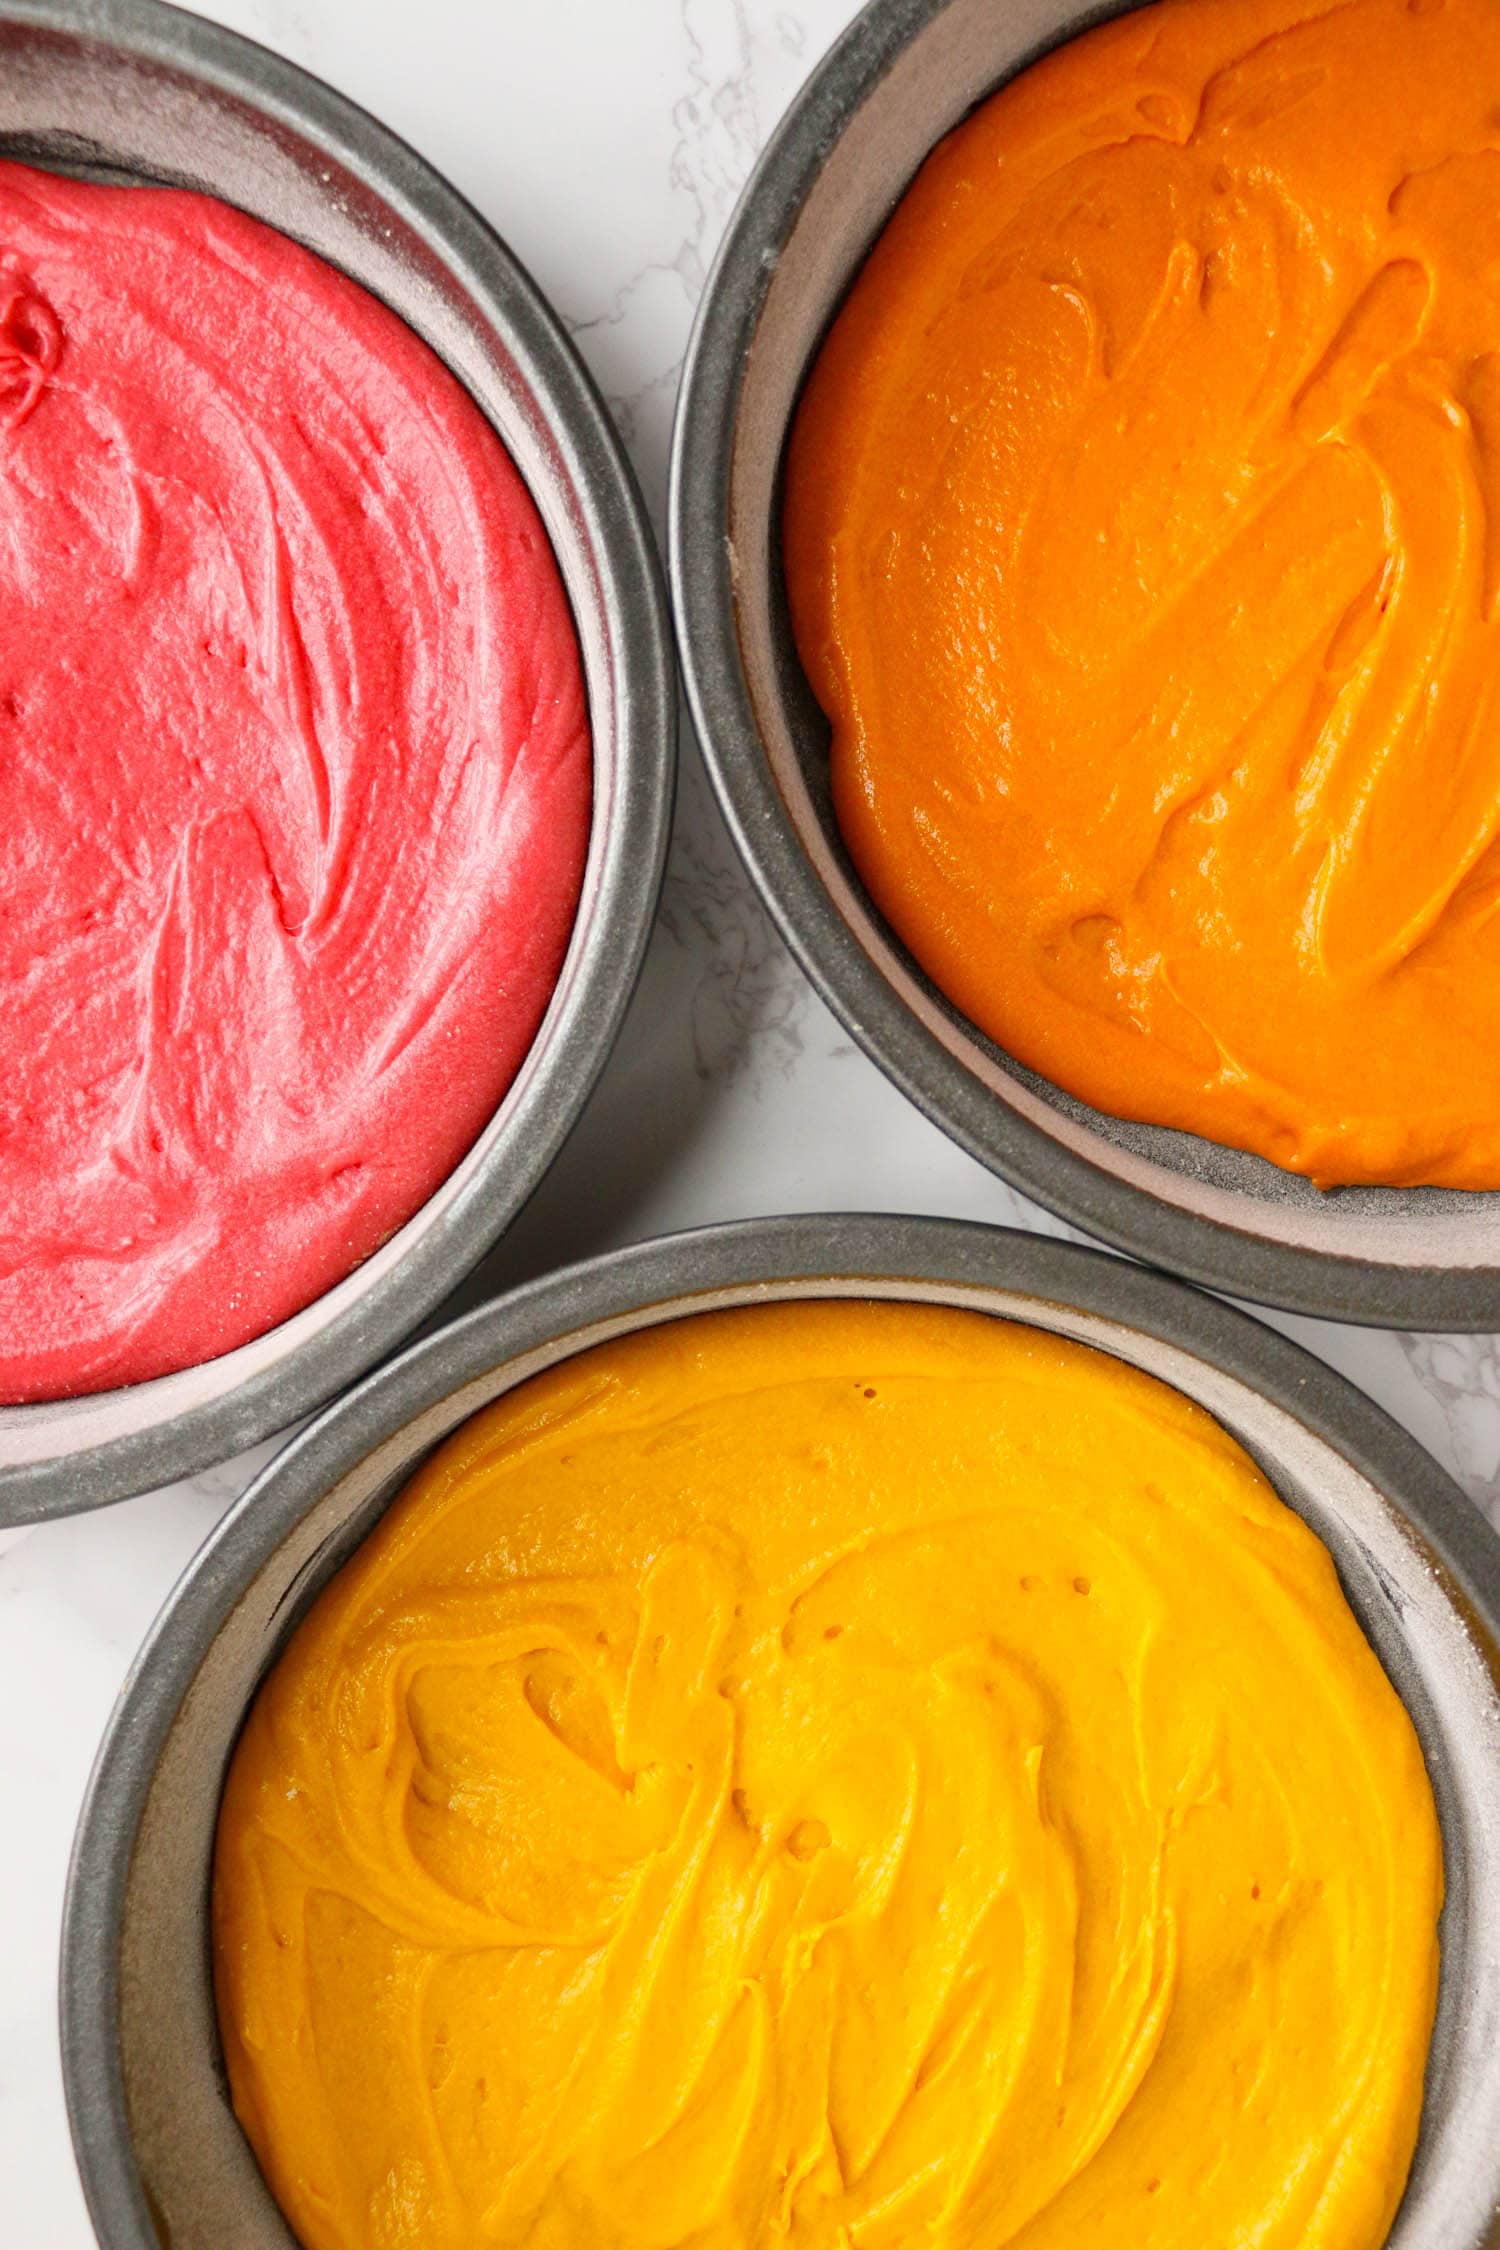
Pour each colored batter into your prepared round pans and bake each layer for 15 minutes, or until a toothpick can be inserted and come out clean.
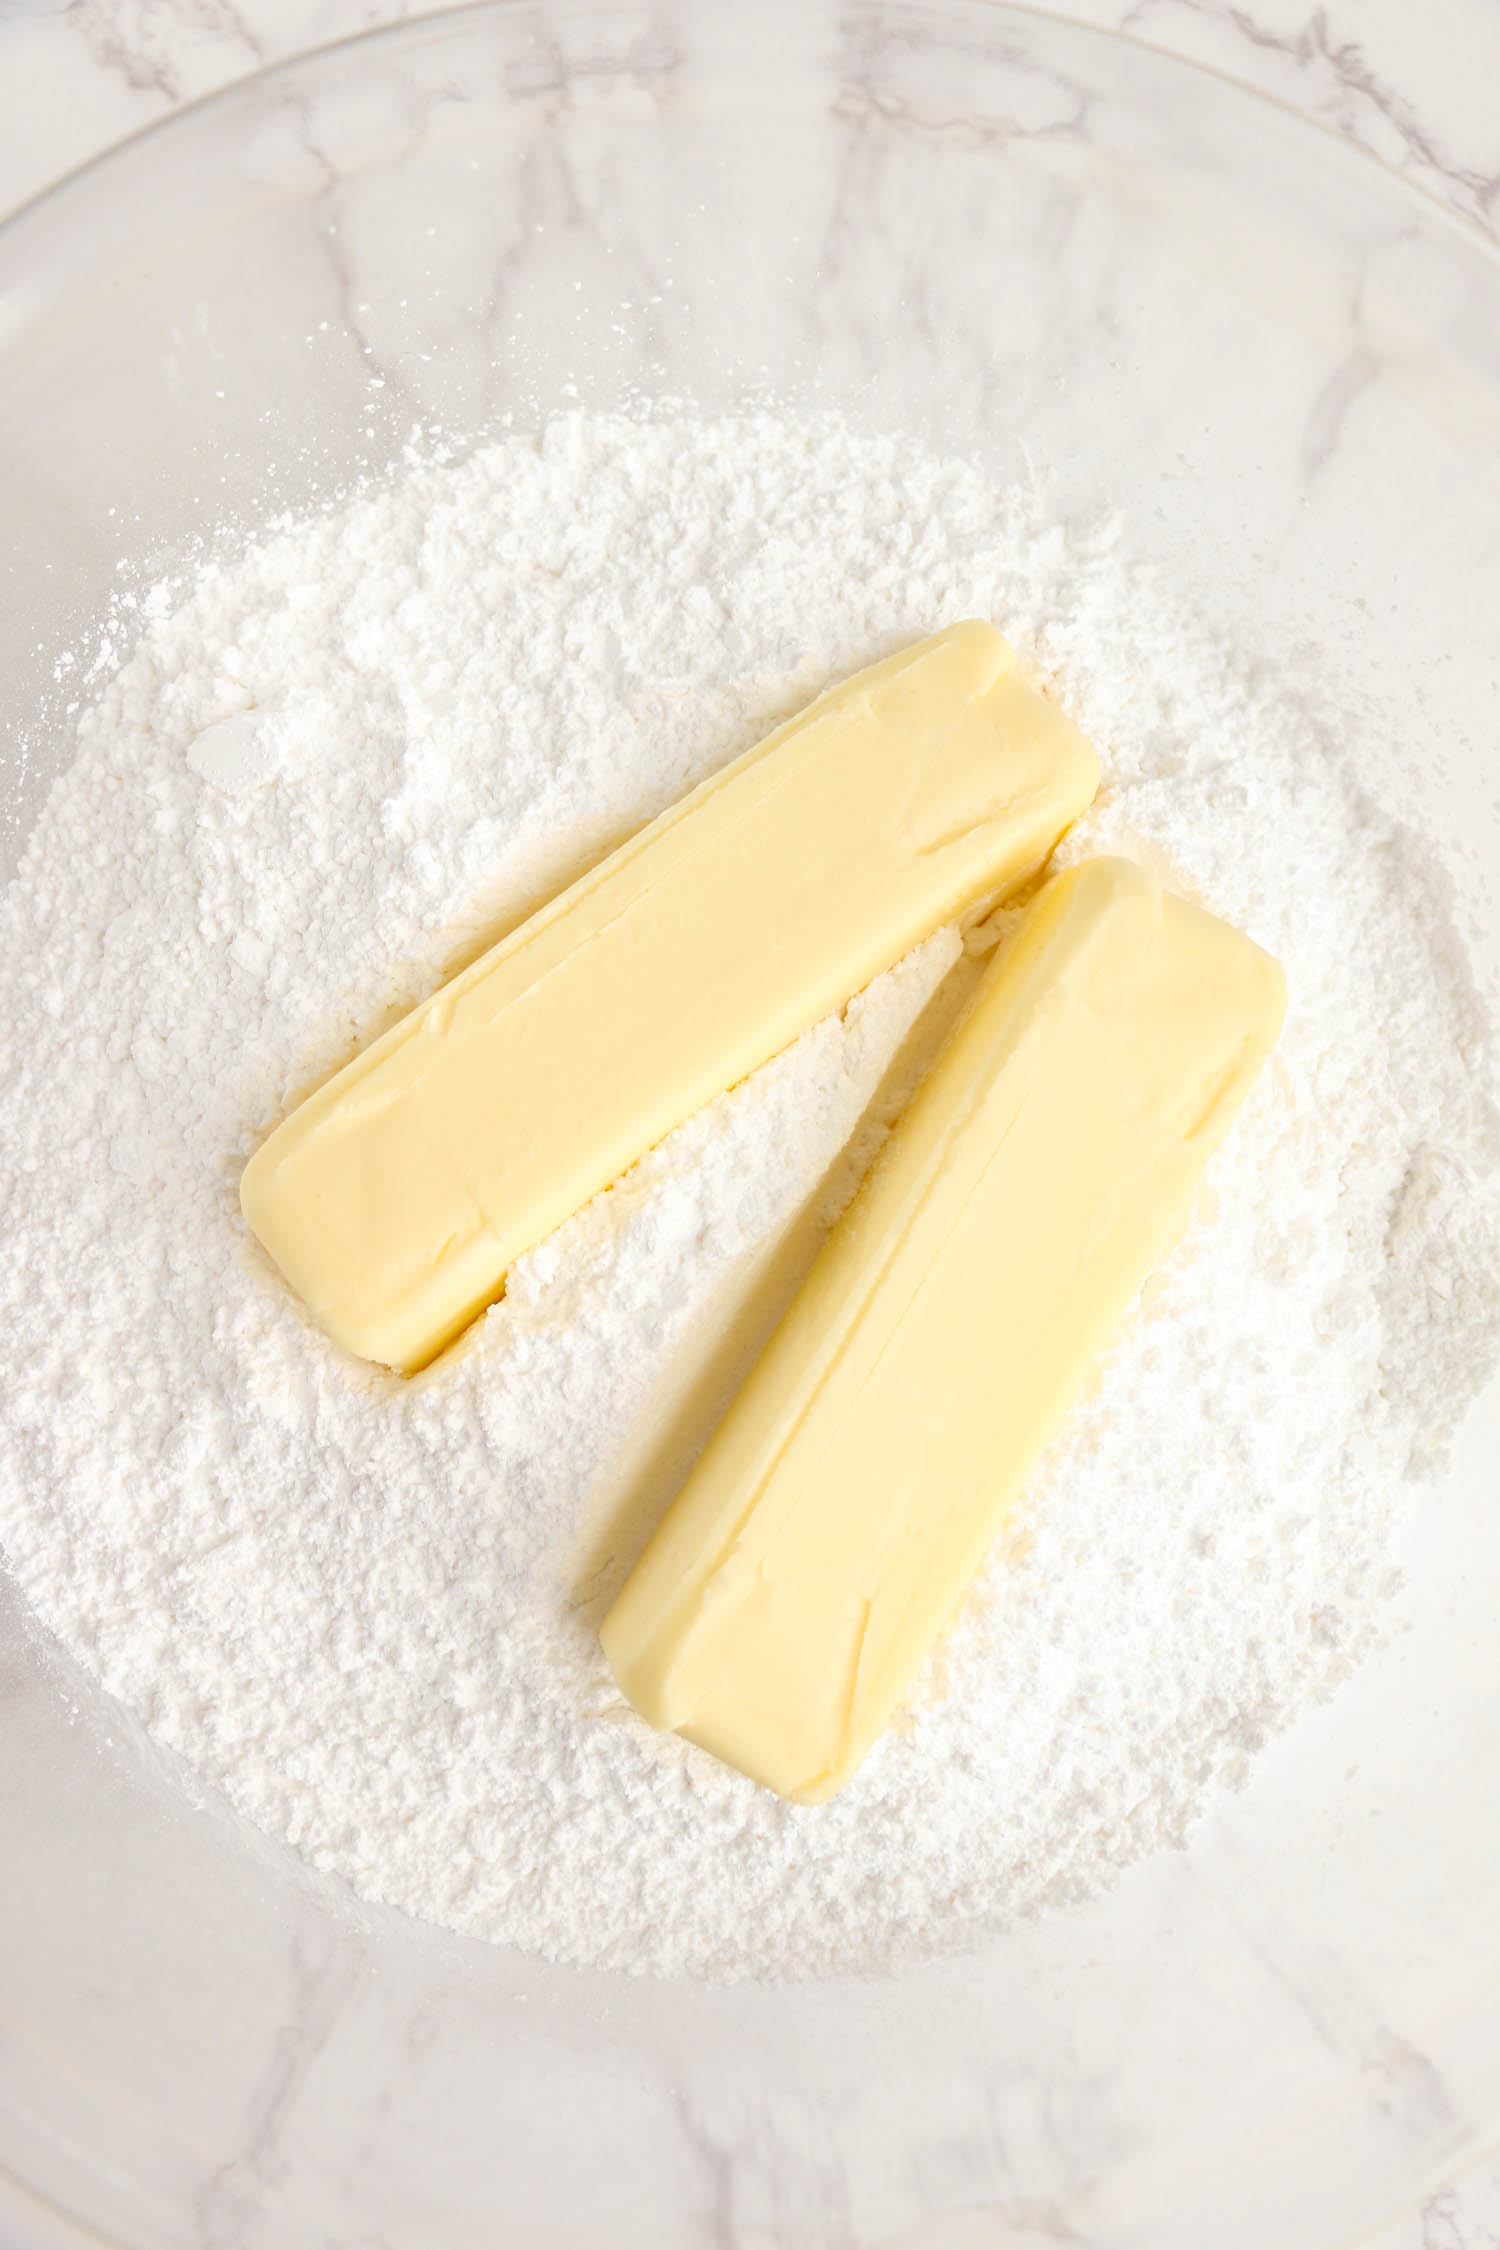
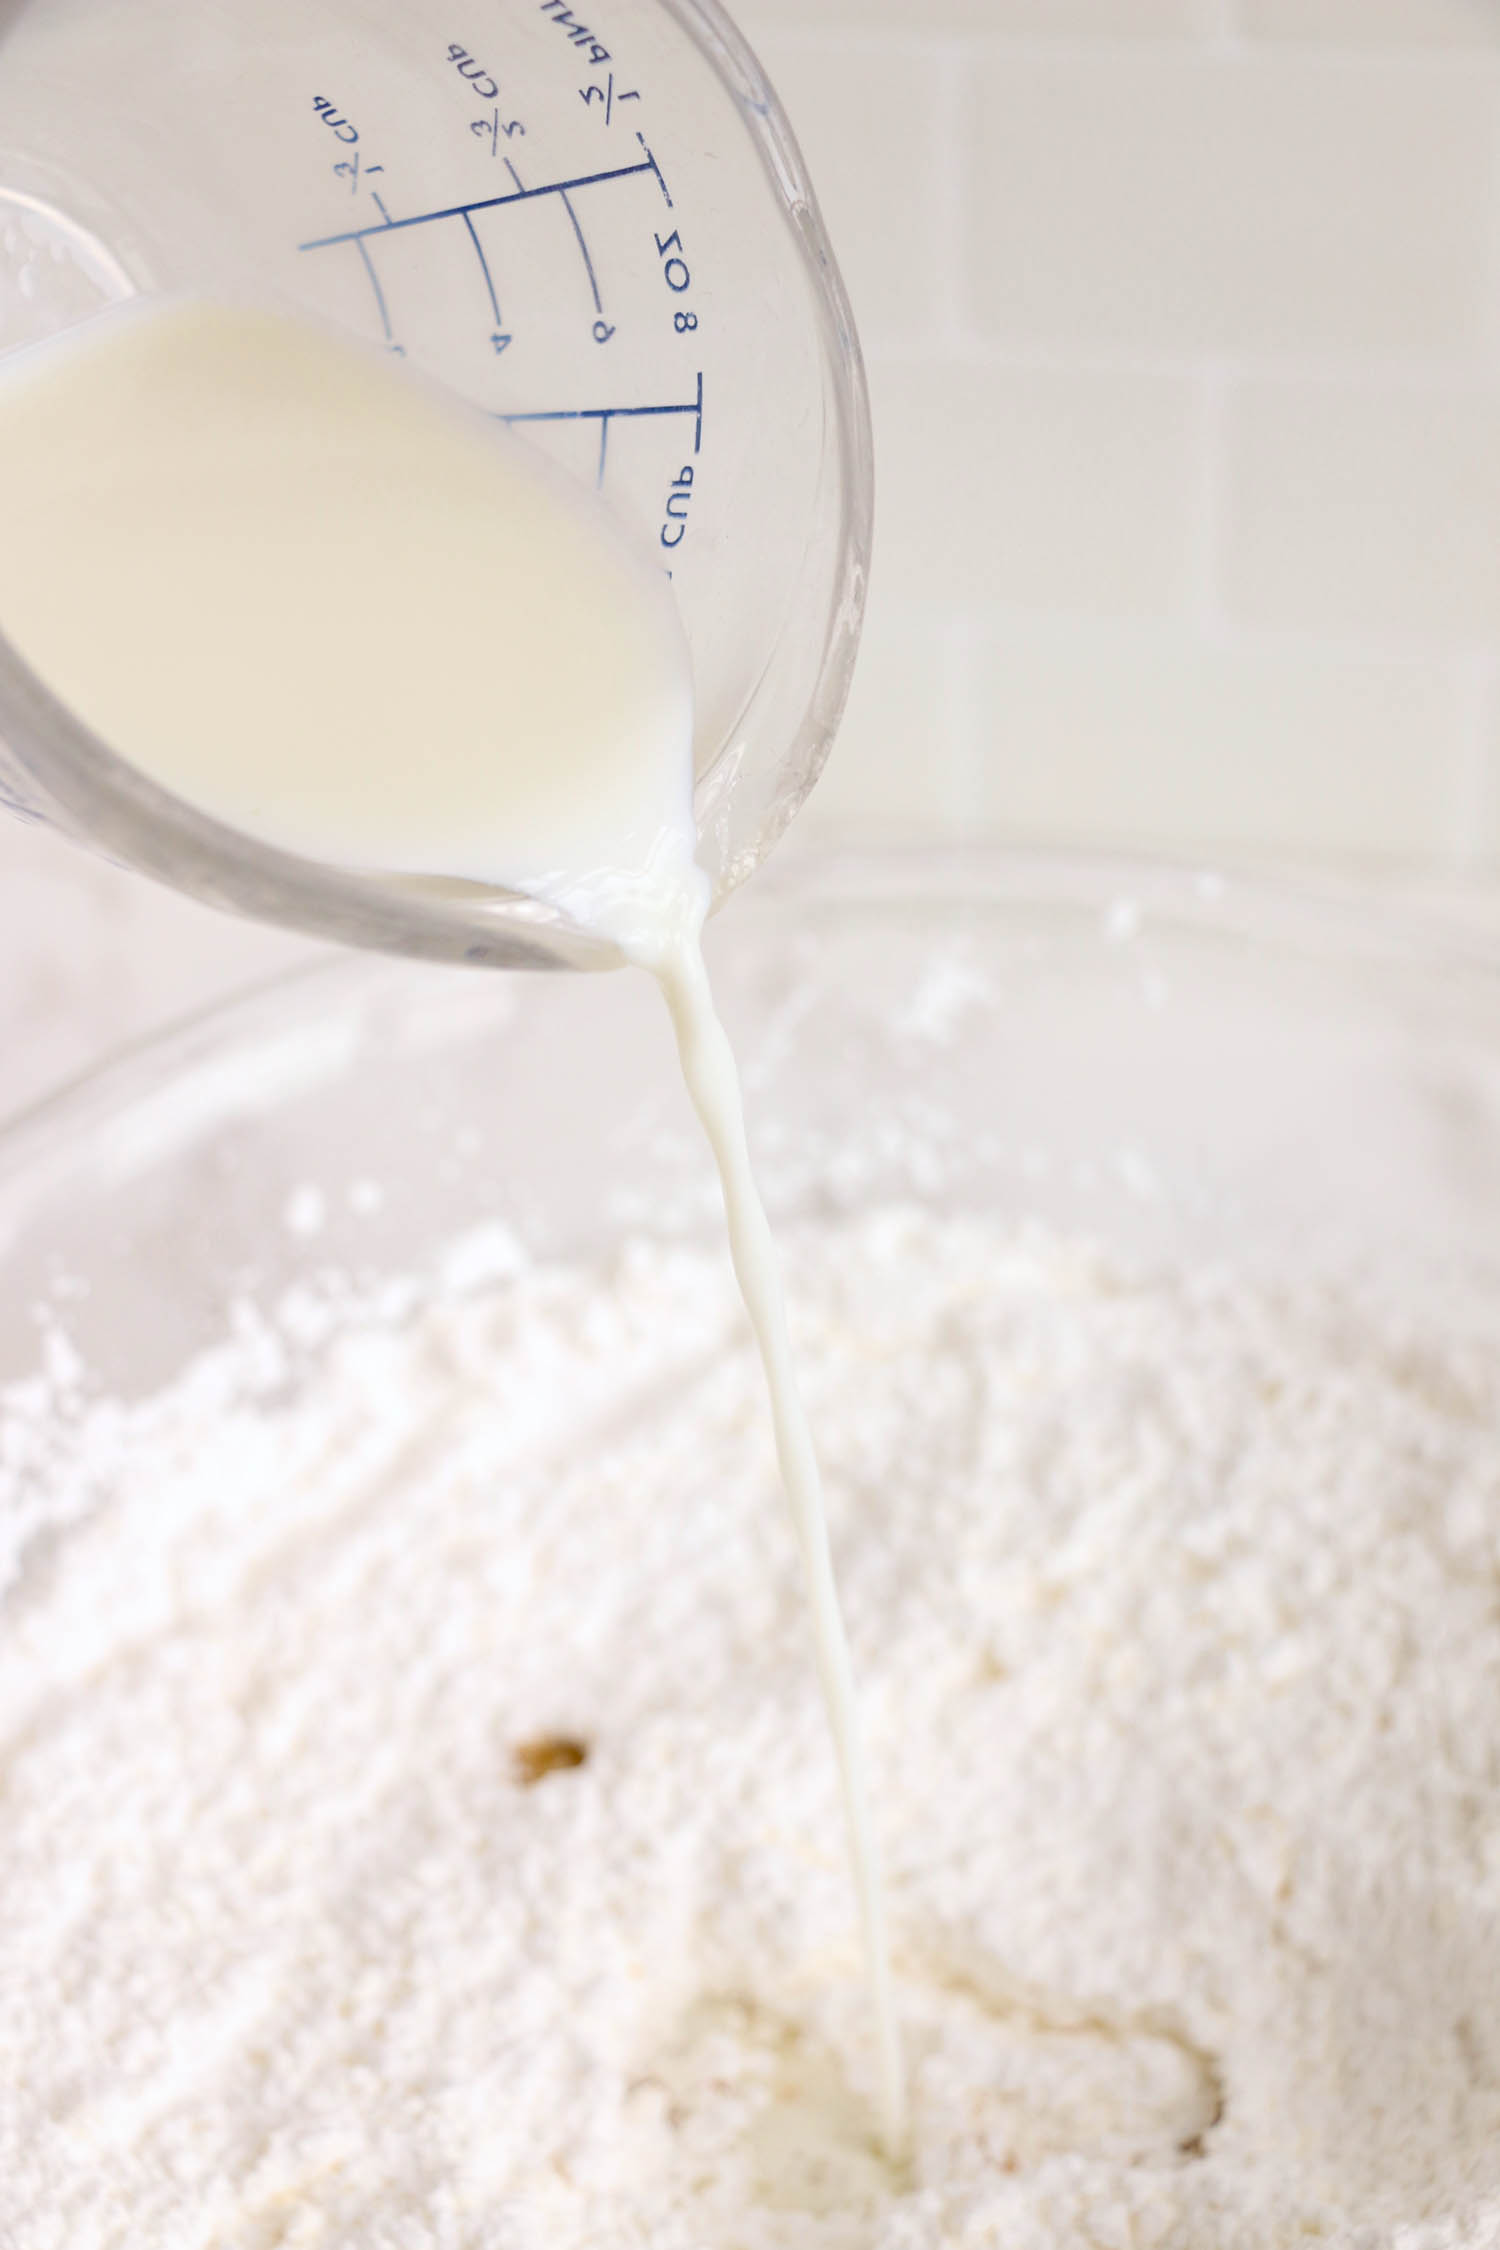
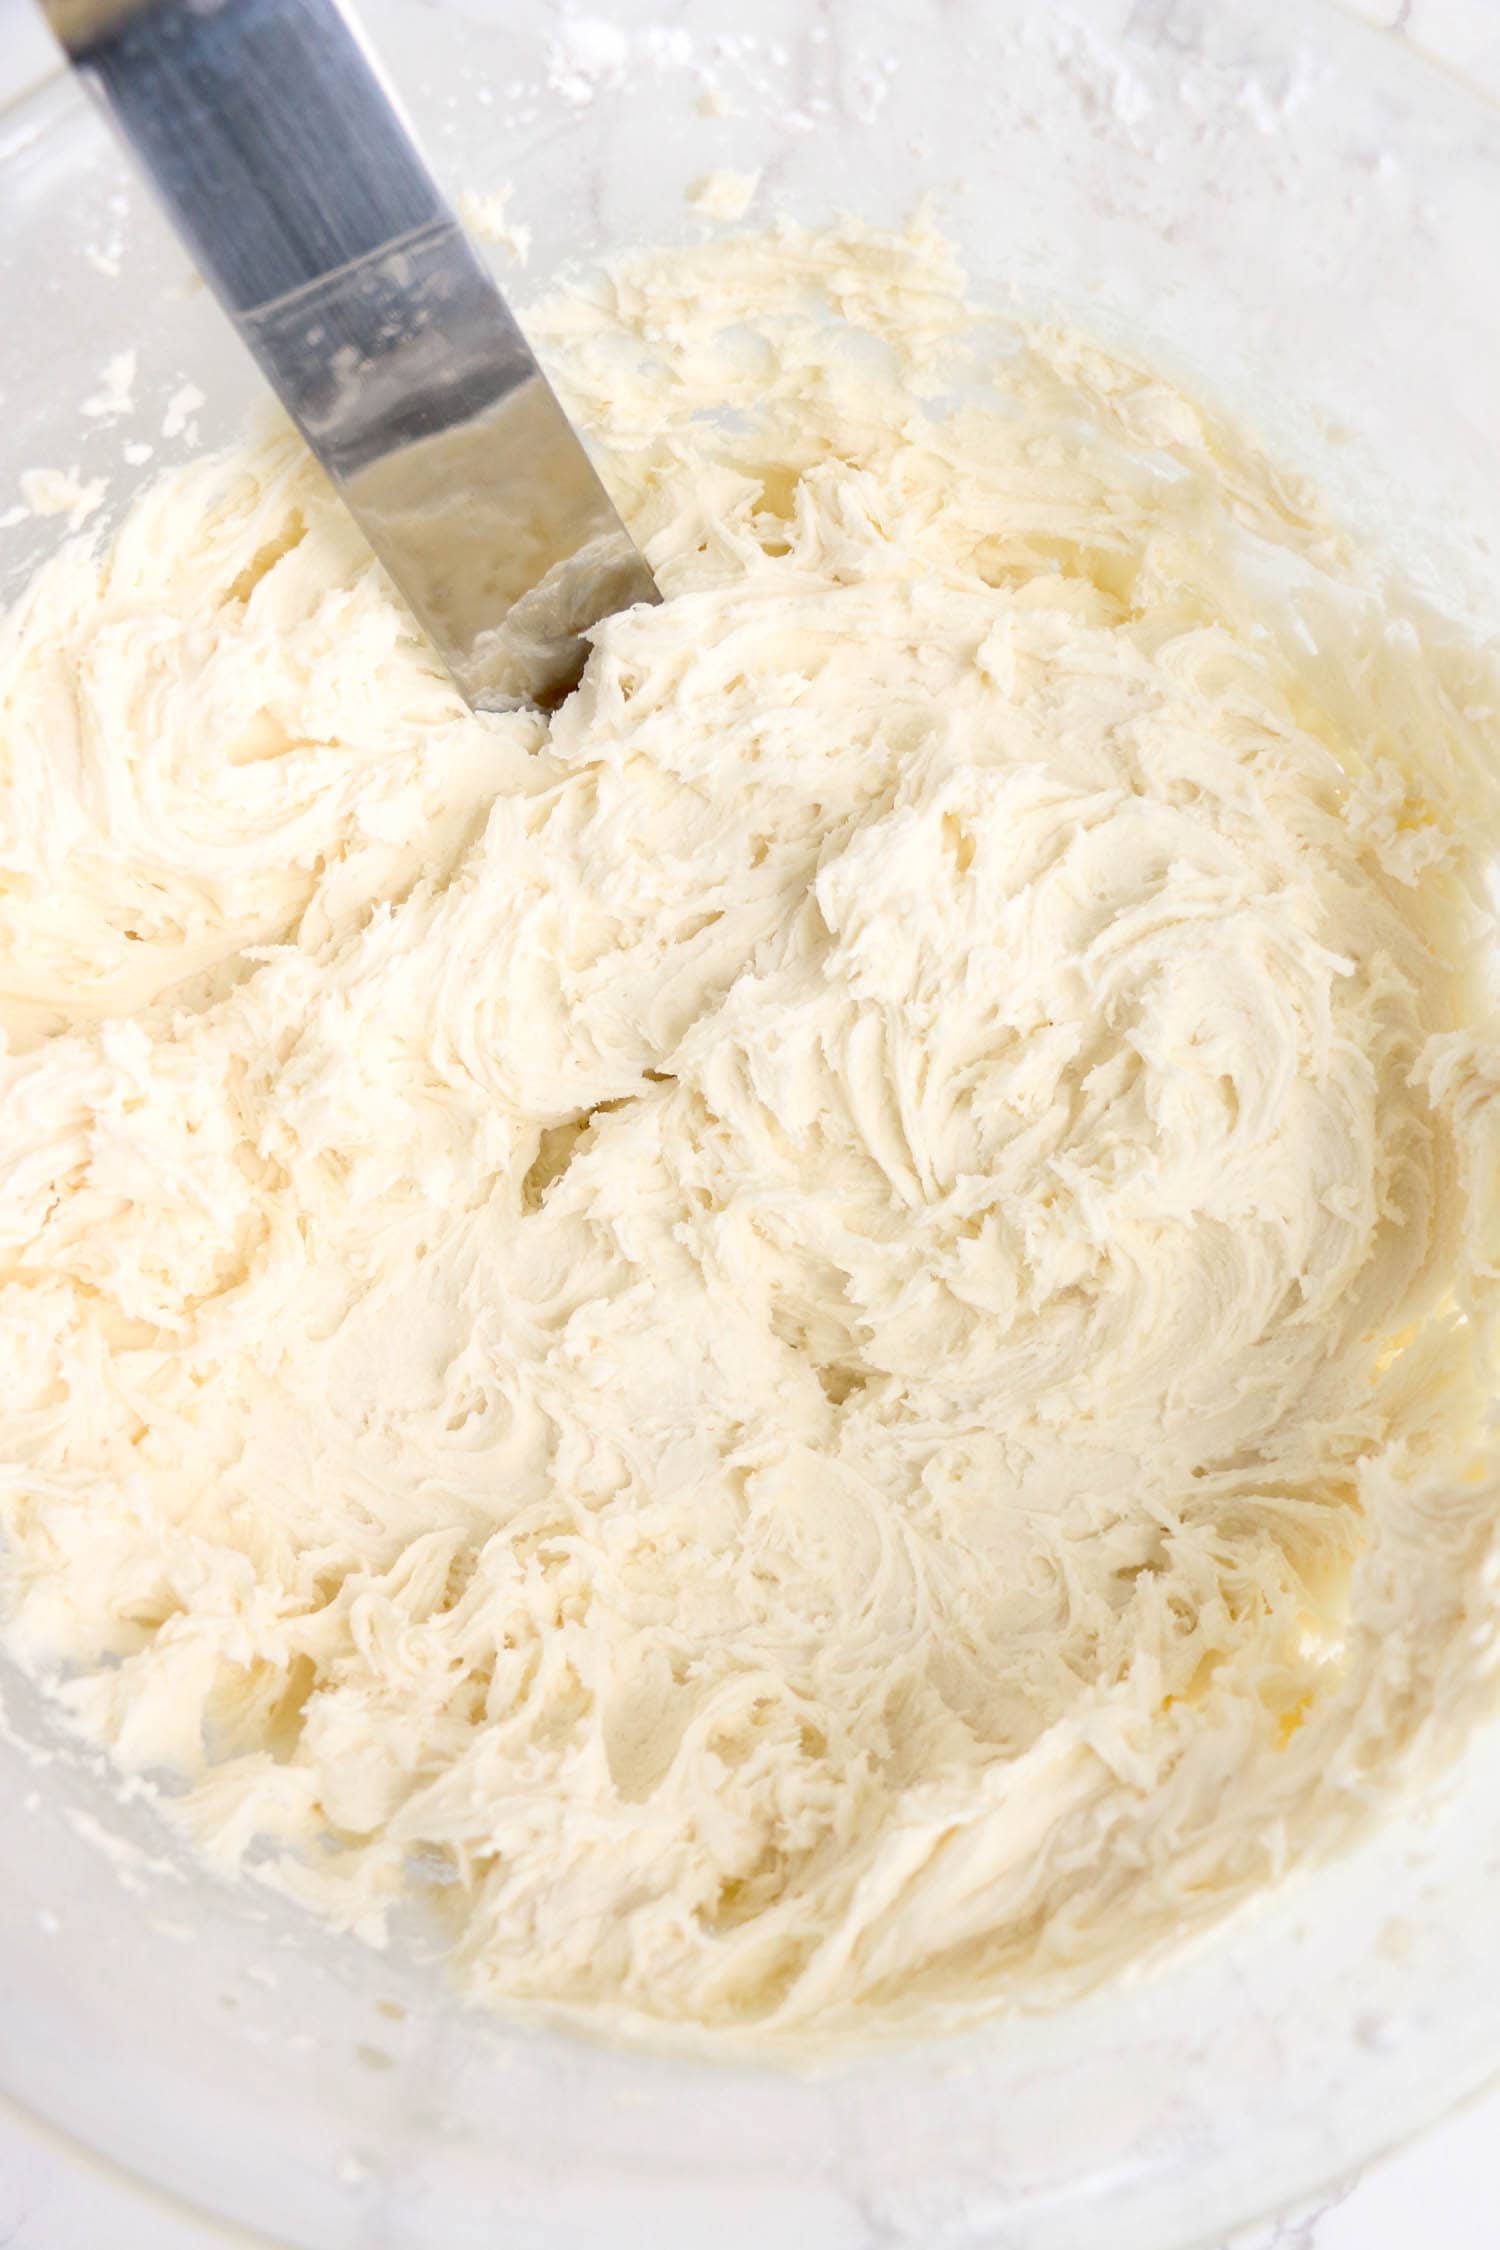
In a medium mixing bowl, cream together butter and powdered sugar. Add two tablespoons of milk and vanilla and mix well. If your frosting becomes too thin, add more powdered sugar until it is the correct consistency.
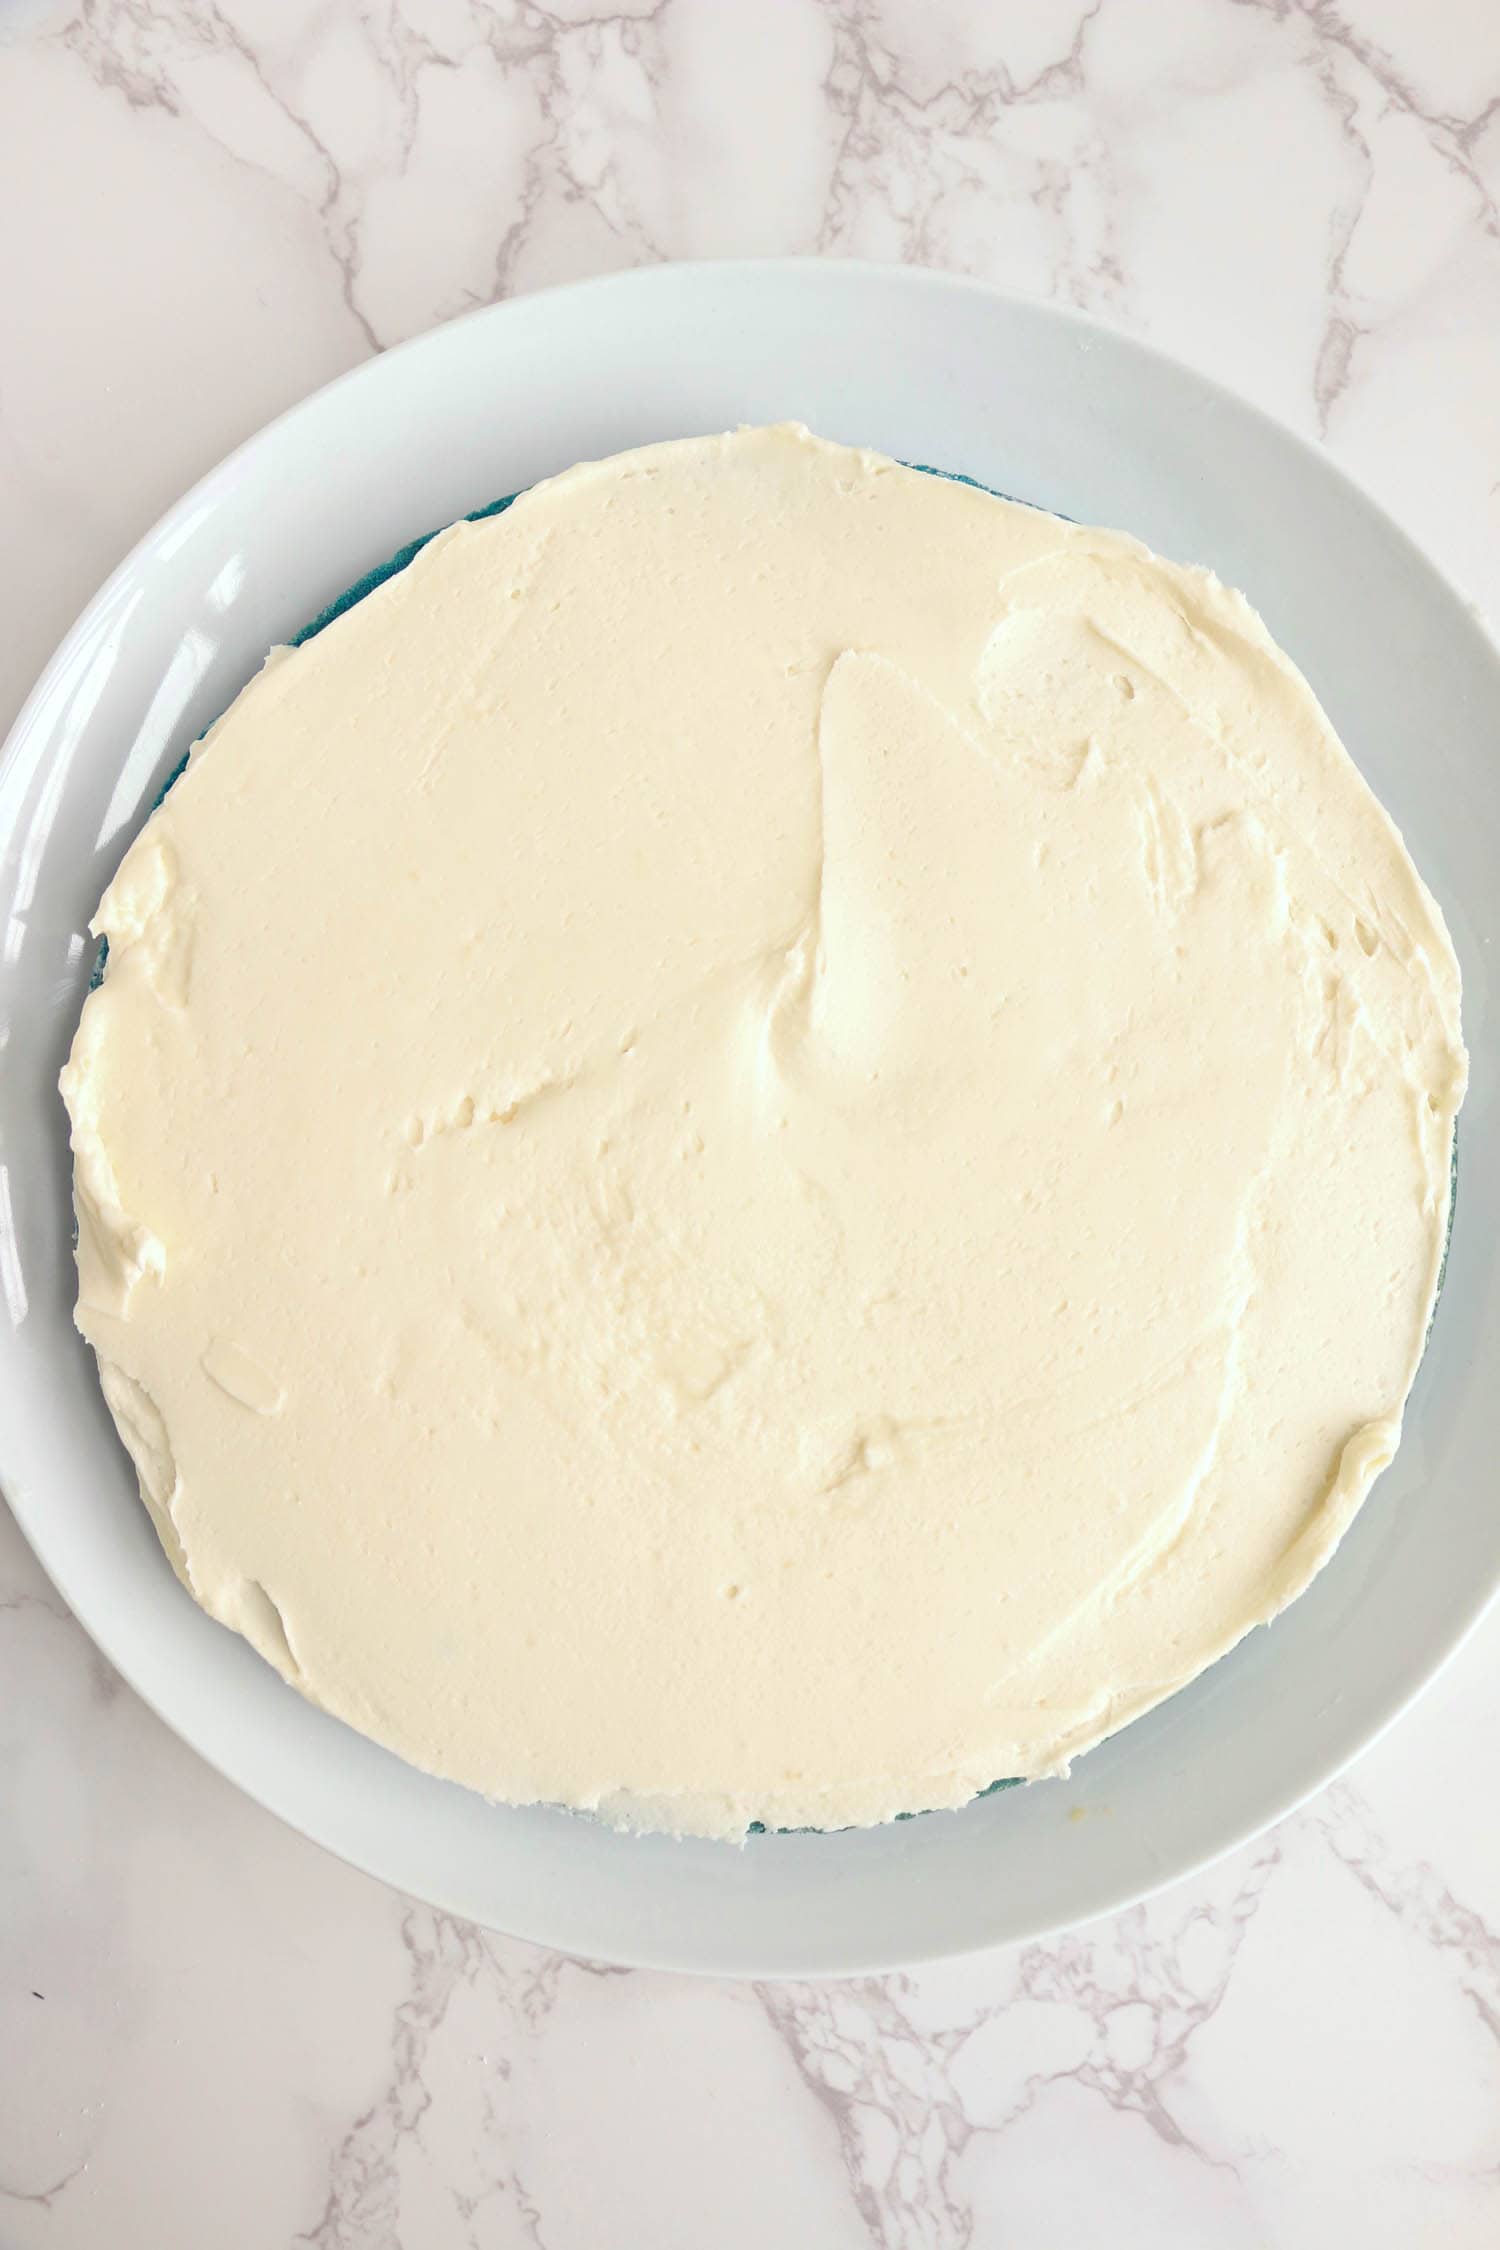
Once all of your cake layers have baked and are completely cool, begin building your rainbow layered cake. Start with the blue layer on the bottom, and then top it with frosting. Add the next layer and frost, and continue this process all the way until you reach the top.
After frosting the top layer, add sprinkles, slice, and serve.
Pro Tips
- If you are pinched for time, feel free to grab some pre-made frosting from your grocery store. You will find it in the same area as the boxed cake mixes. Homemade buttercream is my favorite, but sometimes you just need a little extra help!
- Add different colors of fresh fruit to the top of your cake if you don’t want sprinkles! You could do slices of strawberries, some blueberries, or maybe even some thinly sliced kiwi.
- Do not frost the cakes until they are all completely cooled and be sure you evenly spread out your frosting. Don’t make one layer super thick and another really thin. And keep the frosting even all the way around so that your cake doesn’t lean.
- If you don’t have five cake pans, don’t sweat it! Just bake the layers in batches based on how many pans you do have.
- Add a layer of parchment paper to the bottom of your cake pans so it is easier to release the baked cake from the pan without the cake breaking.
Why buy layered cake when you know how easy it is to make? You got this! Get in your kitchen and have some fun making this easy rainbow cake that will wow everyone at the table.

Layered Rainbow Cake Recipe
Equipment
- Stand mixer optional
Ingredients
Cake
- 1 cup butter softened
- 2 cups granulated sugar
- 2 teaspoons vanilla extract
- 6 large egg whites
- 3 cups all-purpose flour
- 4 teaspoons baking powder
- 1 teaspoon salt
- 1 cup milk
- Food coloring
- Sprinkles to decorate
Frosting
- ½ cup butter softened
- 4 cups powdered sugar
- 1 teaspoons vanilla
- 2-3 Tablespoons milk
Instructions
- Preheat oven to 350 degrees Fahrenheit. Prepare five 8-inch round baking pans by coating them with cooking spray and a thin layer of flour and set aside.
- In a large mixing bowl, cream butter and sugar together. Add vanilla and egg whites. Beat again until smooth.
- Add flour, baking powder, salt, and milk. Beat again until batter is smooth.
- Separate batter into 5 separate bowls. Add one of the five food coloring colors to each bowl. The amount you add will depend on the type of food coloring you are using. Stir well until colors are even.
- Pour each bowl of cake batter into separate, prepared 8 inch round baking pans.
- Cook each colored layer for 15 minutes or until a toothpick comes out clean.
- When done baking, allow them to cool for 15 minutes before flipping them out of the pans. You may need to use a knife to release the edges. Allow them to cool completely before frosting them.
- In a medium mixing bowl, cream butter and powdered sugar together. Add 2 tablespoons of milk and vanilla. Beat well. If it is too thick, add more milk. If it is too thin, add more powdered sugar.
- Place the blue layer of cake on your serving plate. Cover it with a layer of frosting. You will need to spread five layers of frosting, so be sure to continue this with the green, yellow, orange, and red layers.
- Add sprinkles of your choice to the top, serve.
Notes
Nutrition
Storage
Fridge: Store your frosted cake in a cake container for up to 5 days.
Freezer: If you’d like to freeze your cake, wrap it in plastic wrap and foil and freeze for up to 3 months. You can easily freeze cake in individual slices on a baking sheet before wrapping and storing in an airtight container. Thaw in the fridge overnight or at room temperature for about 30 minutes.
How To Serve Layered Rainbow Cake
I love to serve a fresh slice of cake with a scoop of vanilla ice cream. Either buy some at the store, or make your own! If you’re making this cake for a birthday, be sure to top it with some fun rainbow candles.
For St. Patrick’s Day, add a bowl of gold chocolate coins to the table, too!
More Great Cake Recipes
- I have tons of holiday cupcake recipes, but these Reindeer Cupcakes are one of my favorites. Using box cake mix and store bought frosting, you’ll be enjoying these treats in no time.
- This colorful Swirled Easter Cake is so easy made from box cake mix. Plus it is perfect for your Easter celebrations this year to match your dyed eggs!
- These Turkey Cupcakes are the perfect addition to your Thanksgiving get together. They are super tasty and so much fun to decorate.
- You can never have too many rainbows in your life! Check out these Rainbow Cupcakes for a fun cupcake decorating afternoon with your kids!