Pumpkin Patch Painting with Apples
Create this fun Pumpkin Patch Painting with Apples! It’s the perfect toddler or preschool fall craft that they will love. Great for a fall unit on apples, pumpkin patch craft or just for fun. Simply use your apple for the brush and create a fun painting.
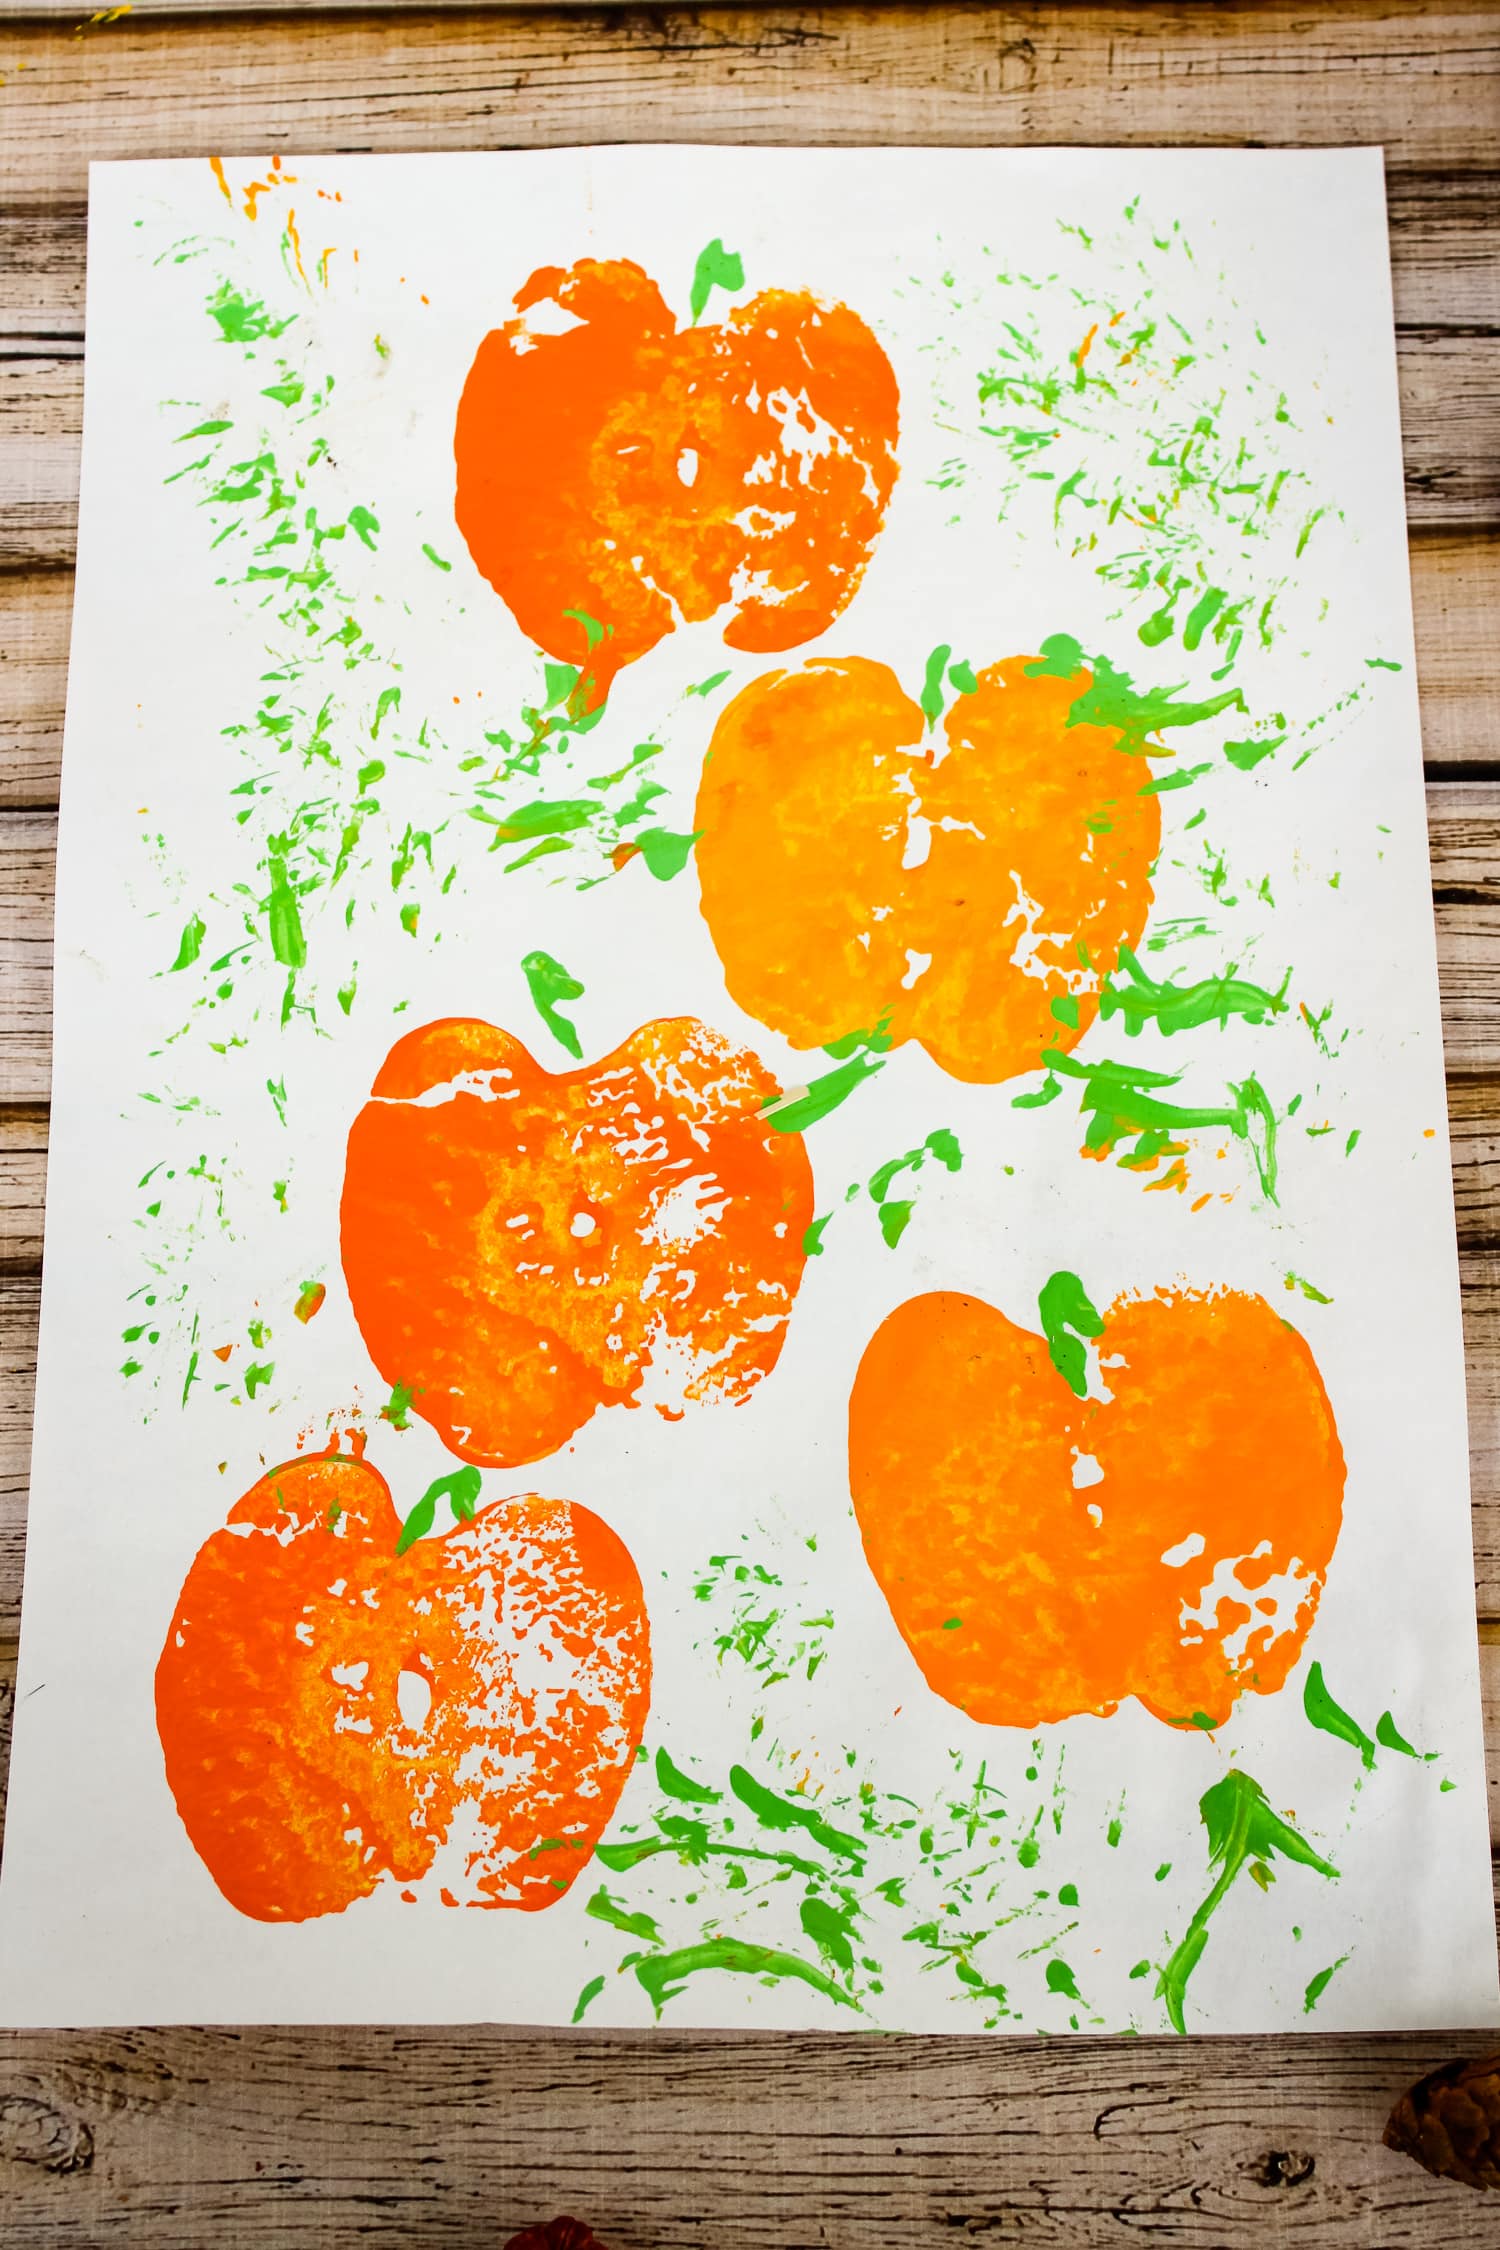
It’s fall and that means apples and pumpkins and more! In this quick and easy fall art project that is perfect for toddlers and preschoolers we take an apple, cover it in paint and turn it into a pumpkin! Who’s ready to create a Pumpkin Patch Painting with Apples?
I love that this painting activity requires minimal prep and supplies which means you can do it on a whim.
It’s perfect for a quick art project at home or in the classroom. Painting with apples is a pretty common activity and the kids love it.
Benefits of Painting with Apples!
You might think this craft is just a fun fall activity, but there are many benefits for little kids!
- Sensory (See, Touch & Smell)
- Textures
- Color Identification
- Thinking outside the box
- Thinking independently
- Color Mixing
- Shapes
If you are using this in a school setting it’s the perfect time to talk about apple or pumpkin life cycles, facts about apples and pumpkins, favorite things to make with apple and pumpkin and so much more!
You can also do this at home or even follow up with baking a recipe using apples or pumpkin. Maybe even tie in this cute Pumpkin Pie Craft for the kids to create while you bake a real pie!

Supplies Needed for Painting!
- Paint, orange, yellow and green
- Apple, sliced in half, reserve stem
- Paper Plate
- White Paper or Cardstock
- Sprig of bush

Steps to Create Apple Painting!
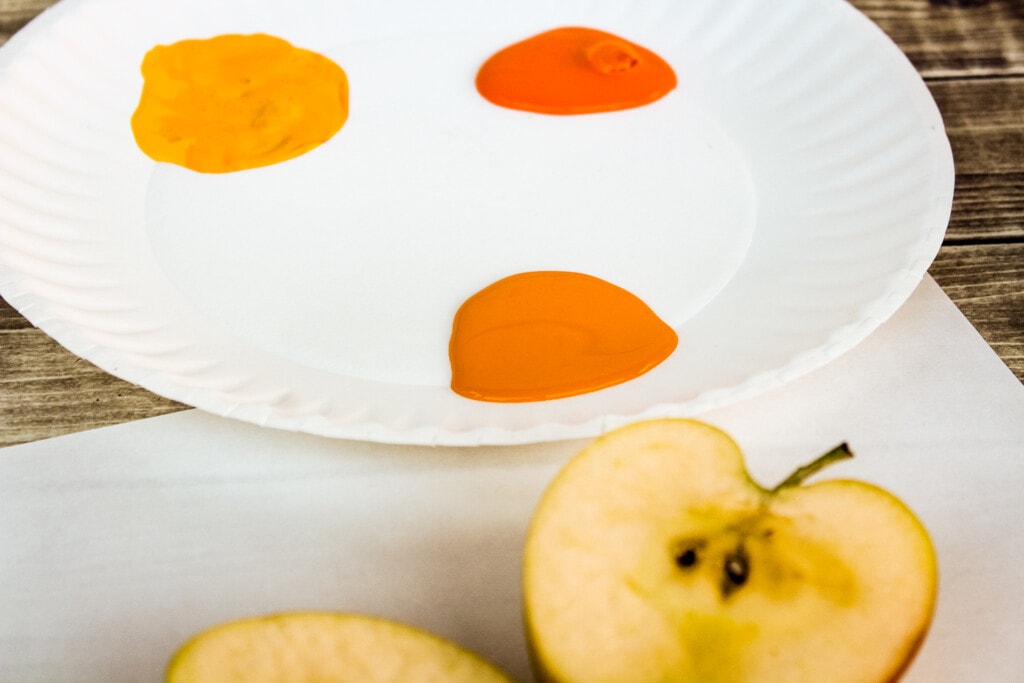
- Grab your paper plate and squirt your paints onto it.
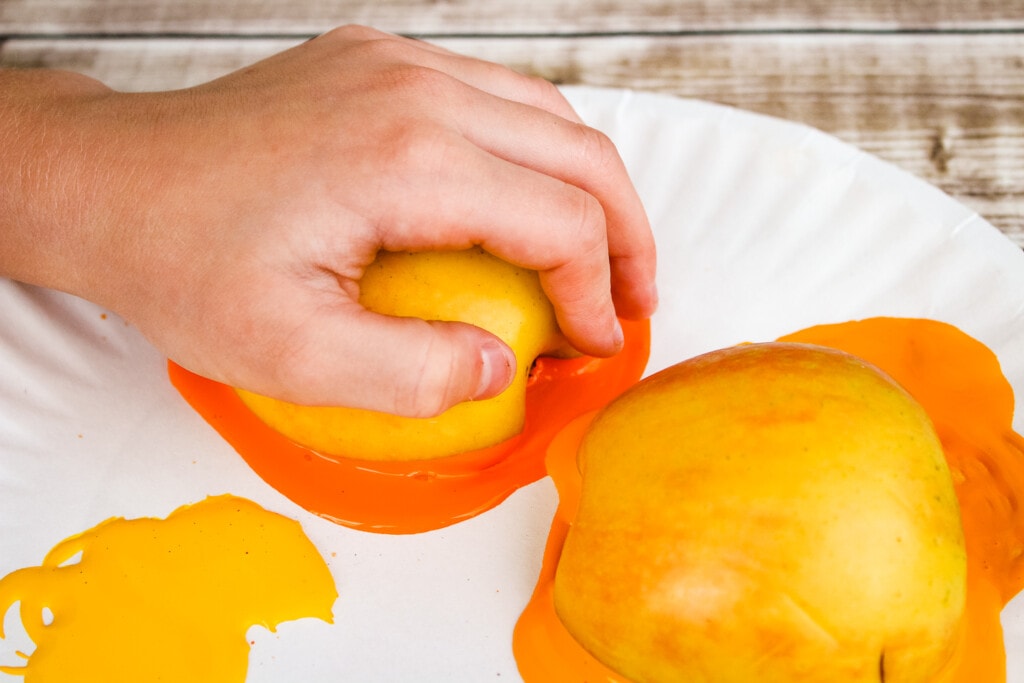
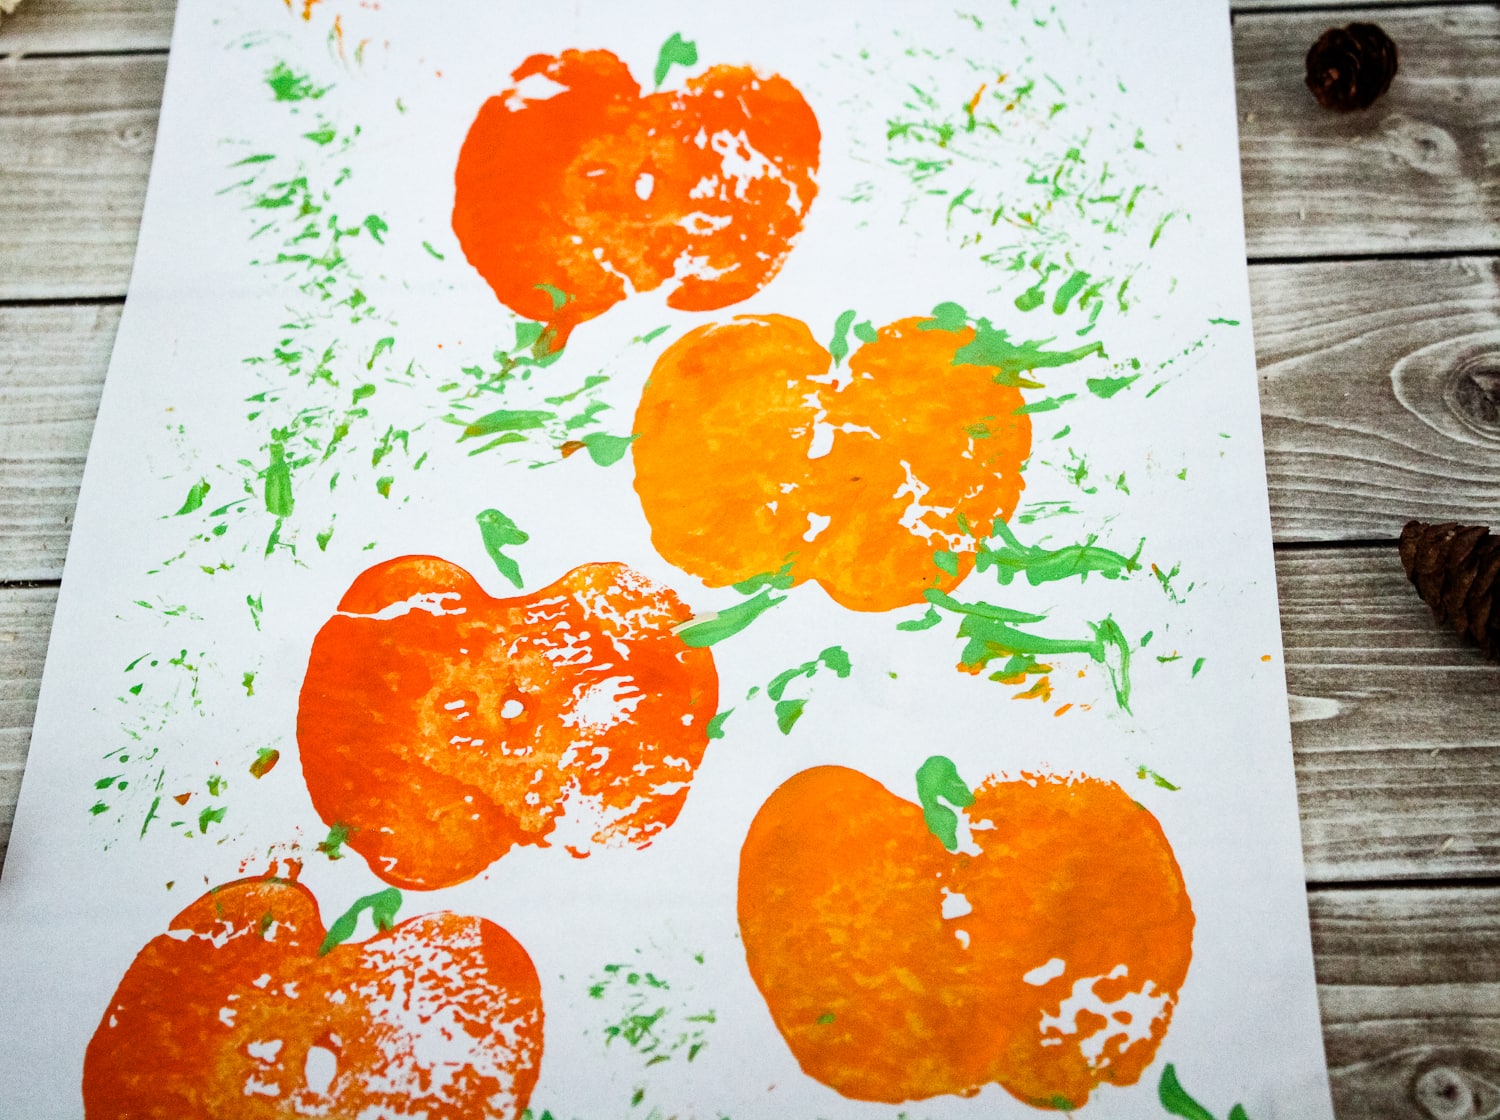
- Press a sliced apple into the color of your choice.
- Then press the apple onto the white piece of paper to create your pumpkin.
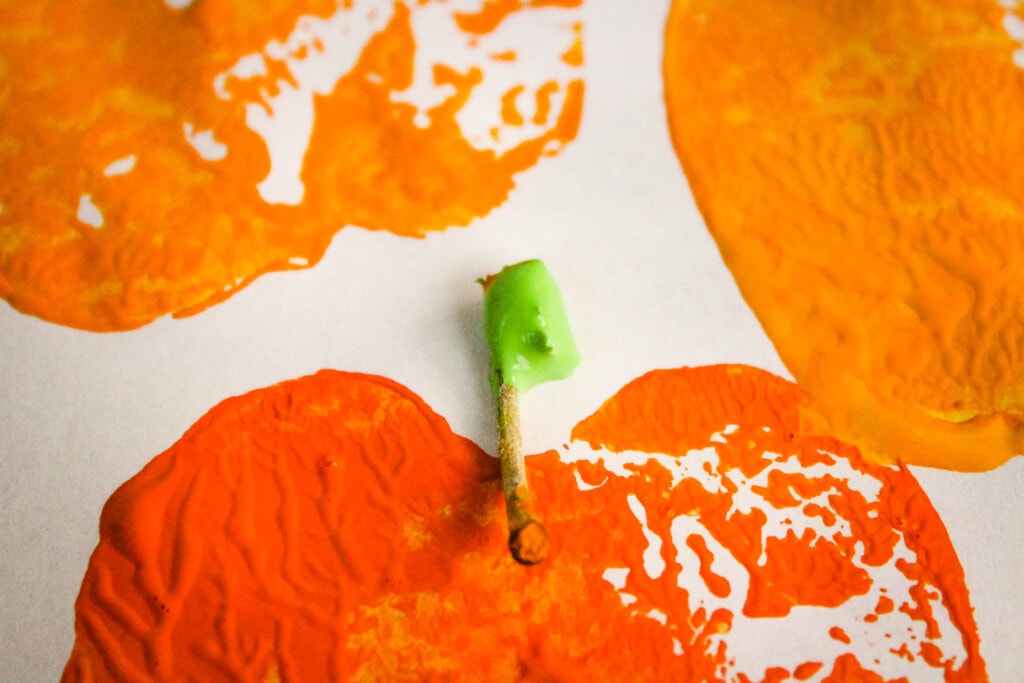
- To create a pumpkin stem take the apple stem, dip it into green paint and then press it onto the white piece of paper in the middle of your “pumpkin”.
- Repeat process until paper is filled.
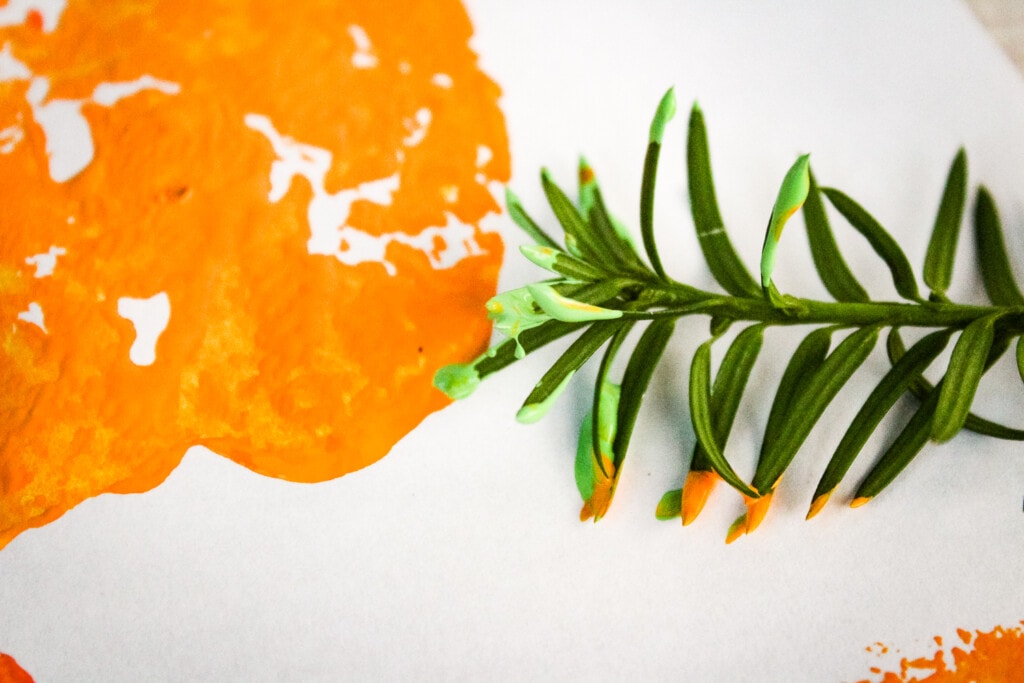
- If you have a sprig of bush dip that into the green paint and have the children press it into the paper to create “vines” for the pumpkins.
- Set aside and allow to dry.
Grab a sharp knife and cut the apple down the center. You will want to do this vertically to give you the “dip” in the apple which makes it look like a pumpkin.
LOOKING FOR MORE FALL CRAFTS?
- Grab your Pom Poms and Paint to create this easy Fall Tree Pom Pom Painting!
- A brown paper bag turns into a Turkey with this easy Turkey Paper Bag Craft!
- Turn a paper plate into an apple with this quick Apple Paper Plate Craft!
- Got leftover Toilet Paper Rolls? Create a Turkey Craft with them! So adorable!
Have fun creating your Pumpkin Patch Painting!
If you take a picture and share them Instagram make sure to #kidsactivityzone or tag us @kidsactivityzoneblog so we can see them!
Pumpkin Patch Painting with Apples
Ingredients
- Paint orange, yellow and green
- Apple sliced in half, reserve stem
- Paper Plate
- White Paper or Cardstock
- Sprig of bush
Instructions
- Place a generous squirt of several orange or yellow colors of paint onto a paper plate.
- Press the sliced apples into the paint.
- Press the apples onto the white paper or cardstock. We recommend cardstock because it will hold up to the paint better.
- To create a cute little pumpkin stem, press the apple stem into green paint and press into the stamp.
- Repeat with all the colors you are using.
- To create vines and add an extra element of nature painting to this activity, I clipped a small sprig off of a bush. I encouraged my child to press the sprig into the paint and create vines around the pumpkin patch.
- Set aside and allow to dry.
Hi. Do you use gloss or matte paint?
Thanks.
We use matte paint but I think either would work!