
Paper Weaving Craft
This paper weaving craft is one of my all-time favorites for the kids, because it turns two pieces of construction paper into a colorful little work of art in about twenty minutes. All you need is paper, scissors, a ruler, and a glue stick. It’s a classic craft I remember making in elementary school, and now I get to watch my own kids discover the magic of weaving paper strips into a pattern.
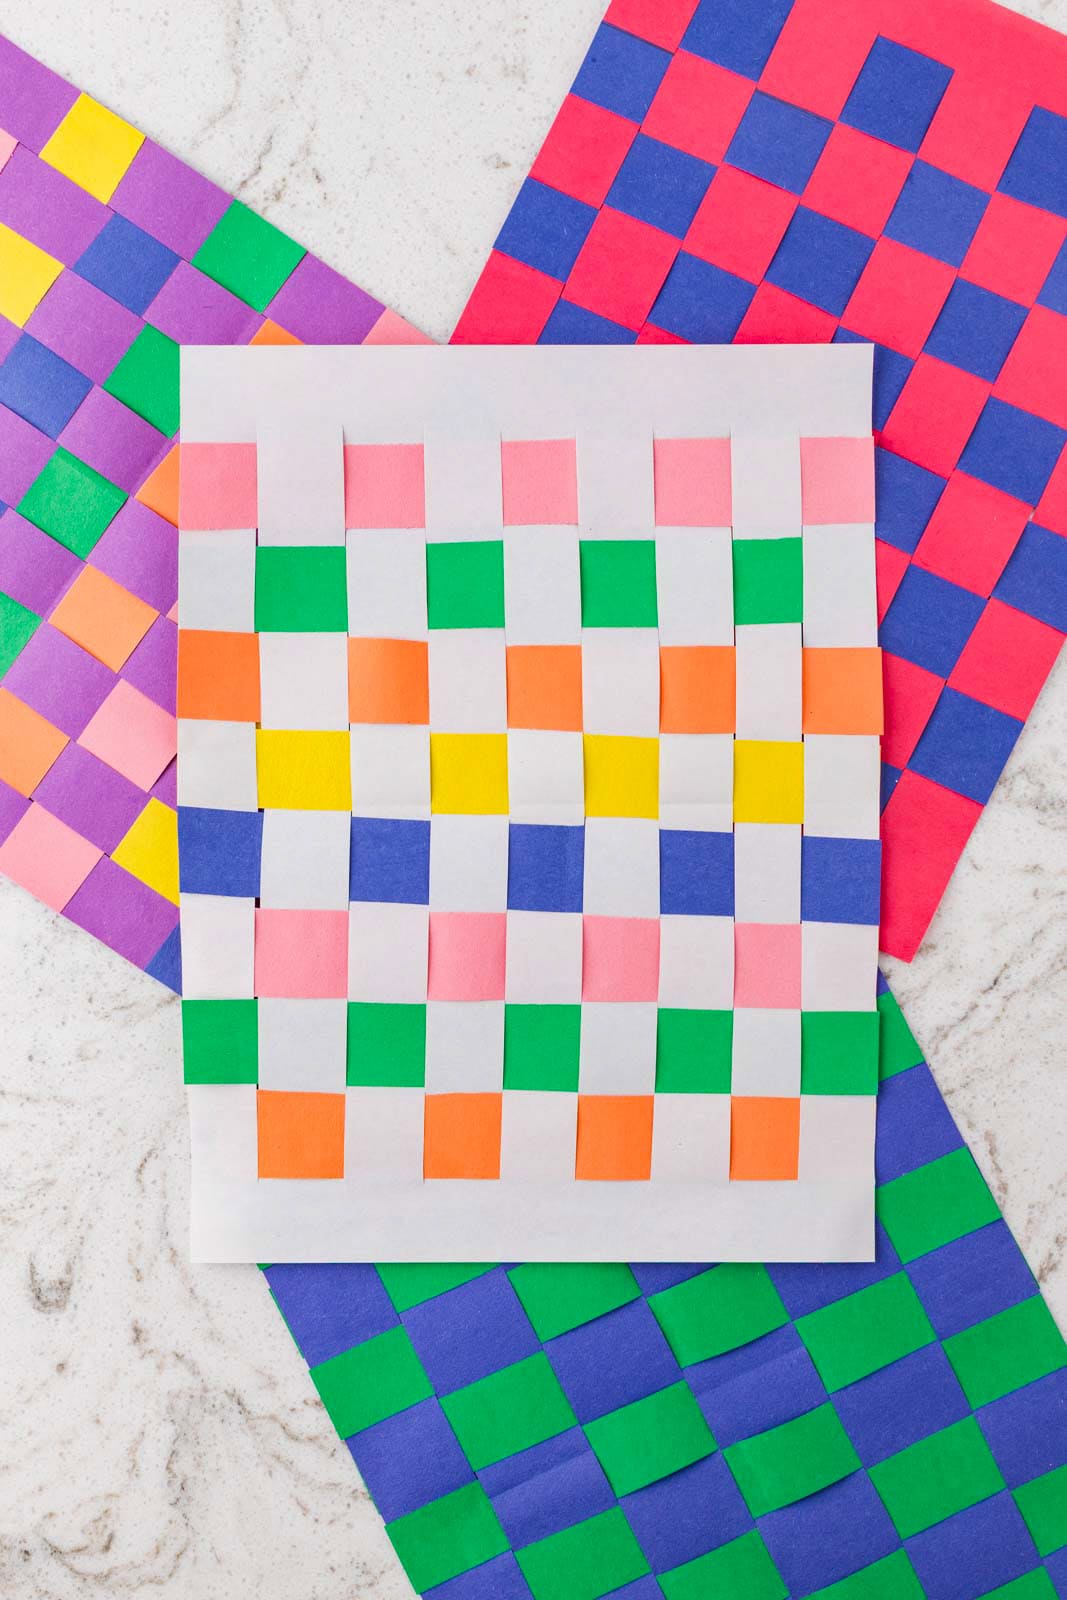
This Classic Paper Weaving Craft Turned My Rainy Afternoon Into a Mini Art Class
Between you and me, the first time I tried this craft with my kids I was bracing for a meltdown. My youngest was four, my oldest was seven, and the words “ruler” and “straight line” had not historically been a successful combination in our house.
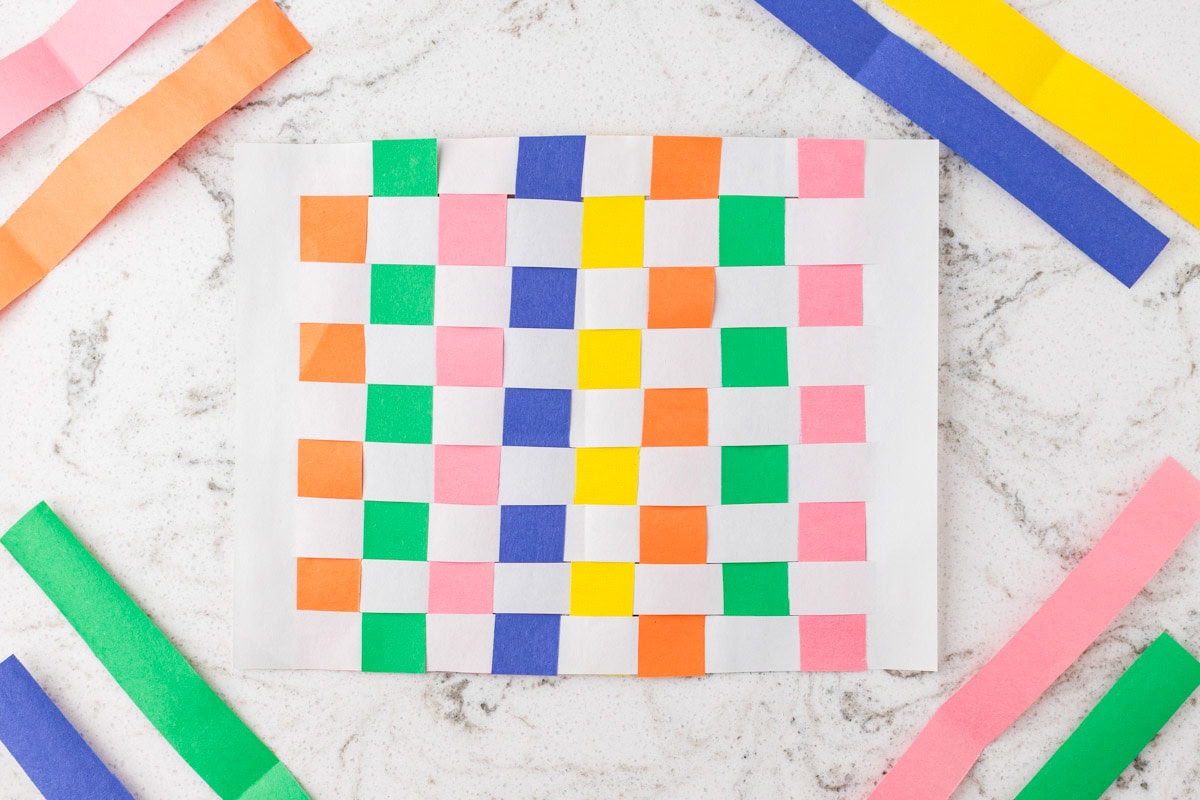
The four-year-old needed help with the cutting, so I drew the lines, she did the actual cutting under careful supervision, and the seven-year-old took one look at the ruler and announced she was going to make a “rainbow pattern” with five different colors. By the end of an hour I had two genuinely proud kids, two surprisingly beautiful little paper weavings, and approximately one pile of pink construction paper confetti to vacuum up.
Now this is one of my go-to crafts for rainy days, indoor recess situations, classroom volunteer hours, and the kind of summer afternoon where someone has just announced for the third time that hour that they’re bored. It costs almost nothing, uses supplies you already own, and somewhere in there the kids are practicing measuring, cutting, patterning, and fine motor skills without even noticing. That’s the kind of educational sneak-attack I’m always here for.
Why You’ll Love This Recipe
- Kids practice their fine motor skills while drawing, cutting and glueing.
- This craft gives kids a chance to express their creativity through different color choices.
- I know you’ve already got everything you need for this activity in your craft cupboard. No trip to the store necessary!
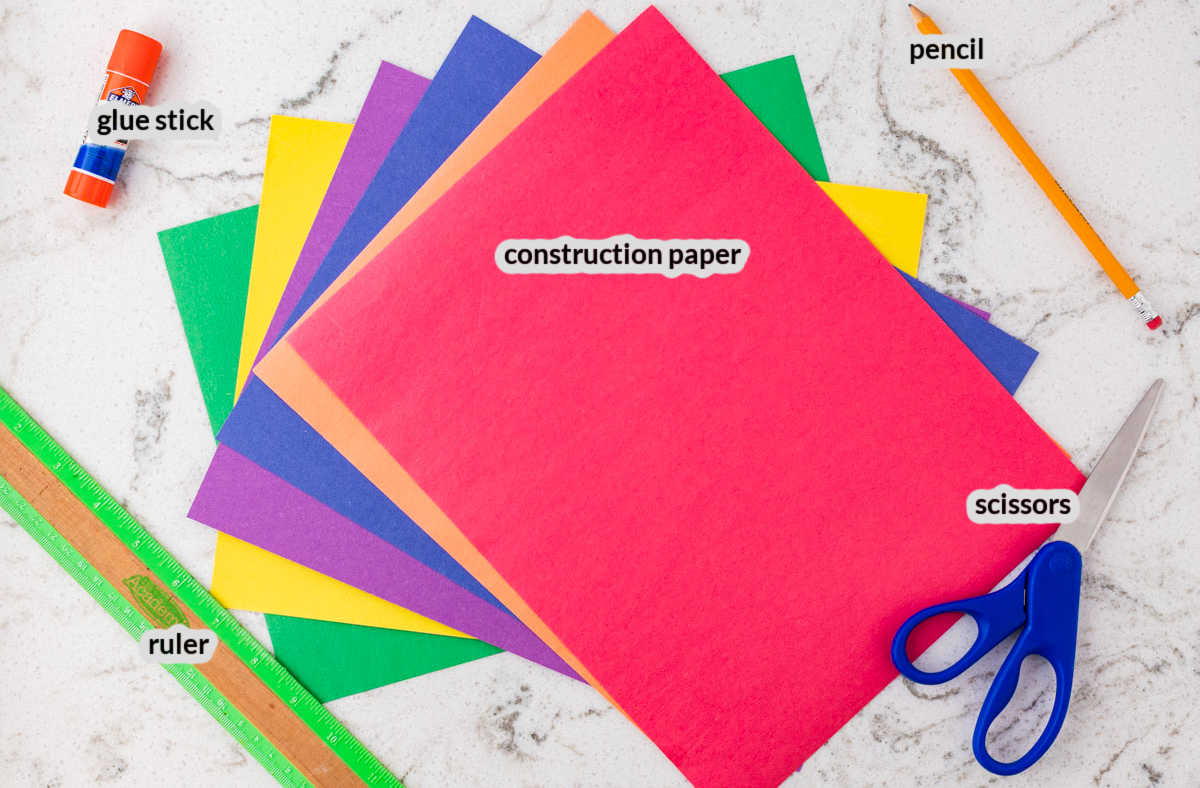
Supplies For Paper Weaving Art
- Construction paper – Any color will do here, so just grab the big pile from the craft drawer and set it out for the kids to sort through. Choosing two separate colors will make the woven pattern stand out. Grab that pile of old magazines and really get creative!
- Pencil – This is just used for drawing the straight lines to cut.
- Ruler – This helps to keep lines straight and strips relatively the same size. The measurements don’t have to be exact, but even lines make the weaving easier.
- Scissors – Be sure to use the appropriate-sized scissors for your child and supervise.
- Glue stick – This is used to keep the colored strips from moving around. A stick will be less messy than white glue, keep the paper flat and dry more quickly.
Variations
- As your kids make this craft more often, change up the size of the strips to change up the paper weaving design.
- Have kids draw pictures and designs on a piece of paper and use as the base for a unique outcome.
How To Make Paper Weaving Craft
- Prepare paper base. Choose one piece of construction paper to be the base. Fold in half vertically, lining up the edges as evenly as you can.
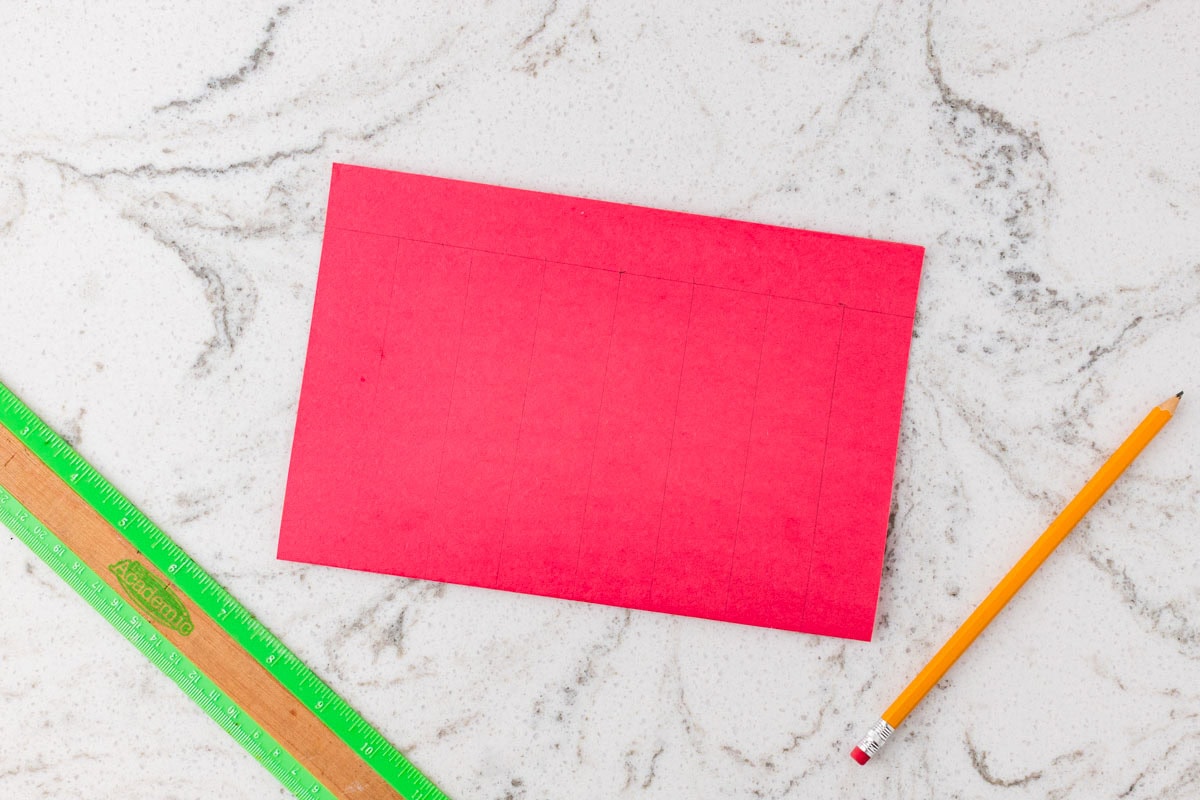
- Draw stopping point. Place the folded paper in front of you with the open edge at the top. Use a ruler and pencil to draw a straight line about 1 inch down from the open edge of the paper. This line will be your stopping point when you cut, so the top of the paper stays connected and creates a border.
- Measure and draw lines to cut. Starting at the folded edge, use your ruler to draw horizontal lines about 1 inch apart, going toward the line you drew near the top. These are the lines you cut to create the openings for the weaving.
- Cut. Cut along each pencil line, starting at the folded edge and stopping when you reach the top border line. Be careful not to cut all the way through the paper. Unfold the paper gently. You should now have a piece of construction paper with several cut openings and a border along the top.
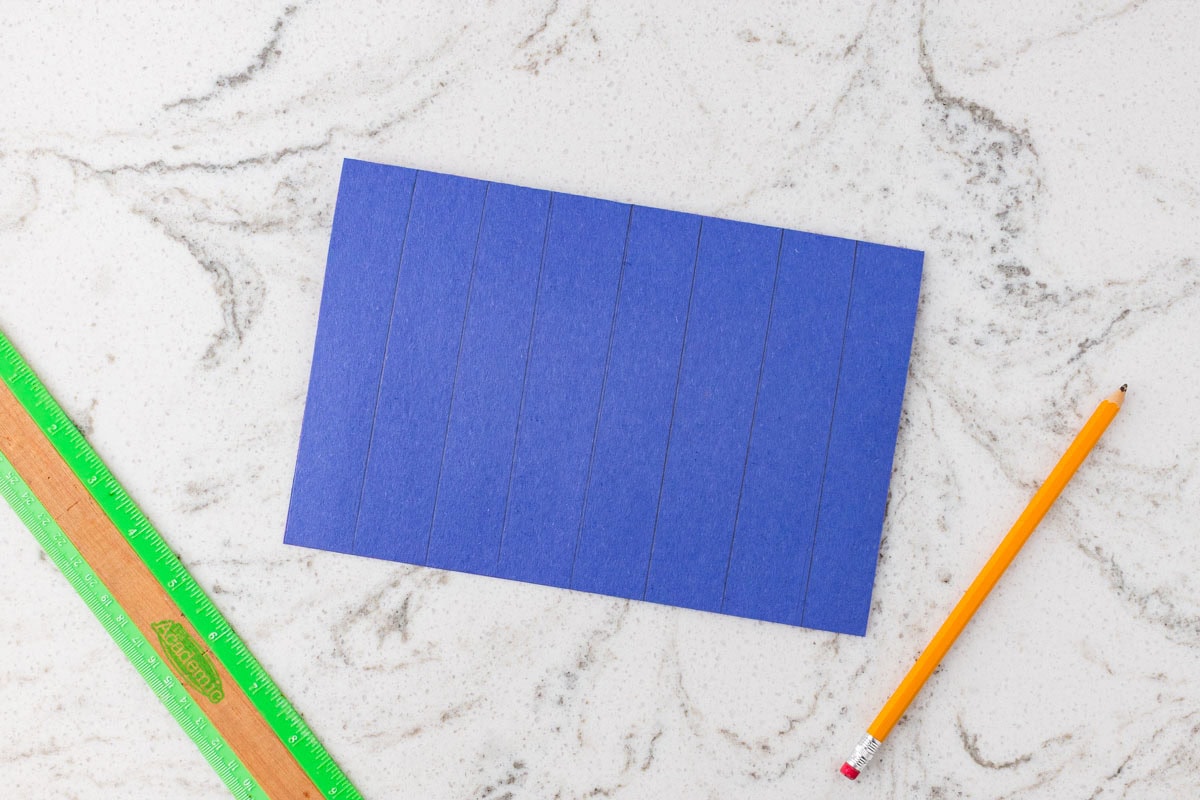
- Draw and cut weaving strips. Choose another color of construction paper for your weaving strips. Fold the paper in half, then use your ruler and pencil to draw lines about 1 inch apart along the paper. Cut along the lines to make long paper strips. These strips will be woven through the base paper.
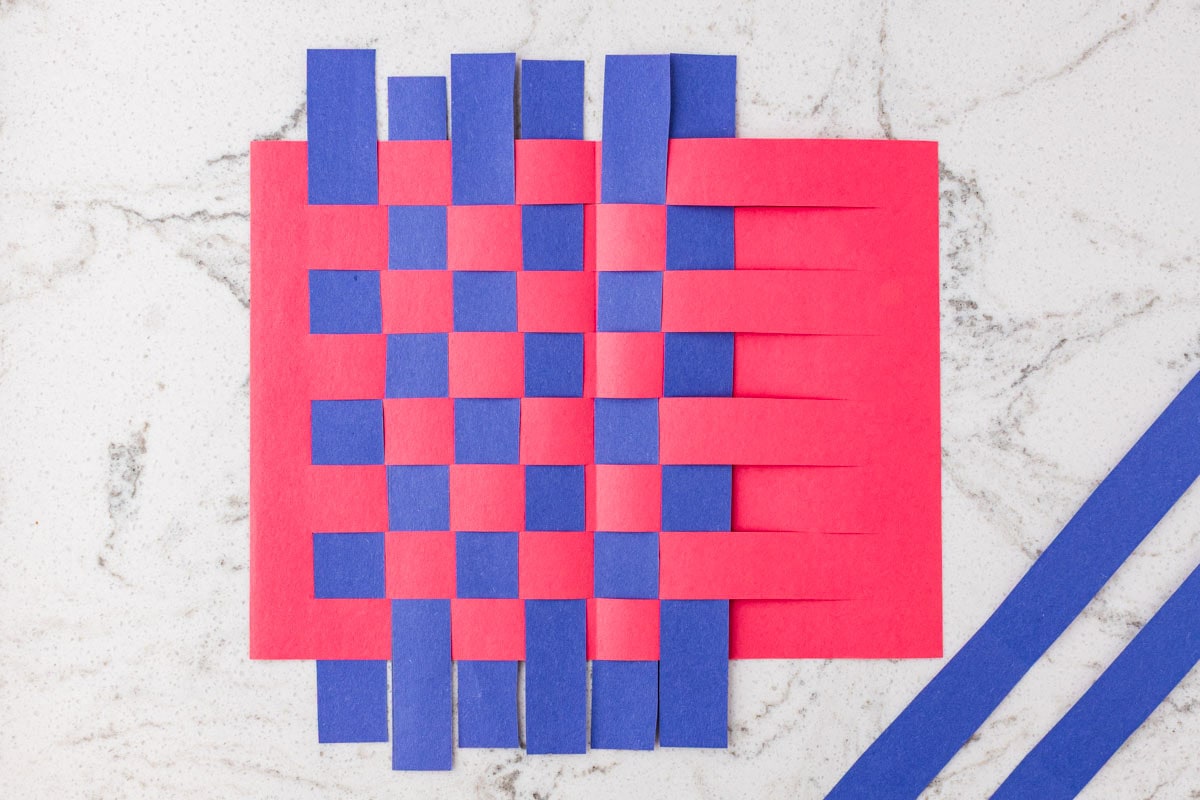
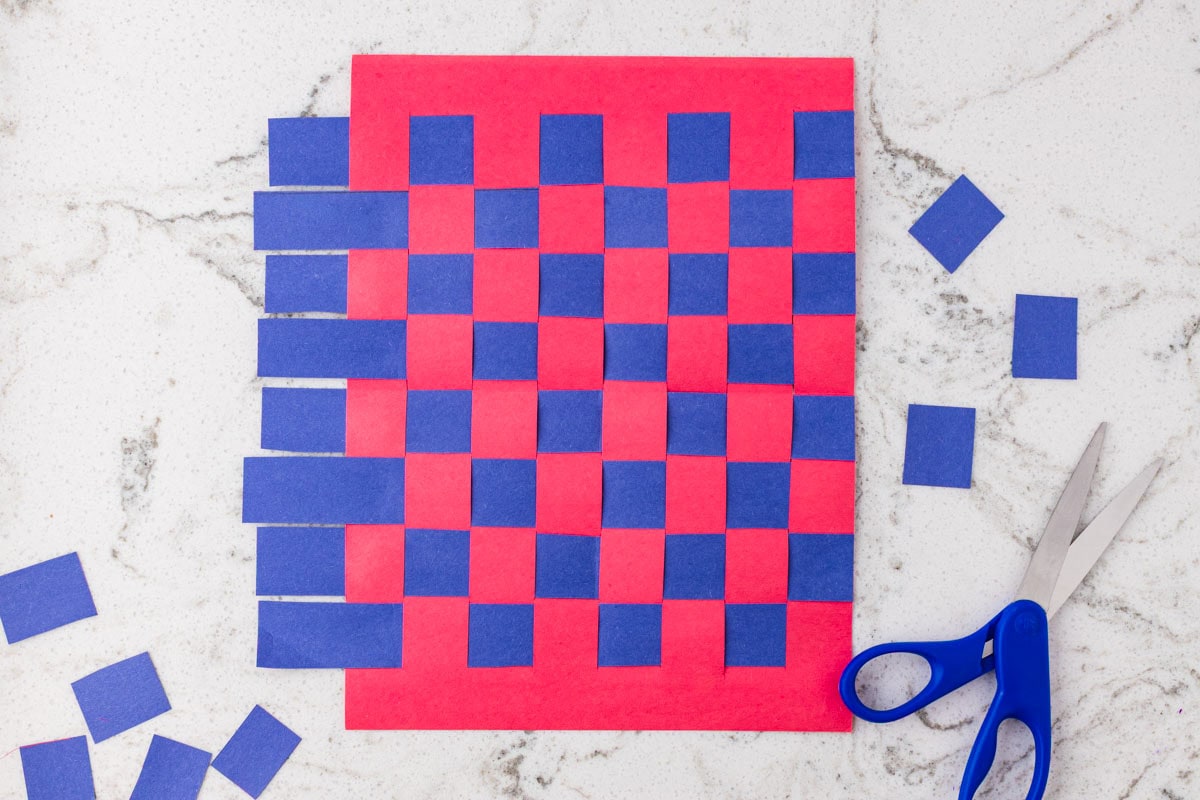
- Weave. Take one paper strip and start weaving it in and out of the cut openings on the base paper. For the next strip, start the opposite way so the pattern alternates. Continue weaving the paper strips through the base until you have added as many strips as will fit.
- Glue. Once all the strips are in place, use a glue stick to tack down the ends of each strip to the border. This helps keep the weaving pattern from sliding around.
- Trim. Use scissors to trim off any excess paper hanging over the edges. Allow the glue to dry, then display your paper weaving creation.
Pro Tips
- For much smaller kids, prepare the base and the strips ahead of time so they don’t need to use scissors and can focus on simply weaving paper.
Paper Weaving Craft
Ingredients
Instructions
- Choose one piece of construction paper to be the base of your paper weaving craft. Fold the paper in half vertically, lining up the edges as evenly as you can.
- Place the folded paper in front of you with the open edge at the top. Use a ruler and pencil to draw a straight line about 1 inch down from the open edge of the paper. This line will be your stopping point when you cut, so the top of the paper stays connected and creates a border.
- Starting at the folded edge, use your ruler to draw horizontal lines about 1 inch apart, going toward the line you drew near the top. These are the lines you cut to create the openings for the weaving.
- Cut along each pencil line, starting at the folded edge and stopping when you reach the top border line. Be careful not to cut all the way through the paper.
- Unfold the paper gently. You should now have a piece of construction paper with several cut openings and a border along the top.
- Choose another color of construction paper for your weaving strips. Fold the paper in half, then use your ruler and pencil to draw lines about 1 inch apart along the paper. Cut along the lines to make long paper strips. These strips will be woven through the base paper.
- Take one paper strip and start weaving it in and out of the cut openings on the base paper. For the next strip, start the opposite way so the pattern alternates.
- Continue weaving the paper strips through the base until you have added as many strips as will fit.
- Once all the strips are in place, use a glue stick to tack down the ends of each strip to the border. This helps keep the weaving pattern from sliding around.
- Trim off any excess paper hanging over the edges. Allow the glue to dry, then display your paper weaving creation.
More Great Craft Ideas
- Grab some paint and a paper plate to make this patriotic Paper Plate Flag Craft. Stick with the classic red, white and blue or get creative and make a flag for an imaginary country!
- This easy S’more Craft is sure to bring smiles to everyone’s faces! Perfect on a summer day when the kids are waiting for a bonfire to roast some real marshmallows.
- Kids can flex their creative muscles while practicing fine motor skills with my Easy Sponge Sailboat Craft.
- With just a few supplies, Paper Plate Sunflowers will brighten up any space and keep the kids busy.