Melted Crayon Art
Melted Crayon Art is a fun, colorful craft that’s perfect for kids of all ages and a great way to recycle broken crayons! With just a few simple supplies, this creative project turns ordinary crayons into vibrant artwork that’s easy to make and full of personality.
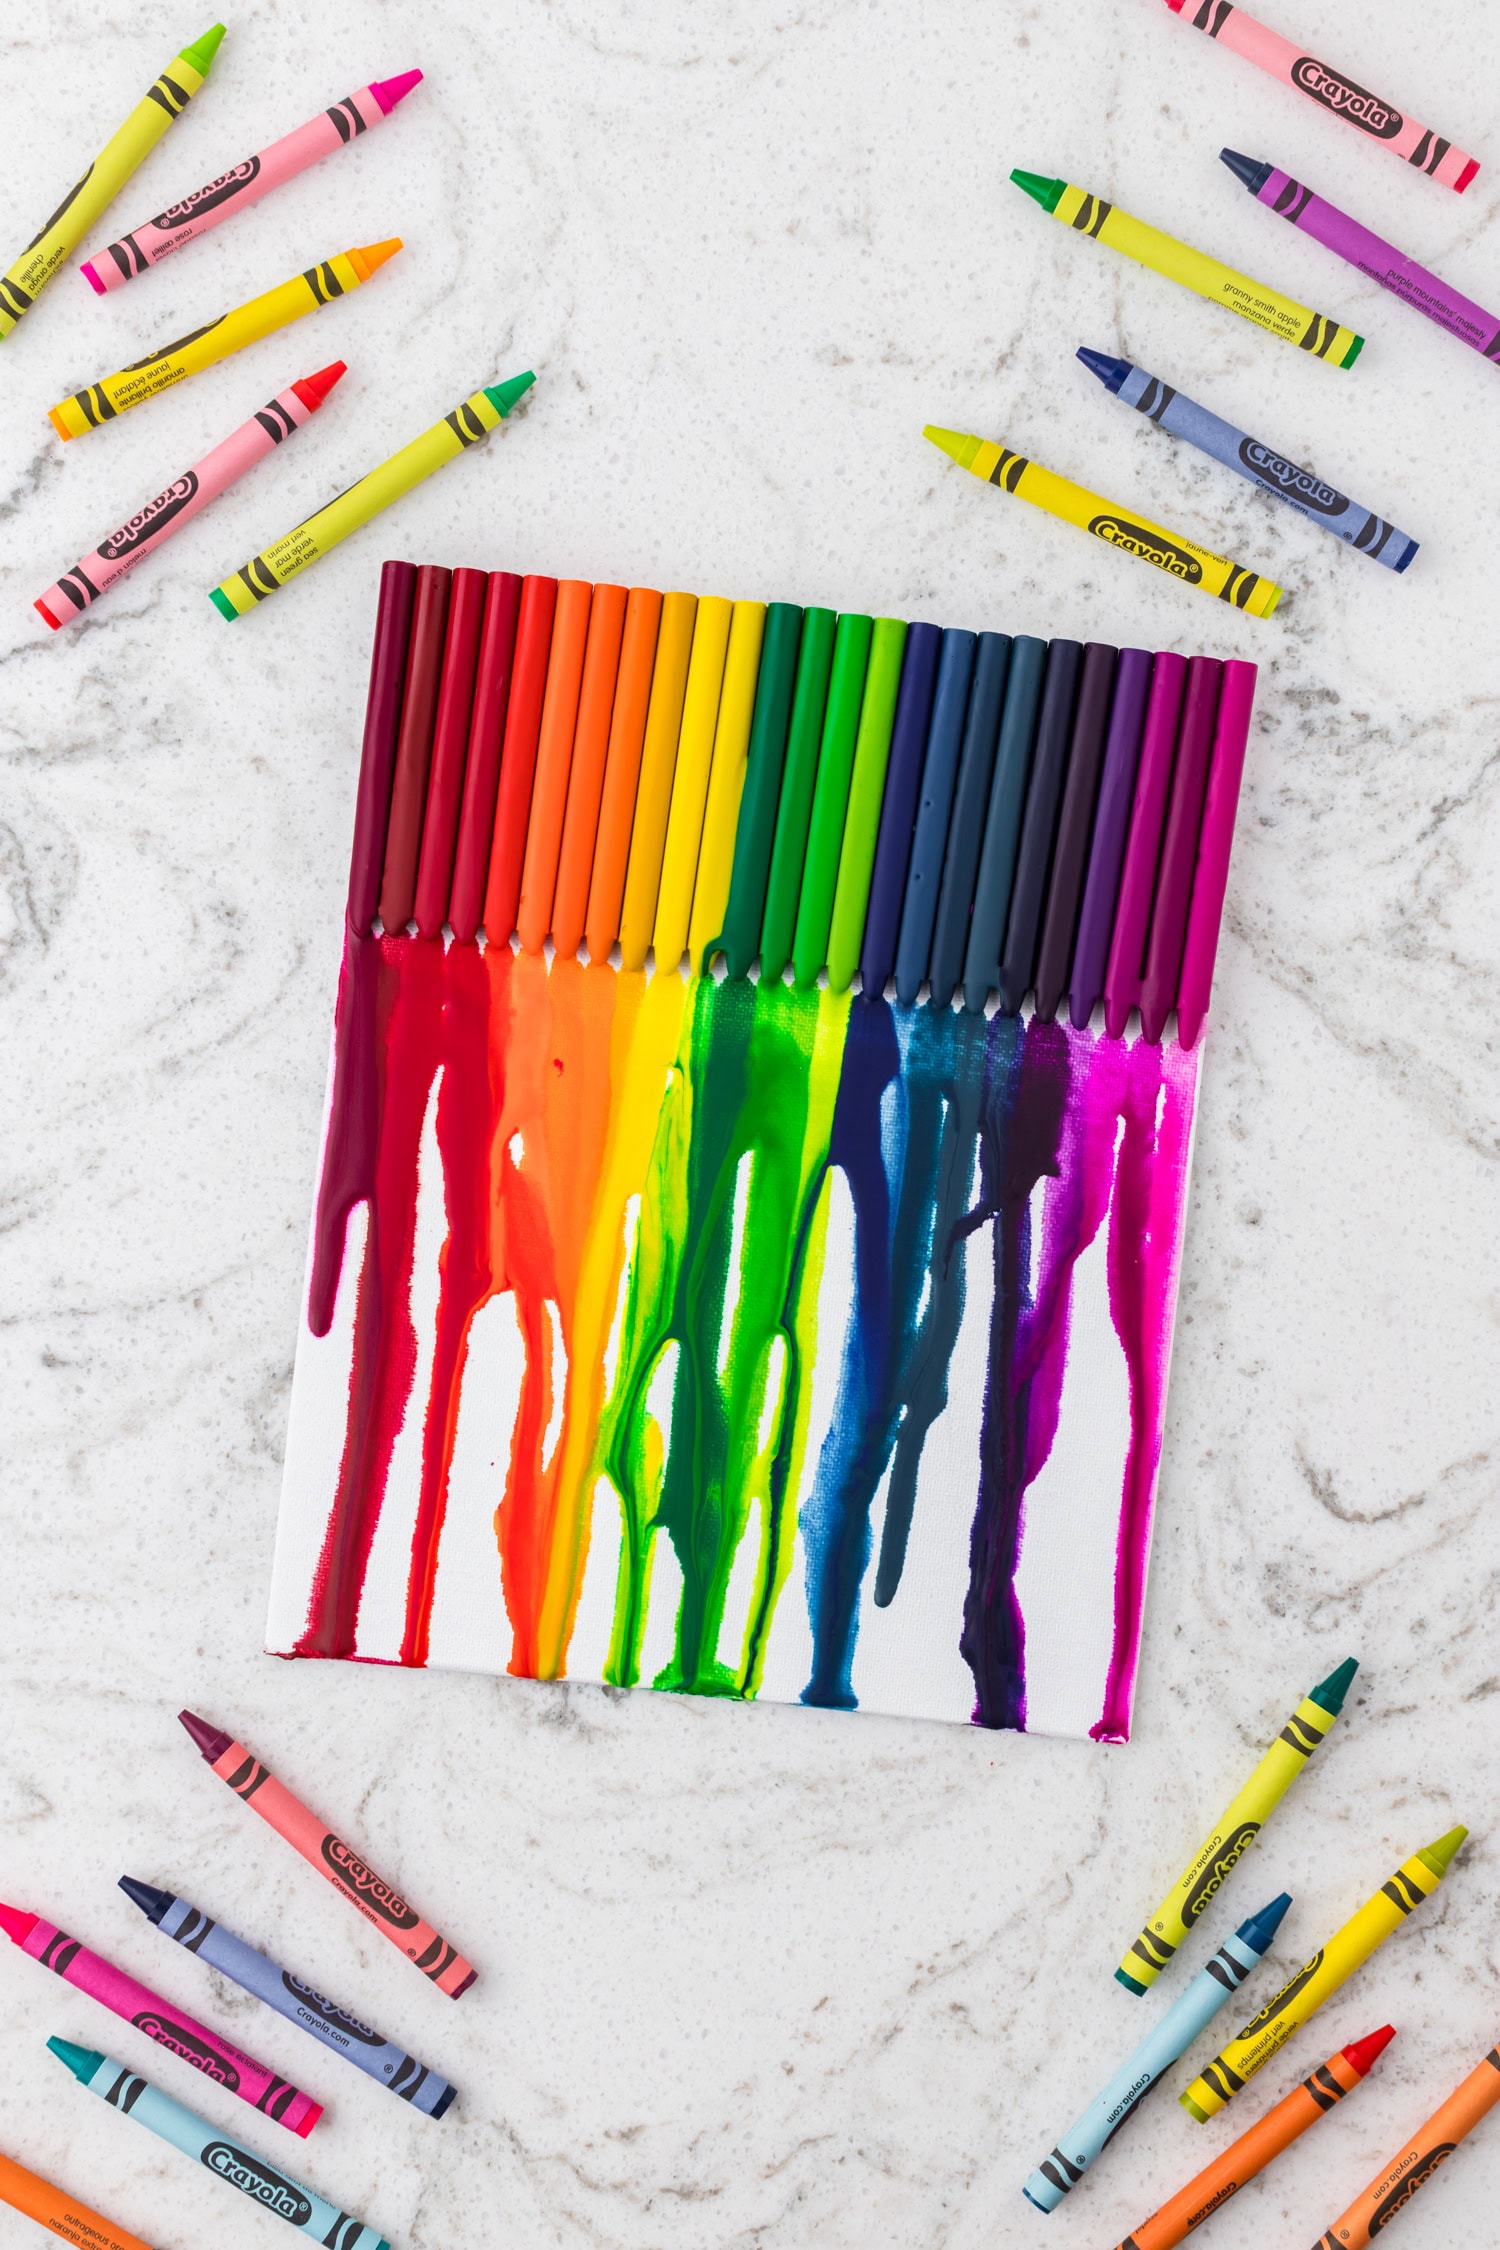
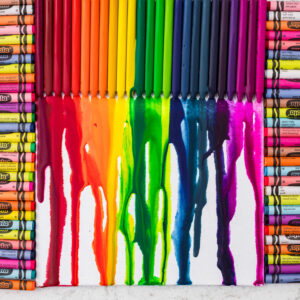
Let your kids’ creativity shine through melted crayon art! Collect a mix of broken and new crayons, glue them onto a canvas and use a heat gun or blow dryer to melt the wax crayons and let the colors flow. Kids can work on color recognition and patterns while they learn about the effects of heat.
If you have some thicker crayons, add those in too so the kids can see that they might take a little longer to heat up because of their size. Or leave one or two crayons in the paper wrappers to see how they don’t really melt as easily. This art is also a little bit of a science experiment and so much fun. Melted crayons on canvas are vibrant and have texture, line them up and host a family art show!
Why You’ll Love This Activity
- This easy diy with crayons is the perfect way to use up old, broken crayons so they don’t go to waste.
- Placing the canvas inside an aluminum foil pan makes for very little mess to clean up.
- Crayon melting is a unique way for kids to express themselves through color combinations and patterns.
Supplies Needed For Melted Crayon Art
- 8×10-inch canvas panel – A thick, sturdy background will hold up best to the weight of the crayons as well as the hot air from the heat gun or hair dryer.
- Crayons – Unwrapped crayons will melt easier, you just need enough to go across the edge of the canvas, about 16-24. Stick with good crayons. Crayola works the best. The colors remain bold and melt smoothly without becoming dull or streaky. You can use other brands, but I always go back to Crayola for the best results.
- Hot glue sticks – You should only need one, but it’s always good to have back ups! Plus you never know when the creativity bug may strike, so it’s handy to have some on hand.
- Glue gun – A hot glue gun works fast and keeps them in place where they belong.
- Heat gun – If you have one handy for crafting that’s great but you can also use a hair dryer, which most homes will already have.
- Large foil pan – If you don’t have a foil roasting pan, you can use a large baking sheet or cookie tray lined with parchment paper, or even a shallow cardboard box. The goal is just to catch the wax drips and protect your table. I’ve even used an old plastic tablecloth in a pinch. Just make sure whatever you use is heat-safe and won’t blow away if you’re using a hair dryer.
How To Make Melted Crayon Art
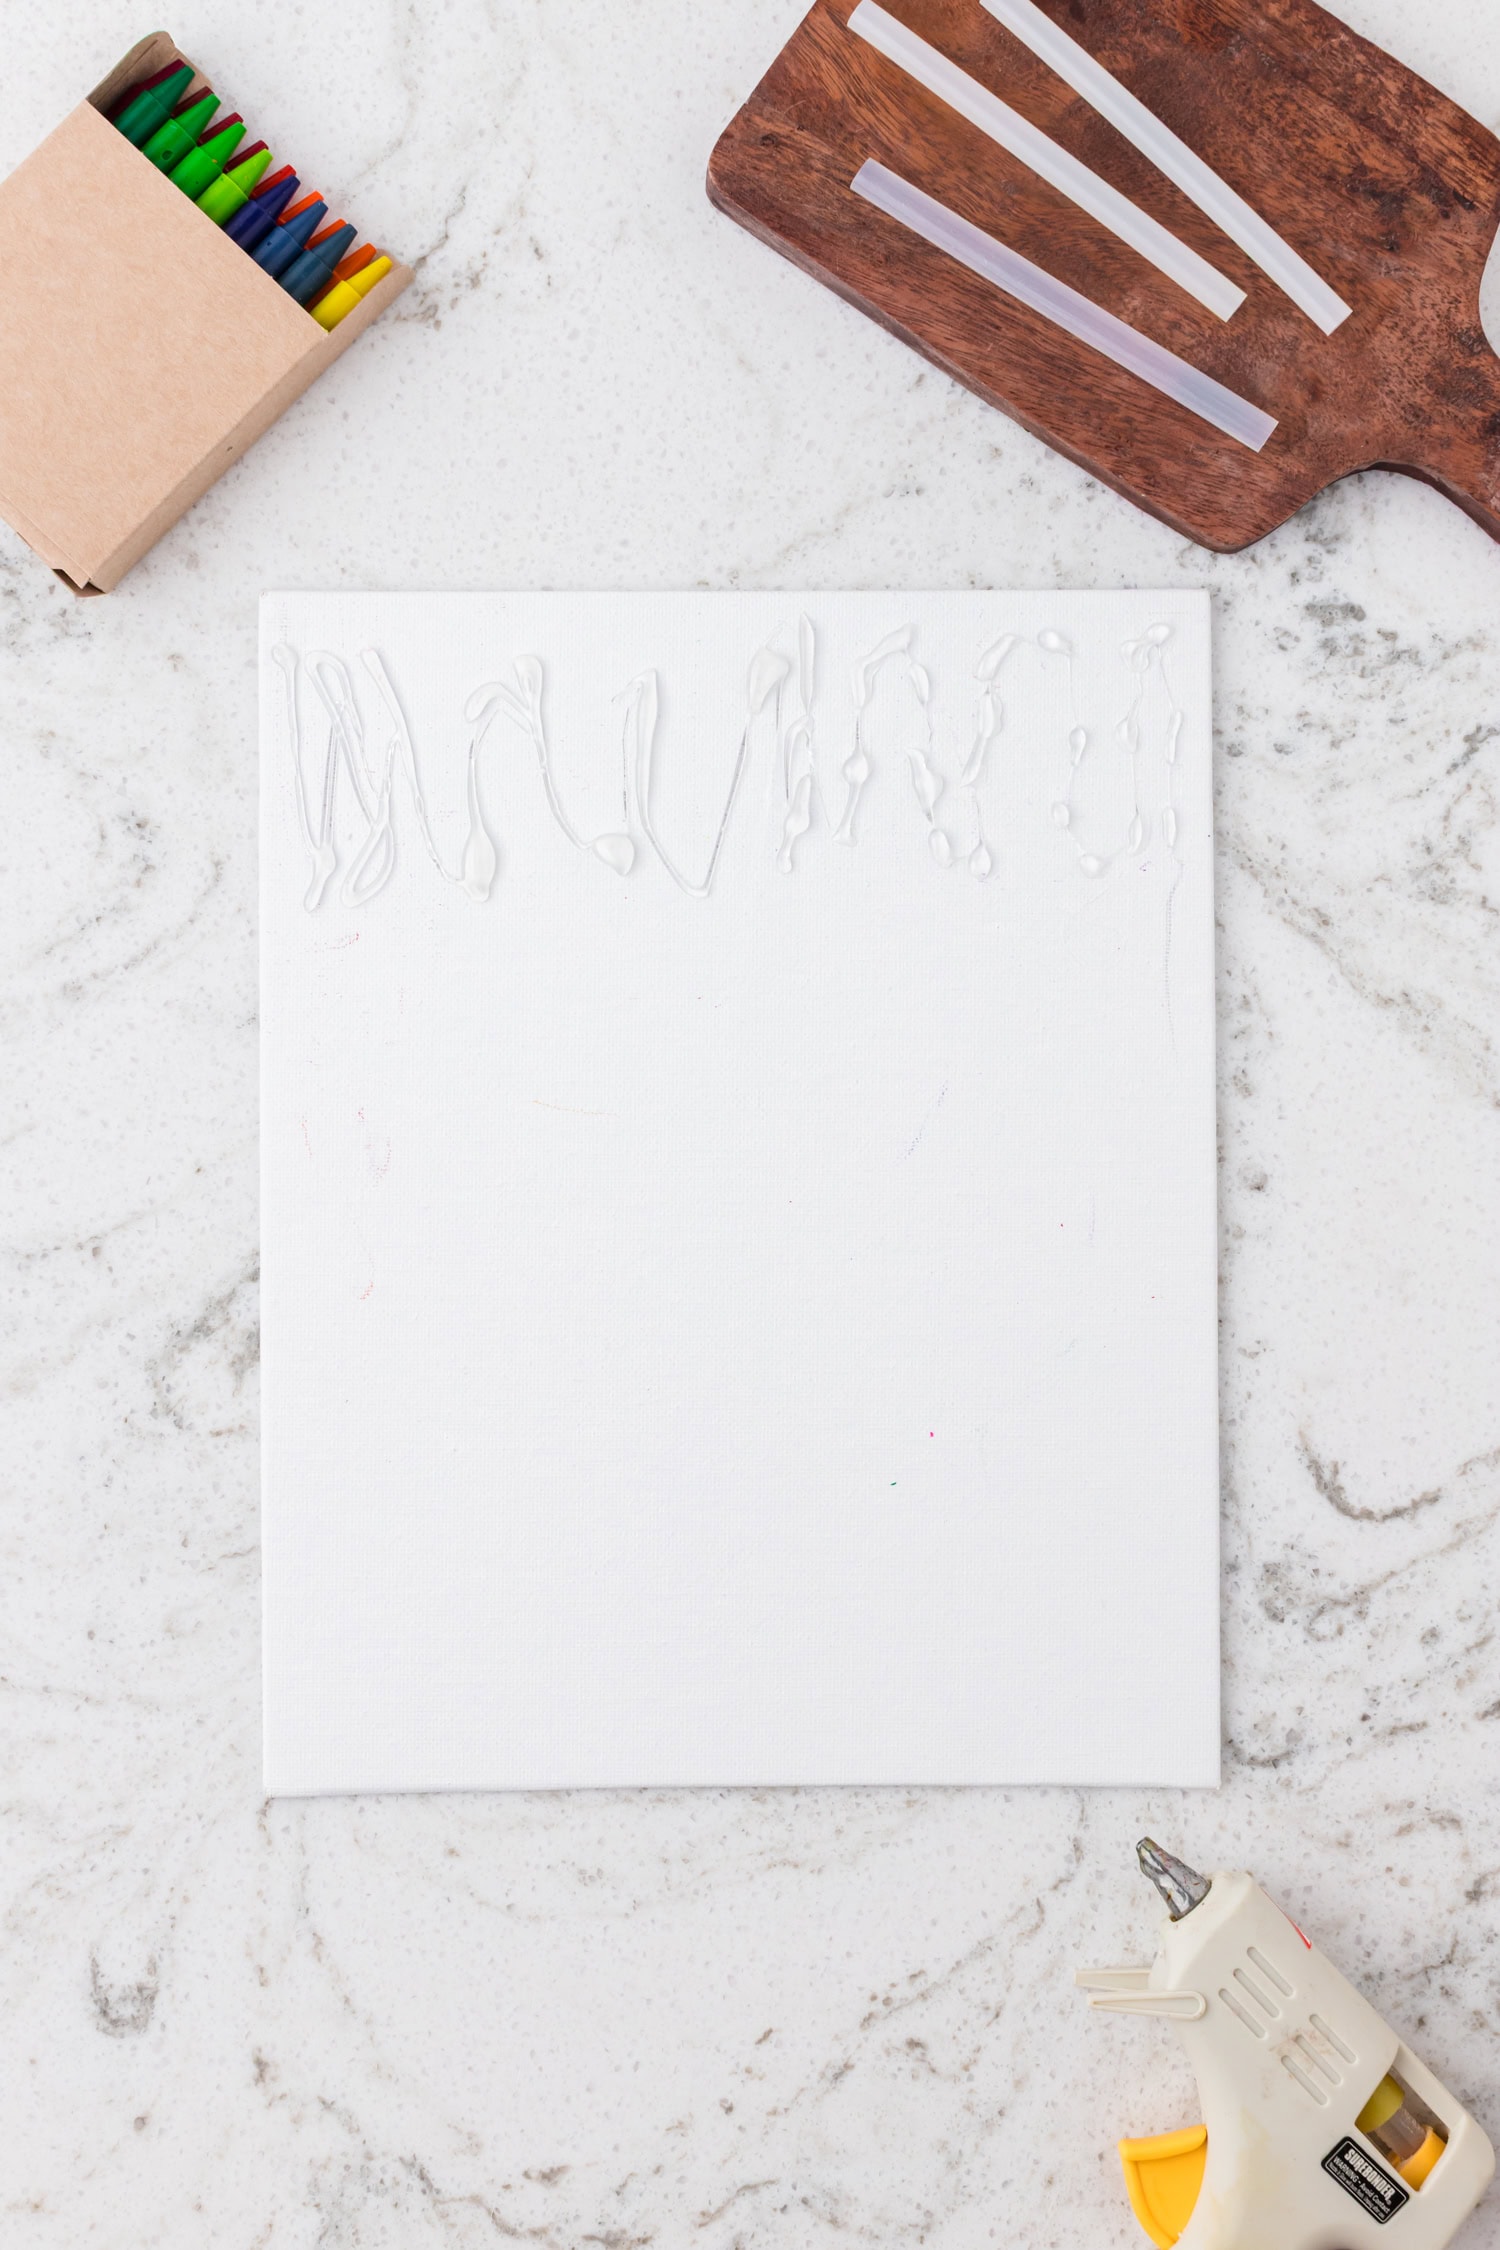
- Grab a large foil roasting pan and place it on your table to catch any wax drips.
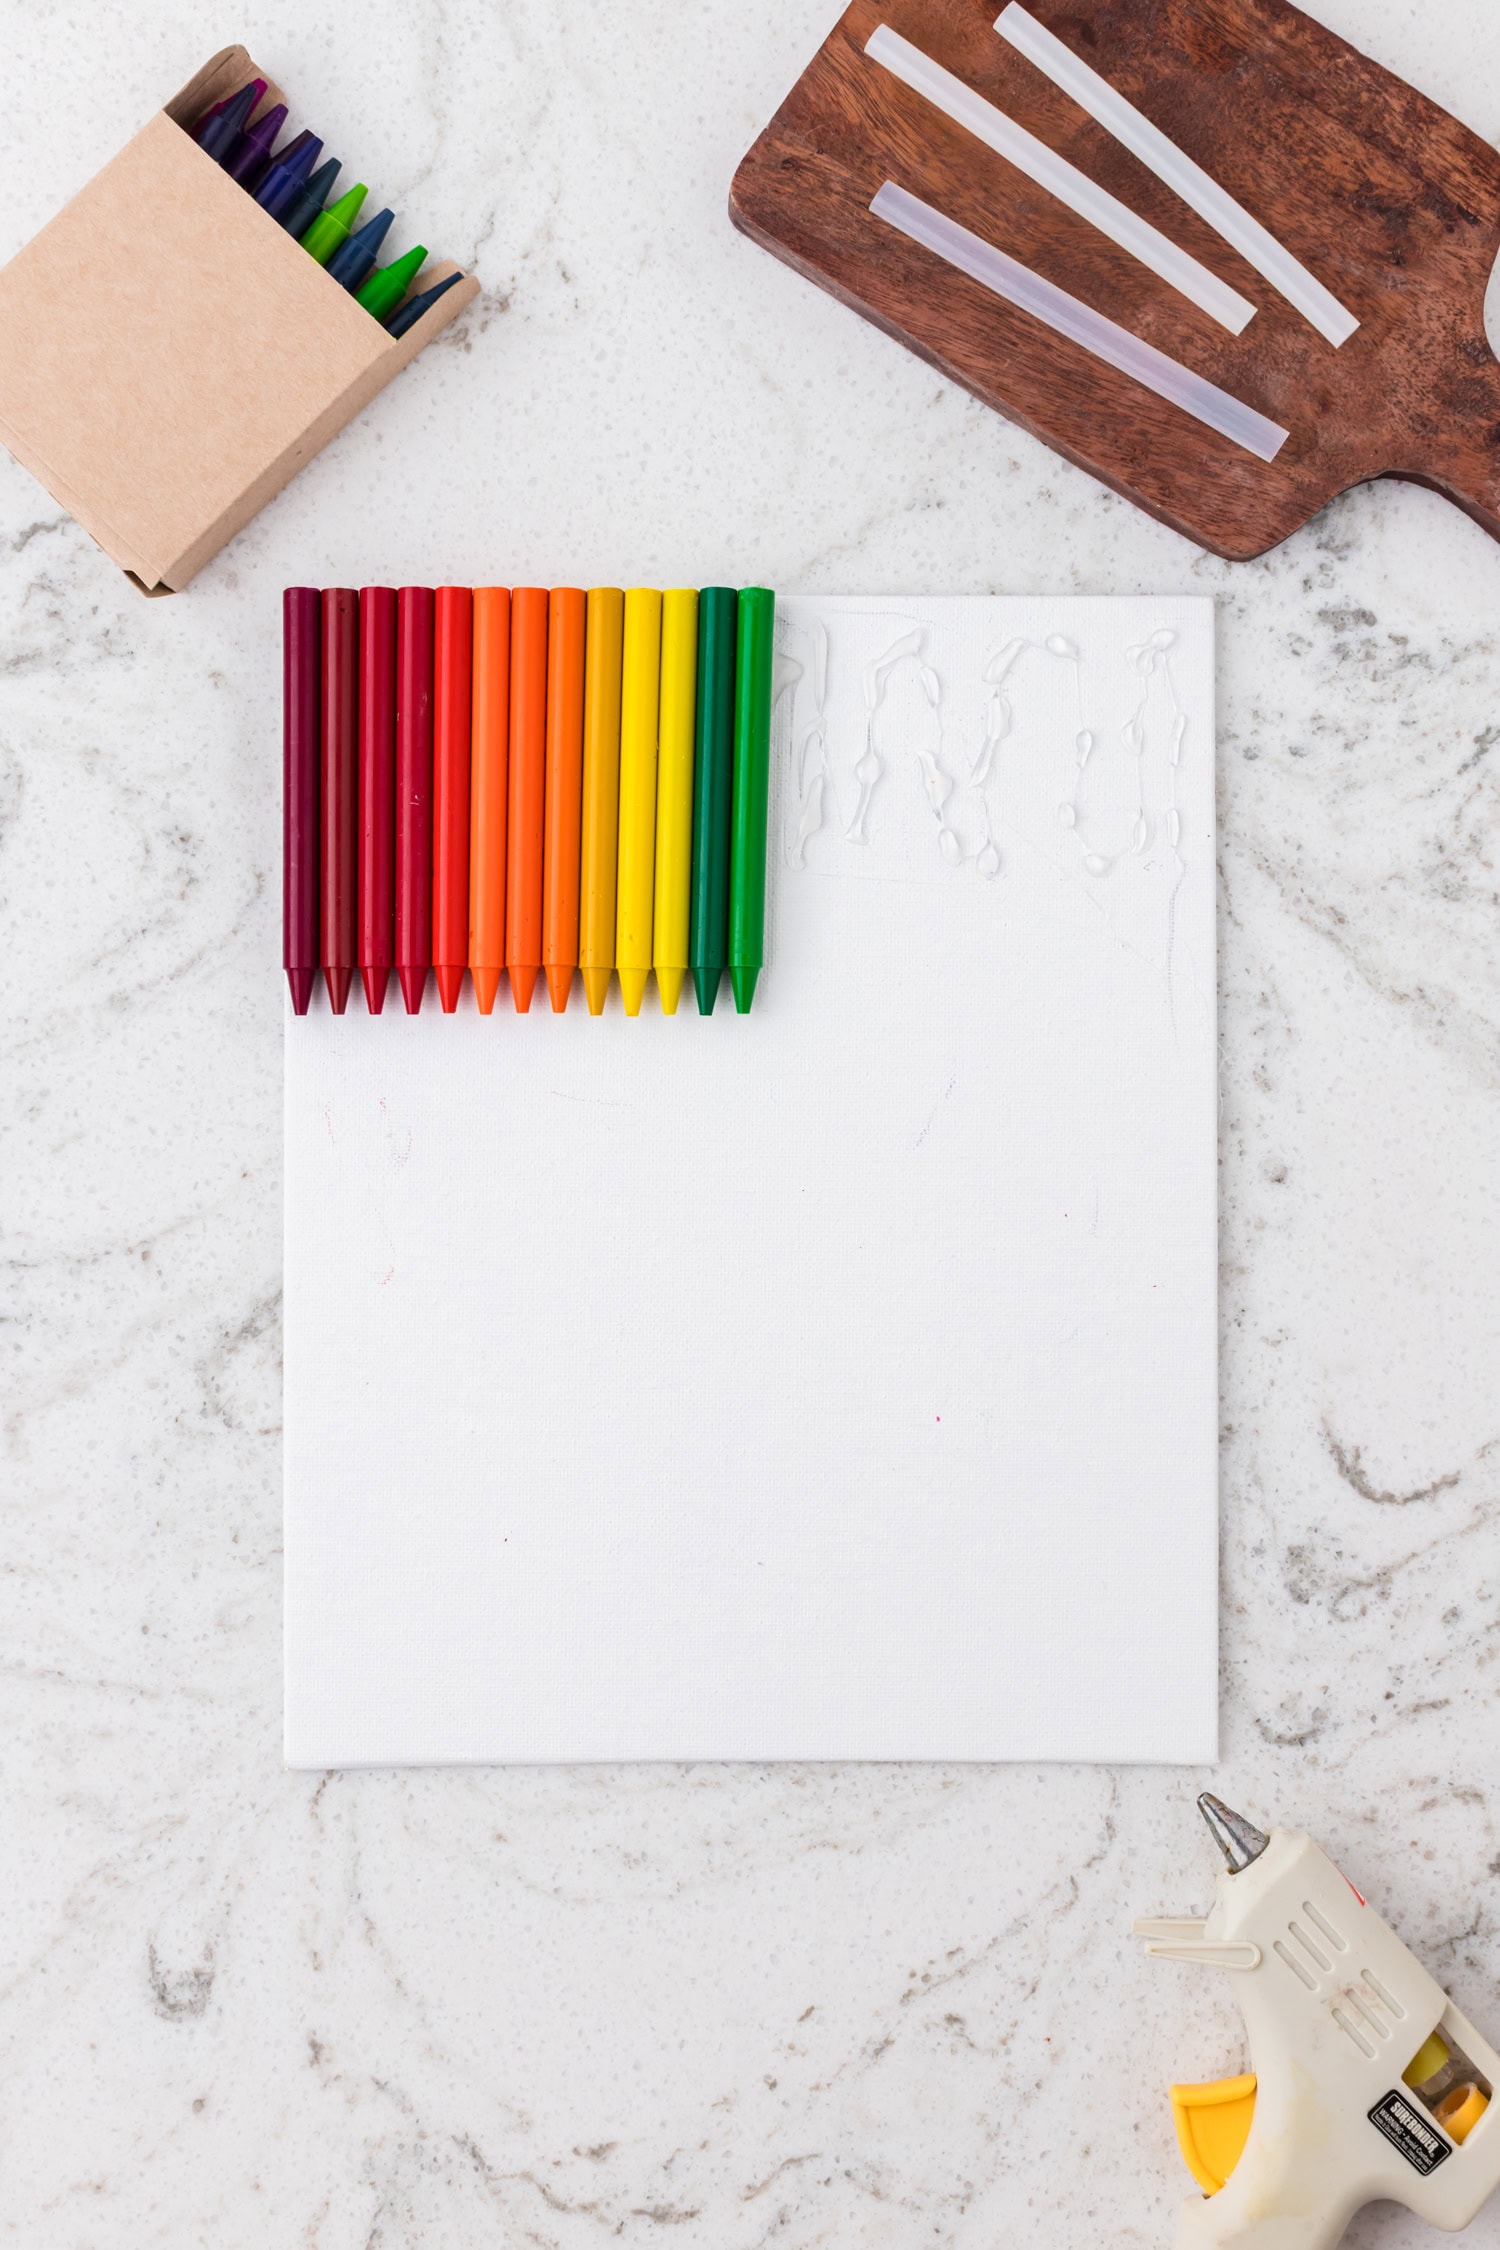
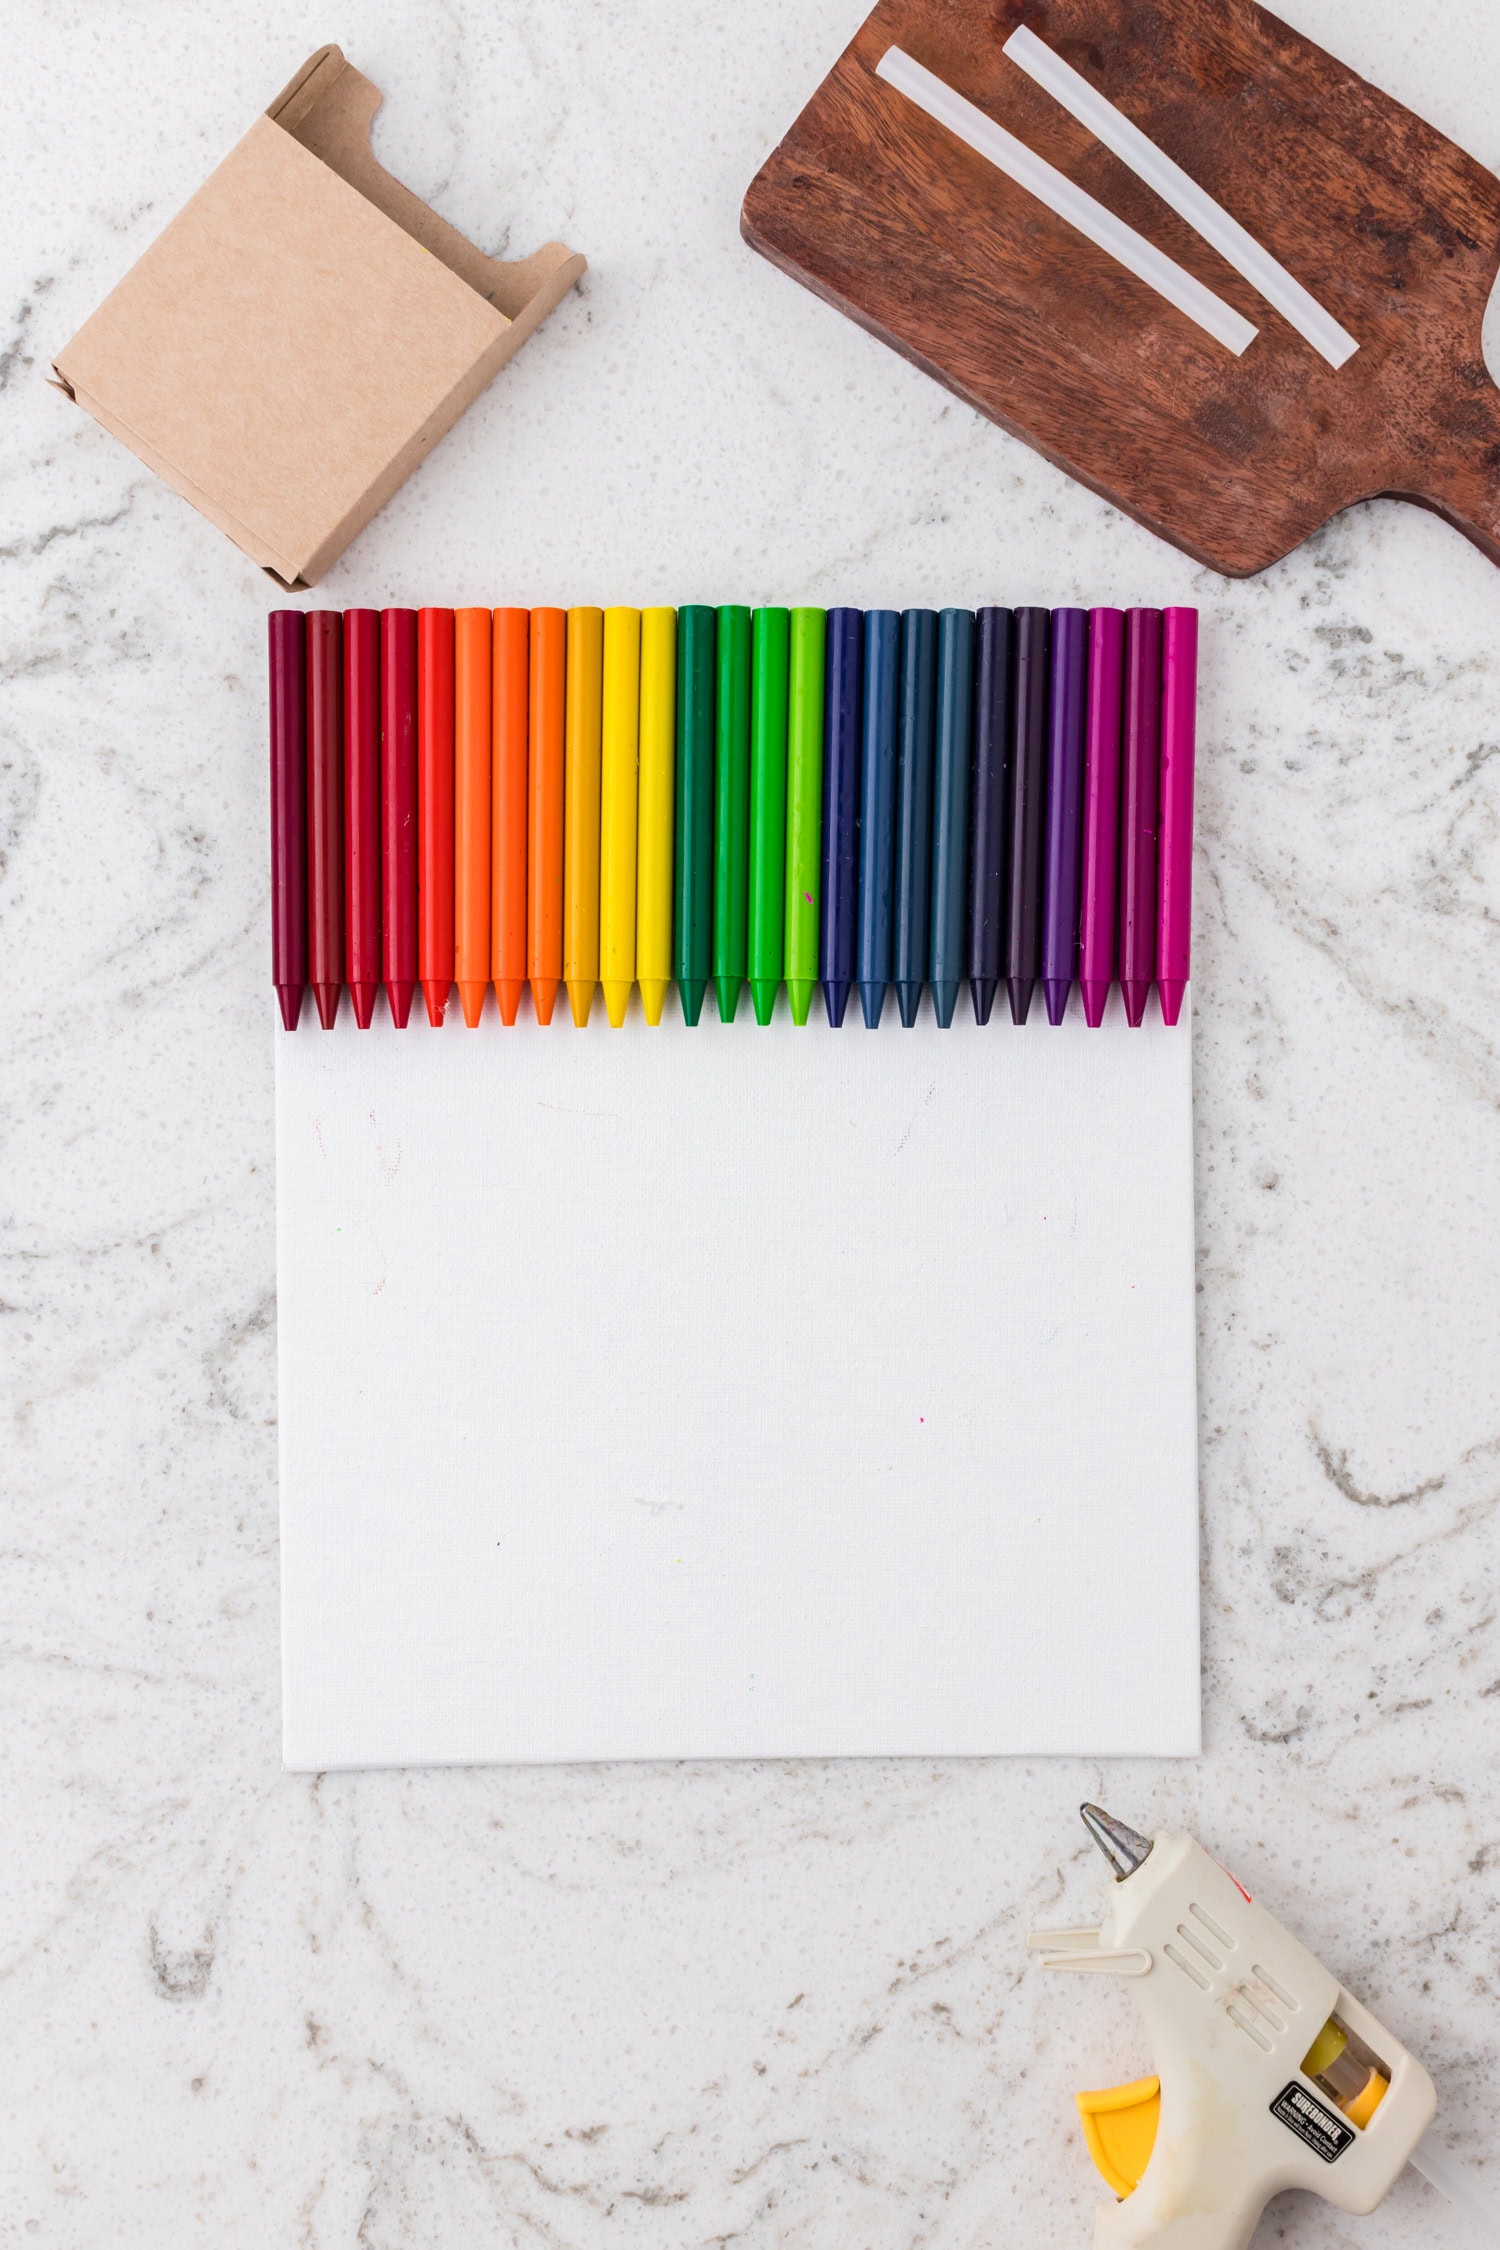
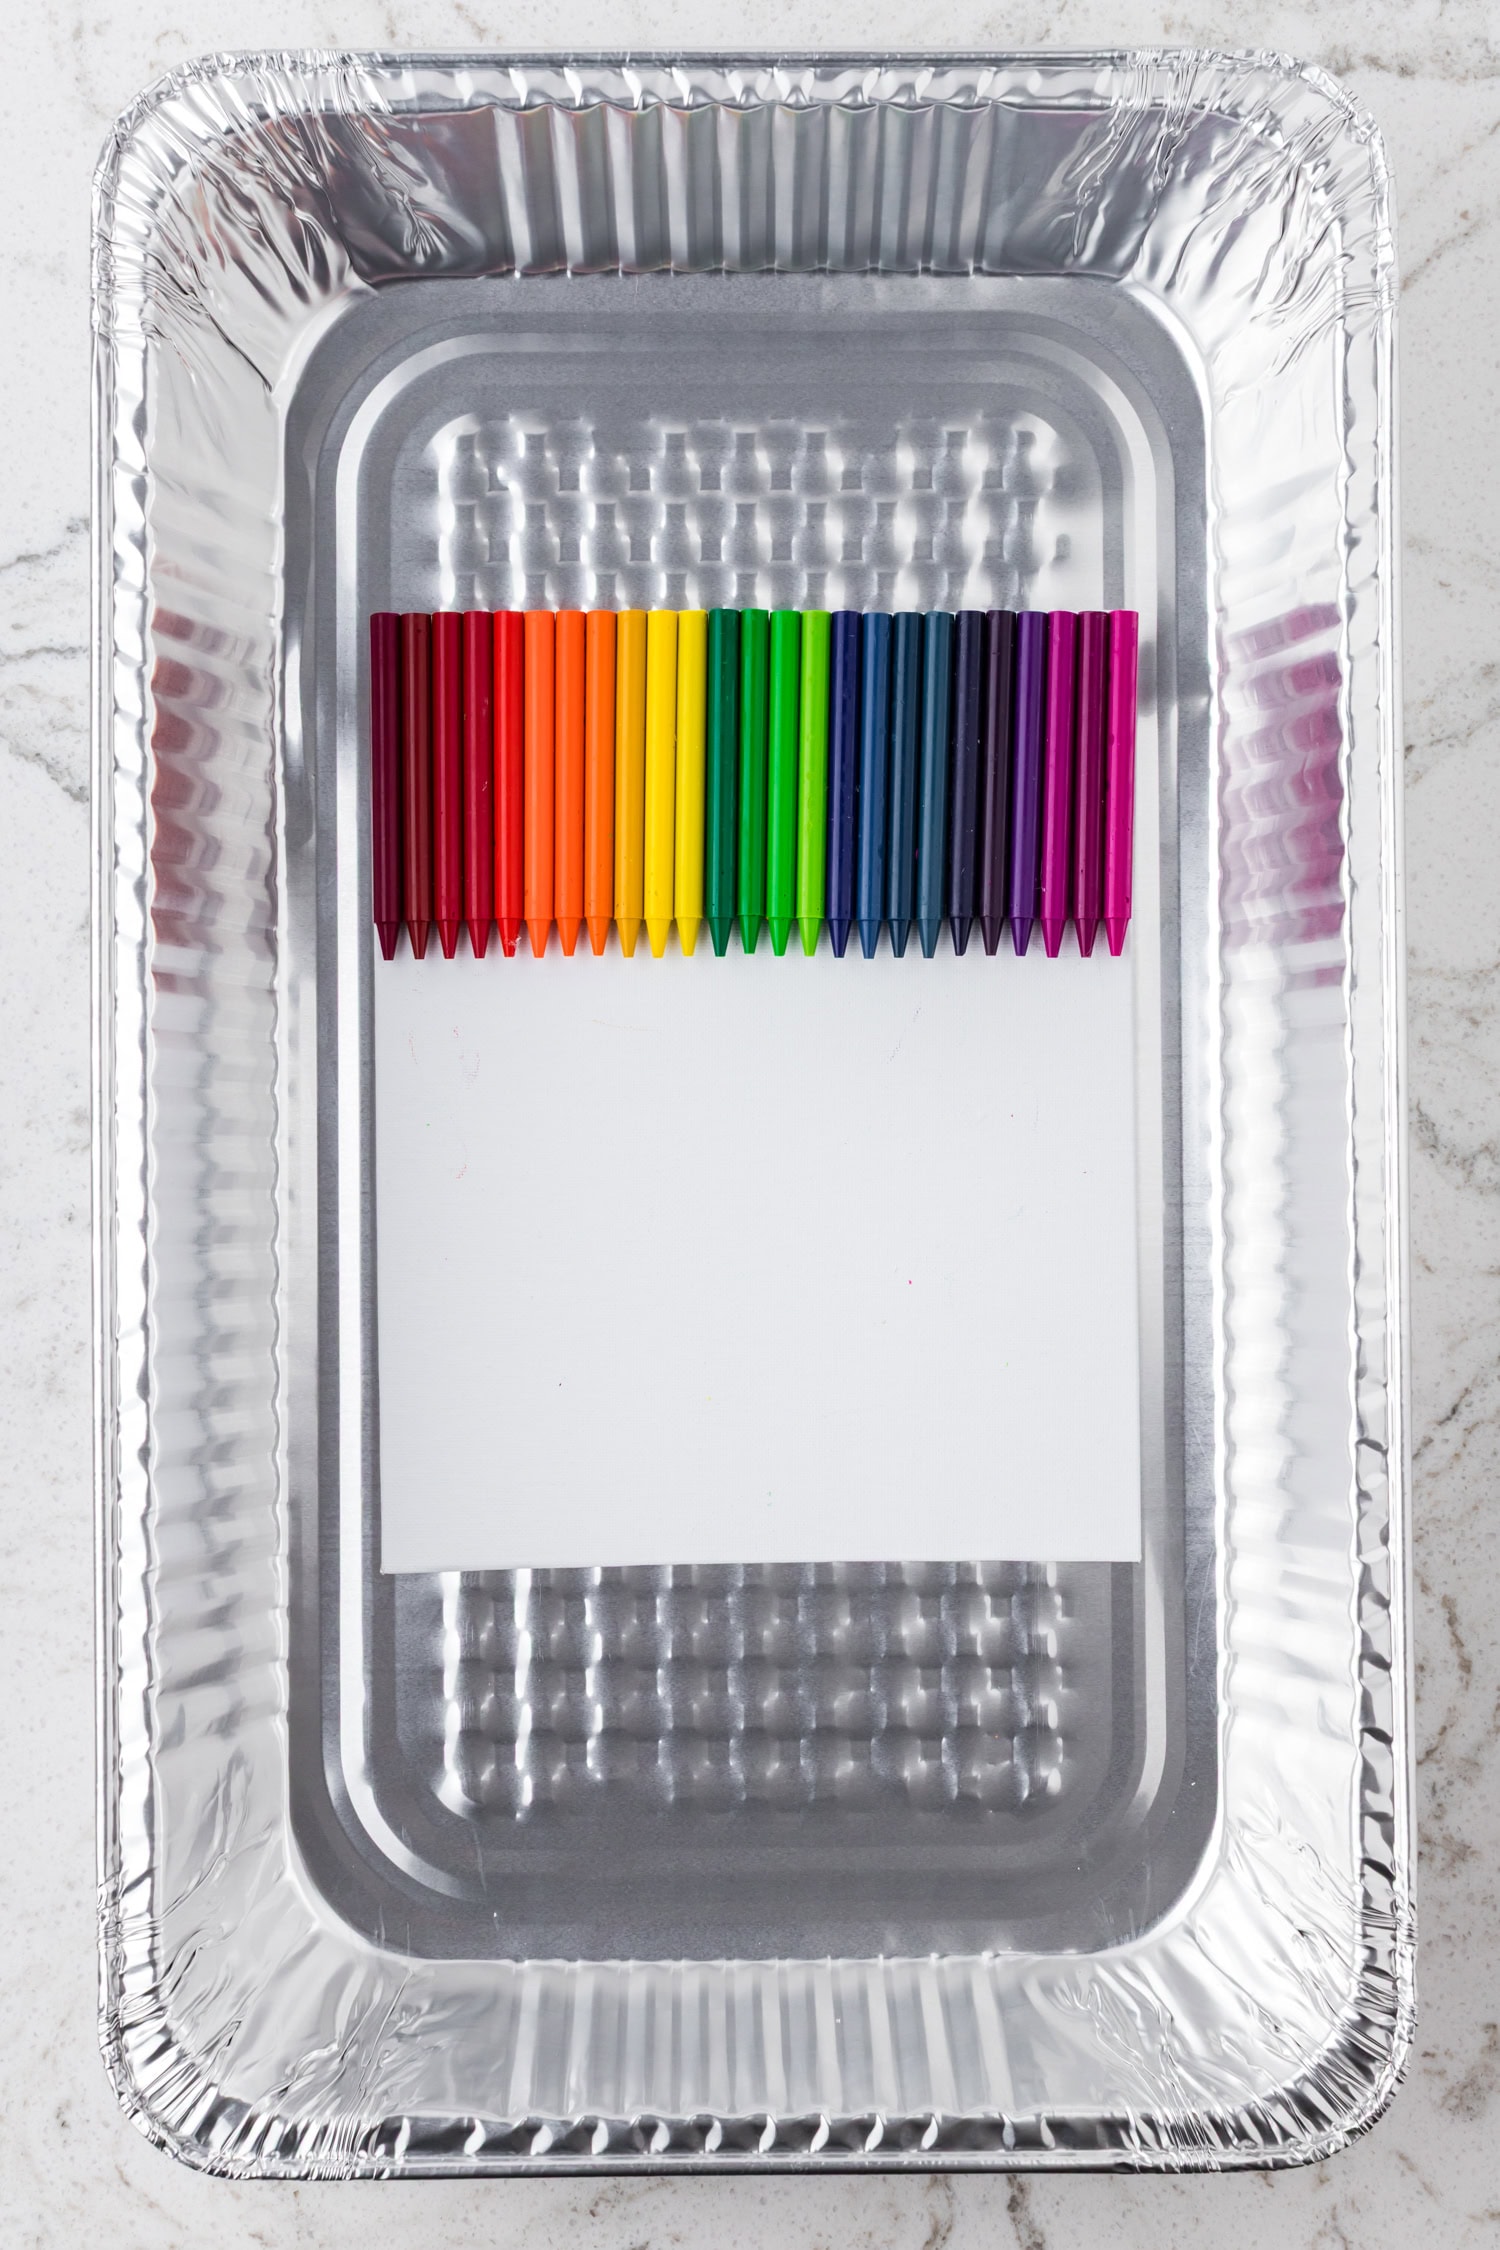
- Select your favorite colors of crayons and then choose a color pattern. Unwrap the paper from each crayon for a cleaner melt.
- Line up the crayons across the top edge of your canvas with the tips pointing down. Use a hot glue gun to glue each one in place across the top portion of the canvas. Allow the glue to dry for approximately 10 minutes to ensure it stays in place during the melting process.
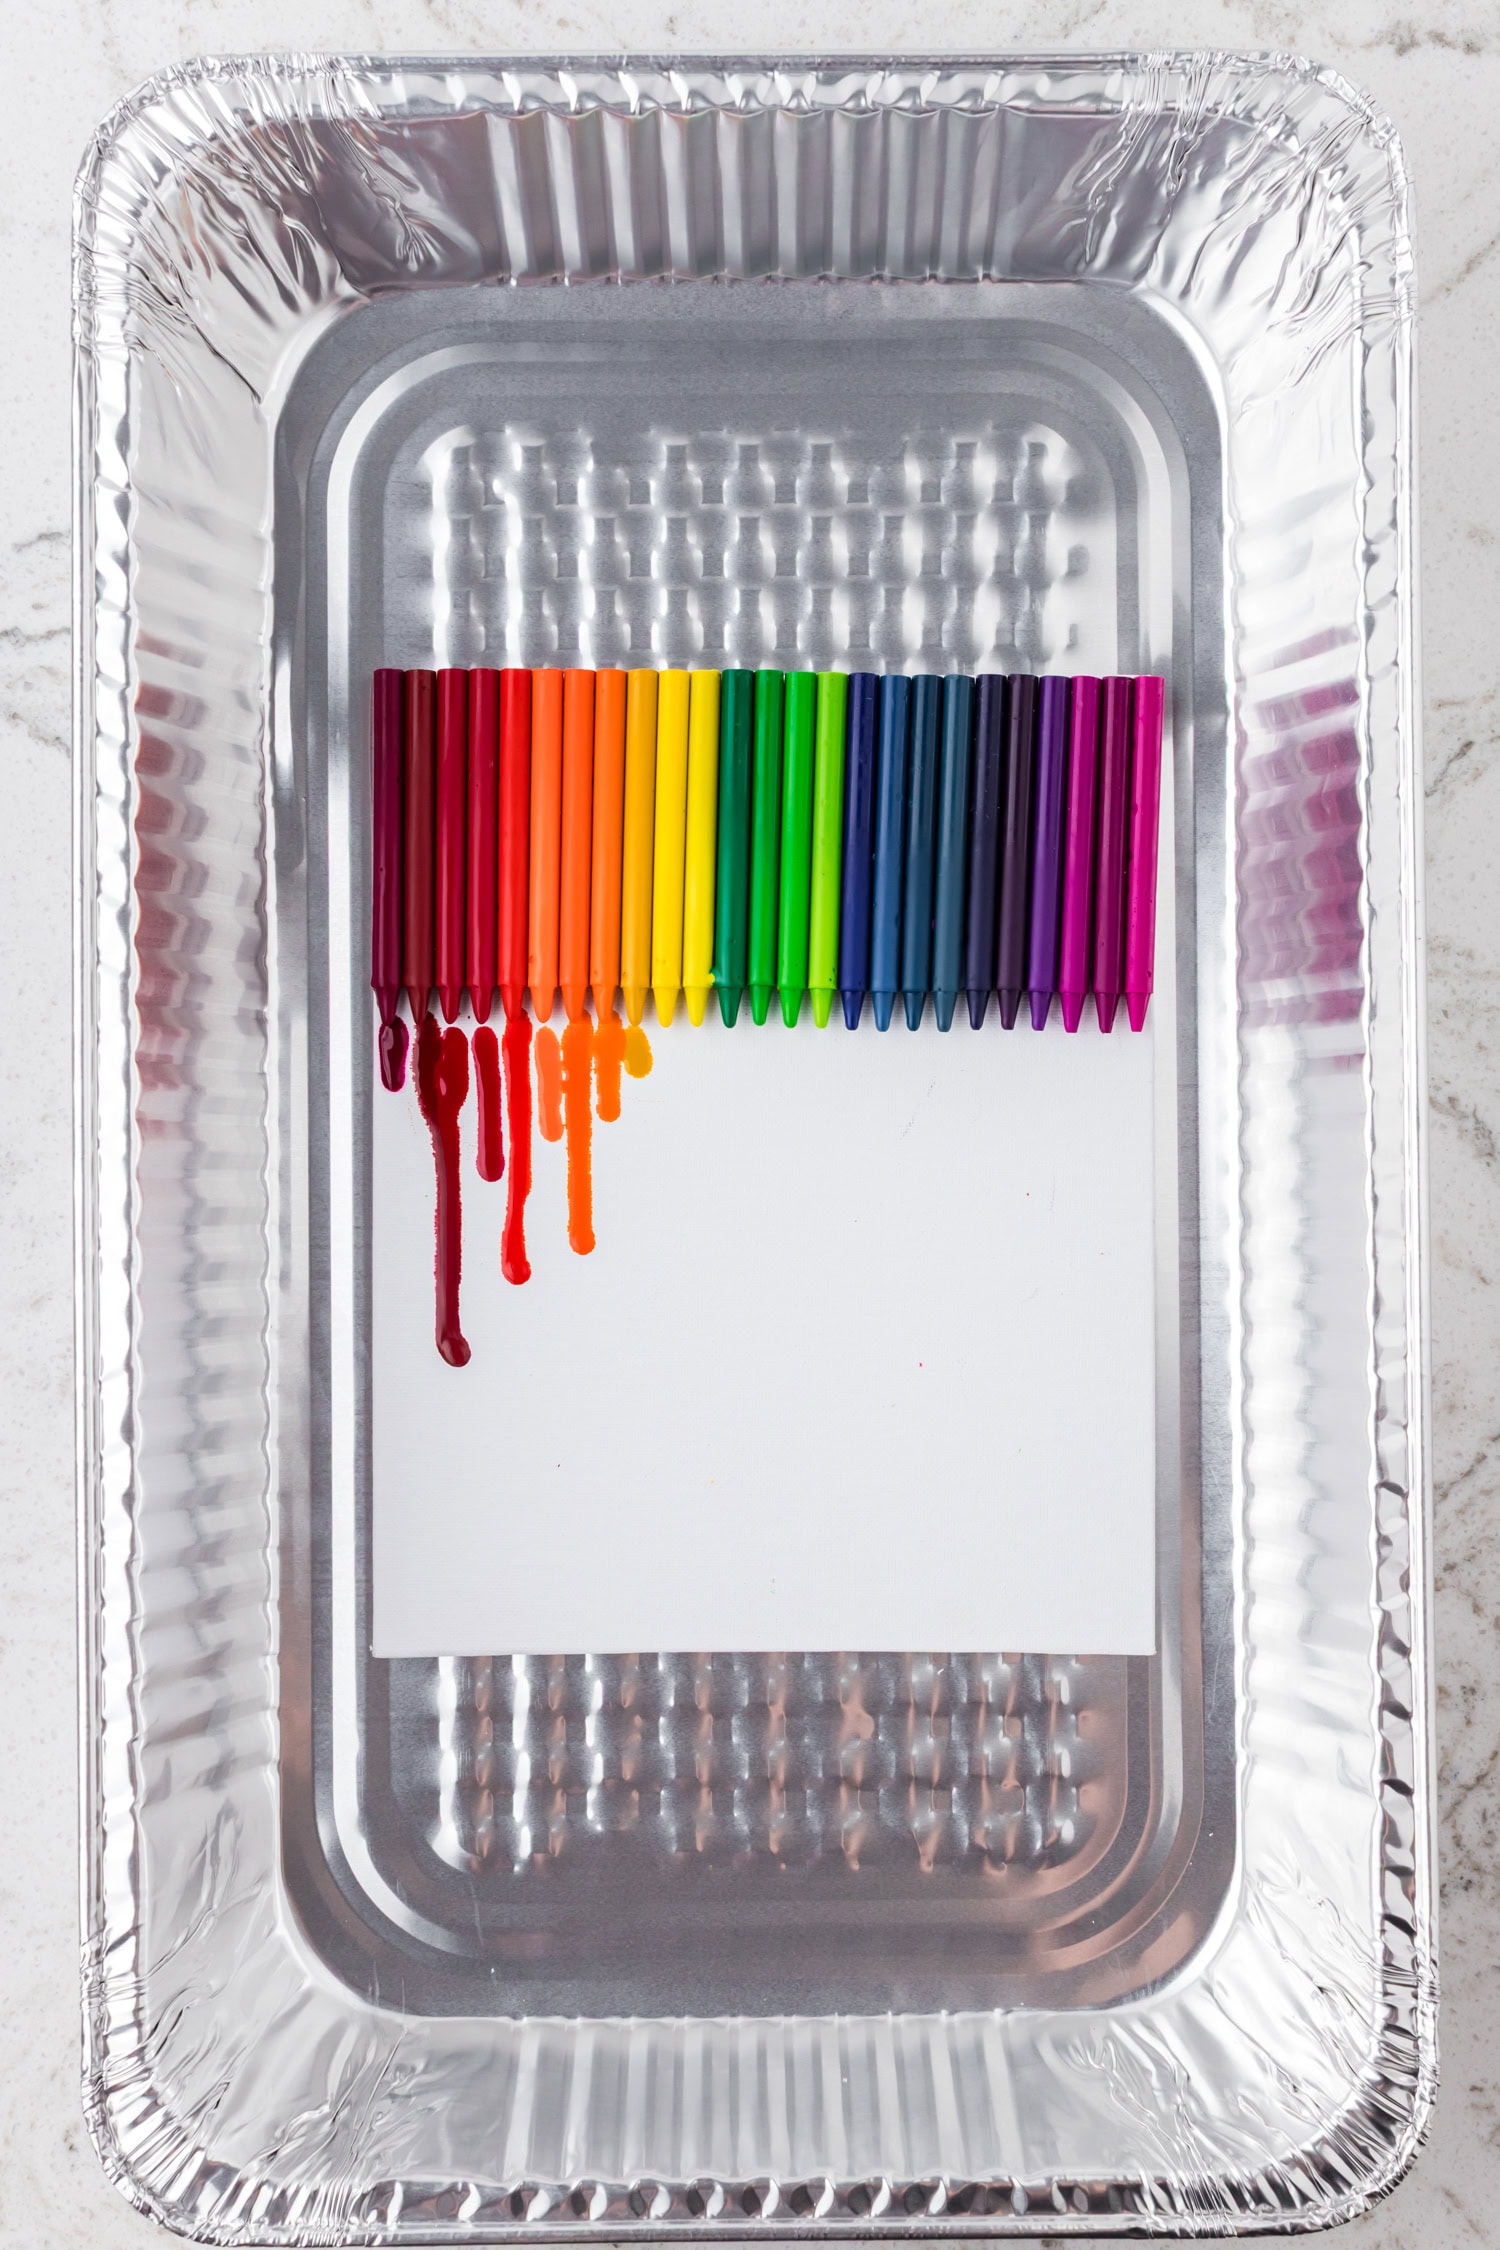
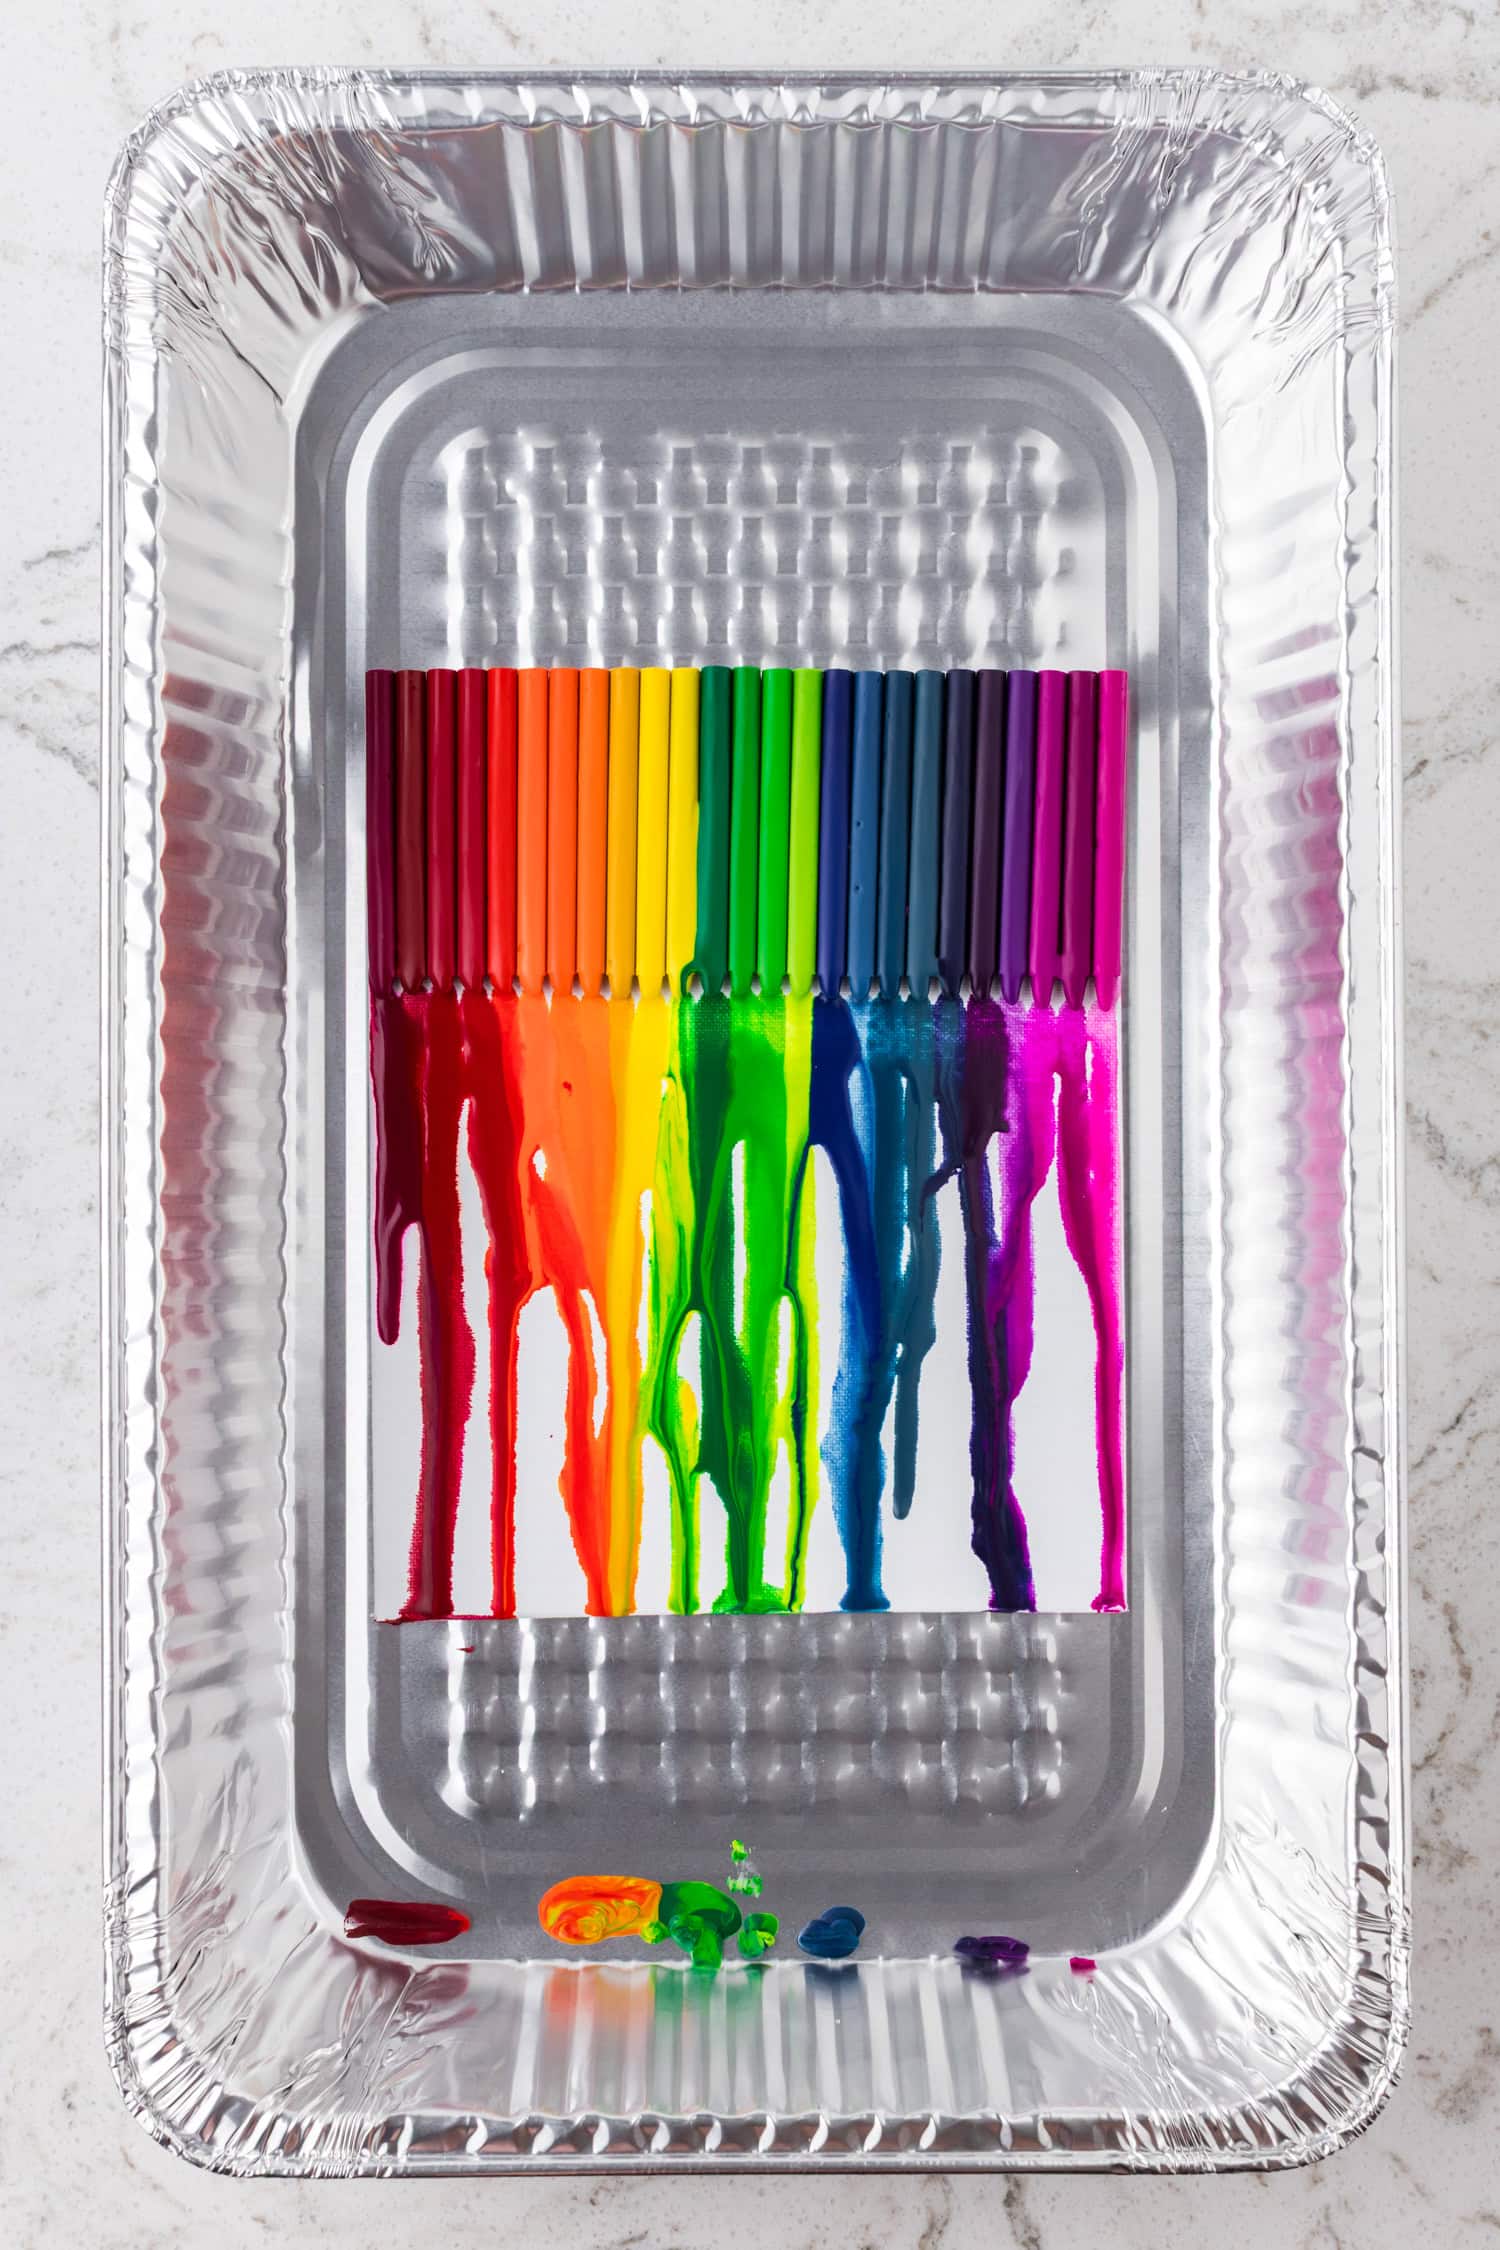
- Stand your canvas up inside the foil pan, leaning against one side or propped gently on an easel or stack of books. Start the heat gun on the low setting to melt the crayons. If they are melting too slowly, you can go to the high setting on your heat gun. Keep the heat gun about 6 inches away and move it slowly from side to side. The wax will start to melt and flow onto the canvas. Continue refining the design until you’re satisfied with it. Let it cool for at least 15 minutes before handling.
Pro Tips
- If a heat gun is available to you, this will actually give you the most accurate and controlled wax melting. A hair dryer will take longer and there will be slightly less control over the melting process. Experiment with both a heat gun and a hair dryer for this diy craft!
- Use painter’s tape to create negative space for a little extra creativity.
- If you want to seal the artwork, use a clear acrylic spray like Mod Podge
- Try to glue the crayons down tight. Make sure each crayon is securely glued before you start heating. I’ve had a few fall off mid-melt, and it makes a mess.
- Use slow, even heat by moving the heat back and forth gently while melting the crayons. Try not to hold the heat too close to the crayons, or the colors might splash.
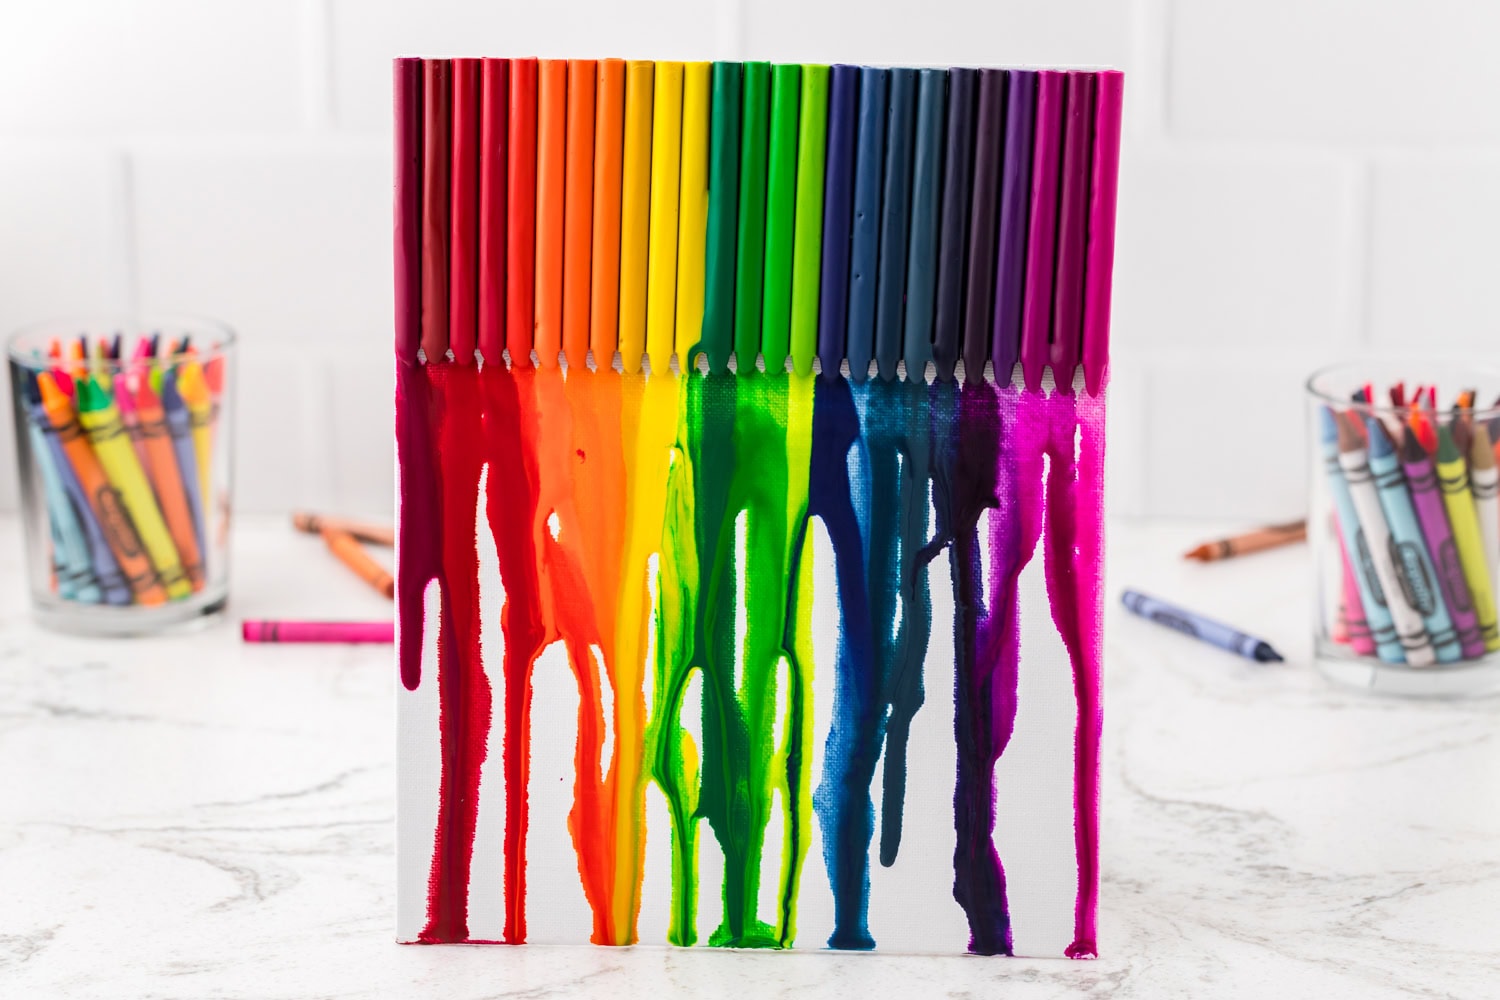
Your little artists are going to love creating art with crayon melted on canvas. There is no wrong way to do this craft. The colors and patterns are endless, plus you won’t have tons of leftover crayon pieces hanging around the house anymore!
Melted Crayon Art
Ingredients
- 8×10-inch canvas panel
- 16–24 crayons unwrapped
- hot glue sticks
- glue gun
- heat gun or hair dryer
- large foil pan or similar
Instructions
- Grab a large foil roasting pan or a similar container and place it on your table. It will catch any wax drips and keep your space neat.
- Select your favorite colors of crayons and then choose a color pattern. You can opt for a rainbow, ombré, or mix your favorite tones. Unwrap the paper from each crayon for a cleaner melt.
- Line up the crayons across the top edge of your canvas with the tips pointing down. Use a hot glue gun to glue each one in place across the top portion of the canvas. Allow the glue to dry for approximately 10 minutes to ensure it stays in place during the melting process.
- Stand your canvas up inside the foil pan, leaning against one side or propped gently on an easel or stack of books. Start the heat gun on the low setting to melt the crayons. If they are melting too slowly, you can go to the high setting on your heat gun. Keep the heat gun about 6 inches away and move it slowly from side to side. The wax will start to melt and flow onto the canvas. Continue refining the design until you’re satisfied with it. Let it cool for at least 15 minutes before handling.
More Great Art Activities
- Keep kids busy with items you’ve already got in the craft closet! Salt Painting Art creates a colorful, textured masterpiece.
- This budget-friendly Alien Craft is so easy and lots of fun. Gather your supplies and get crafting! Kids will have the opportunity to work on fine motor skills working with small objects.
- Bring the summer campfire to the craft table and make a S’More Craft this weekend. Without any actual gooey marshmallows and melted chocolate, this adorable craft is so much easier to clean up than the treat!
- Time to break out all of the empty toilet paper rolls you’ve been stashing away for craft time to make an adorable Frog Craft! Make a whole crew of hungry frogs and make flies, ladybugs.. and maybe a tiny cupcake!
I have always wanted to make one of these! I don’t know who was more excited…me or the kids hahaha
Glad you had fun with this activity!