Salt Painting Art
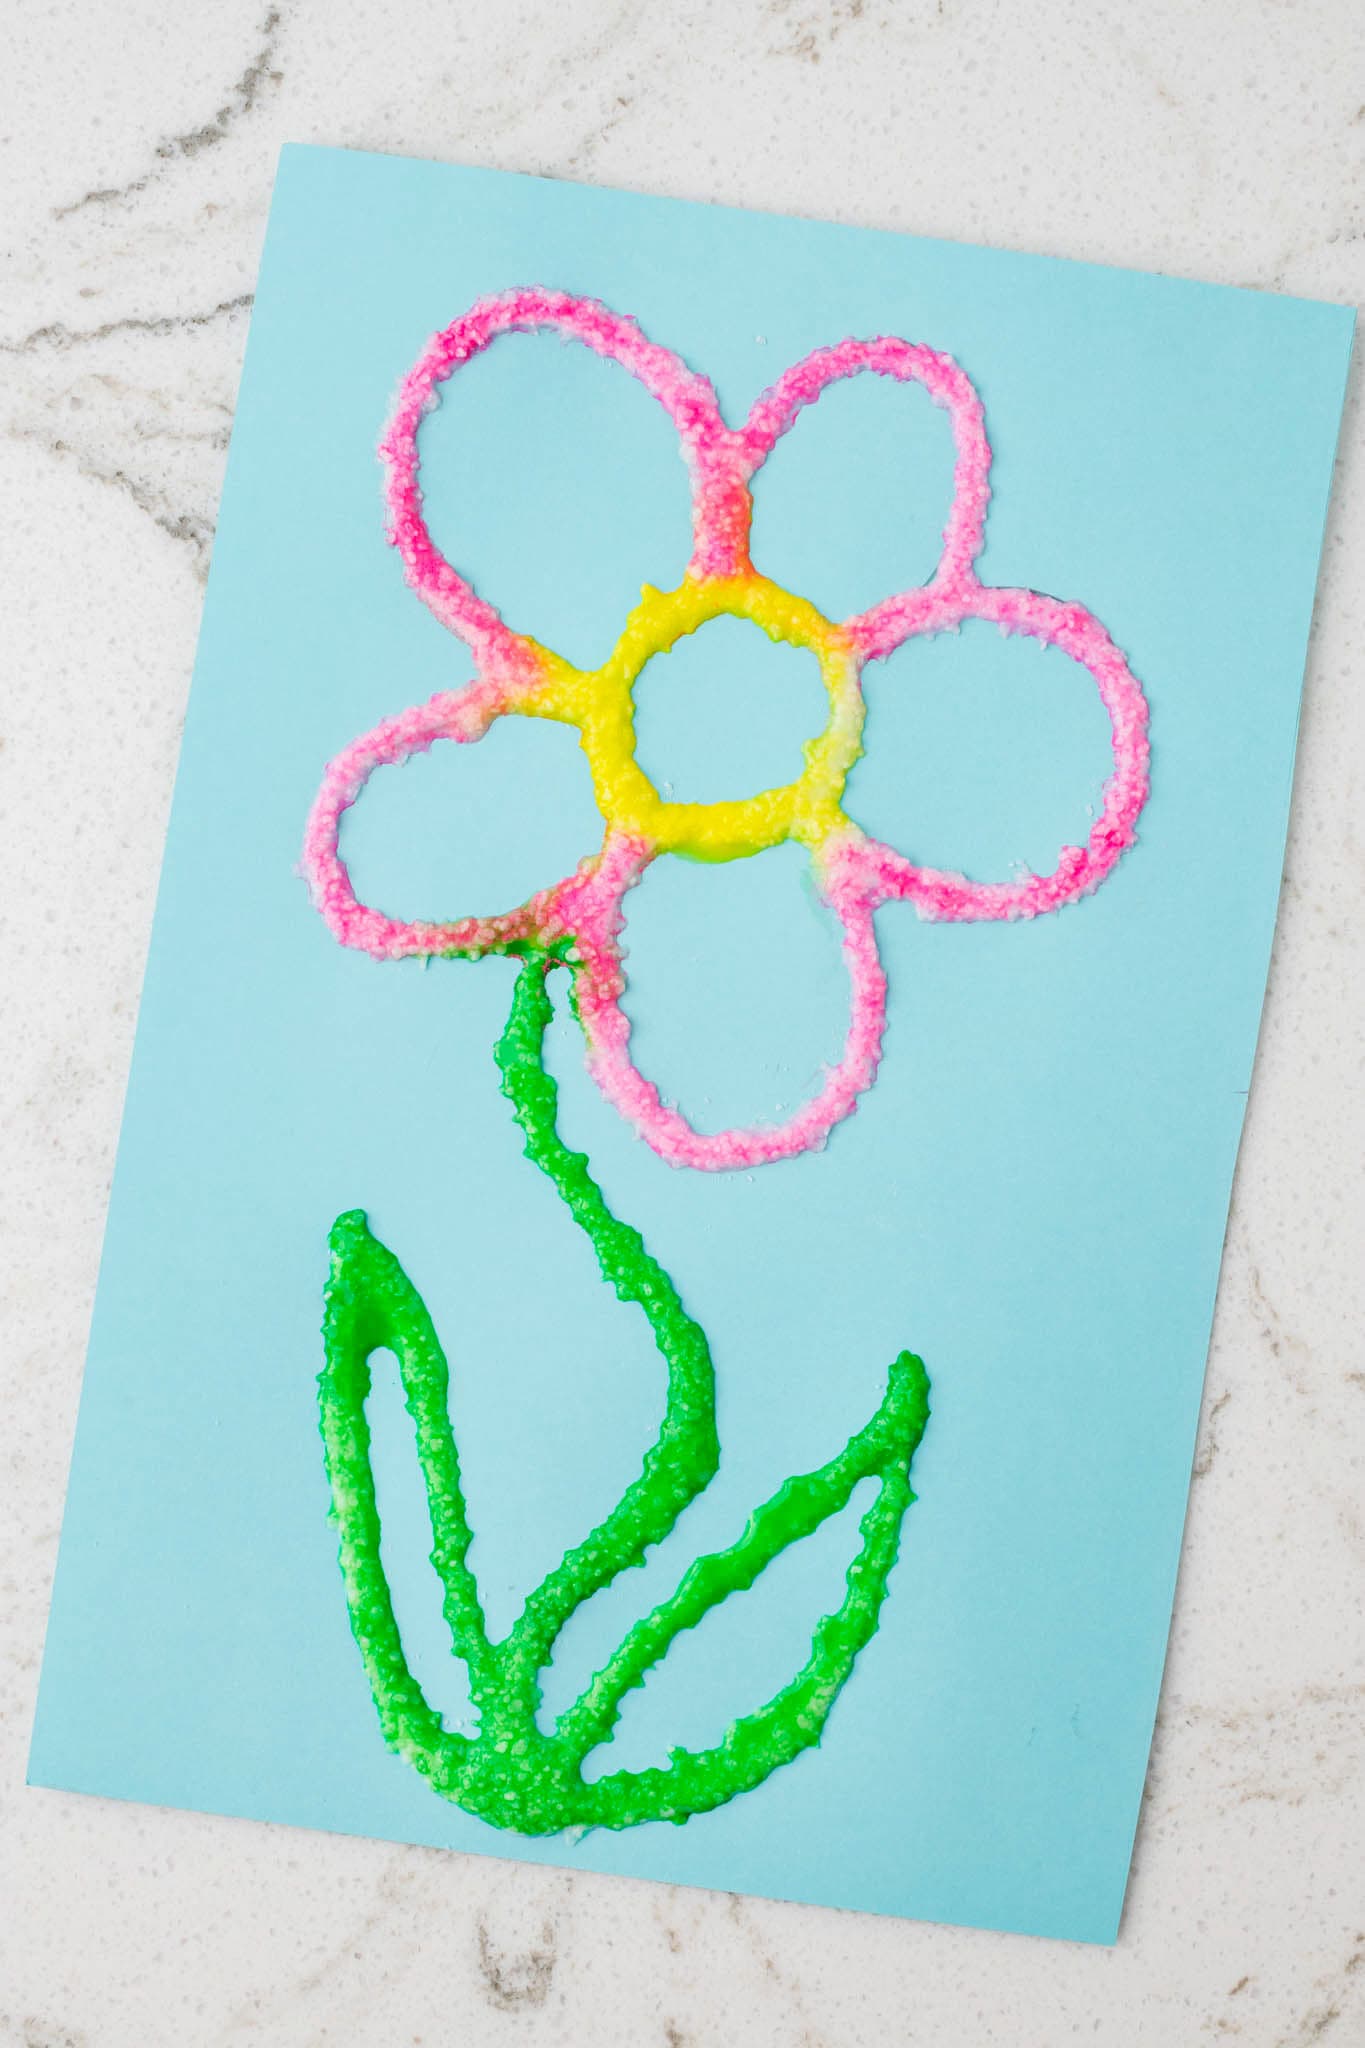
Create vibrant, textured masterpieces with this fun and easy salt art activity for kids! Using just salt, glue, and watercolor paint, children can explore color blending and sensory play while developing fine motor skills in a mess-friendly way.
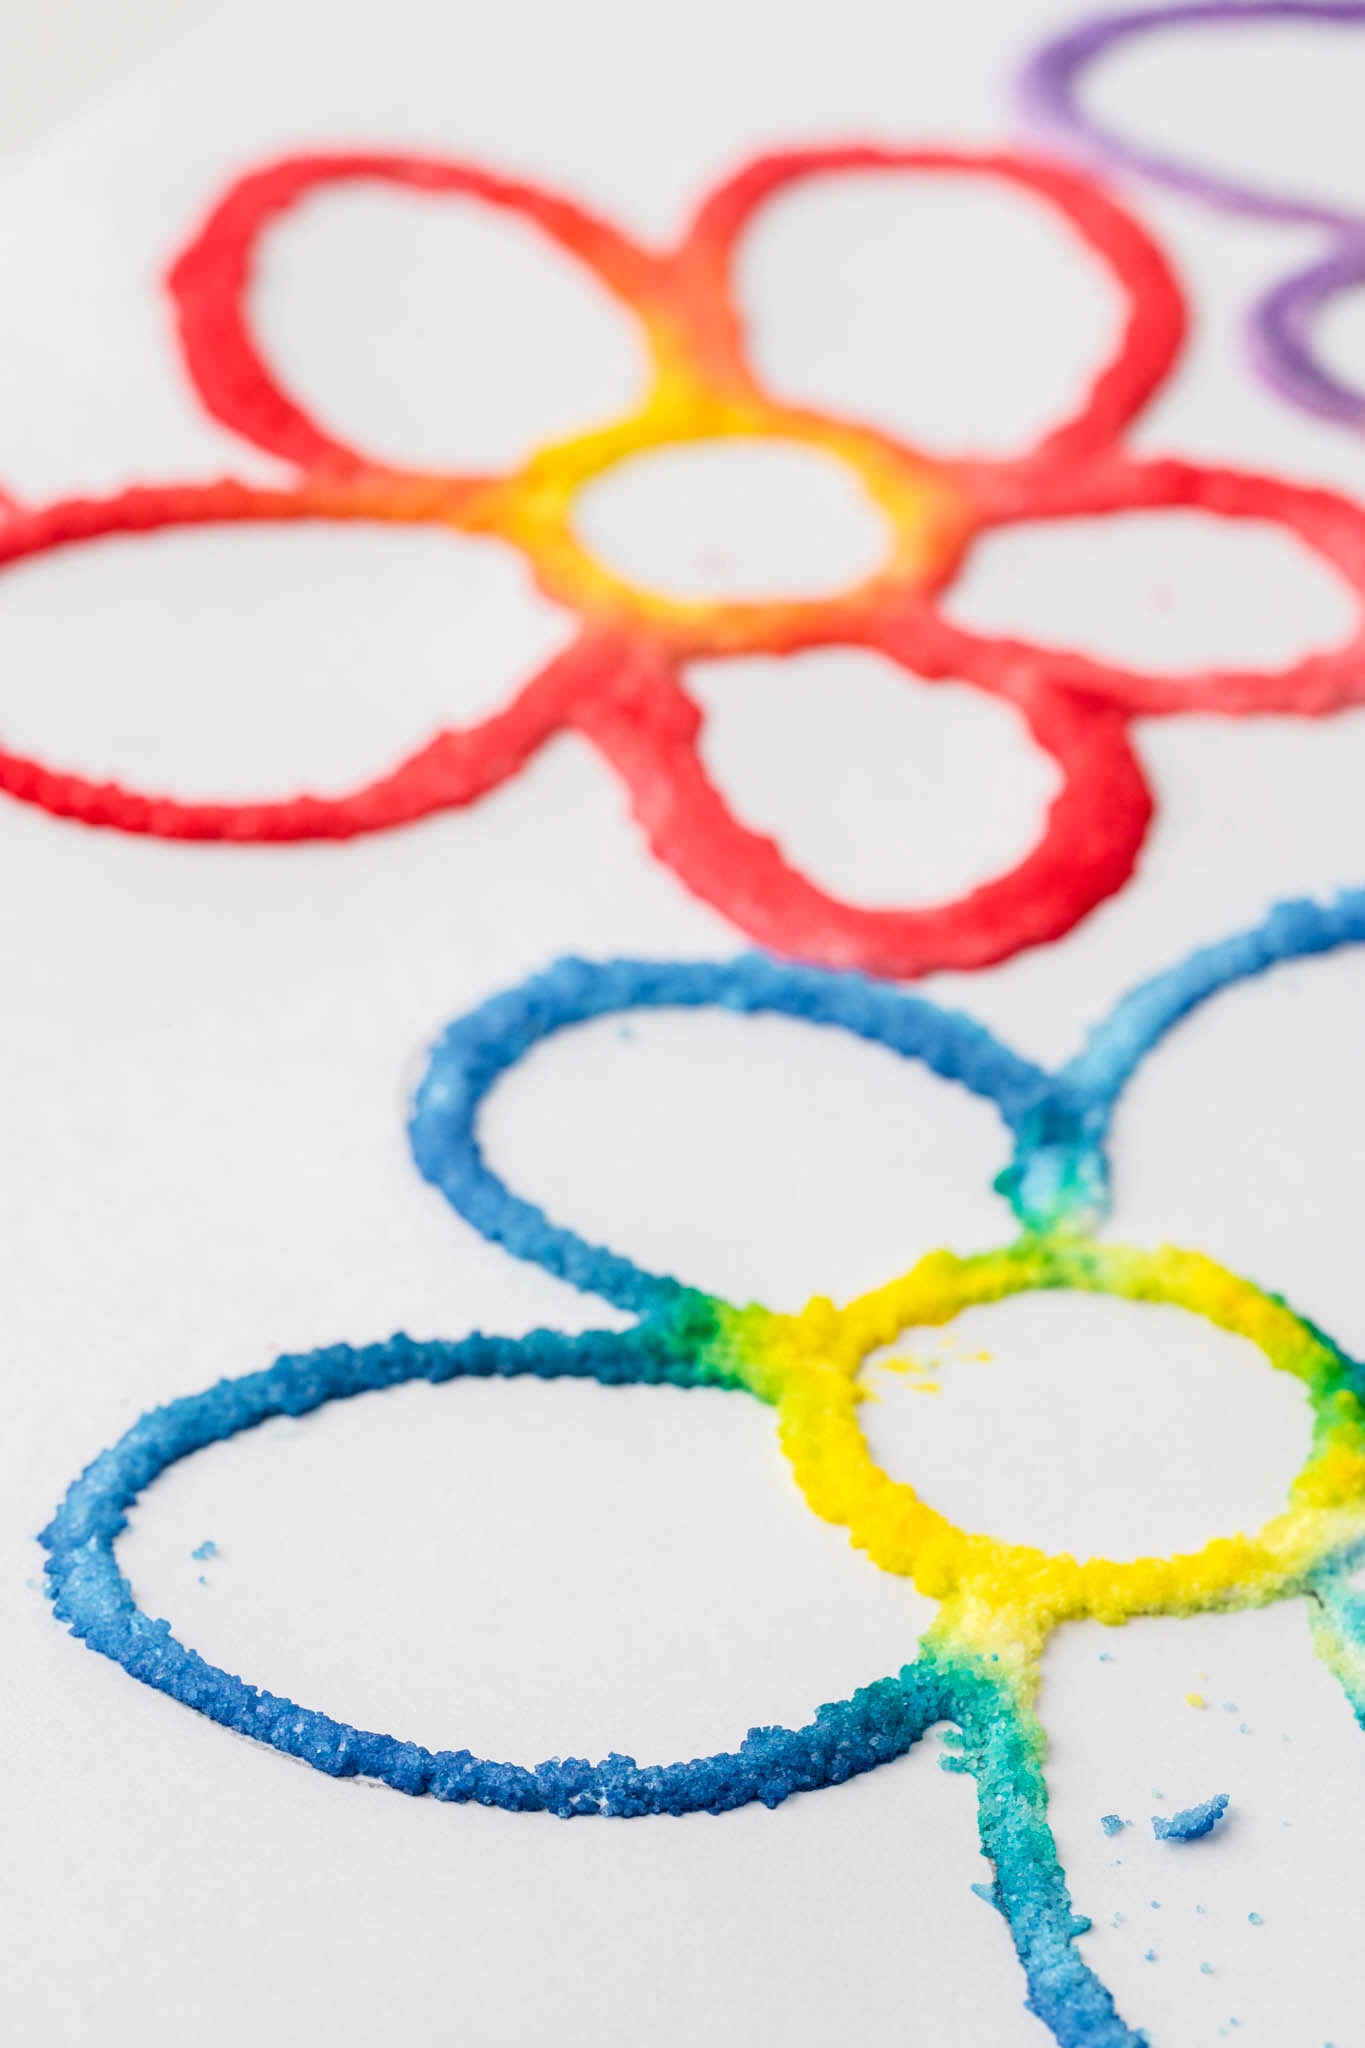
If your kids love to paint, this is a super cool new way for them to express themselves with a paint brush. The thick glue makes raised lines and the salt leaves an interesting texture for the liquid watercolors to adhere to and spread throughout.
Toddlers and younger kids might need a bit of help with the glue but they can certainly draw their own design. Their abstract art is a wonderful way for them to be creative and work on fine motor skills as well as color recognition. They will be so proud of their salt watercolor painting.
Salty watercolors are sure to become a favorite way to pass the time on a rainy day in your household. You can even do these up to match an upcoming holiday. Fourth of July fireworks would look amazing!
What is Salt Painting?
Salt painting is a super fun way to create art using white glue, coarse salt and watercolor paints. Draw a design, picture or write a name, trace it with thick glue and cover it with salt to create texture. Use watercolor paints to color the design and you’re all set! Kids can learn about textures and absorption while they do this craft.
Why You’ll Love Salt Painting Art
- I am sure you already have everything you need for this simple art activity in your craft cupboard.
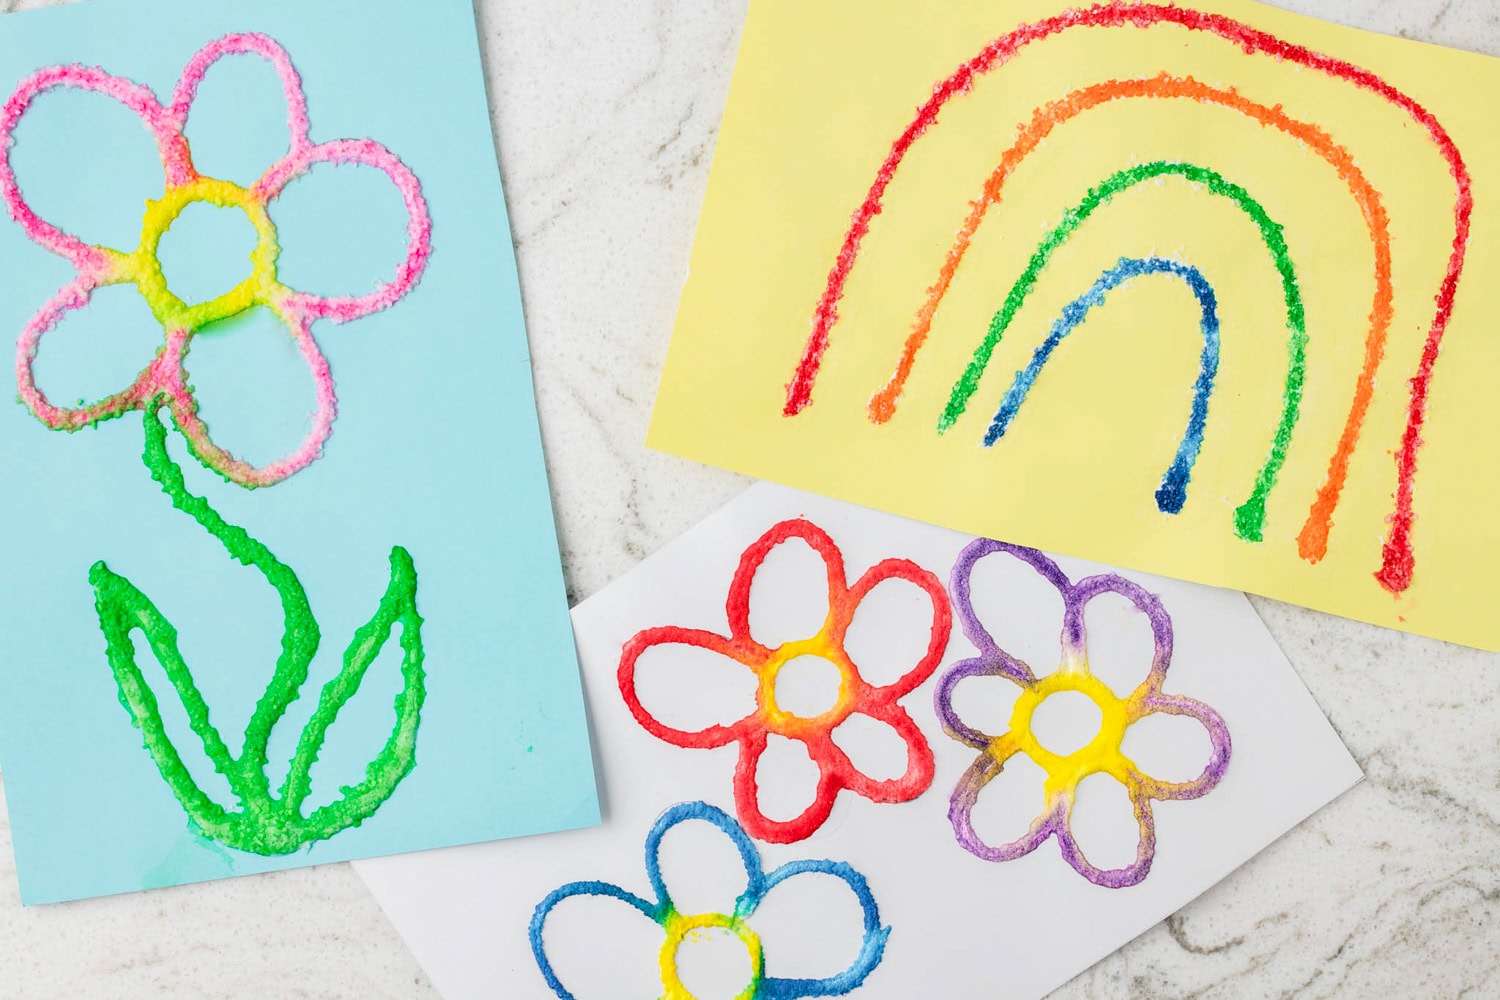
- Kids can really express their creativity by creating different designs and pictures with a good mix of colors.
- This activity demonstrates the science of absorption as the salt draws in the liquid watercolor.
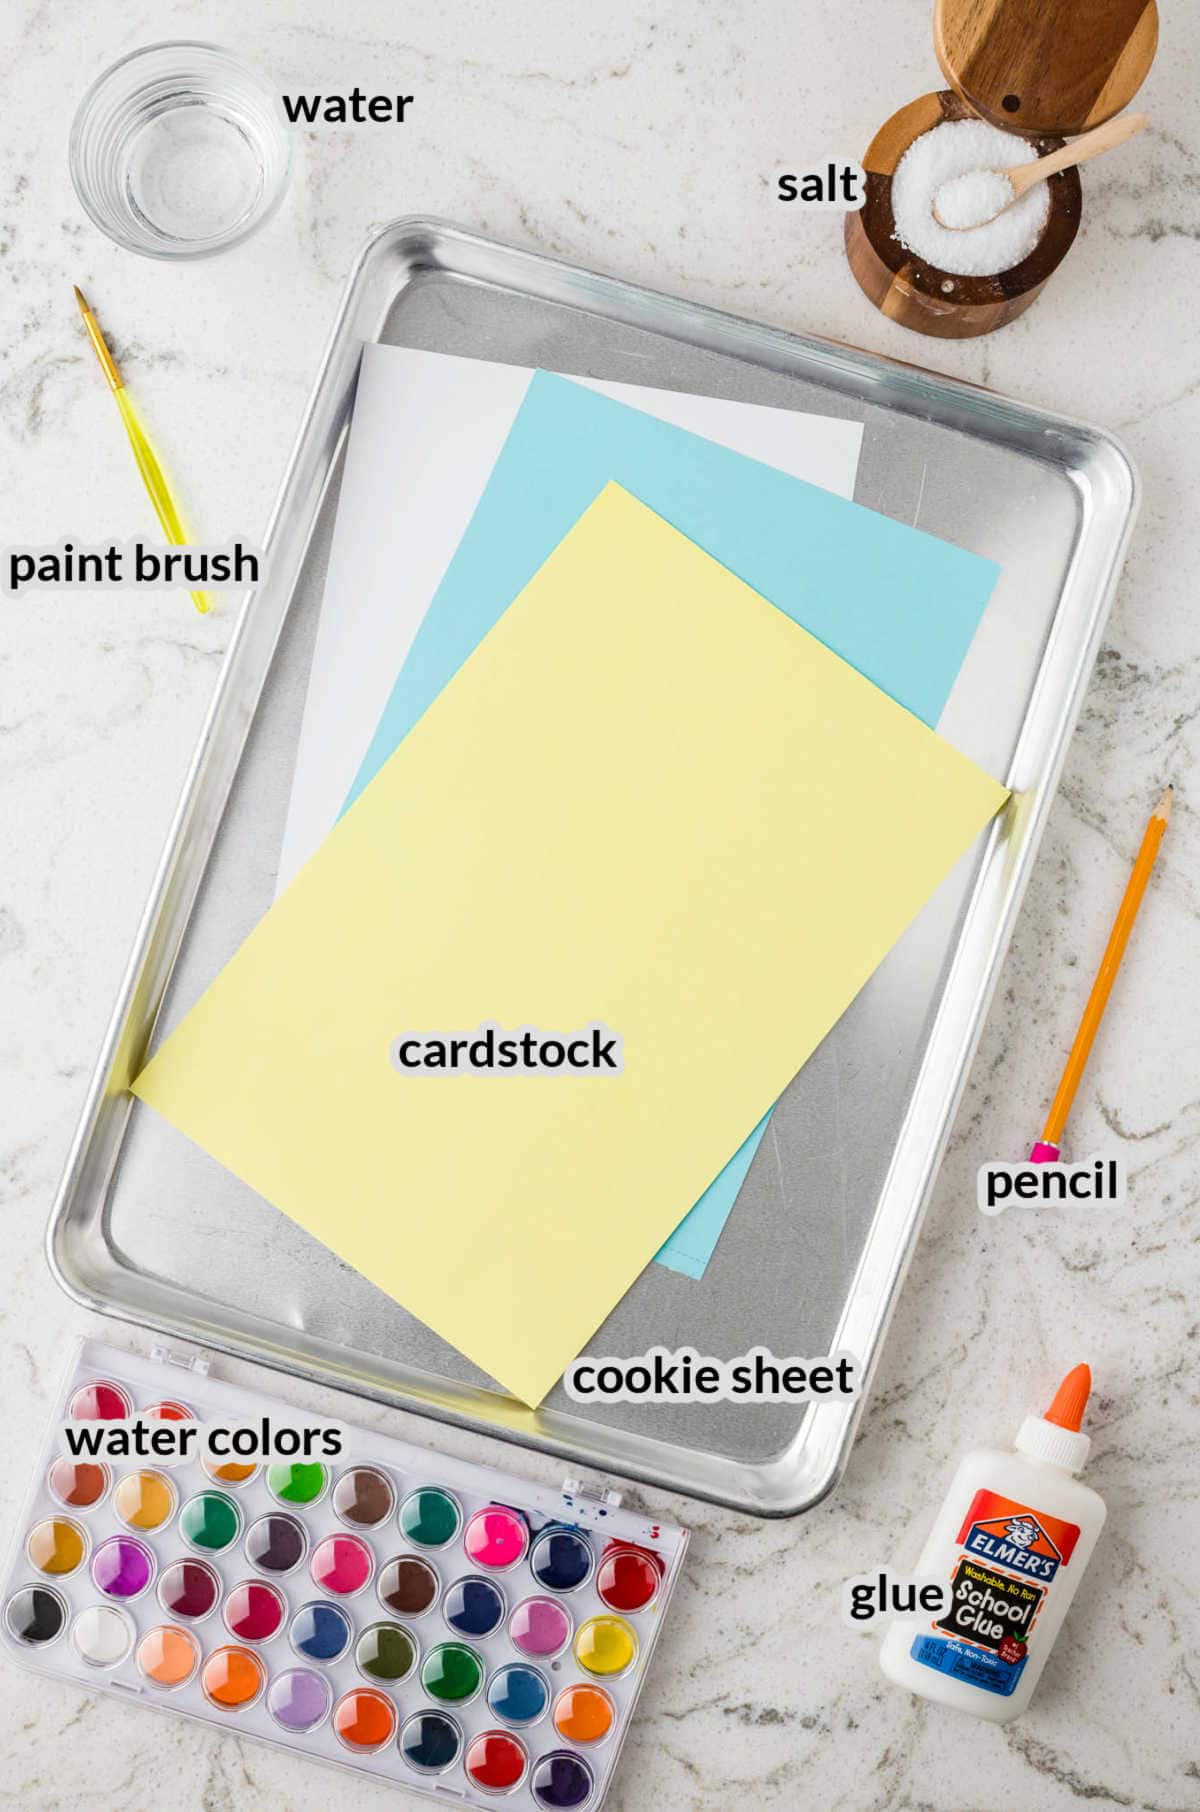
Supplies Needed for Salt Painting
- Cardstock – Provides a sturdy base for your artwork. Substitutes include watercolor paper or heavy construction paper.
- Pencil – Any pencil will do to draw the design or picture to paint.
- Cookie Sheet – You will be glad you used this to contain any extra salt!
- School glue – Acts as the adhesive for the salt. Clear glue can be used, but white glue offers better visibility during application.
- Kosher salt – Kosher salt has nice big crystals so there is a more pronounced texture to paint on. You can use table salt or whatever you have on hand, I just think the large crystals of kosher salt work the best.
- Watercolor paints -Adds color to your design. Food coloring diluted in water can serve as an alternative.
- Paint brushes – Cotton swabs are also a good alternative.
- Cup with water – You will need this to prepare the water color paints and rinse brushes.
Can I use any kind of salt?
You can use any other salt you have on hand like table salt, but I highly recommend Kosher salt because of the larger size of the crystals. Try mixing it up to have different sizes and textures throughout your design.
Can I use any kind of paint?
No, you can’t use any other kind of paint. Watercolor paint is used specifically for this craft because of its ability to be absorbed quickly. If you really cannot find any water color or you don’t have time to head to your local craft store, you can use a food coloring and water mixture.
How to make salt painting art
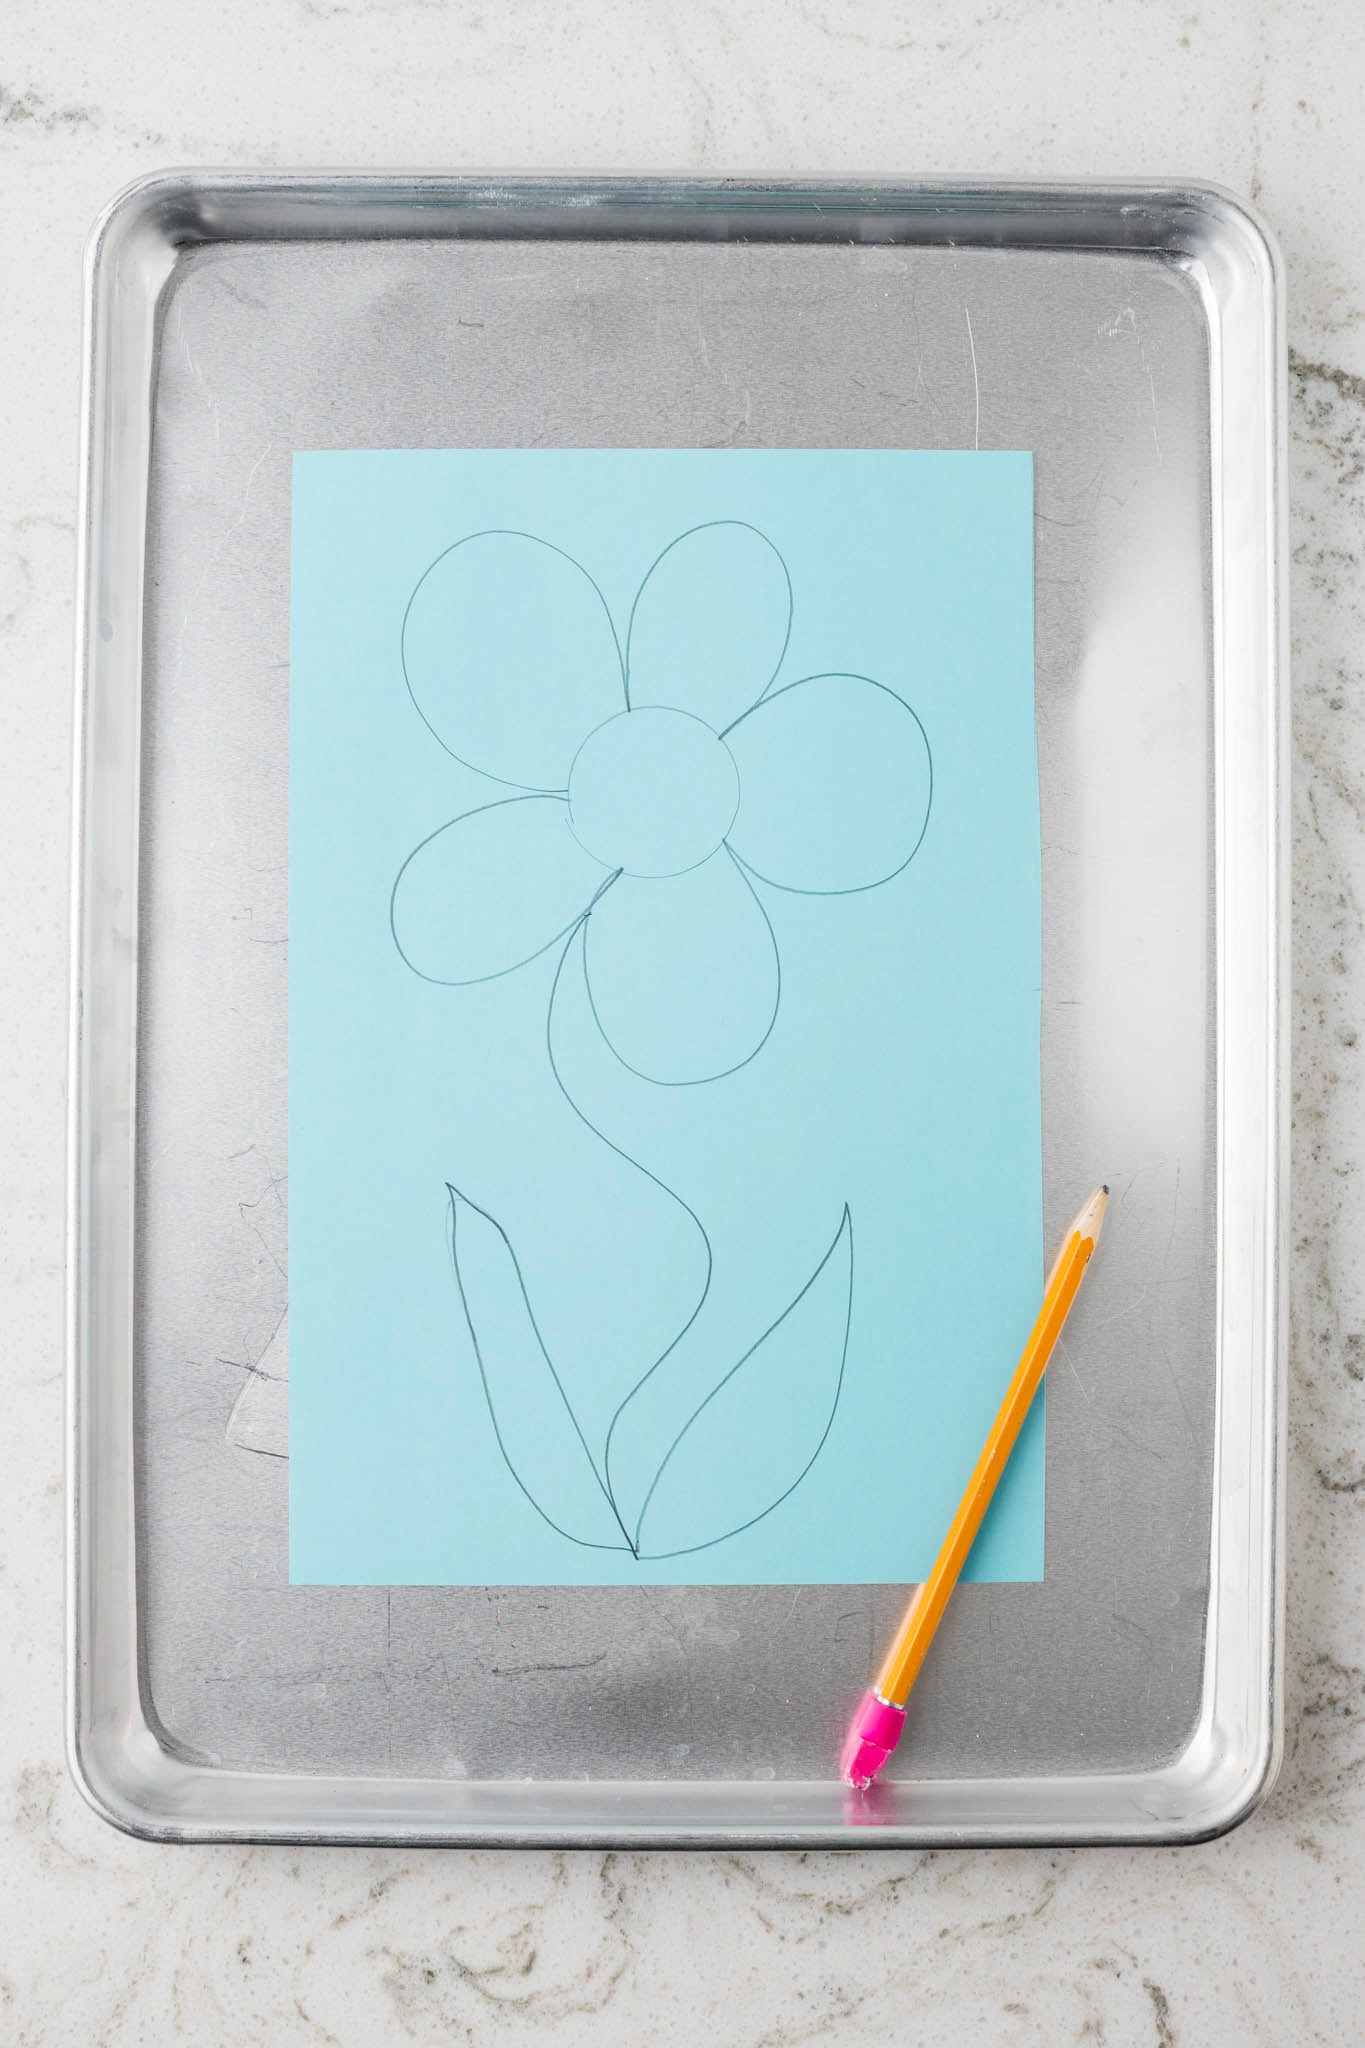
Place a piece of cardstock on a cookie sheet and use the pencil to draw your design or picture.
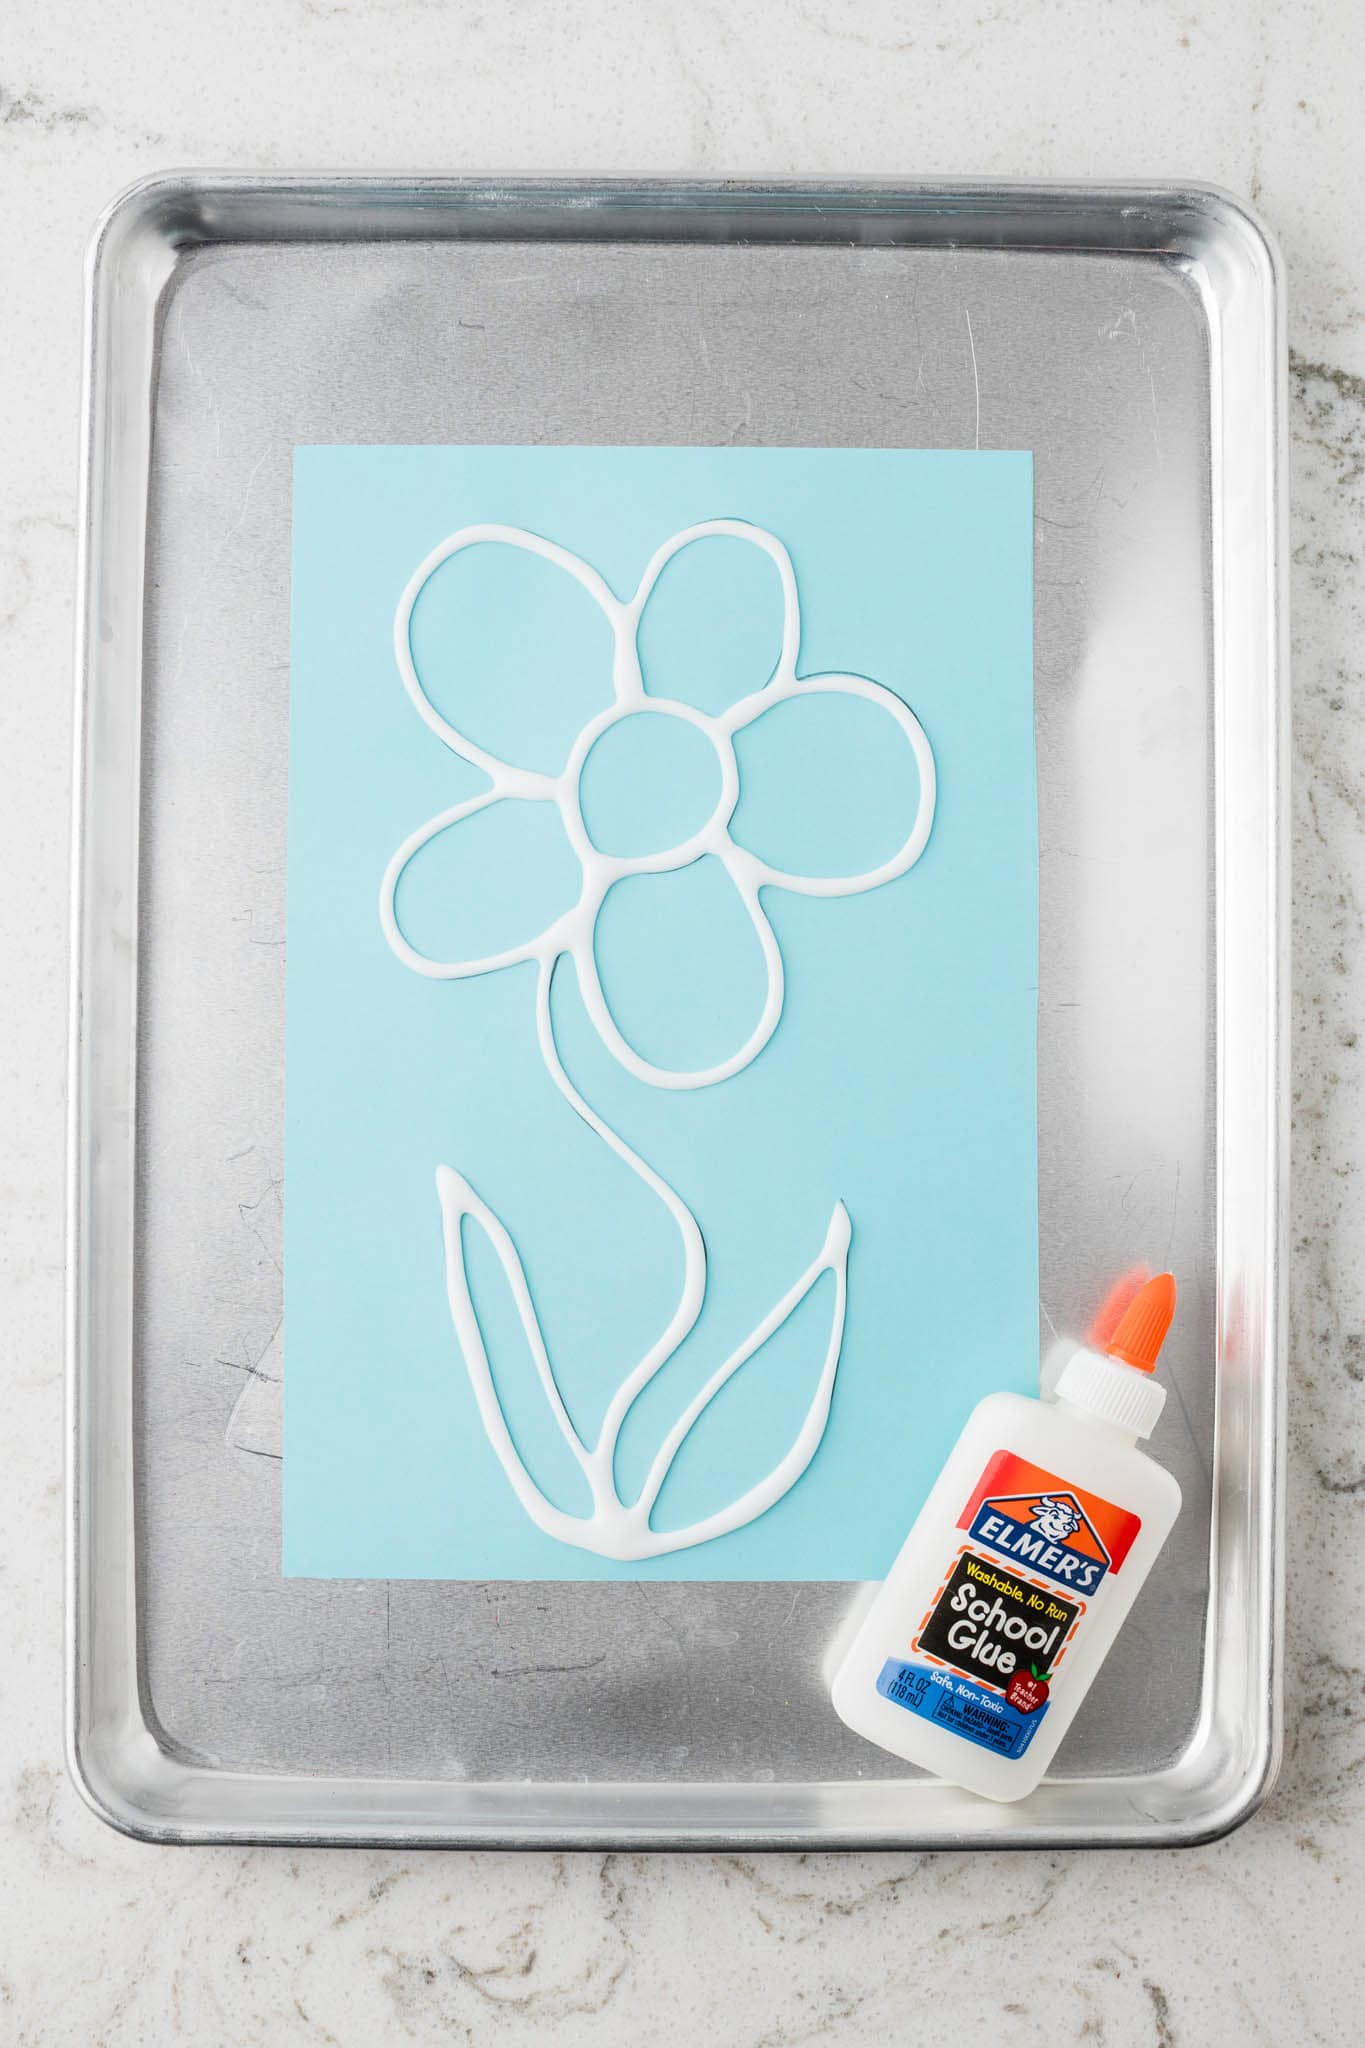
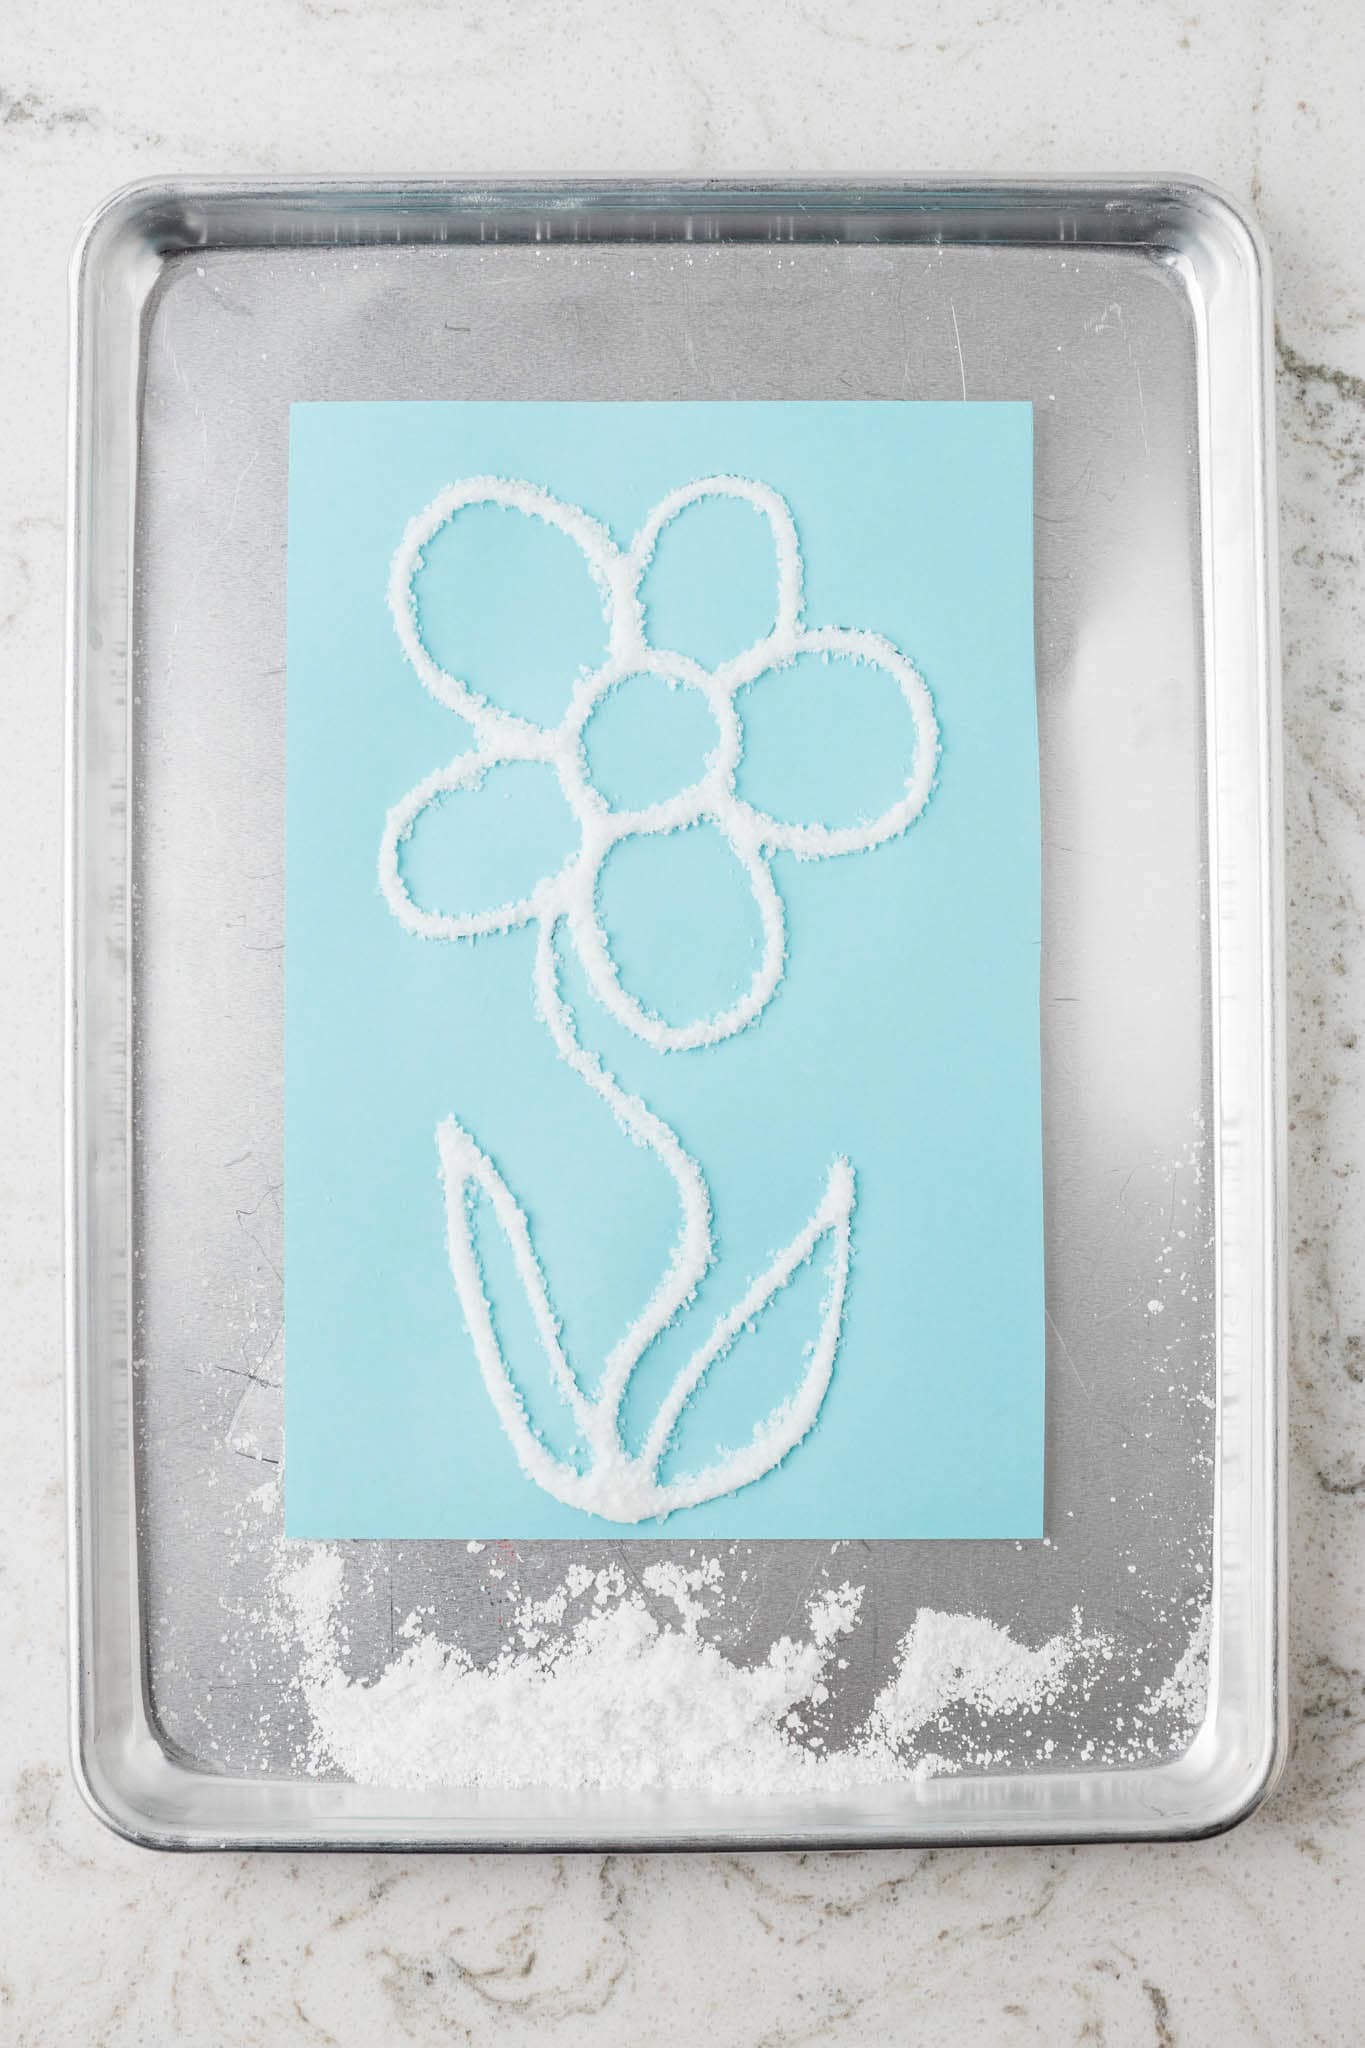
Trace the outline of the design with school glue. Be generous with the glue so that the salt will stick well.
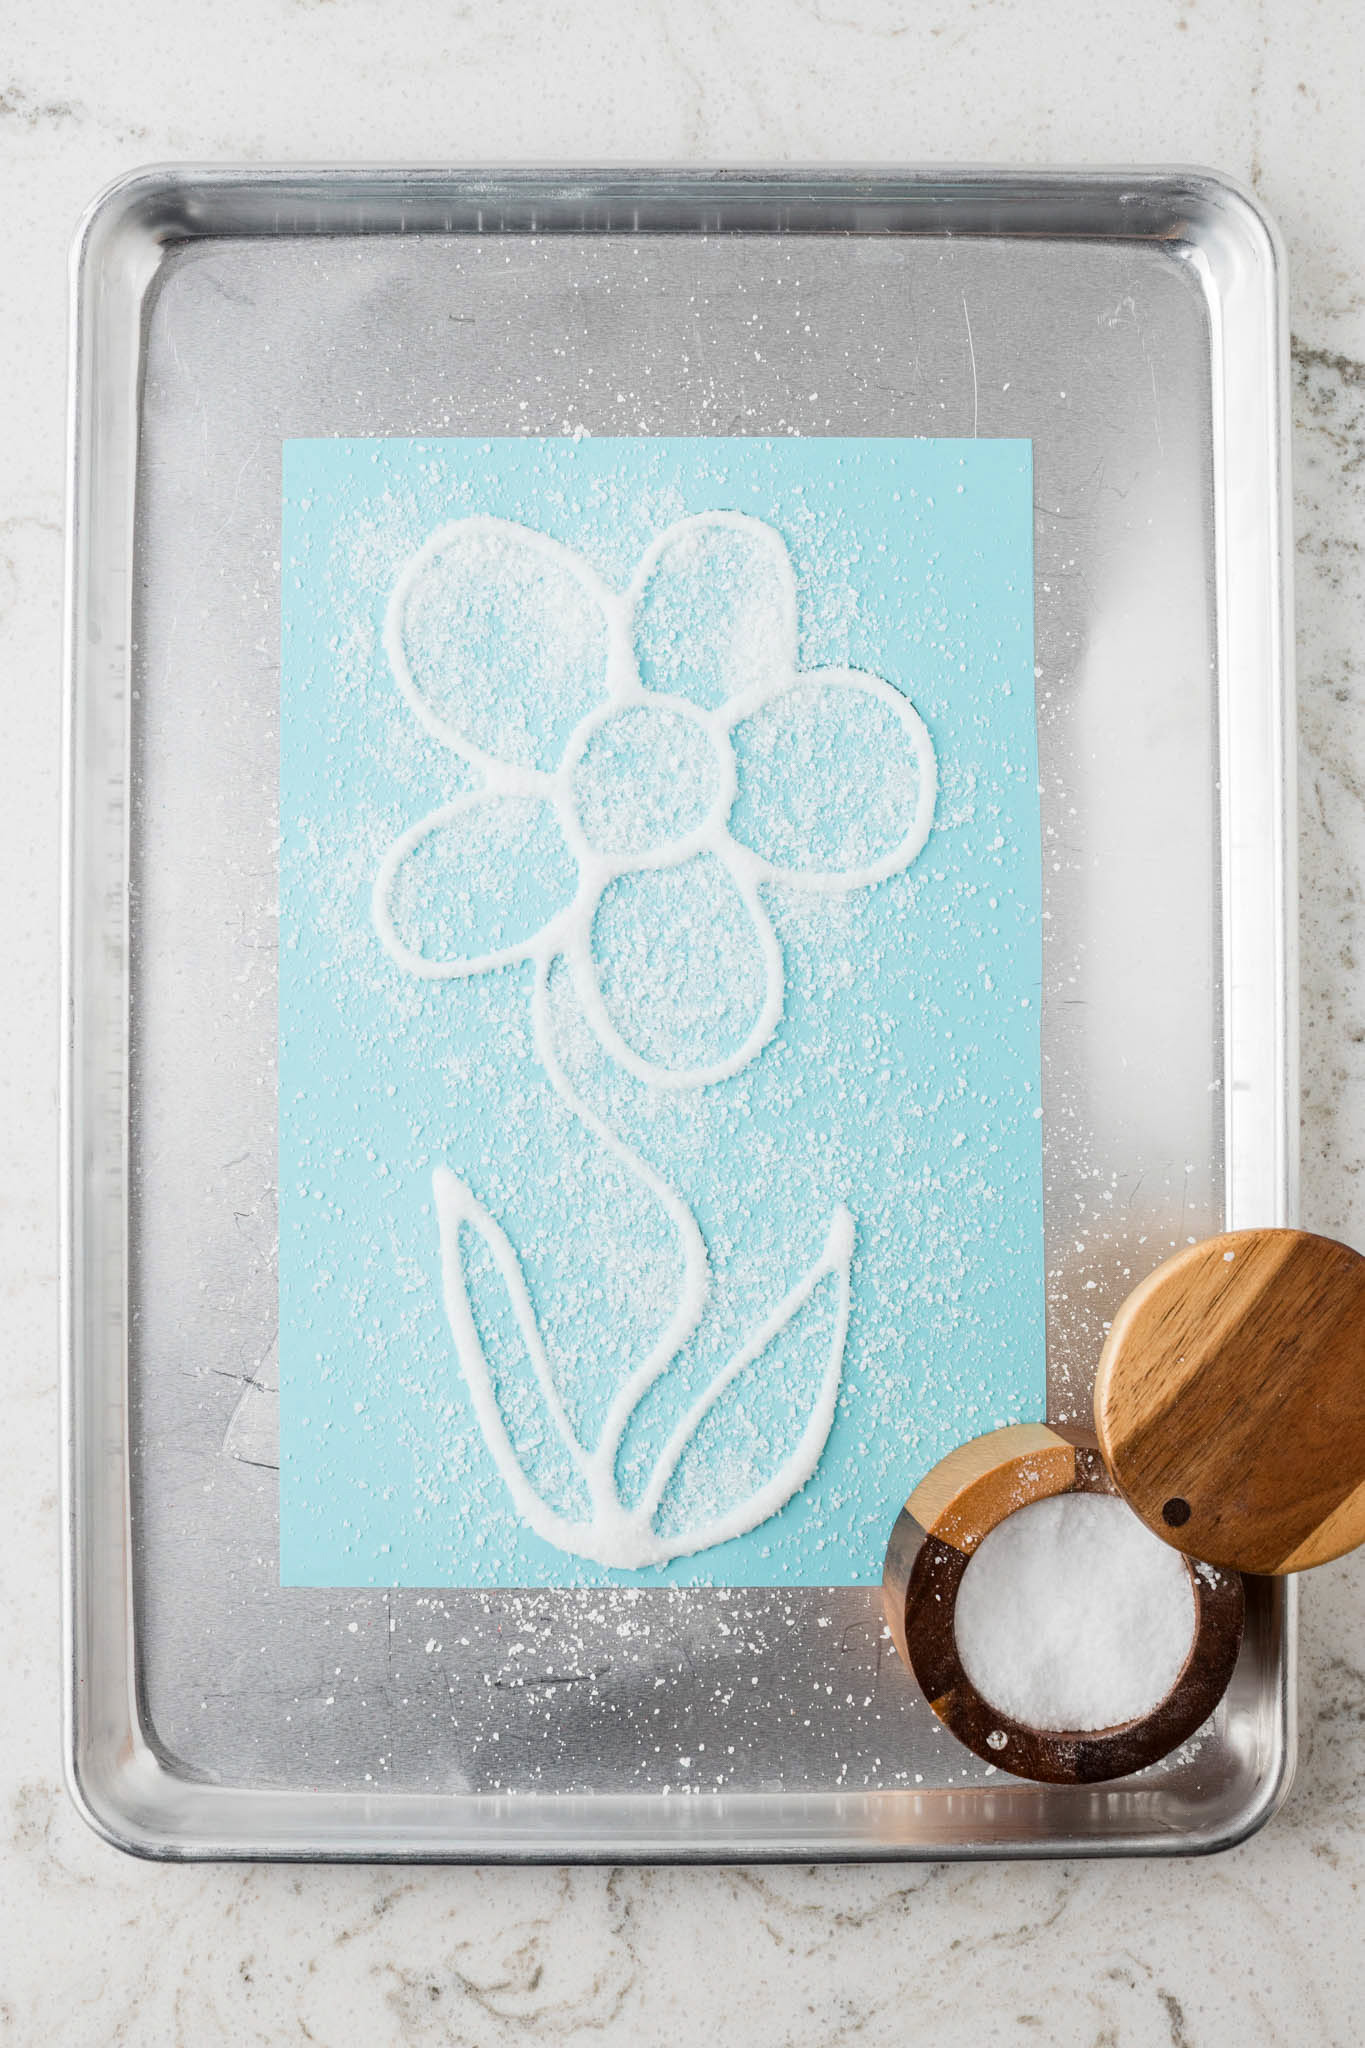
While the glue is still wet, sprinkle Kosher salt over the whole area so the glue is covered.
Very gently, shake off excess salt onto the cookie sheet.
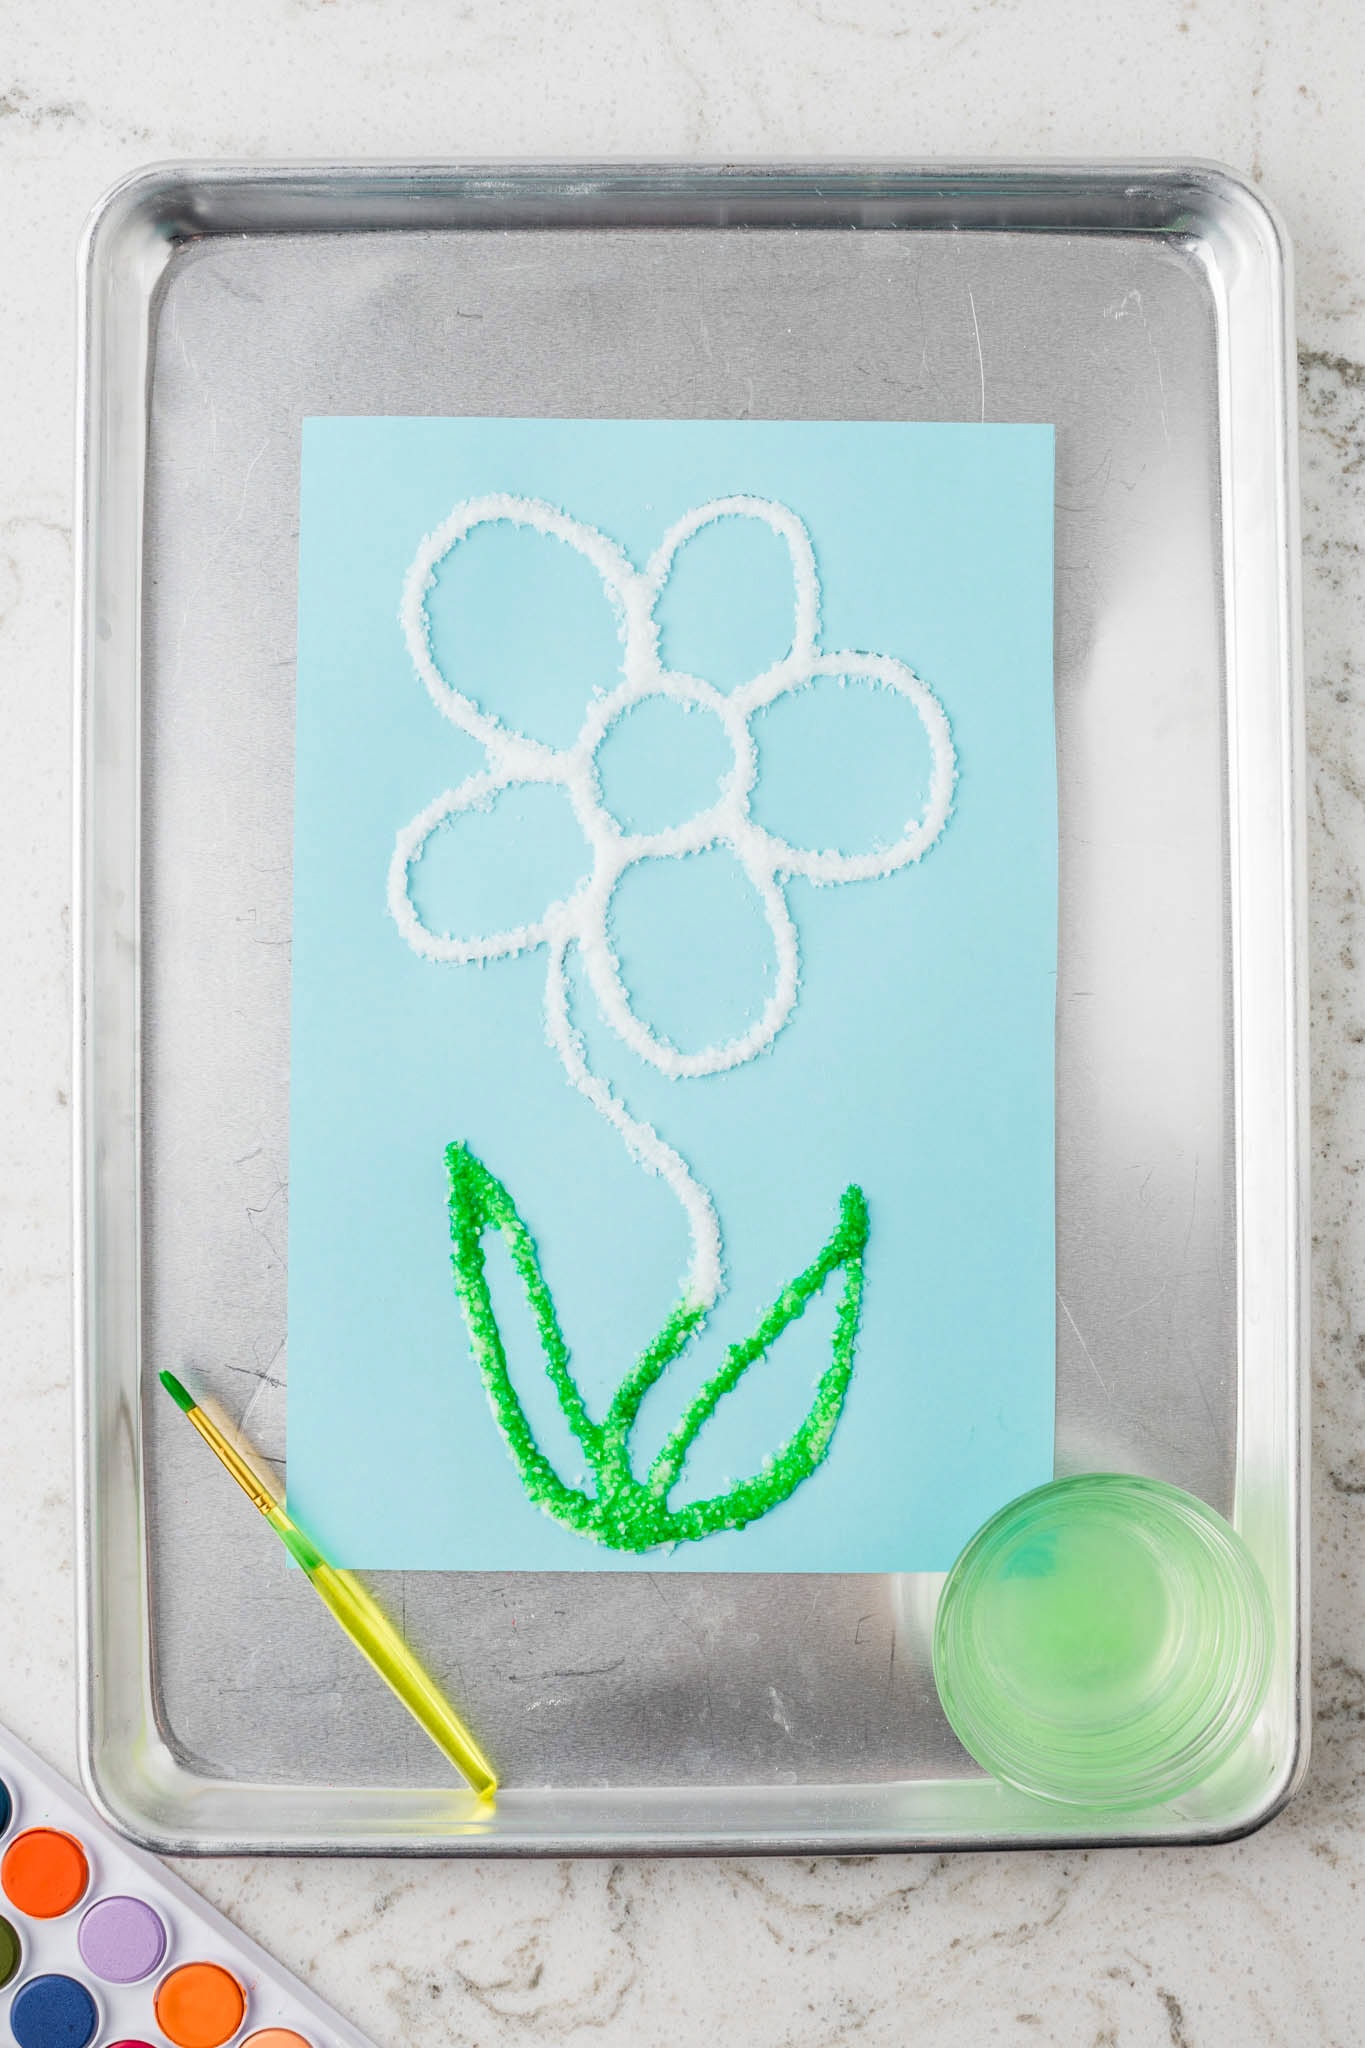
Mix water color paints with a small amount of water in your cup.
Lightly dip the paintbrush into the paint. You do not want it to be dripping but just saturated. Touch the salt-covered glue lines very lightly with the paintbrush.
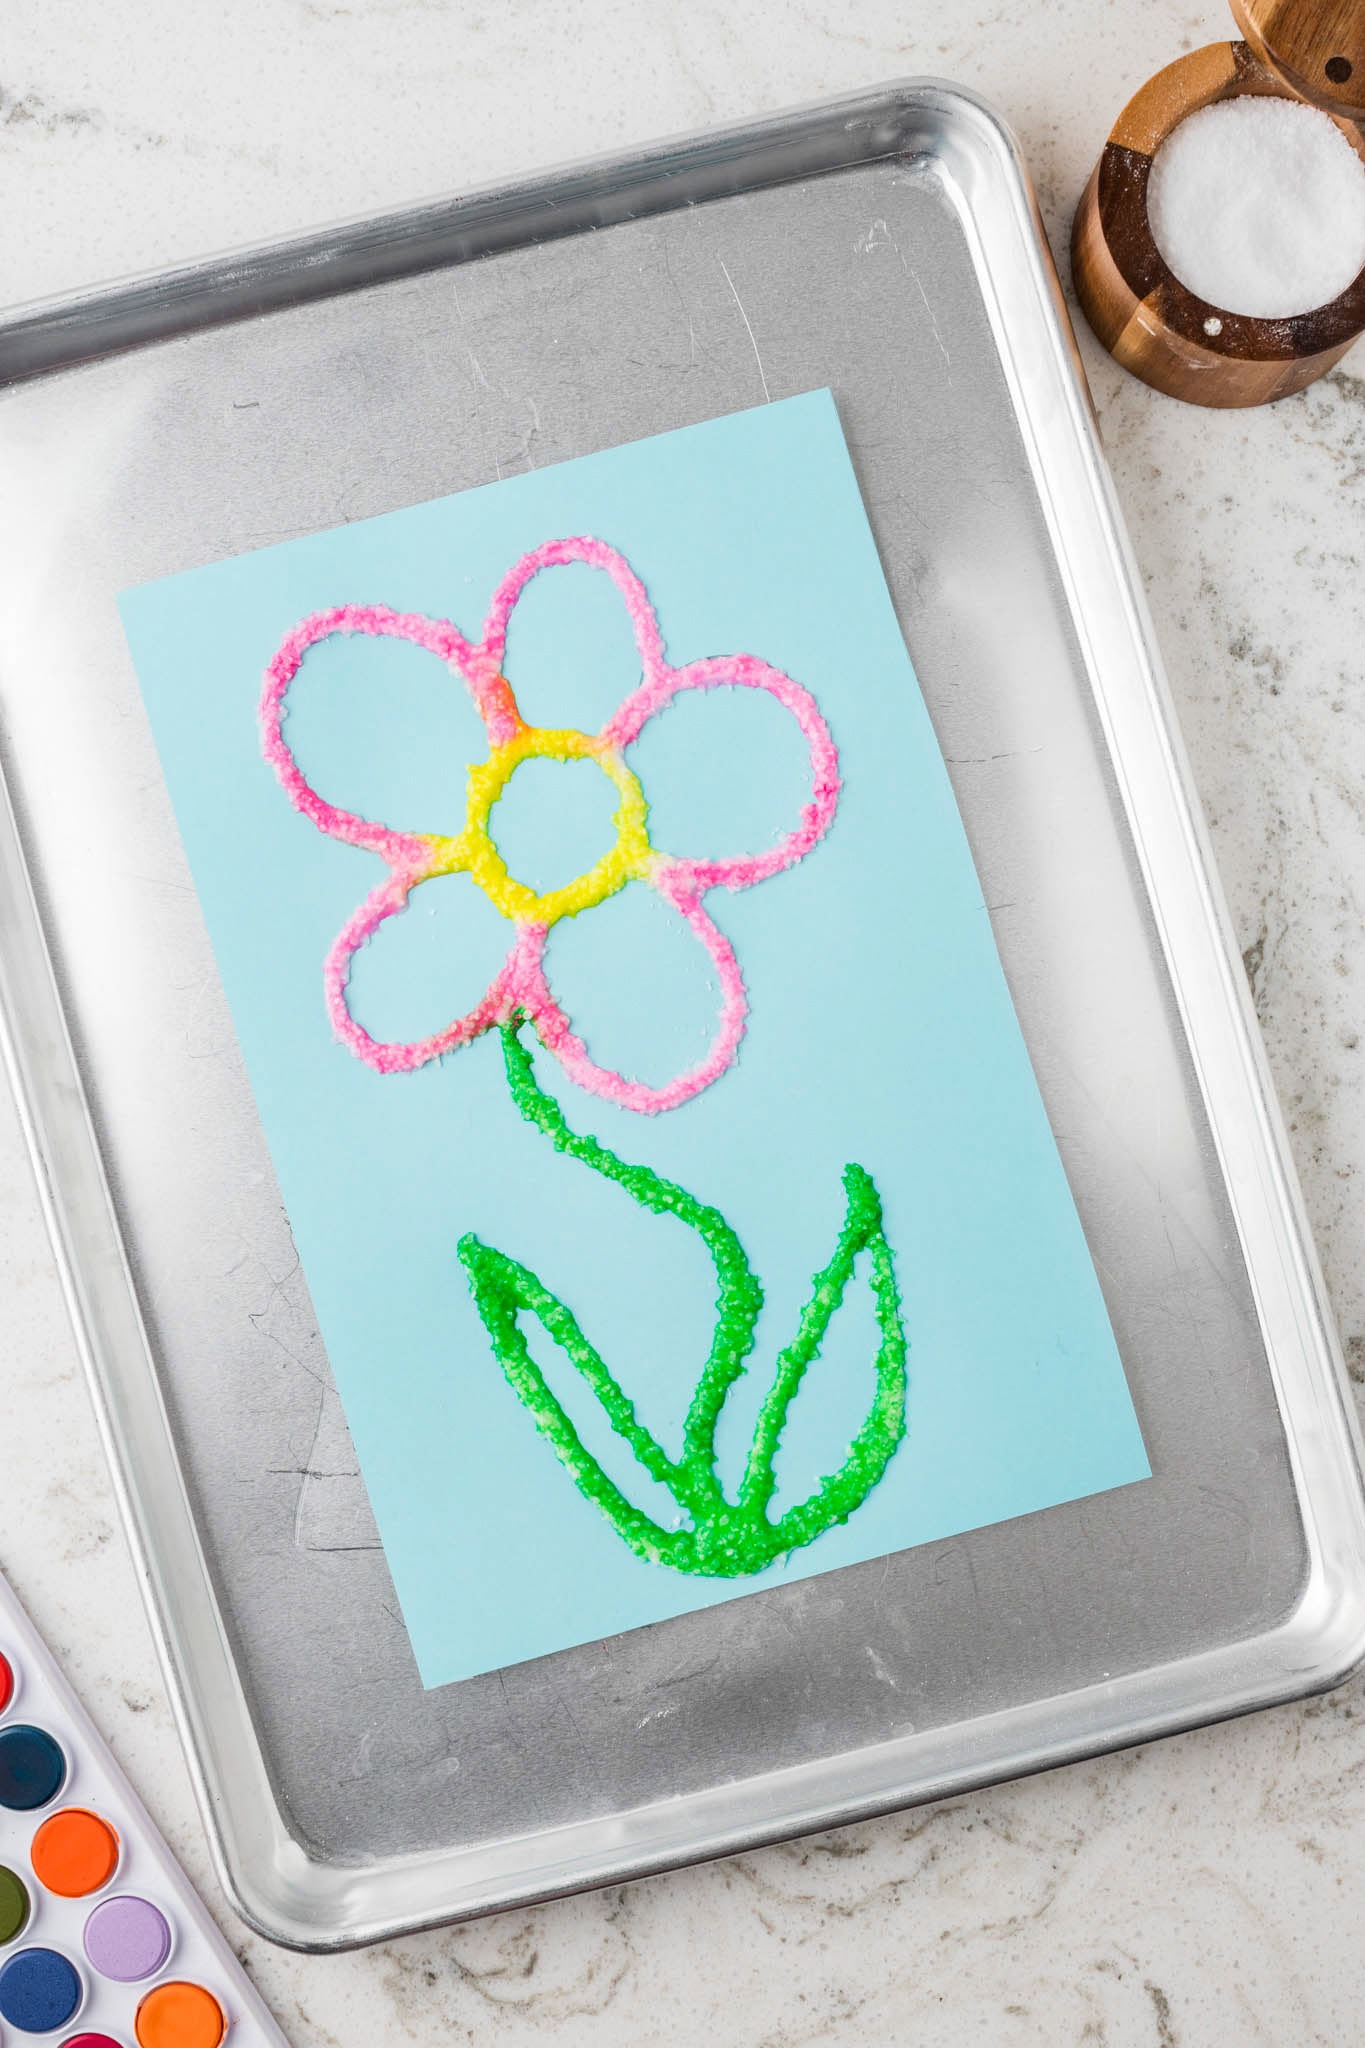
Repeat with different colors as desired.
Leave salt painting to dry completely overnight for best results.
Pro tips
- You don’t want to use regular or construction paper for this craft to prevent warping. We use cardstock, but you can also try cardboard or paper plates.
- Tracing lines with glue is great for kids to practice their fine motor skills. You can even print out some coloring pictures online or tear a page out of a coloring book if the kids want to paint something that might be tricky to draw.
- Avoid oversaturating the salt with paint to maintain the raised, textured effect.
Get your supplies out of the craft cupboard and start designing. There is so much fun to be had with salt painting art, I can’t wait for your kids to try it.
More great watercolor art ideas!
- Freeze a container of water overnight and the kids will be all set to do some Ice Painting with their watercolors tomorrow.
- When spring has sprung, it is time for Easter Egg Watercolor Painting.
Salt Art Painting
Ingredients
- Cardstock
- Pencil
- Cookie Sheet
- School glue
- Kosher salt
- Watercolor paints
- Paint brushes
- Cup with water
Instructions
- Place the card stock on a cookie sheet. Using the pencil, draw your desired design or picture. Be creative—abstract patterns, shapes, or simple drawings work well.
- Next, trace the outline of your design with school glue. Be generous with the glue so that the salt will stick.
- While the glue is still wet, sprinkle Kosher salt over the entire glued area, ensuring all the glue is covered.
- Gently shake off the excess salt onto the cookie sheet to contain the mess.
- Prepare your watercolor paints by mixing them with a small amount of water in your cup.
- Now, let’s dip the paintbrush into the watercolor paint, ensuring it’s saturated but not dripping. Touch the salt-covered glue lines with the paintbrush very lightly! Watch as the color spreads along the salt, creating a vibrant effect. Repeat with different colors as desired.
- Allow your salt painting to dry completely. This takes several hours or, even better, overnight, depending on the amount of glue and paint used.
Do you let the glue and salt dry before you paint?
No, paint while glue and salt are still wet.
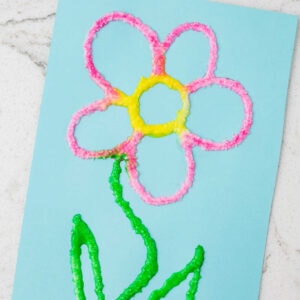
Love this salt art! The kids had fun making these creations!