Easy DIY Ghost Garland
This no-sew felt ghost garland is the perfect craft for older kids or adults. It is fun to make, cute, and the supplies are inexpensive and can be found at the Dollar Store. Decorate your home with this fun and easy Halloween Craft!
Everyone can be a DIY crafter when they make this cute and easy Ghost Garland. It is a no sew craft with simple supplies that can be found at the Dollar Tree for under $5.
This Halloween Garland is best for kids age 10 and up or adults. We will be using a hot glue gun and scissors so it’s best for older kids and adults.
Younger kids can help clip ghosts to the garland and trace the ghosts!
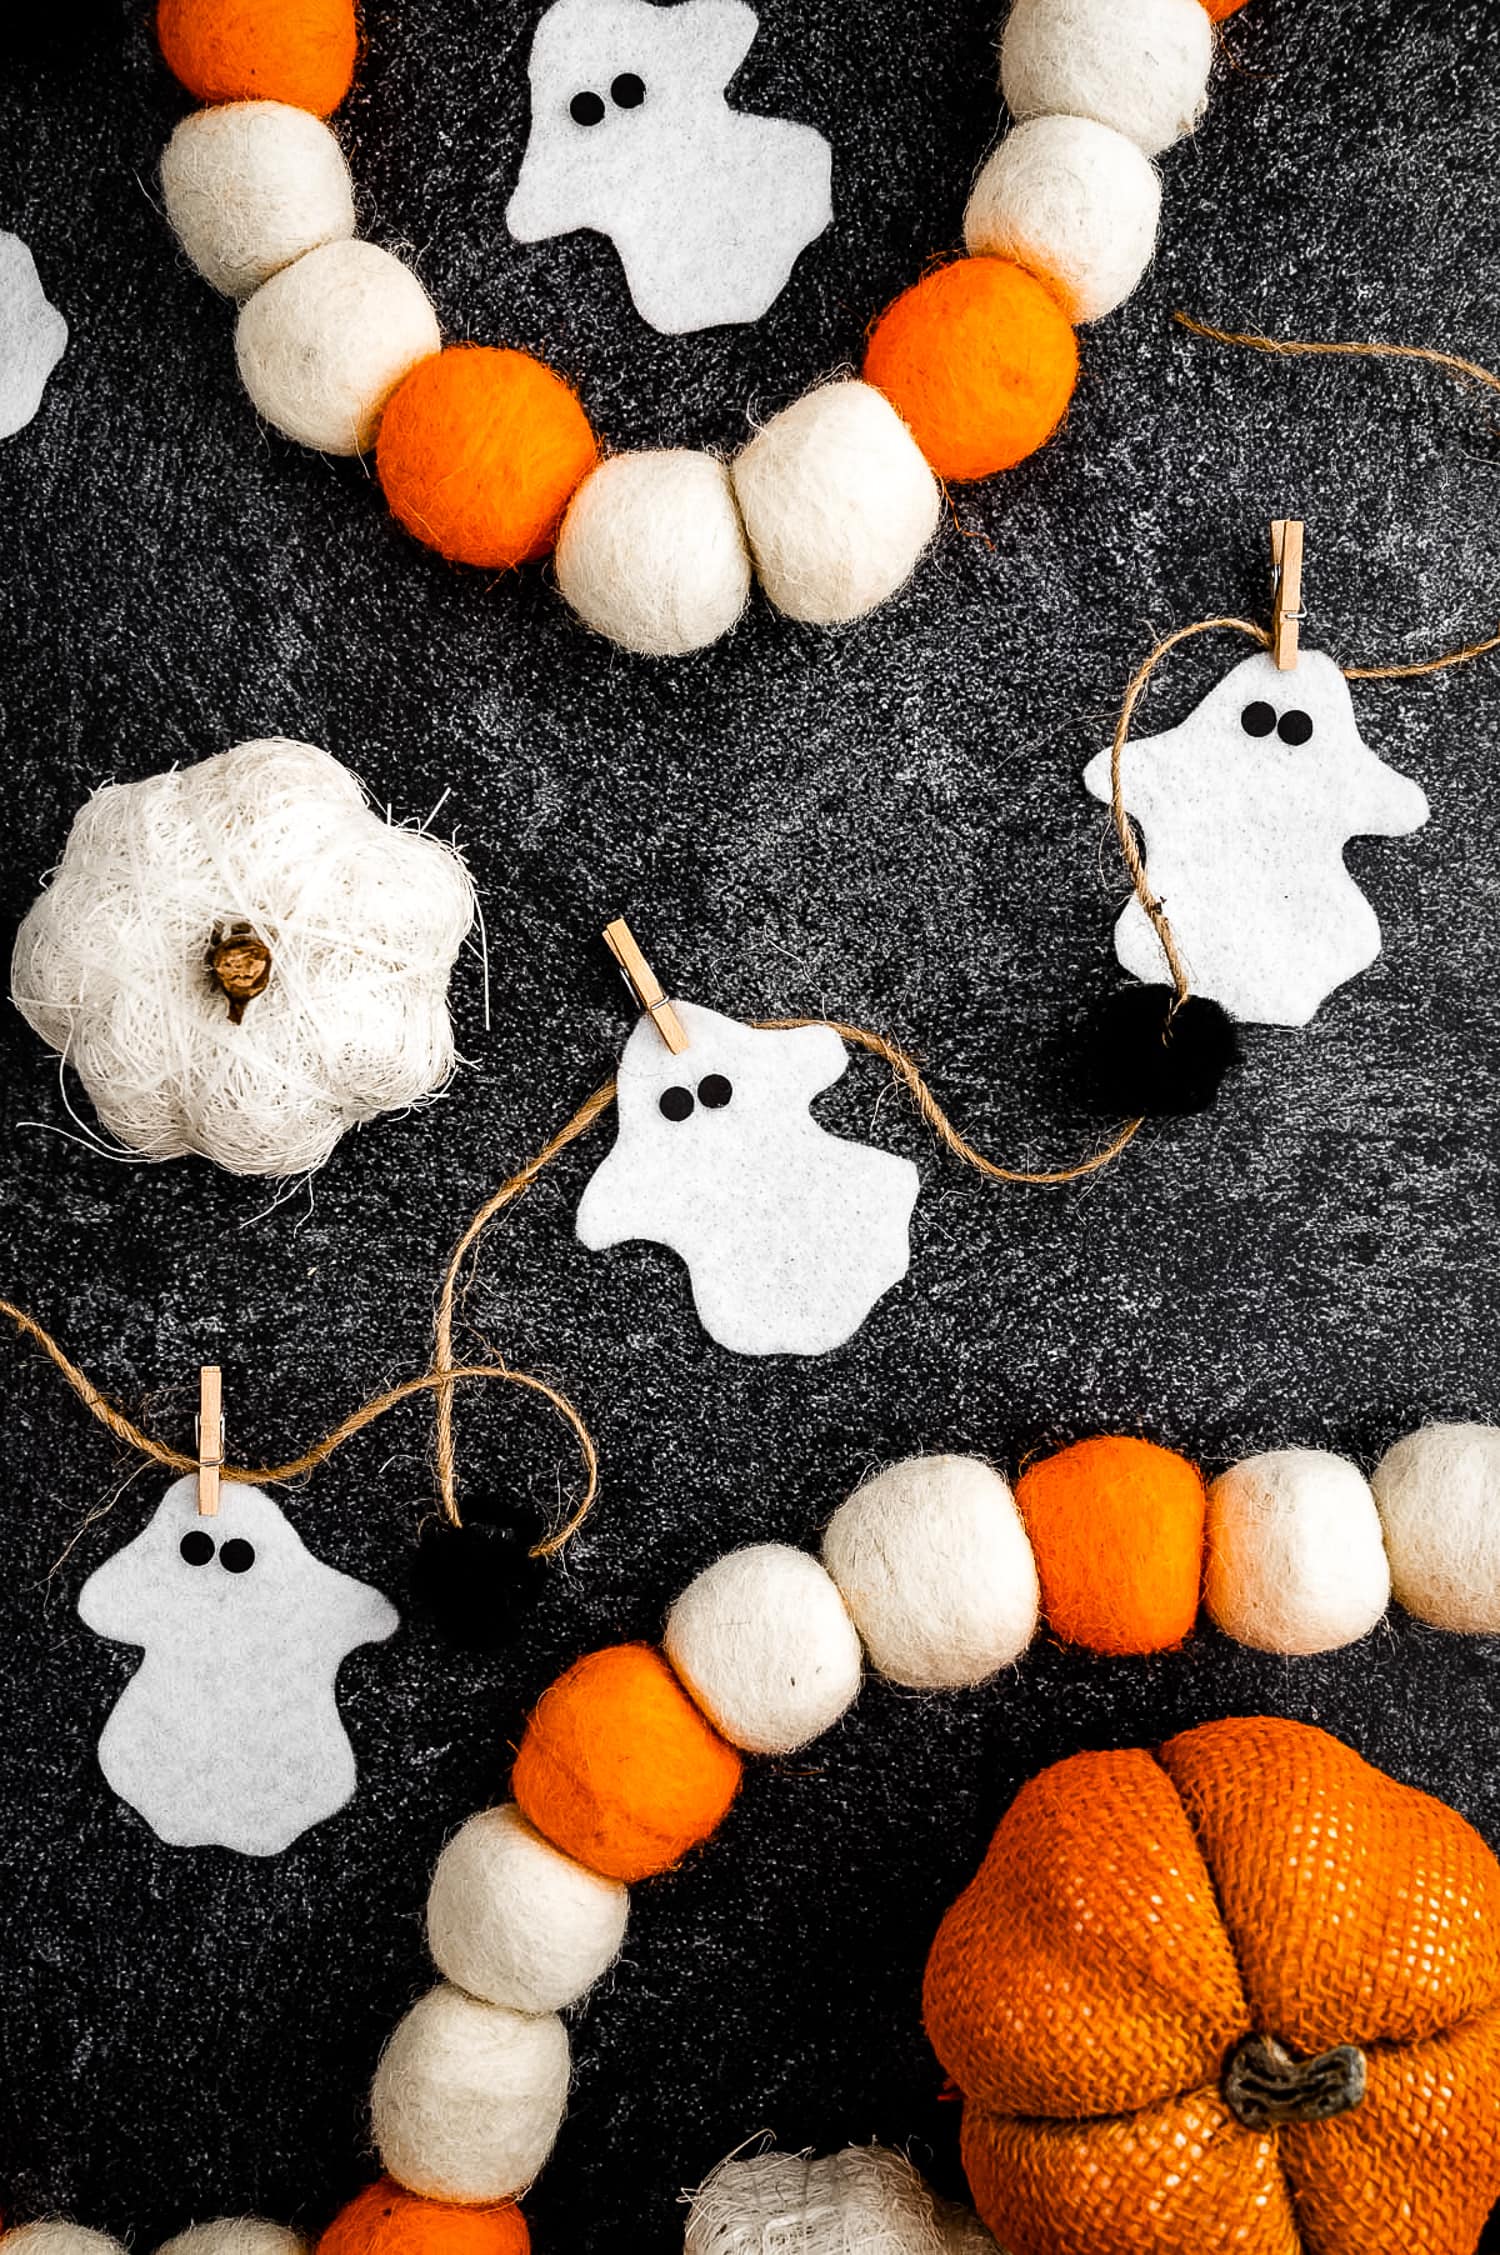
Have fun crafting for Halloween with this cute and easy garland that can be hung on your mantel or hearth, across a window, around a doorway and so much more!

Supplies Needed for No Sew Ghost Garland
- Jute twine – At least 6 feet of twine will be needed for one garland.
- White felt – You’ll need one 12 x 9 sheet for each garland.
- Black construction paper – Could also use black card stock.
- Black pompoms – You’ll need a total of 14 pom poms. A small or medium size will work best.
- Mini clothespins – We used 8 ghosts on our garland so we used 8 clothespins. You could also glue the ghost to the garland.
- Ghost stencil drawn on cardstock
- Permanent marker – For tracing the ghost on the white felt. A fine tip will work best.
- Glue sticks – This will give you the best stick on the pom pom!
- Glue gun – Any glue gun will work, but this is our favorite.
- Scissors – Make sure they are sharp and clean.
- Hole punch – To create the black eyes.
Easy Halloween Garland Variations!
- Kitchen twine or white twine can be used in place of the jute twine.
- Googly eyes can be used instead of the black hole punched eyes.
- Try using orange pompoms, white pompoms, or a combination of orange black, and white. Glittery pompoms can also add a nice flare.
- Plastic spiders can be added to the garland in place of the pompoms or in addition to.
- White cardstock or repurposed book pages can be used in place of felt.
How to Make Ghost Garland
This easy Halloween garland is easy to make with supplies that can all be bought at the dollar store.
Here are the step by step pictures and instructions on how to create it!


Cut Out Felt Ghosts
Draw or print out a simple ghost outline on a piece of cardstock or heavy weighted paper and cut it out to be used as the stencil for the felt ghosts.
Lay the piece of felt flat on a table or working surface and begin tracing the stencil using a fine tip permanent marker to make the ghosts. One 12×9 piece of felt can be used to make 12 ghosts. You will only need 8 to make a 6 ft garland but this will give you a few extra in case of mistakes.
Cut out the ghosts. Cut slightly inside the traced line to ensure that there are no marks from the permanent marker left on the ghosts once they are cut out. Set aside and repeat until all the ghosts are cut out.


Give the Ghosts Eyes
Plug in the glue gun and allow to heat.
Using a hole punch, punch 24 holes in the black piece of construction paper. Empty out the black dots from the compartment on the hole punch and place them on a plate or in a container and set them aside.
Once the glue is hot, begin carefully placing a small dab on one black dot at a time. Place the dot glue-side down on the felt ghost where the eyes should be. Repeat until all the ghosts have eyes.
Alternatively, you can place a small pile of hot glue on a paper plate and dab a toothpick in the pile of hot glue and apply it to the back of the eyes using the toothpick. The glue dries quickly so you will have to repeat this process several times.


Create the Garland
Cut a 6 ft long piece of twine.
Fold the piece of twine in half. Place a dot of hot glue on one pompom and place it on the center of the piece of twine. Place another pompom on the dot of glue, sandwiching the piece of twine in the middle of the two pompoms.
Fold the twine in half again and repeat this process placing pompoms at the middle point on either side of the first pompom placed.
Repeat, folding the twine in half again. Do this until you have 7 evenly spaced pompoms down the length of the twine.
Clothespin a ghost in along the piece of twine before and after each pompom.
FAQs
All materials used for this craft can be purchased from the Dollar Tree store, Walmart, or any craft store. All crafts are linked above to Amazon in the supply list too!
This spooky ghost garland can be used to decorate a mantel/hearth or add a festive touch to your desk at work. String it across the posts of a child’s bed, hang it across a window, or zig-zag it down the front of a door for simple and cute Halloween décor.
Small kids can pin the clothespins to the ghosts and attach them to twine. They could also glue the eyes, but it would be best to use craft glue instead of hot glue in this case. Depending on age and dexterity, they might be able to cut the ghosts out of the felt.
You can find a simple ghost to be used for a stencil by doing an image search for ‘ghost outline’. Either draw the outline using these ghosts as inspiration or print your favorite and cut it out. The ghosts can also be freehanded. Each ghost should be about 2 to 3 inches long. If you have a ghost-shaped cookie cutter, that could also work!
Pro Tips!
- Kids may need help using the hot glue gun.
- Using a toothpick can make applying the glue to the small surface of the eyes a lot easier.
- To glue the eyes on the ghosts, a small amount of craft glue can be used instead of hot glue if kids are doing this job.
- The tracing and cutting requires dexterity which makes it difficult for some younger kids who have not developed this skill yet.
- Move quickly when using the hot glue because it dries fast.
- Make sure you are using sharp scissors to make cutting the felt easier.

More Halloween Crafts!
- Decorate a toilet roll and turn it into a cute Pumpkin Craft!
- DIY Coffee Filter Bats are quick to make, dark, spooky and cute! Bleed your favorite markers together to create these cute bats!
- Grab another toilet paper roll and turn it into a Mummy! This Mummy Craft is so easy to make.
- Spider Pom Pom Craft only requires three supplies and is so easy to make.
If you take a picture and share them on Instagram make sure to #kidsactivityzone or tag us @kidsactivityzoneblog so we can see them!

Ghost Garland
Ingredients
- 1 spool of jute twine at least 6 ft
- 1 12 x9 piece of white felt
- 1 piece of black construction paper
- Medium/small black pompoms 14
- Mini clothespins 8
- Ghost stencil drawn on cardstock
- Fine tip permanent marker
- Glue sticks
- Glue gun
- Scissors
- Hole punch
Instructions
- Draw or print out a simple ghost outline on a piece of cardstock or heavy weighted paper and cut it out to be used as the stencil for the felt ghosts.
- Lay the piece of felt flat on a table or working surface and begin tracing the stencil using a fine tip permanent marker to make the ghosts. One 12×9 piece of felt can be used to make 12 ghosts. You will only need 8 to make a 6 ft garland but this will give you a few extra in case of mistakes.
- Cut out the ghosts. Cut slightly inside the traced line to ensure that there are no marks from the permanent marker left on the ghosts once they are cut out. Set aside and repeat until all the ghosts are cut out.
- Plug in the glue gun and allow to heat.
- Using a hole punch, punch 24 holes in the black piece of construction paper. Empty out the black dots from the compartment on the hole punch and place them on a plate or in a container and set them aside.
- Once the glue is hot, begin carefully placing a small dab on one black dot at a time. Place the dot glue-side down on the felt ghost where the eyes should be. Repeat until all the ghosts have eyes. Alternatively, you can place a small pile of hot glue on a paper plate and dab a toothpick in the pile of hot glue and apply it to the back of the eyes using the toothpick. The glue dries quickly so you will have to repeat this process several times.
- Cut a 6 ft long piece of twine.
- Fold the piece of twine in half. Place a dot of hot glue on one pompom and place it on the center of the piece of twine. Place another pompom on the dot of glue, sandwiching the piece of twine in the middle of the two pompoms.
- Fold the twine in half again and repeat this process placing pompoms at the middle point on either side of the first pompom placed.
- Repeat, folding the twine in half again. Do this until you have 7 evenly spaced pompoms down the length of the twine.
- Clothespin a ghost in along the piece of twine before and after each pompom.