Colored Salt Jars
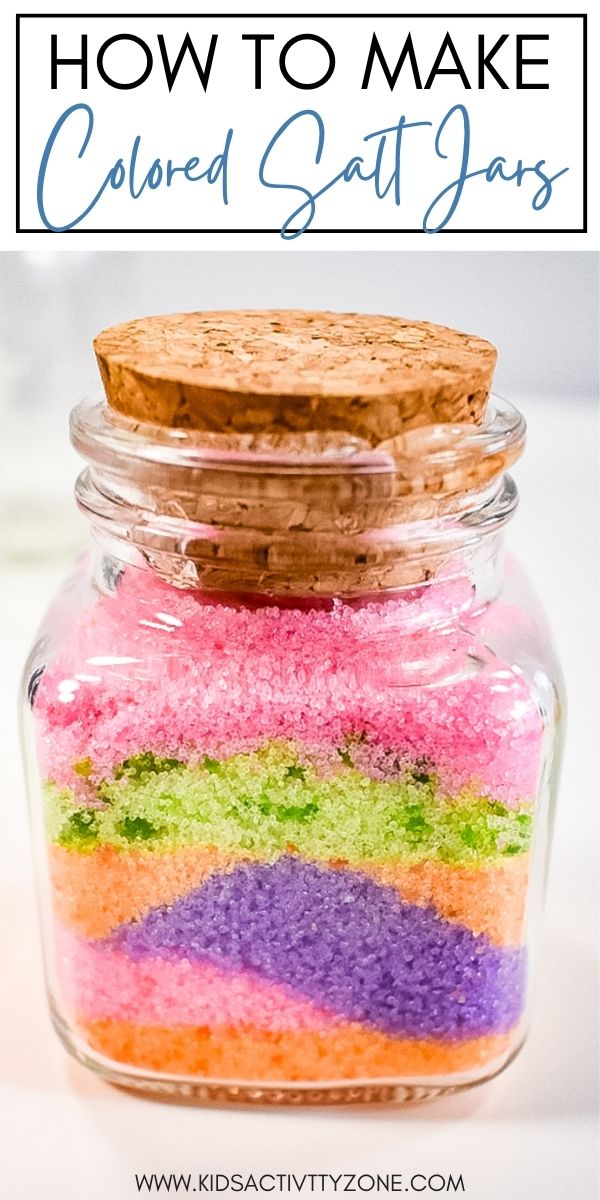
Skip the colored sand and make your own color salt for jars! This quick and easy Colored Salt Jars craft is fun to do with kids. You can buy jars or recycle ones you have. The possibilities are endless with these easy activity.
Does anyone else remember make colored sand jars when you were growing up? Now you can learn how to make Colored Salt Jars which is a great craft and activity for the kids when they are bored.
They can each pick out their own color combinations and make them unique to what they love. Give them as gifts, display them in their room and so much more.
You can either buy the glass jars with a cork top or you can collect old glass jar (make sure to keep the tops!) and use those.
This is such a great activity for kids when they are bored because it uses household supplies and has minimal prep time!
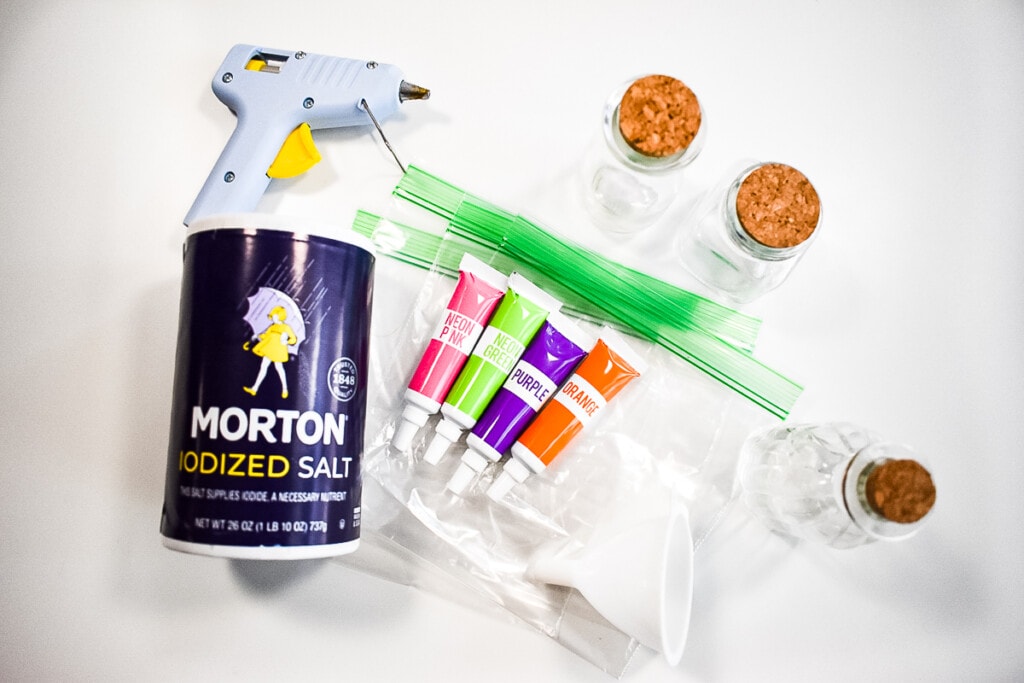
Supplies Needed
- Small jars with cork lids or recycled jars
- Salt (at least one full container)
- Food coloring
- Sandwich bags
- Funnel
- Spoon
- Hot glue gun

Make the Colored Salt
The first step for this project is picking out the colors of salt you want!
Then you get to color the salt those colors. Make a variety and then you can make several jars with different color schemes.
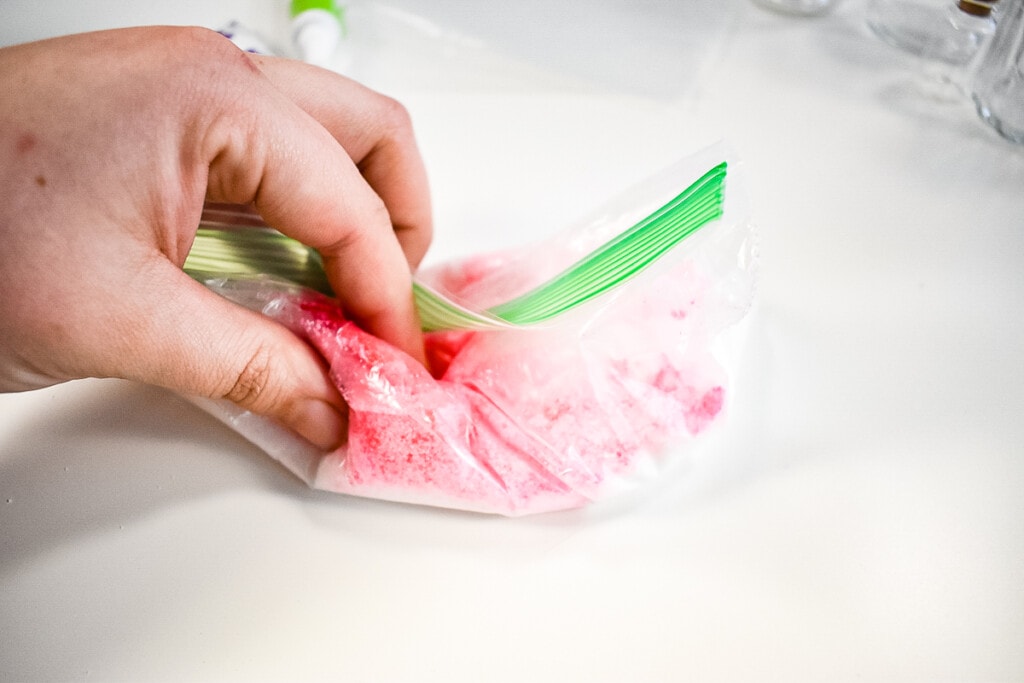
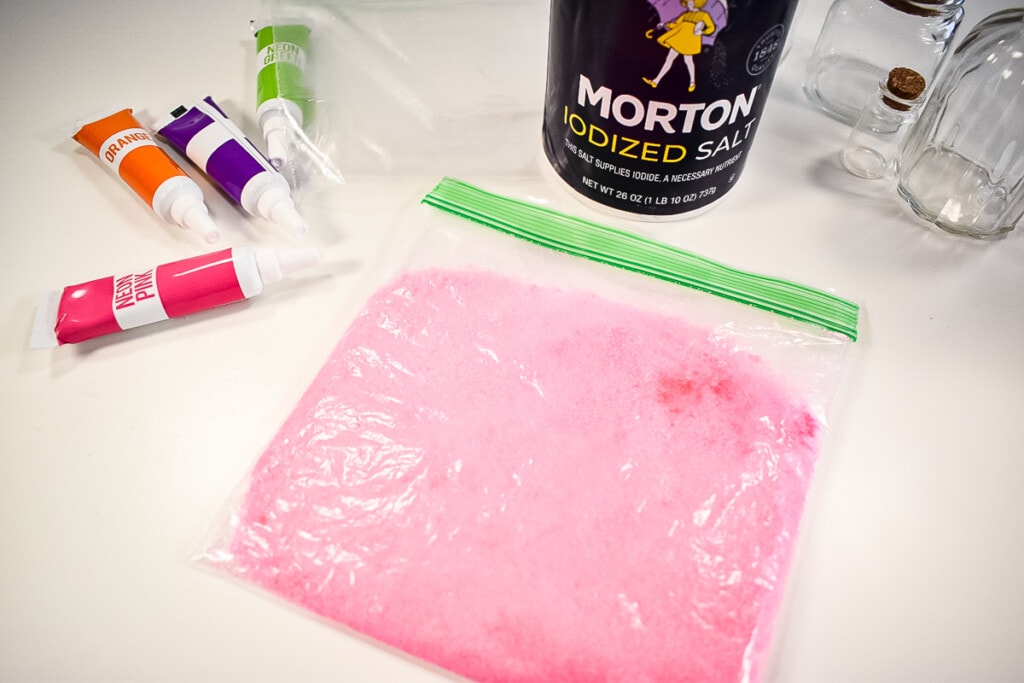
To color the salt pour the amount of salt you’d like to dye into a sandwich bag, we use about 1 cup to start with. Then add food coloring. Liquid food coloring will work best for this, but you can use gel if that’s all you have. It’s just going to take a little more work to get it to mix because it tends to clump.
After you have the salt and dye in the bag seal it. Then pinch and shake the salt until it’s all evenly covered.
Repeat until all the colors are mixed.

Create The Colored Salt Jars!
This is the fun part!
Grab your jars. You can get these off Amazon or check out the Dollar Store or local craft supply store.
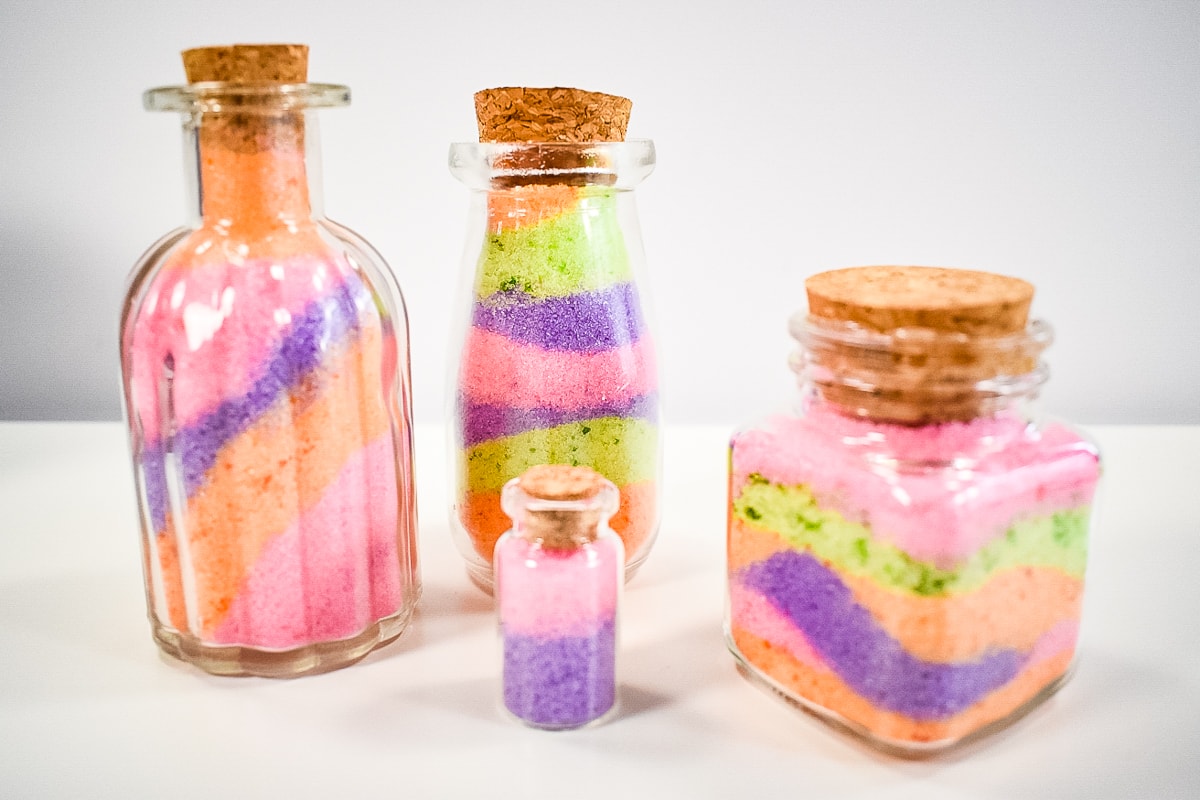
If you can, get a few different shapes and sizes to make different color schemes and layers.
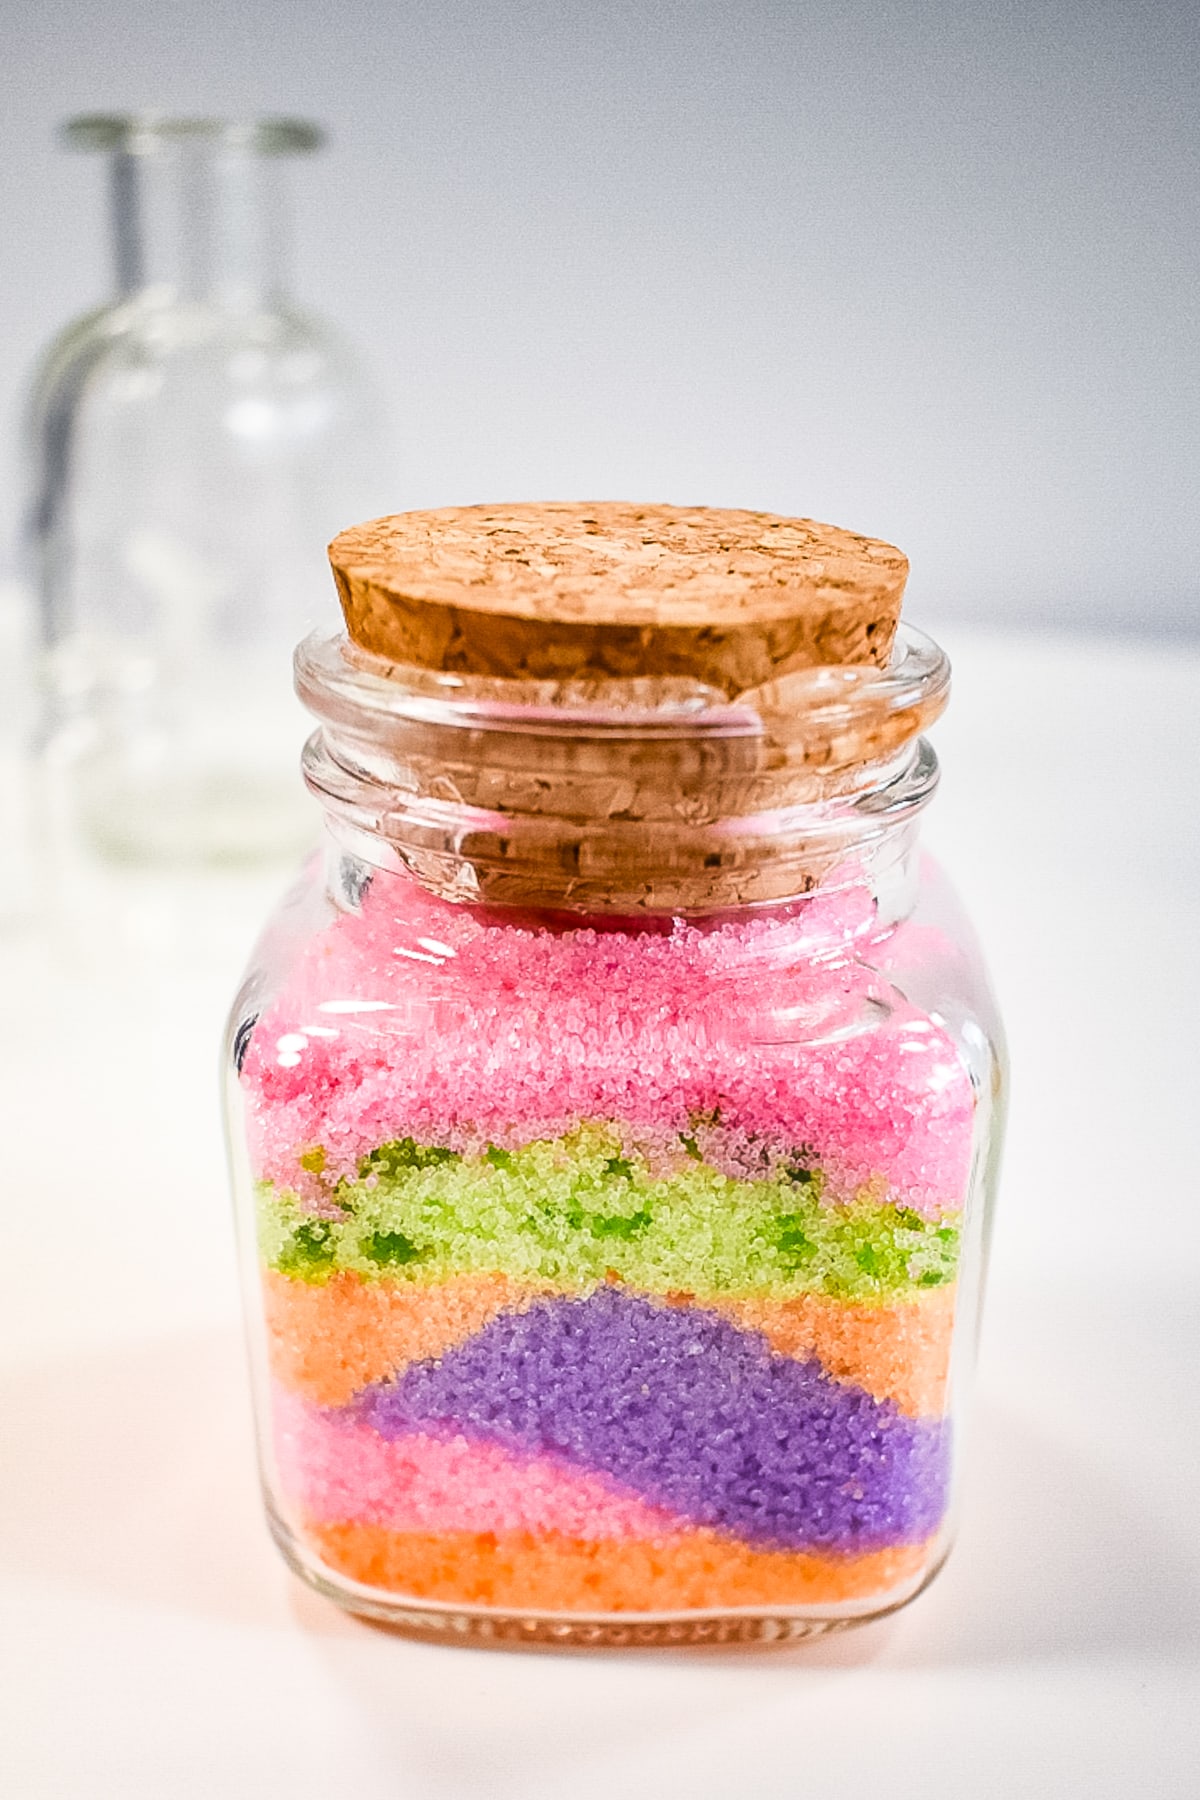
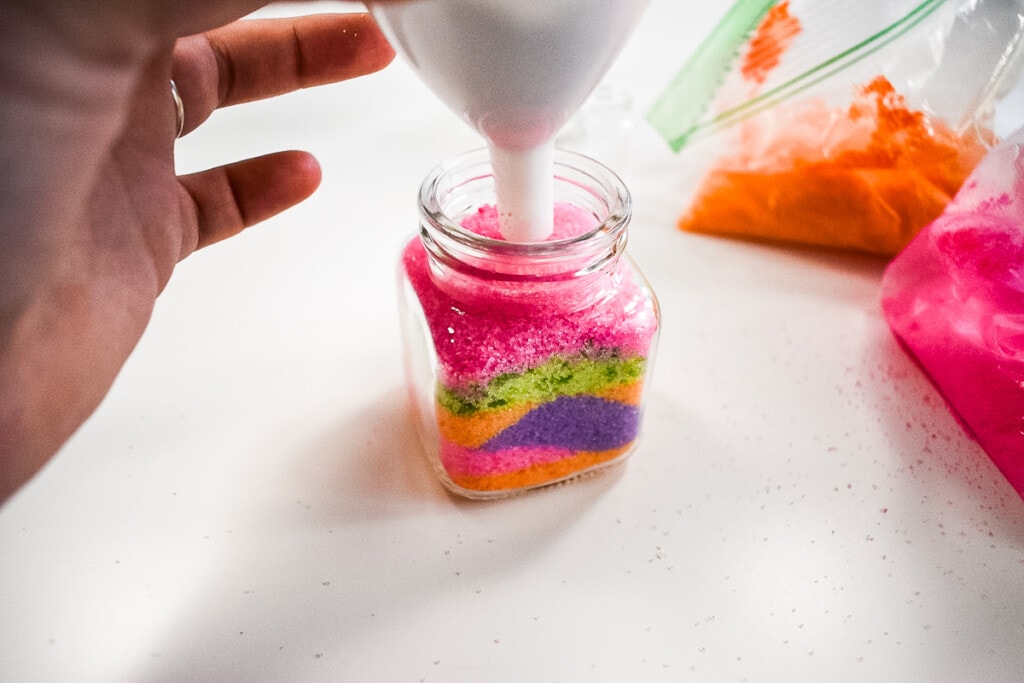
To make the colored salt jar place a funnel in the top of your jar then spoon the color of salt you want for that layer into the funnel. You can create different patterns by holding the jar at an angle while you pour.
Add slightly more salt than you think you need. When you put the cork on the top it will press it down. You want it tight so it doesn’t shift.
After the salt is all in the jar place hot glue around the inside rim of the jar and place cork in the top to secure it.
You can either buy glass jars with corks or another great idea is to collect old glass jar, keep the lids, and use those for the jar instead of buying cork jars! If you want you can spray paint the tops of the jars to make them all one color. Make sure to thoroughly clean the jars and remove any labels. Goo Gone is helpful for removing stuck on labels.
You can use either liquid or gel, but the liquid food coloring will work best. The gel tends to clump. If you do use gel make sure to cover it with salt after you put it in the bag. If it gets stuck to the side while mixing simply move some salt over to that area and mix it up.
Less is more in this instance! To much food coloring can make the salt wet and clumpy. Start with a little coloring then add more if you need it. Also, if you have salt that’s to wet it can bleed in the jars.
More Easy Kids Crafts!
- Quick and easy craft that’s inexpensive to make! This Toilet Paper Roll Butterfly Craft can be made with craft supplies that are already in your house.
- Make a quick and easy Toilet Paper Roll Bird Feeder with the kids! It’s an easy craft that they will enjoy making with minimal supplies and prep work.
- Cute, easy and fun craft for kids to welcome spring or summer! This Rainbow Sun Craft is a super simple craft that can be made with construction paper, glue, scissors and a black marker.
- Looking for an easy and fun craft that doesn’t take any prep time? Make a Handprint Butterfly where you child’s hand print is traced on paper and turned into a cute butterfly.
I would love to see your creations. If you take a picture and share them Instagram make sure to #kidsactivityzone or tag us @kidsactivityzoneblog so we can see them!
Equipment
Ingredients
- Small jars with cork lids or recycled jars
- Salt at least one full container
- Food coloring
- Sandwich bags
- Funnel
- Spoon
- Hot glue gun
Instructions
- Pour salt into sandwich bag, add food coloring. (If using gel, cover with more salt. This helps stop it from sticking to the bag as much.)
- Make sure the bag is closed well (whoops!) and pinch and shake until the salt is evenly colored. (Gel coloring will stick to the bag a little. Pinch some salt inside the bag and rub it around on the gel to help release it.)
- Once your salts are colored, use the spoon and funnel to layer different colors in the jar. You can create different patterns by holding the jar on an angle while you add the salt. Add slightly more salt than you think you need. The cork will press it down.
- Hot glue the cork into the opening.