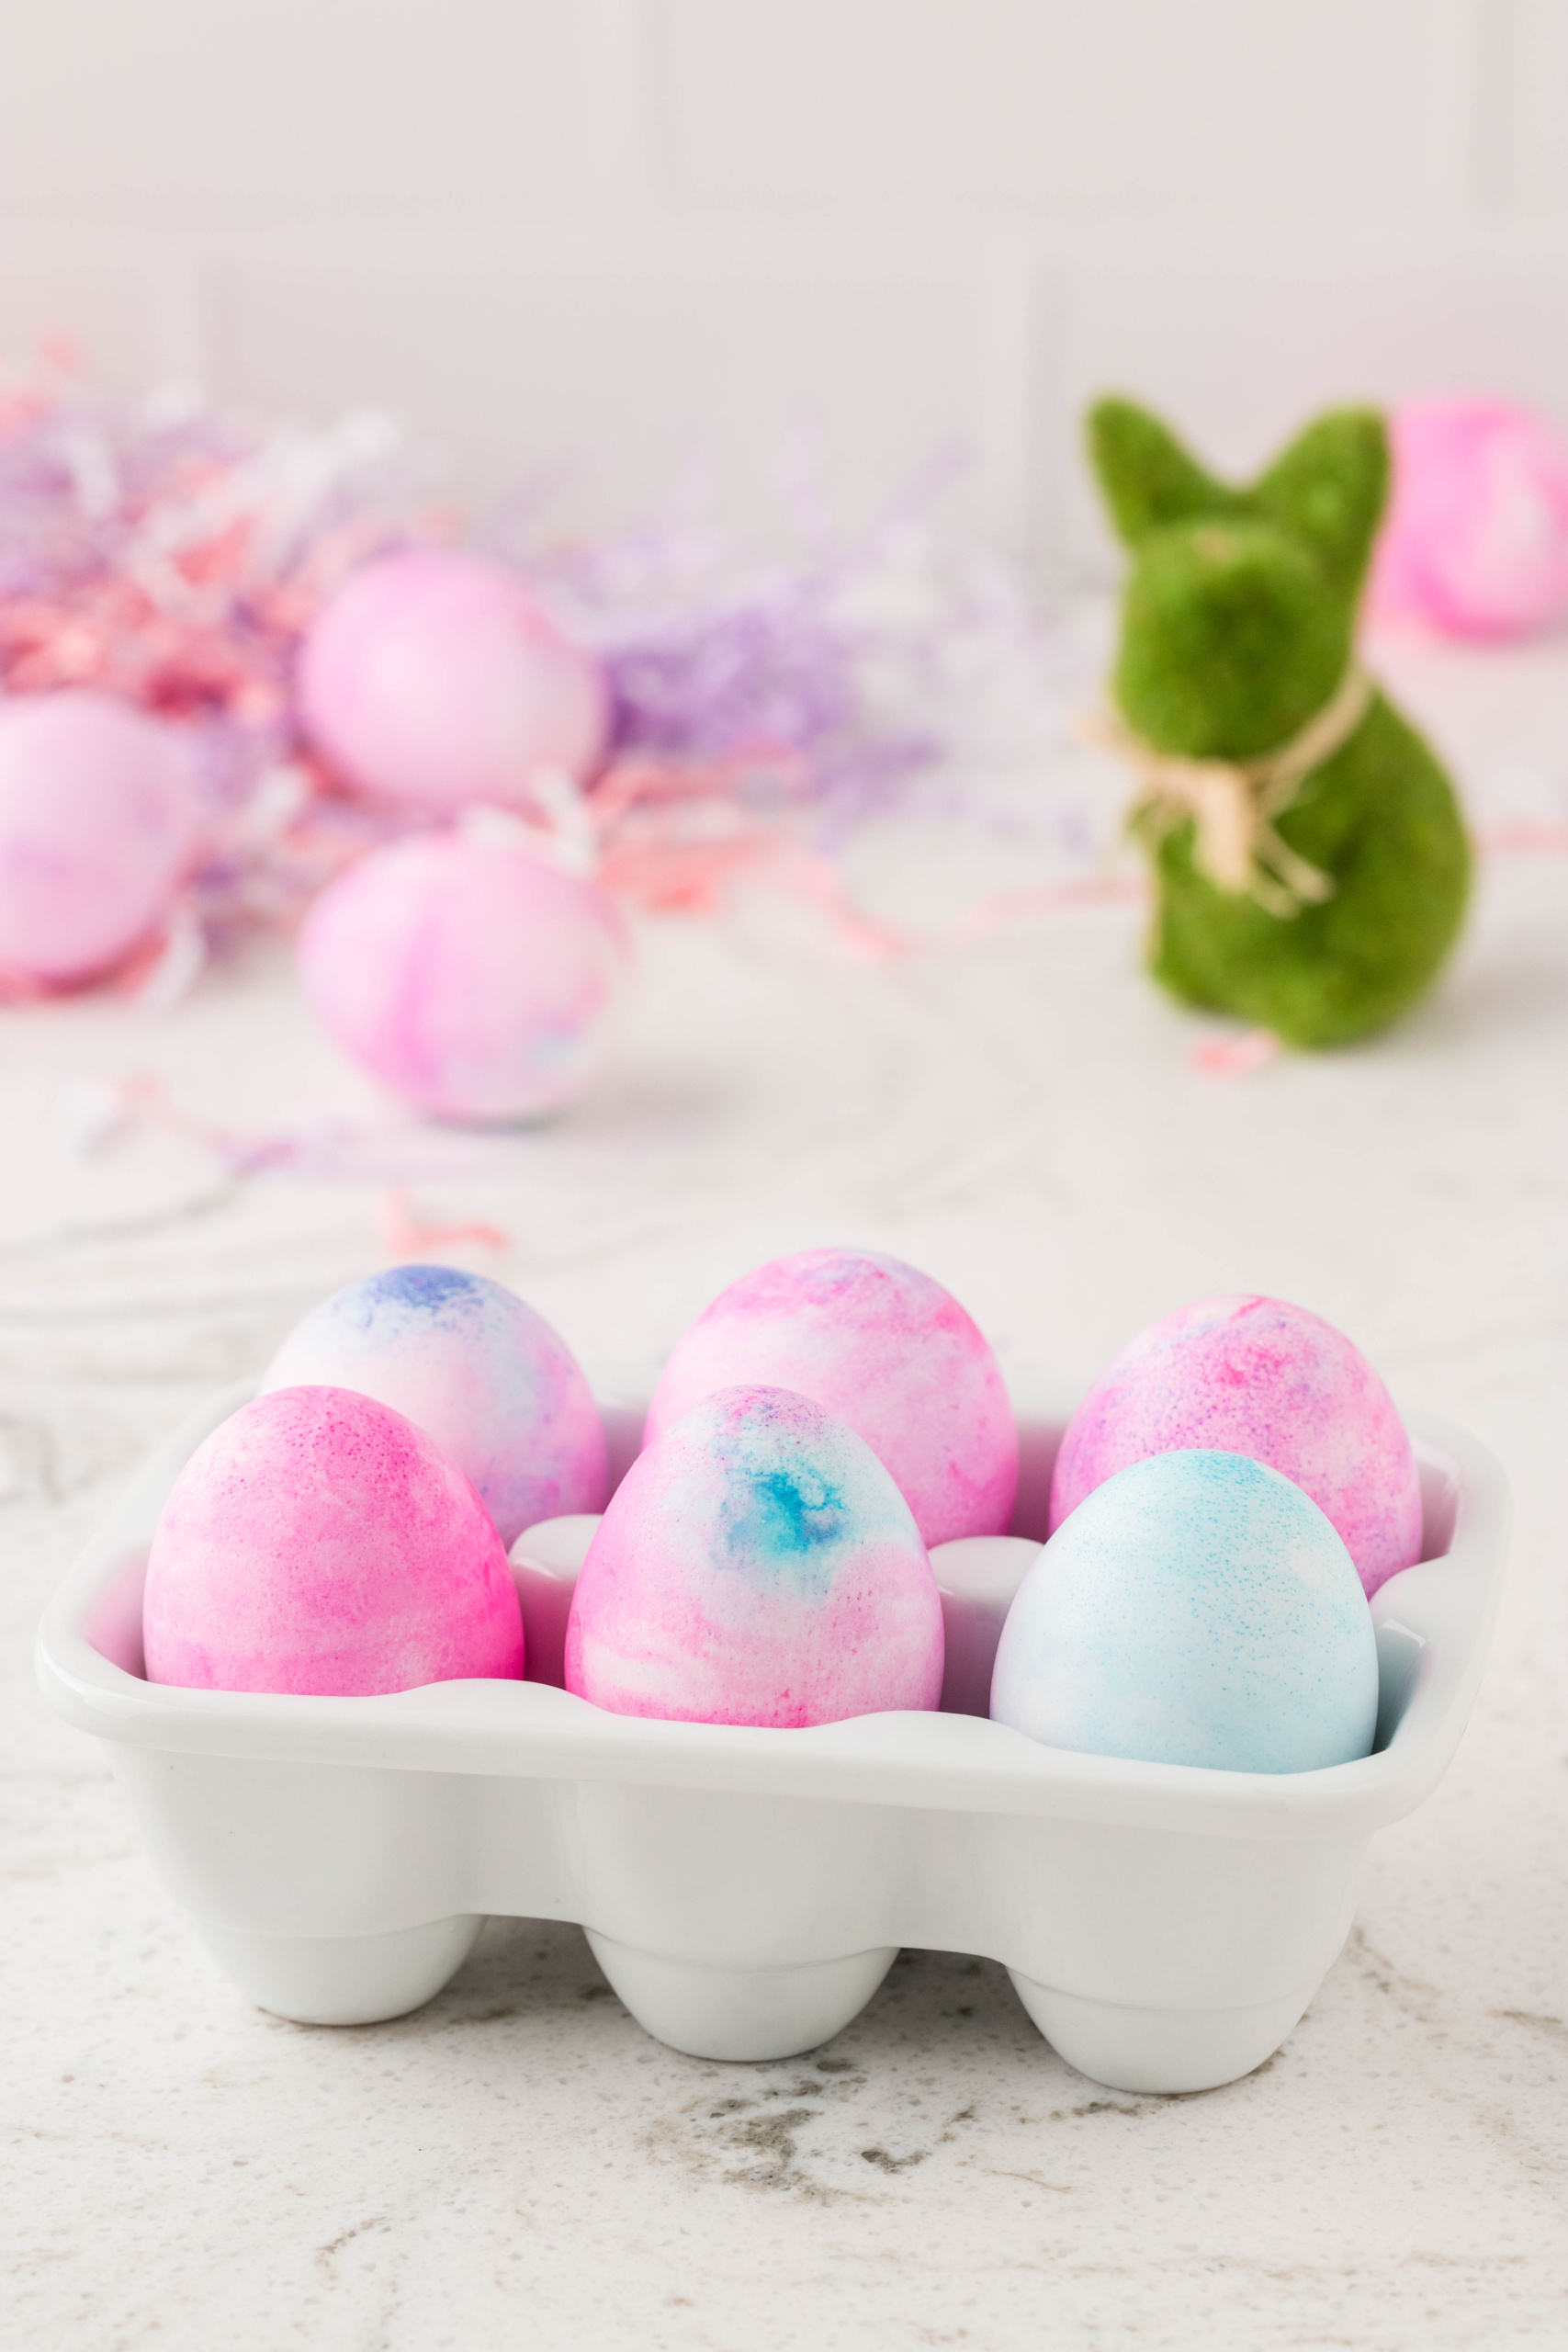
Shaving Cream Easter Eggs
Dying Easter Eggs is so much fun especially when you do Shaving Cream Easter Eggs! Simply add food coloring to shaving cream in a container, add eggs and let them color. It’s a great Easter activity that kids will love.
Easter is one of my favorite times of the year. Spring has finally arrived and there’s sunshine instead of loads of snow! It’s just a refreshing time of year and such a fun holiday, especially when you have really cool activities like shaving cream Easter eggs.
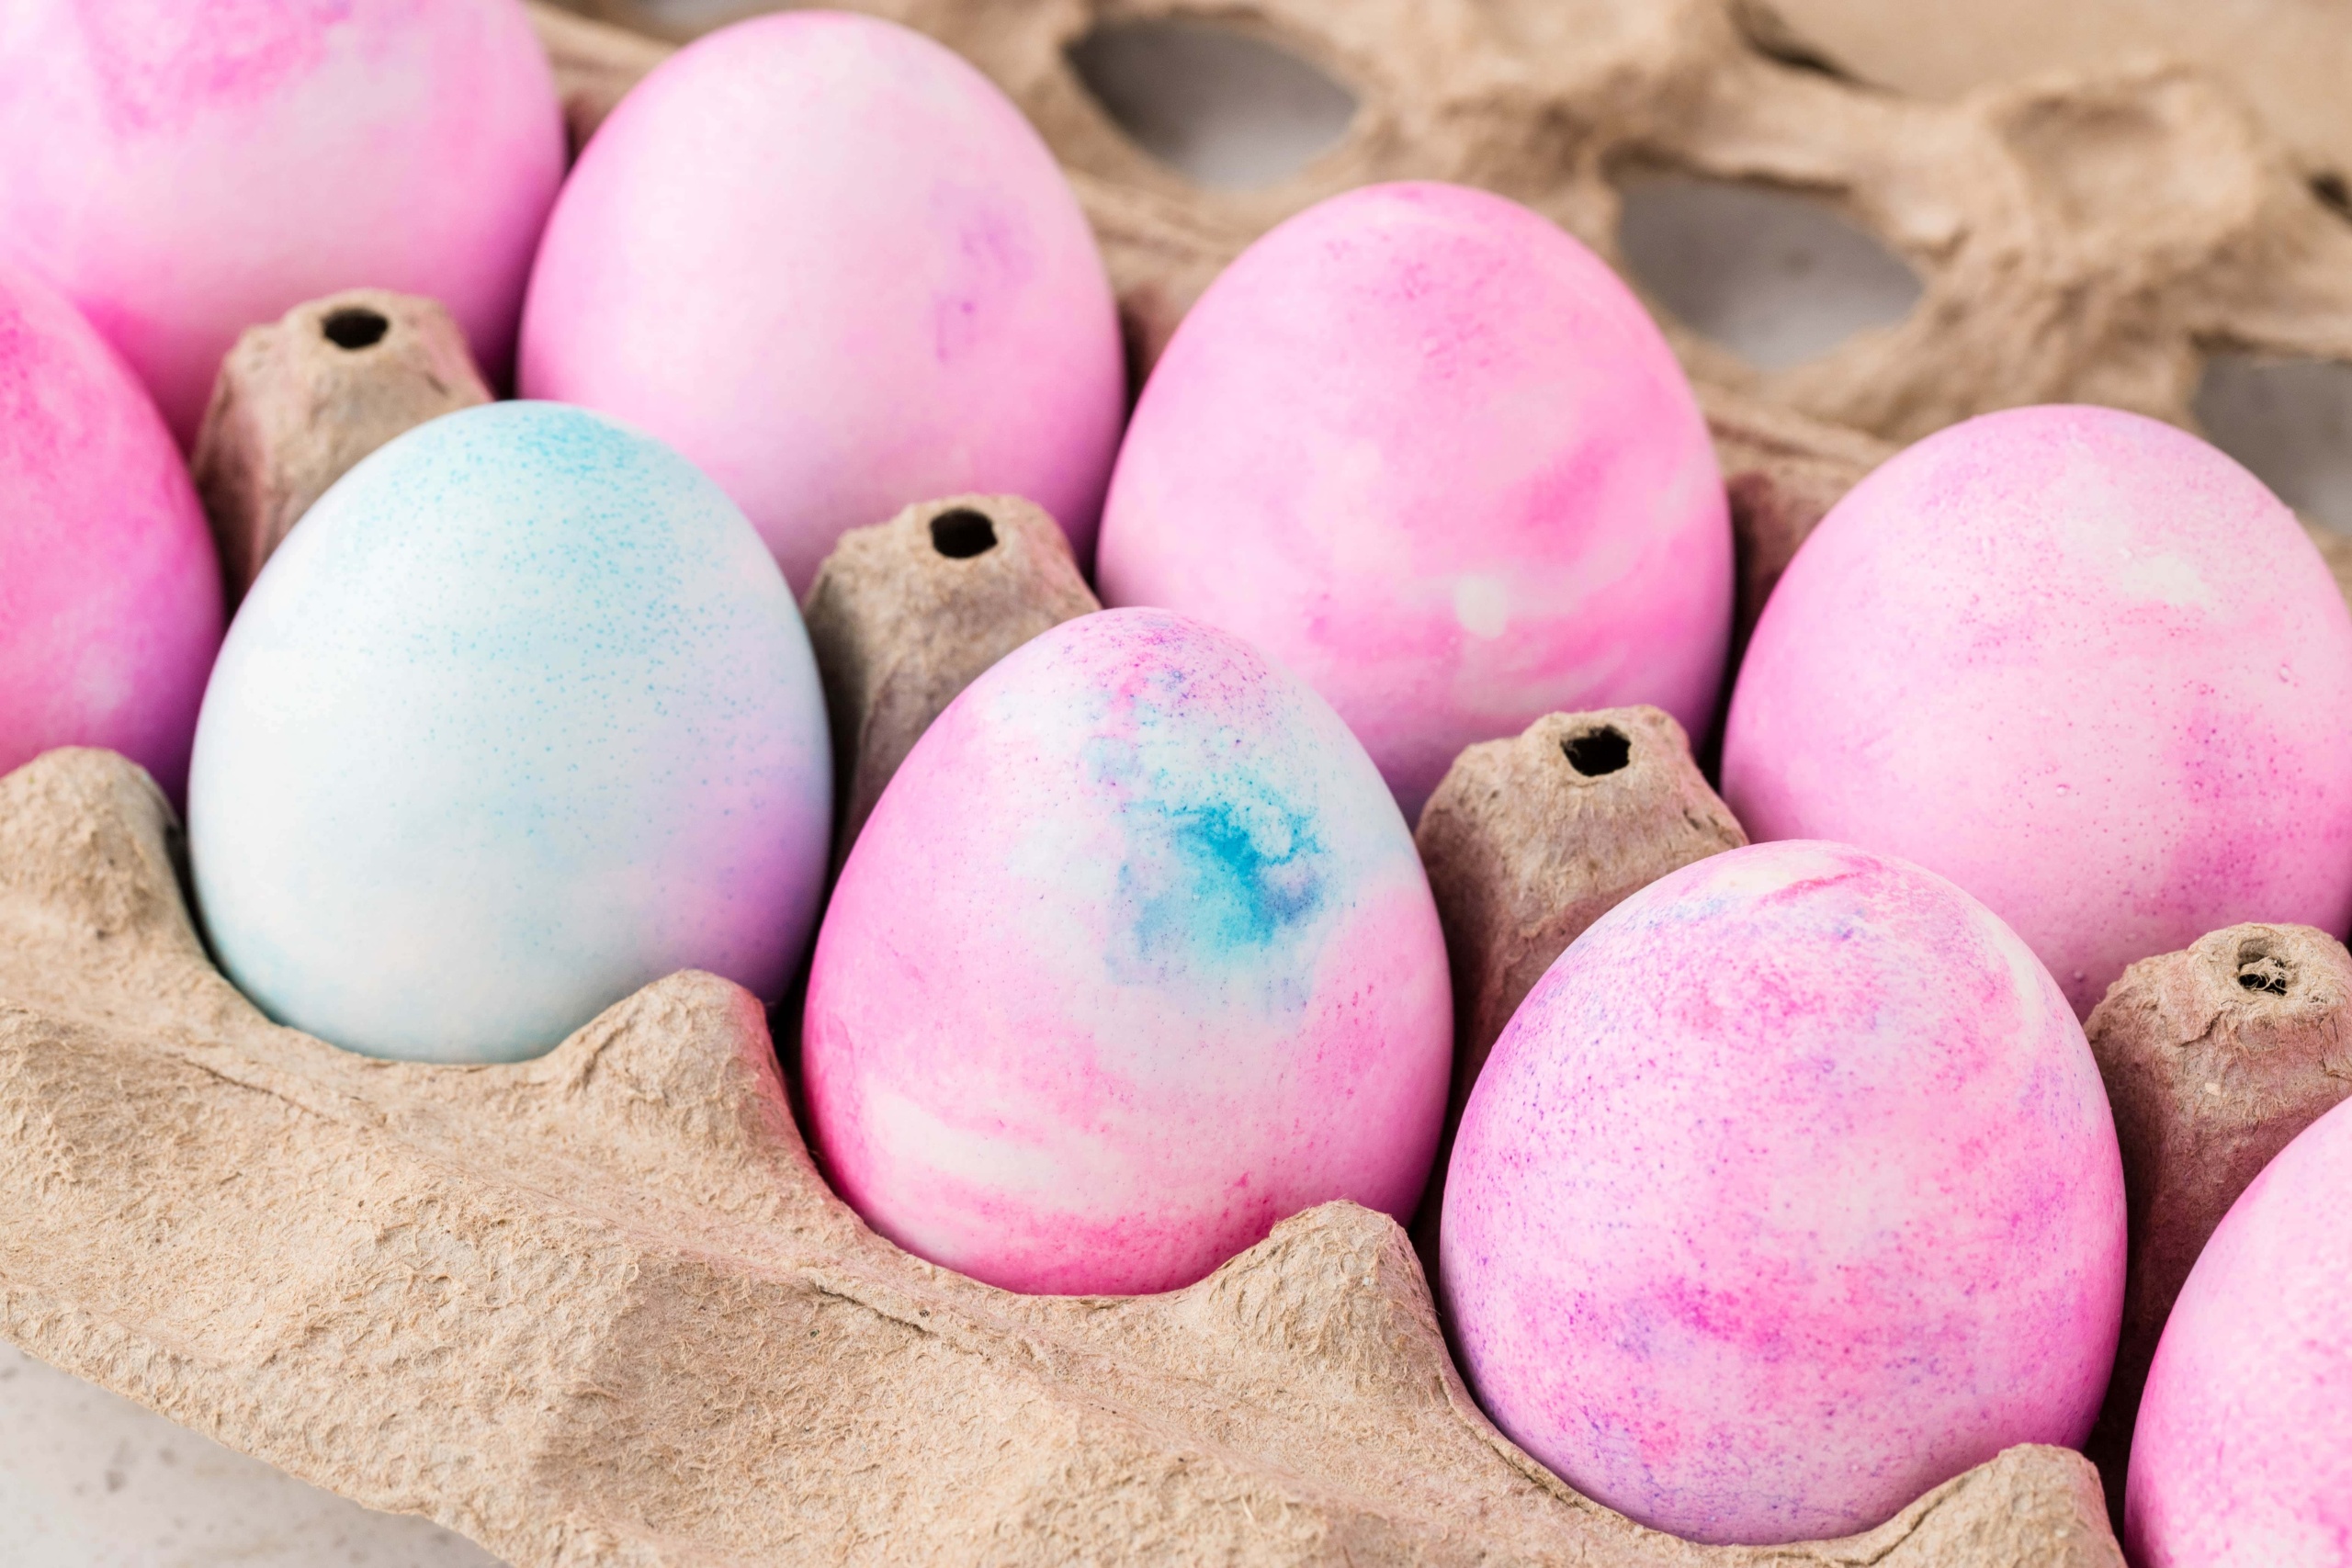
Dying eggs with shaving cream always makes Easter eggs turn out incredibly cool! They have this marbled tie dye effect that is just so much fun. If my kids could dye a thousand Easter eggs, I think they would.
There’s just so many cool ways to dye them now. You dye eggs with fabric, with Kool-aid, and even make glitter eggs. Endless fun awaits!
Why You’ll Love Shaving Cream Easter Eggs
- Making marbled Easter eggs is a great sensory activity! The squishy foam, pretty colors, and smell of shaving cream combine to create an ideal sensory activity.
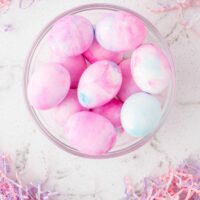
- These eggs would make a great DIY centerpiece for your Easter brunch table.
- Shaving cream Easter eggs are unique and so much fun to make!

Supplies Needed for Dying Easter Eggs with Shaving Cream
- Foam shaving cream – There’s a lot of different types of shaving cream now, so be sure you don’t purchase a gel shaving cream. It needs to be the classic shaving foam.
- Toothpicks – If you don’t have toothpicks, a wooden skewer or plastic butter knife will work.
- Craft paper – Use craft paper or a disposable tablecloth to protect your workspace.
- Disposable gloves – You’ll want to wear disposable gloves to protect your hands. Otherwise, you’re definitely going to end up with dyed fingers!
- Food coloring – Don’t use gel food coloring, it won’t adhere to the eggs. You’ll need liquid food coloring in whatever colors you want.
- 9×13 glass dish – If you don’t already have one of these, Walmart sells them for an affordable price in the kitchenware department.
- Hard boiled eggs – Boil eggs really easy in an Instant Pot or follow this recipe to learn how to make hard boiled eggs really easily.
- Large glass bowl – You’ll need a large bowl of cool water to rinse the shaving cream off of the marbled Easter eggs.
- Silicone spatula – Use a silicone spatula, or any other utensil, to spread the shaving cream into an even layer in the baking dish.
How to Dye Eggs with Shaving Cream
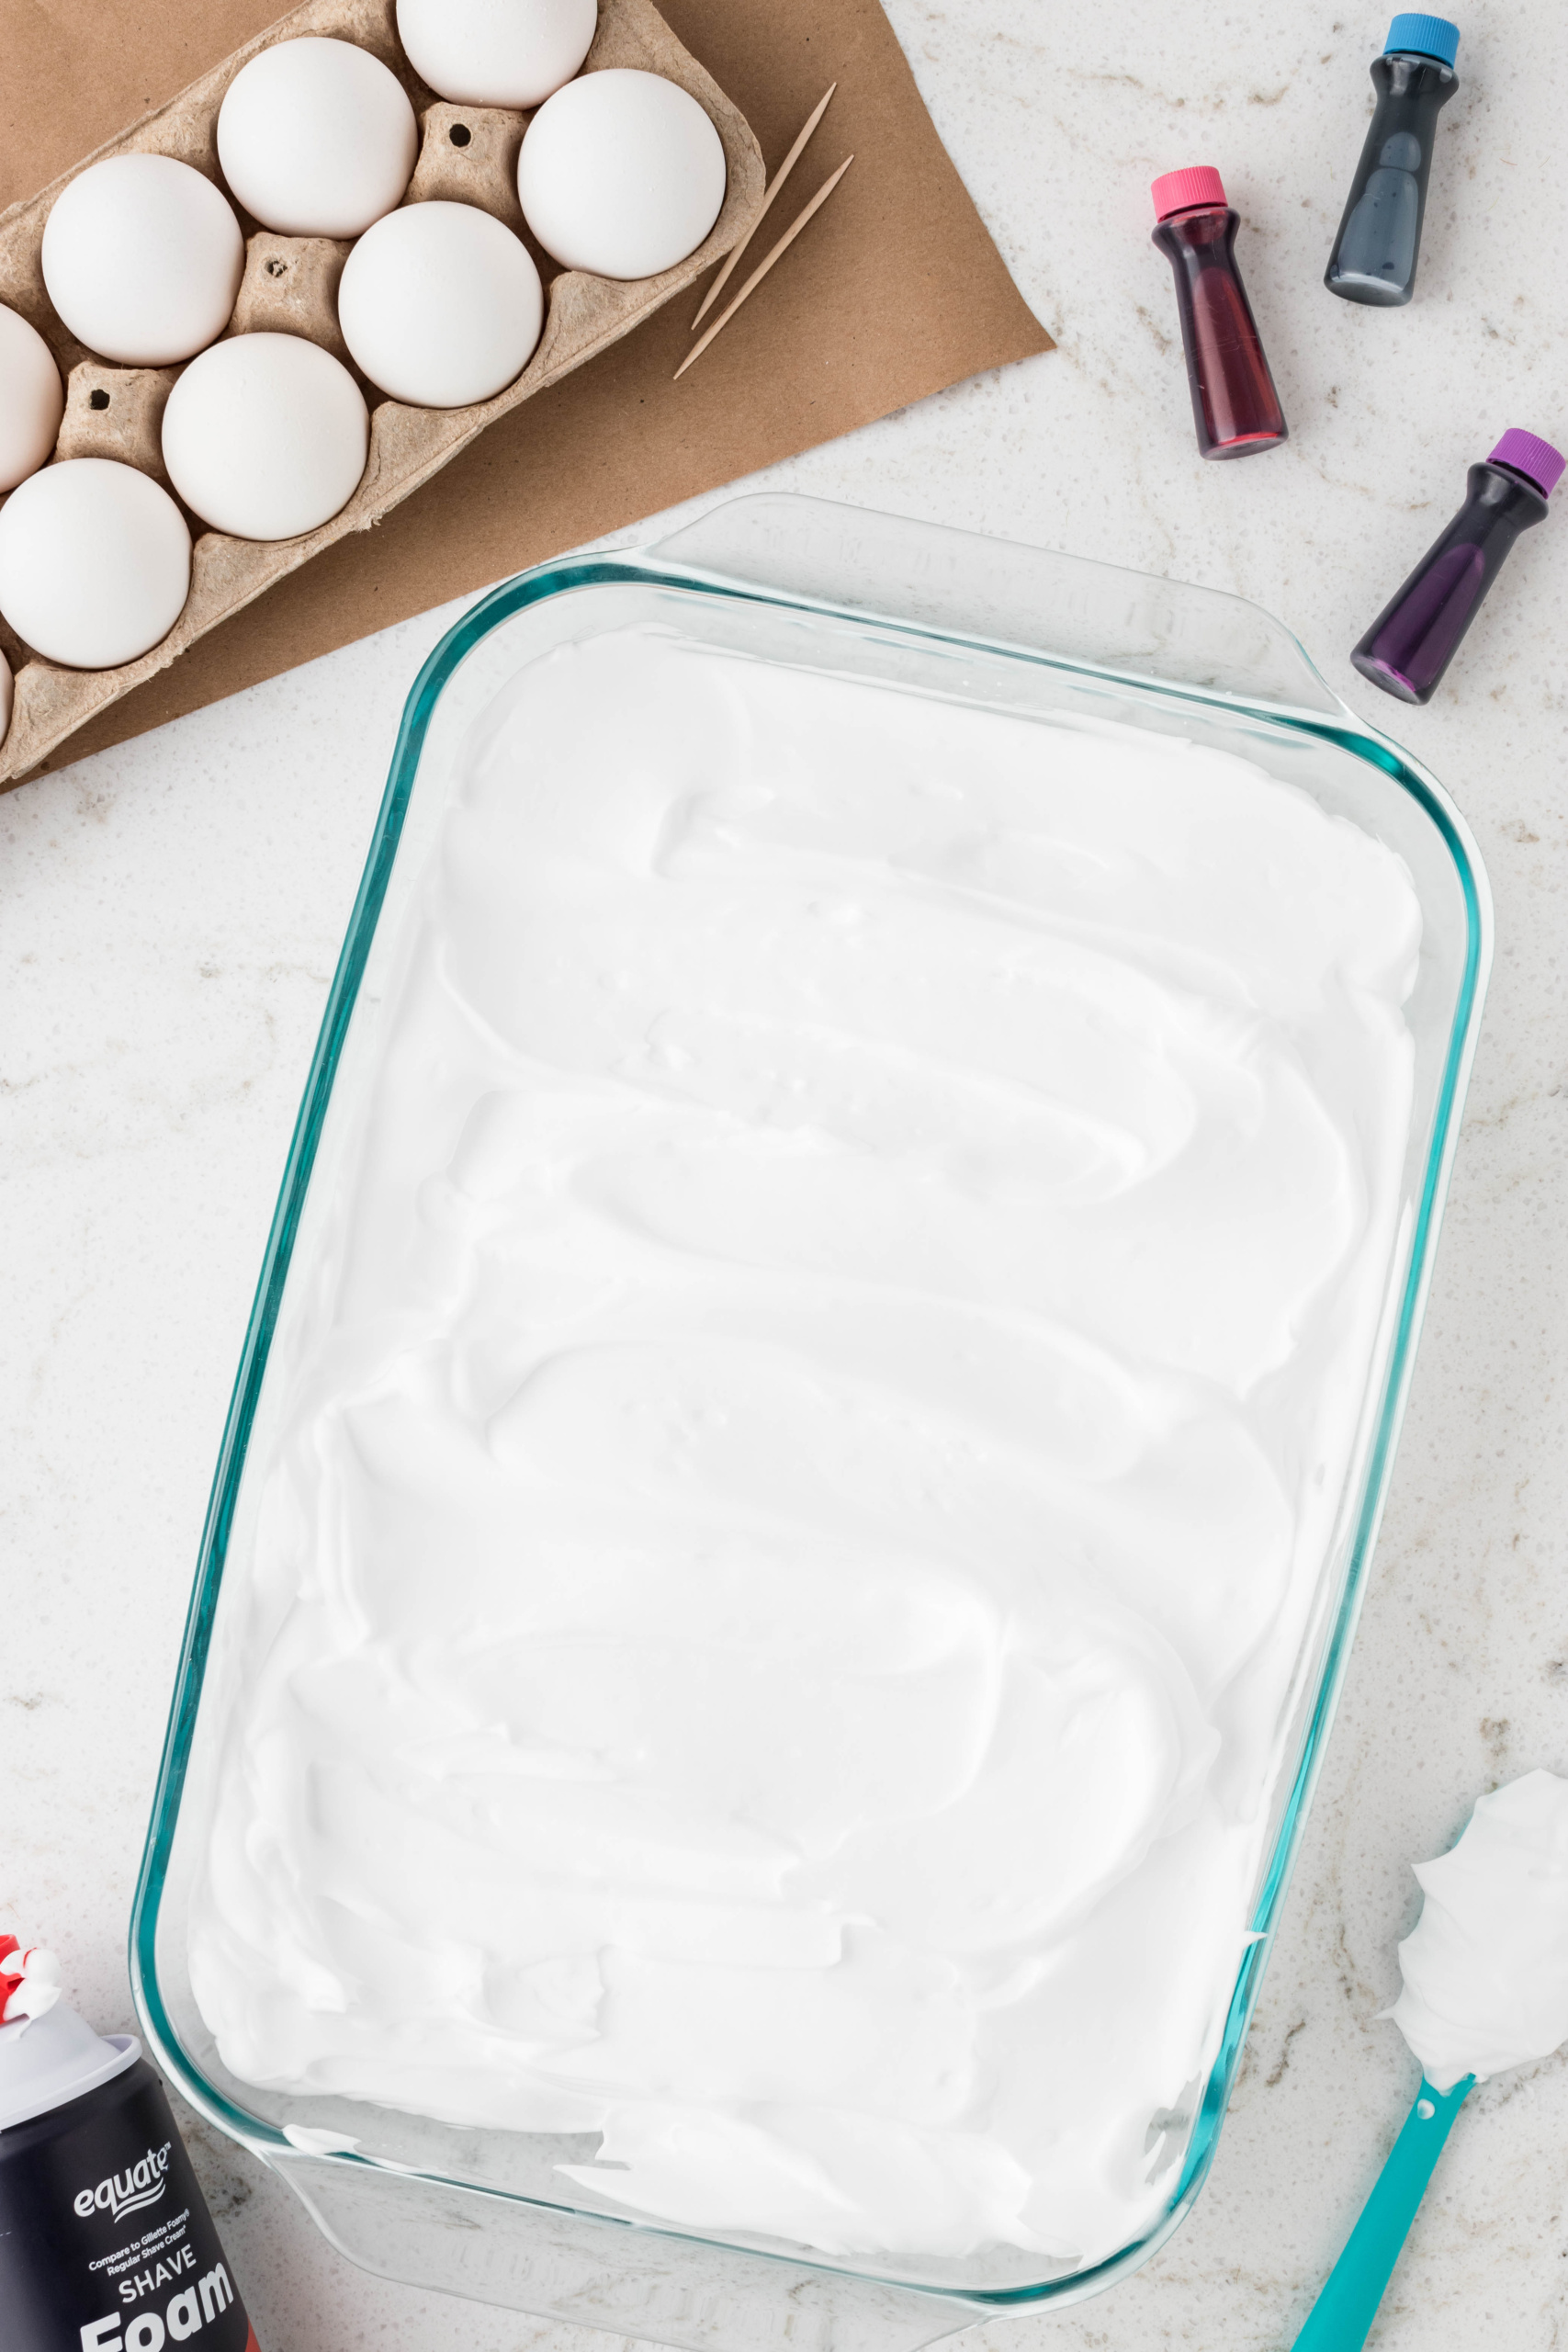
Fill a 9×13 glass baking dish with shaving cream, about an inch full. Use a rubber spatula to smooth out the shaving cream and create an even layer.
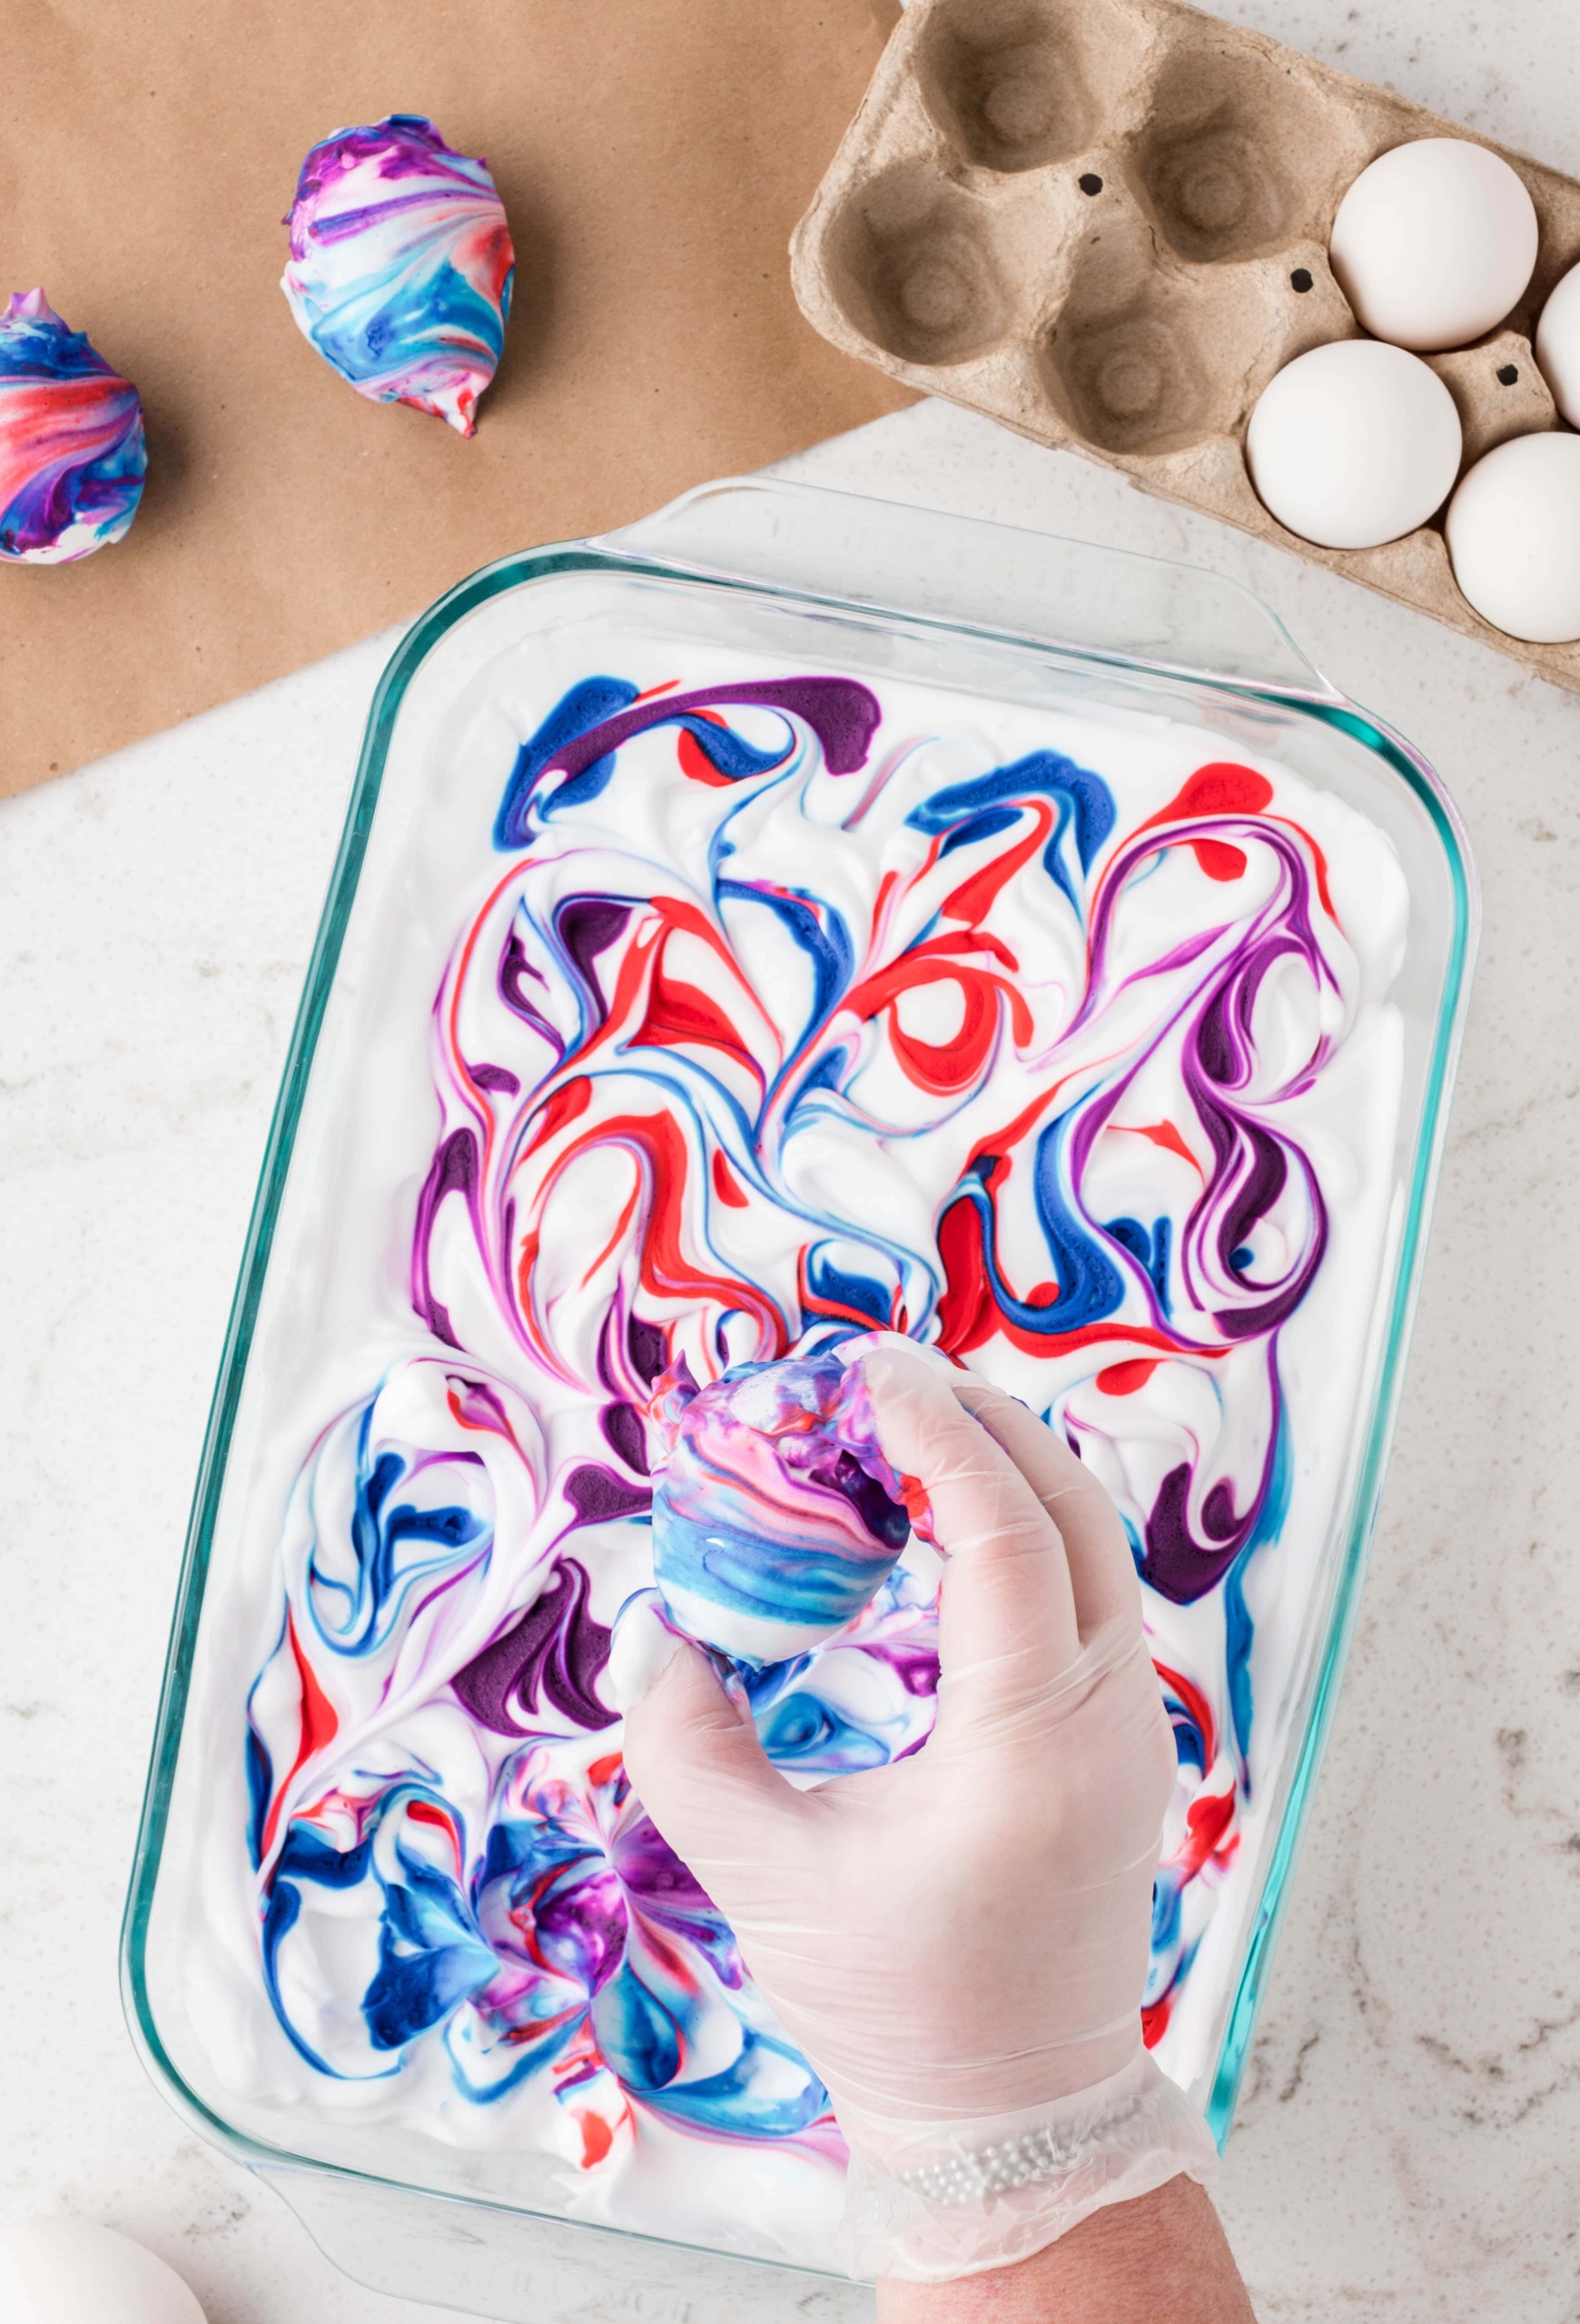
Grab the colors you want to use and drizzle them across the top of the shaving cream, Then, drag a toothpick, wooden skewer, or plastic knife across the food coloring to create a marbled effect.
Put on a pair of rubber gloves and grab a cooled hard boiled egg. Gently roll the egg around in the colored shaving cream to coat the entire egg. Once you like how it looks, set the egg onto the craft paper for 10 minutes.
While the color sets on the eggs, fill a large glass bowl with cool water to rinse the shaving cream off of the eggs.

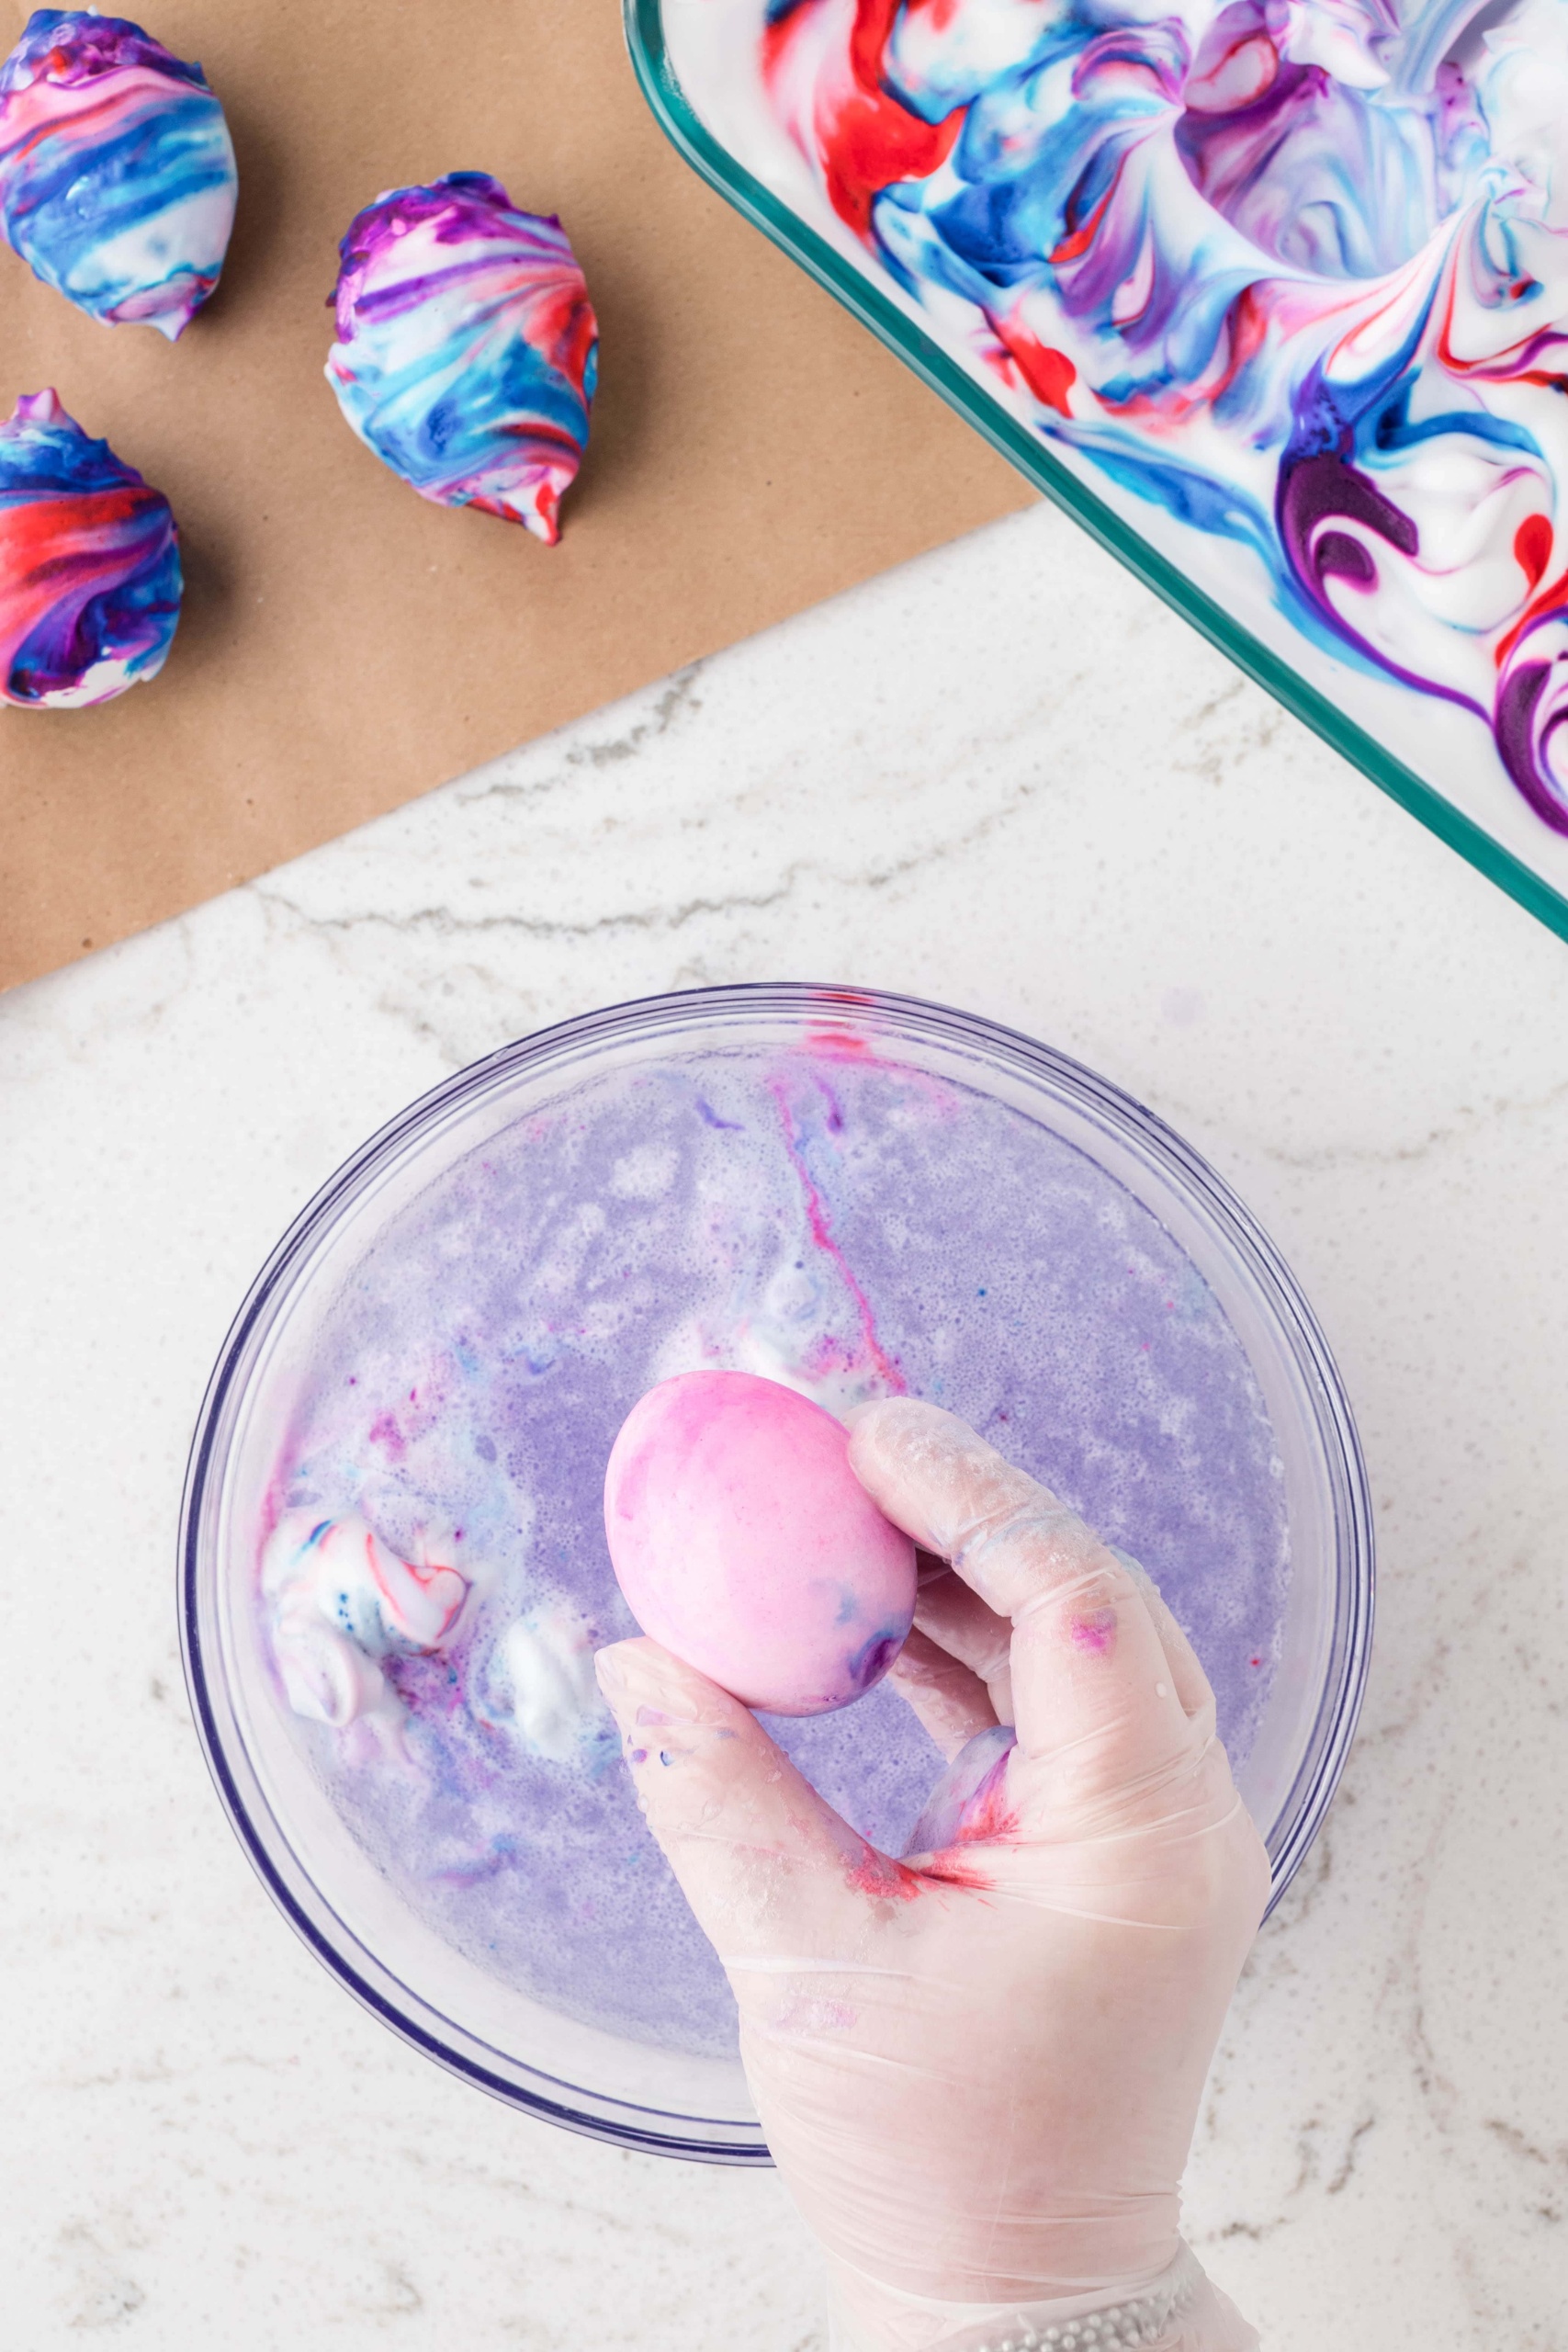

After about 10 minutes, dip each egg into the bowl of water to remove the shaving cream. Then, place each egg on paper towels to dry. Do not wipe the egg off, it will smear the color. Just allow it to sit and dry for 10 minutes.
Once dry, place them wherever you’d like to be displayed and enjoy!
Can you eat shaving cream easter eggs?
These eggs are not edible since shaving cream is used to color them. But they make an absolutely gorgeous Easter display!
What kind of shaving cream is best to dye eggs?
Any white foam shaving cream will work. Avoid any that have colored swirls in them or are gel based. They won’t work and the food coloring may not transfer to the eggs.
Pro Tips for the Best Shaving Cream Easter Eggs
- The longer you leave the shaving cream on the eggs, the more vibrant the color will be! So, don’t be in a rush to get all of the shaving cream off.
- Have some fun while you wait on the shaving cream to dry! Make Easter Basket Cupcakes before you start dyeing eggs and eat one as you wait for them to dry.
- Feel free to add some Easter themed stickers or glitter to these beautiful marbled eggs.
I hope you have a blast dyeing Easter eggs with shaving cream!
More Easter Activities and Recipes You’ll Love
- Want more shaving cream fun? Check out this Easter Egg Shaving Cream Painting activity!
- Easter Nest Haystacks are the perfect simple sweet treat to make!
- This Easter Egg Potato Stamp is a great activity to do with young children.
- Need a quick printable activity, these Easter Coloring Pages are perfect.
Shaving Cream Easter Eggs
Ingredients
- 12 hard-boiled eggs
- 13 x 9-inch glass baking dish
- Foam shaving cream
- Food coloring liquid drops (pink, blue, purple)
- Toothpick or wooden skewer
- Disposable gloves
- Craft paper
Instructions
- Let’s start by filling a 13 x 9-inch glass baking dish with an inch of shaving foam. Use a rubber spatula to smooth the shaving cream out evenly.
- Next, grab your favorite colors of food coloring drops and drizzle them over the shaving cream. We used pink, blue, and purple! Drag a toothpick or wooden skewer through the food coloring to create a fun design.
- It’s time to wear rubber gloves! Grab a hard-boiled egg and roll it in the shaving cream. Coat the entire egg. Once satisfied with the design and color, gently set the shaving foam-covered egg onto craft paper. Allow color to set for 10 minutes.
- While you allow the color to set on the eggs, prepare a large glass bowl with cool tap water for rinsing the shaving cream from the eggs.
- Once the color dries, dip each egg in the water to remove the shaving cream. Then place them on a paper towel to dry. Don’t rub the colored egg; it could smear the colors. Allow at least 10 minutes for drying time.
- Your eggs are ready for a beautiful Easter centerpiece! ENJOY!