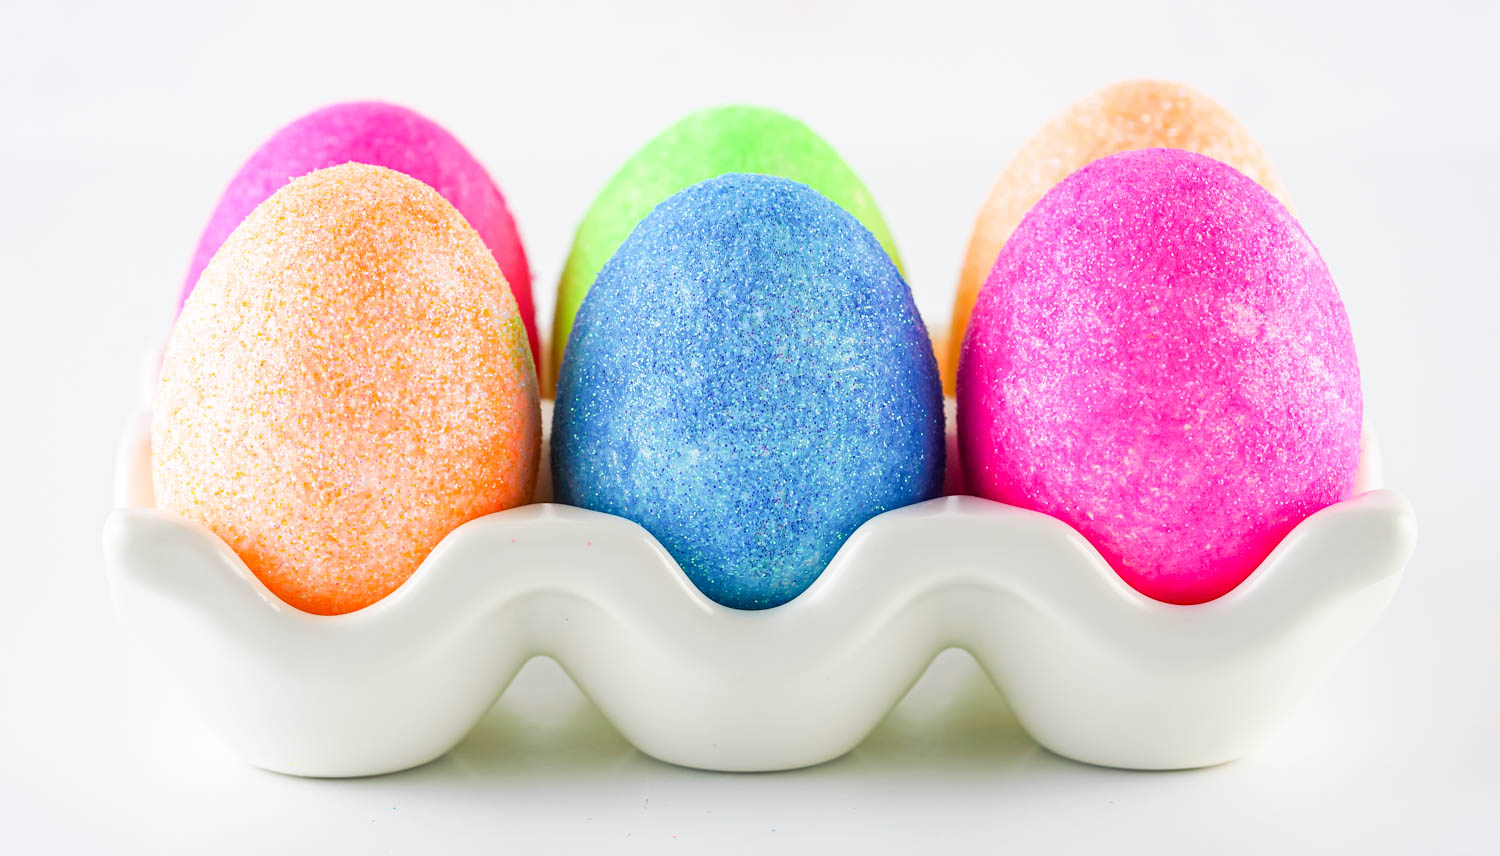
Glitter Easter Eggs
Learn how to dye Glitter Easter Eggs! That’s right, you can make your dyed Easter Eggs super cute with glitter. Tips and tricks to get the perfect glitter egg in festive colors.
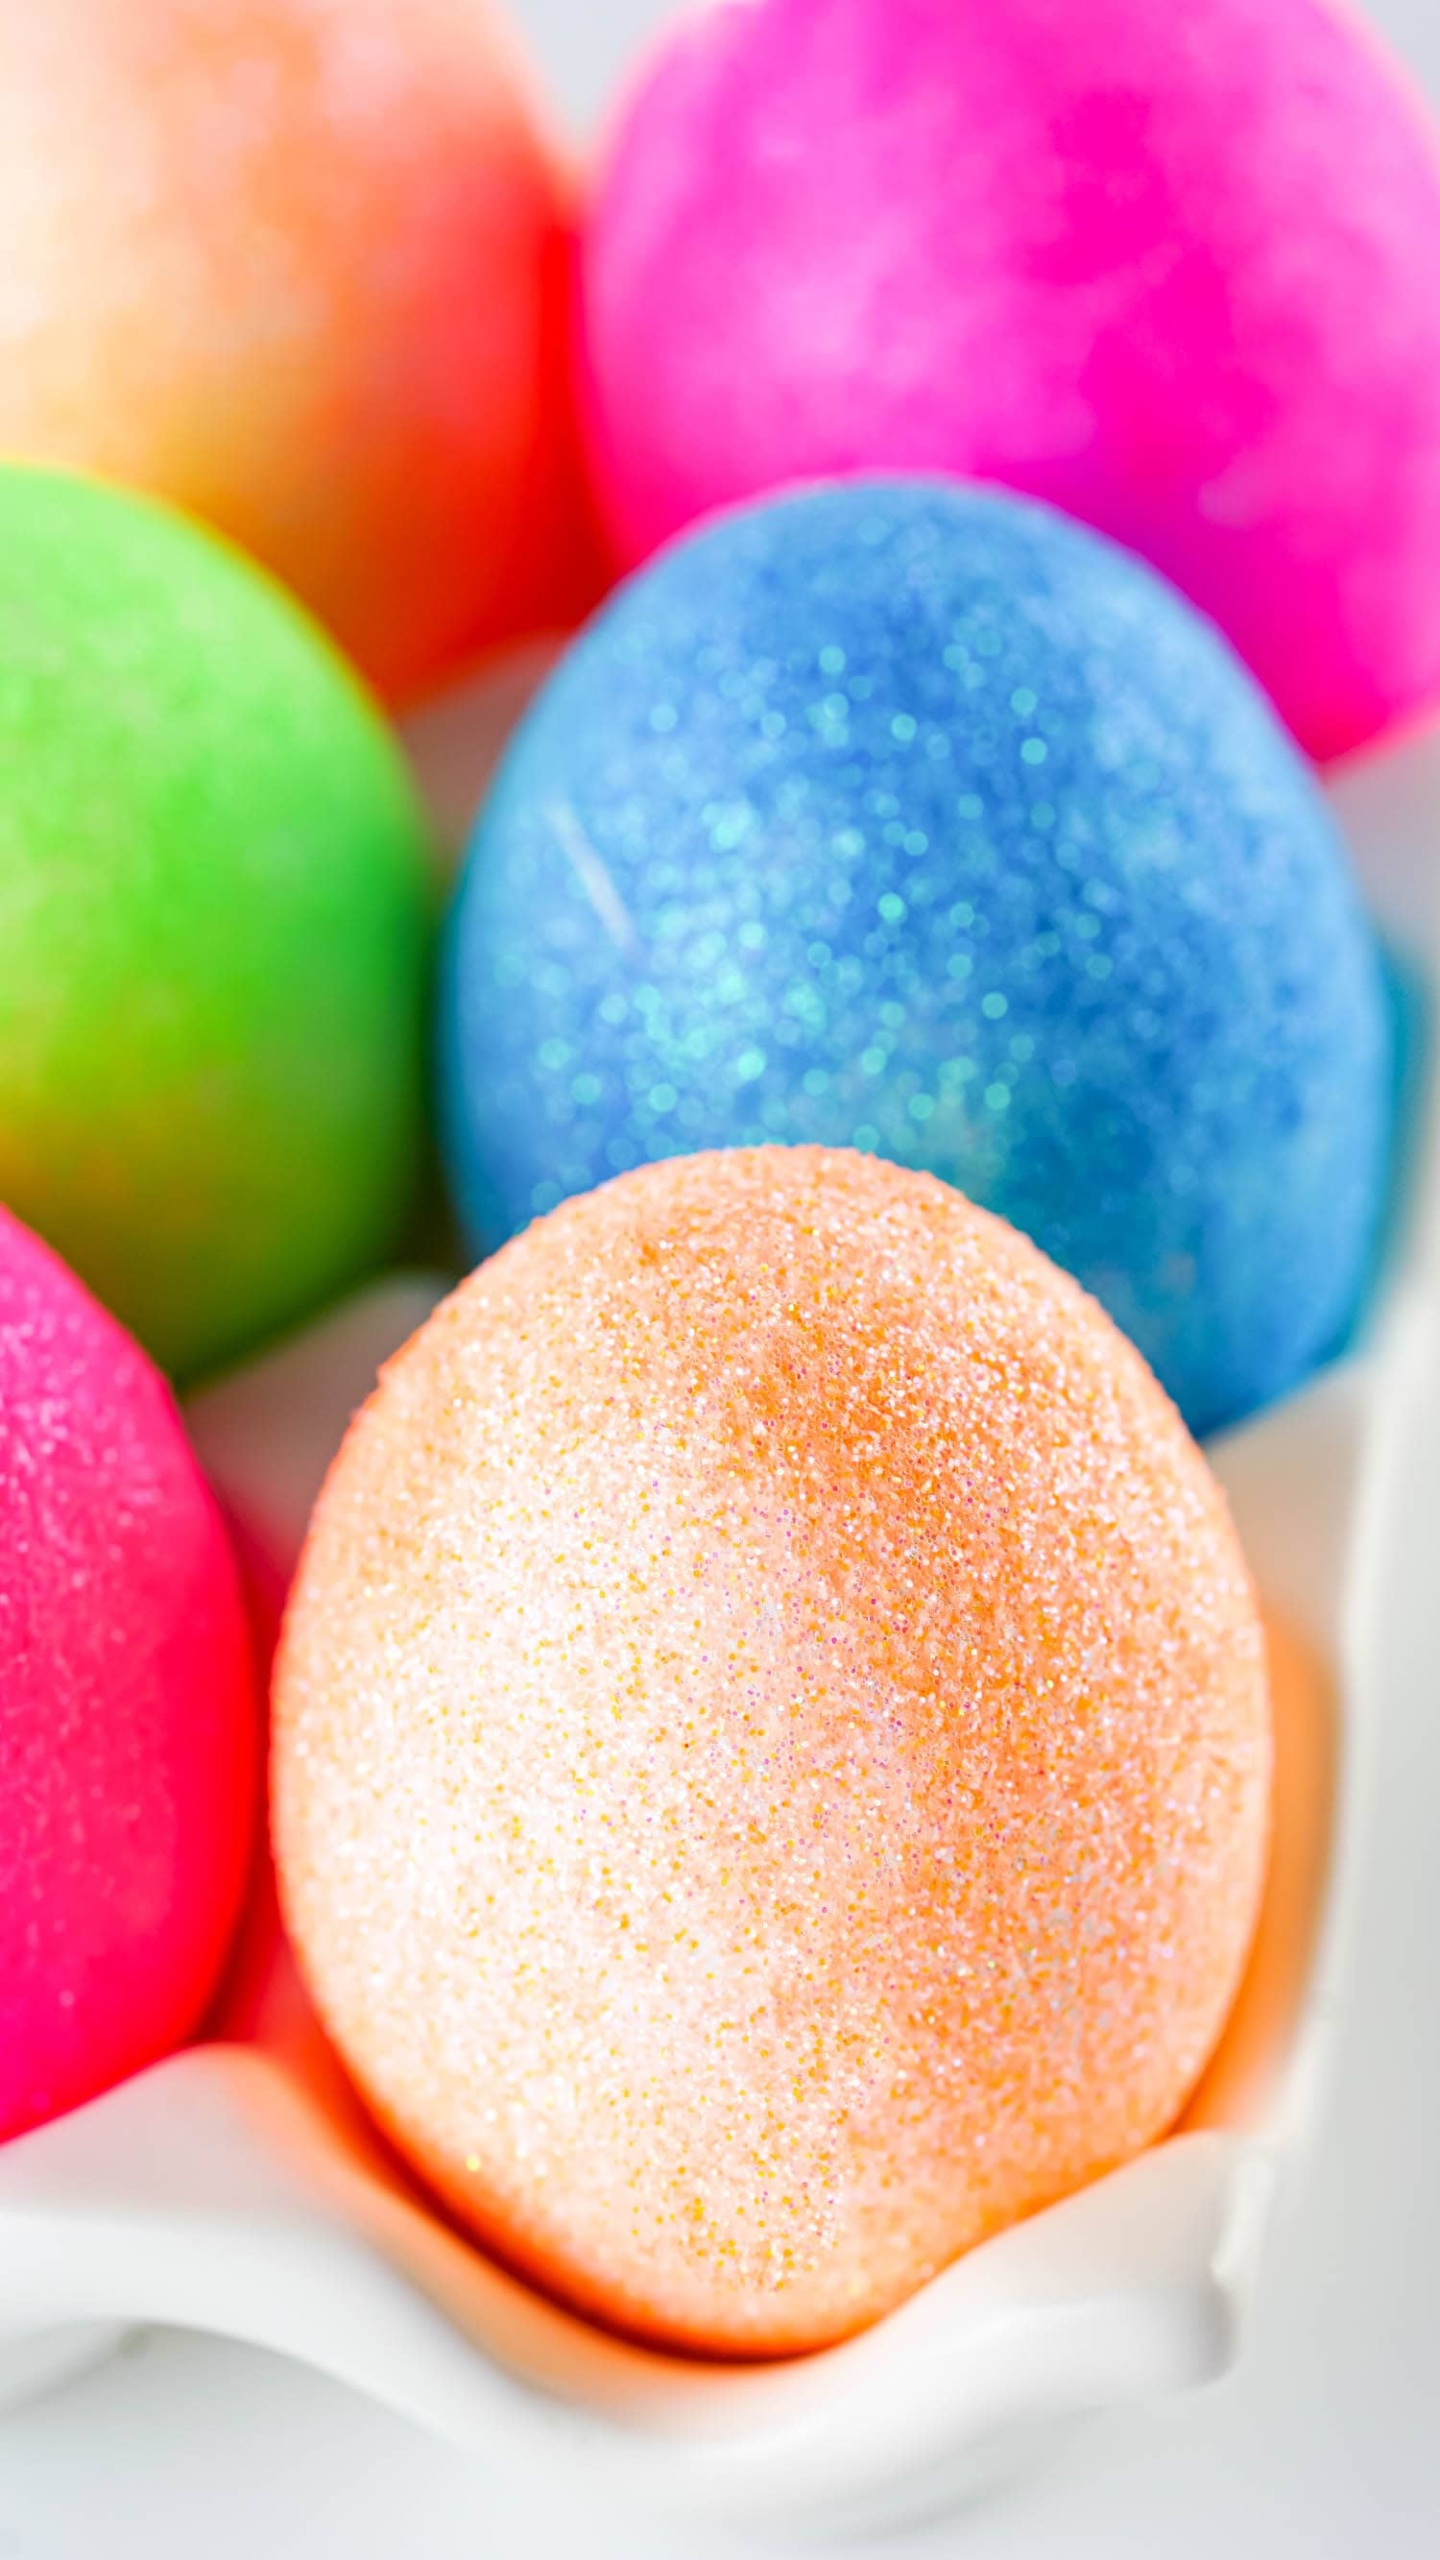
Glitter make everything better, right? And that includes Easter eggs! These super fun glitter easter eggs are really easy to make and look so pretty. This is also a really affordable activity. You only need a few supplies to complete this craft and it won’t take you too much time either. Truly a win, win!
I love to dye eggs with fabric, with rice, and with glitter to have a variety of textures, colors, and looks! It’s just so much fun. The kids love our family tradition of dyeing eggs each year, so I love doing a variety of different method to keep it interesting.
Why You’ll Love Glitter Easter Eggs
- These glitter Easter eggs make a fabulous DIY centerpiece for your brunch table or dessert table.
- This activity is great for kids of any age to get involved and help make glitter eggs.
- It will only take about 30 minutes to complete these DIY glitter easter eggs.
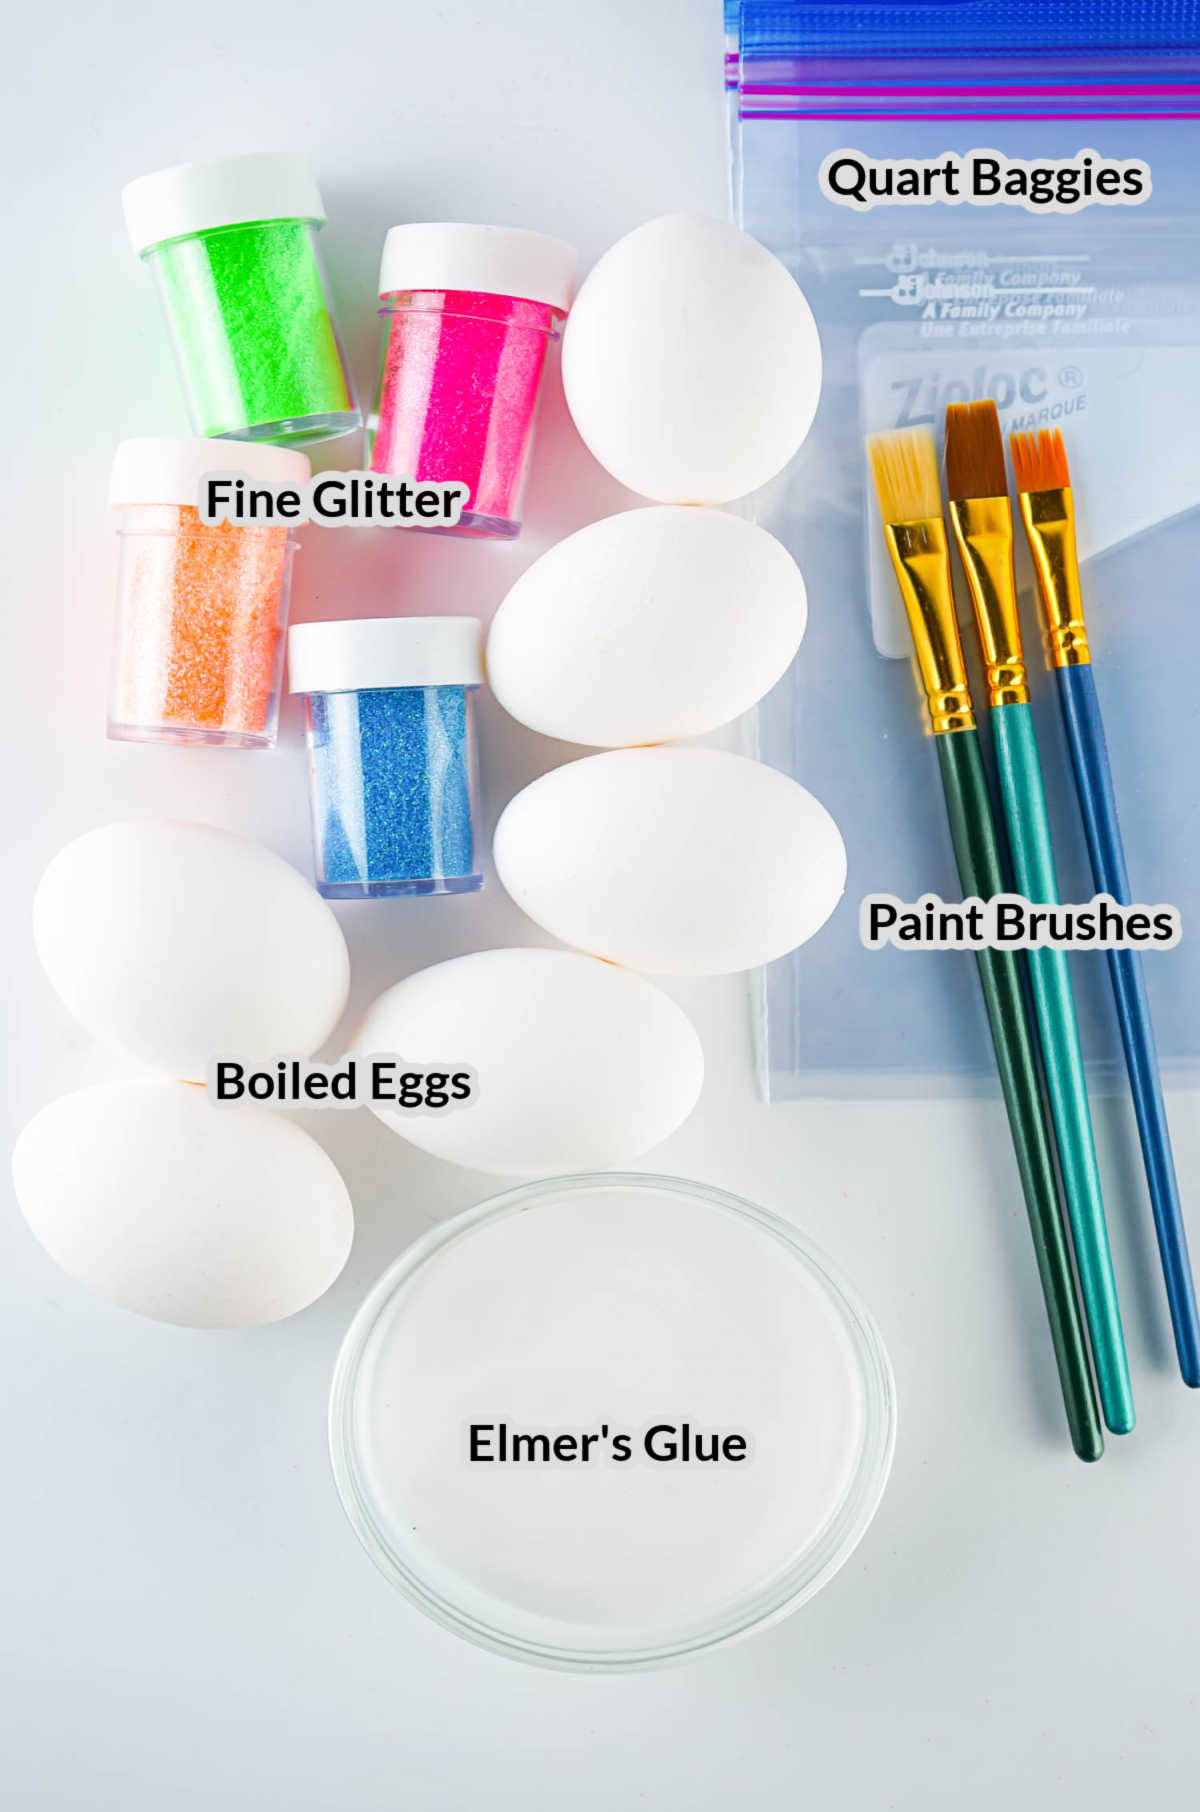
Supplies Needed to Make Glitter Easter Eggs
- Boiled Eggs – If you have trouble making good boiled eggs, try out this method and you’ll make the perfect hard boiled eggs.
- Elmer’s Glue – I used Elmer’s glue, but any liquid craft glue will work to make glitter eggs.
- Paint Brushes – You’ll need a few simple paint brushes to complete this activity.
- Fine Glitter – You can find fine glitter at your local craft store or on the craft aisle at your local Walmart.
- Quart Baggies – Any size plastic bag will work but I like to use quart size freezer bags.
- Small Bowl – I recommend using a disposable plastic bowl to hold your glue.
- Optional: Hairspray – You can spray your eggs with hairspray to set the glitter and help seal it onto the eggs.
How to Make Glitter Easter Eggs
Before you begin, make sure your hard boiled eggs are fully cooled and completely dry.
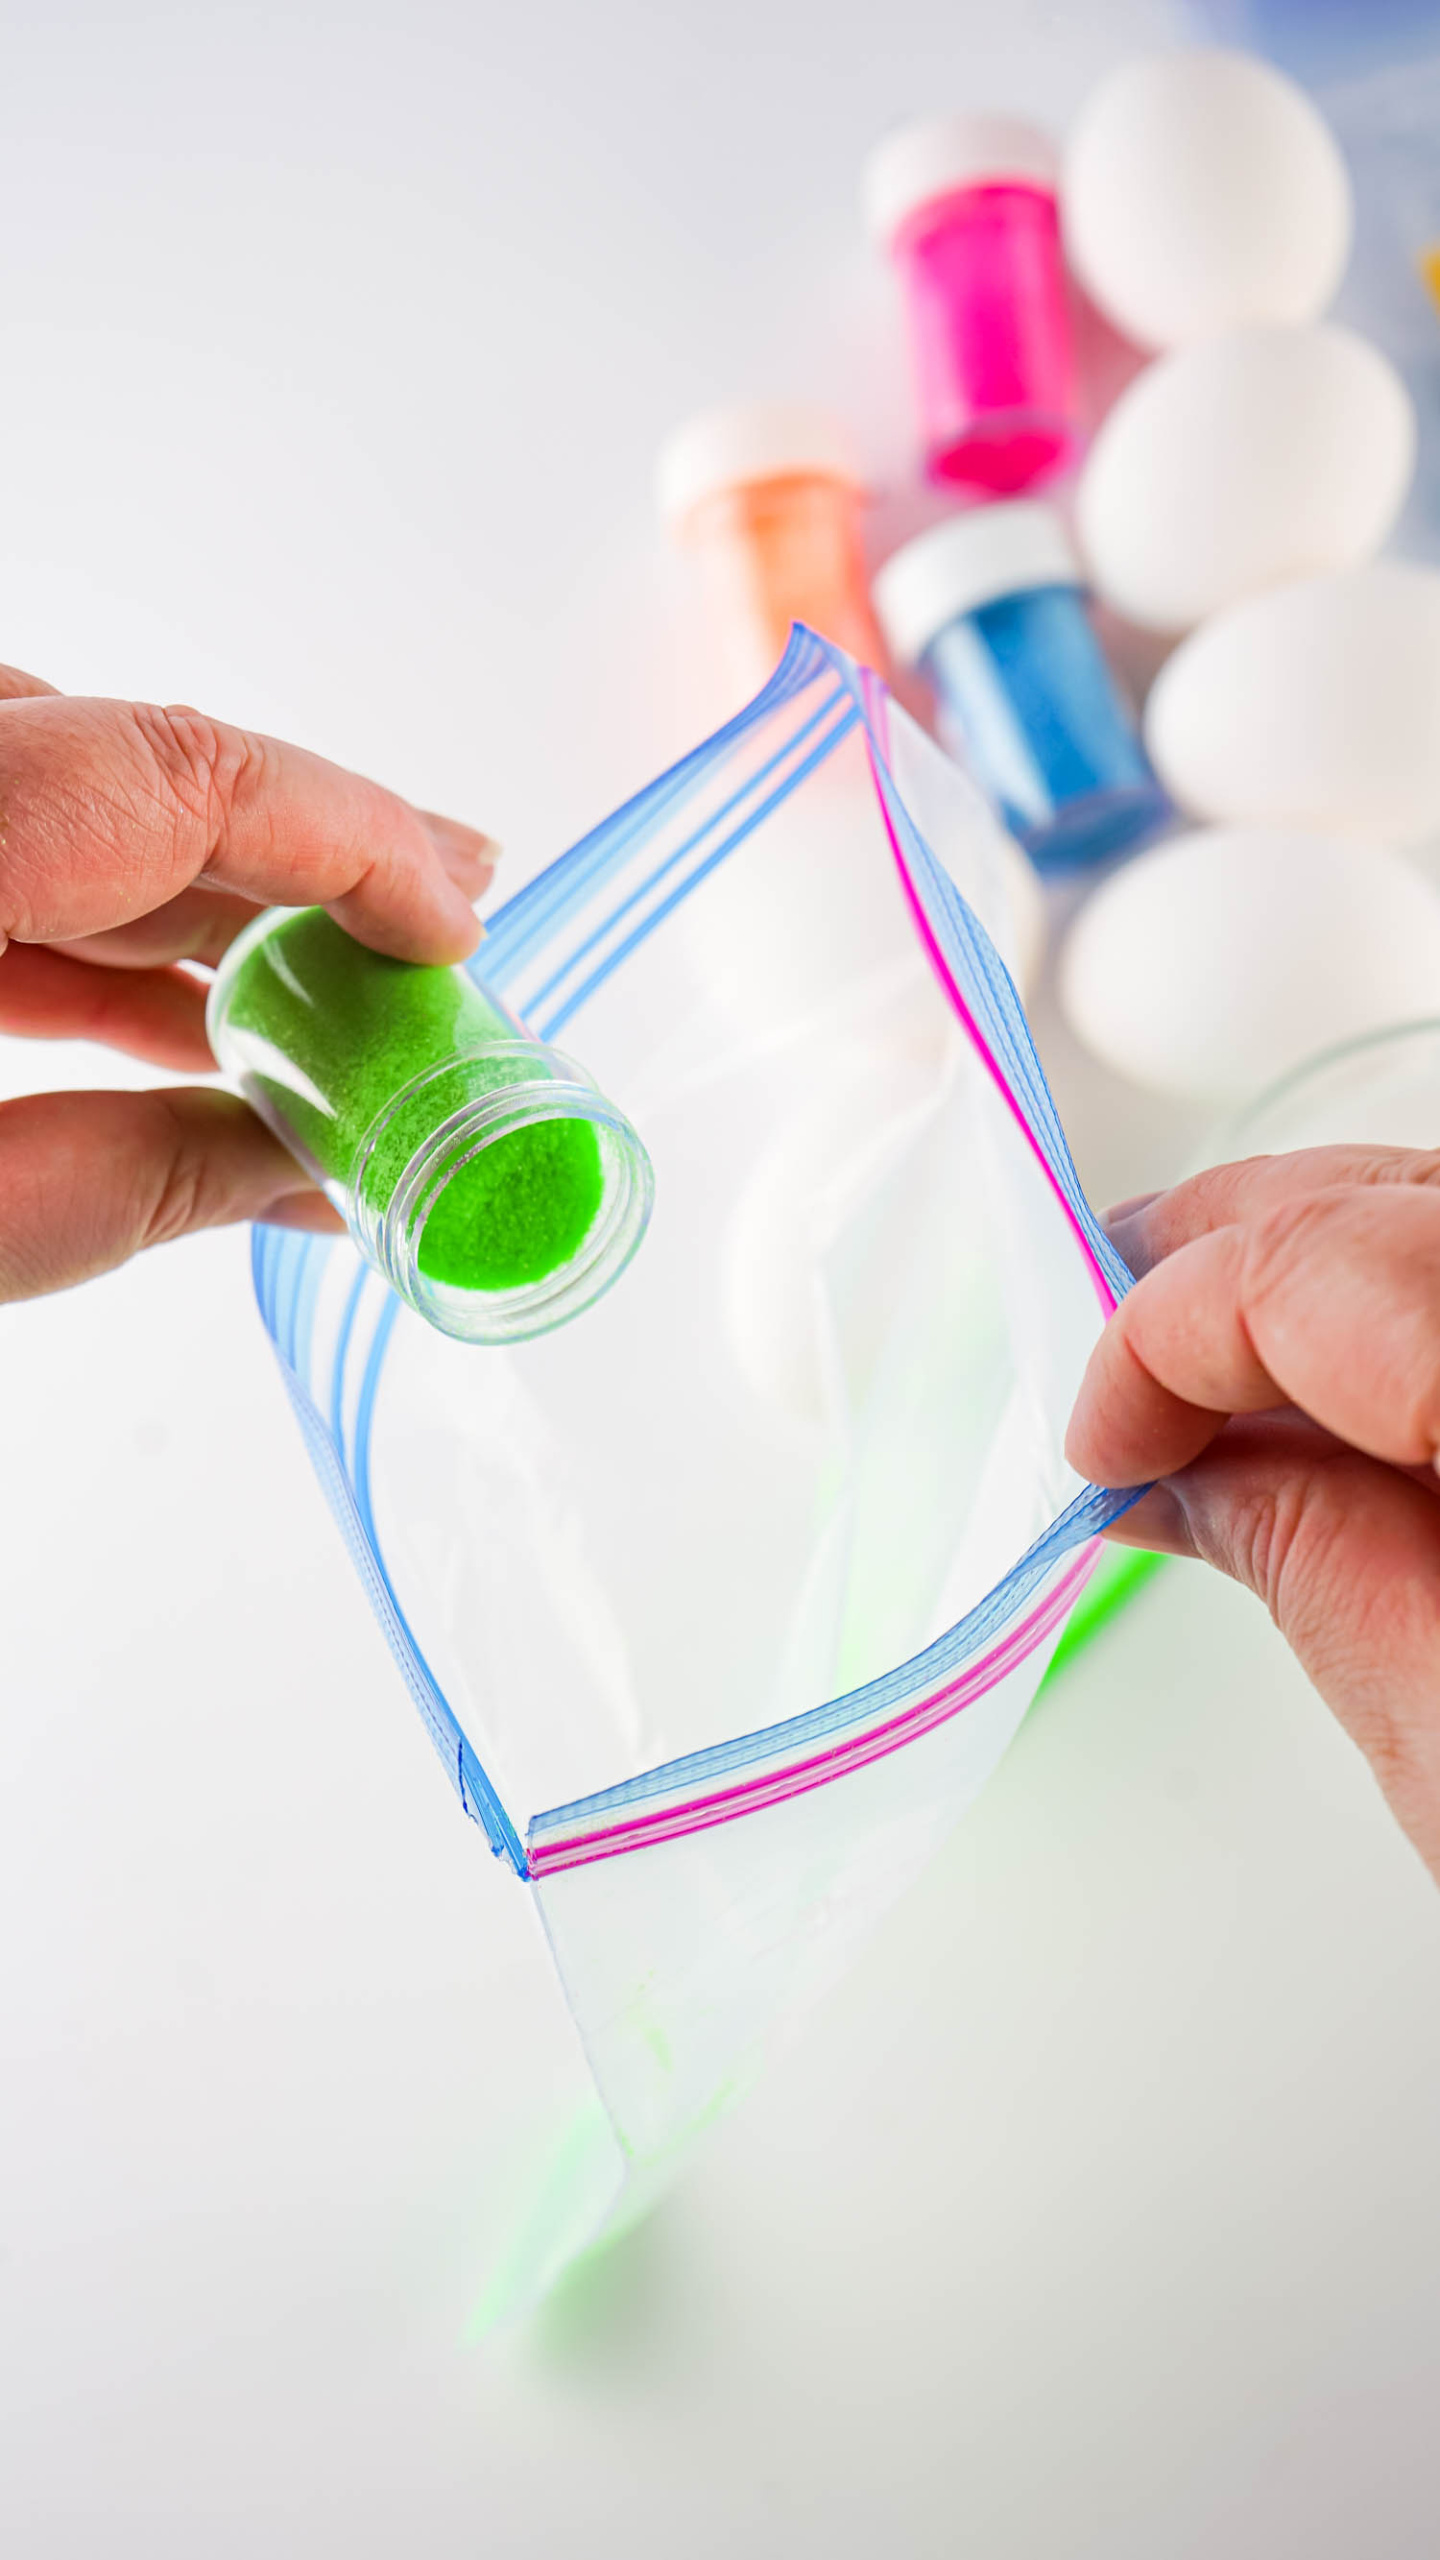
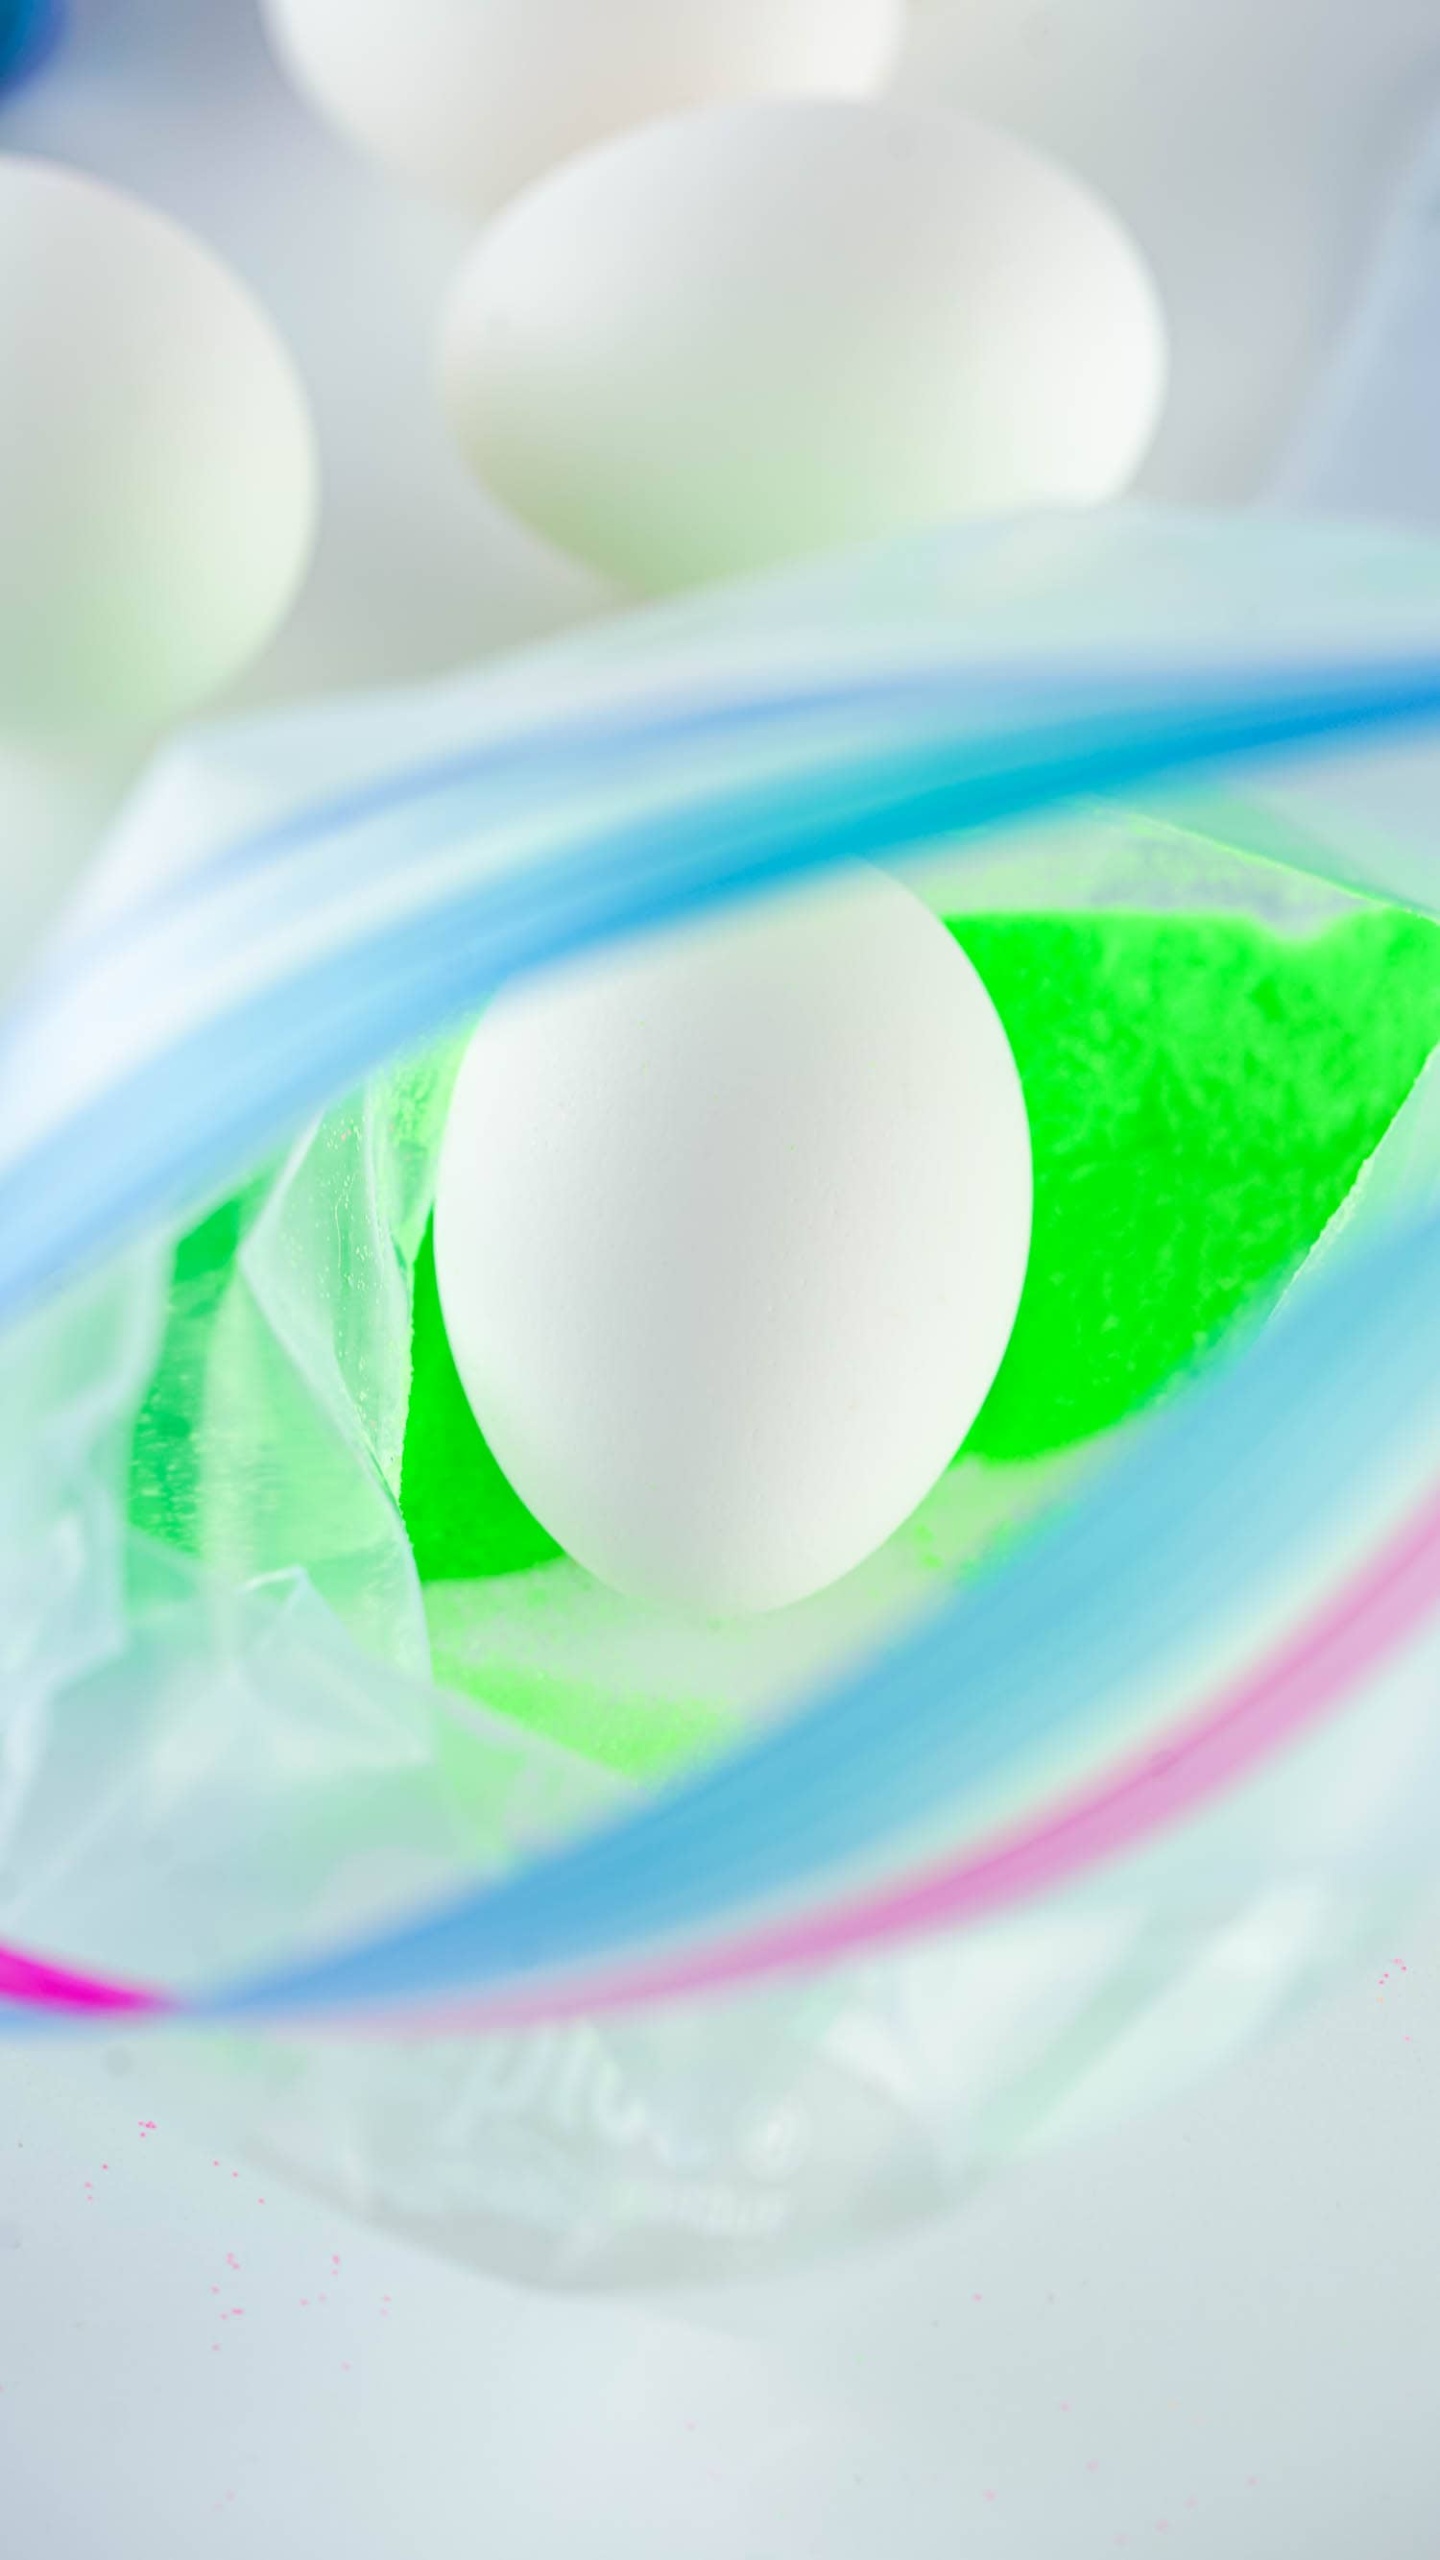
Take your Ziplock bags and pour glitter of each color into each bag.
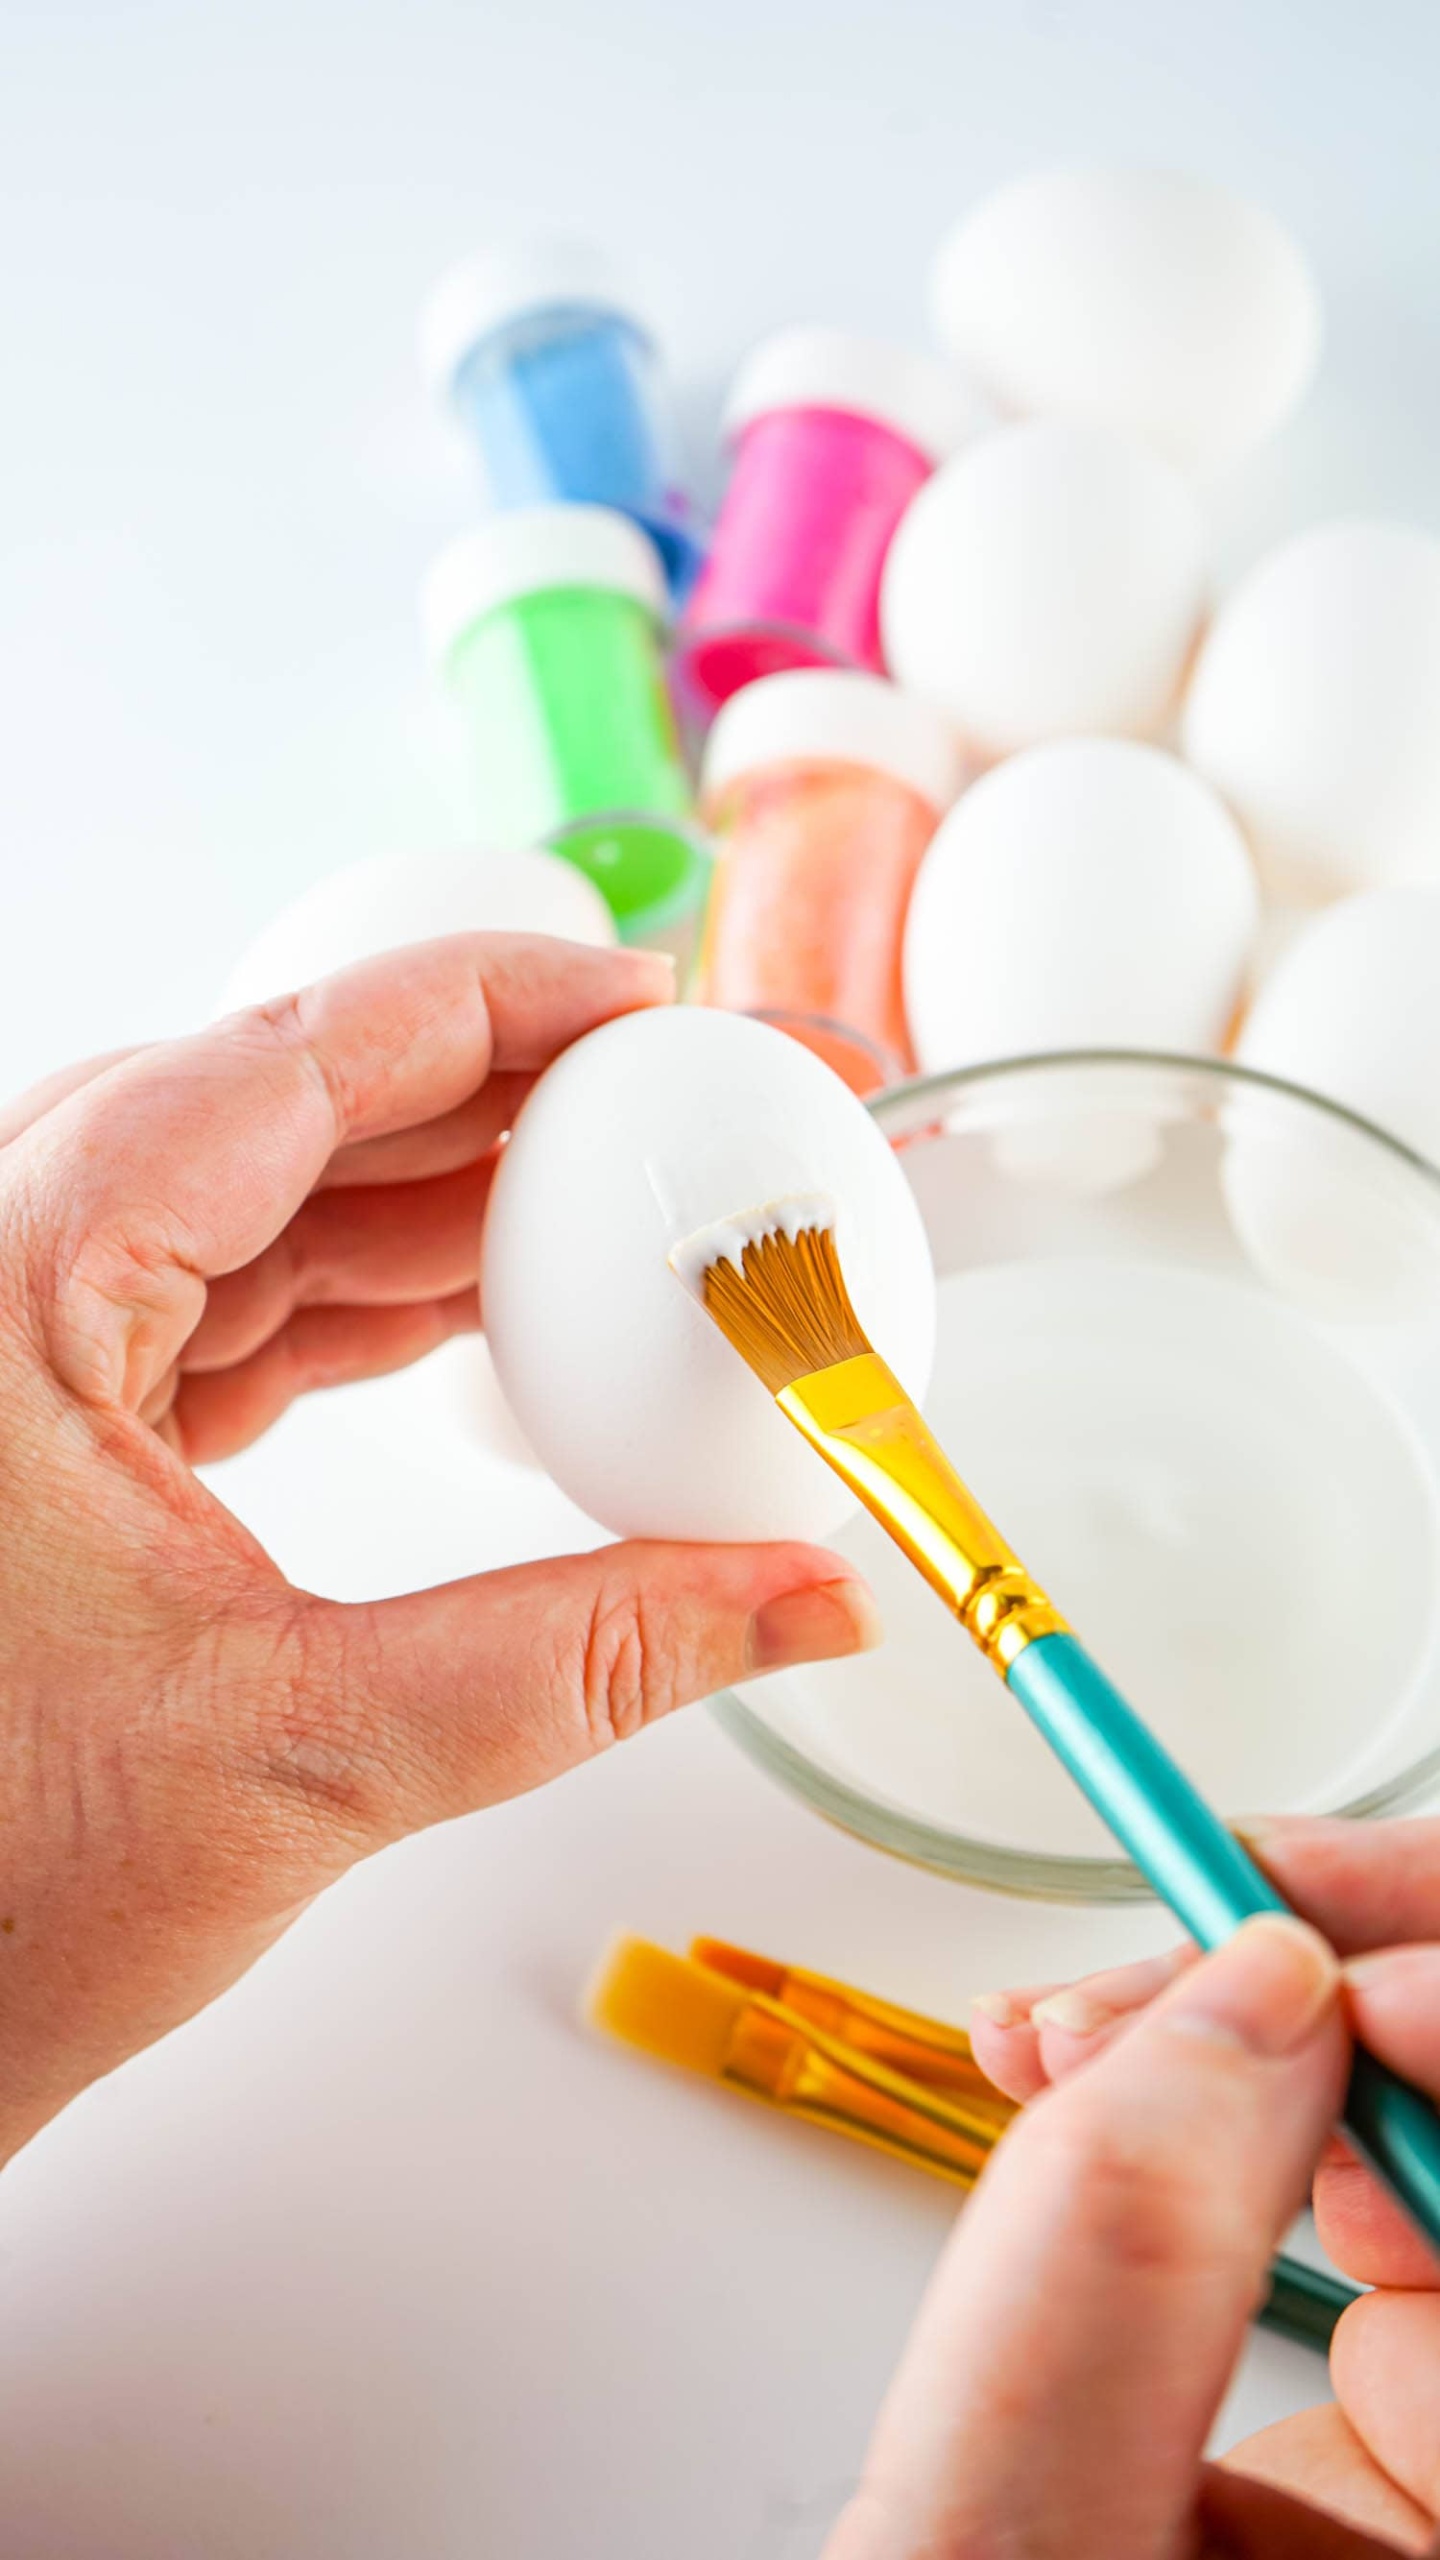
Pour glue into a small mixing bowl. Using a paint brush, paint glue onto an egg being sure to completely cover the surface.
Place the egg in the bag of glitter and very gently roll it around inside the bag. Try to avoid scraping the egg against the bag.

Allow the egg to sit in the bag for 2 minutes, and then gently remove it. If there are any spots that glitter did not cover, paint them with glue and place the egg back in the bag of glitter and repeat the process.
Once the egg is completely covered in glitter, spray it with hairspray to prevent the glitter from shedding. Set the glitter eggs on a paper towel to dry, at least 8 minutes.
Repeat this process until all of the hard boiled eggs are covered in glitter.
Can I use chunky glitter?
You can, but the coverage won’t be as good. Fine glitter will adhere better to the glue and ensure an even coverage and no holes left in the glitter.
Can I eat these eggs?
Technically, you can if you want…though you may ingest some glitter! Since the glitter and hairspray is all on the shell that can be removed, it’s ok to eat them. Just rinse the peeled eggs before you do.
Pro-Tips When Learning How to Make Glitter Easter Eggs
- Make sure your layer of glue is not thick and goopy. Just have a thin layer of glue on each egg.
- You can use any type of eggs you’d like. Brown or white will work, so just find the cheapest ones and have fun!
- Don’t forget the hairspray! It really cuts down on the amount of glitter shedding that happens. It’s my favorite trick. Don’t try to paint an extra layer of glue of the glitter in place of the hairspray though. It makes a thick and goopy mess!
I love glitter Easter eggs! They’re the perfect, sparkly, way to celebrate the fun of Easter.
More Easter Eggs Activities You’ll Love
- Dyeing eggs with rice is really fun! They turn out with a really cool textured pattern that’s unique to each egg.
- It’s really fun to Dye Easter Eggs with Shaving Cream! Try it out this Easter.
- You should learn how to dye eggs with fabric! It’s really cool and a great way to change up the look of your Easter eggs.
- This Easter Egg Shaving Cream Painting is a great alternative to dyeing eggs.

Ingredients
Instructions
- Make sure your hard boiled eggs are completely dry. Set aside.
- Pour liquid glue into a small bowl.
- In a small Ziploc bag pour some of each color of glitter. Do not mix the colored glitter.
- Paint the liquid glue onto an egg with a paintbrush making sure to completely cover the egg.
- Gently place the egg covered in glue into the bag of glitter. Roll the egg around in the glitter gently trying to avoid scraping the egg against the bag.
- When the egg is covered in glitter let it lay in the bag for 2 minutes then gently remove the egg from the bag.
- If there are any places on the egg that weren't covered with glitter gently apply glue in those spots, place back in the bag of glitter and repeat the process.
- When the egg is completely covered in glitter spray it with hair spray to prevent the glitter from shedding as much. Set it on a piece of paper towel and let it dry for at least 8 minutes.
Notes
- Make sure your layer of glue is not thick and goopy. Just have a thin layer of glue on each egg.
- You can use any type of eggs you’d like. Brown or white will work, so just find the cheapest ones and have fun!
- Don’t forget the hairspray! It really cuts down on the amount of glitter shedding that happens. It’s my favorite trick. Don’t try to paint an extra layer of glue of the glitter in place of the hairspray though. It makes a thick and goopy mess!