Salt Dough Easter Eggs
Salt Dough Crafts are always a fun craft for any holidays. These Salt Dough Easter Eggs are perfect for Easter and decorating your Easter Tree if you have one! Don’t have an Easter Tree? You can hang these around as Easter decorations, give them as gifts to friends and family and so much more. The kids will have a blast making the salt dough and decorating them.

Looking for a fun and cute Easter Craft to do as a family? These Salt Dough Easter Eggs are just what you need! They are so fun to make and decorate.
Simply make your salt dough that requires only three ingredients. Roll it out, cut out the Easter Eggs, let them bake or dry out and decorate.
These Easter Egg Ornaments are the perfect keepsake to make with kids!
If you want to do these in the classroom they are also a great craft project. You can either make the salt dough eggs ahead of time and decorate them as a class or make it a project over a week and have the kids do a little each day!
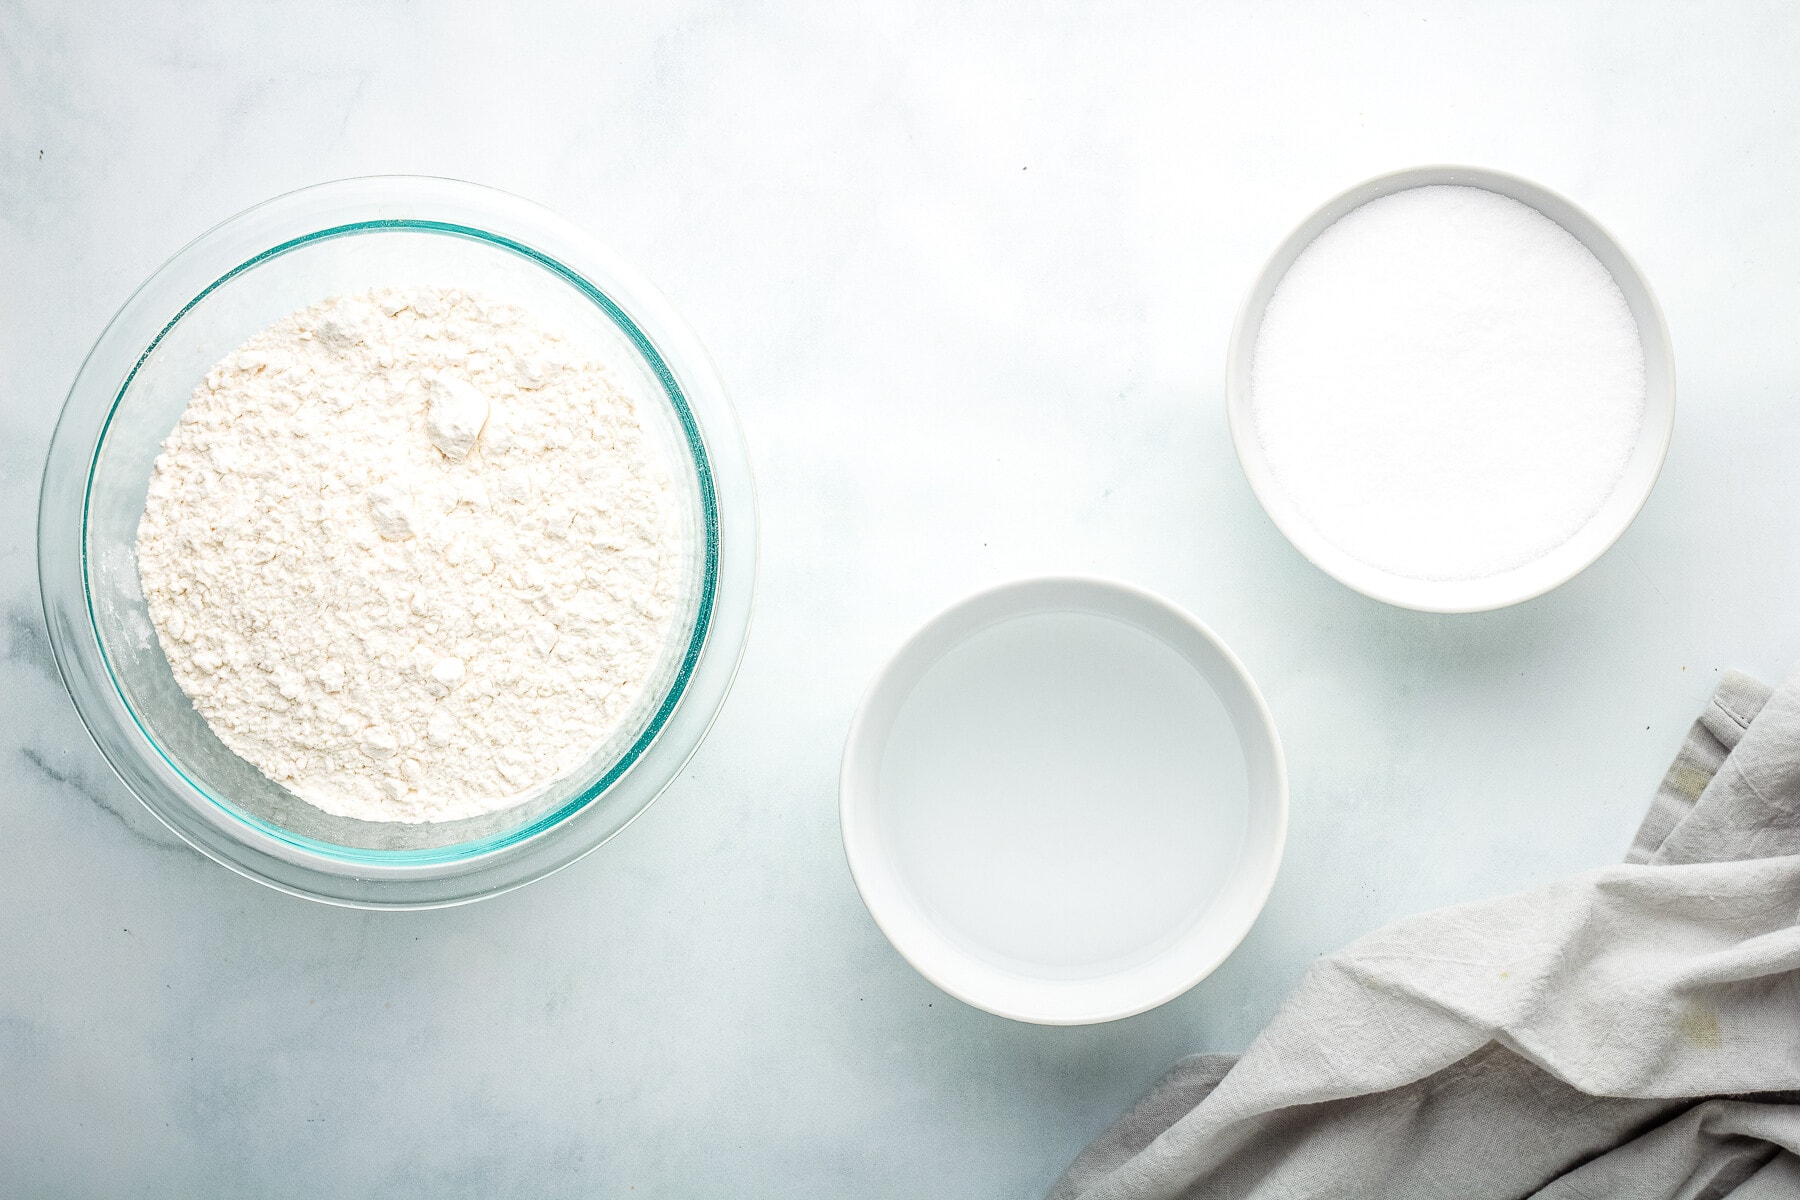
Only 3 Ingredients!
- Salt
- Water
- Flour
That’s right, to make this easy Easter craft you’ll only need those three ingredients plus the supplies listed below. I bet you have them all in your pantry already!
Supplies Needed
Steps to Make Salt Dough Easter Eggs!
These Easter Eggs take a little bit of time while they bake and cool, but it’s totally worth it. We like to Dye Easter Eggs while they are baking and cooling!
Prepare Dough
Line a sheet pan with parchment paper. Preheat the oven to 250 F.
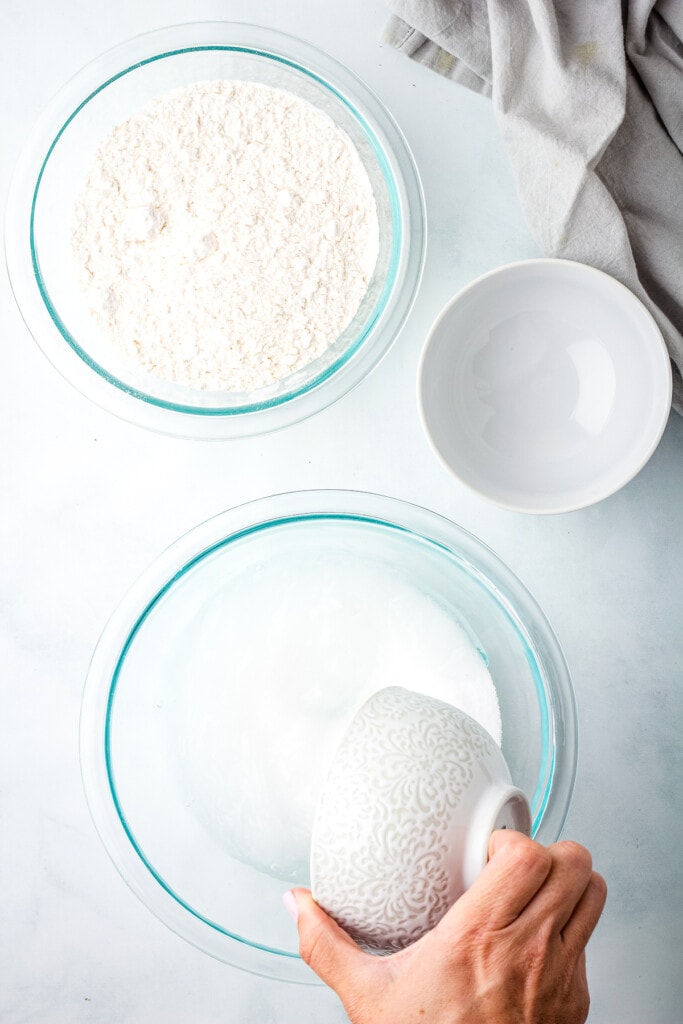
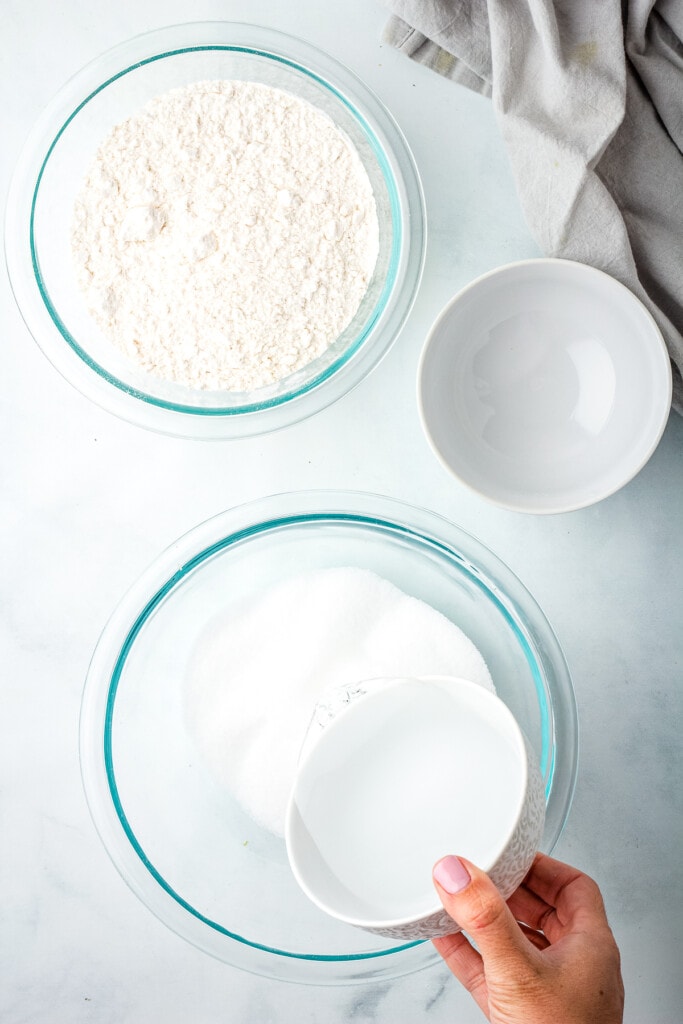
In a medium mixing bowl, stir together the salt.
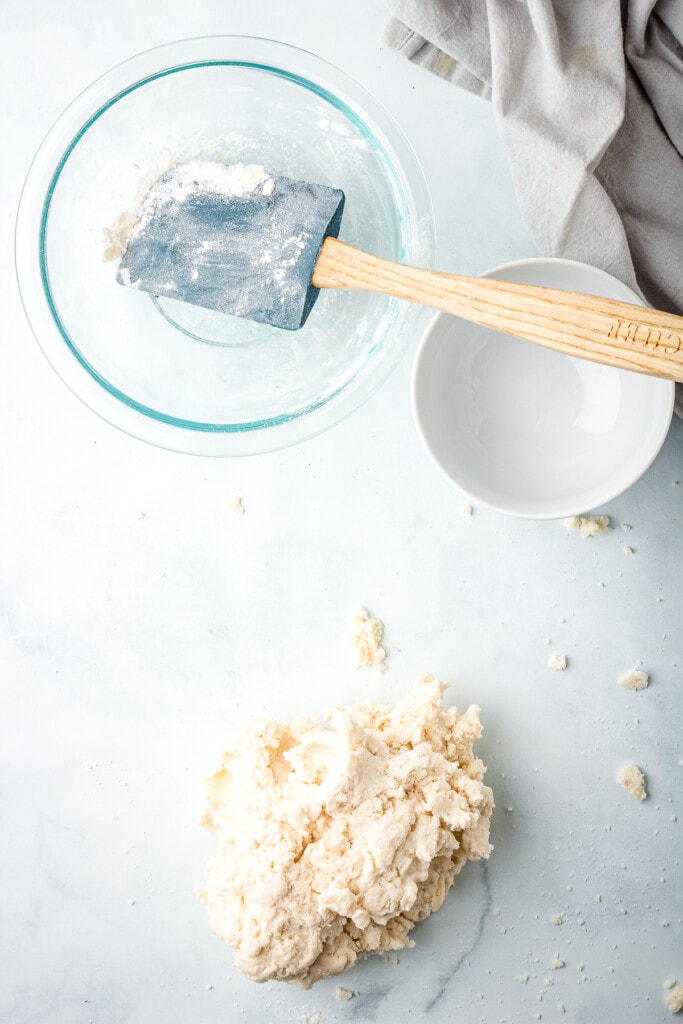
Stir the flour in, and once it starts to come together, take it out of the bowl and kneed it until it is soft and playable for about 10 minutes.

Cut Out & Bake
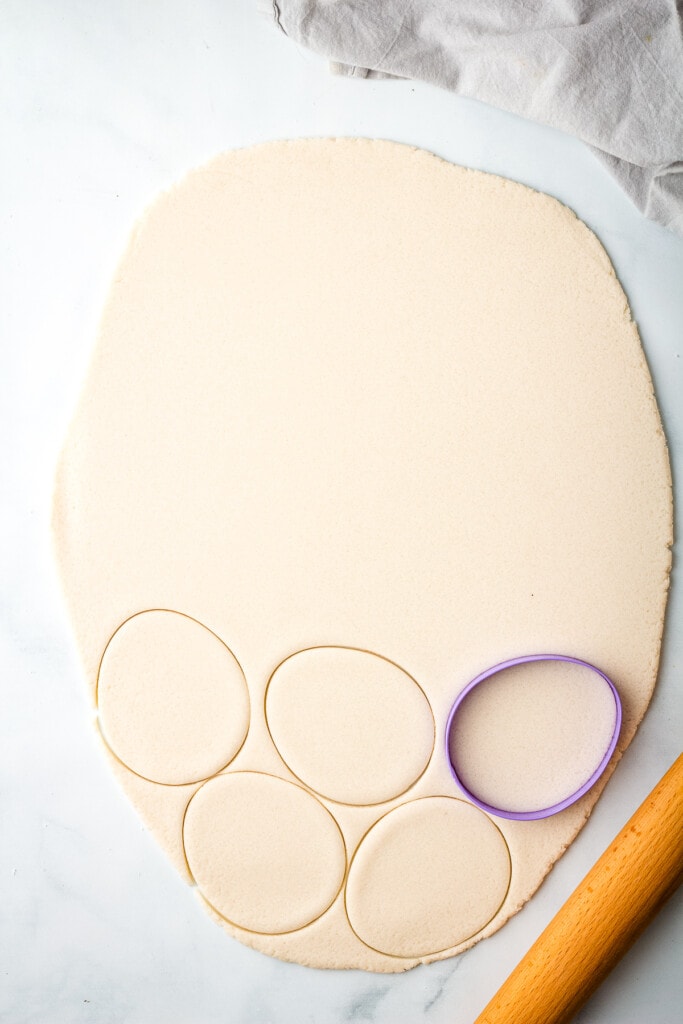
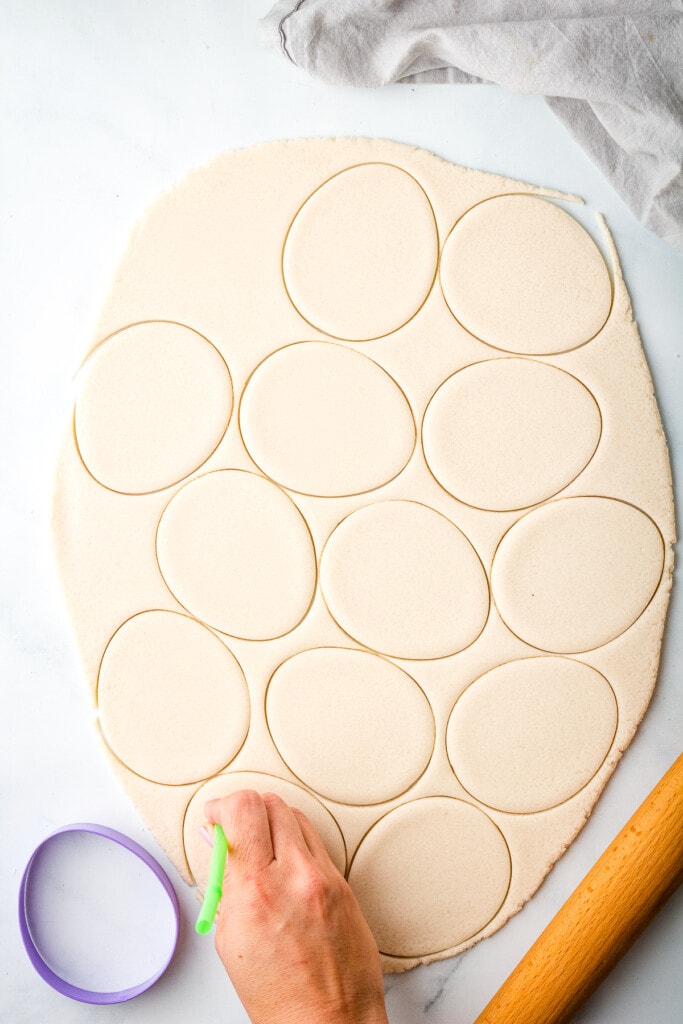
Roll out the dough to 1/4 inch thick. Using an egg-shaped cookie cutter, cut out the eggs.
You can re-roll any leftover dough to make more eggs. Using a straw, punch a hole on the top of the egg so you can hang them.
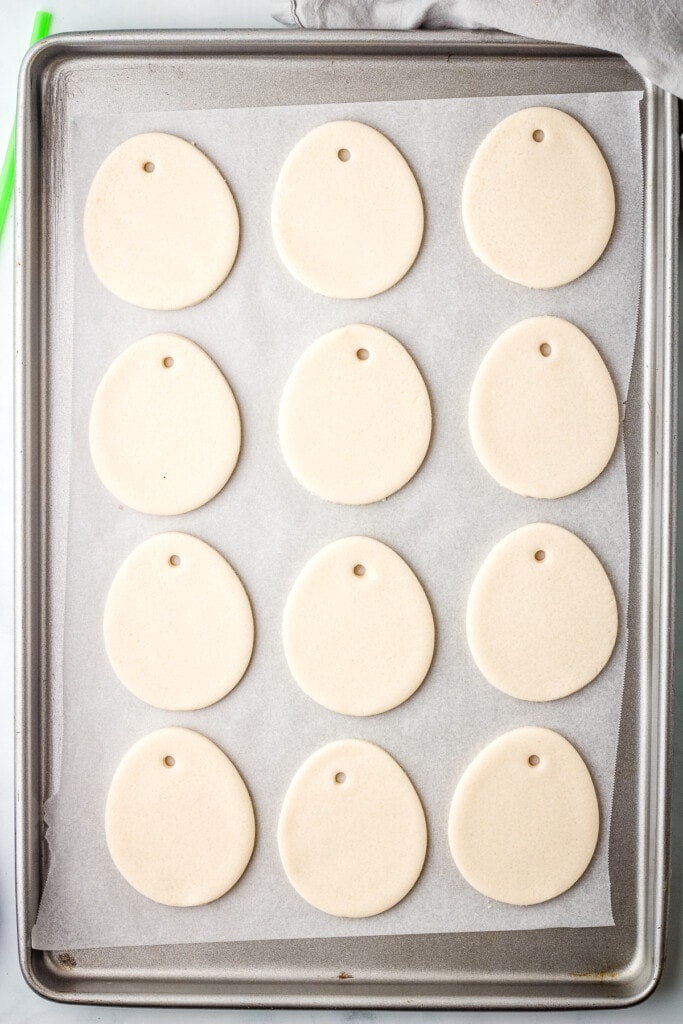
Place them on the sheet Pan and bake for 2 hours until they are hard and dry.
Allow the eggs to cool.


Paint the Eggs
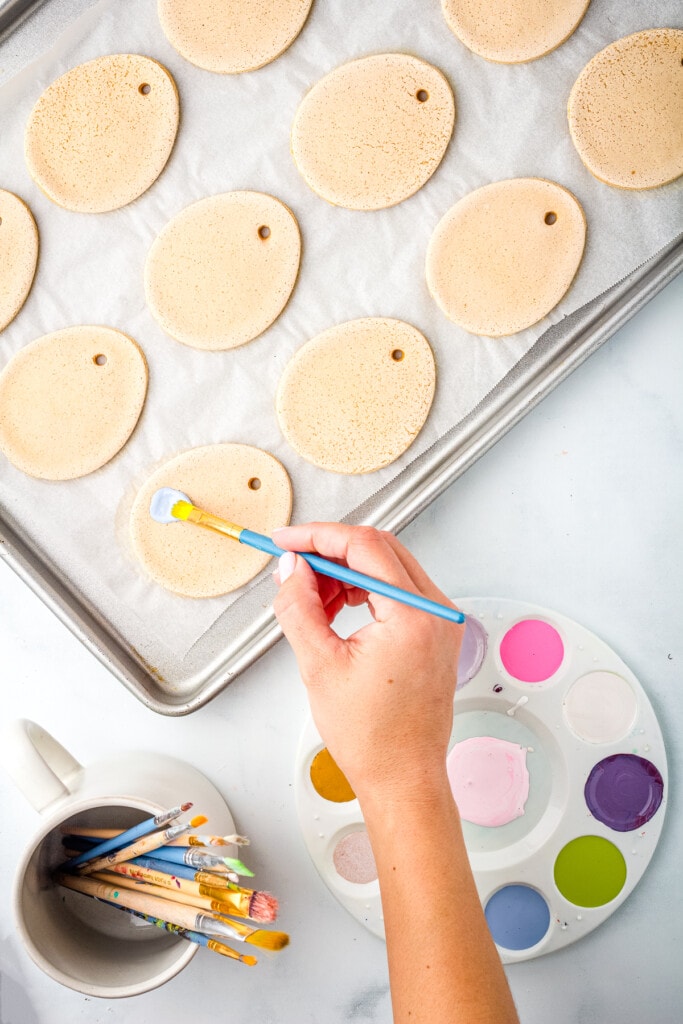
Paint the eggs with your favorite colors, and don’t forget to paint the sides and backs.
Once the base coats are dried, paint on fun designs like polka dots, lines, and zigzags.
After they have dried cut twin or ribbon and thread through the hole and tie at the end so you can hang up your ornaments.


Expert Tips
If you plan on keeping these as keepsakes for years to come add a modge podge finish or clear glaze to them. This will prevent them from cracking and drying out.
You can add a few tablespoons of water until the dough starts to come together, but kneading will help.
Place some flour down on the table and kneed that extra flour into the dough a little at a time.
The main reason this would occur is due to your oven temperature being to high. This will cause it to puff up. If you run into this let your salt dough air dry for a few days. This will prevent it from puffing up. Another thing to check is to make sure you are using all purpose flour and not self-rising flour.
The best kind of paint to use is acrylic paint. This will give you the most vibrant color when you are painting the eggs. If you have younger children and want to use washable paint you can, but the color will be more muted.
I have seen people use an empty toilet paper roll with it bent to an egg shape, but these will be smaller.
Make sure they are stored in a cool dry place. We recommend sealing the ornaments if you plan on keeping them.

MORE EASTER ACTIVITIES!
- Did you know you can dye Easter Eggs without a kit? Learn how to dye them with pantry staples.
- Create pretty speckled eggs when you Dye Easter Eggs with Rice! The kids will have a blast with this fun twist on dying Easter Eggs.
If you take a picture and share them on Instagram make sure to #kidsactivityzone or tag us @kidsactivityzoneblog so we can see them!

How to Make Salt Dough Easter Eggs
Ingredients
- 1 cup salt
- ¾ cup water
- 2 cup flour
Instructions
- Line a sheet pan with parchment paper. Preheat the oven to 250 F.
- In a medium mixing bowl, stir together the water and salt.
- Stir the flour in, and once it starts to come together, take it out of the bowl and kneed it until it is soft and playable for about 10 minutes.
- Roll out the dough to 1/4 inch thick. Using an egg-shaped cookie cutter, cut out the eggs. You can re-roll any leftover dough to make more eggs. Using a straw, punch a hole on the top of the egg so you can hang them.
- Place them on the sheet Pan and bake at 250 degrees F for 2 hours until they are hard and dry.
- Allow the eggs to cool.
- Paint the eggs with your favorite colors, and don’t forget to paint the sides and backs.
- Once the base coats are dried, paint on fun designs like polka dots, lines, and zigzags.
You didn’t put the temperature down to bake them at.
Hi Shirley! In the first step it says to preheat the oven to 250 degrees. Hope that helps!
Step 2? I assume I’m mixing the salt with water but it doesn’t say that. A little confusing…
Correct, mix the salt and water!