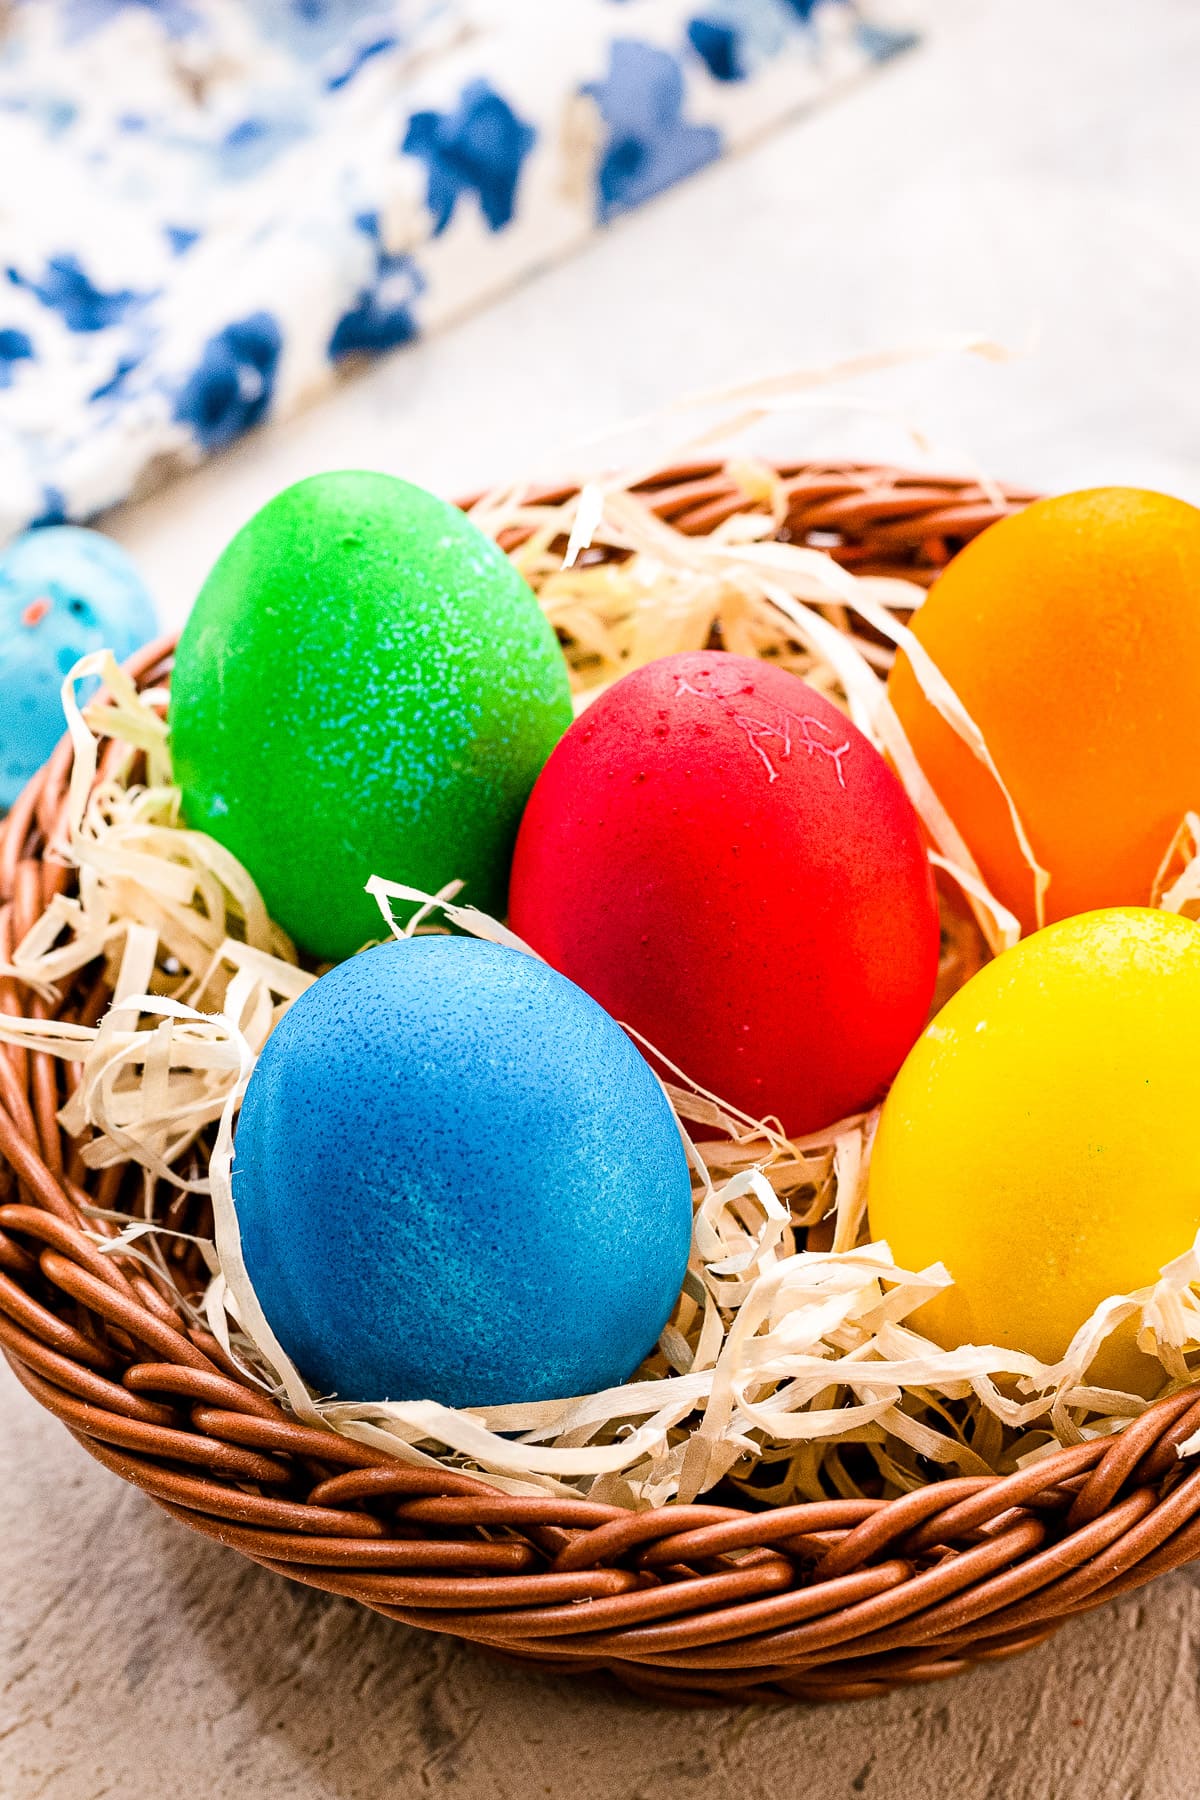
How to Dye Easter Eggs
Quick and easy step by step instructions on how to dye Easter Eggs at home with no kit. You only need a few things that you probably already have in your pantry. You’ll have bright, vibrant dyed Easter Eggs in little to no time!
Did you know you can dye Easter eggs at home without a kit? It’s so easy to do with pantry and kitchen staples. If you are in a last minute panic because you forgot to buy an Easter Egg Dying kit no need to worry.
I’ve got simple step by step instructions for how to dye eggs with food coloring, boiling water and vinegar. That’s right, just four items and no need for dyeing kits!
These dyed Easter Eggs are so easy and fun to do that the kids will have a blast. Check out the tips and tricks to make variations of these Easter Eggs in the post.
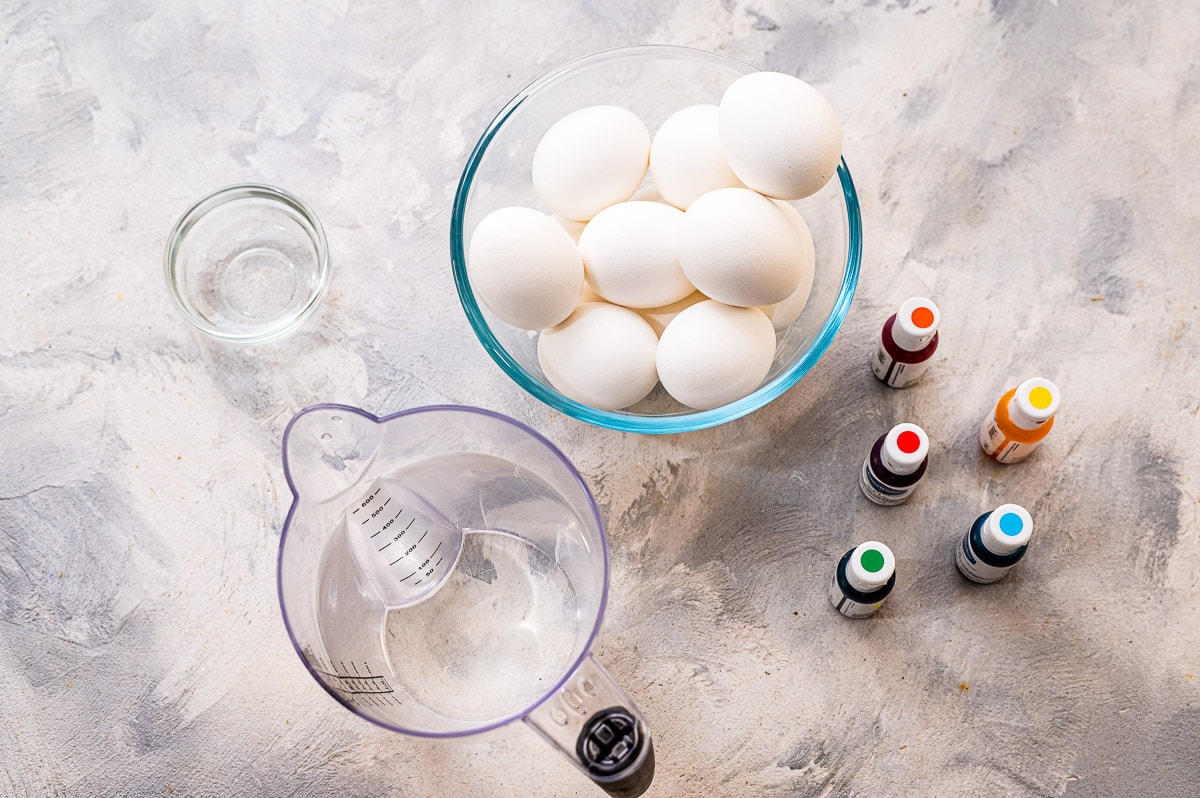
Supplies Needed to Dye Easter Eggs
- Hard boiled eggs – Hard boiled eggs are easier to dye and safe to eat after they’ve been dyed. They are also less likely to crack during the dyeing process.
- White Vinegar – This is necessary as it helps to bond the dye to the eggs. If you don’t have vinegar you can use lemon juice as it is a mild acid that will work the same.
- Boiling Water
- Food Coloring – No need for special easter egg dyes when you can use food coloring! The most vibrant color will come from a gel food dye but any food coloring will work.
- Ramekins – These are a great size for your eggs! You can also add your water and vinegar dye mix to a muffin pan.


How to Dye Easter Eggs
- Mix – Divide boiling water into five different bowls. Add vinegar and 10 – 20 drops of food coloring to each cup to achieve desired colors. Stir to mix.
- Dye – Place an egg in the dye and soak for about 5 minutes or until desired strength of color is achieved.
- Dry – Using a slotted spoon, wire egg dipper or tongs remove egg from the coloring and let dry on a paper towel. Repeat until all eggs are dyed.
Should I dye cold or warm eggs?
Allowing the eggs to cool to at least room temperature before dyeing them will allow the dye to adhere to the shell more evenly. I recommend hard boiling the eggs a little ahead of time to ensure they are at the right temperature, even after you have shocked them with cold water.
How to store dyed eggs
Store dyed eggs in the refrigerator if you plan on consuming them at any point. If you leave them in the shell, you can easily just keep them in a bowl in your fridge. Hard boiled eggs will keep in the fridge for about a week. Do not peel them ahead of time because the shells protects the egg from bacteria.
If the eggs are out for more than 2 hours at any point, discard them.
Can I dye brown eggs?
Yes, you can still dye brown eggs! The darker colored eggs will actually enhance the color you are dying it.
Tips and Tricks
- To prepare hard boiled eggs, simply place the eggs in a pot and cover them with water. Put the lid on the pan and heat on high until the water boils. Remove the pan from the burner, keeping the lid on and let sit for 12 minutes. Then remove the eggs and place them in an ice bath to stop the cooking process and let sit until they are cooled.
- The longer you leave the egg to sit in the dye, the more vibrant the colors will be. More dye will also give you a more vibrant color.
- Make sure your dye is food coloring if you plan on consuming them in case the dye bleads through the shell.
- Flip your egg over half way through the time it needs to dye to get an even color on each side.
- Save the egg carton and place the eggs back in it for safe storage after you are done decorating them!
- Did you know you can use the float test to tell if an egg is good still? Drop them in a pot of water and if it sinks you can eat it. If it floats toss it!
- Chicken eggs are most common, but you can definitely use duck eggs if that’s what you have available to you. Duck eggs can be different sizes and colors which could make for some very interesting dyed eggs!
More Easter egg coloring ideas
- Two Toned Eggs – To get a two-toned egg simply submerge half of the egg in dye and old the rest of it above the dye until desired color is achieved. Place on paper towel and let dry. When it is dry hold it by the dyed portion of the egg and dip it into another color for the other half.
- Ombre Eggs – Similar to the toned two eggs except you overlap the colors to create a combination in the middle of the two colors.
- Free Hand Design – Grab a white wax crayon and write your name, Happy Easter, Jesus, draw a cross etc. then dip it into the dye. When it dries this writing will show up on it! All colors of wax crayons will look great.
- Stripes – Grab some rubber bands and wrap them around the eggs before dying. Dunk the egg in the dye and then let it dry. After it’s dried remove the rubber bands to reveal your design!
- More Colors – Don’t stick to the dye colors you have. Combine them to make new colors! Add red and blue together to get purple. Use just a little red dye to create a light pink!
- Stickers – Grab some stickers, foam ones work great for this, and place them on the eggs before dying them. After they are dry peel off the sticker to reveal the shape of the sticker on your egg.
- More stick on fun – Gold leaf will really make those eggs shine while washi tape can add some super fun designs!
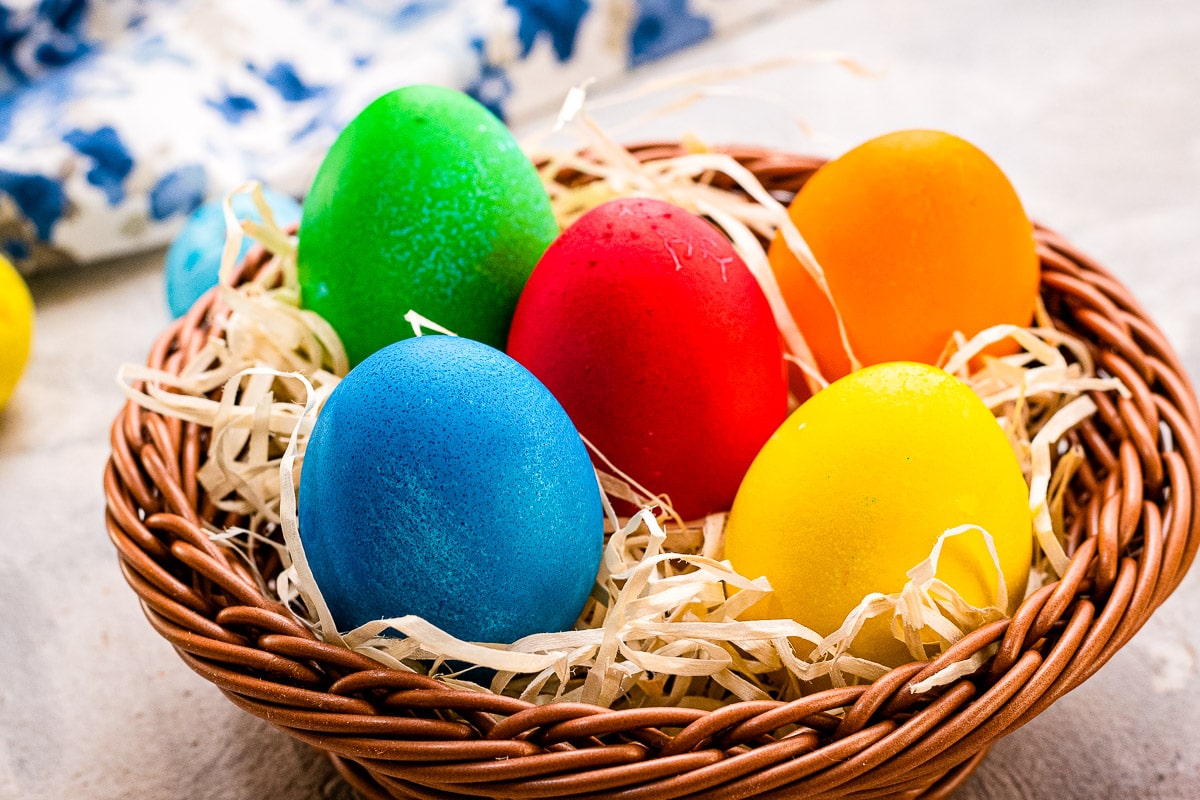
Coloring Easter Eggs is such a fun activity for kids and adults to do together. Have fun and use your imagination this Easter season!
More Easter Activities!
- Try these fun way of dying your Easter Eggs to create speckled eggs. Learn how to dye Easter eggs with rice and food coloring!
- I bet you never thought about dyeing eggs in the Crockpot!
- Easter Egg Watercolor Paintings are the perfect DIY decoration to show off at home or give to family and friends.
- Everyone loves a good salt dough decoration, and now you can make colorful Salt Dough Easter Eggs with these easy directions.
If you take a picture and share them on Instagram make sure to #kidsactivityzone or tag us @kidsactivityzoneblog so we can see them!

How to Dye Easter Eggs
Ingredients
- 12 Eggs hard boiled
- 1/2 cup Water boiling
- 5 teaspoons Vinegar
- Food Coloring any colors
Instructions
- Bring water to a boil and divide boiling water into five different bowls. Add 1 teaspoon vinegar and 10 – 20 drops of food coloring to each cup to achieve desired color. Stir to mix.
- Place an egg in the dye for about 5 minutes or until desired strength of color is achieved.
- Using a slotted spoon, wire egg dipper or tongs, remove egg from the coloring and let dry on a paper towel.
- Repeat until all eggs are dyed.