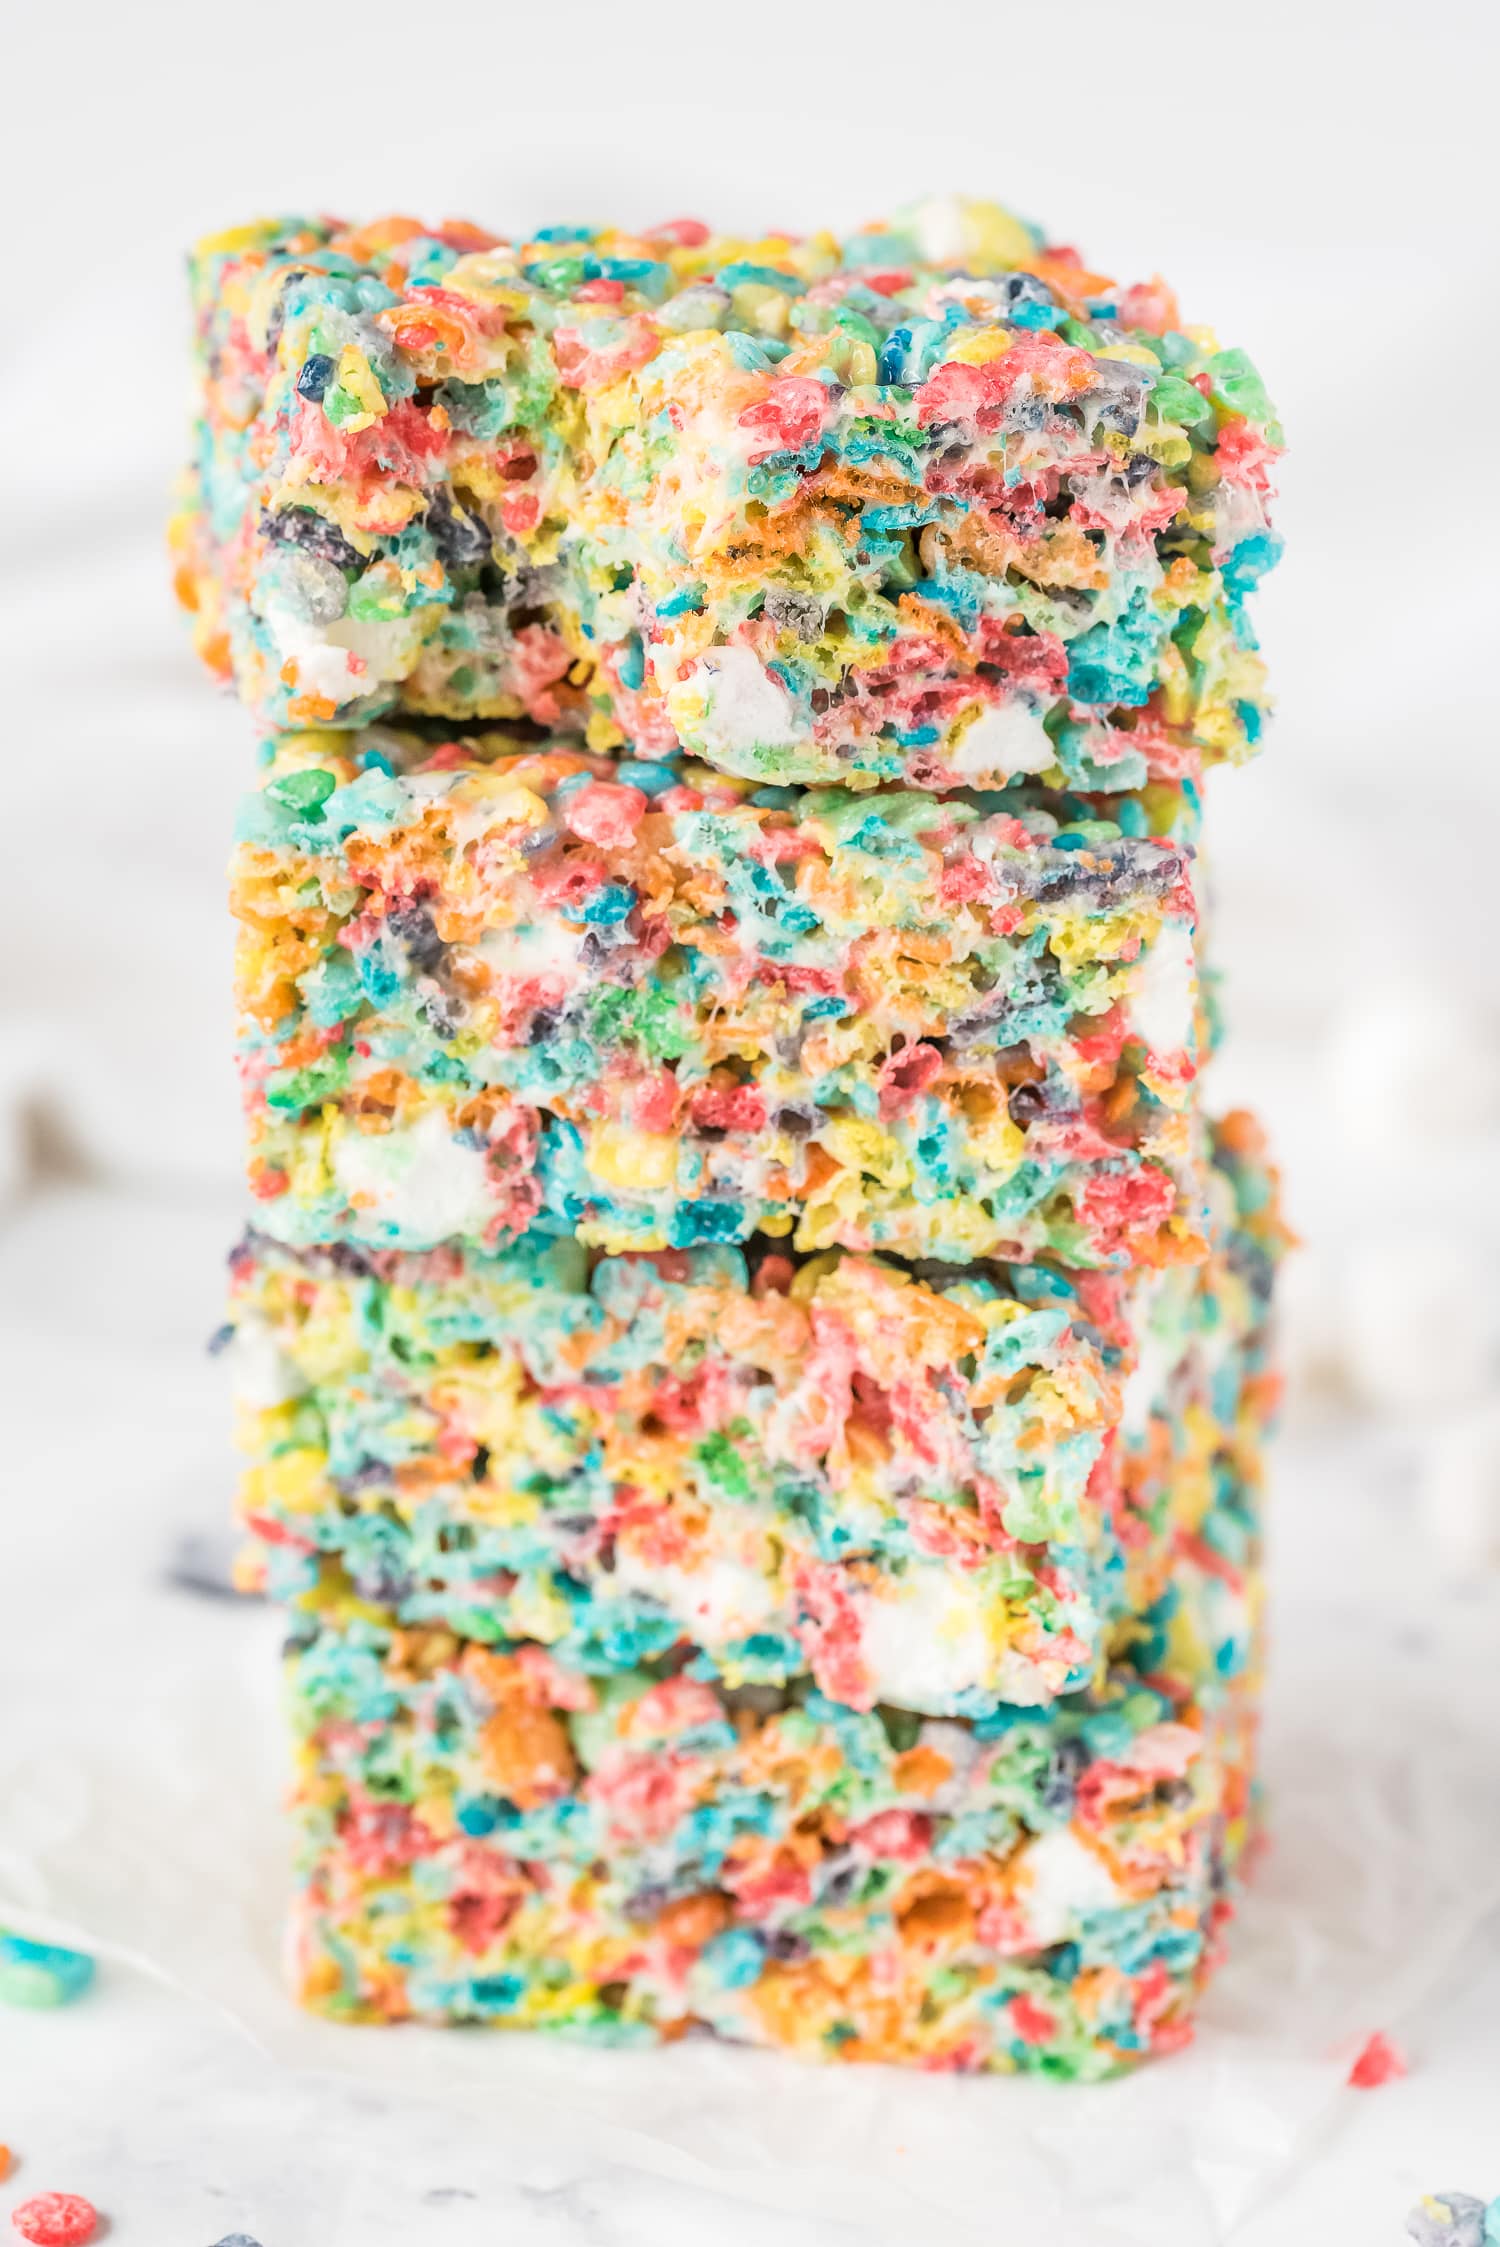
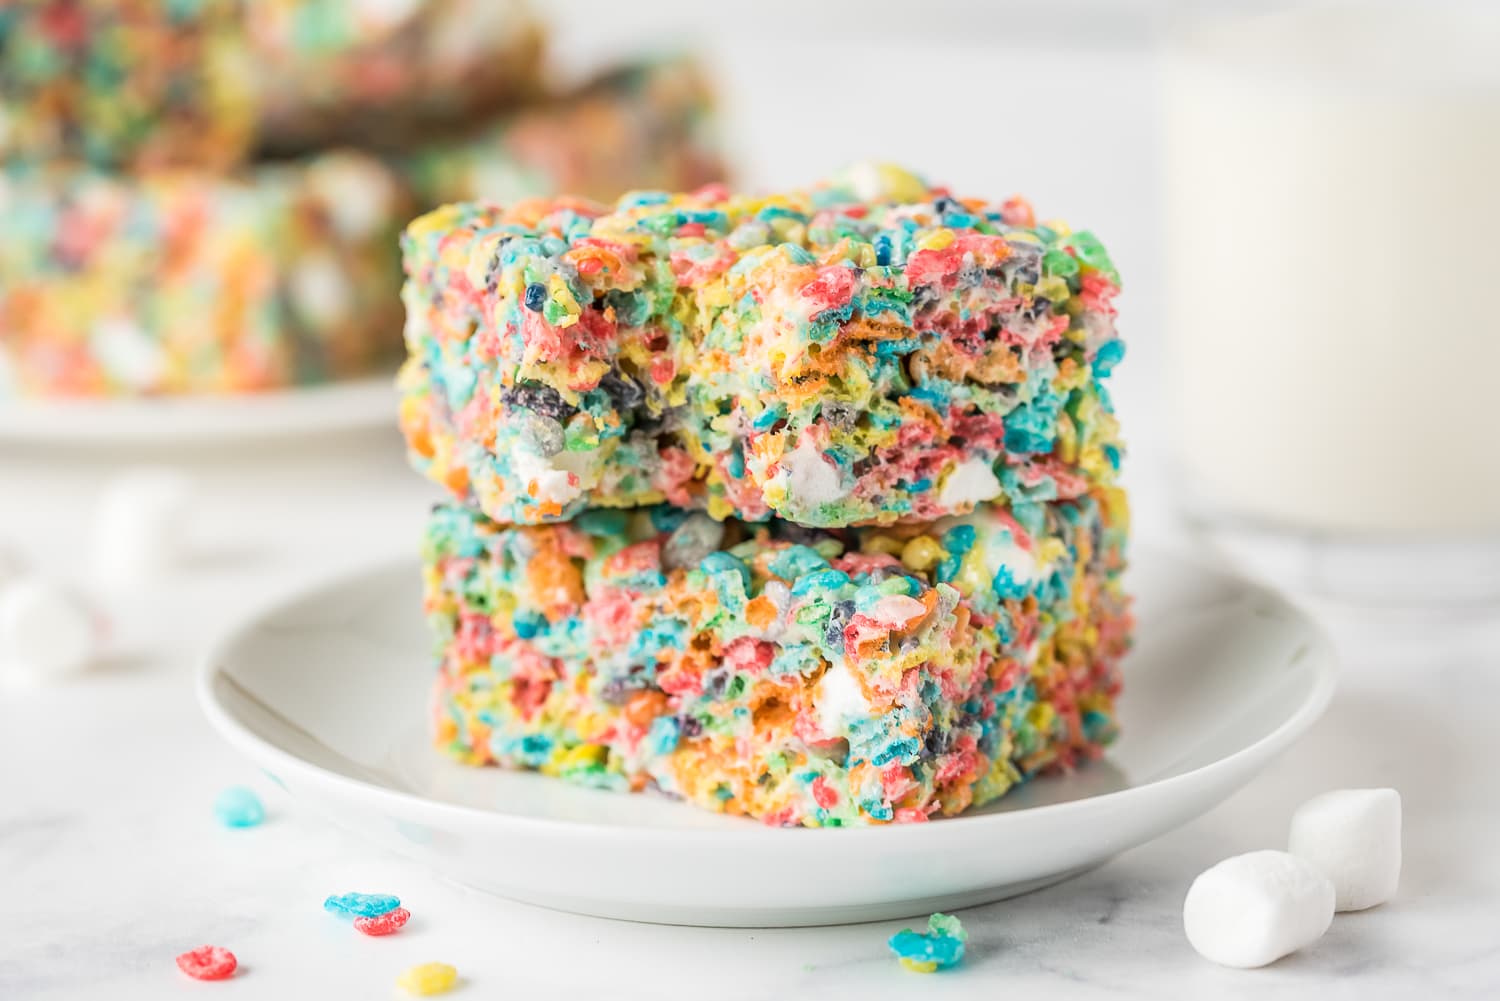
Fruity Pebbles Treats
Quick and easy No-Bake Fruity Pebbles Treats are ooey, gooey and delicious! It’s a fruity twist on your classic crispy treats and fun and easy to make!
This is one to try if you’re looking for easy, kid-friendly recipes! If you love rice krispy treats, you will love these Fruity Pebbles cereal bars. Don’t forget the extra marshmallows to make them over-the-top delicious.
Why You Will Love this Easy No-Bake Recipe!
- There’s nothing complicated about these fruity pebbles treats! Four ingredients and a microwave – that’s all you need.
- This recipe is so easy – the kiddos can do most of the work themselves! I help with the microwave part and let them do all the mixing.
- This is a gooey fruity pebble treats recipe, and I can’t wait to show you how to make it. They’re perfect for parties, after-school snacks, or share a batch at the kids’ sports practice!
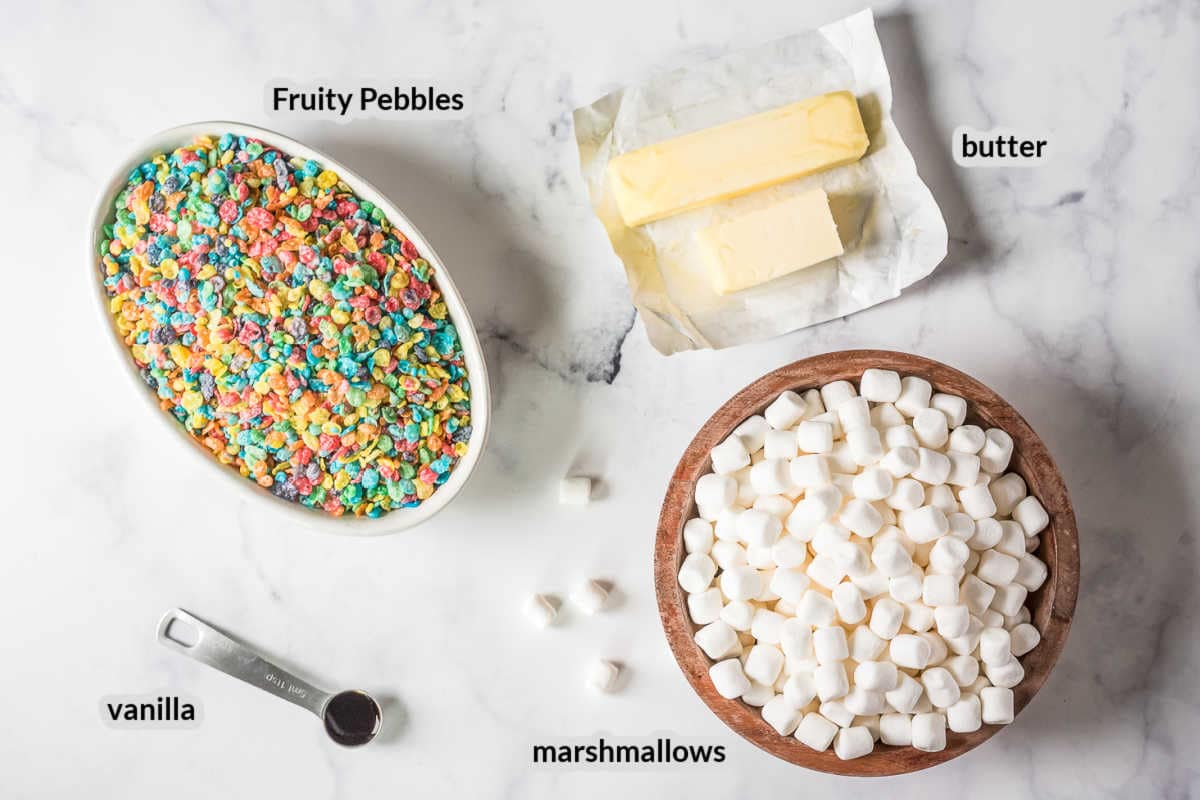
Ingredients
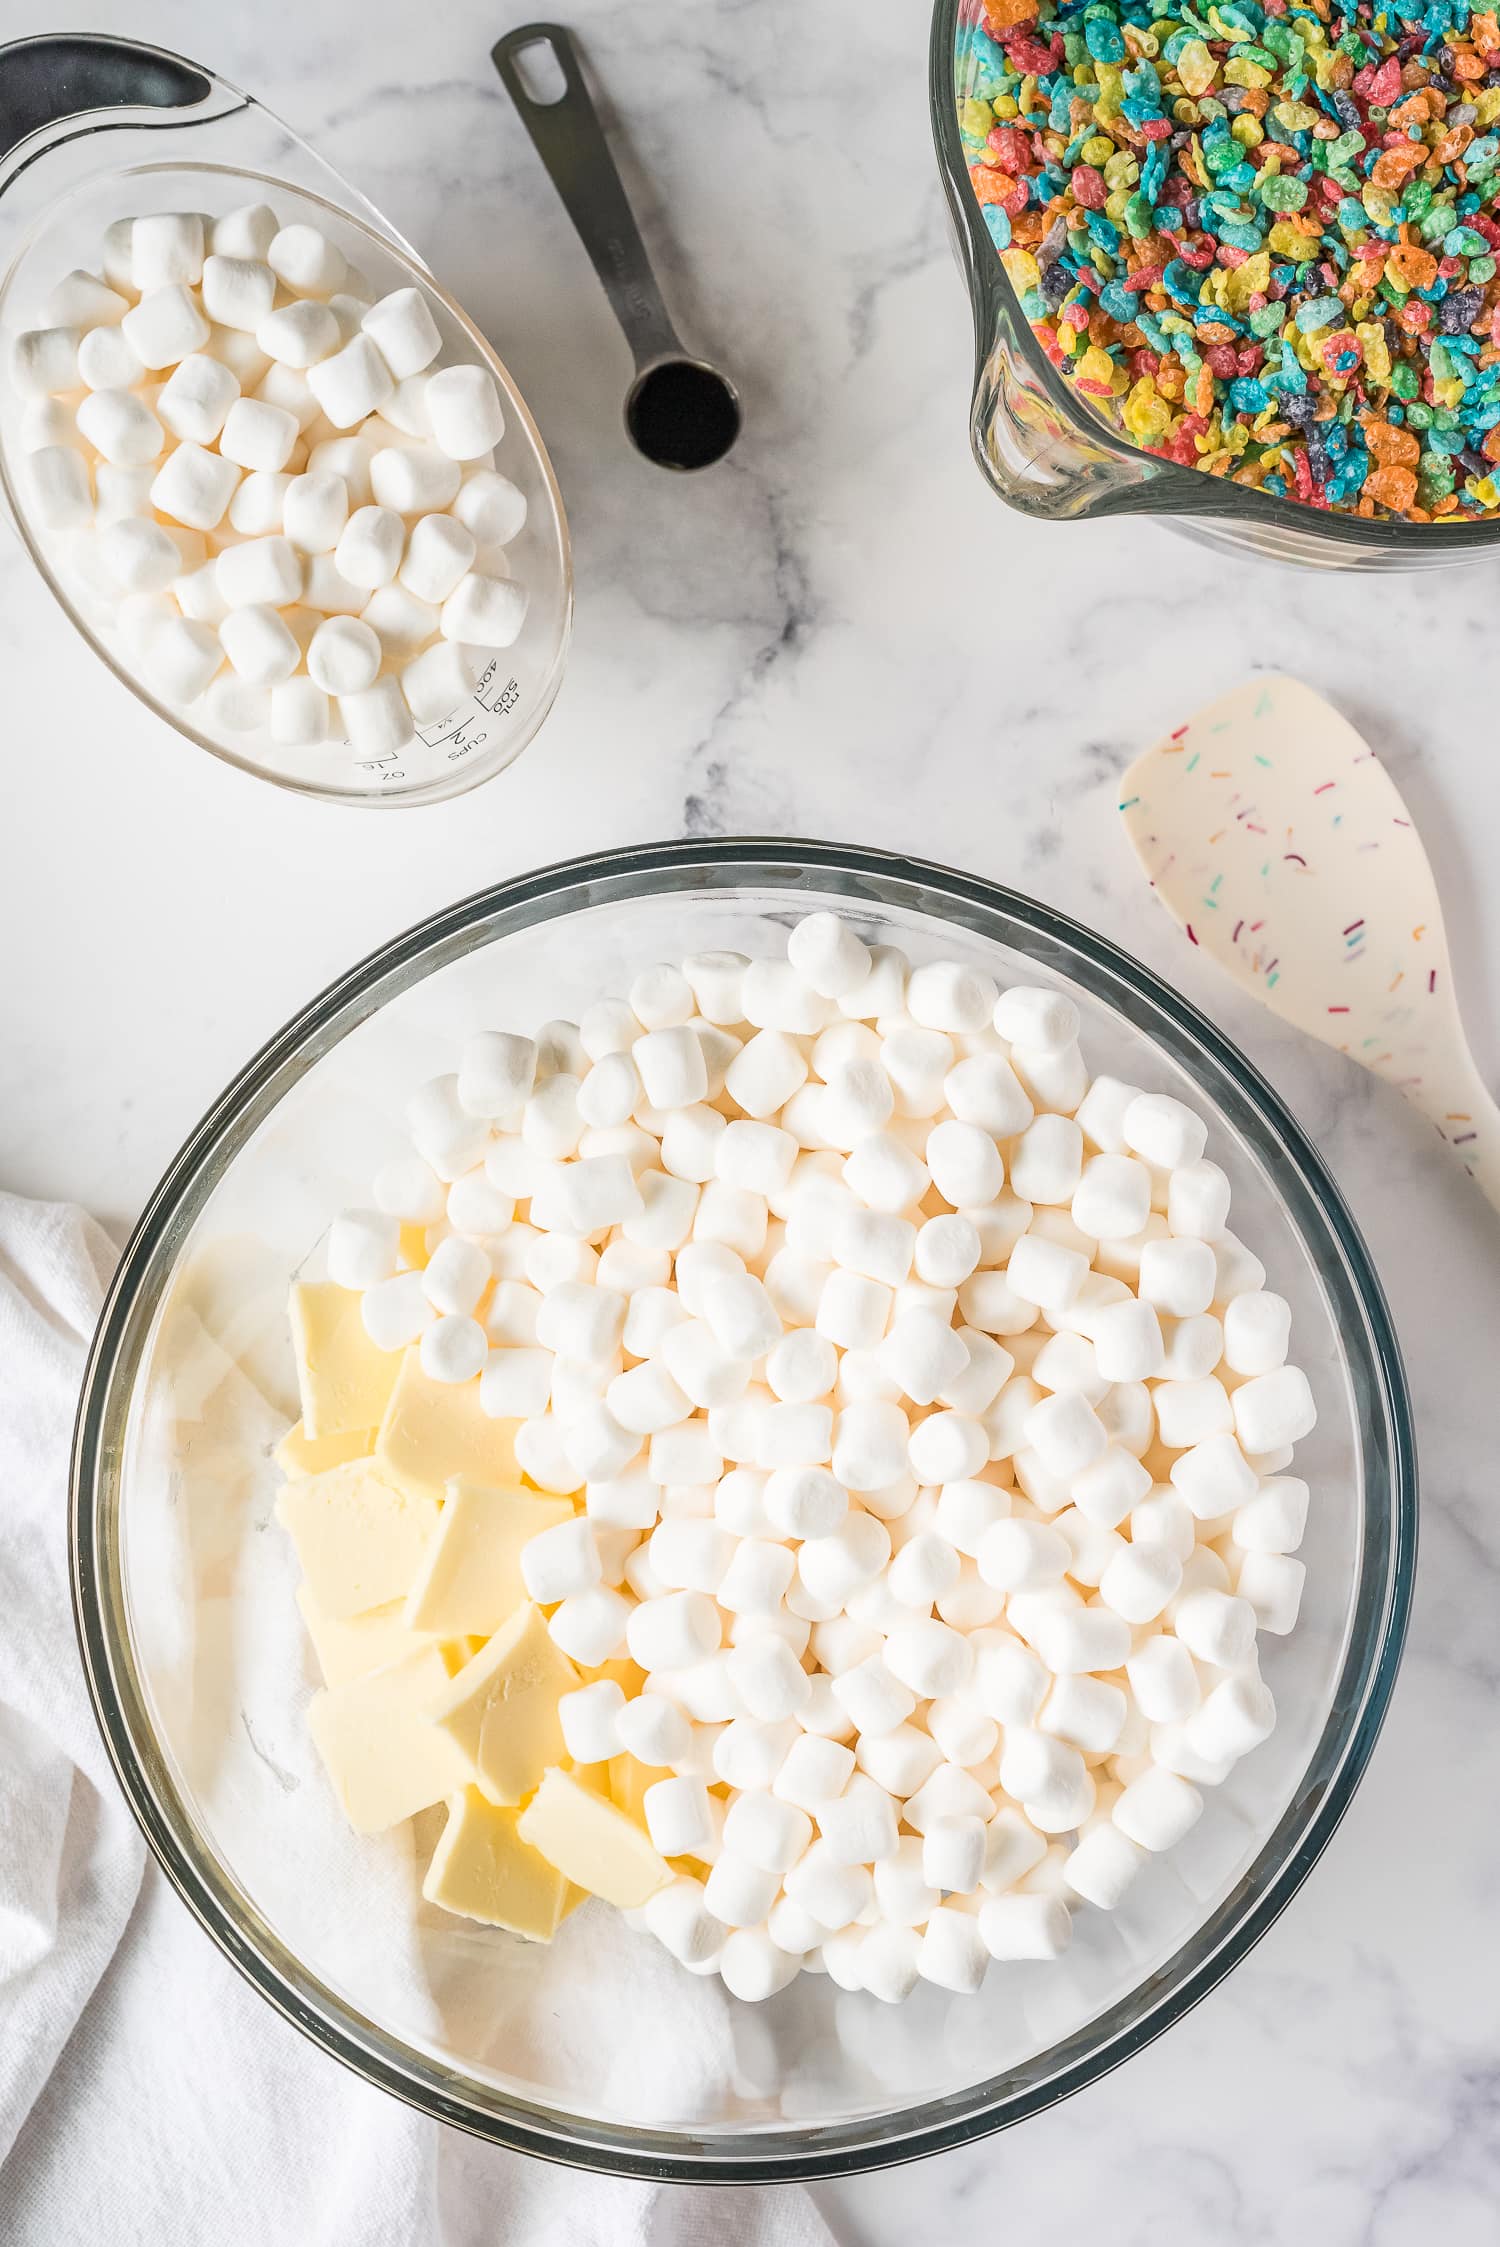
- Butter – I like to slice it so it melts faster in the microwave.
- Mini marshmallows – I like mini ones because they melt well, and I also add some extra ones that only partially melt so every bite is ooey-gooey!
- Vanilla extract – I always recommend the real vanilla extract, the price is worth it.
- Fruit Pebbles cereal – A 12-ounce box of cereal is plenty.
Helpful Tools
How to Make Fruity Pebble Treats
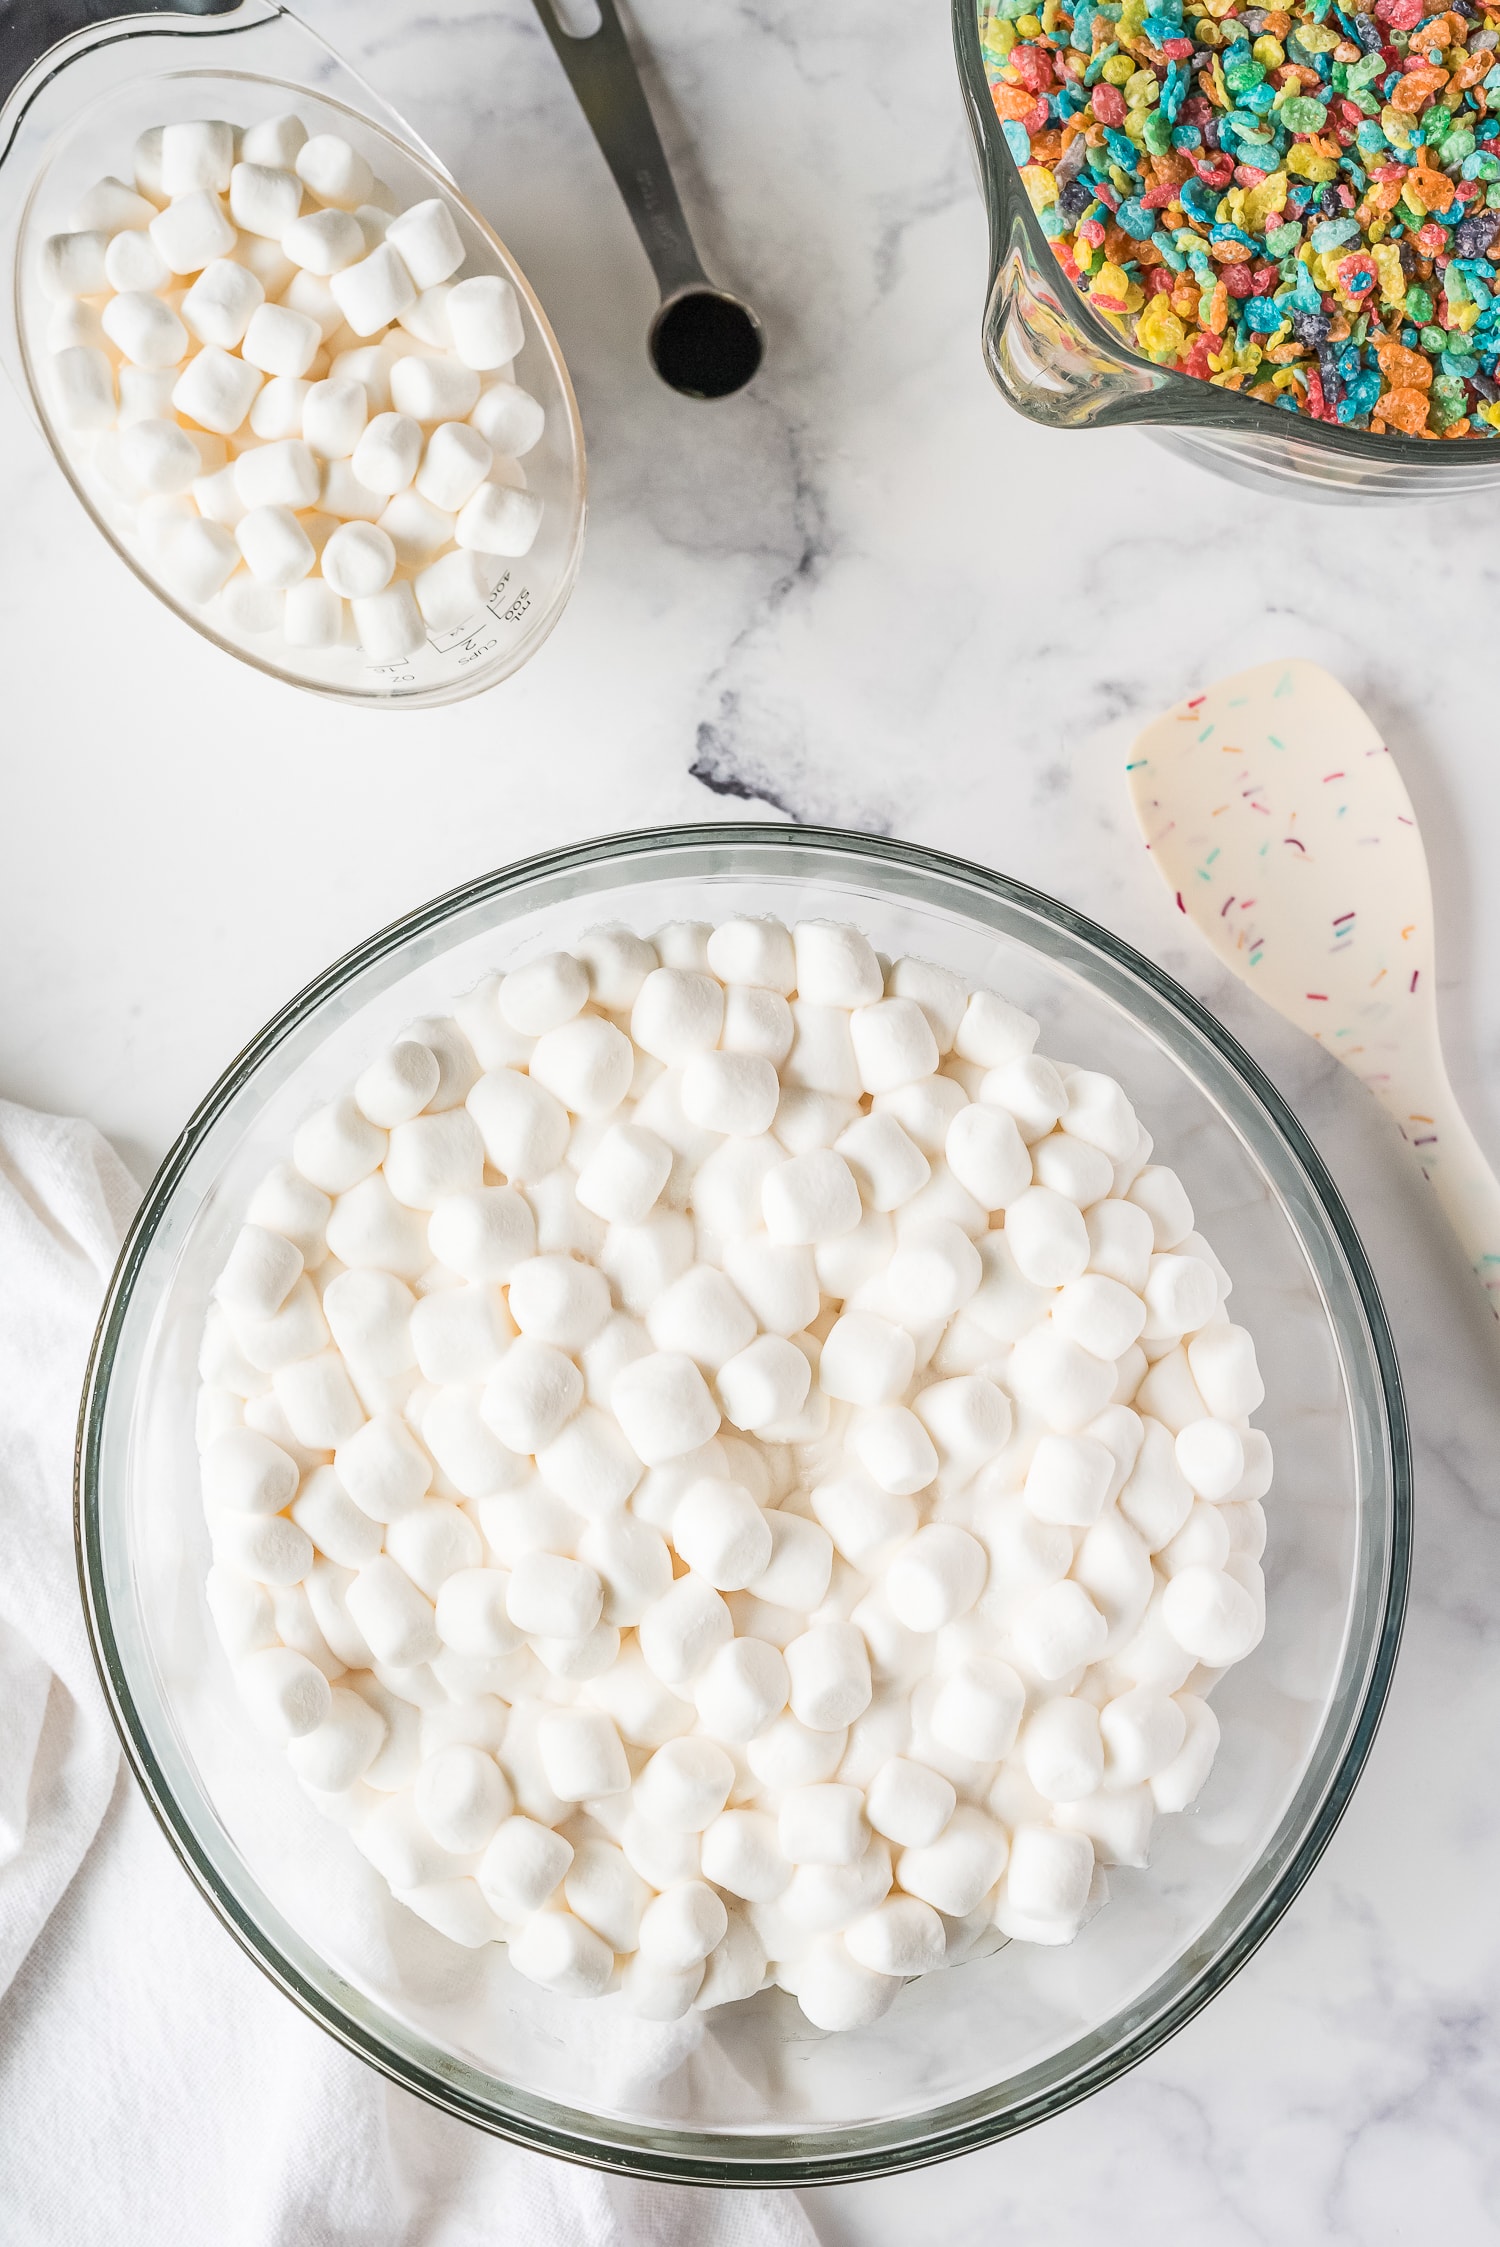
Measure out two cups of marshmallows and set them aside.
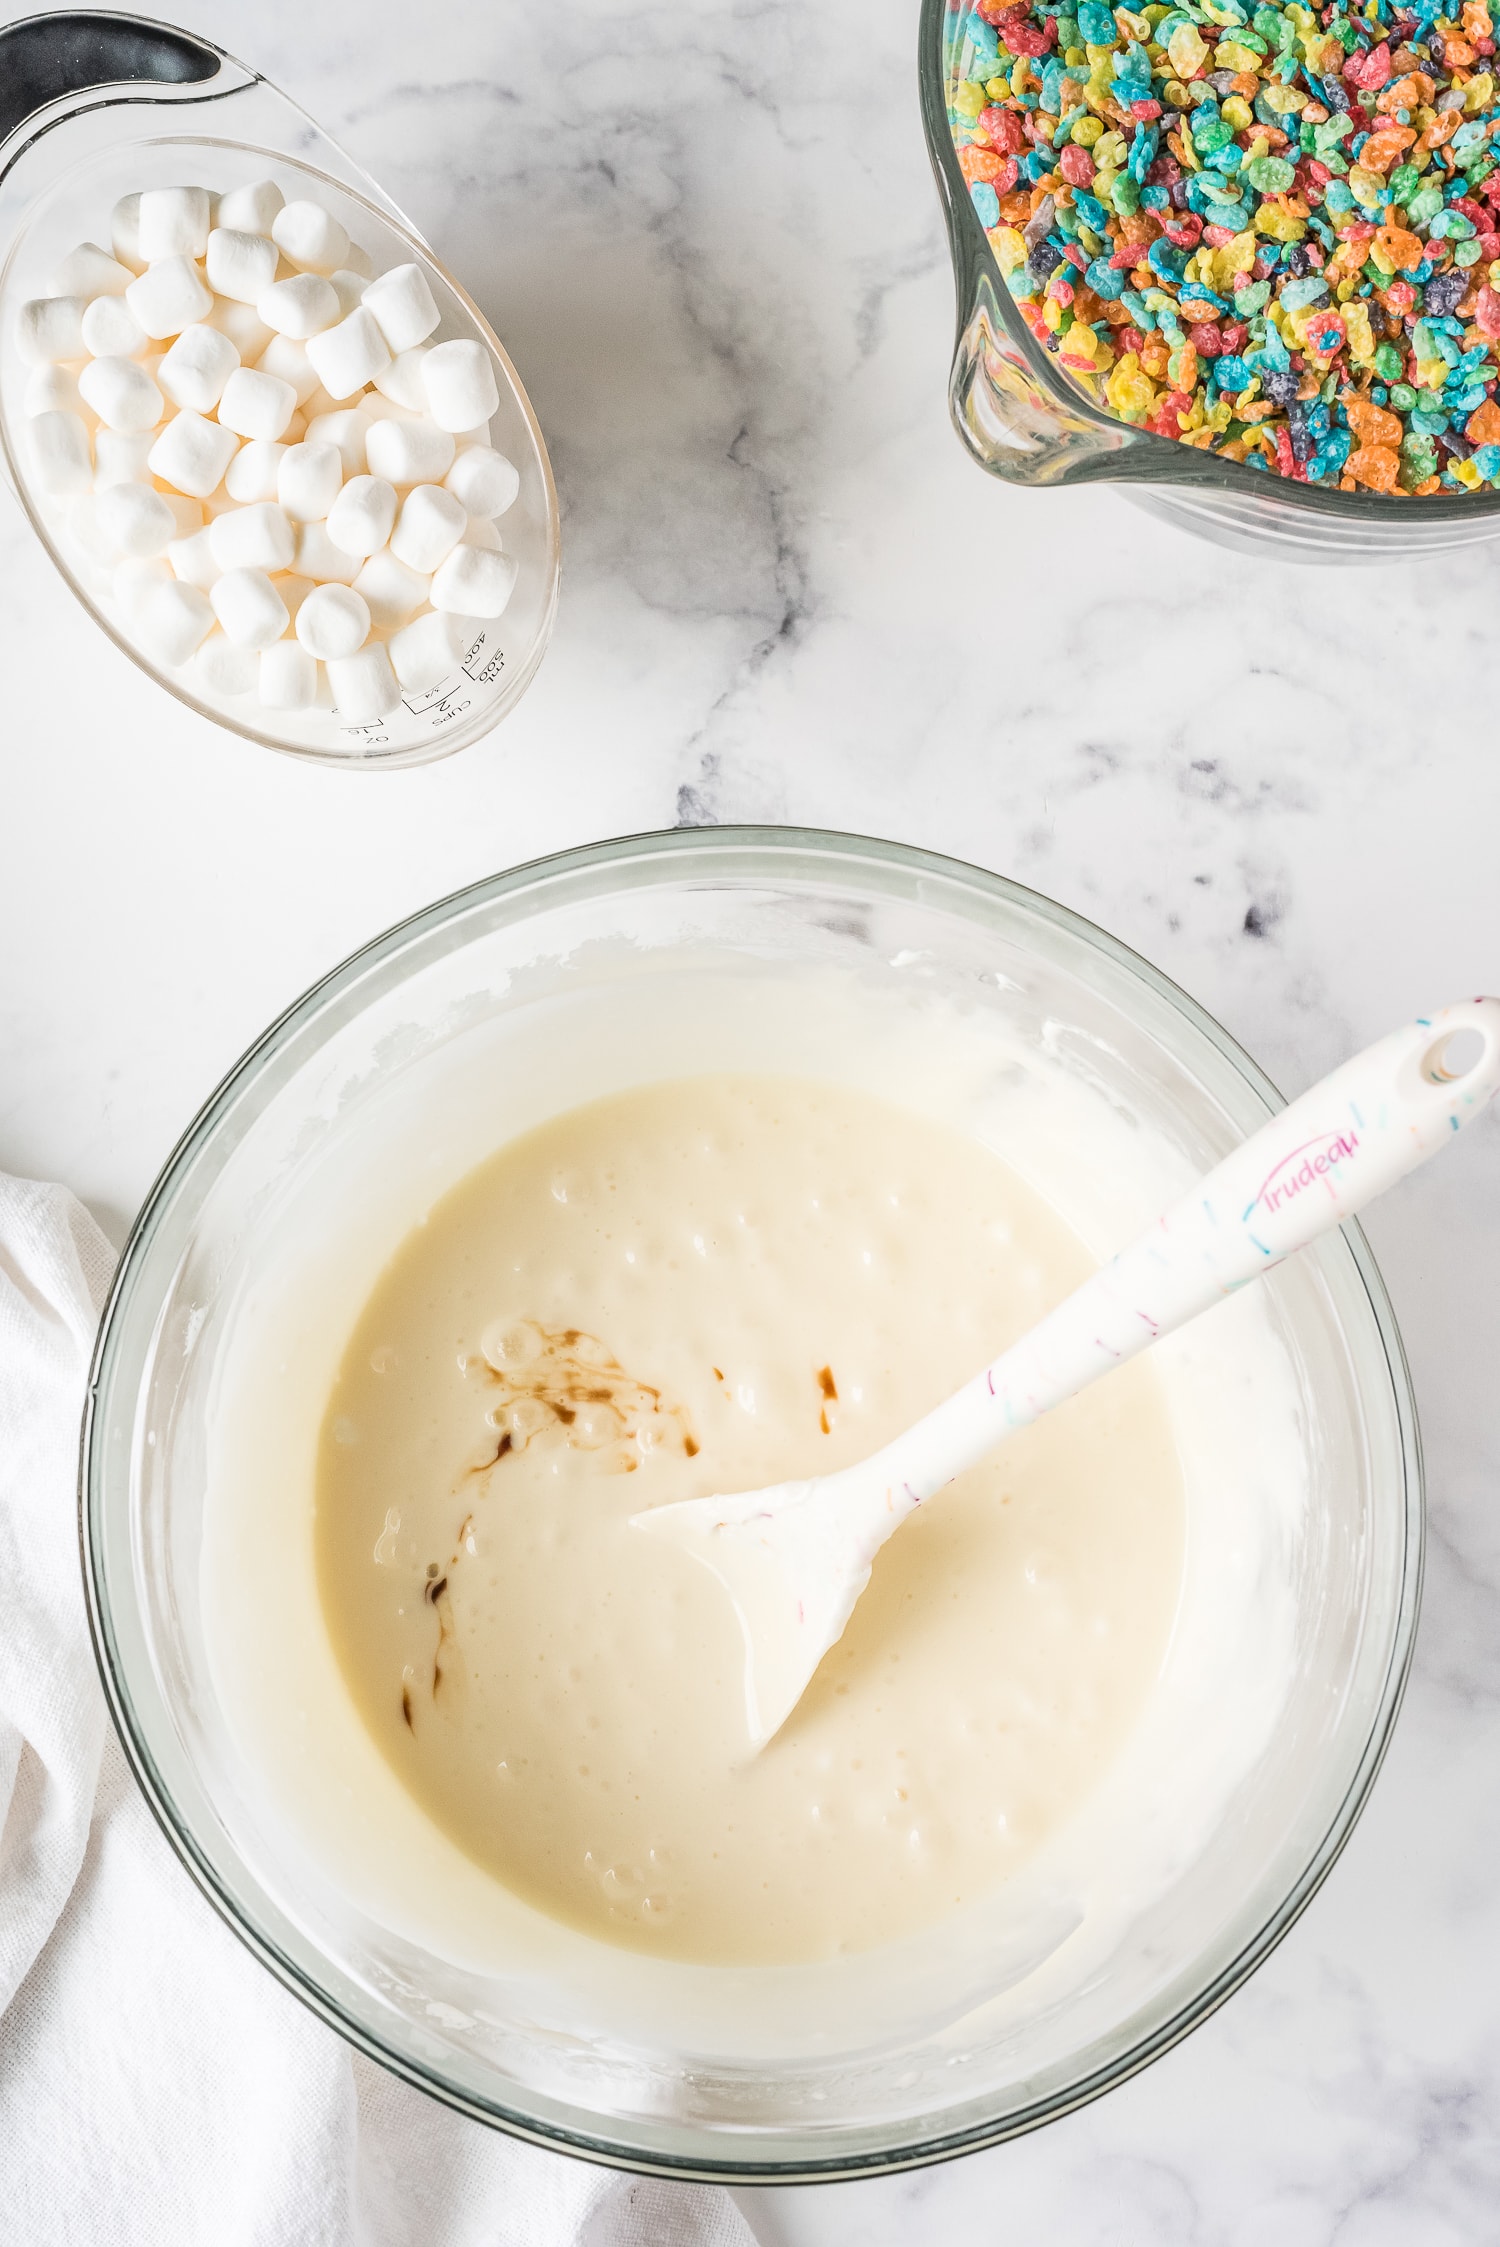
Melt the butter and the rest of the marshmallows in the microwave and then stir until smooth. Mix in the vanilla.

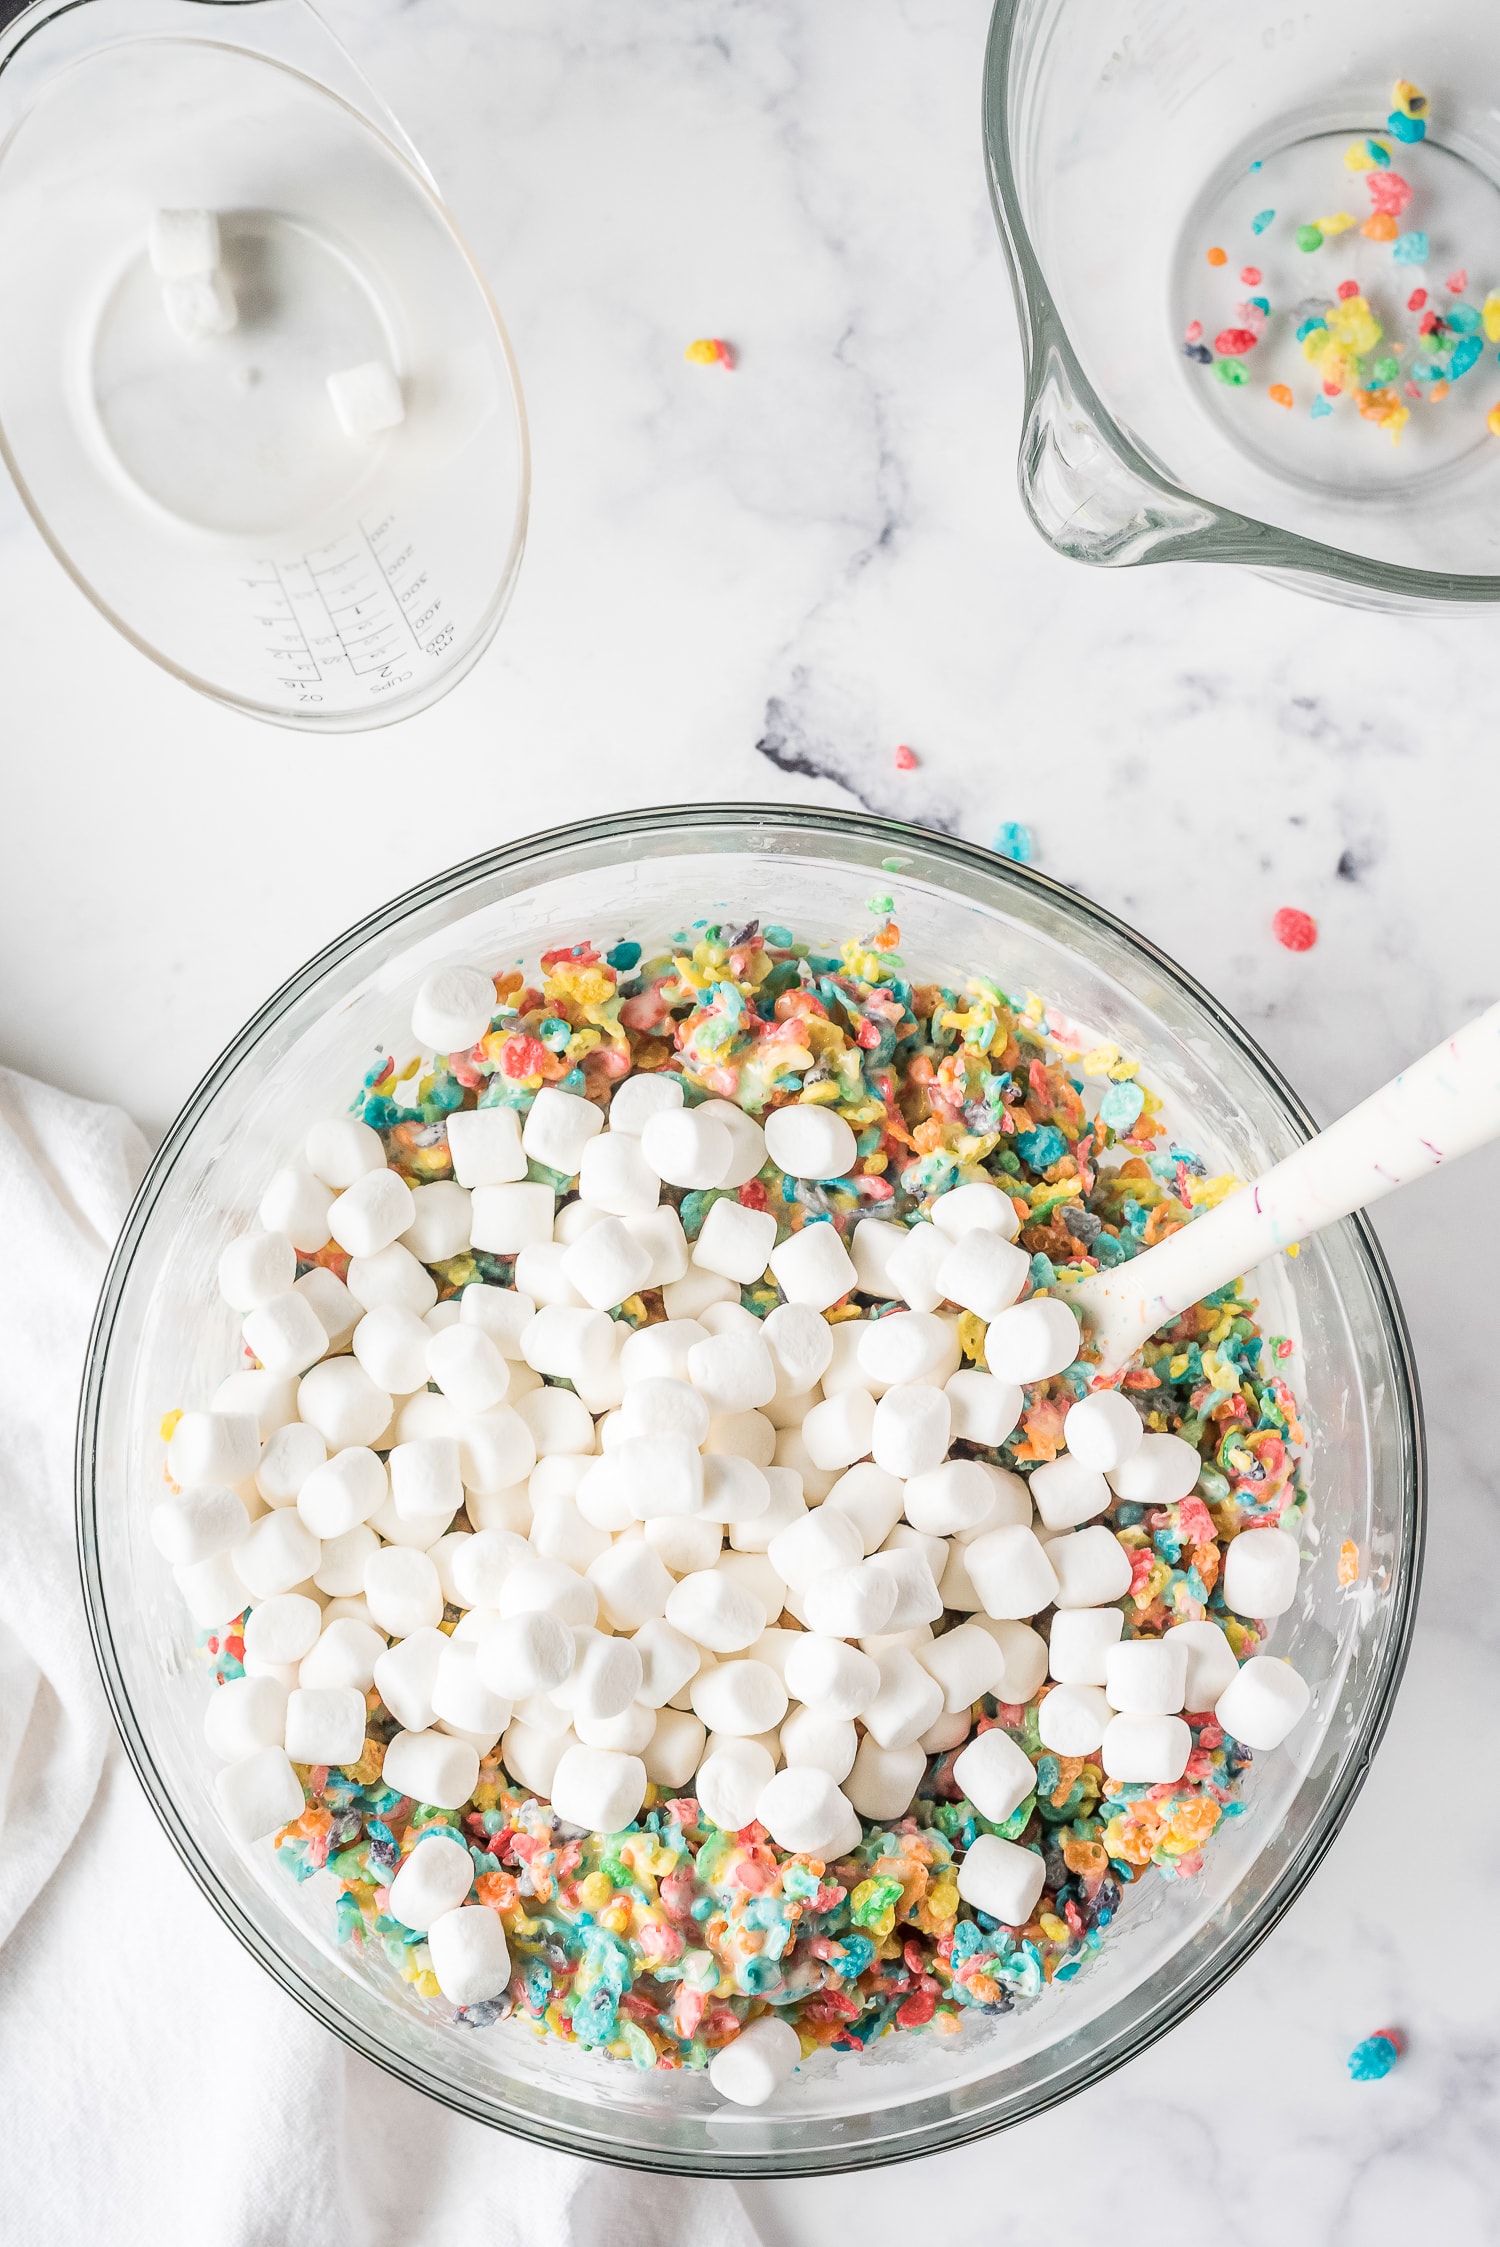
Add the cereal and stir until it’s coated in the melted marshmallow mixture. Add the reserved marshmallows and stir them into the mixture.
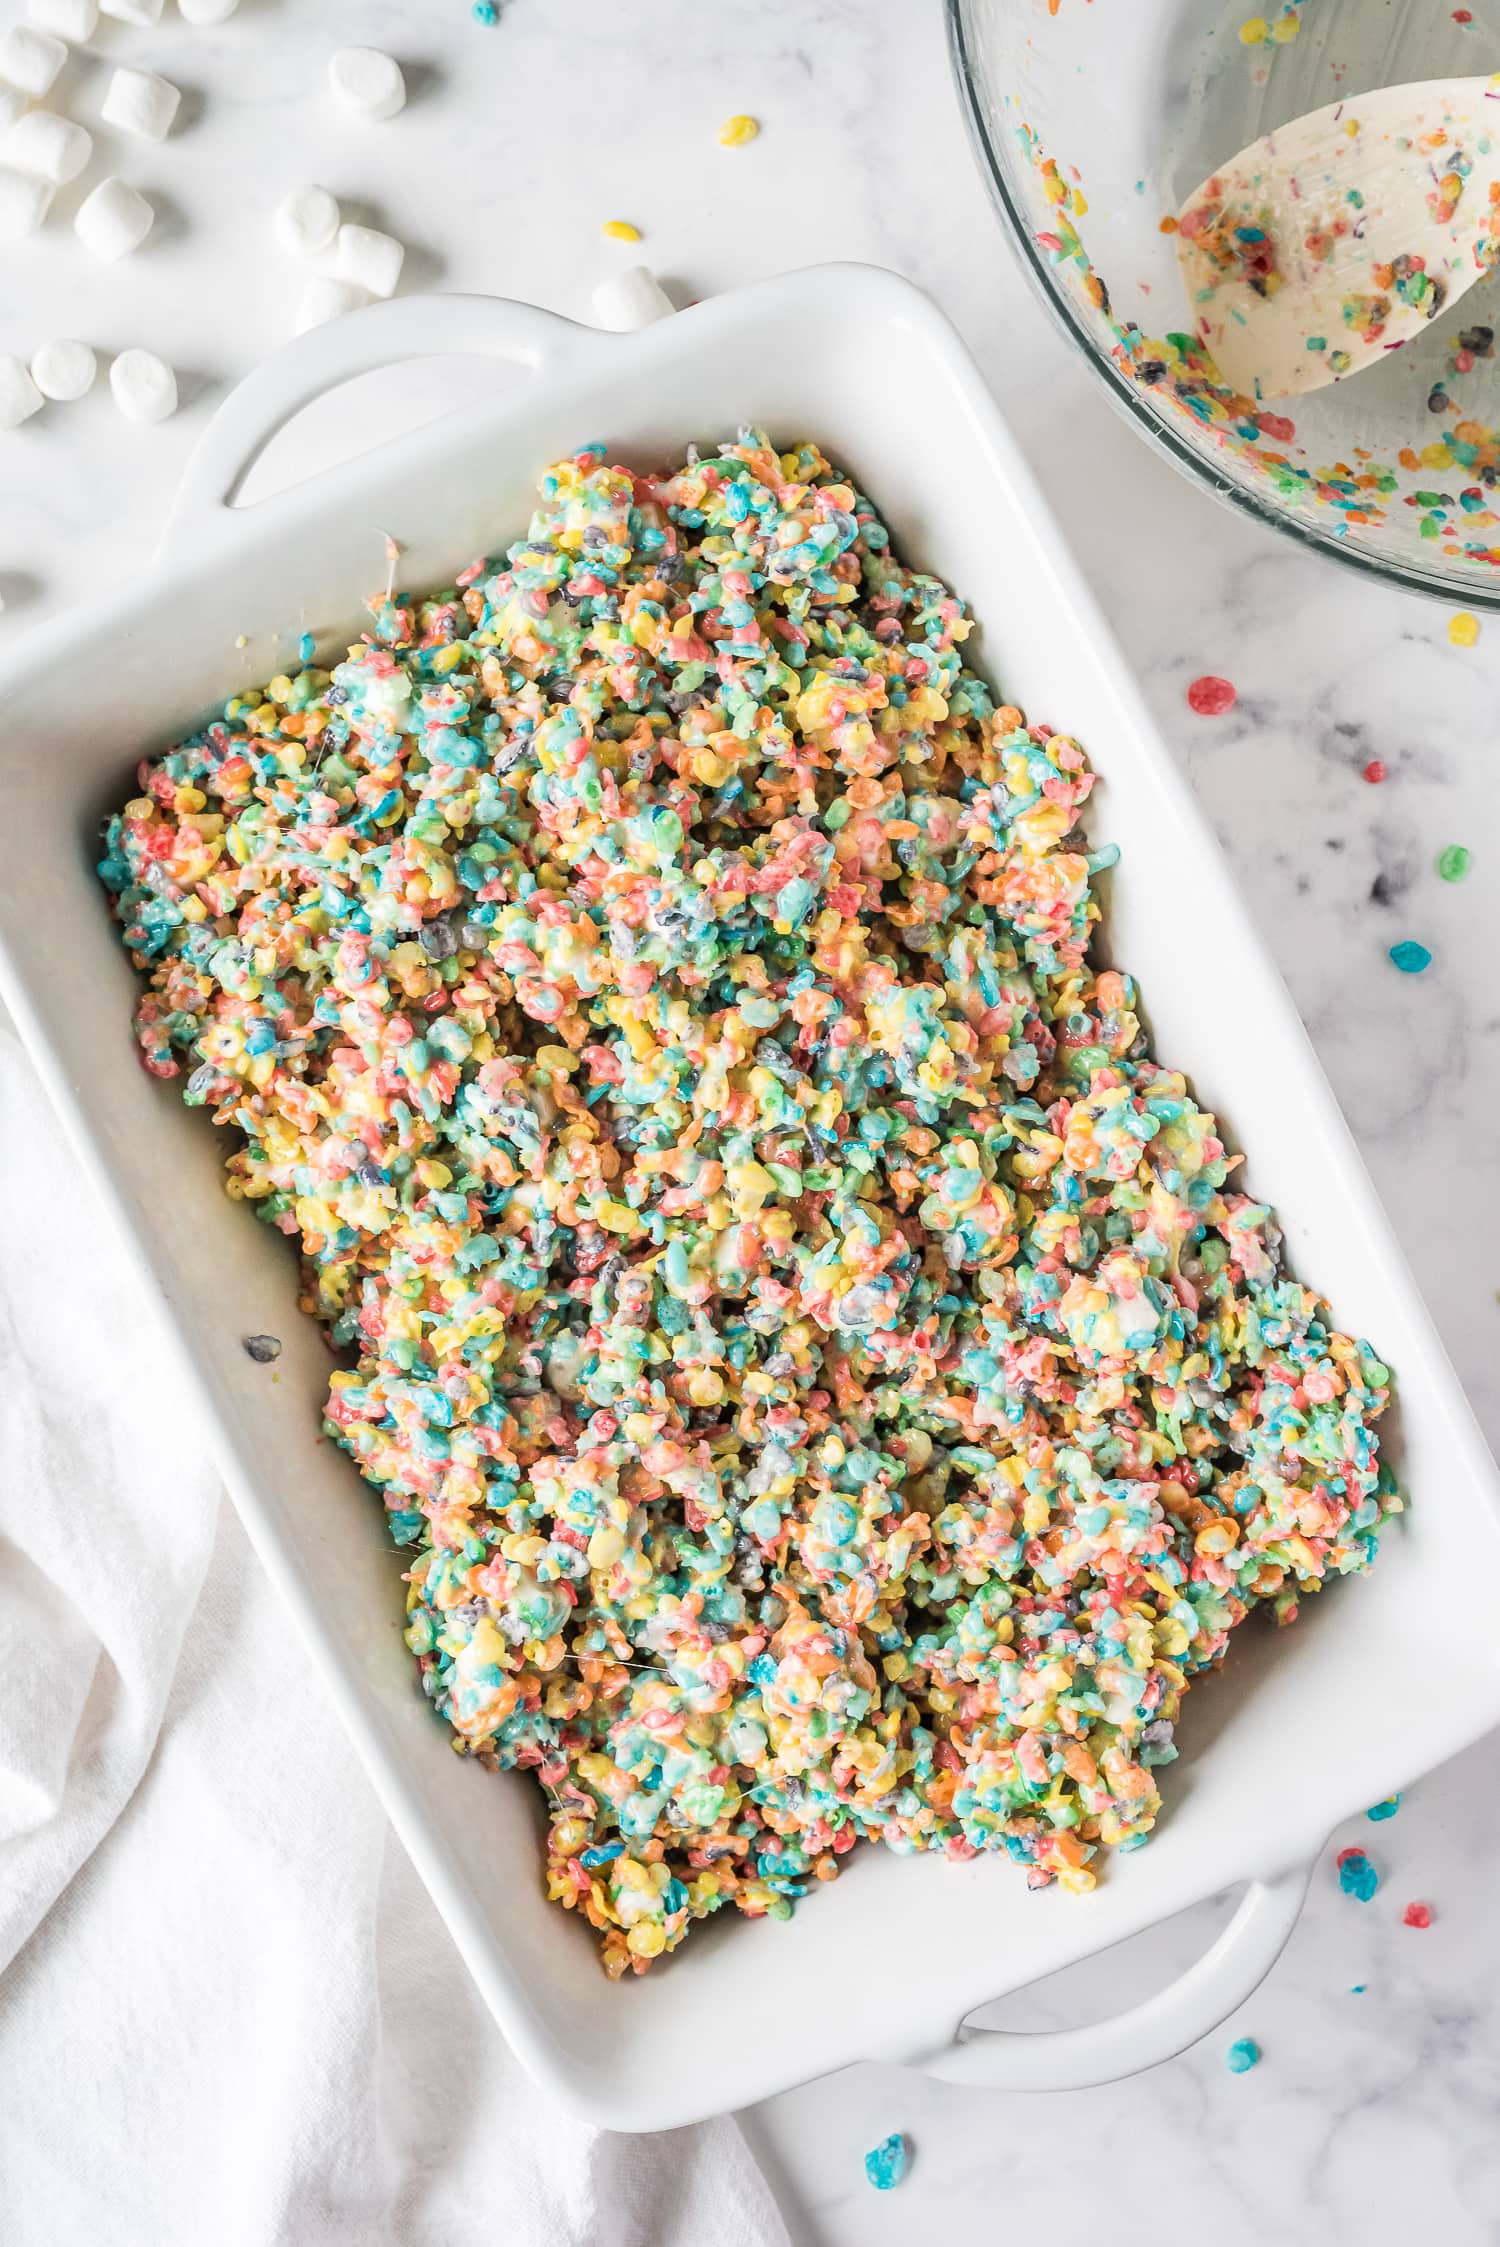
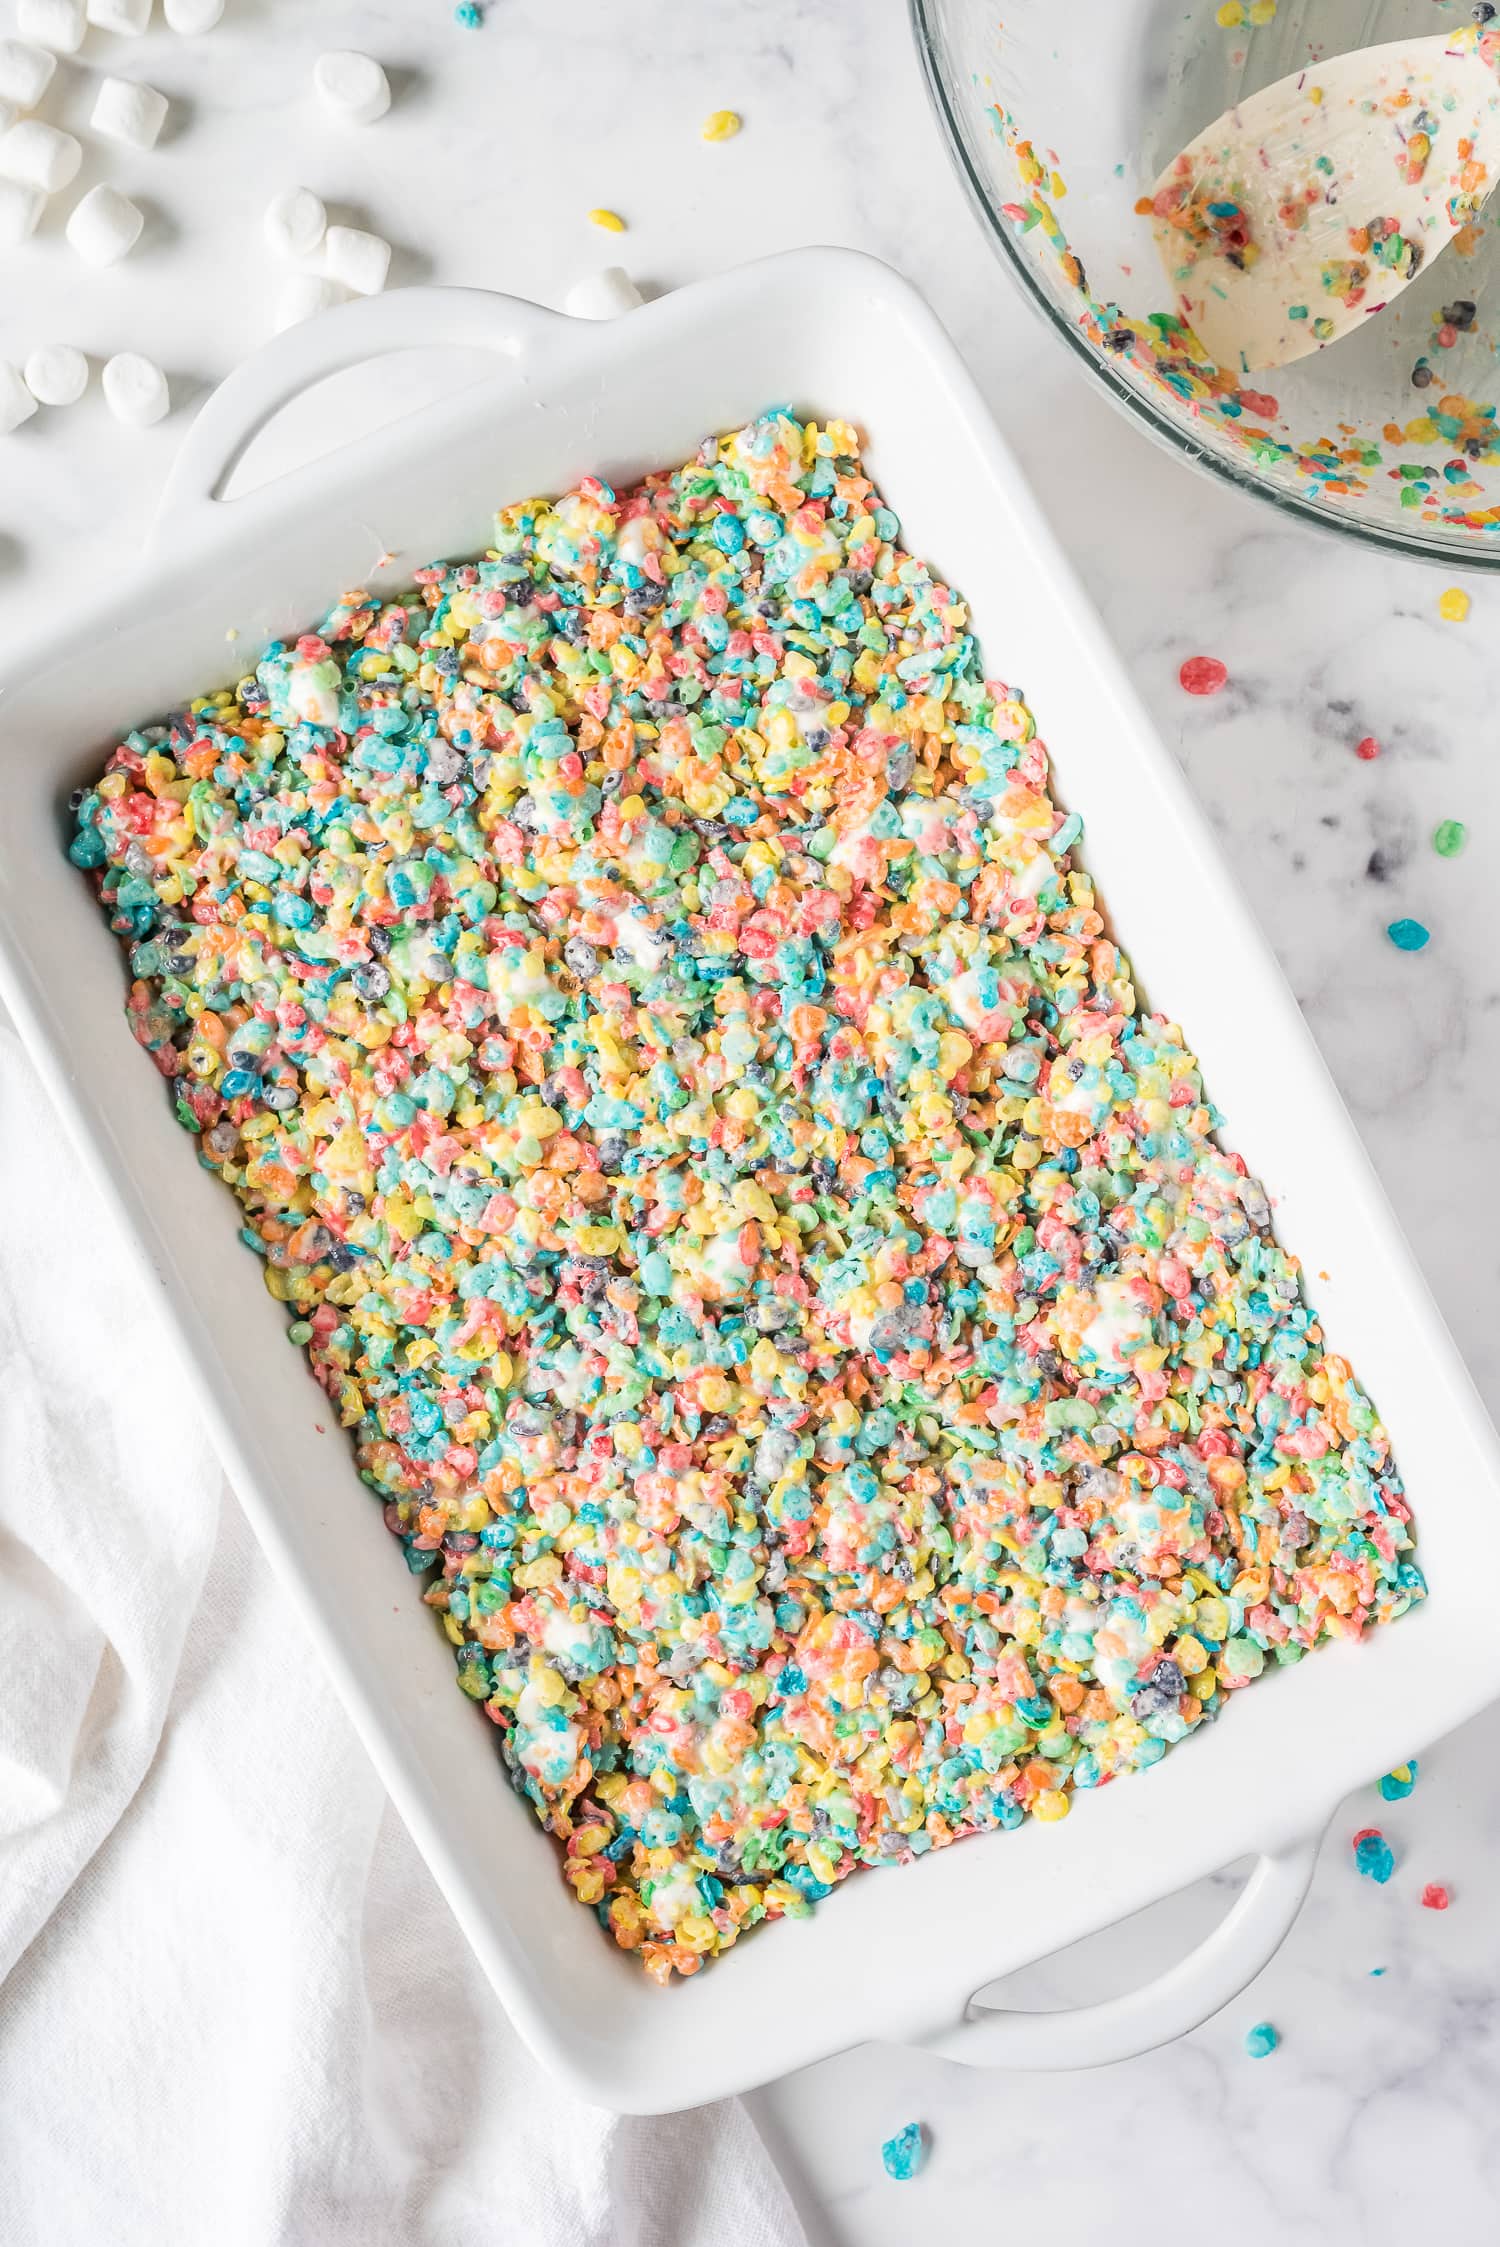
Press the mixture into the prepared pan. Butter your fingers to make this easy and less sticky.
Leave the bars to set at room temperature for one hour before serving them.
How long do Fruity Pebble Treats keep?
Fruity pebbles treats will last for up to two days at room temperature as long as they are stored in an airtight container.
You can also freeze them. Once you’ve sliced them, place the treats in a freezer-safe container with wax paper separating the layers. To thaw, leave them out at room temperature for 15 minutes.
How do you make gooey cereal treats?
First, make sure your marshmallows are fresh. Even if they are a little stale, your treats won’t be as soft and gooey.
For the best gooey treats, I like to save some marshmallows to mix in right at the end. They will partially melt creating gooey marshmallow pockets in your treats!
Tips for the Best Treats
Line the pan: I like to line the pan with enough foil, so there’s an overhang. Coat the foil with cooking spray, and then, once the bars are set, it’s super easy to lift them out in one piece for slicing.
Work quickly: Once you’ve melted the butter and marshmallows, don’t wait to mix in the cereal. As the marshmallow mixture cools it will be harder to stir.
Don’t press too much: When you press the cereal mixture into the pan, press enough so the cereal holds together but not too much otherwise your bars won’t be as soft.
Butter your hands: To make it easy to press the sticky mixture into the pan, butter your hands or dampen them with water. This will keep the treat mixture from sticking too much. You can also use the wrapper from the butter to press!
Everyone will love these colorful fruity pebbles treats! They’re such a fun recipe, and a great twist on rice krispie treats – I hope you love them!
More No-Bake Cereal Treats
- Make Monster Rice Krispie Treats for Halloween this year! They’re super easy and so cute – perfect for a spooky fun party.
- Learn how to make Patriotic Treats with red, white, and blue layers and cut into star shapes.
- Everyone will love Grinch Pops and you will love how easy they are! They’re a rice krispie treat on a stick for a fun holiday dessert.
- We also love to make Peeps Treats for Easter!
If you take a picture and share these Instagram make sure to #kidsactivityzone or tag us @kidsactivityzoneblog so we can see them!

Fruity Pebbles Treats
Ingredients
- 12 Tablespoons butter
- 2 bags mini marshmallows, divided (10 ounces each)
- 1 teaspoon vanilla extract
- 8 ½ cup Fruity Pebbles
Instructions
- Spray a 9’’ x 13’’ pan with non-stick spray or line with heavy duty aluminum foil greased with non-stick spray. If using foil let it drape over the sides of the pan for easy removal of bars.
- Remove two cups of marshmallows and set aside.
- Slice butter into thin slabs so it will melt quicker in the microwave.
- In a large microwave safe container place the butter slabs and remaining marshmallows. Microwave for 2 minutes. Remove and stir until butter and marshmallows are melted and combined. Quickly mix in cereal and stir until it is combined. Add reserved marshmallows and stir until they are softened and partially melted. You do not want them to completely melt as they provide those delicious pockets of marshmallow goo.
- Press mixture into prepared pan. You can butter your fingers to help press them into the pan with less mixture sticking to them or use the butter wrapper to push the mixture into the pan. Damp fingers also work to help press the mixture into the pan without getting it stuck to your fingers.
- Let cool at room temperature for at least an hour.
- If you used foil you can lift the treats onto a cutting board and cut into pieces.
- Otherwise cut them in the pan.
Notes
First, make sure your marshmallows are fresh. Even if they are a little stale, your treats won’t be as soft and gooey. For the best gooey treats, I like to save some marshmallows to mix in right at the end. They will partially melt creating gooey marshmallow pockets in your treats! TIPS FOR THE BEST TREATS
Line the pan: I like to line the pan with enough foil, so there’s an overhang. Coat the foil with cooking spray, and then, once the bars are set, it’s super easy to lift them out in one piece for slicing. Work quickly: Once you’ve melted the butter and marshmallows, don’t wait to mix in the cereal. As the marshmallow mixture cools it will be harder to stir. Don’t press too much: When you press the cereal mixture into the pan, press enough so the cereal holds together but not too much otherwise your bars won’t be as soft. Butter your hands: To make it easy to press the sticky mixture into the pan, butter your hands or dampen them with water. This will keep the treat mixture from sticking too much. You can also use the wrapper from the butter to press!